
KeyTray Cargo — User Manual
Edition: Argentina
Date: September 2026
Software: KeyTray Cargo (desktop)
Demo company for the country-specific examples: Cargo Masters Argentina (Cargo Masters Argentina S.A., Ciudad Autónoma de Buenos Aires), base currency ARS (Argentine peso)
Demo company for the common chapters: Cargo Masters USA (Miami, Florida), base currency USD
How to use this manual
This manual is written for people who work at a freight forwarder and have never studied accounting. You may be great at booking an air shipment or receiving cargo at the warehouse, but "debit", "credit", "input tax" or "cost of goods sold" may sound like a foreign language. That is fine. Think of this manual as a patient accountant sitting next to you.
- Read chapter 1 first, even if you are in a hurry. Almost every mistake we see in real companies comes from one decision made in the master data: which account an item or a document posts to. Ten minutes in chapter 1 will save you hours of corrections later.
- Follow the numbered steps when you do a task for the first time. Every screenshot comes from the real program, with the interface in English. Two demo companies appear:
- The common chapters use screenshots of Cargo Masters USA, a demo company that keeps its books in US dollars (USD) and uses US sales tax. The steps are the same in an Argentine company: when a screenshot shows USD, sales tax or an EIN, your company shows Argentine pesos (ARS), IVA (the Argentine value added tax) and a CUIT (the Argentine tax ID).
- The Argentina-specific screenshots come from Cargo Masters Argentina: tax codes, tax groups and currencies (chapter 3), the sales invoice and the vendor bill (chapter 5), the Accounting Explorer toolbar (section 8.1), the VAT settlement (section 8.5), the balance sheet (section 10.1) and System Options > Accounting (section 11.2).
- Look for the callouts:
Why it matters: explains the accounting reason behind a step.
Careful: warns you about a common mistake or a known problem.
- Field and button names are written in bold, exactly as they appear on screen.
- Menu paths are written like this: Operations > New Invoice (ribbon tab, then button).
- Data created by KeyTray stays in Spanish. Cargo Masters Argentina was created with Company Language Español, so the data KeyTray created for it (account names, tax codes, tax groups, currencies, payment terms, services) is in Spanish even when the interface is in English. We quote those names exactly as they appear on screen — IVA debito fiscal 21%, Ventas, Neto 15 días — and give their English meaning the first time.
- Amounts. In the common chapters, amounts are in US dollars (USD). In the Argentina sections they are in Argentine pesos (ARS). In our own text we write numbers the English way (1,210.00). Values read from a Cargo Masters Argentina screen are quoted exactly as they appear, and those screens do not all use the same format: documents and most grids write 1.210,00 (point for thousands, comma for decimals, the Argentine custom), while the balance sheet writes 1,210.00. It is the same amount (see Appendix B).
- Dates. US screenshots show month/day/year (9/13/2026). In Cargo Masters Argentina, documents and the VAT settlement show day/month/year (13/9/2026 is September 13, 2026), while the balance sheet header shows 9/30/2026.
- All CUITs, names and addresses of the demo companies are fictitious.
- The chapter numbers follow the order agreed with our clients.
The ribbon at the top of KeyTray has these tabs: Company, Business Elements, Human Resources, Operations, Freight Forwarding, Template & Forms, Reports and Security. You will use most of them in this manual.
Table of contents
- 0. Getting started
- 1. Accounting fundamentals and master data
- 2. Fiscal years and monthly periods
- 3. Taxes (IVA) and currencies
- 4. Journal entries (including foreign currency)
- 5. Commercial documents
- 6. Warehouse Receipt, Repacking and Dispatch
- 7. Shipments
- 7.10 The Shipments list and the shipment tree
- 7.11 A straight (direct) air export
- 7.12 Charges in depth
- 7.13 Sharing the profit with the destination agent
- 7.14 Undoing a settlement, labels, drafts, cargo wizard and sending to the agent
- 7.15 A consolidated air export with two houses
- 7.16 Numbering for other kinds of shipments
- 7.17 An air import: settling a house before the master
- 7.18 An ocean export (FCL) with a container
- 7.19 A ground (trucking) shipment
- 8. Advanced accounting and month-end
- 8.1 Where everything is
- 8.2 The books: Transaction Journal and General Ledger
- 8.3 Registers: one account, one customer, one vendor
- 8.4 Foreign currency revaluation
- 8.5 VAT (IVA) settlement
- 8.6 Bank deposits of deferred checks
- 8.7 Bank reconciliation
- 8.8 Writing off old balances in batch
- 8.9 Cash flow: assigning accounts
- 8.10 The Closing Workpaper
- 8.11 Fixed assets and depreciation
- 8.12 Customer and vendor advances
- 8.13 Payment processors (PayCargo)
- 9. Security: users, roles and access
- 10. Reports
- 11. Company settings
- 14. Human Resources and payroll
- 15. CRM: leads, opportunities, quotes and after-sales
- 16. The accounting auditor
- 16.1 What the auditor checks
- 16.2 Setting up the auditor
- 16.3 The auditor on the dashboard
- 16.4 The Auditor screen
- 16.5 Marking a finding as reviewed
- 16.6 Revalue now: the missing closing revaluation (4.1)
- 16.7 Duplicate documents: see, open and void (6.2 and 6.3)
- 16.8 The fiscal year close, blocked
- 16.9 The e-mail notices
- 16.10 KeyTray AI Model: the terms and the monthly limit
- 16.11 The AI on each finding and "Ask the auditor"
- 17. Dashboard and gadgets
- Appendix A: Glossary
- Appendix B: Known issues found while writing this manual
0. Getting started
0.1 Creating your company
If your company does not exist in KeyTray yet, it is created from the New Company window. Usually the system administrator does this once. The screenshots of this section were taken when Cargo Masters USA was created; the window is the same in every country. The steps give the data used to create Cargo Masters Argentina.
The first time you sign in with a brand-new account (in our demo, the owner signs in as demo@keytray.com), there is no company yet. KeyTray tells you so:
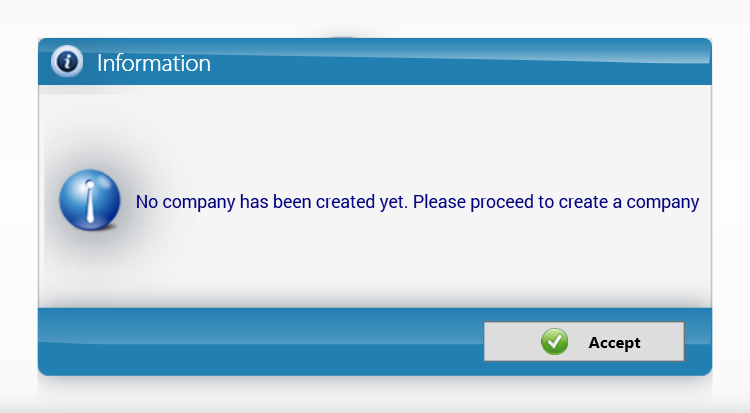
- Read the message "No company has been created yet. Please proceed to create a company" and click Accept.
- The New Company window opens. It has two parts: Required Information on the left and Additional Information on the right. Labels in bold blue are mandatory.
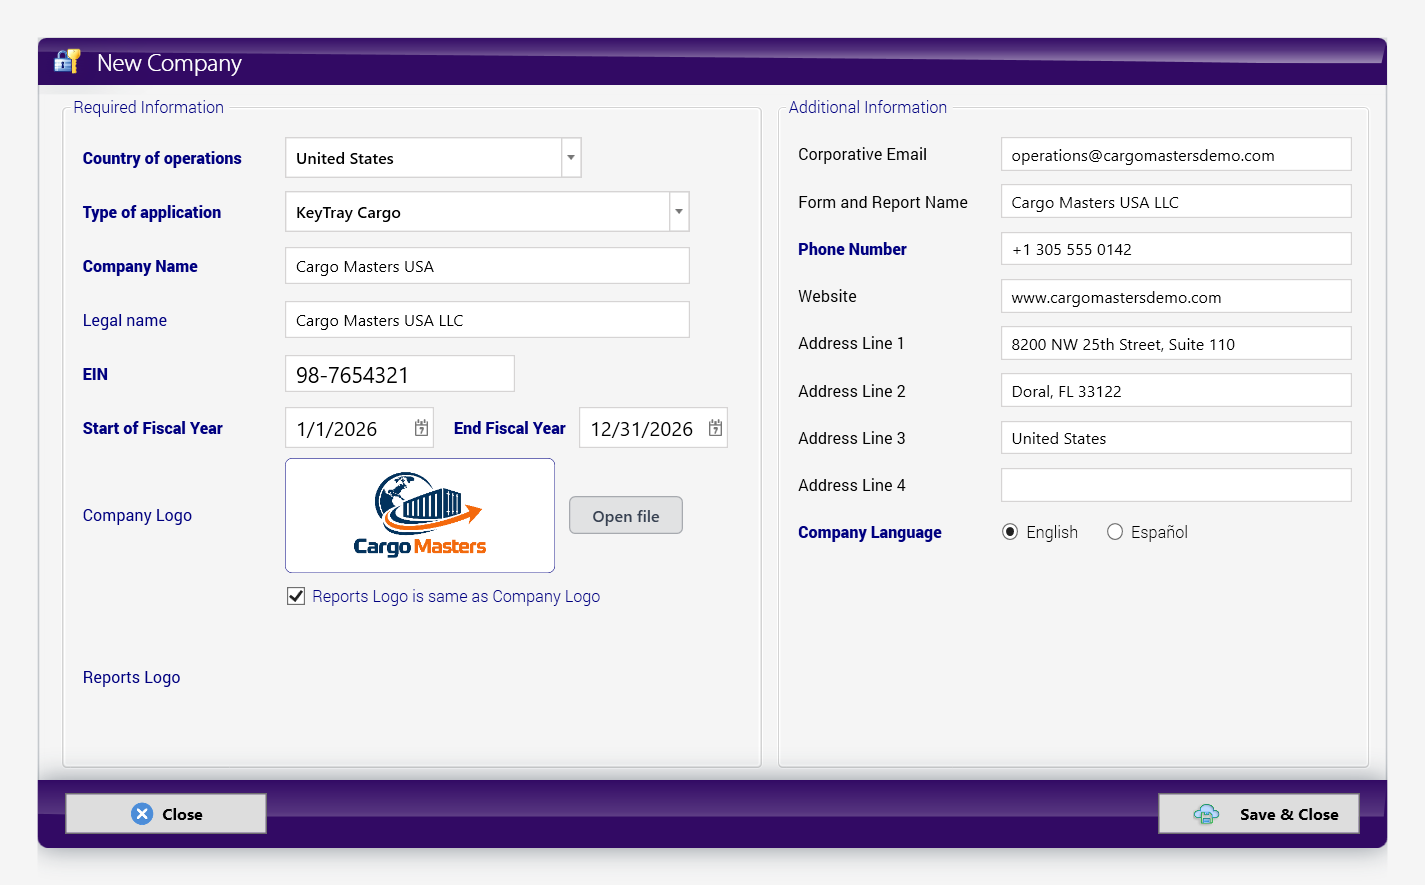
In the screenshot the window is filled in for the US company: Country of operations United States, Company Name Cargo Masters USA, Legal name Cargo Masters USA LLC, EIN 98-7654321 and the fiscal year 1/1/2026 to 12/31/2026. For Argentina, fill it in as follows.
- Fill in the Required Information:
- Country of operations: choose Argentina. This is the most important choice on the screen: the chart of accounts, the taxes, the local currency and the way prices are treated all depend on the country. Choose it carefully.
- Type of application: KeyTray Cargo.
- Company Name: the short name you want to see inside KeyTray — Cargo Masters Argentina.
- Legal name: the company name registered with ARCA (Agencia de Recaudación y Control Aduanero, the national tax authority) — Cargo Masters Argentina S.A.
- Tax ID (the field labelled EIN in the US screenshot): the company's CUIT (Clave Única de Identificación Tributaria, the Argentine tax ID) — 30-71234567-8. Type it exactly as it appears on the company's ARCA registration certificate.
- Start of Fiscal Year and End Fiscal Year: the dates of the fiscal year set by the company's bylaws. Many companies close on December 31, but not all: confirm it with your accountant. This window shows dates as month/day/year, so 12/31/2026 is December 31, 2026.
- Company Logo: click Open file to choose an image. Leave Reports Logo is same as Company Logo ticked if you want the same logo on printed documents; otherwise untick it and load a Reports Logo.
- Fill in the Additional Information:
- Corporative Email: the general email of the company, for example operaciones@cargomastersdemo.com.
- Form and Report Name: the name printed on invoices and reports — Cargo Masters Argentina S.A.
- Phone Number (mandatory): the company's phone, with the country code (+54) and the area code (11 for Buenos Aires).
- Website: optional.
- Address Line 1 to Address Line 4: Av. Leandro N. Alem 855, piso 12 and Ciudad Autónoma de Buenos Aires, Argentina. Leave unused lines empty.
- Company Language: Español. This is the language in which KeyTray creates the chart of accounts, the taxes and the freight services. That is why the data of Cargo Masters Argentina quoted in this manual is in Spanish.
- Click Save & Close.
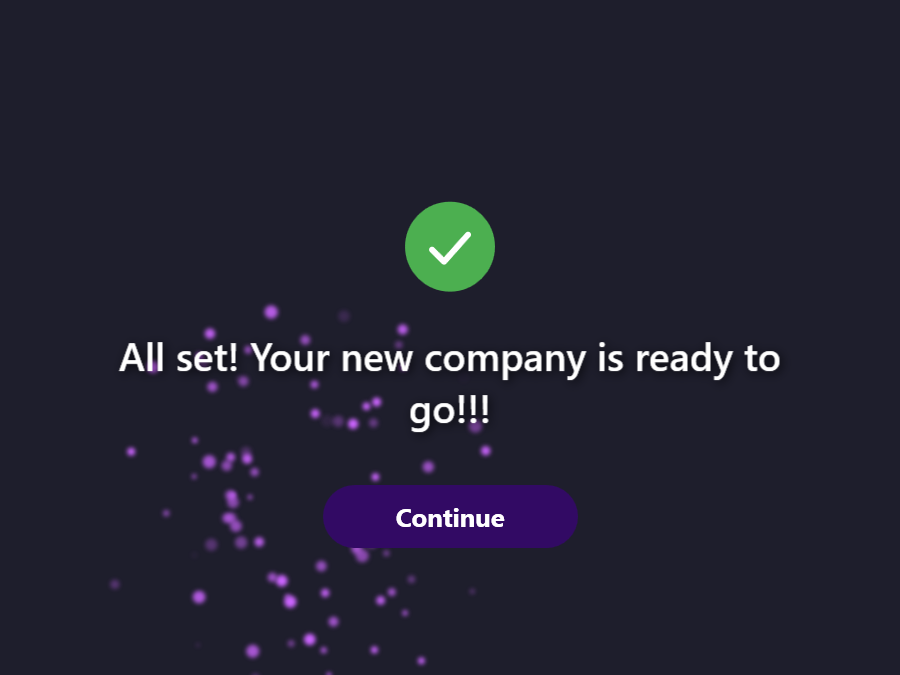
- KeyTray prepares the complete company, which can take about a minute. Do not close the program while it works. When it finishes you see the confirmation "All set! Your new company is ready to go!!!" (in the US screenshot below). Click Continue.
Careful: the country cannot be changed later. A company created with the wrong country is born with the taxes and the currency of another country. If you make a mistake, tell support before you post any document.
Careful: check the company's CUIT digit by digit before saving. It is the number that identifies all your vouchers before ARCA, and a mistyped CUIT gets the electronic invoice rejected. The New Company window does not check the CUIT check digit (Appendix B); section 1.5 explains how to check it yourself.
0.2 What KeyTray prepares for you automatically
When a company is created with the country Argentina, KeyTray does a good part of the setup work that an accountant would otherwise do by hand:
| What | What you get | Where to see it |
|---|---|---|
| Chart of accounts | A complete chart in Spanish: cash, banks, receivables, IVA input tax (IVA credito fiscal), payables, IVA output tax (IVA debito fiscal), capital, income, cost of goods sold, expenses... | Business Elements > Chart Of Accounts (section 1.2) |
| Argentine tax codes and tax groups | The IVA at its three rates — 21% (general), 10.5% (reduced) and 27% — each with its own output tax account and input tax account, and the tax groups Ventas (Sales), IVA 10,5%, IVA 27%, Exportación (Export) and Exento (Exempt) | Business Elements > Sale Tax Manager (chapter 3) |
| Fiscal year and periods | The fiscal year with its 12 monthly periods, all Open | Operations > Fiscal Years and Operations > Periods Manager (chapter 2) |
| Document numbering | Automatic numbers: INV- (sales invoices), BILL- (bills), CN- (credit notes), DN- (debit notes), RC- (customer payments), VP- (vendor payments), PRE- (pre-receptions), WR- (warehouse receipts), REP- (repacking), DSP- (dispatches), MAWB- (master air waybills) and HAWB- (house air waybills) | Visible on every new document |
| Currencies | The local currency Peso Argentino (Argentine peso, ARS) and also the Dólar estadounidense (US dollar, USD) | Business Elements > Currencies (section 3.3) |
| Bank accounts by currency | A bank account in pesos and another in dollars, ready to be renamed with your bank's name | Chart of Accounts (section 1.3) |
| Typical freight services | Services already created (freight, trucking, handling, storage, documentation...) with their income and cost accounts. For example FF-STORAGE - Almacenaje (storage), used in chapter 5 | Business Elements > List Explorer (section 1.9) |
| Pricing convention | Prices do not include IVA: the price you type is the net value of the service, and KeyTray shows the tax separately and adds it on top | Every sales and purchase document |
Why it matters: because this setup already exists, your job is mostly to review and adapt it (rename the bank accounts, create your customers, review the accounts of the services), not to build it from zero.
Why it matters — prices without IVA included: if you type a price of 1,000.00 on a line taxed at 21%, KeyTray understands that the service is worth 1,000.00 net and adds the tax: 1,000.00 × 21% = 210.00 of IVA, and the customer pays 1,210.00. Do not type 1,210.00 expecting the system to separate the tax: in this company the tax is added to the price. (If you typed 1,210.00, the customer would pay 1,464.10.)
Careful — what KeyTray does not create: KeyTray sets up the IVA, which is a national tax. Ingresos Brutos (the provincial tax on gross receipts, administered by AGIP in the City of Buenos Aires and by ARBA in the Province of Buenos Aires, or the Convenio Multilateral if you work in several jurisdictions), withholdings and perceptions (retenciones y percepciones) and income tax (impuesto a las ganancias) are not configured automatically. Ask your accountant which accounts to use for them.
0.3 Signing in with Windows Hello
Windows Hello lets you sign in to KeyTray with the PIN, fingerprint or face you already use to unlock Windows, without typing your password. KeyTray does not store your PIN or fingerprint: Windows checks them and signs the sign-in with a key kept in the computer's security chip. That is why each registration only works on that computer and that Windows user.
Video: Signing in with Windows Hello, step by step (voice and subtitles in English).
You need Windows Hello set up on the computer (Settings > Accounts > Sign-in options > PIN) and your KeyTray email and password once, to register.
Registering Windows Hello
- On the sign-in screen, type your Email Address and Password.
- Click Register Windows Hello (instead of Log In).
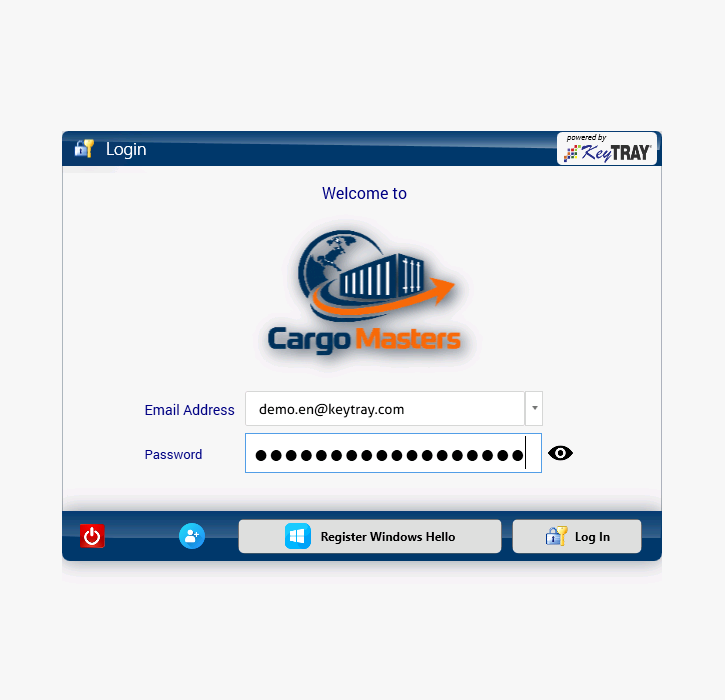
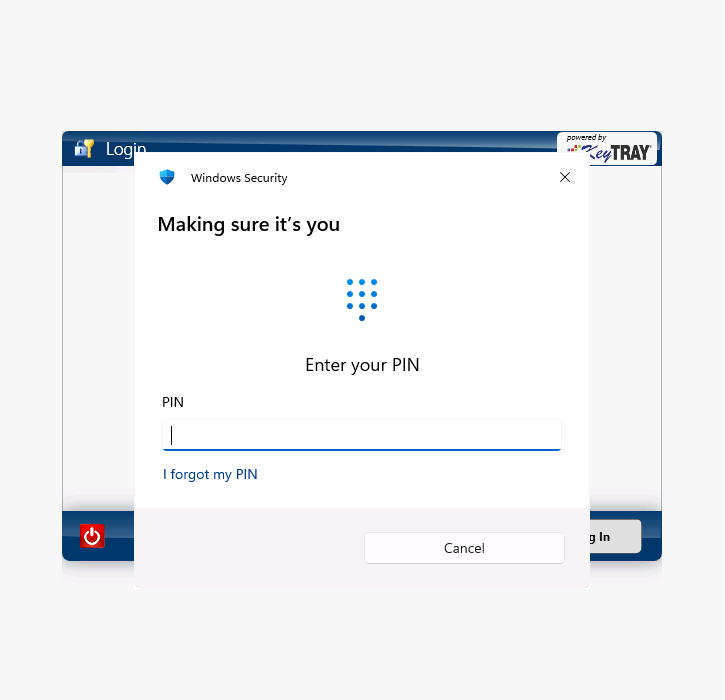
- Windows shows its security window. Type your PIN (or use your fingerprint or face).
- KeyTray confirms: "Windows Hello is now registered for ... on this computer". Click Accept.
- Choose the company, as usual. That account and that company are saved on this computer as a card.
Signing in with a card
The next time you open KeyTray, or when you sign out, instead of the email and password you will see Windows Hello accounts: one card for each account and company registered on this computer, with the company logo.
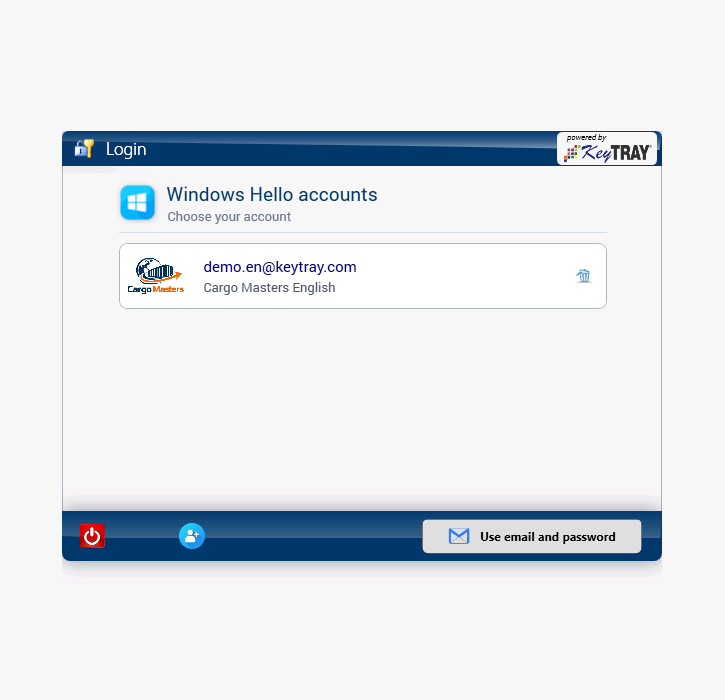
- Click the card.
- Type your PIN.
- KeyTray goes straight into the company on the card, without the company selector.
Careful: each card opens its own company. Check the name and logo before you click.
The same account in another company
- Click Use email and password.
- With your email typed, the button says Login with Windows Hello: the account is already registered and no password is needed.
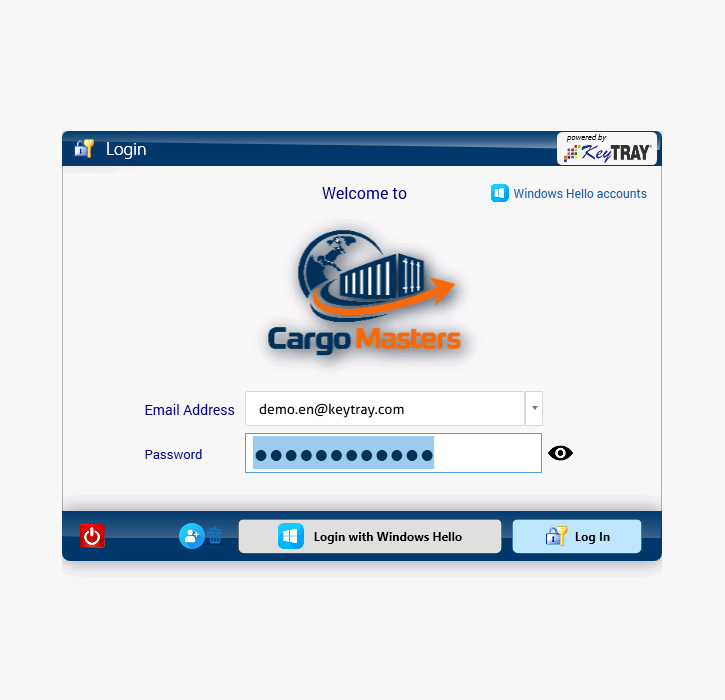
- Click Login with Windows Hello, type the PIN and choose the other company.
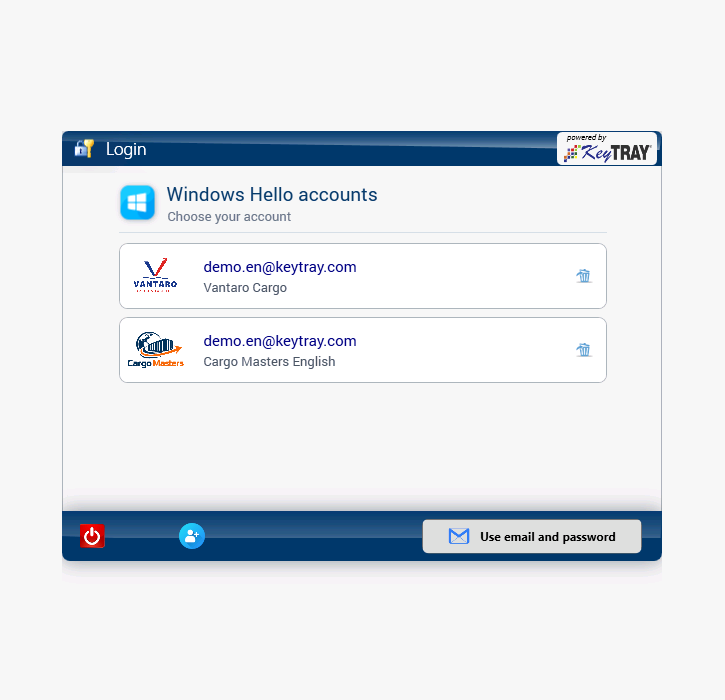
A new card is added. The one you used last comes first.
Another person on the same computer
Several accounts can use Windows Hello on the same computer; each one has its own key.
- Click Use email and password.
- Type the email and password of the other account and click Register Windows Hello.
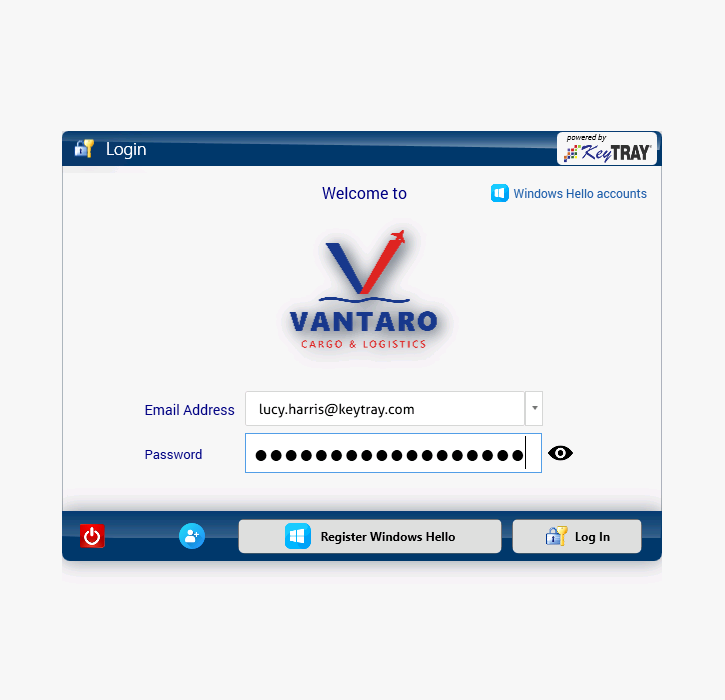
- Type the Windows PIN and, if the account has several companies, choose one.
Now the cards of both accounts are shown.
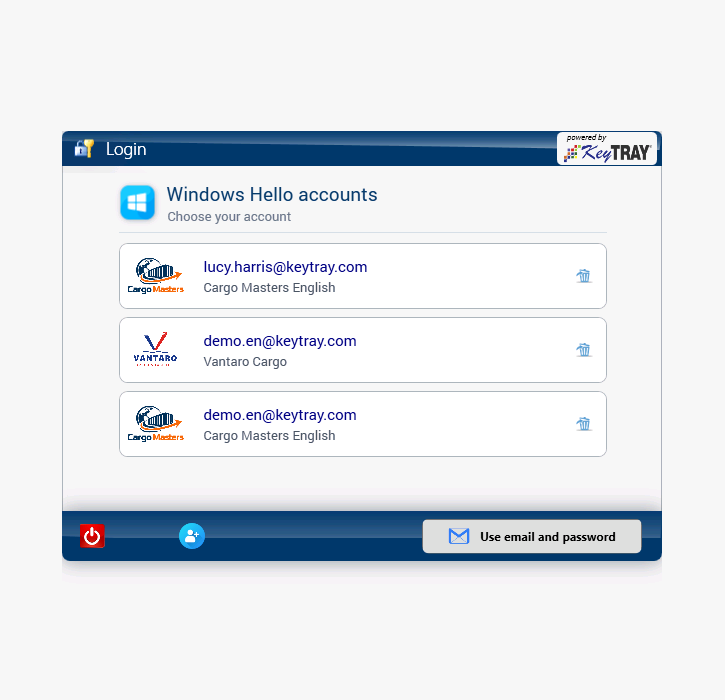
Important: the PIN is the Windows PIN, not a KeyTray one. Anyone who knows the PIN of that Windows user can sign in with every card registered under it. If several people share the computer, the safe way is for each one to use their own Windows user: the cards of one Windows user are not shown to the others.
From Use email and password, the Windows Hello accounts link (top right) takes you back to the cards.
Removing a card
Each card has a small trash can on the right (Remove this account from this computer).
- If the account has other cards on the computer, KeyTray asks and removes only that one. It does not ask for the PIN.
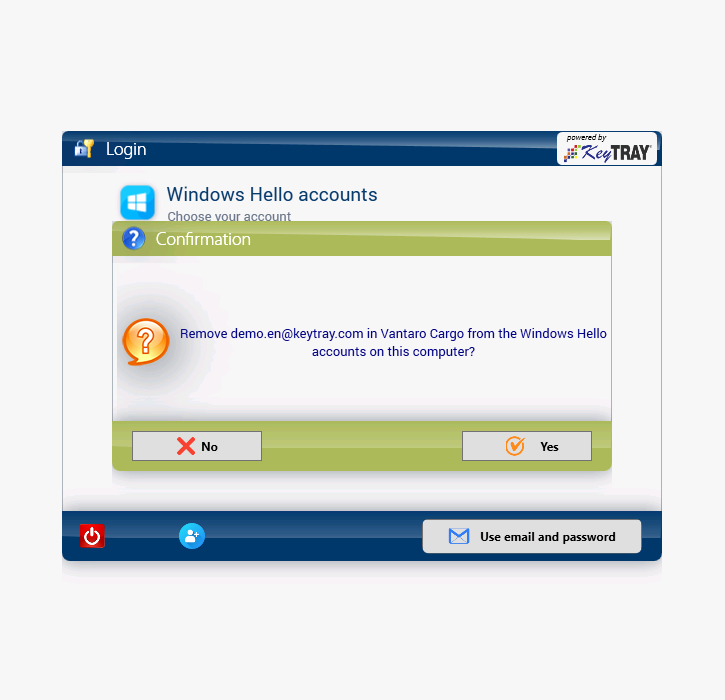
- If it is the last card of the account, KeyTray warns that it will also remove Windows Hello for that account on this computer. When you confirm, it asks for the PIN and retires the key, on the server too.
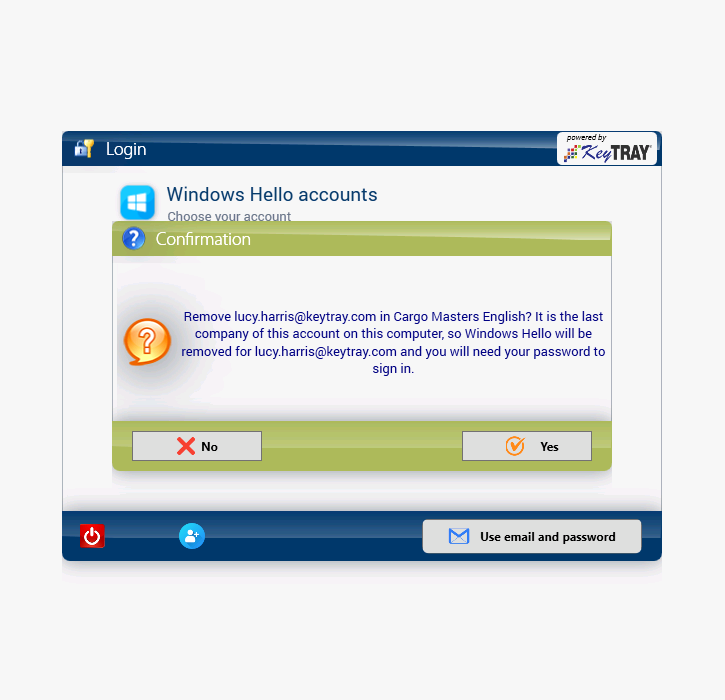
From then on that account signs in with its password again, and you can register it again whenever you want.
If you lost or replaced the computer: sign in to KeyTray from another computer, open the KeyTray button > My account and, on the Windows Hello row, click Turn off Windows Hello. It is removed from all your computers and the key on the lost computer stops working.
If something does not work
| Message or situation | What to do |
|---|---|
| Windows Hello is not available | Set up a PIN in Windows (Settings > Accounts > Sign-in options) and try again. |
| The Windows Hello registration of ... on this computer is no longer valid | The key was removed (from another computer or from My account). Type your password and click Register Windows Hello. |
| You clicked Cancel in the Windows window | Nothing happens: click the card or the button again. |
1. Accounting fundamentals and master data
1.1 How accounting works
The accounting equation
Every business, including a freight forwarder, can be described with one simple equation:
Assets = Liabilities + Equity
- Assets are what the company has or is owed: money in the bank, invoices customers still have to pay you, a forklift, a security deposit on the warehouse.
- Liabilities are what the company owes to others: bills from airlines and truckers not yet paid, tax collected from customers that belongs to the government (in Argentina, the IVA owed to ARCA), a bank loan.
- Equity is what is left for the owners: the money they put in (capital) plus the profits the company has kept.
Two more families of accounts explain how equity grows or shrinks during the year:
- Income (revenue) increases equity: freight you bill, customs brokerage fees, warehouse storage fees.
- Expenses decrease equity: what you pay to deliver those services and to run the office.
At the end of the year, Income − Expenses = Profit (or loss), and that profit becomes part of equity.
The five classes
So there are five big classes of accounts:
- Assets
- Liabilities
- Equity
- Income
- Expenses (which we split into Cost of Goods Sold and operating expenses, explained below)
The first three appear on the Balance Sheet (a photo of the company on a given day). The last two appear on the Income Statement, also called Profit and Loss or P&L (a movie of what happened during a period).
Double entry: debit and credit
Accounting uses double entry: every transaction touches at least two accounts, and the total on one side must equal the total on the other side.
- The left side of an entry is called Debit.
- The right side is called Credit.
Forget the everyday meaning of "credit" (like a credit card). In accounting, debit and credit simply mean left column and right column.
The rule that tells you which side to use is the normal balance of each class:
| Account class | Normal balance (the side that increases it) | The side that decreases it | Typical examples at a freight forwarder |
|---|---|---|---|
| Assets | Debit | Credit | Bank of America operating account, petty cash, accounts receivable from shippers and consignees, prepaid insurance, forklifts and warehouse racks |
| Liabilities | Credit | Debit | Accounts payable to airlines, steamship lines and truckers; IVA output tax payable to ARCA (in the US, sales tax payable to the state); customer deposits received in advance; bank loans |
| Equity | Credit | Debit | Capital stock contributed by the owners, retained earnings |
| Income | Credit | Debit | Air export freight income, ocean freight income, customs brokerage revenue, warehouse storage and handling income |
| Cost of Goods Sold (COGS) | Debit | Credit | Airline freight cost, trucking cost for a shipment, outside customs broker fees paid for a client's shipment, terminal handling charges |
| Expenses (operating) | Debit | Credit | Office rent, electricity, internet, office supplies, salaries of administrative staff, accounting software |
| Other Income | Credit | Debit | Foreign exchange gains, interest earned |
| Other Expense | Debit | Credit | Foreign exchange losses, bank interest paid |
A simple way to remember it: things you have and things you spend are debits; things you owe, owners' money and things you earn are credits.
Example: the owners put money in the bank
The owners of Cargo Masters USA deposit USD 50,000 into the Bank of America account to start the business.
| Account | Debit | Credit |
|---|---|---|
| Bank of America - Operating USD (Asset) | 50,000.00 | |
| Capital stock (Equity) | 50,000.00 | |
| Total | 50,000.00 | 50,000.00 |
The bank (an asset) goes up, so it is debited. The owners' capital (equity) goes up, so it is credited. Both sides are equal: the entry balances. The equation still holds: Assets 50,000 = Liabilities 0 + Equity 50,000.
Why it matters: KeyTray will never let you save an entry that does not balance. If the totals of the Debit and Credit columns are different, something is missing.
Cost of Goods Sold versus operating expenses
This is the single most important idea for a freight forwarder, so read it twice.
- Cost of Goods Sold (COGS) — sometimes called cost of sales or direct cost — is what you pay to deliver the specific service you sold. If you did not sell that shipment, you would not have had that cost. Examples: the airline's freight charge on MAWB 999-12345605, the trucker who took the pallet to the airport, the outside customs broker you paid for that client's entry.
- Operating expenses are what you pay to keep the company running, whether you move one shipment or a thousand. Examples: office rent, electricity, internet, office supplies, the receptionist's salary.
The difference matters because of gross margin:
Income − COGS = Gross profit
Gross profit − Operating expenses = Net profit
Gross profit tells you whether your pricing is healthy: are you selling freight for more than it costs you? Net profit tells you whether the whole company is healthy. If direct costs are mixed with office expenses, you lose the ability to see either one clearly.
1.2 Account types in KeyTray and posting to the wrong class
The account types on screen
To see the chart of accounts, go to Business Elements > Chart Of Accounts. To create a new account, click New on that screen (or Business Elements > New Account).
The New Account window shows every account type KeyTray supports, grouped in two blocks:
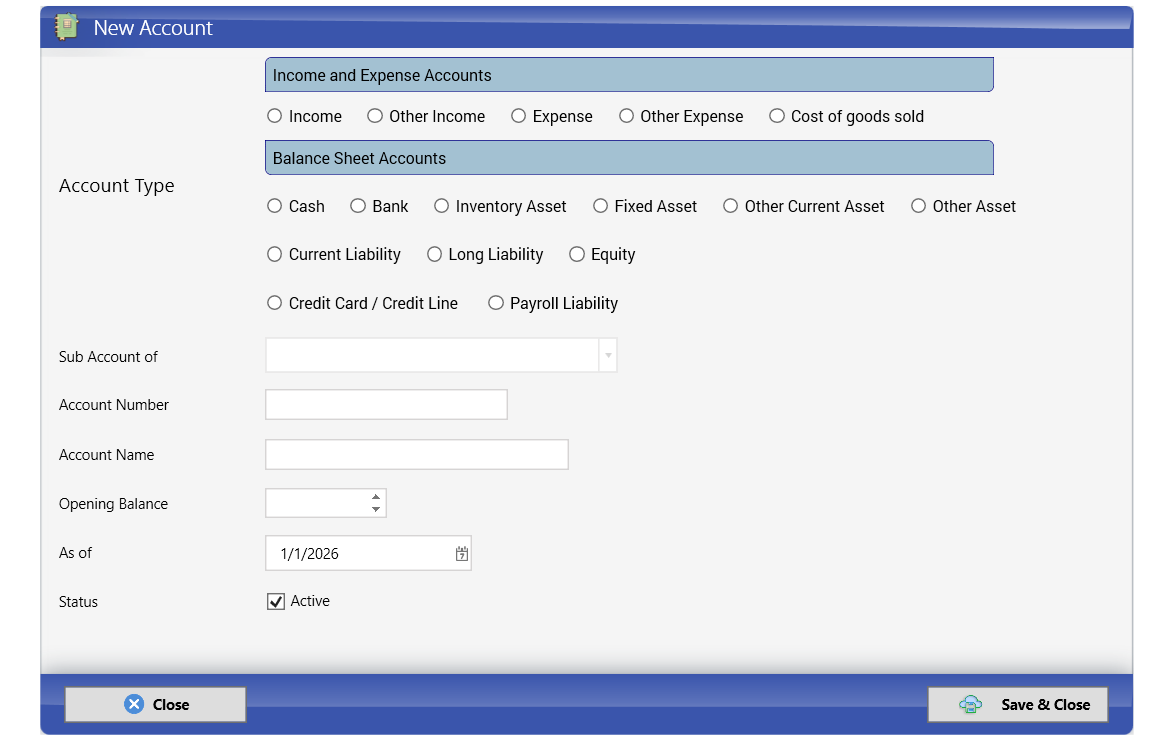
Income and Expense Accounts (these go to the Income Statement):
- Income
- Other Income
- Expense
- Other Expense
- Cost of goods sold
Balance Sheet Accounts (these go to the Balance Sheet):
- Cash
- Bank
- Inventory Asset
- Fixed Asset
- Other Current Asset
- Other Asset
- Current Liability
- Long Liability
- Equity
- Credit Card / Credit Line
- Payroll Liability
Below the types you fill in Sub Account of (the parent account), Account Number, Account Name, Opening Balance, As of (the date of that opening balance) and Status (Active). Click Save & Close to save.
Here is how each KeyTray type fits into the five classes:
| KeyTray type | Class | Use it for |
|---|---|---|
| Cash | Asset | Petty cash, undeposited funds (checks received not yet taken to the bank) |
| Bank | Asset | Checking and savings accounts at a bank |
| Inventory Asset | Asset | Goods you own and resell (rare in a pure forwarder) |
| Other Current Asset | Asset | Prepaid expenses, advances paid on behalf of clients, deposits you will recover within a year |
| Fixed Asset | Asset | Forklifts, trucks, racks, computers — things used for several years |
| Other Asset | Asset | Long-term deposits and other long-term assets |
| Current Liability | Liability | Debts due within a year (other than normal vendor bills) |
| Long Liability | Liability | Loans due in more than a year |
| Credit Card / Credit Line | Liability | Company credit cards and bank credit lines |
| Payroll Liability | Liability | Payroll taxes and withholdings owed |
| Equity | Equity | Capital stock, retained earnings |
| Income | Income | Revenue from your services |
| Other Income | Income | Income not from your main business: exchange gains, interest earned |
| Cost of goods sold | Expense (direct) | Direct costs of the shipments and services you sell |
| Expense | Expense (operating) | Costs of running the office |
| Other Expense | Expense (non-operating) | Exchange losses, interest paid, penalties |
The Chart of Accounts screen
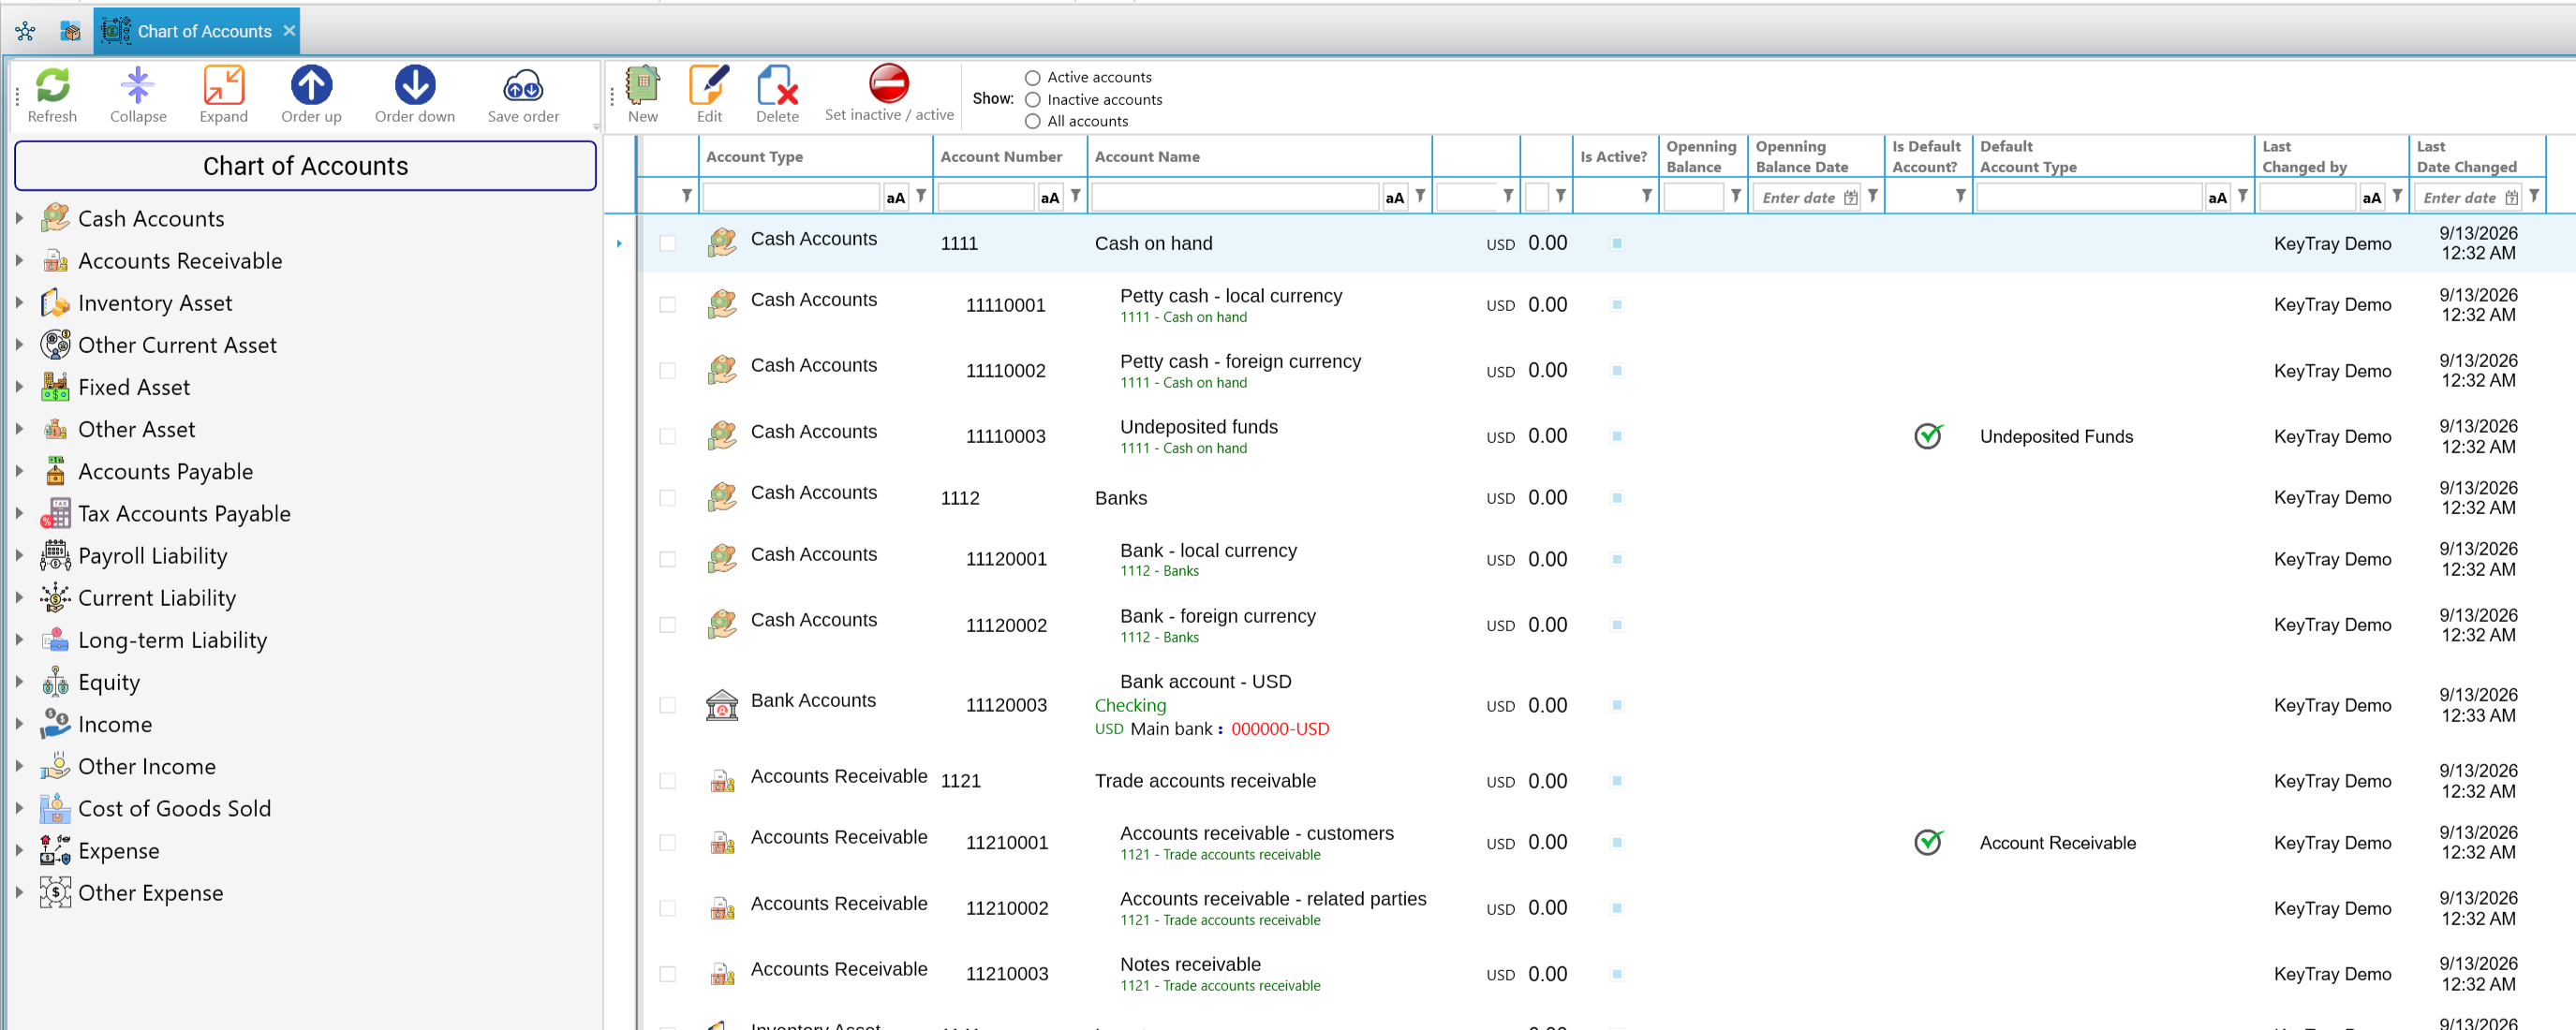
On the left, the accounts are grouped in a tree: Cash Accounts, Accounts Receivable, Inventory Asset, Other Current Asset, Fixed Asset, Other Asset, Accounts Payable, Tax Accounts Payable, Payroll Liability, Current Liability, Long-term Liability, Equity, Income, Other Income, Cost of Goods Sold, Expense and Other Expense.
On the right, the grid shows Account Type, Account Number, Account Name, the currency and balance, Is Active?, Openning Balance, Openning Balance Date, Is Default Account?, Default Account Type, Last Changed by and Last Date Changed. Sub-accounts show their parent in small green text (for example 1111 - Cash on hand under Petty cash - local currency).
The toolbar offers Refresh, Collapse, Expand, Order up, Order down, Save order, New, Edit, Delete and Set inactive / active. The Show option lets you list Active accounts, Inactive accounts or All accounts.
Notice the column Is Default Account?. In the demo, Undeposited funds is the default Undeposited Funds account and Accounts receivable - customers (11210001) is the default Account Receivable. KeyTray uses default accounts automatically — for example, every customer invoice posts the amount owed to the default accounts receivable account, so you do not choose it on each customer.
Careful: do not delete seeded accounts you do not use. Set them inactive with Set inactive / active instead. Deleting an account that KeyTray uses as a default can break document posting.
Posting to the wrong class: what goes wrong
The account type is not a label for decoration. Reports are built by class, so a wrong class quietly produces wrong reports. Here are the five mistakes we see most often, what they break, and how to avoid or fix them.
Mistake 1 — Airline freight cost posted to an Expense instead of Cost of Goods Sold.
You sell an air export shipment for 503.62 and the airline charges you 330.50. If the item used for the airline charge has an Expense account (for example "Office supplies" or "General expenses") as its purchase account, the Income Statement shows:
| Correct (COGS) | Wrong (Expense) | |
|---|---|---|
| Income | 503.62 | 503.62 |
| Cost of Goods Sold | 330.50 | 0.00 |
| Gross profit | 173.12 (34%) | 503.62 (100%) |
| Operating expenses | 0.00 | 330.50 |
| Net profit | 173.12 | 173.12 |
Net profit is the same, but the gross margin says you make 100% on every shipment. Management will think prices are excellent and may cut them, or will think the office is extremely expensive.
Avoid it: set a Cost of goods sold account as the purchase account of every item that represents a direct shipment cost (section 1.9).
Fix it: correct the purchase account on the item for future documents, then ask your accountant to post a reclassification journal entry (debit the COGS account, credit the expense account) for the amounts already posted, in an open period (chapter 4).
Mistake 2 — A customer deposit posted to Income instead of a Liability.
A consignee sends you USD 2,000 before the shipment moves. If you record it as income, you show revenue for a service you have not delivered yet — and if the shipment is cancelled, you must return money that you already counted as profit.
Avoid it: money received in advance is a liability (you owe the service or the refund) until you invoice. KeyTray has Operations > Cash in Advanced Payment for this situation; ask your accountant which liability account to use.
Fix it: a journal entry that debits the income account and credits the customer-deposit liability account.
Mistake 3 — Buying a forklift posted to Expense instead of Fixed Asset.
A USD 18,000 forklift will work for many years. If you post it as an expense, this year's profit drops by 18,000 and the next years look artificially good; the Balance Sheet also "forgets" that the company owns a forklift.
Avoid it: post long-lived equipment to a Fixed Asset account. Its cost is spread over its useful life through depreciation (KeyTray has Operations > Depreciation Manager).
Fix it: a journal entry that debits the fixed asset account and credits the expense account.
Mistake 4 — IVA collected posted to Income.
When you bill 1,000.00 + 210.00 of IVA = 1,210.00, the 210.00 is not yours: you collect it on behalf of the government and must pay it to ARCA. If it lands in an income account, your revenue is overstated and, worse, you lose track of how much you must declare.
Avoid it: the IVA tax code must post sales to a liability account: in Cargo Masters Argentina, 21210001 - IVA debito fiscal 21% (IVA output tax), which KeyTray already set up (chapter 3). Never create an item called "IVA" with an income account.
Fix it: a journal entry that debits the income account and credits the IVA output tax account.
Mistake 5 — IVA paid on purchases charged to cost instead of input tax. (This mistake belongs to countries with a value added tax, such as Argentina.)
Transportes del Litoral S.A. bills you 605.00 (500.00 + 105.00 of IVA). If the full 605.00 goes to cost, you lose the right to deduct those 105.00 in your monthly IVA return: you pay 105.00 too much to ARCA and your cost is overstated.
Avoid it: the IVA tax code must have This tax is eligible for the use of fiscal credit ticked and post purchases to 11310001 - IVA credito fiscal 21% (IVA input tax, an asset). KeyTray left it that way (chapter 3). The same applies to the other two rates.
Fix it: a journal entry that debits the IVA input tax account and credits the cost account, in a period you can still declare; check it with your accountant.
Why it matters: the class of an account is decided once, in the master data (the account itself, the item, the tax code). After that, hundreds of documents follow that decision automatically. A good decision is multiplied; so is a bad one.
1.3 Bank accounts
In KeyTray a bank account is simply an account of type Bank in the chart of accounts, with some extra bank information. KeyTray already created a USD bank account for you (11120003 - Bank account - USD). You only need to adapt it. (In Cargo Masters Argentina, KeyTray created a bank account in pesos and another in dollars, under the group 1112 Bancos (Banks). Adapt them in the same way, with the name of your bank.)
Adapting the USD bank account
- Go to Business Elements > Chart Of Accounts.
- Select the row Bank account - USD (11120003) and click Edit.
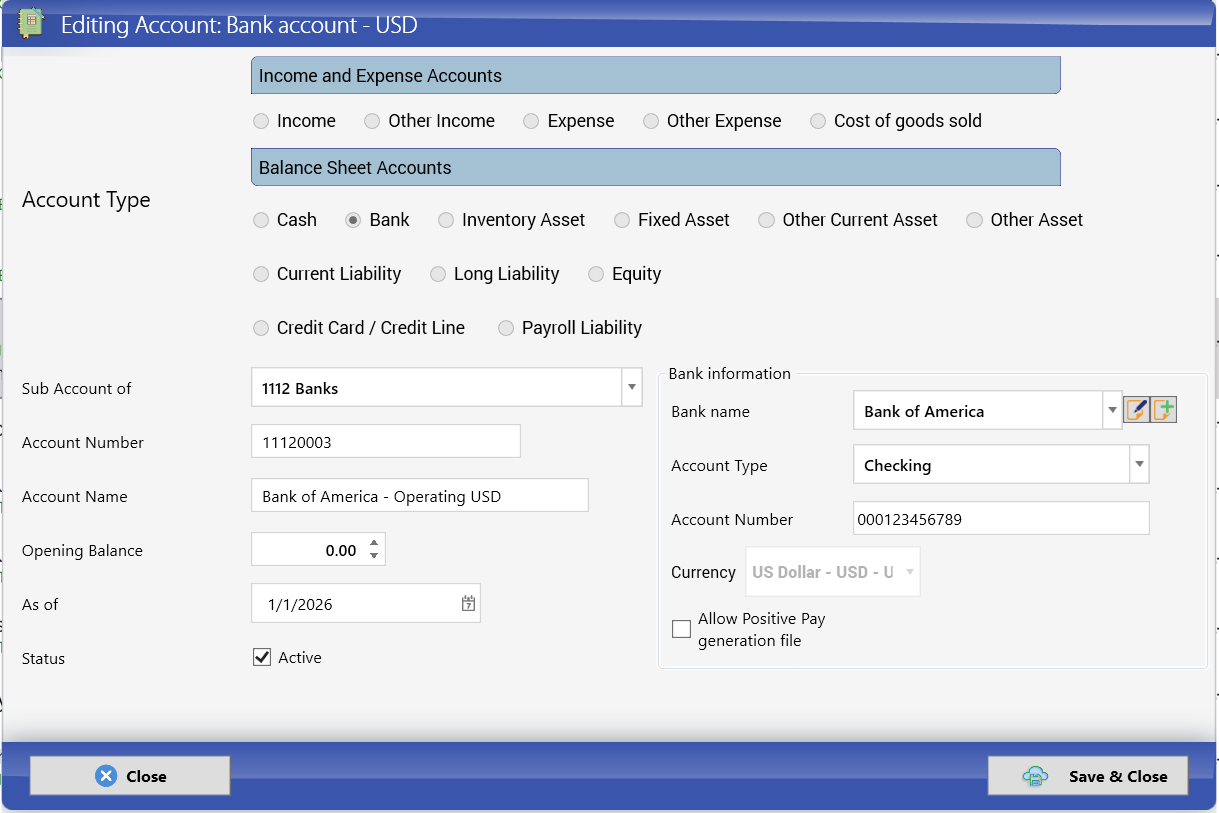
- The type Bank is already selected and Sub Account of shows 1112 Banks. Leave them as they are.
- Change Account Name to something your team will recognize — Bank of America - Operating USD.
- In the Bank information box:
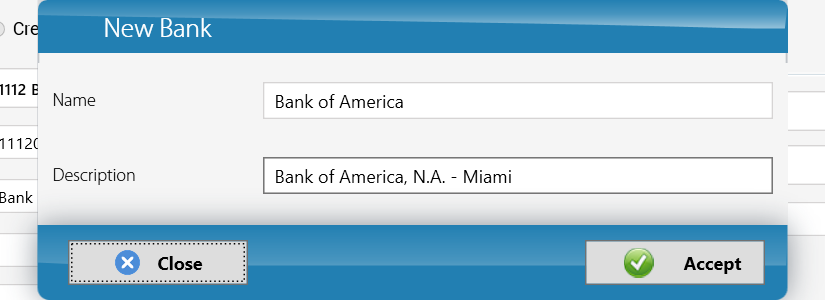
- Bank name: open the list. If your bank is not there, click the small add button to the right of the list. The New Bank window opens: type the Name (Bank of America) and a Description (Bank of America, N.A. - Miami) and click Accept.
- Account Type: Checking.
- Account Number: the real account number — 000123456789.
- Currency: shows US Dollar - USD and cannot be changed here (this account was created in the base currency).
- Allow Positive Pay generation file: tick it only if your bank offers Positive Pay (a fraud-protection file of the checks you issue).
- Leave Opening Balance at 0.00. We will record the initial money with a journal entry in chapter 4, which leaves a clearer audit trail.
- Click Save & Close.
Careful — Argentina: in Account Type choose the kind of account the bank gave you (in Argentina, a checking account or a savings account). Write down the account's CBU in the description or in your records: it is what customers will ask you for to transfer money to you.
Creating a EUR bank account
Cargo Masters USA also receives payments from European agents, so it opens a euro account.
Careful: a foreign-currency bank account needs the currency to exist first. Create the EUR currency as explained in section 3.3 before doing these steps.
- In Chart Of Accounts, click New.
- Select the type Bank.
- Sub Account of: 1112 Banks.
- Account Number: 11120004. Account Name: Bank of America - EUR account.
- Bank information: Bank name Bank of America, Account Type Checking, Account Number 000987654321.
- Currency: choose Euro - EUR - €. An Exchange Rate box appears showing 1 EUR = a value.
- Click Save & Close.
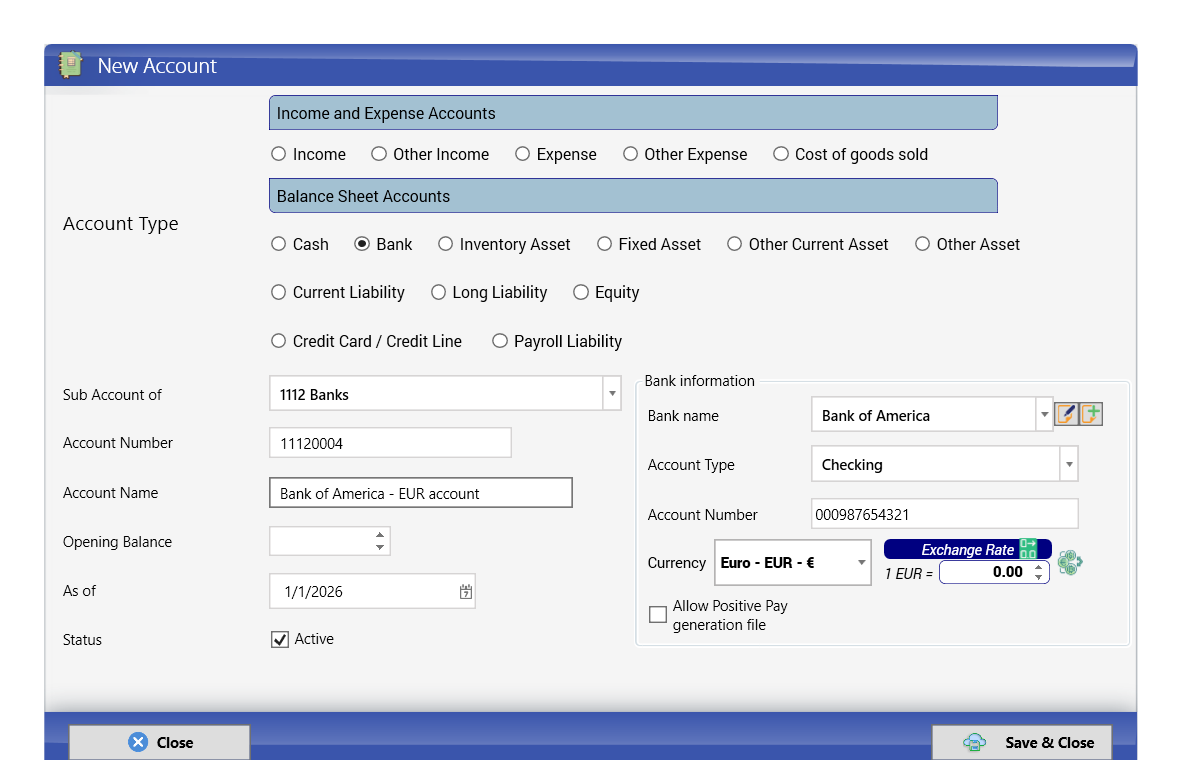
Careful: in the screenshot the Exchange Rate box shows 0.00 even though a rate was entered when the currency was created. This is a known issue (Appendix B). It does not stop you from saving the account; just make sure you type the correct rate on every document or journal entry in euros (chapter 4 shows how).
Why it matters: a foreign-currency bank account keeps two balances: the balance in euros (what the bank statement says) and its value in the company currency (dollars for Cargo Masters USA, pesos for Cargo Masters Argentina). Keeping euros in a separate account is the only way to reconcile it with the bank statement.
1.4 Customers
A customer is anyone you send an invoice to. At a freight forwarder that can be a US exporter, an importer, or a foreign consignee who pays freight collect.
Menu: Business Elements > New Customer.
The customer window has an Options panel on the left with the tabs General Information, Contact Emails, Identification, Financial Info, Initial Balances and Freight Forward Options.
General Information
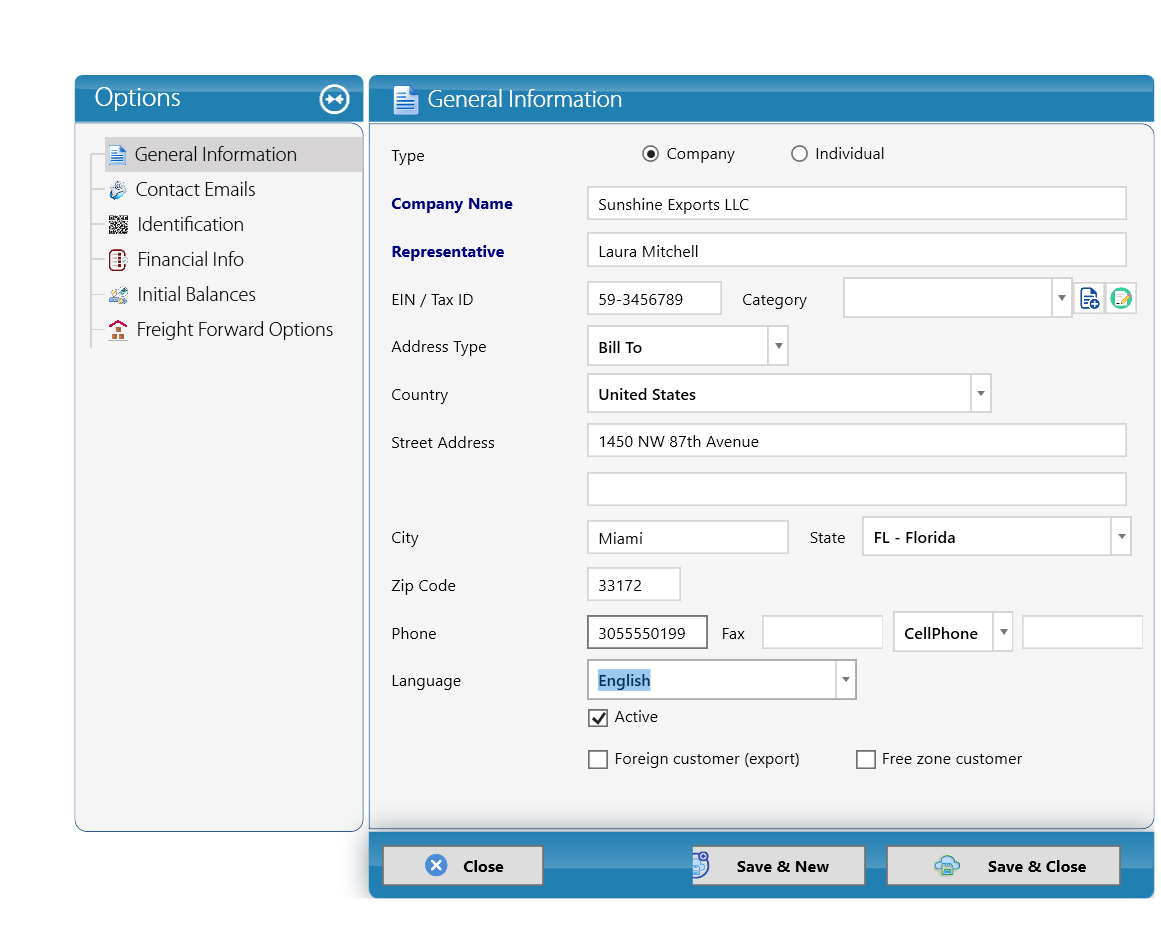
- Type: Company or Individual.
- Company Name (mandatory): Sunshine Exports LLC.
- Representative (mandatory): the contact person — Laura Mitchell.
- EIN / Tax ID: 59-3456789. In Argentina, type the customer's CUIT (11 digits, for example 30-71111111-1 for Distribuidora Pampeana S.A., the customer of chapter 5); section 1.5 explains its check digit.
- Category: optional; use the buttons next to it to create or edit categories.
- Address Type: Bill To (the address printed on invoices).
- Country United States, Street Address 1450 NW 87th Avenue, City Miami, State FL - Florida, Zip Code 33172.
- Phone, Fax and a second number (CellPhone).
- Language: English — the language of documents sent to this customer.
- Active: ticked.
- Foreign customer (export) and Free zone customer: tick them only when they apply.
Contact Emails
In Contact Emails, add the email addresses where invoices and notices are sent. Adding an address opens the Enter a new email address window:
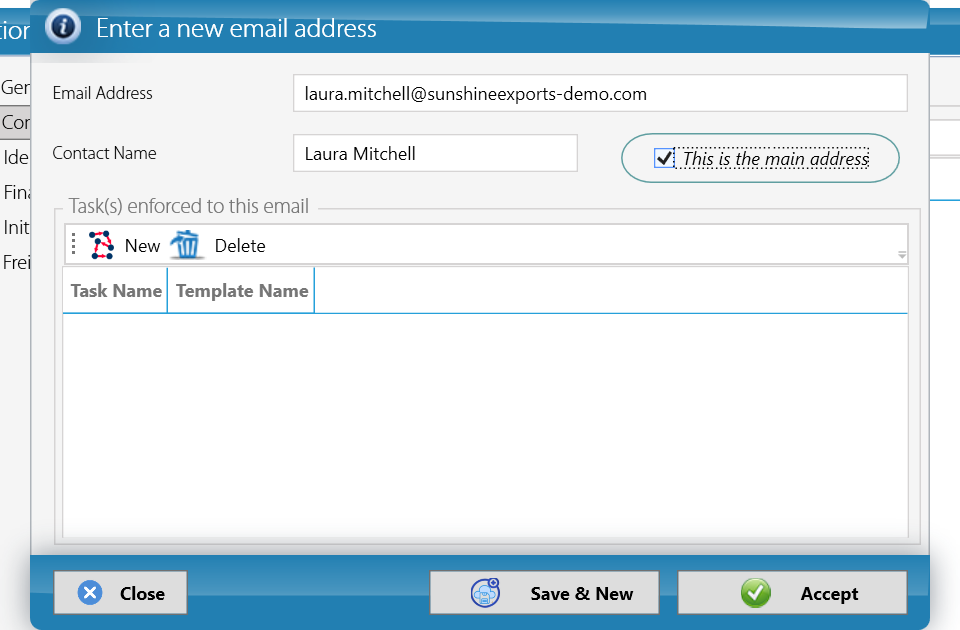
- Email Address: laura.mitchell@sunshineexports-demo.com
- Contact Name: Laura Mitchell
- This is the main address: ticked for the main contact.
- Task(s) enforced to this email: optional automatic tasks (with New and Delete), each with a Task Name and Template Name.
Click Accept (or Save & New to add another address).
Financial Info — the tab that matters for accounting
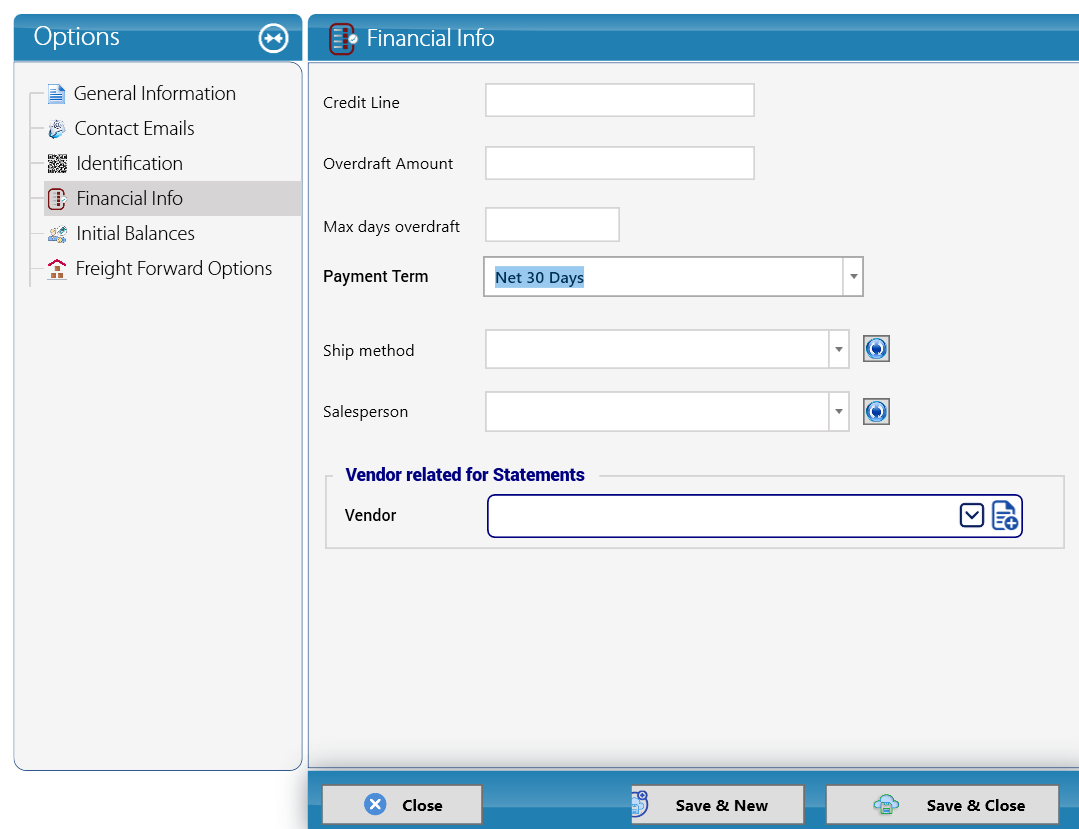
- Credit Line: the maximum amount this customer may owe you.
- Overdraft Amount and Max days overdraft: how far and for how long the customer may exceed the credit line.
- Payment Term: Net 30 Days. This is what calculates the Due date on every invoice. It is the most important field on this tab.
- Ship method and Salesperson: defaults for documents.
- Vendor related for Statements: if the same company is also your vendor (common with agents), link the vendor here so statements can show both sides.
Initial Balances
If the customer already owed you money before you started using KeyTray, tick The customer has an initial balance in the Initial Balances tab and enter the open amounts. Otherwise leave it empty.
Freight Forward Options
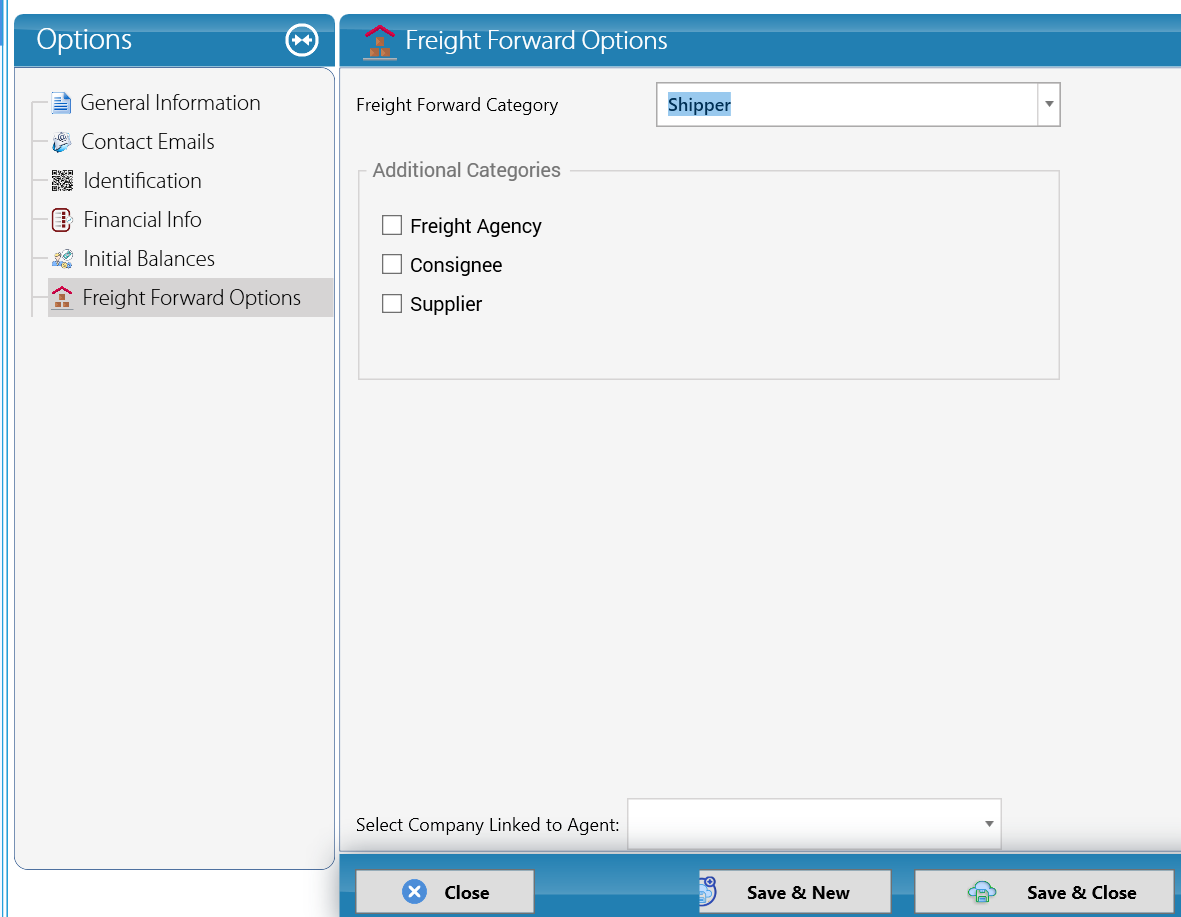
- Freight Forward Category: the main freight role of this company — here Shipper.
- Additional Categories: Freight Agency, Consignee, Supplier. Tick them if the same company also plays those roles.
- Select Company Linked to Agent: used when the participant is linked to an agent company.
Click Save & Close (or Save & New).
Careful: the pickers inside a shipment (Shipper, Consignee, Agent, Carrier...) only list participants whose main Freight Forward Category matches. Additional categories add roles, but they do not make the company appear in a picker that requires a main category. If a company does not show up in a shipment, check its main category first.
Why it matters — where are the receivable account and the tax group? You will not find an accounts receivable account on the customer. KeyTray posts every customer invoice to the default accounts receivable account (Accounts receivable - customers in the US chart; 11210001 - Cuentas por cobrar clientes in Cargo Masters Argentina). The tax treatment is chosen on each document with the Tax group field (in Cargo Masters Argentina: Ventas, IVA 10,5%, IVA 27%, Exportación or Exento — see chapter 3). What you must get right on the customer is the Payment Term, because it drives due dates and collections, and, in Argentina, the CUIT, because it identifies the customer on the electronic invoice.
Careful — a customer without a payment term: if you leave the Payment Term empty, KeyTray cannot calculate the due date and does not let you save the invoice until you choose a term on the document itself. It happened to the demo company in chapter 5. Set the term on the customer and you save that step on every invoice.
Why it matters — the customer's IVA status: in Argentina the letter of the invoice depends on who receives it: a Responsable Inscripto gets an invoice A (with the IVA shown separately, which it deducts as input tax); a final consumer, a monotributista or an exempt party gets an invoice B. That letter and the electronic invoice are set up separately, in the electronic invoicing configuration (section 3.1). Ask each customer for its ARCA registration certificate to know its status.
1.5 Vendors
A vendor is anyone who sends you a bill: airlines, truckers, customs brokers, the landlord, the electricity company.
Menu: Business Elements > New Vendor.
The vendor window has the same tabs as the customer: General Information, Contact Emails, Identification, Financial Info, Initial Balances and Freight Forward Options. For carriers it also shows Air Waybill Number Assigned (see chapter 7).
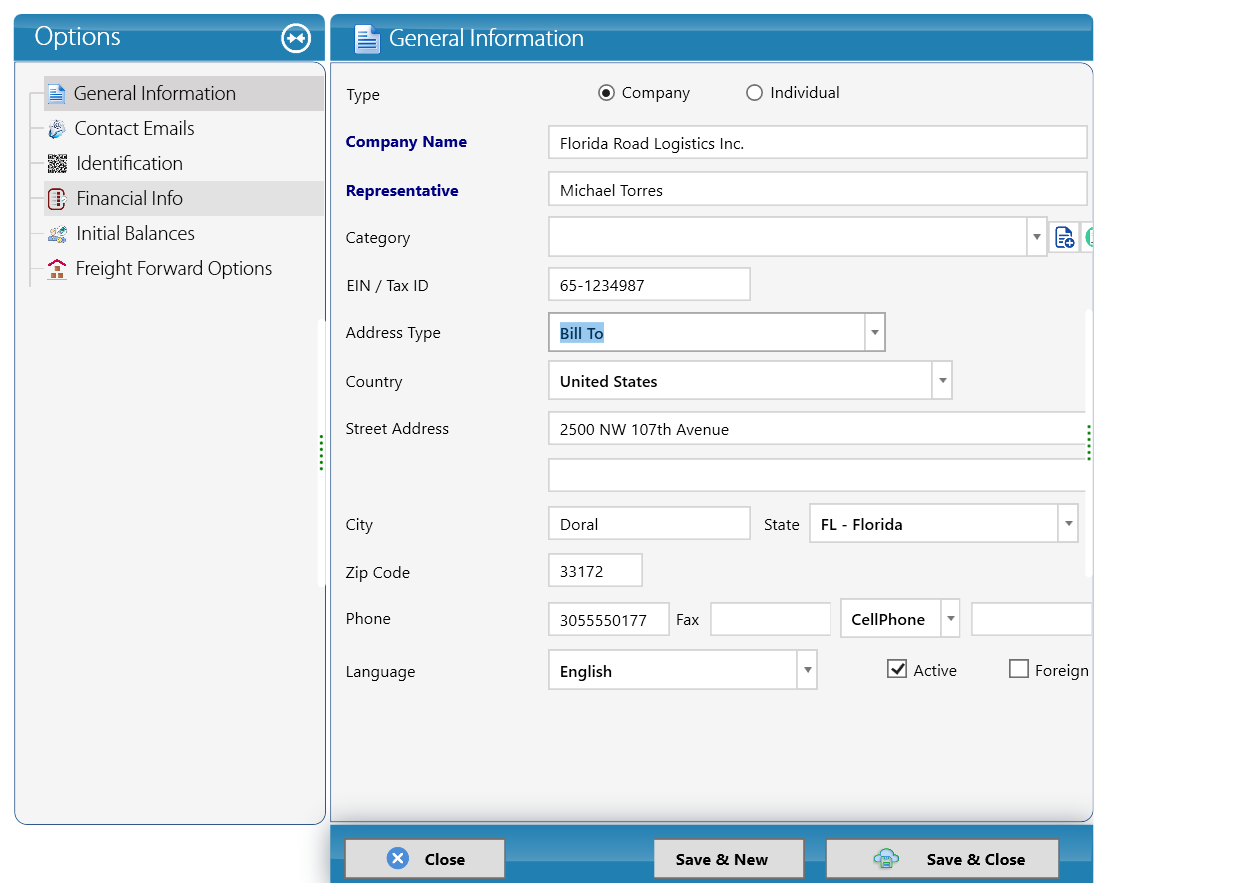
- Type: Company.
- Company Name: Florida Road Logistics Inc. (a trucking company).
- Representative: Michael Torres.
- Category (optional) and EIN / Tax ID: 65-1234987 (in Argentina, the vendor's CUIT).
- Address Type Bill To, Country United States, Street Address 2500 NW 107th Avenue, City Doral, State FL - Florida, Zip Code 33172, Phone 3055550177.
- Language English, Active ticked. Tick Foreign only for foreign vendors.
- In Financial Info, choose the Payment Term the vendor gives you (for example Net 30 Days). As with customers, this calculates the due date of each bill, which is what you use to plan payments.
Argentina: KeyTray checks the CUIT check digit
In Argentina the EIN / Tax ID field holds the vendor's CUIT. When a vendor was saved in Cargo Masters Argentina with the CUIT 30-72222222-2, KeyTray did not let it be saved: it reported that the CUIT is not valid because the check-digit validation failed (in the Spanish session the message reads "El CUIT ingresado no es válido. La validación del dígito verificador no ha sido superada").
It is not a program failure: it is a protection. The CUIT has 11 digits: 2 for the type (30, 33 and 34 for companies; 20, 23, 24 and 27 for individuals), 8 for the number and 1 check digit at the end, calculated from the previous ten. If a single digit is mistyped, the calculation fails, and KeyTray detects it before that CUIT reaches an electronic invoice that ARCA would reject.
How it is calculated, in short:
- Take the first ten digits and multiply each one by a fixed weight, in this order: 5, 4, 3, 2, 7, 6, 5, 4, 3, 2.
- Add up the results.
- Divide the sum by 11 and take the remainder.
- The check digit is 11 − remainder. If that gives 11, the digit is 0. If it gives 10, the number is not a valid CUIT with that type (in those cases ARCA assigns another type, such as 23 or 33).
The rejected CUIT, 30-72222222-2:
| Digit | 3 | 0 | 7 | 2 | 2 | 2 | 2 | 2 | 2 | 2 |
|---|---|---|---|---|---|---|---|---|---|---|
| Weight | 5 | 4 | 3 | 2 | 7 | 6 | 5 | 4 | 3 | 2 |
| Product | 15 | 0 | 21 | 4 | 14 | 12 | 10 | 8 | 6 | 4 |
Sum: 94. 94 ÷ 11 leaves a remainder of 6. Check digit: 11 − 6 = 5. The number ended in 2, so it is not valid.
The corrected CUIT, 30-50000000-3:
| Digit | 3 | 0 | 5 | 0 | 0 | 0 | 0 | 0 | 0 | 0 |
|---|---|---|---|---|---|---|---|---|---|---|
| Weight | 5 | 4 | 3 | 2 | 7 | 6 | 5 | 4 | 3 | 2 |
| Product | 15 | 0 | 15 | 0 | 0 | 0 | 0 | 0 | 0 | 0 |
Sum: 30. 30 ÷ 11 leaves a remainder of 8. Check digit: 11 − 8 = 3. It matches the last digit: the CUIT is valid and the vendor was saved.
Careful: a correct check digit only proves that the number is well formed, not that it belongs to that company. Another company's CUIT also passes the validation. Copy the CUIT from the vendor's invoice or registration certificate and, if in doubt, look it up in ARCA's taxpayer register.
Freight Forward Options for a vendor
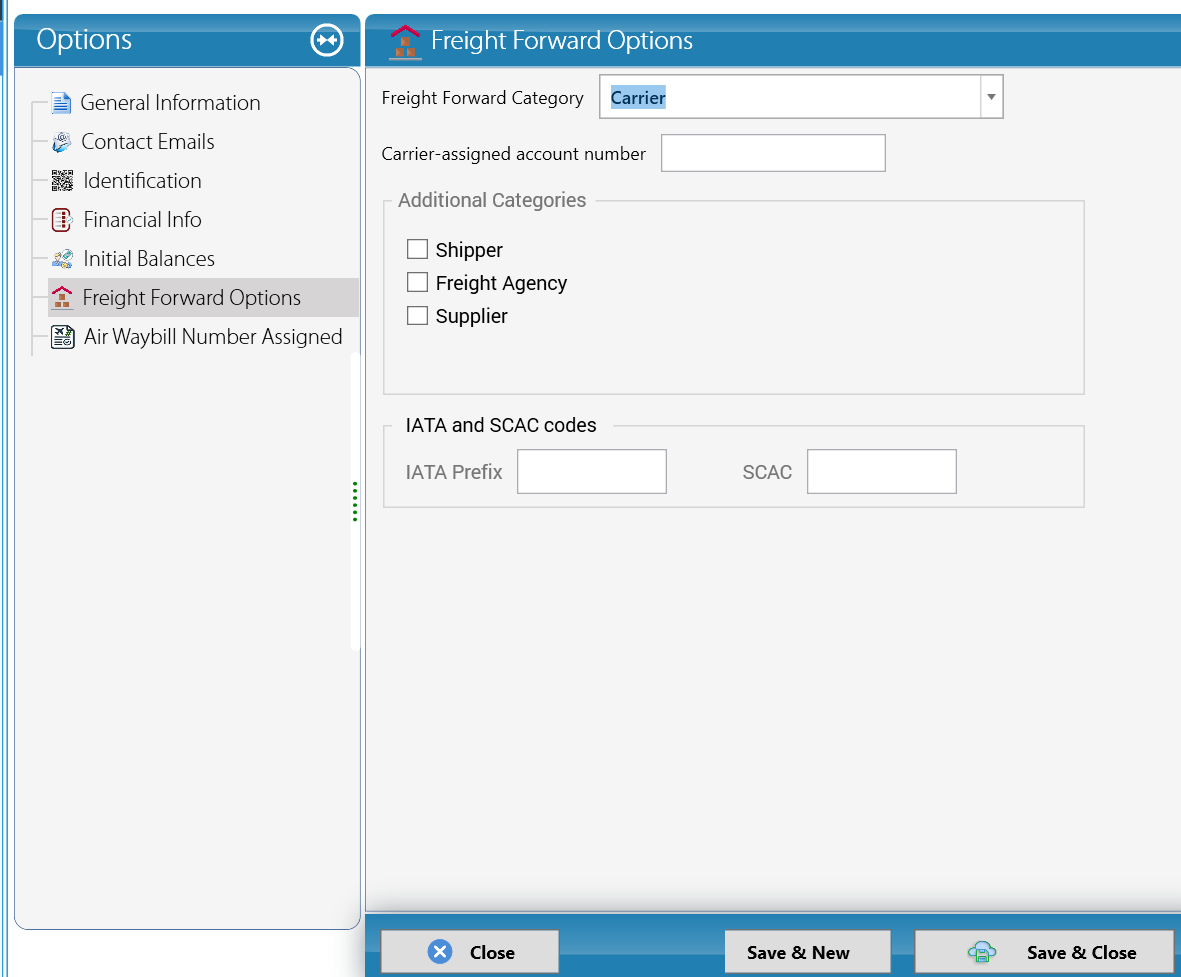
- Freight Forward Category: Carrier (a trucker or airline). A carrier also has Carrier-assigned account number (your account number with that carrier).
- Additional Categories: Shipper, Freight Agency, Supplier.
- IATA and SCAC codes: IATA Prefix (the 3-digit airline prefix, for airlines) and SCAC (the Standard Carrier Alpha Code, for US carriers).
Click Save & Close.
Why it matters — where is the payable account and the expense account? Bills post the amount you owe to the default Accounts payable account. The cost or expense side is not chosen on the vendor: it comes from the item on each bill line (section 1.9). That is why the same trucker can be a Cost of Goods Sold for a shipment and, on another bill, an office expense for moving furniture.
1.6 Agents (Freight Agencies)
An agent (in KeyTray, a Freight Agency) is the partner forwarder at the other end of the shipment — for example, the company in Bogota that receives your air export and delivers it to the consignee. Agents often both bill you and are billed by you.
Menu: Freight Forwarding > New FF Agency.
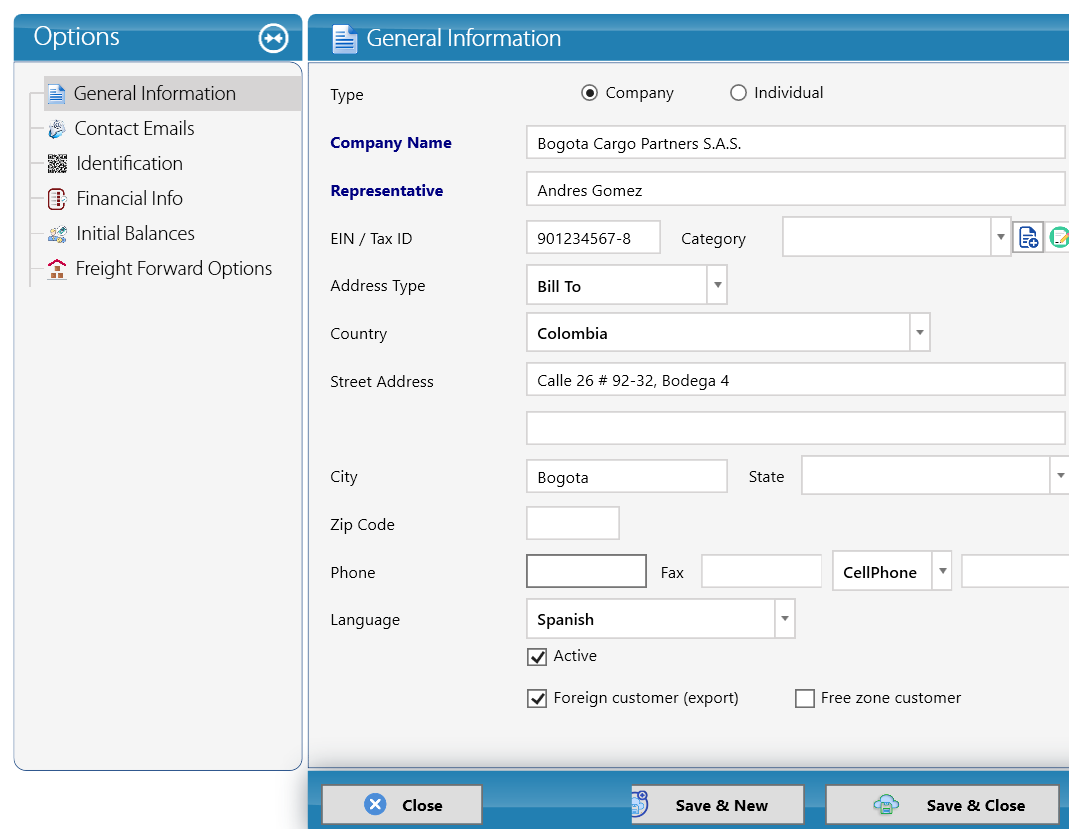
- Type Company, Company Name Bogota Cargo Partners S.A.S., Representative Andres Gomez.
- EIN / Tax ID: the foreign tax ID — 901234567-8.
- Address Type Bill To, Country Colombia, Street Address Calle 26 # 92-32, Bodega 4, City Bogota. The State list is empty for Colombia; leave it blank.
- Language: Spanish (documents to this agent will be in Spanish).
- Active ticked and Foreign customer (export) ticked, because the agent is outside the United States.
- Complete Financial Info (Payment Term) and Contact Emails as for a customer.
- Click Save & Close.
Why it matters: because the agent can be on both sides (you invoice them, they bill you), use Vendor related for Statements (in the customer's Financial Info) to link both records. Your accountant can then see the net balance with the agent.
1.7 Consignees
The consignee is the company that receives the cargo at destination. When freight is Collect, the consignee is also the one who pays you, so it is a customer too.
Menu: Freight Forwarding > New Consignee.
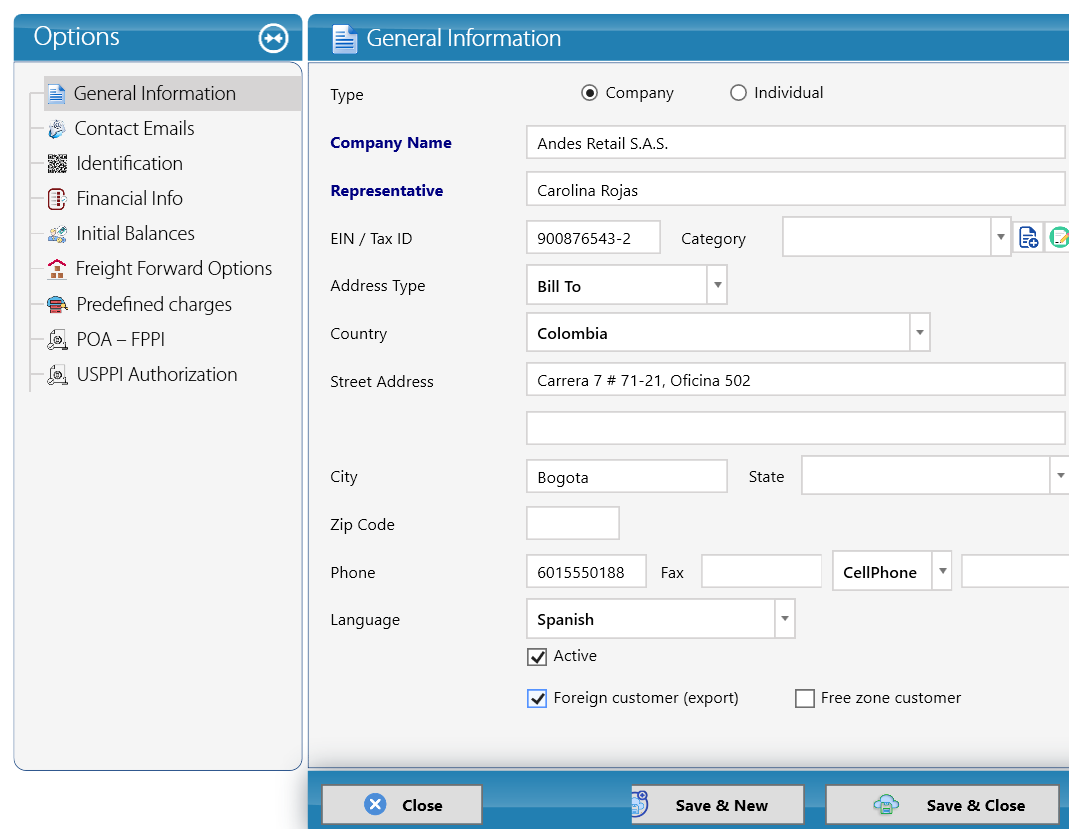
- Type Company, Company Name Andes Retail S.A.S., Representative Carolina Rojas.
- EIN / Tax ID 900876543-2, Address Type Bill To, Country Colombia, Street Address Carrera 7 # 71-21, Oficina 502, City Bogota, Phone 6015550188.
- Language Spanish, Active ticked, Foreign customer (export) ticked.
A consignee has extra tabs: Predefined charges, POA – FPPI and USPPI Authorization.
Careful: POA – FPPI and USPPI Authorization are US export authorizations and do not apply to a company in Argentina. Leave them empty.
Freight Forward Options for a consignee
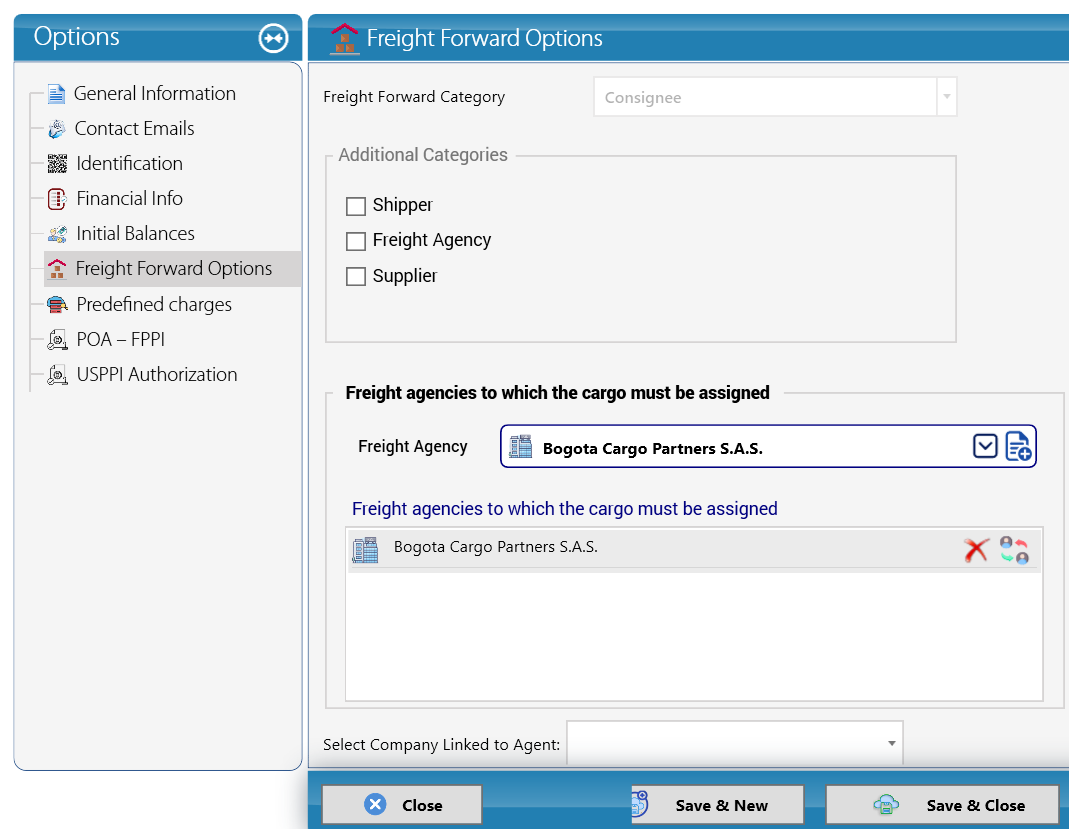
- Freight Forward Category is fixed to Consignee (it appears greyed out).
- Additional Categories: Shipper, Freight Agency, Supplier if needed.
- In Freight agencies to which the cargo must be assigned, pick the agency in Freight Agency — Bogota Cargo Partners S.A.S. — and it is added to the list below. This tells your team which agent handles this consignee's cargo at destination. Use the red X to remove an agency.
- Click Save & Close.
Why it matters: in chapter 7 the house air waybill charges freight Collect to Andes Retail S.A.S. When the shipment is settled, KeyTray creates a sales invoice to this consignee, so its Payment Term in Financial Info matters just as much as for any customer.
1.8 Shippers
The shipper is the company that sends the cargo. In an export, it is usually your US client.
Menu: Freight Forwarding > New Shipper.
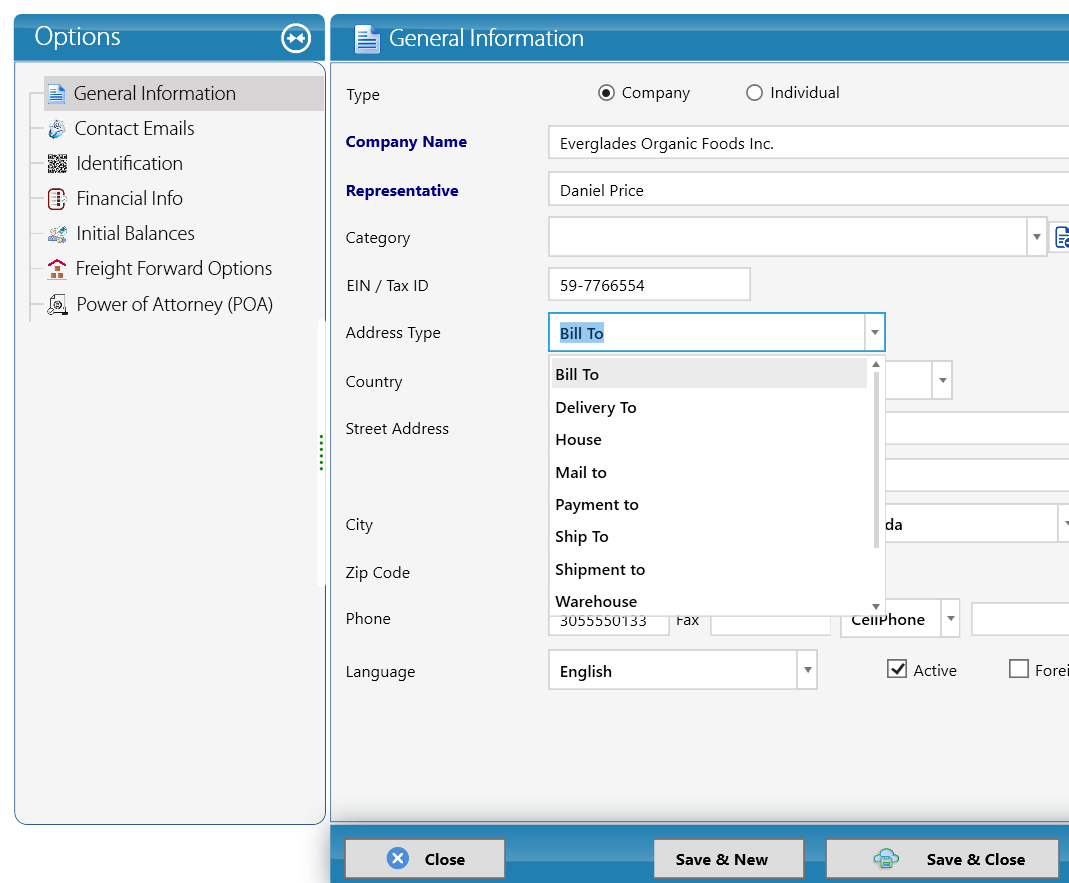
- Type Company, Company Name Everglades Organic Foods Inc., Representative Daniel Price.
- Category (optional), EIN / Tax ID 59-7766554.
- Address Type: the list shows all the address types you can store for a participant: Bill To, Delivery To, House, Mail to, Payment to, Ship To, Shipment to, Warehouse. You can save several addresses, one per type; documents pick the right one (for example, invoices use Bill To).
- Fill in the rest of the address, Phone, Language (English) and Active.
- A shipper has the extra tab Power of Attorney (POA), where you record the power of attorney that authorizes you to act for the shipper (for example, for US export filings).
- Click Save & Close.
Careful: in the demo shipment of chapter 7, the house shipper is Sunshine Exports LLC, which was created as a customer with main Freight Forward Category Shipper (section 1.4). Both ways work: what matters for the shipment pickers is the main category.
1.9 Items
Items are the heart of the accounting setup. Every line on an invoice, a bill, a credit note or a shipment charge uses an item, and the item decides which accounts are posted. If your items are right, your Income Statement is right almost automatically.
At a freight forwarder, items are mostly services: air freight, ocean freight, trucking, customs brokerage, bond fees, storage, handling, documentation.
Menu: Business Elements > New Item.
The item window has these tabs for a service: Item Details, List Price and Commissions, Accounting info, Tax Codes, Freight Forward Options and Shipment Settlement Options.
Step 1 — Item Details
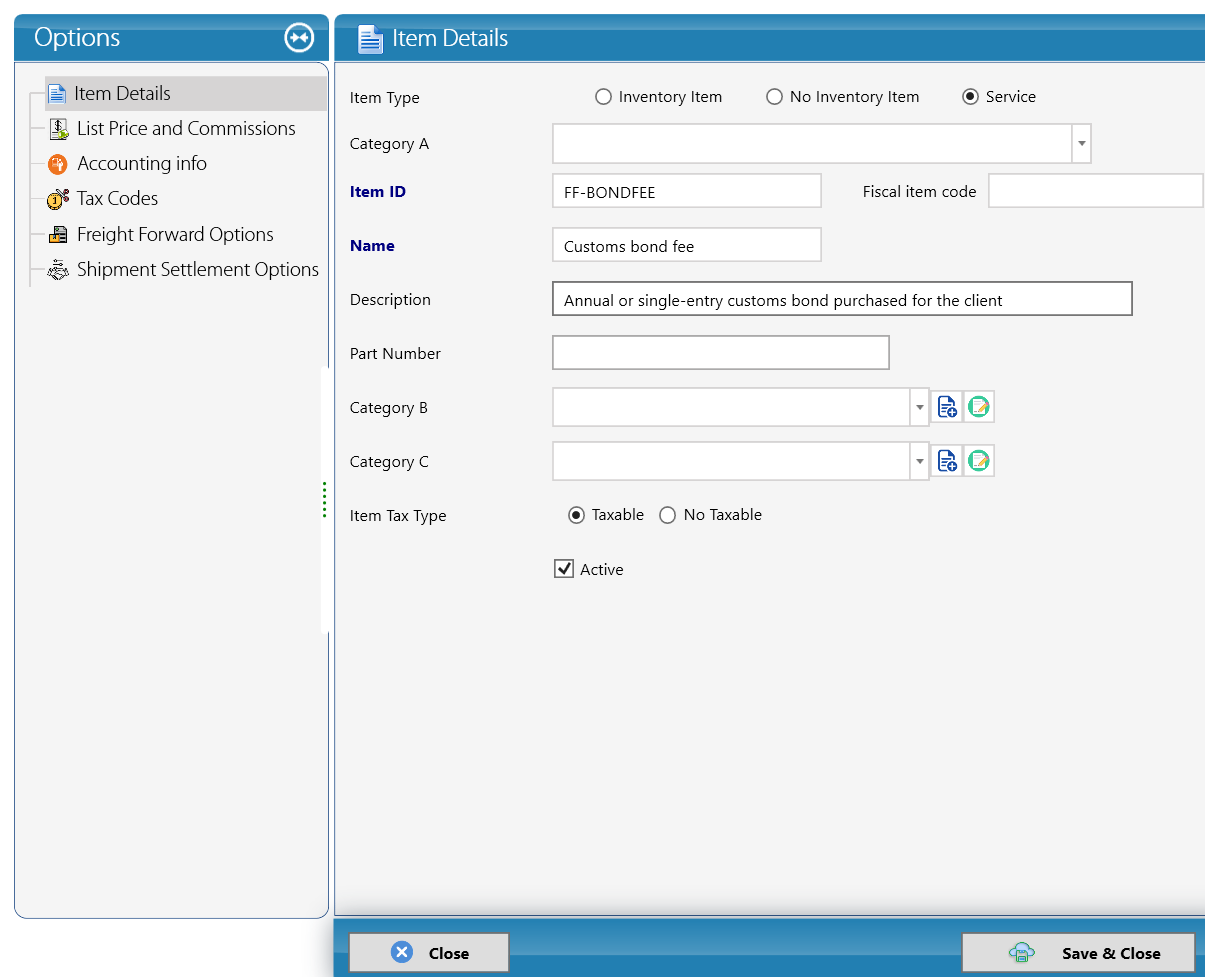
- Item Type:
- Inventory Item — goods you keep in stock and resell (KeyTray tracks quantities).
- No Inventory Item — goods you buy or sell without tracking stock.
- Service — work you perform or buy: freight, fees, storage. Choose Service for almost every freight item.
- Category A (optional).
- Item ID (mandatory): a short, unique code. Use a consistent prefix so items sort together — FF-BONDFEE.
- Fiscal item code: leave empty unless your accountant gives you a code.
- Name (mandatory): Customs bond fee.
- Description: the text printed on documents — Annual or single-entry customs bond purchased for the client.
- Part Number, Category B, Category C: optional.
- Item Tax Type: Taxable or No Taxable. Choose Taxable only if this service is subject to tax (in Argentina, IVA).
- Active: ticked.
Careful: whether a service is subject to IVA, and at which rate (21%, 10.5% or 27%), or is exempt or an export at zero rate, depends on the law and on the details of the transaction. Ask your accountant before marking freight services as Taxable (chapter 3). In the US demo, the bond fee is marked Taxable only to show how tax is calculated.
Step 2 — Accounting info (the most important tab)
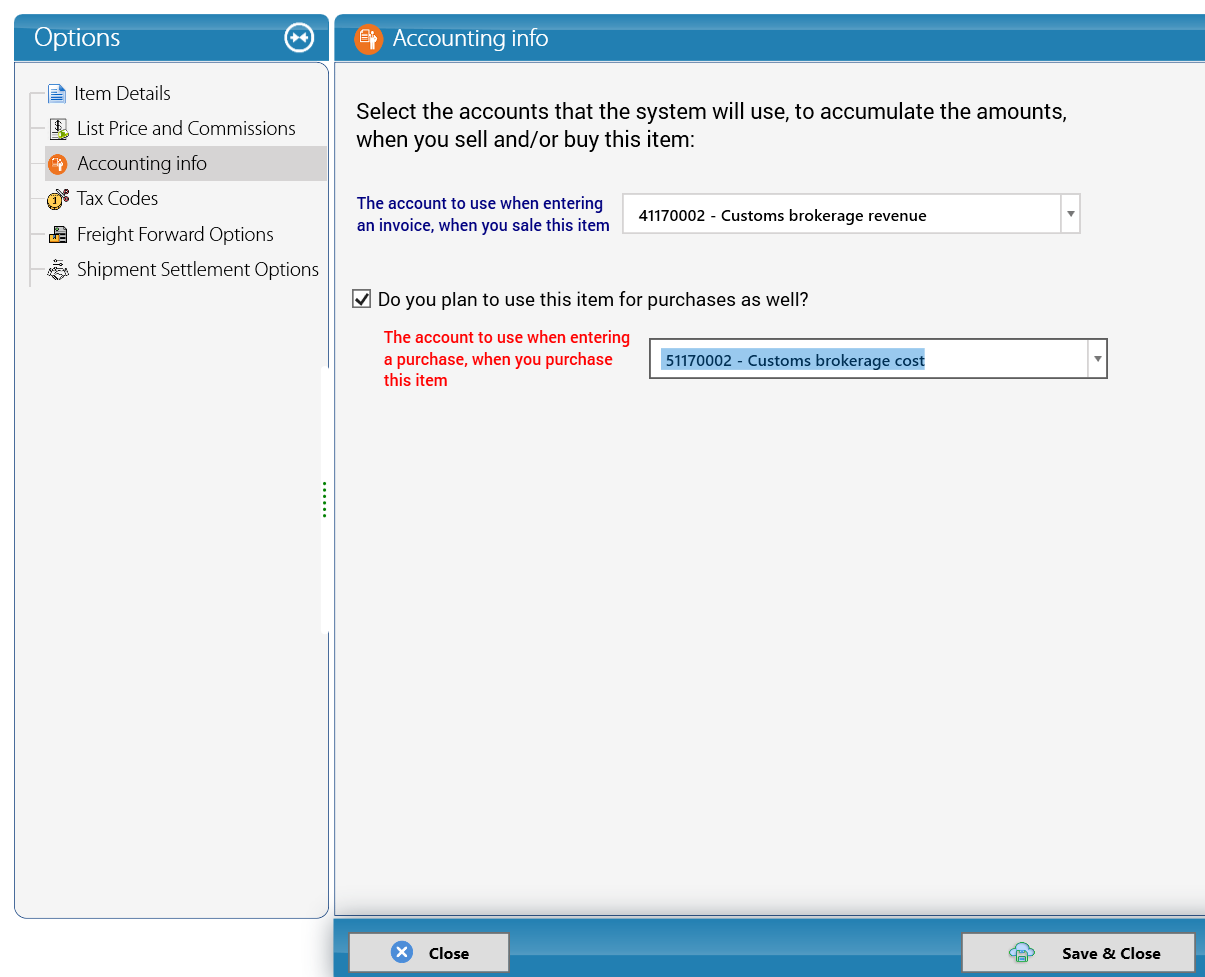
The tab says: "Select the accounts that the system will use, to accumulate the amounts, when you sell and/or buy this item". It has two decisions.
Decision A — The income account (the field labelled "The account to use when entering an invoice, when you sale this item").
This is where the money goes when you sell the item to a customer. It must be an Income account. For the customs bond fee, the demo uses 41170002 - Customs brokerage revenue.
If you try to save the item without an income account, KeyTray stops you:
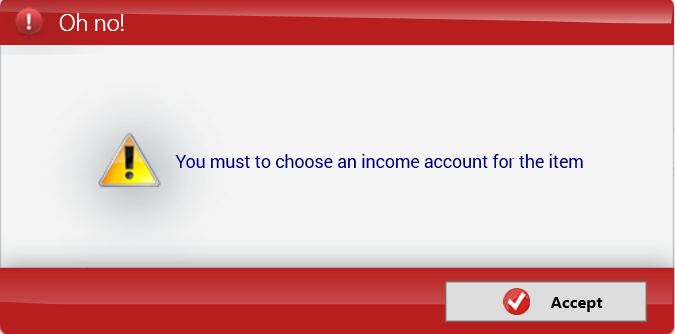
The message reads "You must to choose an income account for the item". Click Accept, go back to Accounting info and choose the account.
Decision B — The purchase account (tick Do you plan to use this item for purchases as well? and choose "The account to use when entering a purchase, when you purchase this item").
This is where the amount goes when you buy this item from a vendor. Here you must answer one question:
Is this a cost of delivering the service I sell, or a cost of running the office?
- If it is a real cost of delivering the service you sell — airline freight, trucking, customs broker fees paid for a shipment, a bond bought for a client — choose a Cost of Goods Sold account. For the bond fee, the demo uses 51170002 - Customs brokerage cost.
- If it is an overhead of running the office — rent, utilities, office supplies, software — choose an Expense account.
Here is a second item where the purchase side is an office cost:
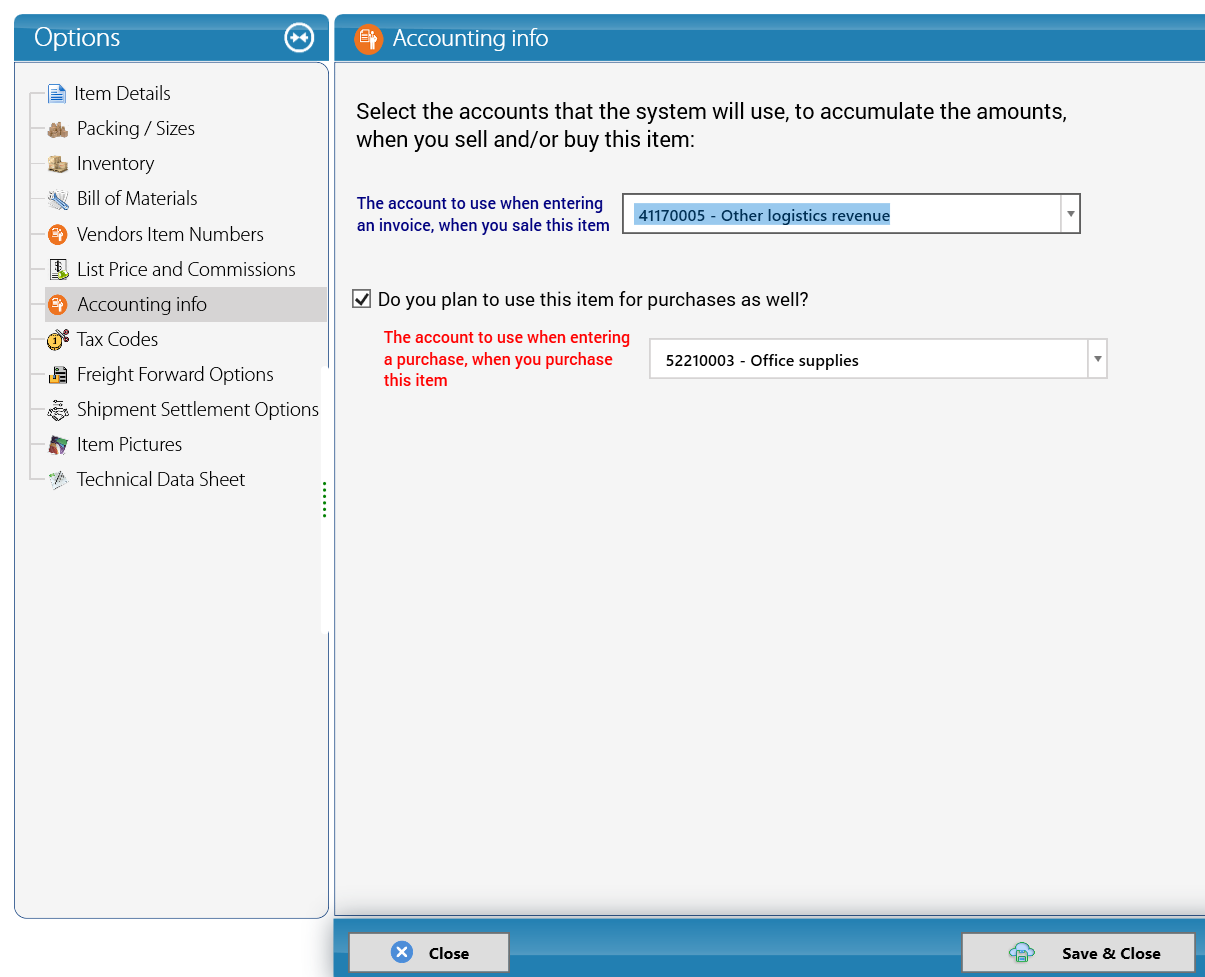
This item has 41170005 - Other logistics revenue as its income account (used only if you ever sell it to a customer) and 52210003 - Office supplies as its purchase account, because when Cargo Masters USA buys it, it consumes it in the office. Notice that this item shows more tabs (Packing / Sizes, Inventory, Bill of Materials, Vendors Item Numbers, Item Pictures, Technical Data Sheet) because it is not a Service: the tabs depend on the Item Type.
Decision checklist for the purchase account
Ask these questions in order. The first "yes" gives you the answer.
- Will it last more than a year and cost a significant amount (forklift, truck, computer, racks)? → It is not an item expense at all. Talk to your accountant: it goes to a Fixed Asset account.
- Are you paying it on behalf of the client, to be re-billed at exactly the same amount (customs duties, taxes paid to Customs for the importer)? → Ask your accountant. This is usually recorded as an amount the client owes you (Other Current Asset), not as income and cost.
- Would this cost disappear if you had not sold this specific shipment or service? → Cost of Goods Sold.
- Can you point to the shipment, house, master or client it belongs to? → Cost of Goods Sold.
- Is it paid every month regardless of how many shipments you move (rent, electricity, internet, office supplies, software, cleaning)? → Expense.
- Is it a financial or unusual item (bank interest, exchange loss, penalty)? → Other Expense.
Typical freight items and their accounts
| Item | Income account class (when you sell it) | Purchase account class (when you buy it) | Why |
|---|---|---|---|
| Air freight — export | Income | Cost of Goods Sold | The airline charge exists only because of the shipment |
| Air freight — import | Income | Cost of Goods Sold | Same logic |
| Ocean freight (FCL/LCL) | Income | Cost of Goods Sold | Steamship line or NVOCC cost of the shipment |
| Inland freight / pickup / delivery trucking | Income | Cost of Goods Sold | Trucker moves this client's cargo |
| Customs brokerage fee | Income | Cost of Goods Sold (when you pay an outside broker for the entry) | Direct cost of the entry you bill |
| Customs bond fee | Income | Cost of Goods Sold | Bond bought for a specific client |
| Terminal handling charges (THC) | Income | Cost of Goods Sold | Charged by the terminal for this cargo |
| Fuel surcharge / security surcharge | Income | Cost of Goods Sold | Passed on by the carrier per shipment |
| Airway bill / bill of lading documentation fee | Income | Cost of Goods Sold (if the carrier charges you one) | Tied to the shipment document |
| Cargo insurance | Income | Cost of Goods Sold | Premium for this cargo |
| Warehouse storage and handling (third-party warehouse) | Income | Cost of Goods Sold | Paid to store this client's cargo |
| Packing, crating, palletizing materials used for a client | Income | Cost of Goods Sold | Consumed in the client's shipment |
| Office rent | — (you do not sell it) | Expense | Overhead, paid every month |
| Electricity, water, internet, phone | — | Expense | Overhead |
| Office supplies, cleaning supplies | — | Expense | Overhead |
| Accounting or TMS software subscription | — | Expense | Overhead |
| Duties and taxes paid for the importer | Ask your accountant | Ask your accountant | Usually a pass-through receivable, not income or cost |
| Forklift, truck, racks | — | Not an item: Fixed Asset | Lasts several years |
Step 3 — Tax Codes
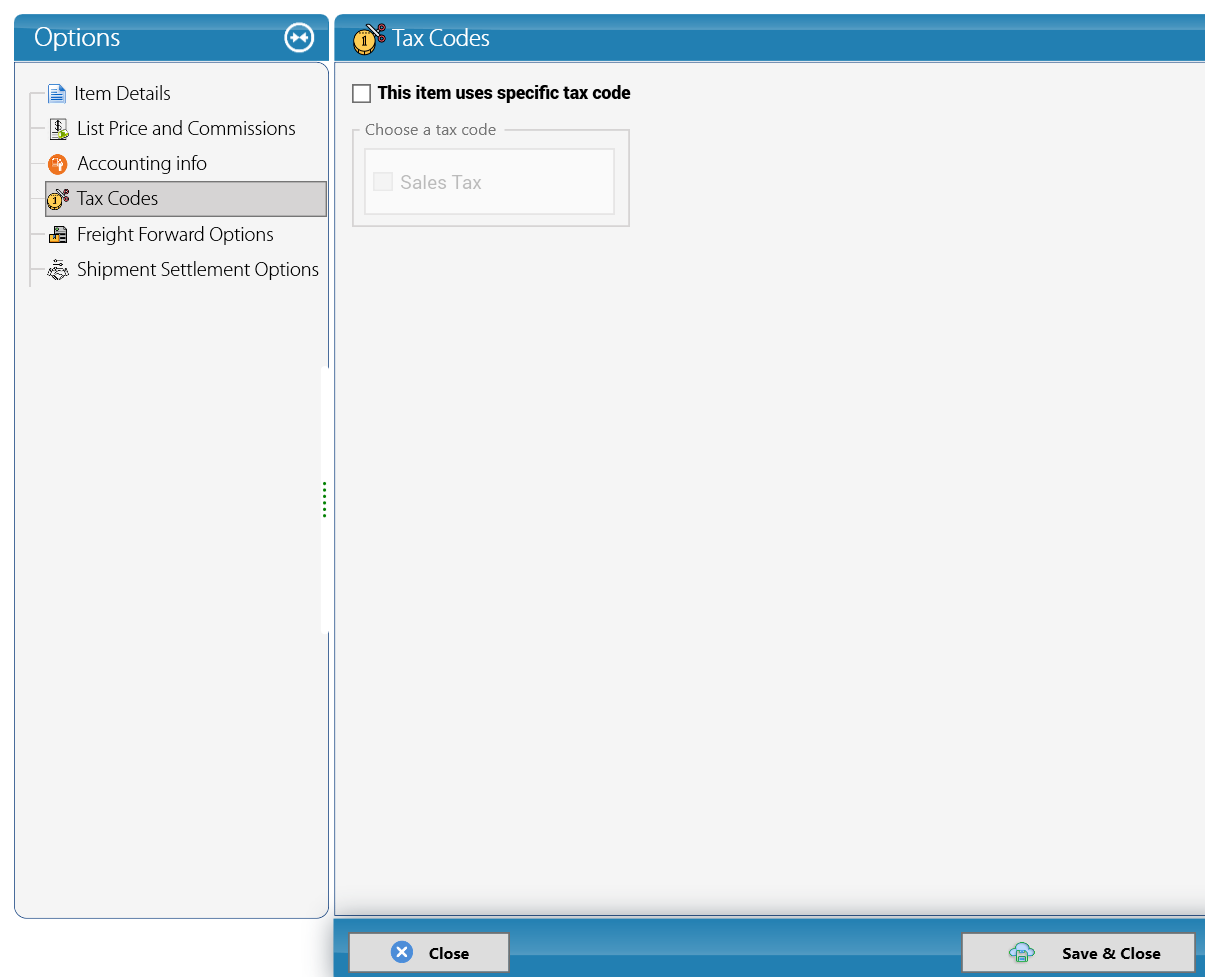
By default, This item uses specific tax code is not ticked, and the item follows the Tax group chosen on each document (chapter 3). Tick it only if this item must always use a specific tax code, then choose it in Choose a tax code (in the US screenshot the only option is Sales Tax).
Step 4 — Save
Click Save & Close.
Why it matters: the item is where "Cost of Goods Sold or Expense?" is answered once. After that, every bill line and every shipment charge that uses the item posts to the right place without anyone thinking about it. Review all your freight items with your accountant before you start invoicing.
2. Fiscal years and monthly periods
A fiscal year is the 12-month accounting year (for Cargo Masters USA, January 1 to December 31, 2026). Each fiscal year is divided into periods — one per month.
Why close a month? Once you have sent the monthly reports to management, the bank or the tax adviser, the numbers for that month must not change. If someone can still post an invoice dated last month, last month's report is no longer true. Closing a period locks it, so nobody changes history by accident. If a real correction is needed, the month can be reopened — with a written reason that is kept in the history.
2.1 Fiscal years
Menu: Operations > Fiscal Years.
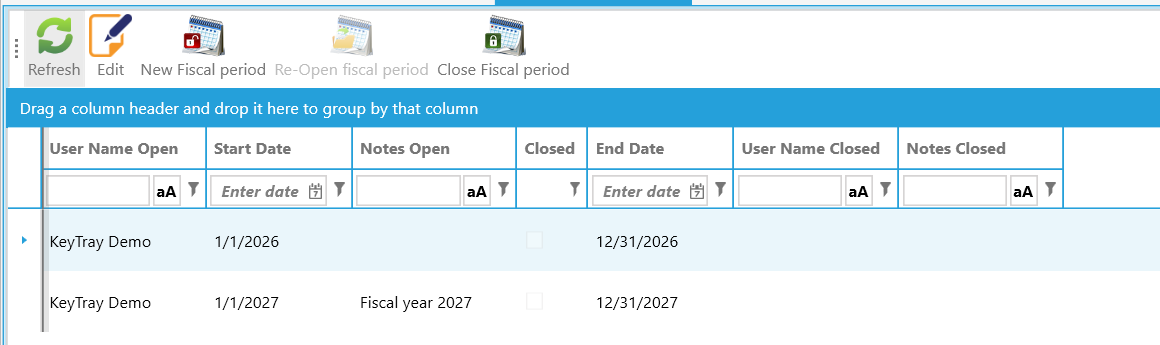
The toolbar has Refresh, Edit, New Fiscal period, Re-Open fiscal period and Close Fiscal period. The grid shows User Name Open, Start Date, Notes Open, Closed, End Date, User Name Closed and Notes Closed.
In the demo you see the year 1/1/2026 – 12/31/2026, created with the company, and a second year 1/1/2027 – 12/31/2027 with the note Fiscal year 2027.
Opening a new fiscal year
- Click New Fiscal period. The Open fiscal year window opens.
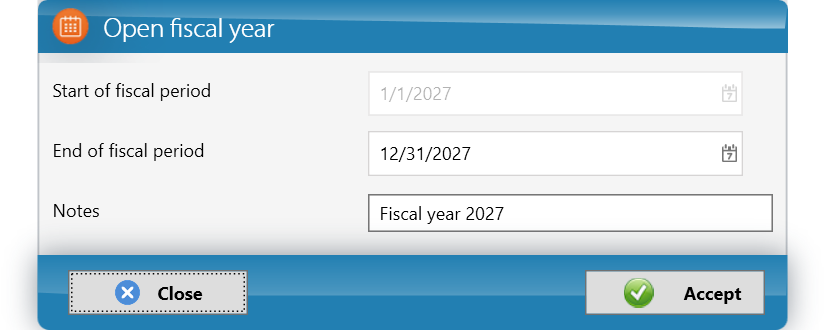
- Start of fiscal period is filled in automatically (1/1/2027, the day after the previous year ends) and cannot be changed, so there are no gaps between years.
- Check End of fiscal period (12/31/2027).
- Type Notes (Fiscal year 2027).
- Click Accept.
Open the next fiscal year before you need to post documents in it — for example, in December, so that January invoices can be entered on the first working day.
Closing and reopening a fiscal year
To close a year, select it and click Close Fiscal period. To undo a close, select it and click Re-Open fiscal period (this button is only available when the selected year is closed).
Careful: closing a fiscal year is a year-end accounting step. Do it only after your accountant has finished the year-end adjustments and approved the financial statements.
2.2 Monthly periods
Menu: Operations > Periods Manager.

The toolbar has Refresh, the Module list (All modules or one module), Open period, Restrict, Close period and Generate periods.
The grid shows one row per month (Year, Period, Start Date, End Date) and, for each month, a status for each module: Sales, Purchases, Inventory, Journal Entries, Payments and Freight Forward. This lets you, for example, close Sales for August while Journal Entries stay open for the accountant's adjustments.
A period can be:
- Open — documents can be posted with dates in that month.
- Restricted — a halfway state: the month is no longer open for normal day-to-day posting, but it is not locked for good yet. It is useful while the month is being reviewed.
- Closed — no documents can be posted with dates in that month.
Closing a month
- In Module, choose All modules (or only the module you want to close).
- Tick the checkbox at the left of the month (for example, August 2026).
- Click Close period.
Reopening a month
Sometimes a late document arrives — for example, a vendor bill for August that shows up in mid-September.
- Tick the month.
- Click Open period.
- KeyTray asks for the Reason for reopening:
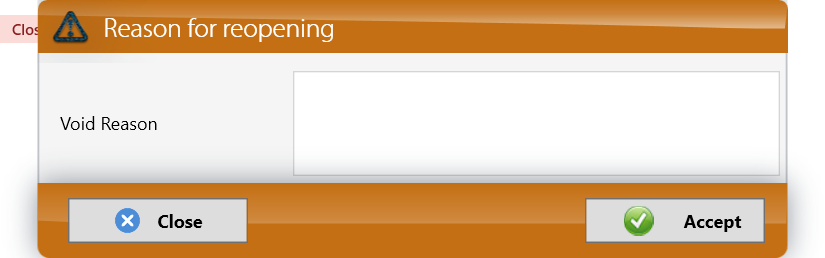
- Type a clear reason in the text box (the label on this box reads Void Reason) — for example, Late vendor bill for August from Florida Road Logistics.
- Click Accept.
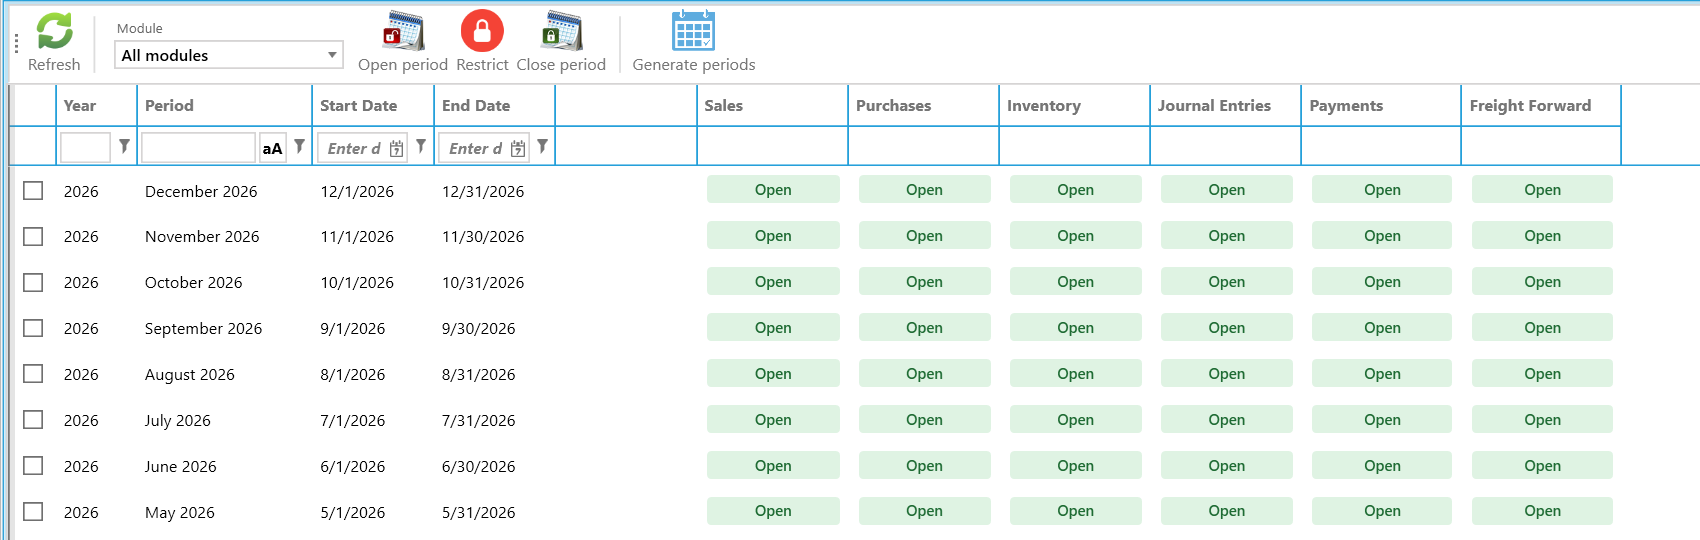
After reopening, the modules show Open again, as in the screenshot above. Post the late document and close the month again.
Automatic rollover and period history
On the right side of the Periods Manager you find Automatic rollover and Period history:
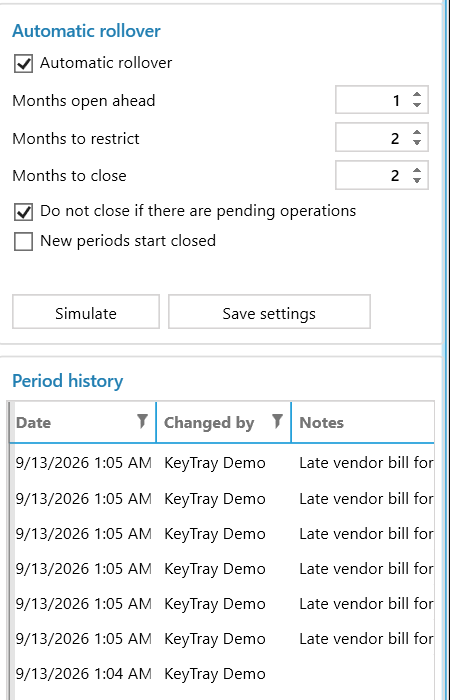
- Automatic rollover: when ticked, KeyTray moves the periods forward by itself as time passes, using these settings:
- Months open ahead — how many future months are kept open (here 1).
- Months to restrict — after how many months a past period becomes restricted (here 2).
- Months to close — after how many months a past period is closed (here 2).
- Do not close if there are pending operations — a safety check: a month with pending documents is not closed automatically.
- New periods start closed — when ticked, newly generated periods begin closed.
- Simulate shows what the rollover would do, without changing anything. Save settings stores the settings.
- Period history lists every change with Date, Changed by and Notes. In the demo you can see the entries with the note Late vendor bill for... written when periods were reopened.
Generate periods creates the monthly periods for a fiscal year if they are missing.
Why it matters: the period history is your audit trail. An auditor or tax examiner can see who reopened a closed month, when, and why. Always write a reason a stranger could understand.
3. Taxes (IVA) and currencies
The screenshots of this chapter come from Cargo Masters Argentina, except the New Currency window, which was taken in Cargo Masters USA.
3.1 How IVA works (the short version)
IVA (Impuesto al Valor Agregado, value added tax) is the national tax on the sale of goods and services in Argentina. It is administered by ARCA (Agencia de Recaudación y Control Aduanero, formerly AFIP). It works very differently from US sales tax, because it has two sides:
- Output tax (débito fiscal): the IVA you charge. When you invoice a taxable service, you charge the tax to your customer. That money is not yours: you hold it on behalf of the government. That is why it posts to a liability account: 21210001 - IVA debito fiscal 21%.
- Input tax (crédito fiscal, fiscal credit): the IVA you pay. When a vendor bills you for a taxable service, you pay the tax. That tax can be deducted from the tax you charged. That is why it posts to an asset account (a right in your favor): 11310001 - IVA credito fiscal 21%. It is not part of the cost.
- Every month the balance is settled with ARCA: IVA payable = output tax − input tax. If the input tax is larger than the output tax, the balance in your favor carries forward to the following months.
- Prices do not include the tax. This is how Cargo Masters Argentina is set up: a price of 1,000.00 on a line at 21% generates 210.00 of IVA shown separately, and the invoice totals 1,210.00.
- Three rates. KeyTray creates the three rates the law uses: the general 21%, the reduced 10.5% (for certain goods and services listed by law, for example some capital goods) and the increased 27% (for utilities such as electricity, gas, water and telecommunications when they are received by a Responsable Inscripto). Exports and exempt transactions carry no IVA (groups Exportación and Exento, section 3.2). Always confirm with your accountant which rate applies to each service.
Careful: the above describes a Responsable Inscripto (a taxpayer registered for IVA), which is the situation of Cargo Masters Argentina. A monotributista (a small taxpayer under the simplified Monotributo regime) does not show IVA separately and does not generate input tax, and neither does an exempt taxpayer. If your company is not a Responsable Inscripto, the treatment is different: confirm it with your accountant before invoicing.
Why it matters: if the IVA on your purchases ends up in cost, you lose the input tax and pay ARCA too much. If the IVA on your sales ends up in income, your sales look inflated and you do not know how much you must declare. The two tax accounts are what make the monthly return almost prepare itself.
Electronic invoices (CAE) and the invoice letter
In Argentina every invoice and credit note is issued as an electronic voucher: each one is sent to ARCA, which authorizes it and assigns it a CAE (Código de Autorización Electrónico, electronic authorization code) with its expiry date. Without a CAE the voucher is not valid.
Each voucher also carries a letter, which depends on the IVA status of the party that receives it:
- Invoice A: to a Responsable Inscripto. The IVA is shown separately, and the customer deducts it as input tax.
- Invoice B: to a final consumer, a monotributista or an exempt party. The customer does not deduct input tax.
In KeyTray, the number you see on the document (INV-000001) is the internal number. The point of sale, the electronic voucher number, the letter and the CAE depend on the electronic invoicing configuration, which is done separately and explained in its own manual. This manual deals with the accounting, which is the same for an invoice A as for an invoice B: the IVA on the sale is output tax, whether or not it is shown separately to the customer.
3.2 Tax codes and tax groups
Menu: Business Elements > Sale Tax Manager. The window has two options on the left: Tax Codes and Tax Code Groups.
Tax codes
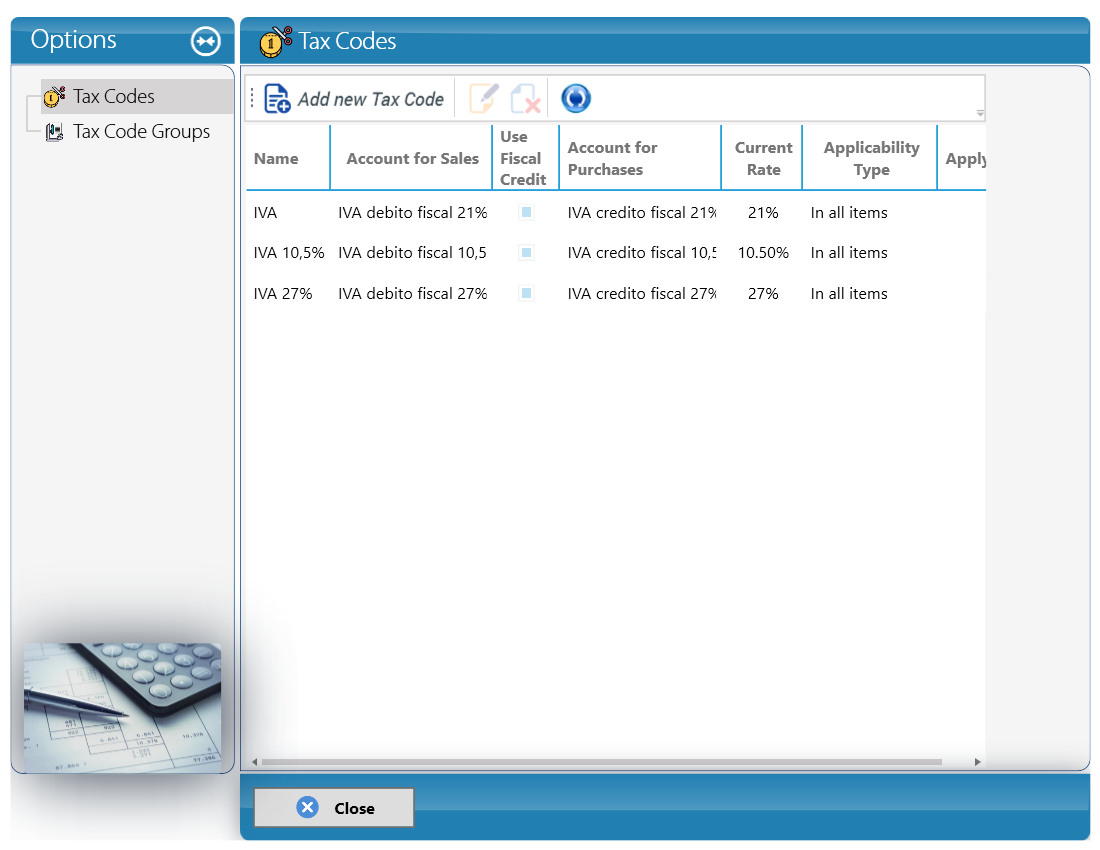
The list shows Name, Account for Sales, Use Fiscal Credit, Account for Purchases, Current Rate, Applicability Type and Apply... (cut off on the right). KeyTray created three tax codes:
| Name | Account for Sales | Use Fiscal Credit | Account for Purchases | Current Rate | Applicability Type |
|---|---|---|---|---|---|
| IVA | IVA debito fiscal 21% (21210001) | Yes (the light-blue mark) | IVA credito fiscal 21% (11310001) | 21% | In all items |
| IVA 10,5% | IVA debito fiscal 10,5% (21210002) | Yes | IVA credito fiscal 10,5% (11310002) | 10.50% | In all items |
| IVA 27% | IVA debito fiscal 27% (21210003) | Yes | IVA credito fiscal 27% (11310003) | 27% | In all items |
IVA debito fiscal means IVA output tax and IVA credito fiscal means IVA input tax. The list shows the account names without their numbers (the numbers are shown in brackets in the table above), and the names of the 10.5% accounts are cut off by the column width. The reduced rate is written 10,5% in the names and 10.50% in Current Rate: it is 10.5%.
The toolbar has Add new Tax Code and the edit, delete and refresh buttons. Close leaves the window.
Reviewing the IVA tax code
- Select IVA and click the edit button. The Editing Tax Code: IVA window opens.
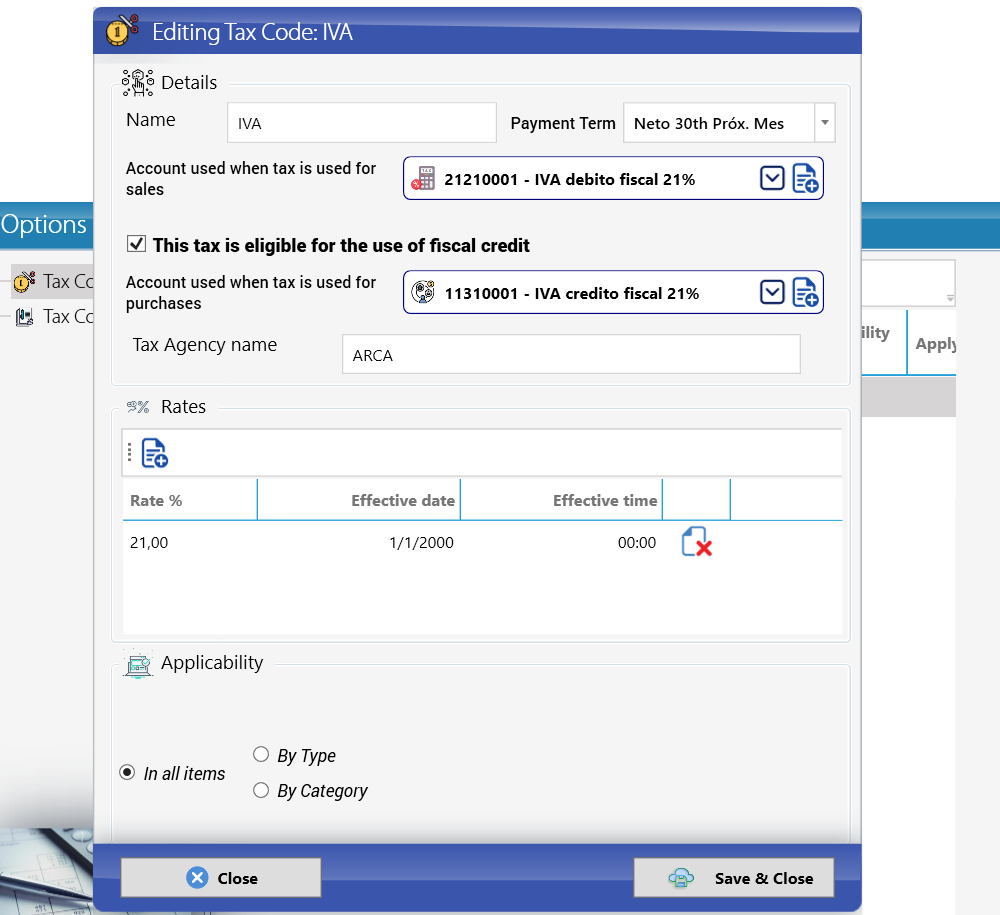
- In Details:
- Name: IVA.
- Payment Term: when the tax must be paid to the government — Neto 30th Próx. Mes (net, the 30th of next month).
- Account used when tax is used for sales: 21210001 - IVA debito fiscal 21%. This is a liability account (Tax Accounts Payable). Do not change it to an income account.
- This tax is eligible for the use of fiscal credit: ticked. This is the checkbox that turns the tax into a VAT: because it is ticked, the IVA on purchases does not go to cost but to the input tax account. (US sales tax leaves it unticked.)
- Account used when tax is used for purchases: 11310001 - IVA credito fiscal 21% (an asset).
- Tax Agency name: ARCA.
- In Rates there is one line: Rate % 21,00, Effective date 1/1/2000, Effective time 00:00. KeyTray uses the rate in effect on the date of each document, so when the law changes the rate you add a new line with the add button (instead of changing the old one) and the old line stays as history. The red button on the right of a line removes it.
- In Applicability, In all items is selected. The other options are By Type and By Category, to limit the tax to some items.
- Click Save & Close only if you changed something; otherwise Close.
Repeat the review with IVA 10,5% and IVA 27%: each one must have fiscal credit ticked and point to its own pair of accounts (21210002 and 11310002 for 10.5%; 21210003 and 11310003 for 27%).
Careful: after saving, reopen the tax code and check that the Tax Agency name was kept (see Appendix B).
Careful: input tax can only be deducted for the IVA on purchases related to your taxable activity, supported by vouchers issued in the company's name (in general, invoice A). If a purchase serves exempt transactions, the part you can deduct may be smaller. Your accountant will tell you whether an adjustment is needed.
Tax code groups
A tax group is a bundle of tax codes that you choose on each document, in the Tax group field. Instead of picking taxes line by line, you pick the group once for the whole document.
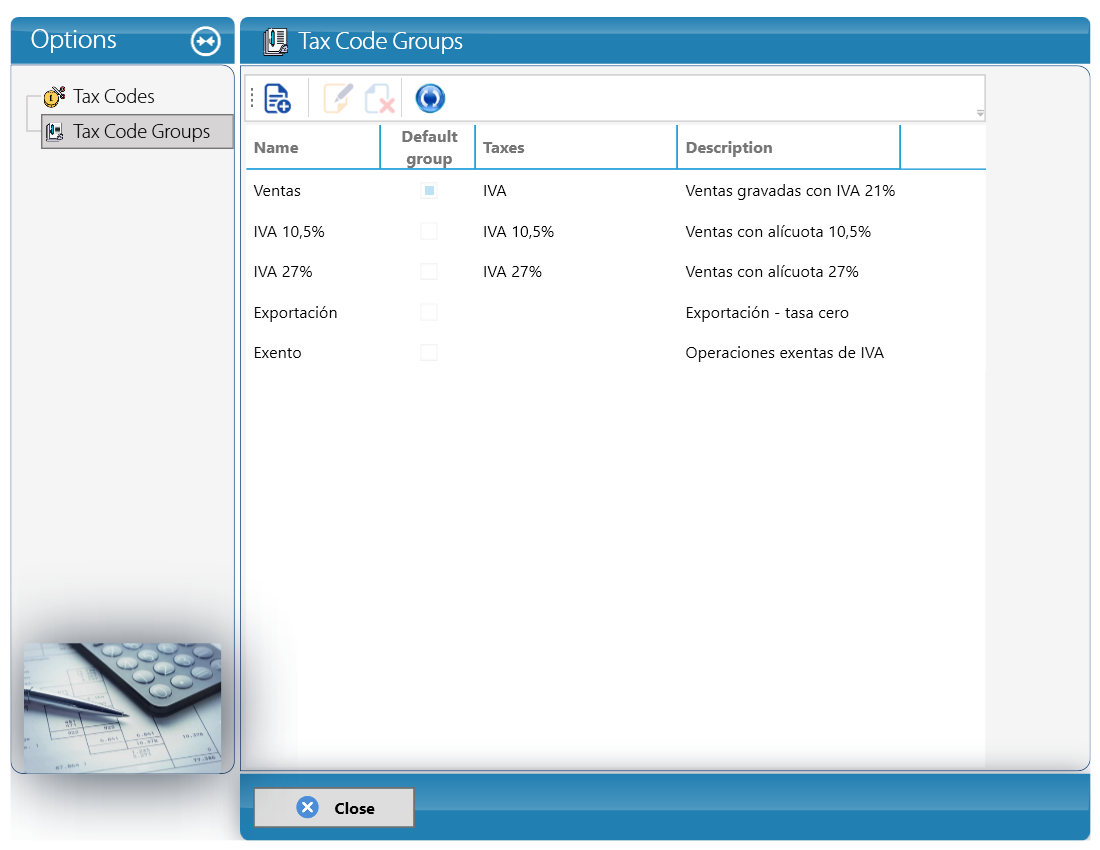
The list shows Name, Default group, Taxes and Description:
| Name | Default group | Taxes | Description (as seeded) | When to use it |
|---|---|---|---|---|
| Ventas (Sales) | Yes | IVA | Ventas gravadas con IVA 21% (sales taxed with 21% IVA) | The normal sale or purchase of taxable services within the country (for example, storage or local trucking) |
| IVA 10,5% | No | IVA 10,5% | Ventas con alícuota 10,5% (sales at the 10.5% rate) | Goods and services that the law taxes at the reduced rate |
| IVA 27% | No | IVA 27% | Ventas con alícuota 27% (sales at the 27% rate) | At a freight forwarder, mostly on purchases: the electricity, gas, water, phone or internet bills you receive as a Responsable Inscripto |
| Exportación (Export) | No | (none) | Exportación - tasa cero (export, zero rate) | Exported services or goods, at zero rate |
| Exento (Exempt) | No | (none) | Operaciones exentas de IVA (IVA-exempt transactions) | Transactions the law declares exempt |
The toolbar has the add, edit, delete and refresh buttons. To edit a group, select it and use the edit button: there you change the name, the description, whether it is the default group and which taxes it contains.
Careful: besides these five, KeyTray creates in every company a technical group called 000, with no taxes. It does not appear in this list; if you ever see it on a document, do not choose it: use one of the five groups in the table.
Why it matters — the same group in sales and purchases: the Ventas group is also used on vendor bills (you will see it in section 5.2). Do not be confused by the name (ventas means sales): on a sale, KeyTray posts the IVA to output tax; on a purchase, because the tax allows fiscal credit, it posts it to input tax. You only choose the group; the side is decided by the type of document.
Why it matters — three rates, three pairs of accounts: the IVA return asks for output tax and input tax separated by rate. That is why each rate has its own accounts. The first time you record a purchase at 10.5% or 27% (for example, the electricity bill), open its entry in Operations > Accounting Explorer and check that the input tax went to the account of that rate (11310002 or 11310003) and not to the 21% one.
Careful — an invoice B or C from a vendor: if a vendor gives you an invoice B or C (for example, a monotributista), that voucher does not give input tax: the total you pay is cost or expense. Do not use the Ventas group to record it, because KeyTray would calculate an input tax that does not exist. Ask your accountant; the usual way is to record it for the total with the Exento group.
The monthly IVA return
At the end of each month, your accountant prepares the IVA return (declaración jurada de IVA) with the balances of the tax accounts. The idea is very simple:
- Add up the month's output tax: the IVA on your sales invoices minus the IVA returned on your customer credit notes.
- Add up the month's input tax: the IVA on your vendor bills minus the IVA on the credit notes your vendors gave you.
- IVA payable = output tax − input tax.
- The return is filed on ARCA's website (together with the Libro IVA Digital, the digital IVA book that lists each voucher) and paid in the following month, on the date that corresponds to the last digit of the CUIT. Your accountant knows the exact due date.
With the payment, the tax accounts return to zero for that month. In chapter 5 you will see this calculation with the real figures of the demo company: 210.00 − 105.00 = 105.00 payable.
Careful — withholdings and perceptions: in Argentina many large companies are appointed by ARCA or by the provinces as withholding agents (agentes de retención): when they pay you, they deduct part of the IVA, income tax or Ingresos Brutos and give you a certificate. That amount is not a discount: it is a payment on account of your tax. On the other side, some vendors are perception agents (agentes de percepción) and add a perception to your bill. In a customer payment with withholdings, use the Retentions option (section 5.4). Ask your accountant which accounts to use: KeyTray does not create them.
3.3 Currencies
Cargo Masters Argentina keeps its books in Argentine pesos (ARS), the local currency. Because many forwarders work with freight in dollars, the company was also born with the US dollar (USD). The peso has no fixed parity with the dollar: the exchange rate changes every day, and the official reference is published by the BCRA (Banco Central de la República Argentina, the central bank).
Menu: Business Elements > Currencies.
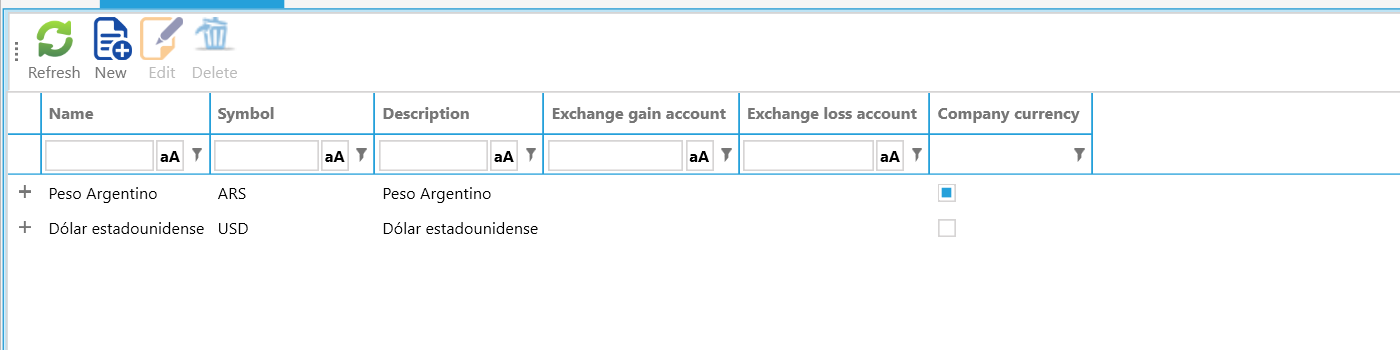
The list has Refresh, New, Edit and Delete (in the screenshot Edit and Delete are greyed out) and the columns Name, Symbol, Description, Exchange gain account, Exchange loss account and Company currency, each with its filter box. The screenshot shows Peso Argentino (symbol ARS, description Peso Argentino, with the Company currency mark: it is the company's currency) and Dólar estadounidense (symbol USD, description Dólar estadounidense). Each row has a + on the left.
Careful: in the screenshot the dollar has no exchange gain account and no exchange loss account (both columns are empty). Without those accounts, KeyTray has nowhere to post the exchange difference of a document in dollars. Before you record the first document in USD, ask support to set up those accounts (see Appendix B). For the company currency (the peso) it is normal that they are empty.
When the company works with other currencies — a European agent, a vendor that bills in euros — it needs to create that currency.
Creating the euro
- Click New. The New Currency window opens. This screenshot was taken in Cargo Masters USA:
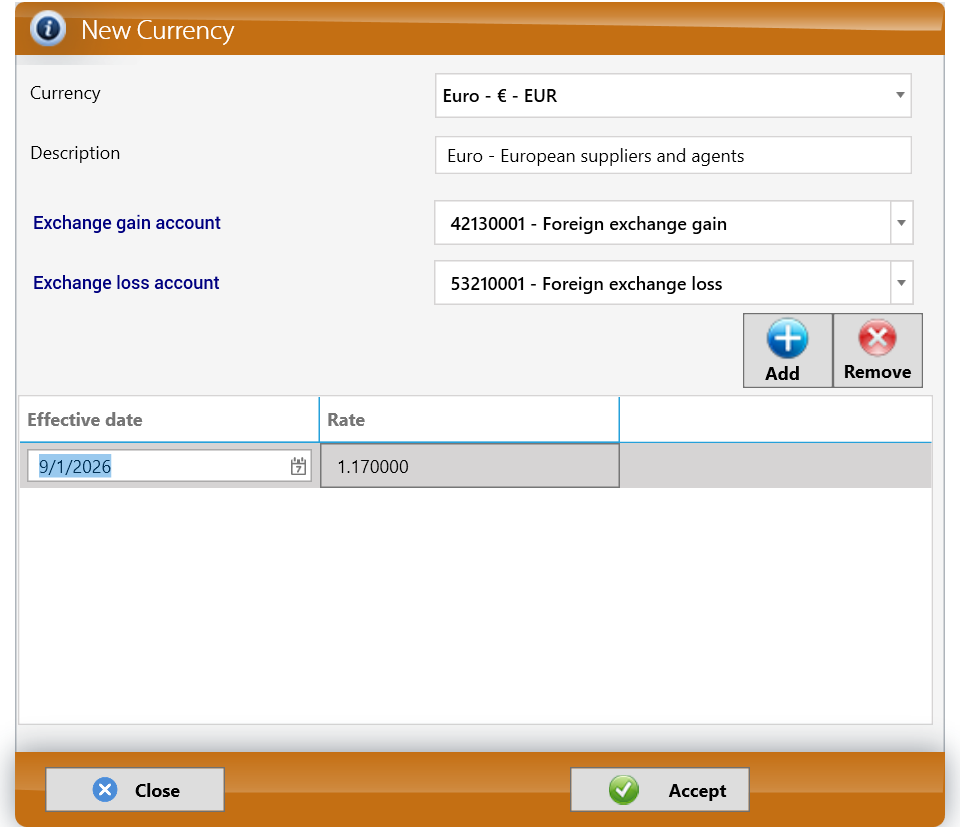
- Currency: choose the euro — in the screenshot, Euro - € - EUR.
- Description: for example Euro - European suppliers and agents, as in the screenshot.
- Exchange gain account: the account for positive exchange differences. It must be an Other Income account (the US screenshot shows 42130001 - Foreign exchange gain; find the equivalent in your chart of accounts).
- Exchange loss account: the account for negative exchange differences. It must be an Other Expense account (the US screenshot shows 53210001 - Foreign exchange loss).
- Exchange rates. The US screenshot shows a grid with Effective date 9/1/2026 and Rate 1.170000, with Add and Remove. In Cargo Masters Argentina, the Spanish edition of this manual shows this window with an official exchange-rate source box instead: KeyTray takes the rates from that source every day, no rates are loaded in this window, and when a document needs a rate it is chosen in a calendar (a button next to the box opens it). For Argentina the official source is the BCRA. If your window shows the grid, as in the US screenshot, type the rate there.
- Click Accept.
Careful: whatever the window shows, check the Exchange Rate box on every document and journal entry in a foreign currency before saving: it can show 0.00 (see Appendix B).
Careful — the exchange rate for IVA: to convert to pesos the IVA of a voucher in a foreign currency, the tax rules say which rate to use (in general, the Banco de la Nación Argentina selling rate of the previous business day), which may not be the BCRA rate KeyTray brings in. Ask your accountant which rate must appear on your invoices in dollars, and check the Exchange Rate box of the document before saving.
Why it matters — exchange differences (example): suppose an agent owes you USD 1,000 on an invoice issued when 1 USD = 1,350.00 ARS (ARS 1,350,000.00). When the agent pays, the dollar is at 1,340.00, so you receive ARS 1,340,000.00. The 10,000.00 less is not a discount on the freight: it is a loss caused by the currency. It goes to Other Expense, below the operating result, so it does not distort your freight margins. A gain goes to Other Income for the same reason. (The exchange rates in this example are illustrative.)
Careful: for now, the Edit and Delete buttons of the currency list do not work as expected (see Appendix B). Check the accounts carefully before clicking Accept.
4. Journal entries (including foreign currency)
Most accounting in KeyTray is created automatically by documents: invoices, bills, payments, shipment settlements. A journal entry is the manual way to post to accounts directly. Use it for things no document covers: owners' capital contributions, loans, depreciation, corrections and reclassifications.
The examples in this chapter come from Cargo Masters USA, whose books are in US dollars. In Cargo Masters Argentina the books are in Argentine pesos (ARS): the rules are the same, and an entry in a foreign currency is converted to pesos with the same formula (amount in the foreign currency × exchange rate).
Menu: Operations > Journal Entry. The button opens a small menu:
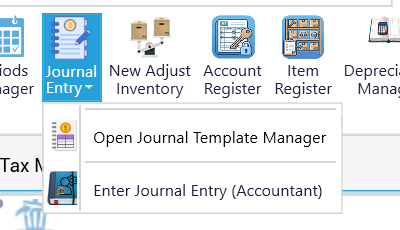
- Open Journal Template Manager — reusable templates for entries you repeat every month (section 4.5).
- Enter Journal Entry (Accountant) — a new manual entry.
4.1 The rules of every journal entry
- Every line uses either Debit or Credit, never both.
- Total Debit must equal Total Credit. KeyTray shows both totals at the bottom and will not save an unbalanced entry.
- Use the normal balances from section 1.1: to increase an asset or expense, debit it; to increase a liability, equity or income account, credit it.
- Write a Memo that explains the entry to someone reading it a year from now.
4.2 Example 1: the owners' opening capital (USD)
The owners deposit USD 50,000 into Bank of America.
- Click Operations > Journal Entry > Enter Journal Entry (Accountant).
- In the header, check Date (9/13/2026) and Currency (US Dollar - USD). Journal Number and Entry Sequence are assigned automatically.
- Type the Memo: Initial capital contribution by the owners.
- Leave Currency Revaluation and Prior period adjustment switched off.
- In the first line, click the magnifying glass in Account Name. The Participant search window opens.
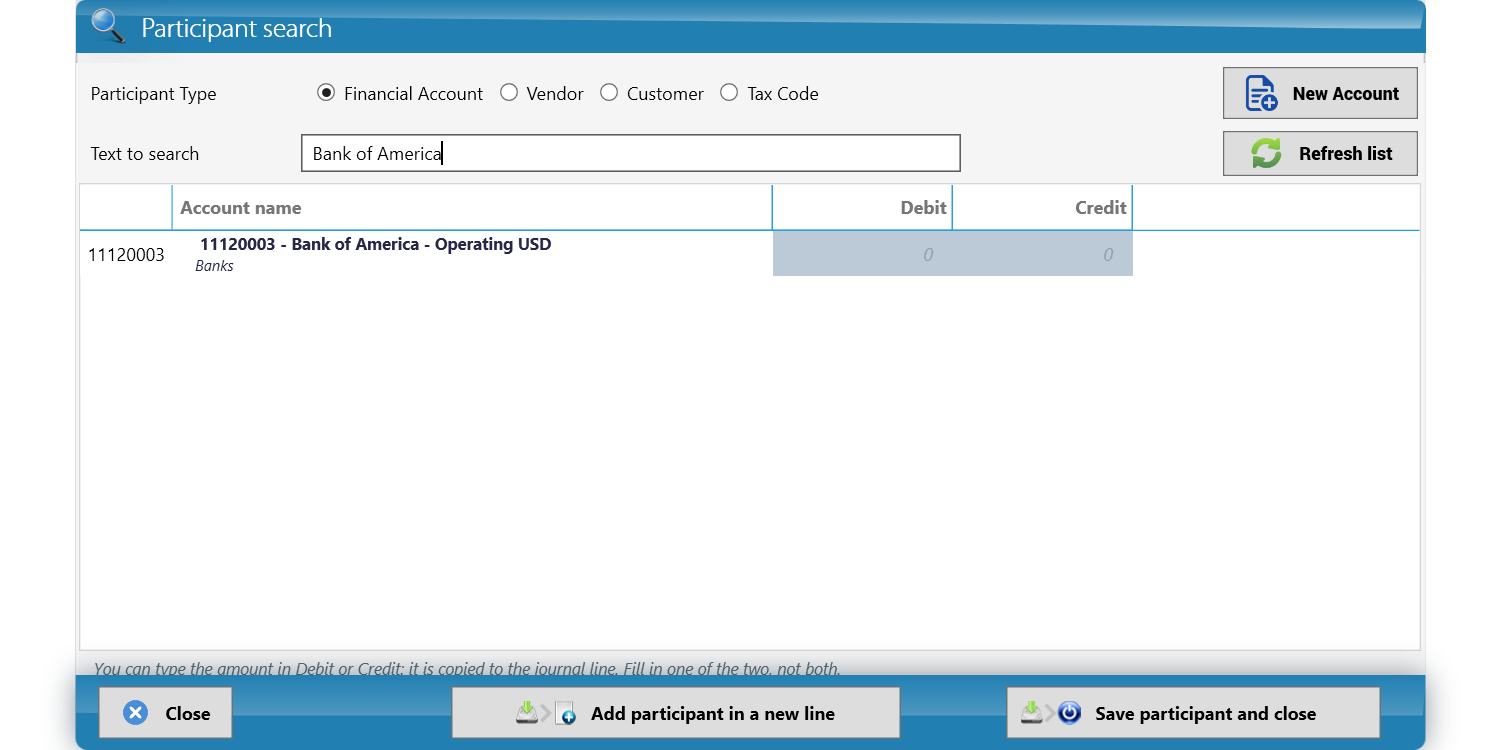
- In Participant Type, keep Financial Account (you can also search a Vendor, Customer or Tax Code). Type part of the name in Text to search — Bank of America.
- In the result line 11120003 - Bank of America - Operating USD, type 50000 in Debit. As the note in the window says: "You can type the amount in Debit or Credit: it is copied to the journal line. Fill in one of the two, not both."
- Click Add participant in a new line to keep searching, or Save participant and close to go back to the entry. (New Account creates an account if it does not exist; Refresh list reloads the results.)
- In the next line, search Capital stock and type 50000 in Credit.
- Check the totals at the bottom: 50,000.00 and 50,000.00.
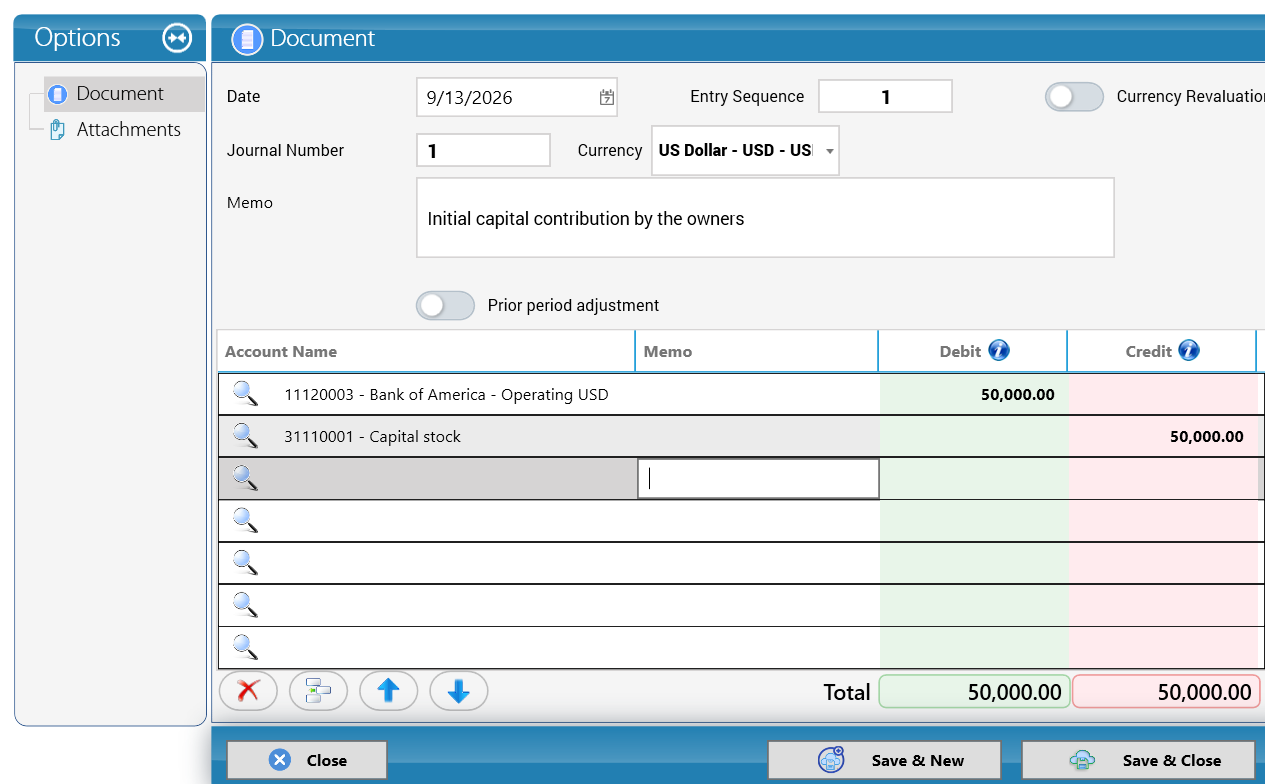
- Click Save & Close (or Save & New to enter another entry).
The buttons below the grid let you delete a line, insert a line and move lines up or down.
| Account | Debit | Credit |
|---|---|---|
| 11120003 - Bank of America - Operating USD | 50,000.00 | |
| 31110001 - Capital stock | 50,000.00 |
4.3 Example 2: a capital contribution in euros
The owners also deposit EUR 1,000 into the euro account. On that day 1 EUR = 1.17 USD.
- Open a new entry (Enter Journal Entry (Accountant)).
- Currency: choose Euro - EUR - €. The Exchange Rate box appears: 1 EUR = 1.17. If it shows 0.00, type the rate.
- Memo: Capital contribution received in euros.
- Line 1: 11120004 - Bank of America - EUR account, Debit 1,000.00.
- Line 2: 31110001 - Capital stock, Credit 1,000.00.
- The totals show 1,000.00 and 1,000.00 — in euros, because that is the currency of the entry.
- Click Save & Close.
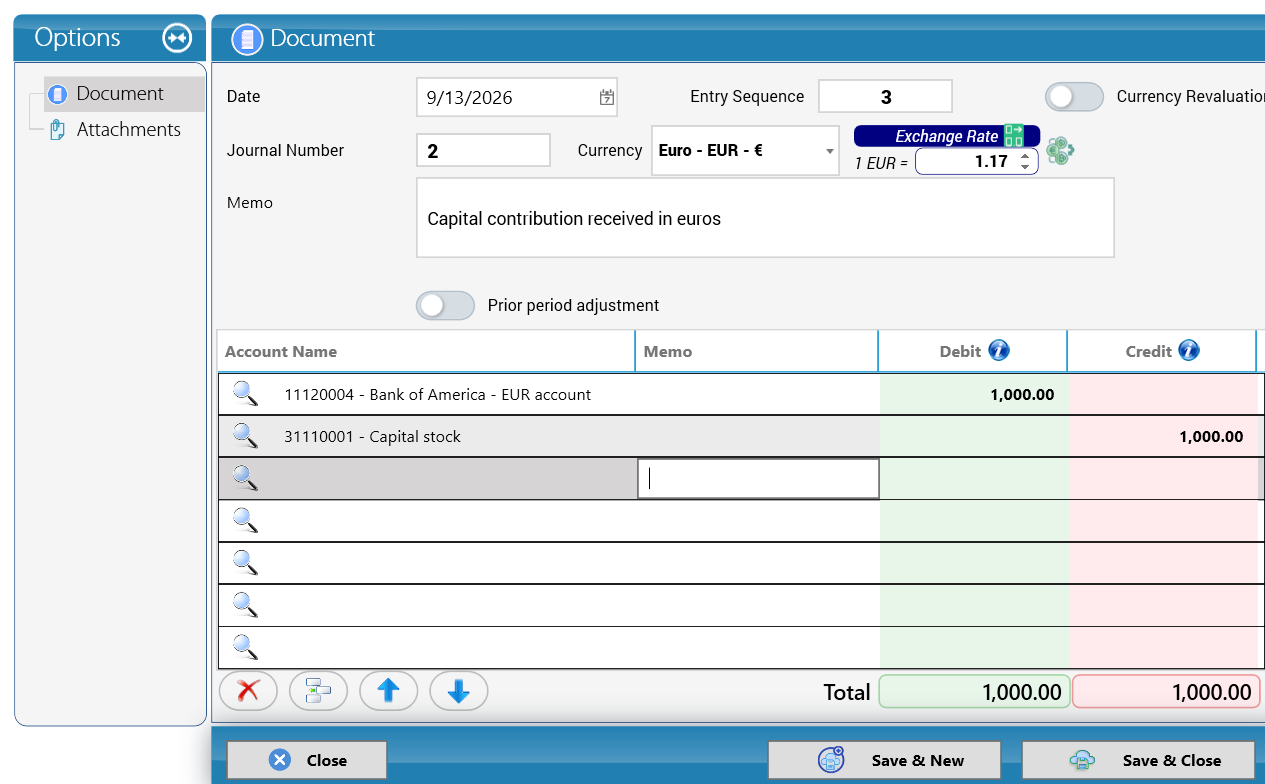
How the base-currency amount is computed
You typed the amounts in euros, but the company's books are in dollars. KeyTray converts every line with the exchange rate of the entry:
Amount in USD = Amount in EUR × Exchange rate
1,000.00 × 1.17 = 1,170.00
So the ledger receives:
| Account | Debit (EUR) | Credit (EUR) | Debit (USD) | Credit (USD) |
|---|---|---|---|---|
| 11120004 - Bank of America - EUR account | 1,000.00 | 1,170.00 | ||
| 31110001 - Capital stock | 1,000.00 | 1,170.00 |
The EUR bank account remembers both: EUR 1,000 (to match the bank statement) and USD 1,170 (for your US financial statements).
Careful: a wrong exchange rate produces a wrong dollar amount even when the entry "balances". Double-check the rate before saving.
4.4 Checking what was posted: the Accounting Explorer
Menu: Operations > Accounting Explorer.

Its ribbon offers Refresh list, Transaction Journal, General Ledger, Fiscal Stamping Numbers, Currency Revaluation, Revaluation Register, VAT Settlement, Cash Flow: accounts, Closing Workpaper and Batch write-off.
- Transaction Journal lists every entry in date order — the best place to see exactly what a document posted (section 5.8).
- General Ledger shows the movements and balance of each account.
- Currency Revaluation and Revaluation Register update the dollar value of foreign-currency balances at month end (ask your accountant before running them).
In the Transaction Journal of the demo you can see both journal entries: voucher 1 (Capital stock credit 50,000.00 / Bank of America debit 50,000.00) and voucher 2, where the euro entry appears in dollars: Capital stock credit 1,170.00 and Bank of America EUR debit 1,170.00.
4.5 Journal templates
A journal template stores the accounts of an entry you repeat: the bank fee, the rent, the payroll, a transfer between your own accounts. When you use it, the accounts come already filled in and cannot be changed; you only enter the amounts. That way someone who does not know accounting can post it without inventing the entry, and the free journal entry (section 4.2) stays with the accountant.
Your company already comes with a set of factory templates for the most common movements, using the account names of your chart. The screenshots in this section are from the Cargo Masters USA demo company: in your company the currency and the bank account names will be your own.
4.5.1 Using a template
- Click Operations > Journal Entry. The menu lists the templates by name (up to 14) and ends with See all templates....
- Pick the template. A new journal entry opens with its accounts.
- The template's accounting explanation appears at the top right: what it debits, what it credits and why. Hover over it to read it in full.
- Enter the amounts in Debit and Credit. If the template has a fixed amount, it comes filled in and cannot be changed.
- Click Save & Close.
The accounts in the grid cannot be changed and lines cannot be added or removed: the set of accounts is the one the template defines. If another account is needed, fix the template (section 4.5.4), not the entry.
4.5.2 When the template asks for the bank in every entry
Some movements always use the same accounts except the bank: the fee is charged by whichever bank the operation went through, and a transfer between your own accounts leaves one account and arrives in another. You do not need one template per bank: the template leaves that line to be picked, and you pick the bank in each entry.
- Pick the template, for example Bank fee or charge.
- In the grid, the bank line has no account: it shows the question (Which bank account charges this fee?).
- Below the grid the box Choose the accounts of this entry appears, with the question, the side (Credit) and a list.
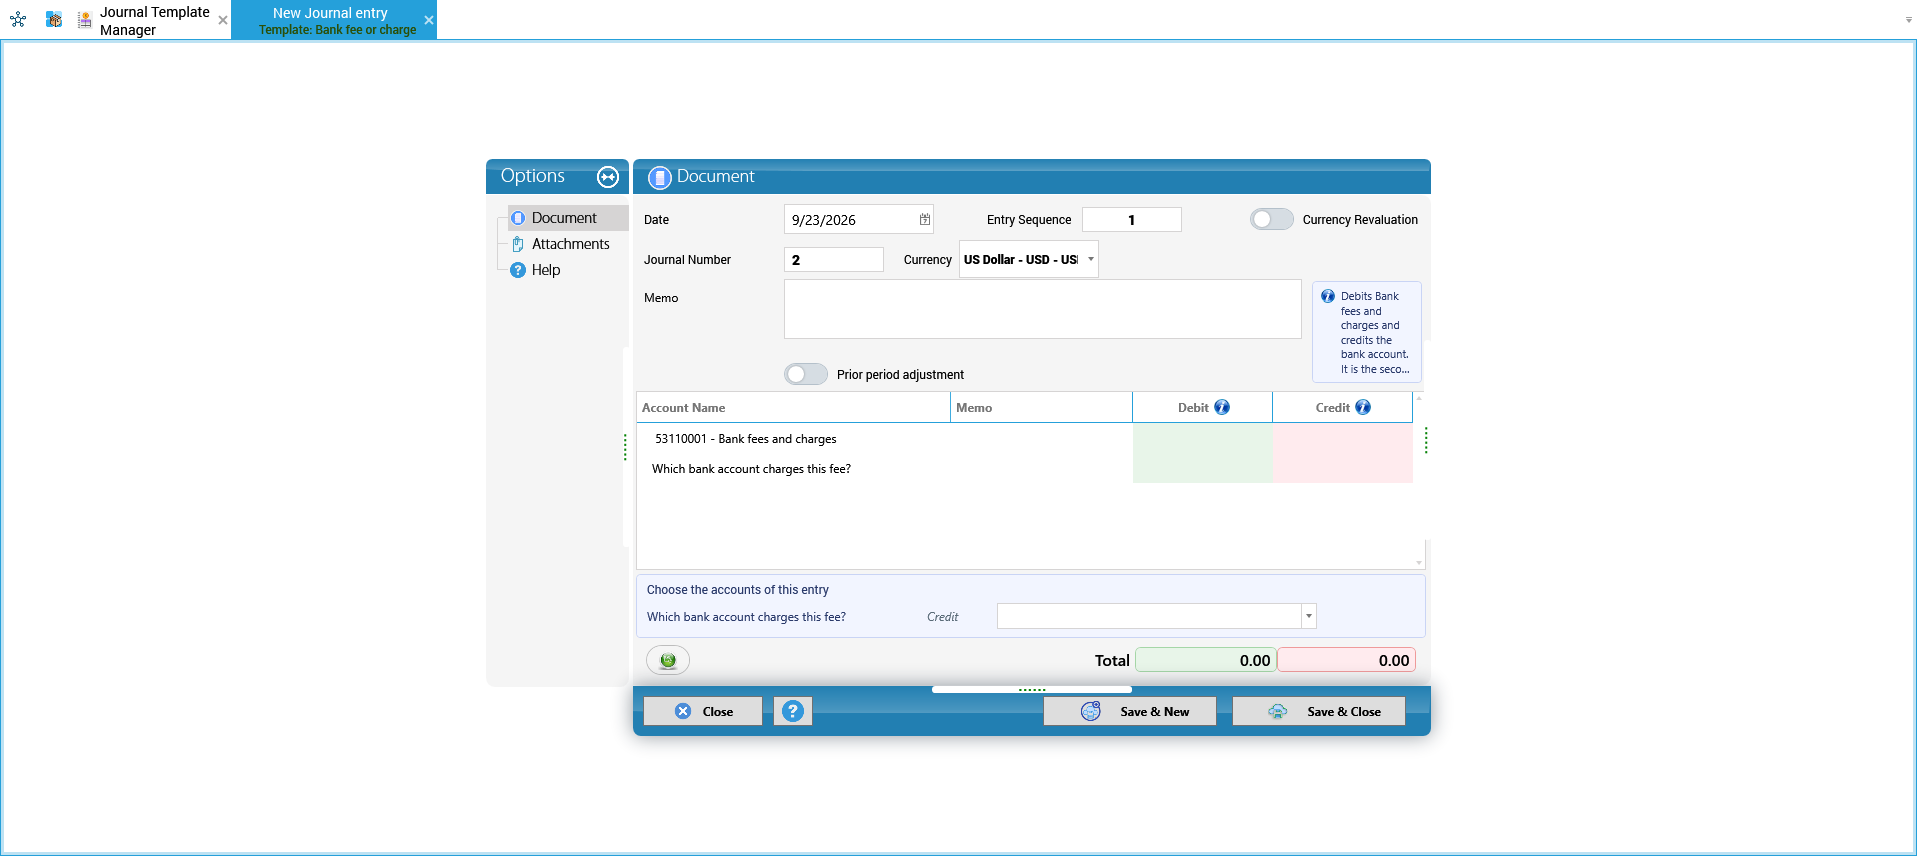
- Enter the amount and pick the bank from the list. The list offers only the cash and bank accounts in the template's currency: an entry in one currency never offers a bank account in another. Once picked, the bank moves down to its line in the grid.
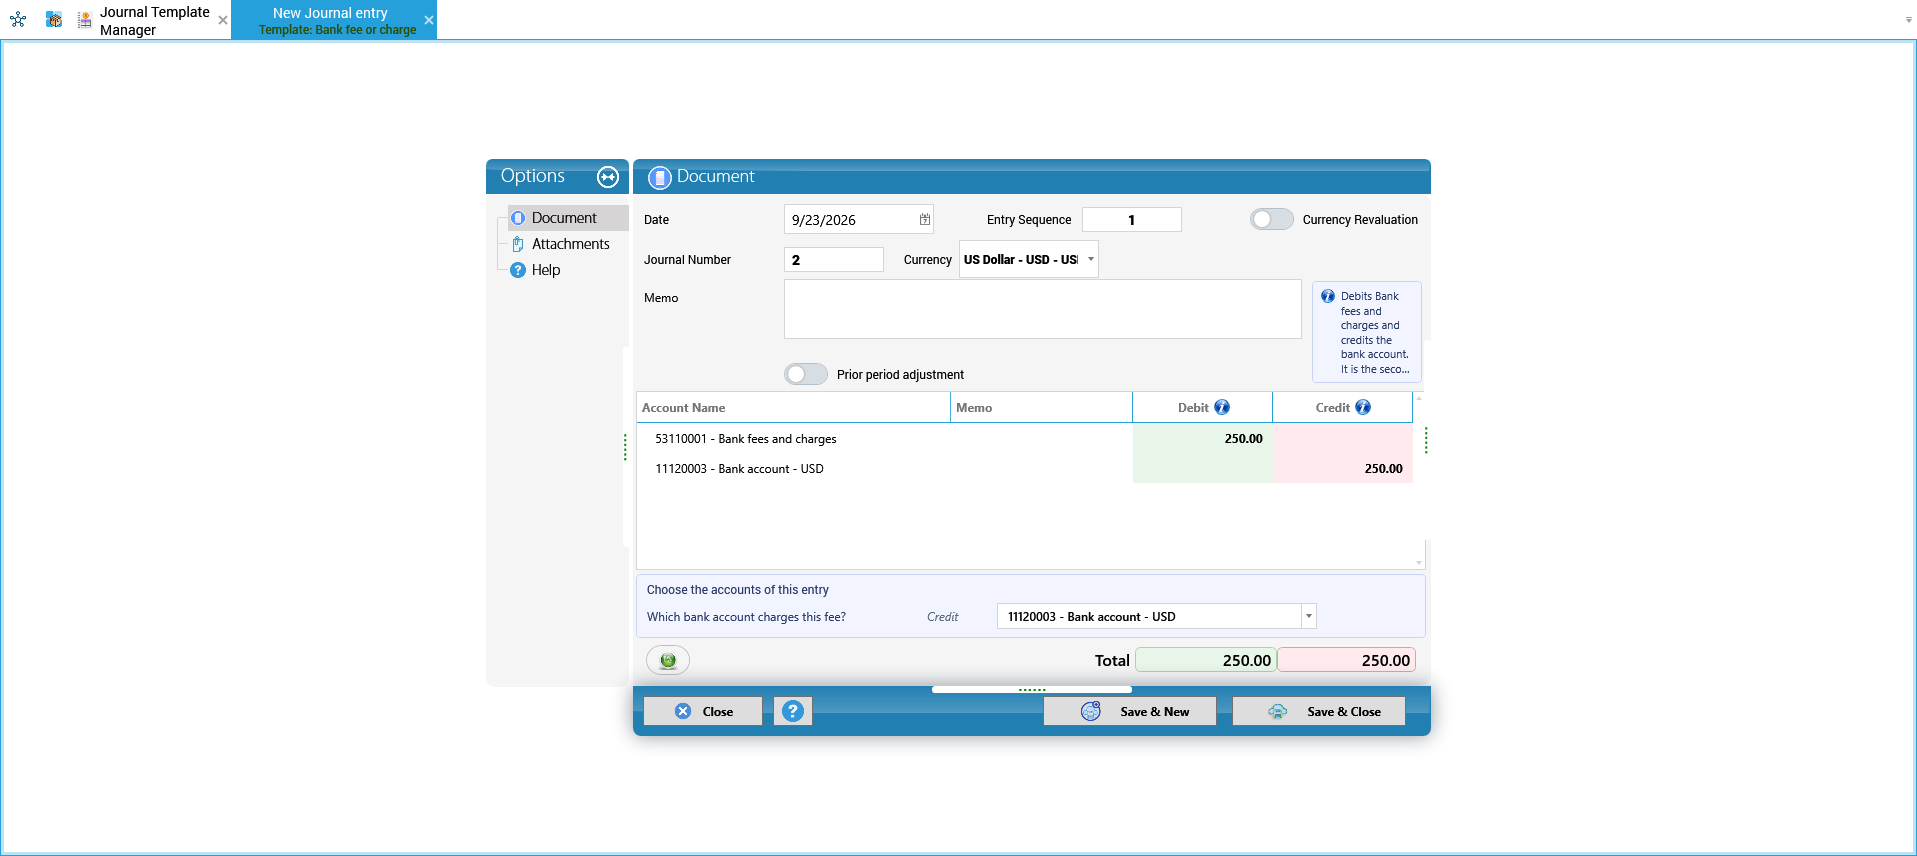
- Click Save & Close.
If you try to save without picking the bank, KeyTray does not save and tells you what is missing:
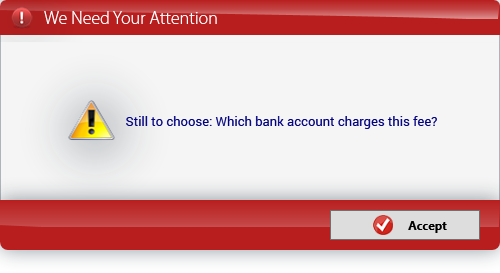
The Transfer between own accounts template asks for two accounts: Which account does the money arrive in? (Debit) and Which account does the money leave from? (Credit).
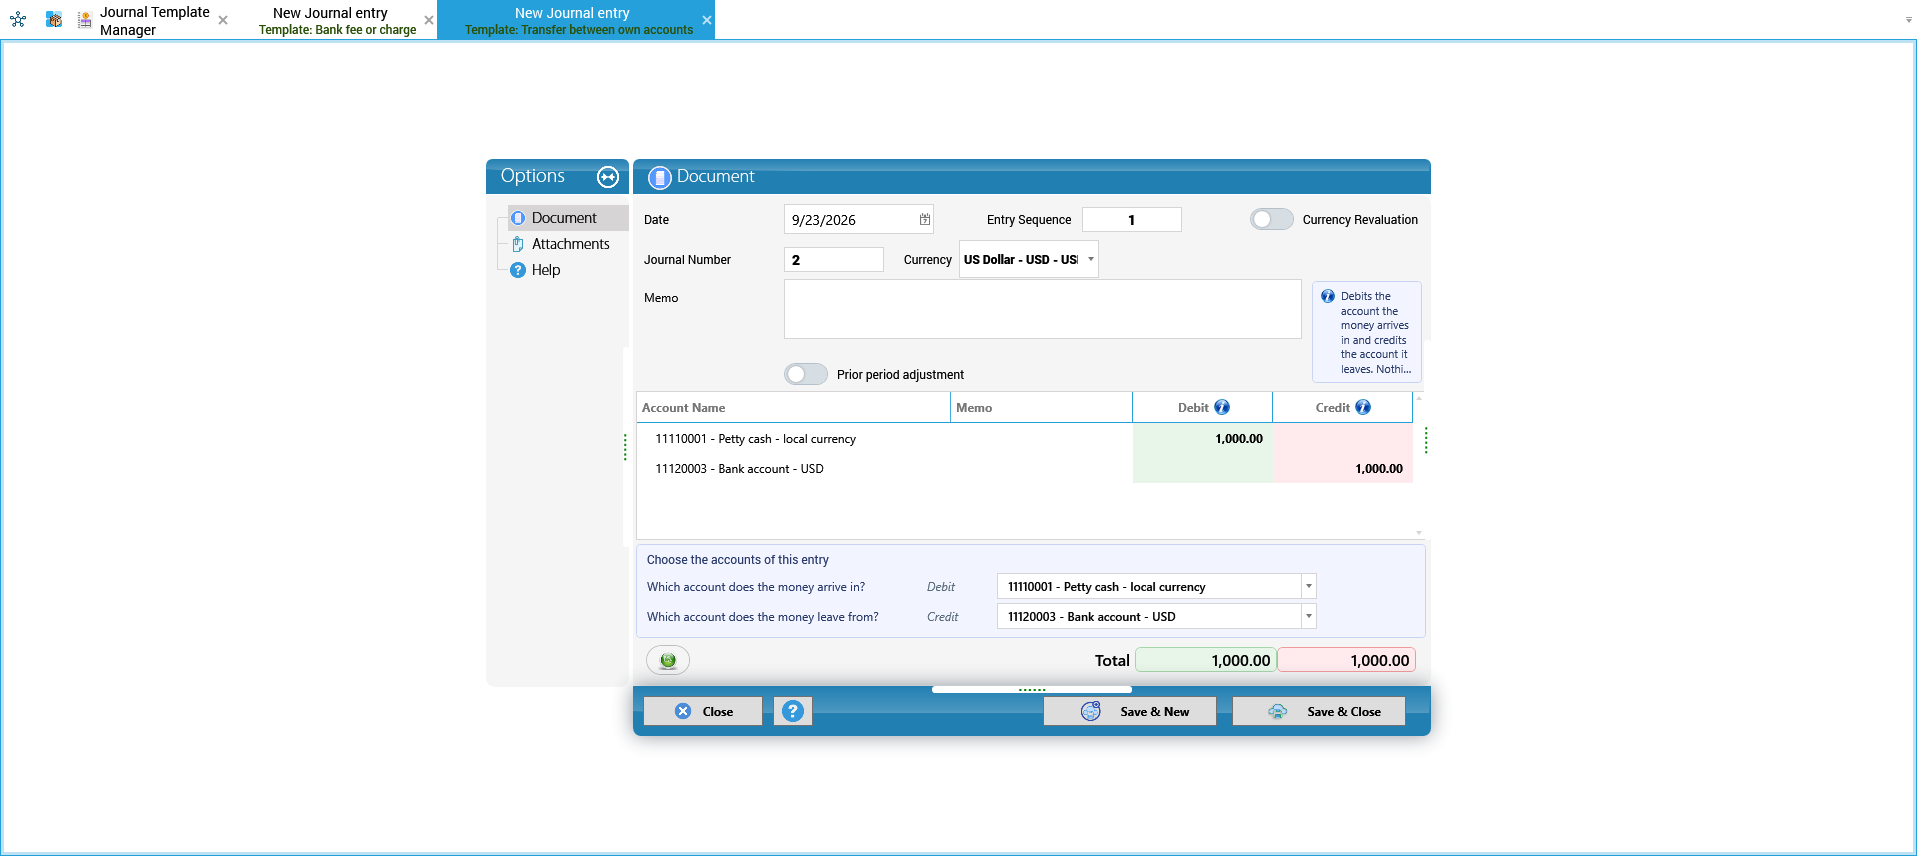
| Account | Debit | Credit |
|---|---|---|
| The account the money arrives in (in the screenshot, 11110001 - Petty cash - local currency) | 1,000.00 | |
| The account it leaves from (in the screenshot, 11120003 - Bank account - USD) | 1,000.00 |
Careful: cash accounts that have no bank behind them (Cash on hand, Petty cash, Undeposited funds) have no declared currency. KeyTray offers them only when the entry is in the company currency.
4.5.3 When the template asks for the bank only once
Other templates are always paid from the same bank (rent, payroll, taxes). When your company was created it had no bank yet, so those templates are born with the bank account pending: in the menu they show (*) after the name.
The first time someone uses one, KeyTray asks which account it is, showing the accounting explanation on top and only cash and bank accounts:
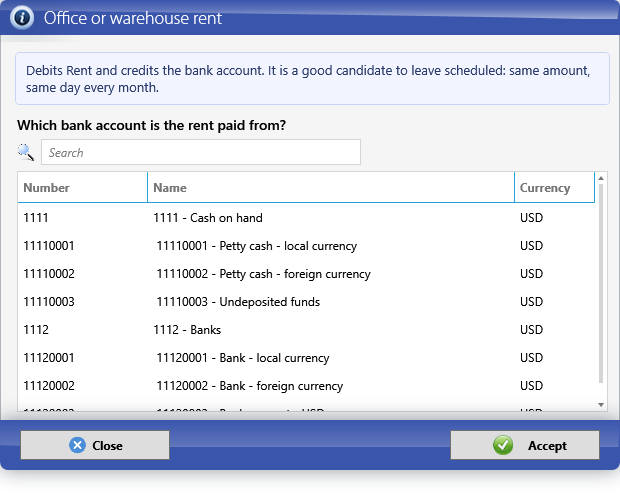
The account picked is saved in the template, for everyone: from then on the entry opens straight away, without asking. Only someone with the access Allow completing the missing accounts of a journal template (section 4.5.6) can pick it; everyone else is told that whoever handles the accounting has to complete it.
4.5.4 Creating or changing a template: the Journal Template Manager
Menu: Operations > Journal Entry > Open Journal Template Manager.
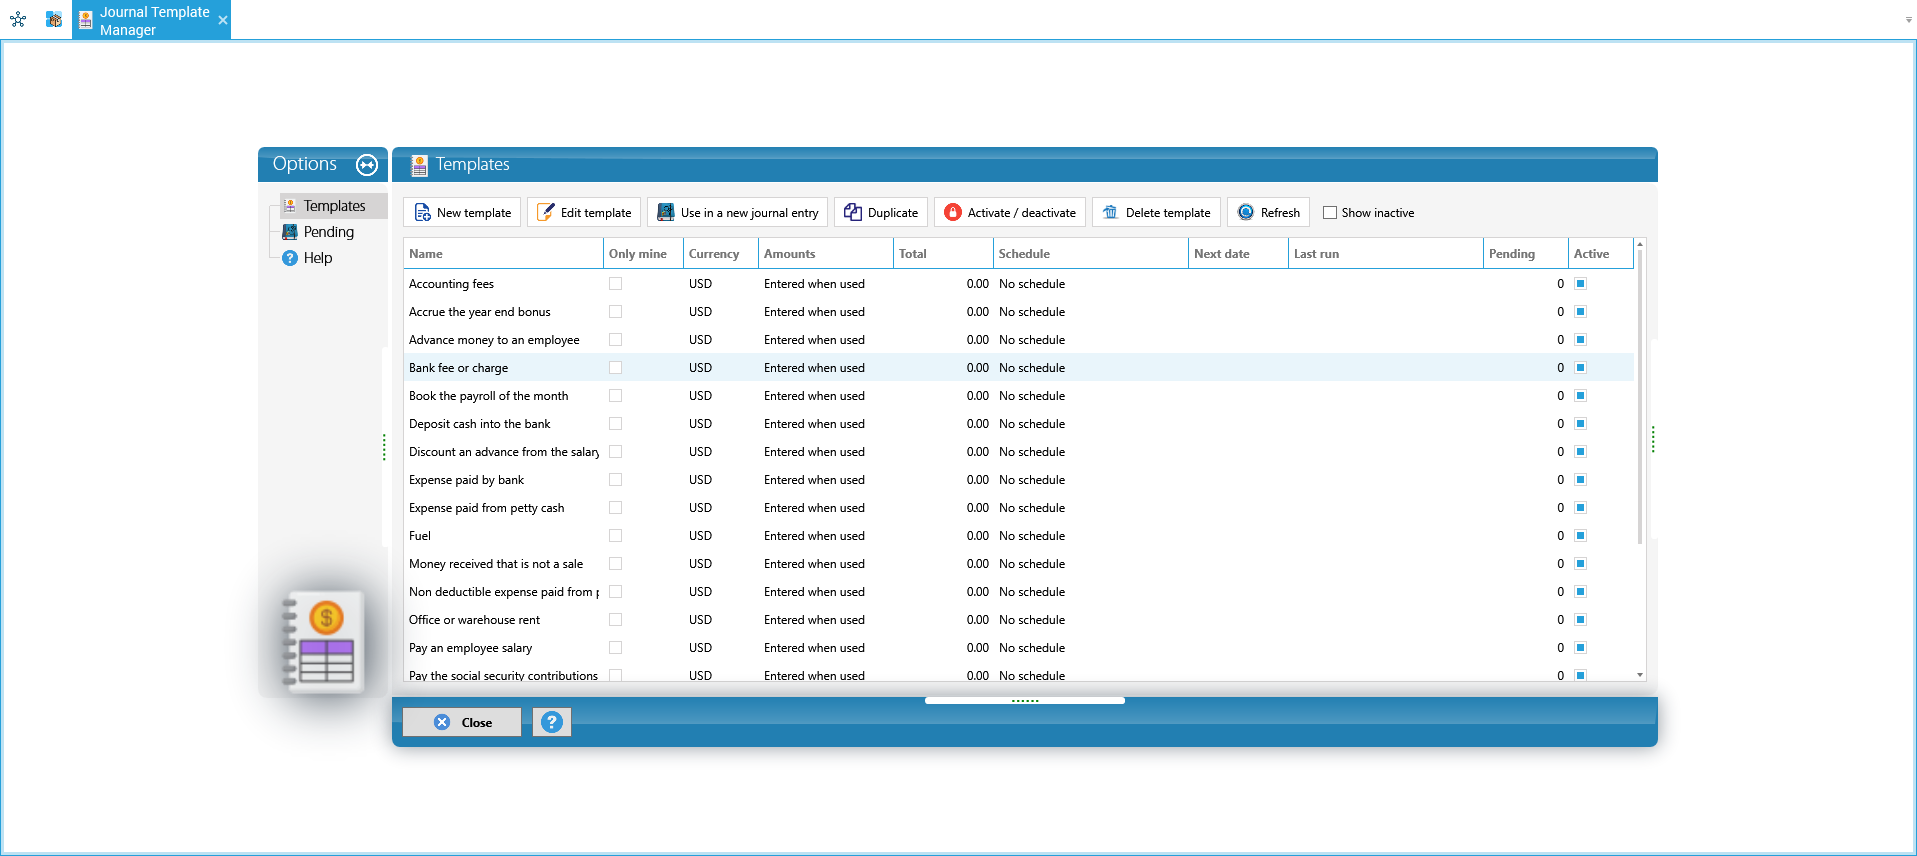
The Templates tab lists them all, with their currency, how amounts are entered and their schedule. The buttons on top: New template, Edit template, Use in a new journal entry, Duplicate, Activate / deactivate and Delete template. The Pending tab shows the scheduled entries waiting for confirmation (section 4.5.5).
You can also create a template from an open journal entry with the Save as template button (below the grid): the editor opens with the entry's lines.
In the editor:
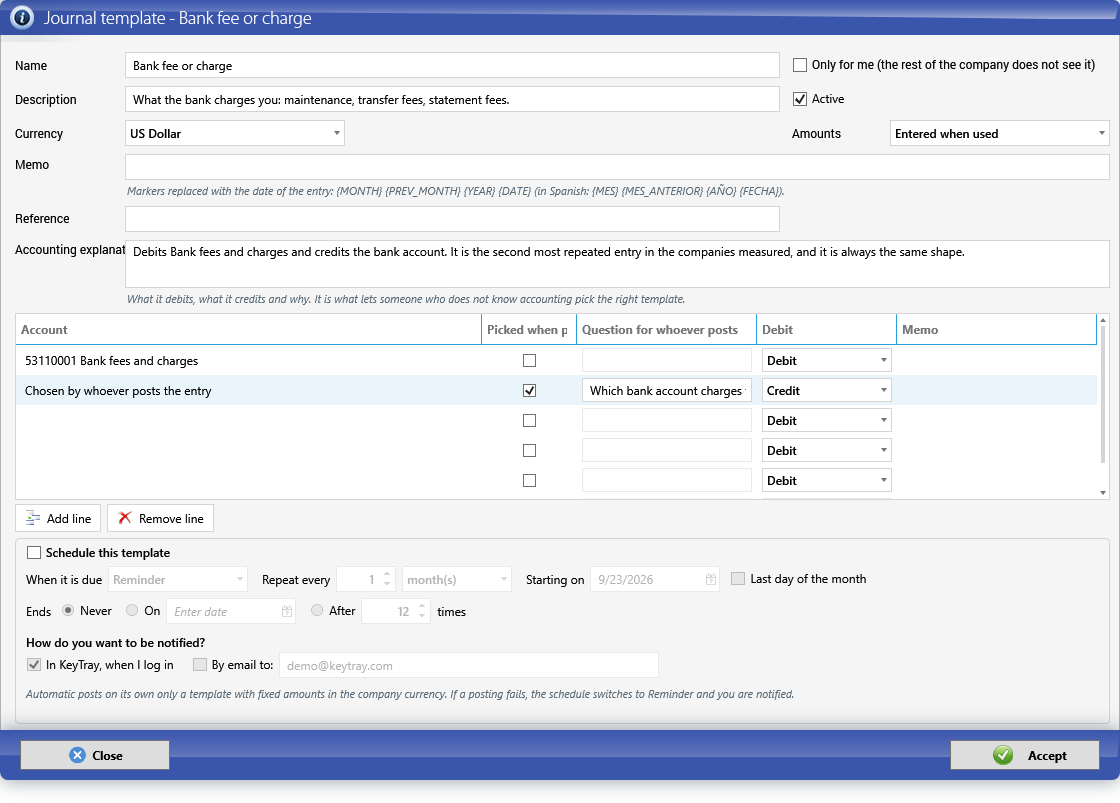
- Name and Description: what the person picking it from the menu sees. Only for me hides it from the rest of the company.
- Currency: a template has a single currency.
- Amounts: Fixed (the amount comes filled in), Entered when used (typed in each entry) or Percentages (KeyTray asks for the total and splits it; the rounding goes to the last line).
- Memo and Reference: the memo accepts markers replaced with the entry date: {MONTH}, {PREV_MONTH}, {YEAR}, {DATE}.
- Accounting explanation: what it debits, what it credits and why. Always write it: it is what the person posting sees above the grid, and what lets them pick correctly without knowing accounting.
- Lines: the account, the side (Debit / Credit) and the amount if it is fixed. Tick Picked when posting on the bank line that changes in every entry, and type in Question for whoever posts what they will be asked (for example, Which bank charged the fee?). That line has no account: Chosen by whoever posts the entry.
4.5.5 Scheduling a template
Tick Schedule this template so KeyTray reminds you every day, week, month or year (Repeat every, Starting on, Last day of the month, Ends). In When it is due choose:
- Reminder: the entry waits in the manager's Pending tab, and KeyTray tells you how many there are when you log in. Post opens the entry with the date it was due; Dismiss skips it.
- Automatic: KeyTray posts it on its own. It is only allowed with fixed amounts, in the company currency and with no lines picked when posting: in automatic mode everything has to be defined beforehand.
If an automatic entry fails (for example, because the period is closed), the schedule switches to Reminder and you are notified. In How do you want to be notified? choose In KeyTray, when I log in and/or By email to: (several emails separated by commas). The entries KeyTray posted on its own are listed in Automatic Journals, in the List Explorer.
4.5.6 Who can do what
There are three accesses in the role editor:
| Access | What it allows |
|---|---|
| Allow entering free journal entries (without a template) | Posting entries with any account (section 4.2). Without it, entries are posted only with templates and with their accounts. |
| Allow editing journal templates | Creating, changing, duplicating, scheduling and deleting templates. |
| Allow completing the missing accounts of a journal template | Picking, once, the pending bank of a template (section 4.5.3). |
Careful: while nobody has been granted one of these accesses, KeyTray does not restrict anything: everyone can. The restriction starts once the access is granted to some role. The company owner always has every access.
5. Commercial documents
Commercial documents are the day-to-day paperwork: invoices to customers, bills from vendors, credit notes, payments received and payments made. Each one creates its own accounting entry automatically, using the accounts from the item, the tax code and the defaults you set up in chapters 1 and 3.
All of them are on the Operations ribbon:
- Customer Operations: New Quote, New Sales Order, New Invoice, Customer Credit Note, Receive Payments.
- Vendor Operations: New Purchase Order, New Receive Inventory, New Bill, Vendor Credit Note, Pay Bills.
- Banking: Write Check, Make Deposit, Cash in Advanced Payment, Transfer Funds, Credit Card charge, Reconcile Banking Accounts.
The story in this chapter:
- Cargo Masters USA invoices Sunshine Exports LLC for a customs bond fee (INV-000001, 374.50).
- It receives a trucking bill from Florida Road Logistics Inc. (FRL-2026-0915, 180.00).
- It gives Sunshine a discount through a credit note (CN-000001, 53.50) and applies it when Sunshine pays the rest (RC-000001, 321.00).
- Florida Road Logistics admits an overcharge and issues a vendor credit (FRL-CR-0031, 30.00), which is applied when the bill is paid (VP-000001, 150.00).
The same chapter in Cargo Masters Argentina, dated September 13, 2026 and in pesos:
- Cargo Masters Argentina invoices Distribuidora Pampeana S.A. for a storage service (INV-000001, 1,000.00 + 210.00 of IVA = 1,210.00). A real document of the demo company (end of section 5.1).
- It receives the bill of Transportes del Litoral S.A. (F-AR-0001, 500.00 + 105.00 of IVA = 605.00). A real document of the demo company (end of section 5.2).
- With those two documents the month's IVA return is prepared (end of section 5.8).
For sections 5.3 to 5.7 we also give, in an Argentina example block, the peso amounts of how the story would continue: an example calculated with 21% IVA not included in the price. Those documents are not registered in Cargo Masters Argentina, and the screenshots of those sections are from Cargo Masters USA.
Careful: when a document already has data, clicking Close can close it without asking whether to save. Always save with one of the Save buttons first (see Appendix B).
5.1 Sales invoice
Menu: Operations > New Invoice.
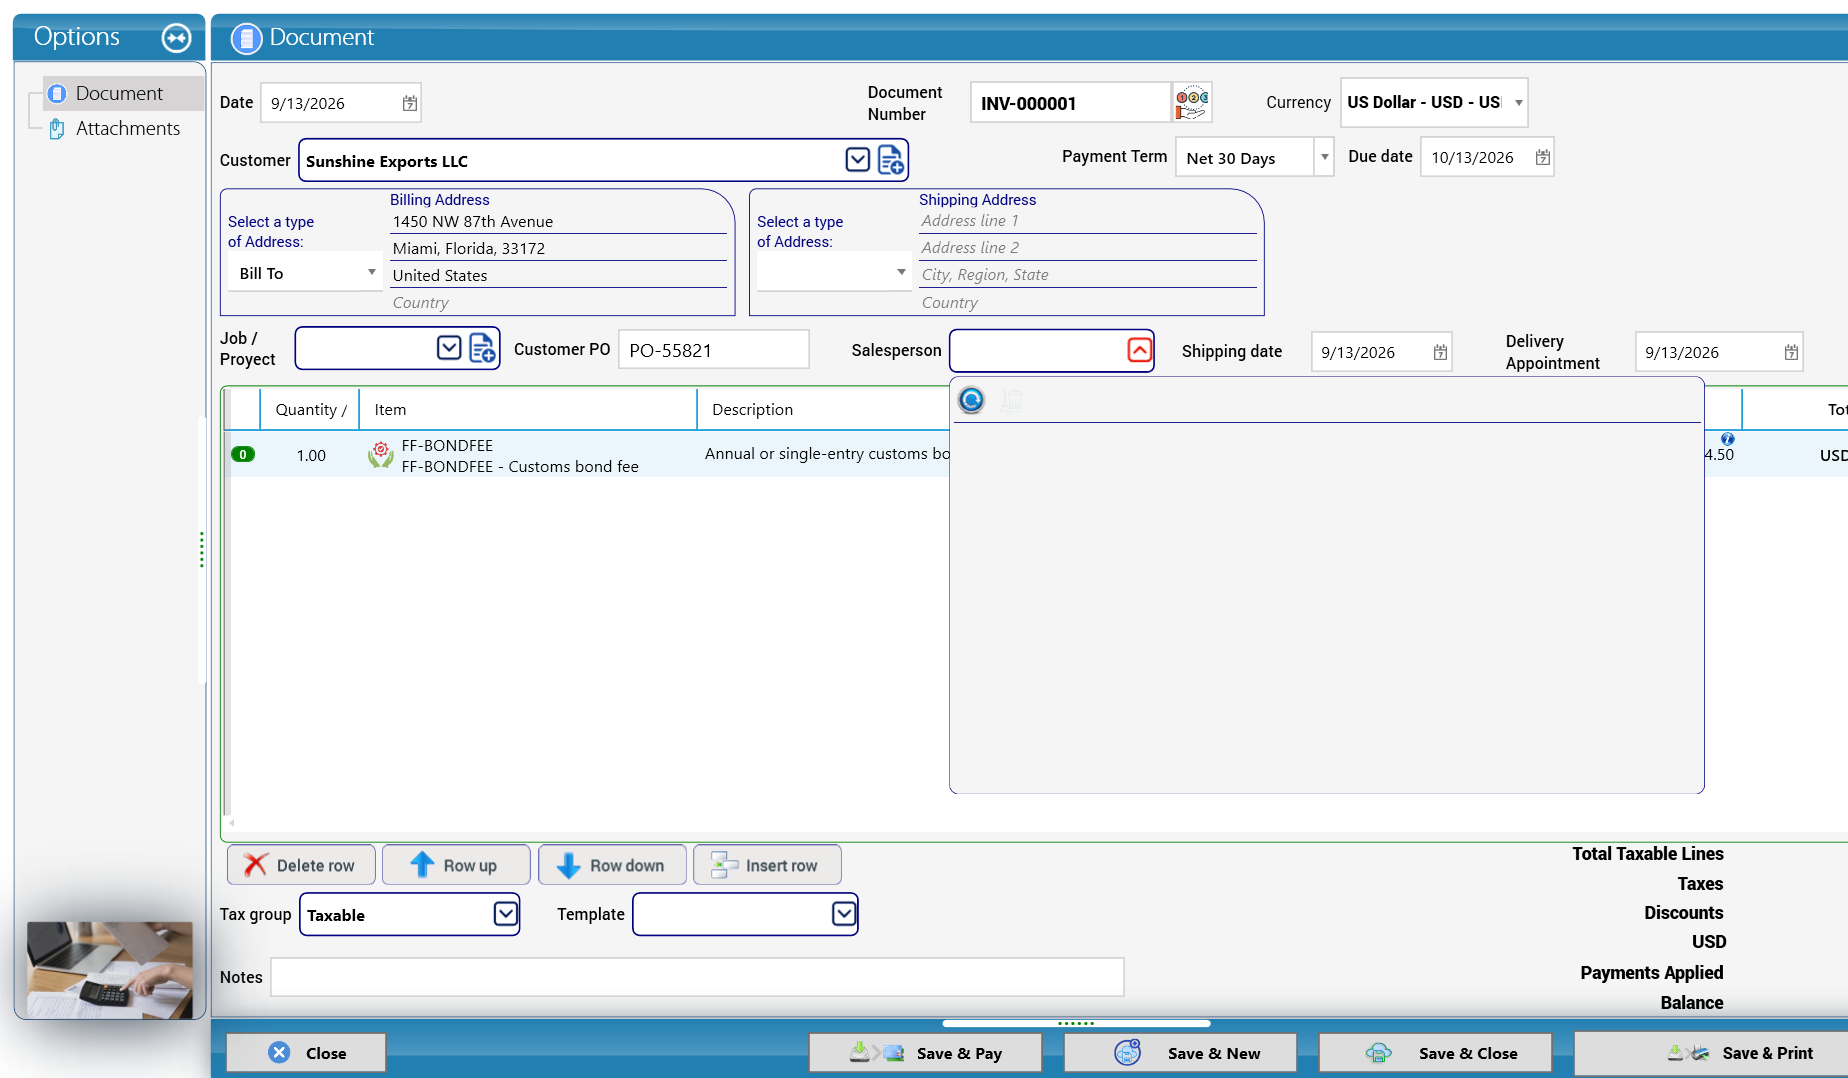
- Date: 9/13/2026. The Document Number INV-000001 is assigned automatically.
- Currency: US Dollar - USD.
- Customer: choose Sunshine Exports LLC. KeyTray fills in the Billing Address (Bill To) and the Payment Term (Net 30 Days) from the customer, and calculates the Due date (10/13/2026).
- Shipping Address, Job / Proyect, Salesperson (the screenshot shows its list open), Shipping date and Delivery Appointment: fill them in if you use them. Customer PO: PO-55821.
- In the lines, type Quantity 1.00, choose the Item FF-BONDFEE - Customs bond fee (its Description is copied automatically) and type the Price 350.00.
- Tax group: Taxable. KeyTray applies 7.00% Sales Tax to the line: 24.50.
- Check the totals at the bottom right: Total Taxable Lines 350.00, Taxes 24.50, Discounts 0.00, USD 374.50, Payments Applied, Balance.
- Optional: Template (the print layout) and Notes.
- Save with Save & Close. The other buttons are Save & New, Save & Print and Save & Pay (saves and goes straight to receiving the payment).
The line buttons are Delete row, Row up, Row down and Insert row.
Accounting entry created by INV-000001 (as shown in the Transaction Journal):
| Account | Debit | Credit |
|---|---|---|
| 11210001 - Accounts receivable - customers | 374.50 | |
| 41170002 - Customs brokerage revenue | 350.00 | |
| 21210001 - Sales tax payable | 24.50 | |
| Total | 374.50 | 374.50 |
Read it like this: the customer now owes you 374.50 (asset up); you earned 350.00 (income up); you owe the state 24.50 (liability up). In the Transaction Journal the receivable appears in two lines (350.00 and 24.50) that add up to 374.50.
In Cargo Masters Argentina: sales invoice INV-000001
This is a real document of the demo company, opened after it was saved (the Document Number is shown in green):
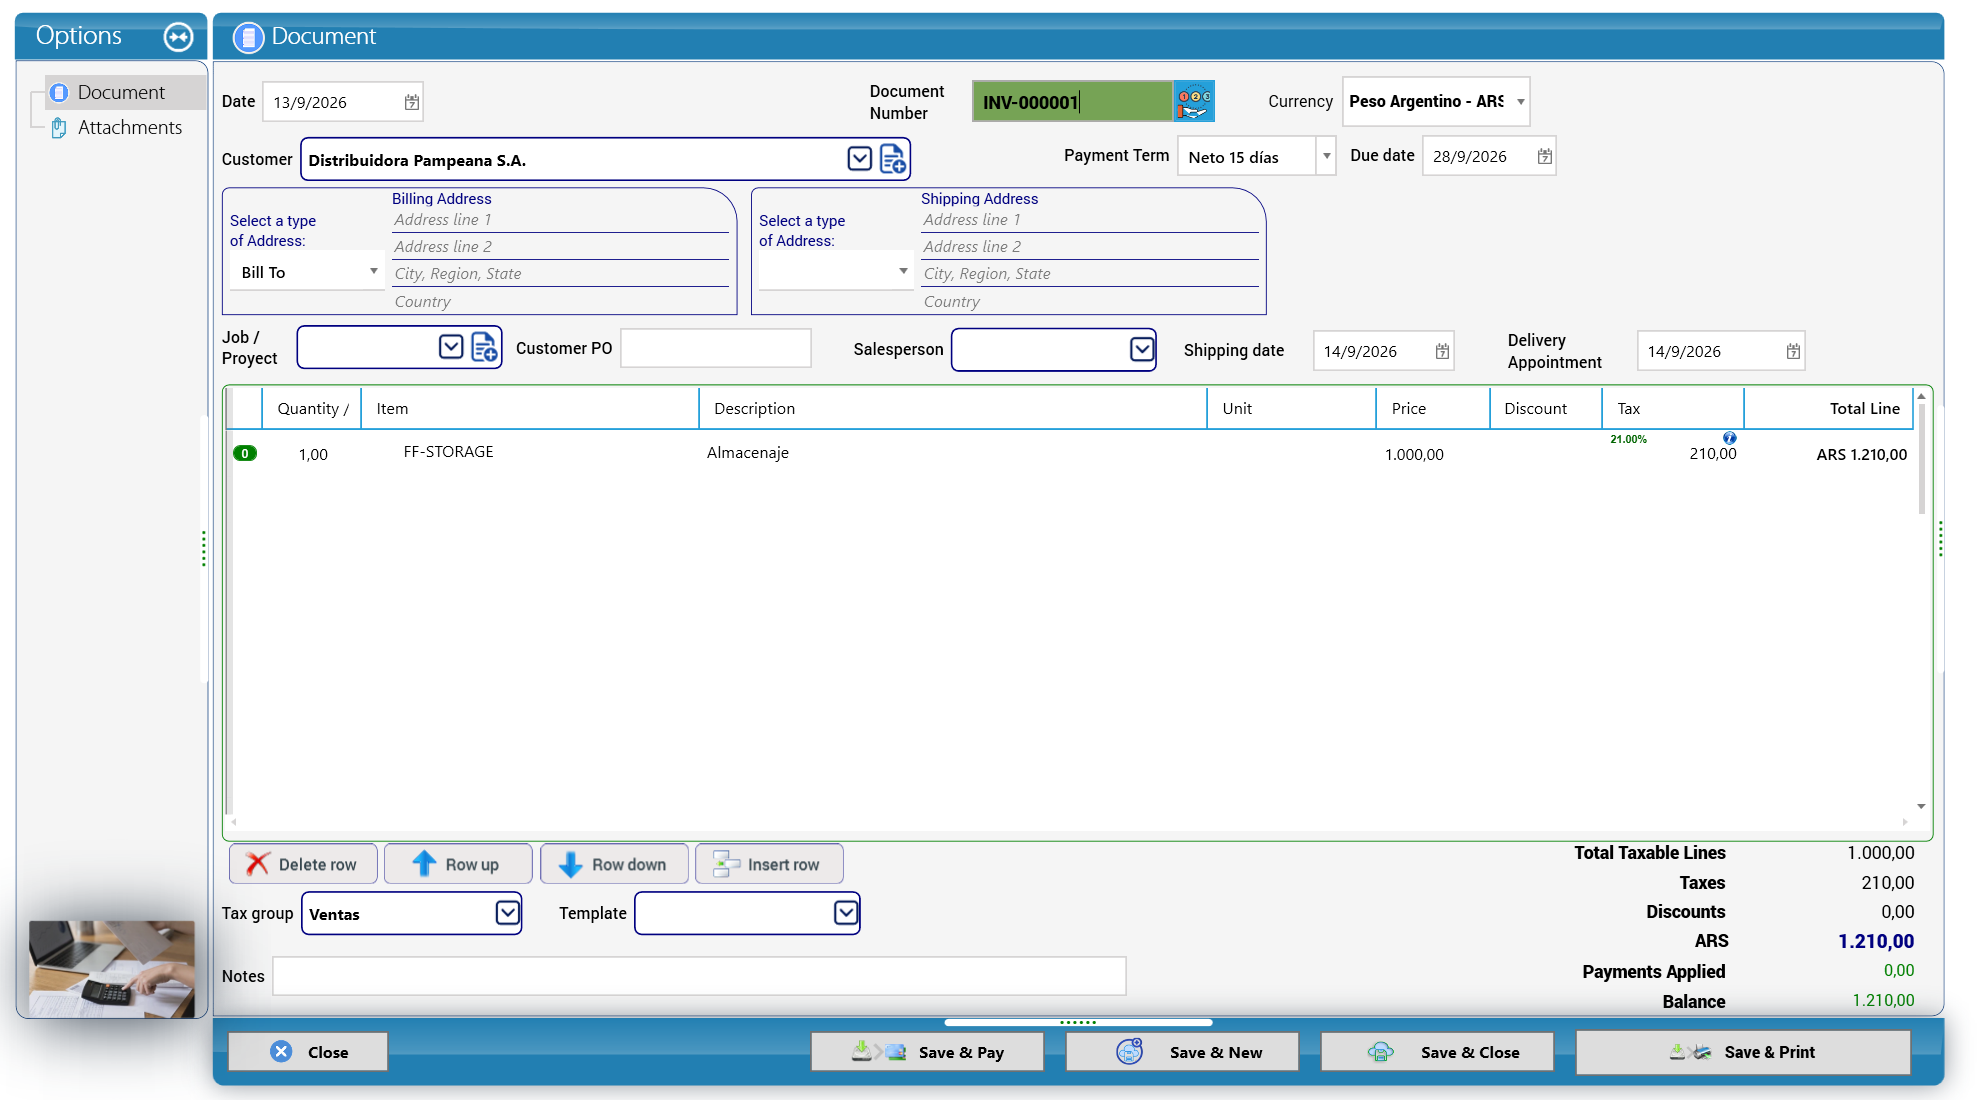
- Date: 13/9/2026. Document Number: INV-000001, assigned automatically. It is the internal number; the electronic voucher number and the CAE are obtained through electronic invoicing (section 3.1).
- Currency: Peso Argentino - ARS (the end is cut off in the screenshot).
- Customer: Distribuidora Pampeana S.A. The Billing Address shows the type Bill To; its lines are empty because this customer has no address on file.
- Payment Term: Neto 15 días (net 15 days). Due date: 28/9/2026. The customer was created without a payment term, so the term had to be chosen on the invoice: read the callout below.
- Shipping Address (no address type selected), Job / Proyect, Customer PO and Salesperson are empty. Shipping date and Delivery Appointment show 14/9/2026.
- Line: Quantity 1,00, Item FF-STORAGE, Description Almacenaje (storage), Price 1.000,00. Unit and Discount are empty. The Tax column shows 21.00% and 210,00; Total Line shows ARS 1.210,00.
- Tax group: Ventas. Template and Notes are empty.
- Totals: Total Taxable Lines 1.000,00, Taxes 210,00, Discounts 0,00, ARS 1.210,00, Payments Applied 0,00, Balance 1.210,00.
- The buttons at the bottom are Close, Save & Pay, Save & New, Save & Close and Save & Print. On the left, Options lists Document and Attachments.
Careful — no payment term, no save: if the customer or the vendor was created without a Payment Term, the field arrives empty on the document and, when you save, KeyTray stops with a warning asking you to select the payment term of the document (in the Spanish session: "Necesita seleccionar el termino de pago del documento."). Click Accept, choose the Payment Term on the document (the Due date is recalculated) and save again. That is what was done with this invoice and with the bill of section 5.2. To avoid it on every invoice, set the term on the customer or vendor (sections 1.4 and 1.5).
Why it matters — the price does not include the tax: notice that the price is 1,000.00 and KeyTray added 210.00 of IVA: the customer pays 1,210.00. If you typed 1,210.00 thinking it already included the tax, the invoice would come to 1,464.10. Always type the net value of the service, without IVA.
Accounting entry created by INV-000001:
| Account | Debit | Credit |
|---|---|---|
| 11210001 - Cuentas por cobrar clientes (accounts receivable - customers) | 1,210.00 | |
| 41170001 - Almacenaje (storage income) | 1,000.00 | |
| 21210001 - IVA debito fiscal 21% (IVA output tax) | 210.00 | |
| Total | 1,210.00 | 1,210.00 |
Read it like this: the customer now owes you 1,210.00 (asset up); you earned 1,000.00 (income up); you owe the government 210.00 of output tax (liability up). The income account came from the item FF-STORAGE and the IVA account from the tax code.
Why it matters — invoice A or B: if Distribuidora Pampeana S.A. is a Responsable Inscripto, it gets an invoice A, with the 210.00 of IVA shown separately, which it will deduct as input tax. If it were a final consumer, it would get an invoice B. The accounting entry is the same in both cases; what changes is the electronic voucher.
5.2 Vendor bill
Menu: Operations > New Bill.
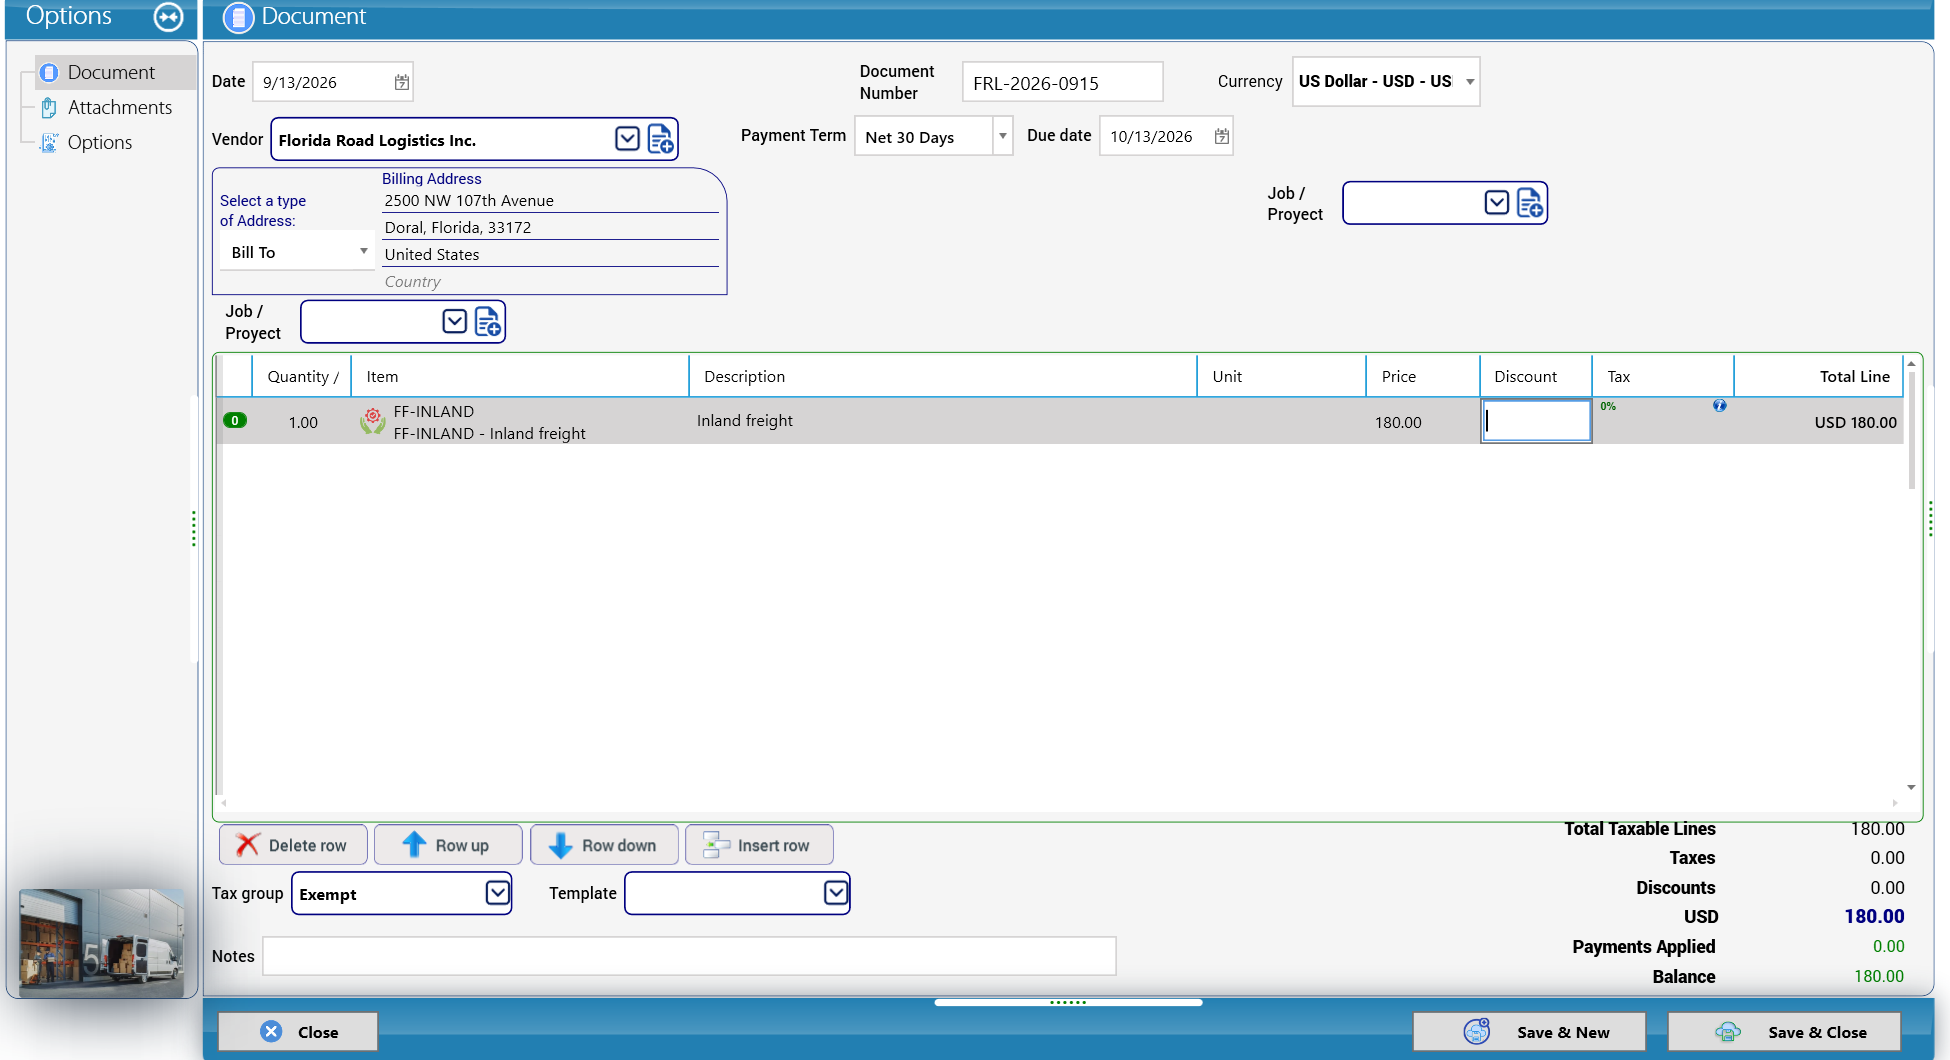
- Date: 9/13/2026.
- Document Number: type the vendor's own bill number — FRL-2026-0915. This is how you will find the bill when the vendor calls about it.
- Vendor: Florida Road Logistics Inc. The Billing Address, Payment Term (Net 30 Days) and Due date (10/13/2026) are filled in.
- Currency: US Dollar - USD. Job / Proyect: optional.
- Line: Quantity 1.00, Item FF-INLAND - Inland freight, Price 180.00. Discount and Unit are optional.
- Tax group: Exempt (no sales tax is added on this bill).
- Totals: Total Taxable Lines 180.00, Taxes 0.00, USD 180.00, Balance 180.00.
- Click Save & Close.
Accounting entry created by the bill:
| Account | Debit | Credit |
|---|---|---|
| 51170008 - Local transport cost | 180.00 | |
| 21110001 - Accounts payable | 180.00 |
The cost account (Local transport cost) came from the purchase account of the item FF-INLAND. That is the decision from section 1.9 at work: trucking for a client's cargo is a Cost of Goods Sold.
In Cargo Masters Argentina: vendor bill F-AR-0001
A real document of the demo company, opened after it was saved:
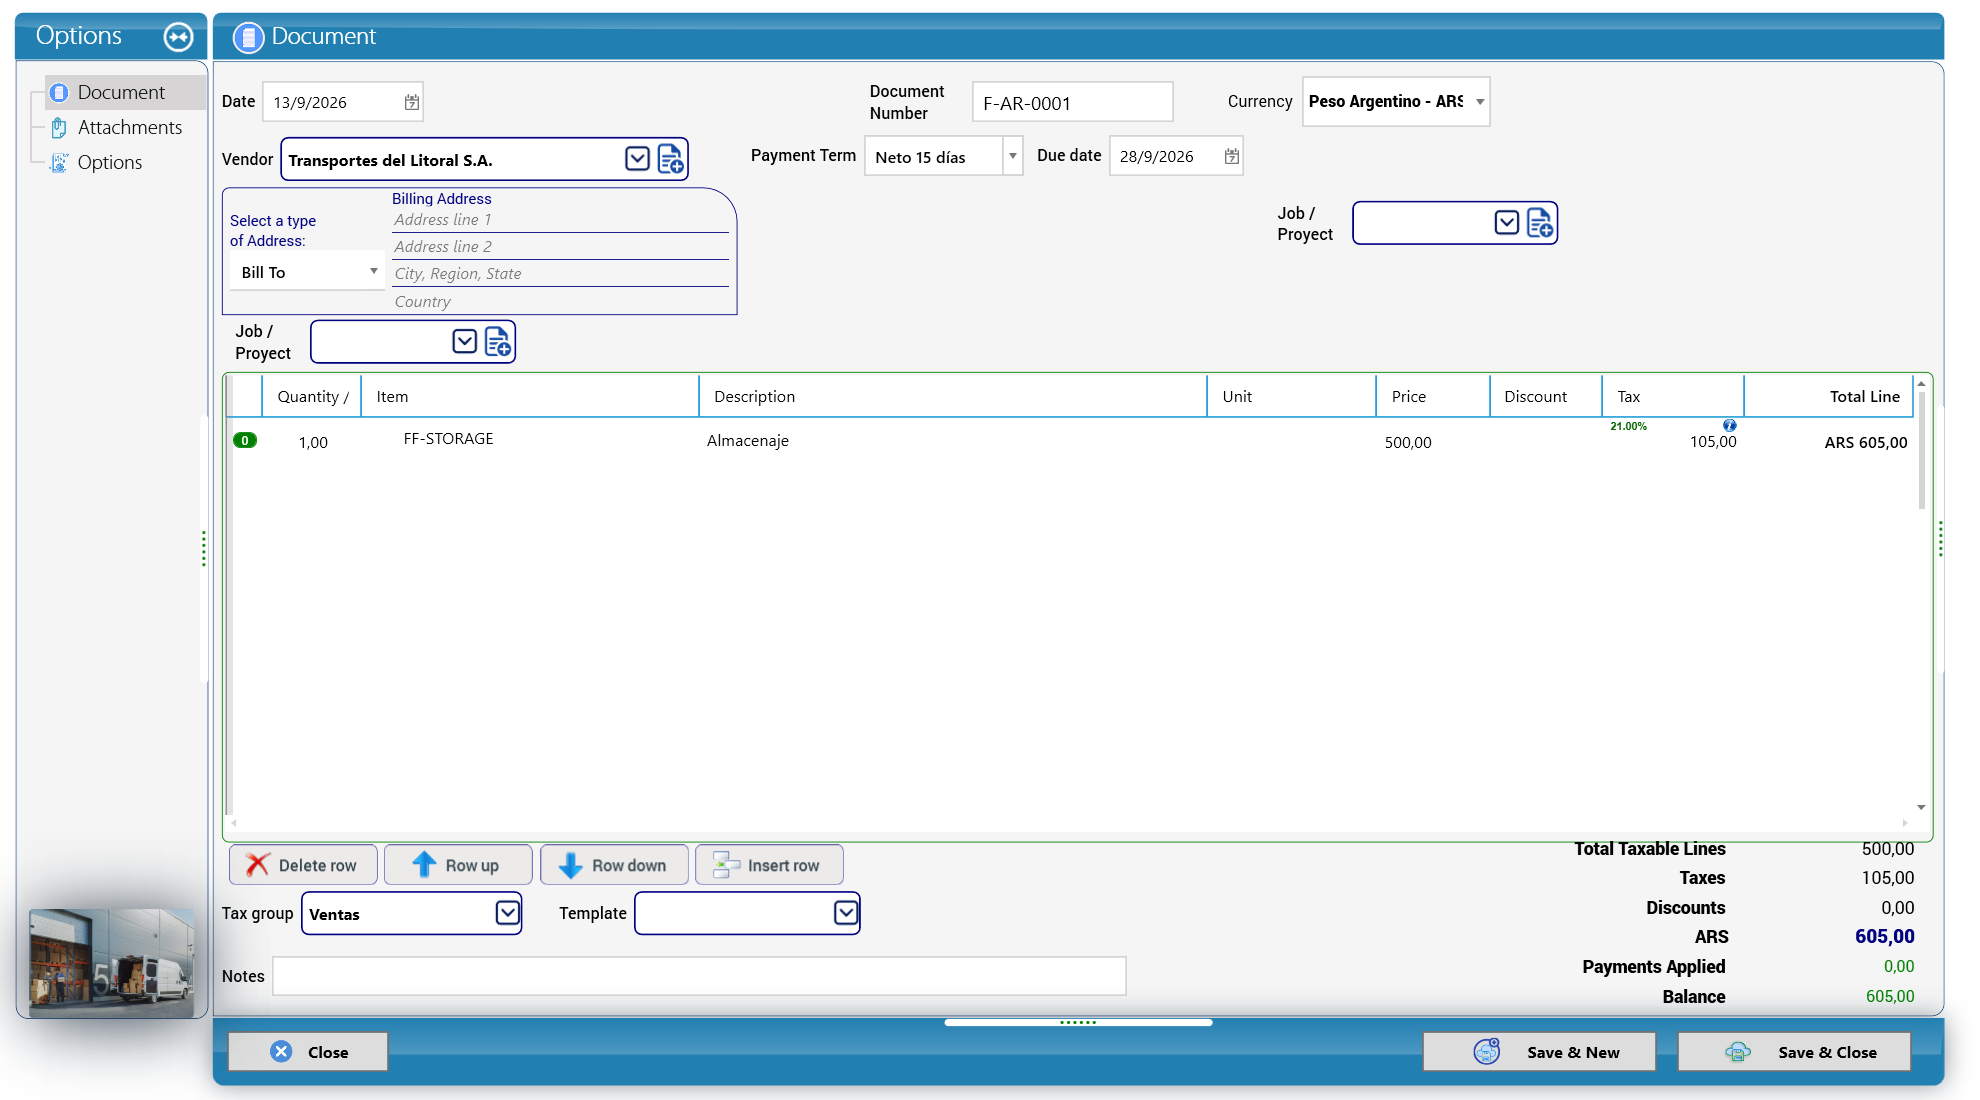
- Date: 13/9/2026.
- Document Number: the vendor's own invoice number — F-AR-0001. In practice, copy the letter, the point of sale and the number exactly as they appear on the voucher (for example, A 00003-00001234).
- Vendor: Transportes del Litoral S.A. The Billing Address shows the type Bill To, with empty lines.
- Payment Term: Neto 15 días; it also had to be chosen on the document (see the callout in section 5.1). Due date: 28/9/2026.
- Currency: Peso Argentino - ARS (cut off at the end). Job / Proyect appears twice on this screen, on the right and below the address, both empty (see Appendix B).
- Line: Quantity 1,00, Item FF-STORAGE, Description Almacenaje, Price 500,00. The Tax column shows 21.00% and 105,00; Total Line ARS 605,00.
- Tax group: Ventas (the 21% IVA group, section 3.2).
- Totals: Total Taxable Lines 500,00, Taxes 105,00, Discounts 0,00, ARS 605,00, Payments Applied 0,00, Balance 605,00.
- The buttons at the bottom are Close, Save & New and Save & Close. On the left, Options lists Document, Attachments and Options.
Accounting entry created by bill F-AR-0001:
| Account | Debit | Credit |
|---|---|---|
| 51170001 - Almacenaje (storage cost, Cost of Goods Sold) | 500.00 | |
| 11310001 - IVA credito fiscal 21% (IVA input tax) | 105.00 | |
| 21110001 - Cuentas por pagar proveedores (accounts payable - vendors) | 605.00 | |
| Total | 605.00 | 605.00 |
Here you can see the two setup decisions together:
- The cost went to 51170001, the purchase account of the item FF-STORAGE (section 1.9): storage bought to handle a client's cargo is a Cost of Goods Sold. (Notice that 41170001 - Almacenaje is an income account and 51170001 - Almacenaje a cost account: same name, different number.)
- The IVA paid did not go to cost: it went to 11310001 - IVA credito fiscal 21%, because the tax code has fiscal credit ticked (section 3.2). Those 105.00 will be deducted in the month's IVA return.
Careful: record bills this way only for invoices A (or the ones your accountant tells you) from vendors that are Responsables Inscriptos. An invoice B or C gives no input tax (section 3.2).
5.3 Customer credit note
A credit note (credit memo) reduces what a customer owes you: a discount agreed after invoicing, a billing error, a service not delivered. Never edit a sent invoice to give a discount — issue a credit note, so both documents tell the story.
Menu: Operations > Customer Credit Note.
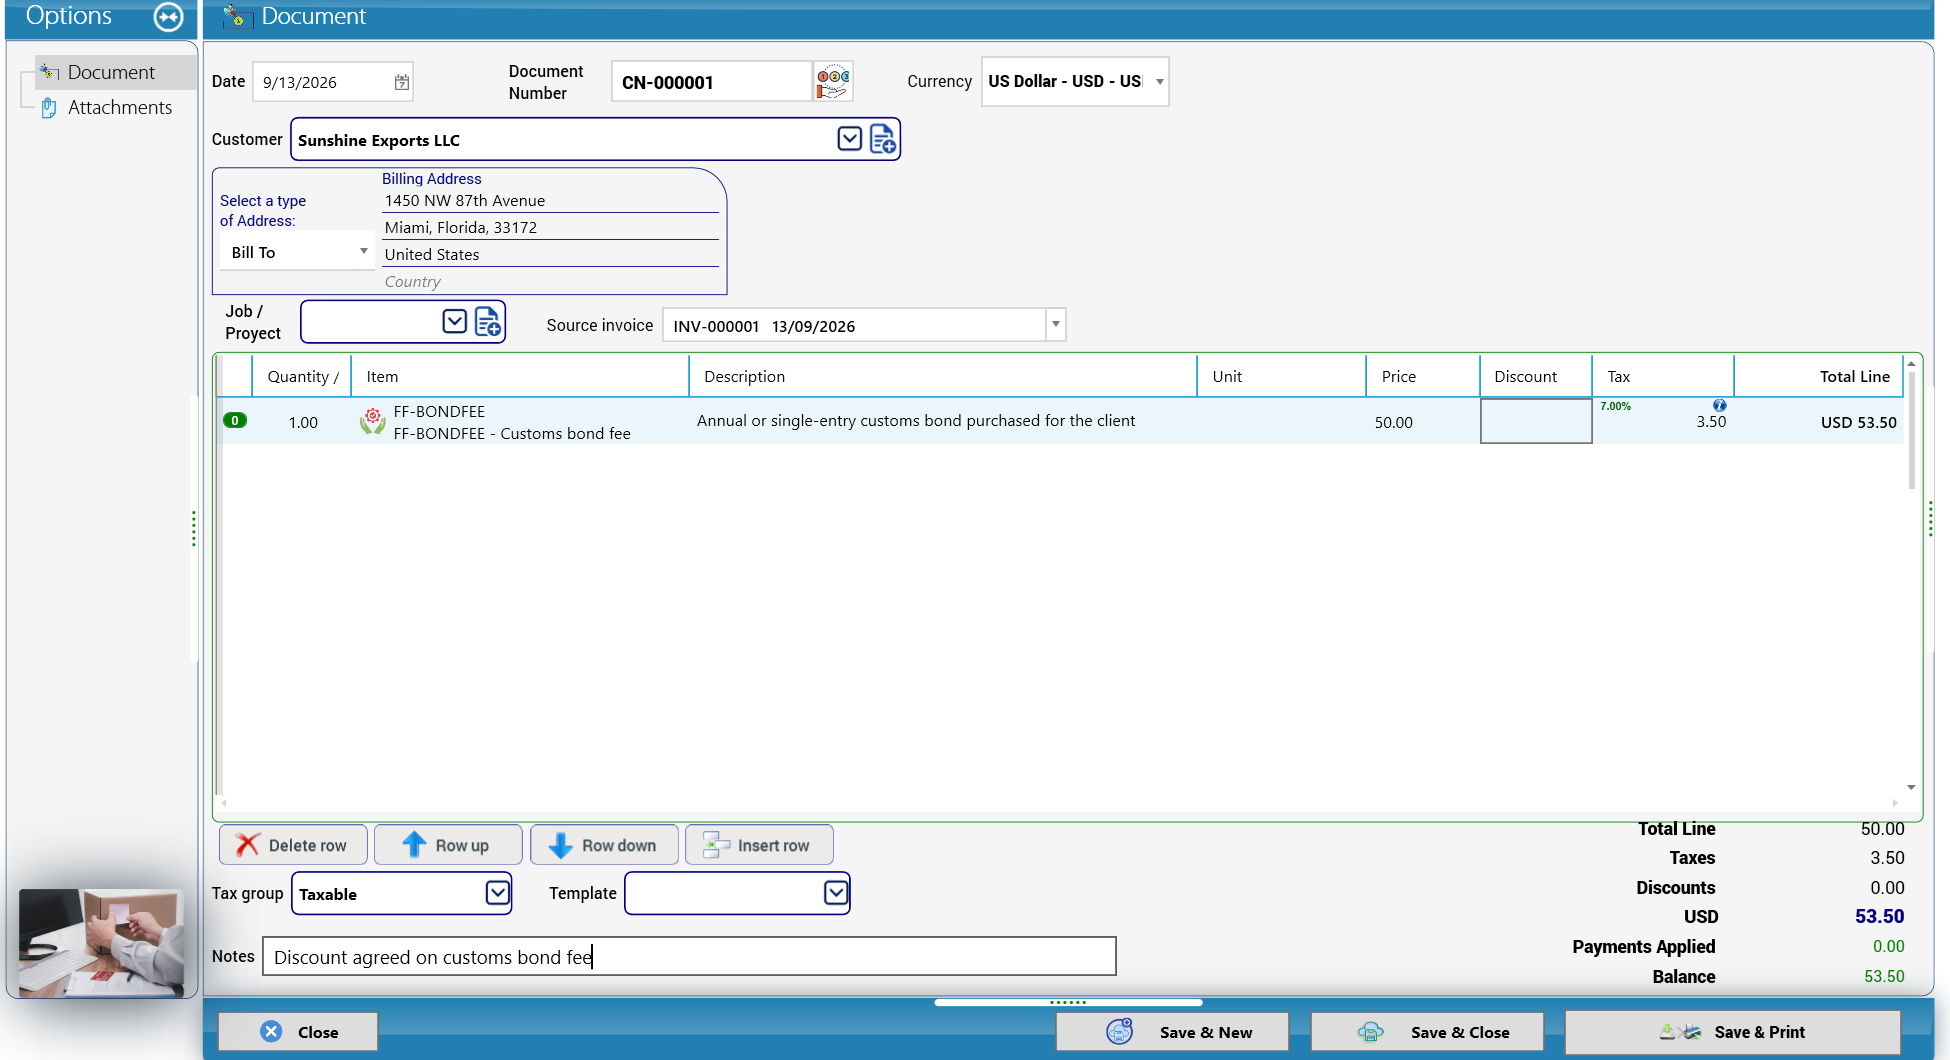
- Date 9/13/2026. Document Number CN-000001 (automatic).
- Customer: Sunshine Exports LLC.
- Source invoice: choose INV-000001. This links the credit note to the invoice it corrects.
- Line: Quantity 1.00, Item FF-BONDFEE - Customs bond fee, Price 50.00.
- Tax group: Taxable. Because the original invoice charged tax, the credit also returns the tax: 7.00% = 3.50.
- Totals: Total Line 50.00, Taxes 3.50, USD 53.50.
- Notes: Discount agreed on customs bond fee.
- Click Save & Close.
Accounting entry created by CN-000001:
| Account | Debit | Credit |
|---|---|---|
| 41170002 - Customs brokerage revenue | 50.00 | |
| 21210001 - Sales tax payable | 3.50 | |
| 11210001 - Accounts receivable - customers | 53.50 |
It is the invoice in reverse: income goes down, the tax owed to the state goes down, and the customer owes you less.
Argentina example. In Argentina the credit note is also an electronic voucher with its own CAE, and it carries the same letter as the invoice it corrects. Suppose Cargo Masters Argentina agrees a discount of 200.00 + IVA with Distribuidora Pampeana: Customer Distribuidora Pampeana S.A., Currency Peso Argentino - ARS, Source invoice INV-000001, line FF-STORAGE with Price 200.00 (without IVA, as on the invoice), Tax group Ventas. Because the original invoice charged IVA, the credit note also returns it: 21% = 42.00. Total 242.00.
Account Debit Credit 41170001 - Almacenaje (storage income) 200.00 21210001 - IVA debito fiscal 21% (IVA output tax) 42.00 11210001 - Cuentas por cobrar clientes 242.00 Total 242.00 242.00
5.4 Receiving a customer payment and applying the credit note
Sunshine Exports pays the invoice minus the credit: 374.50 − 53.50 = 321.00, by check number 2045.
Menu: Operations > Receive Payments.
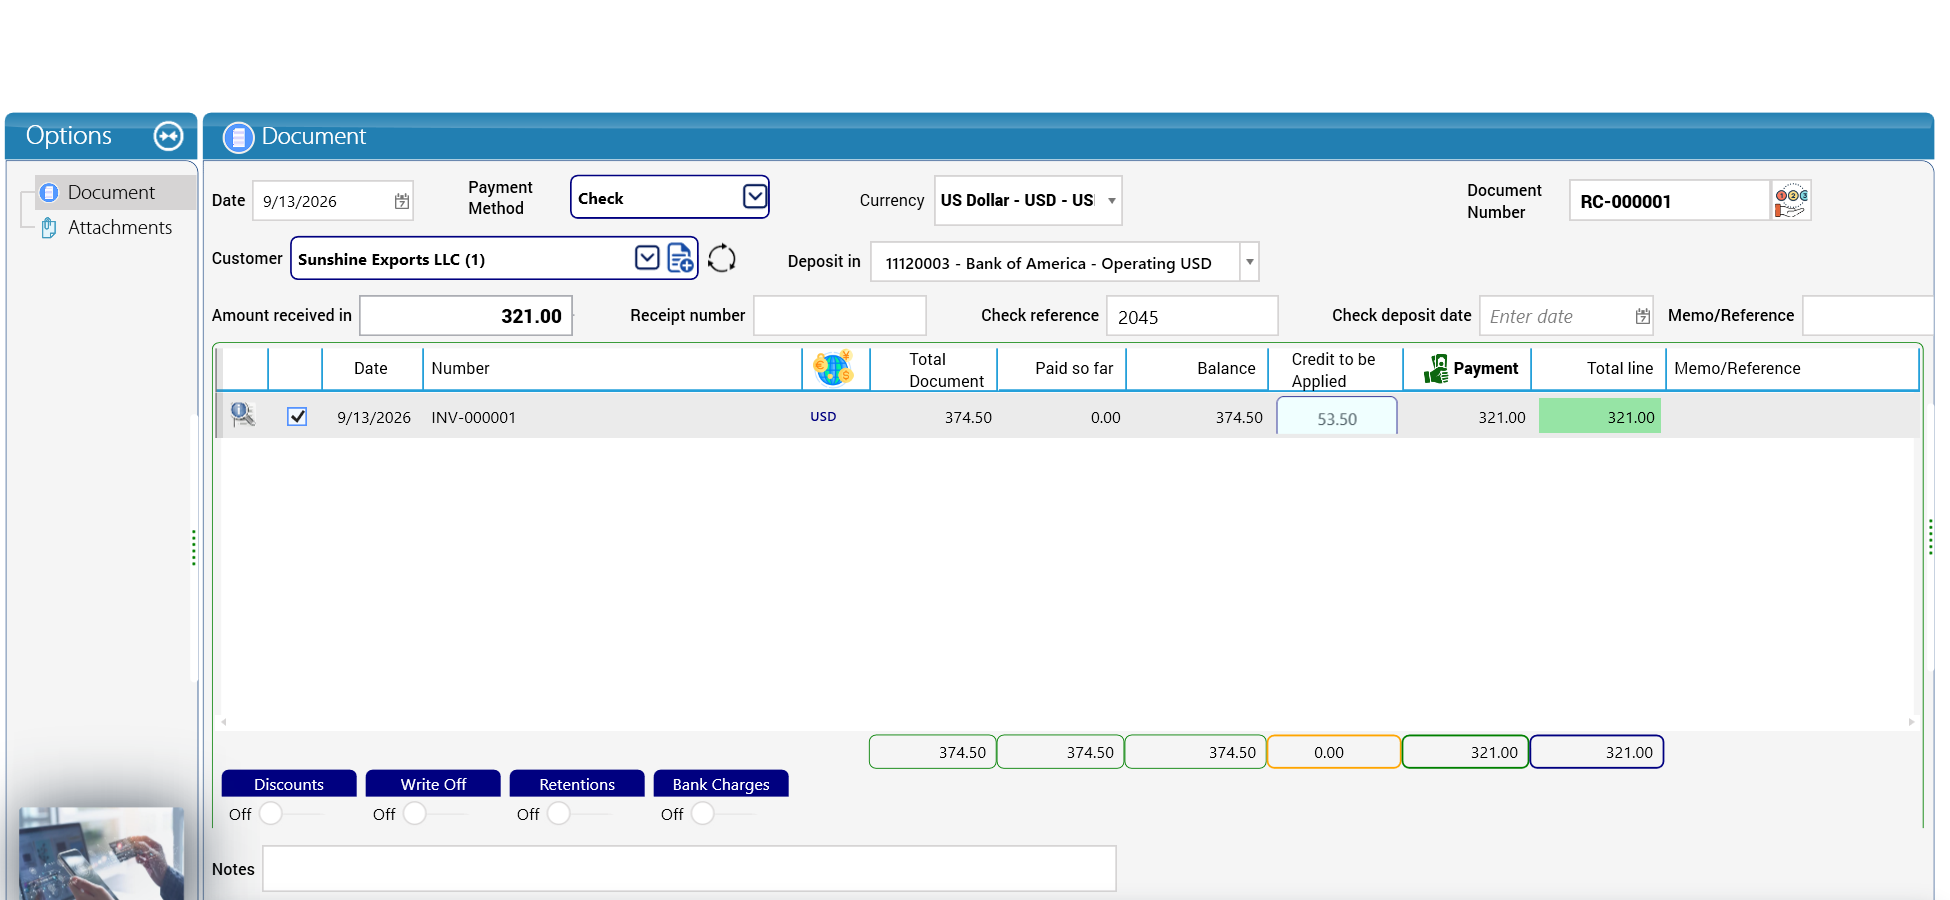
- Date 9/13/2026. Document Number RC-000001 (automatic).
- Payment Method: Check.
- Currency: US Dollar - USD.
- Customer: Sunshine Exports LLC. The number in brackets ((1)) is the number of open documents. The grid lists the open invoices.
- Deposit in: 11120003 - Bank of America - Operating USD — the account where the money goes.
- Amount received in: 321.00.
- Check reference: 2045. Receipt number, Check deposit date and Memo/Reference are optional.
- In the grid, tick the line of INV-000001. You see Total Document 374.50, Paid so far 0.00 and Balance 374.50.
- Apply the credit note: click the Credit to be Applied cell of the invoice line. The window Select the credit(s) you want to apply to the document opens, showing the balance of the invoice (374.50):
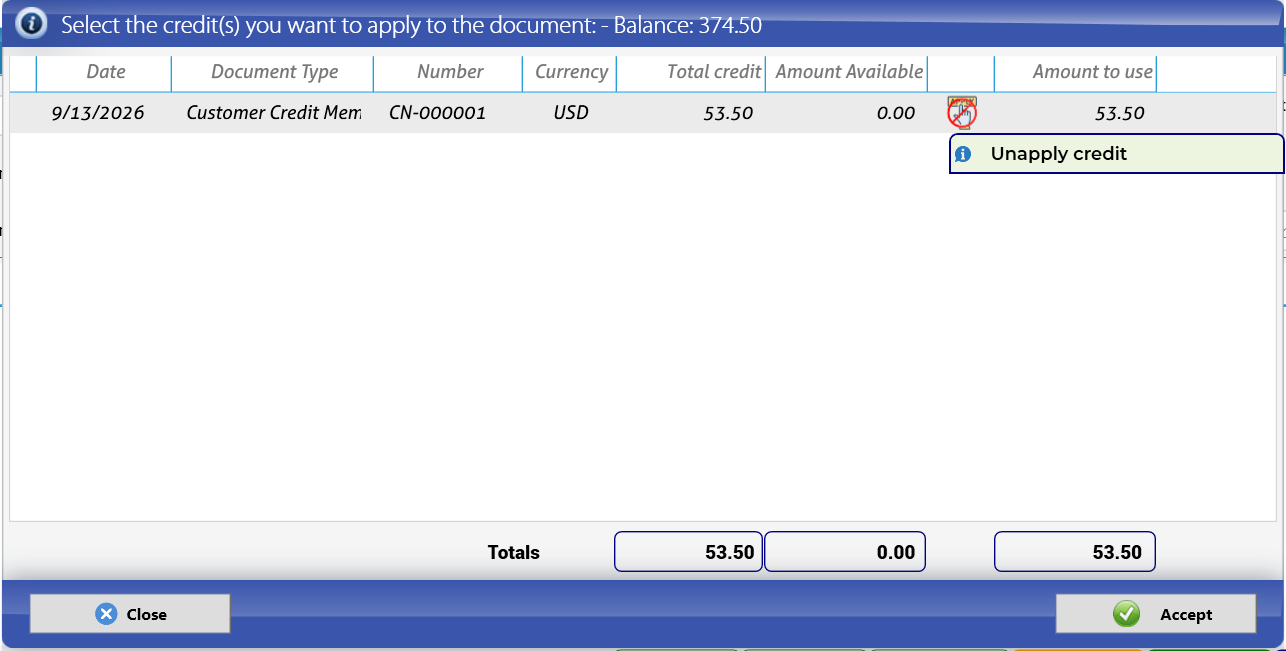
- The list shows the customer's available credits: Date, Document Type (Customer Credit Memo), Number (CN-000001), Currency, Total credit 53.50, Amount Available, and Amount to use.
- Apply the credit so that Amount to use is 53.50. Once applied, Amount Available drops to 0.00 and the button on the line shows the hint Unapply credit (click it if you applied the wrong credit).
- Check Totals and click Accept.
- Back on the payment, the line shows Credit to be Applied 53.50, Payment 321.00 and Total line 321.00.
- Leave Discounts, Write Off, Retentions and Bank Charges switched Off unless they apply (for example, Bank Charges when the bank deducts a wire fee).
- Save the payment.
Accounting entry created by RC-000001:
| Account | Debit | Credit |
|---|---|---|
| 11120003 - Bank of America - Operating USD | 321.00 | |
| 11210001 - Accounts receivable - customers | 321.00 |
Applying the credit note does not create another entry: the credit note already reduced the receivable in 5.3. Applying it only tells KeyTray which invoice the credit belongs to, so that the invoice is fully settled. Check it: 374.50 (invoice) − 53.50 (credit note) − 321.00 (payment) = 0.00.
Careful: in the footer of the payment grid, Paid so far and Credit to be applied can show misleading totals (in the screenshot, 374.50 and 0.00). Trust the values on the invoice line. See Appendix B.
Why it matters: if you save the payment without applying the credit, the invoice keeps an open balance of 53.50 and the credit note stays "available". Both look like pending items in your receivables, and someone may try to collect 53.50 the customer does not owe.
Argentina example. Distribuidora Pampeana pays the invoice minus the credit note: 1,210.00 − 242.00 = 968.00, by bank transfer. Currency Peso Argentino - ARS; Deposit in your peso bank account; Amount received in 968.00; the transfer's operation number can go in Memo/Reference. On the line of INV-000001 (total 1,210.00), apply the credit note for 242.00: the line shows Credit to be Applied 242.00 and Payment 968.00. Turn on Retentions only when the customer is a withholding agent (of IVA, income tax or Ingresos Brutos, section 3.2).
Account Debit Credit Peso bank account 968.00 11210001 - Cuentas por cobrar clientes 968.00 Check: 1,210.00 (invoice) − 242.00 (credit note) − 968.00 (payment) = 0.00.
5.5 Vendor credit note
Florida Road Logistics agrees it overcharged USD 30.00 for waiting time and sends a credit memo.
Menu: Operations > Vendor Credit Note.
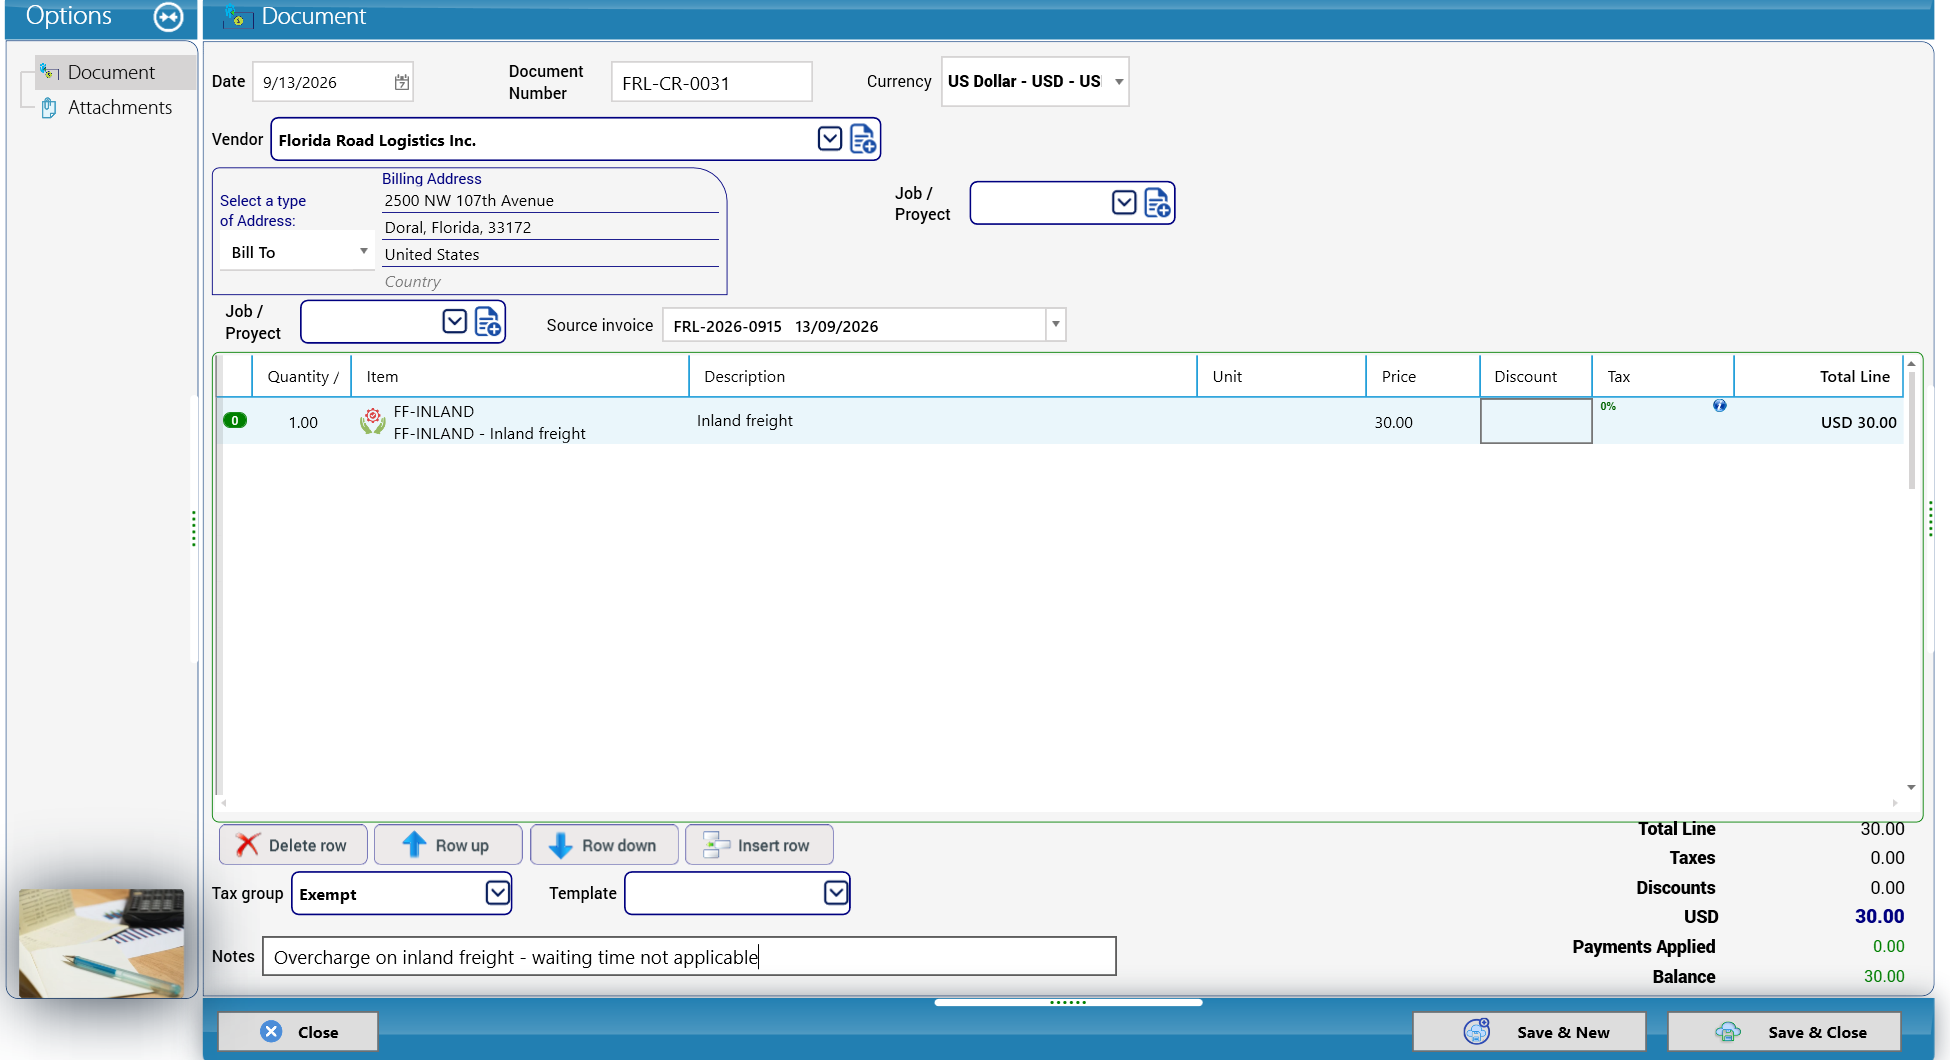
- Date 9/13/2026. Document Number: the vendor's credit memo number — FRL-CR-0031.
- Vendor: Florida Road Logistics Inc.
- Source invoice: FRL-2026-0915 (the bill being corrected).
- Line: Quantity 1.00, Item FF-INLAND - Inland freight, Price 30.00.
- Tax group: Exempt. Totals: USD 30.00.
- Notes: Overcharge on inland freight - waiting time not applicable.
- Click Save & Close.
Accounting entry created by the vendor credit note:
| Account | Debit | Credit |
|---|---|---|
| 21110001 - Accounts payable | 30.00 | |
| 51170008 - Local transport cost | 30.00 |
You owe the vendor less, and the cost of the trucking goes down by the same amount.
Argentina example. Suppose Transportes del Litoral admits it charged 50.00 too much and sends a credit note with its IVA: Vendor Transportes del Litoral S.A., Source invoice F-AR-0001, line FF-STORAGE with Price 50.00, Tax group Ventas: IVA 21% = 10.50, total 60.50.
Account Debit Credit 21110001 - Cuentas por pagar proveedores 60.50 51170001 - Almacenaje (storage cost) 50.00 11310001 - IVA credito fiscal 21% (IVA input tax) 10.50 Total 60.50 60.50 You owe the vendor less, the cost goes down 50.00 and your input tax goes down 10.50, because you no longer paid that tax.
Why it matters: if you recorded the vendor's credit note without IVA (group Exento), your input tax would stay 10.50 higher than the real figure and the IVA return would be wrong. A credit note must carry the same tax treatment as the invoice it corrects.
5.6 Paying a vendor and using the vendor credit
You now owe Florida Road Logistics 180.00 − 30.00 = 150.00. You pay with check 5001.
Menu: Operations > Pay Bills.
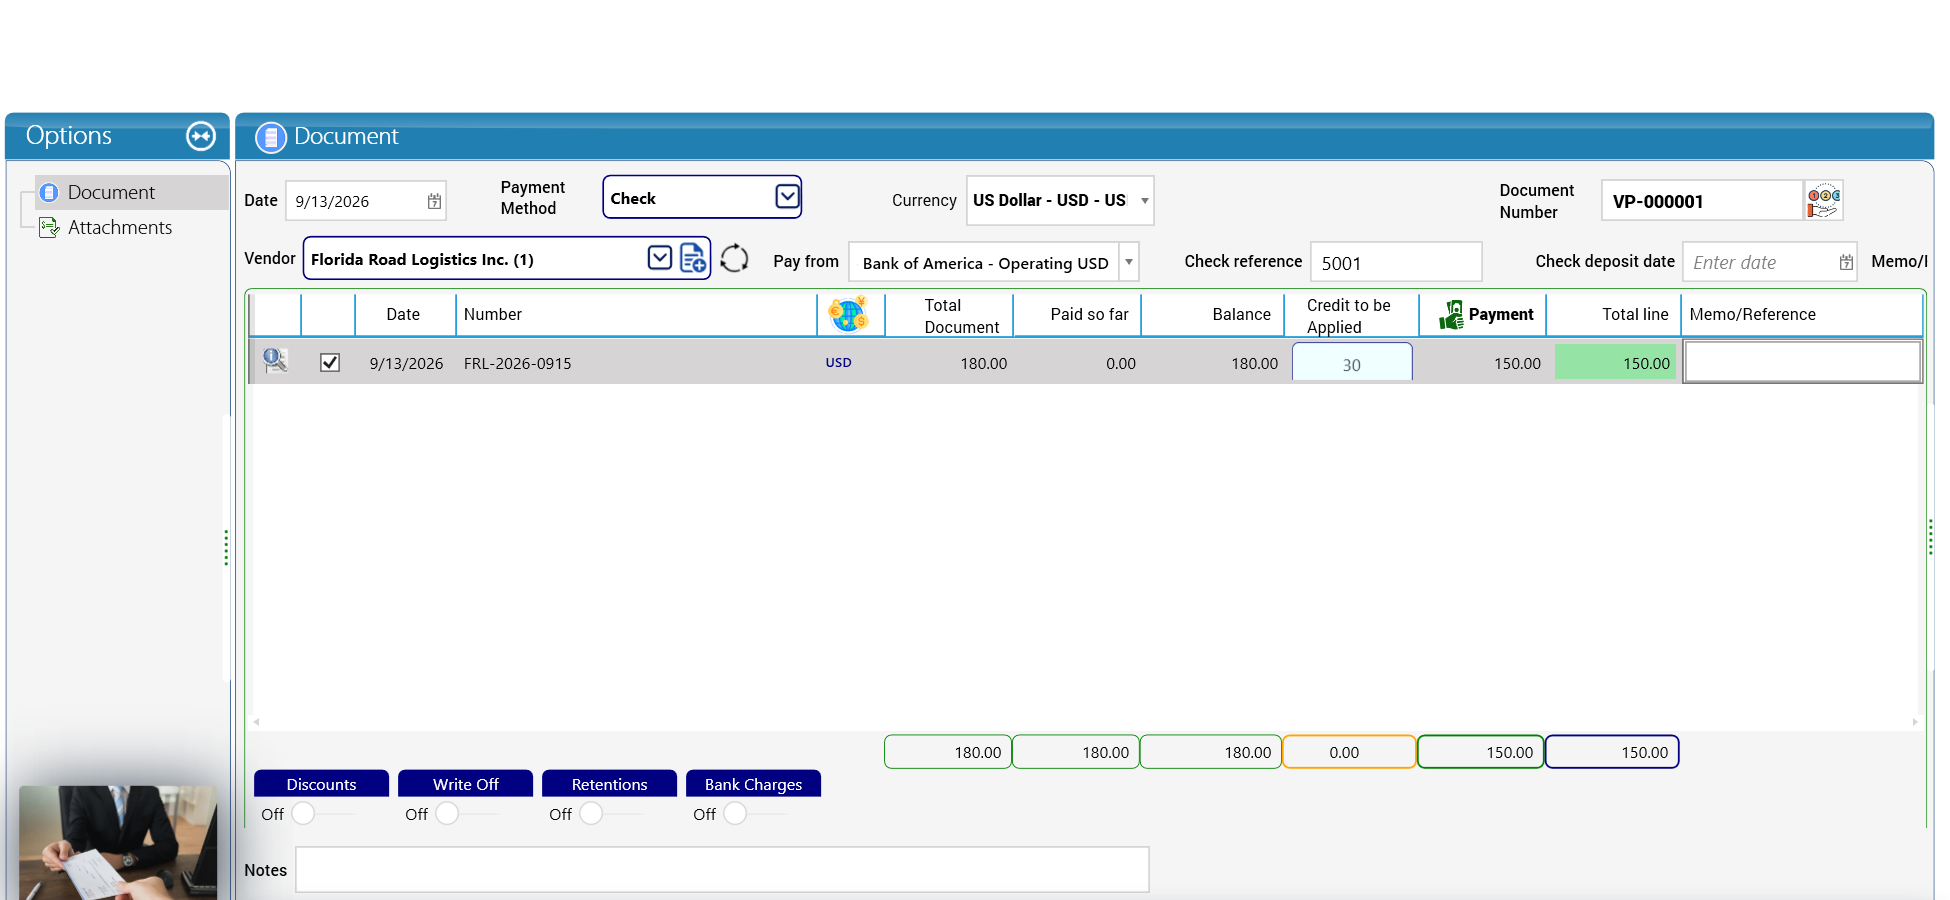
- Date 9/13/2026. Document Number VP-000001 (automatic).
- Payment Method: Check. Currency: US Dollar - USD.
- Vendor: Florida Road Logistics Inc.
- Pay from: Bank of America - Operating USD.
- Check reference: 5001.
- Tick the line of bill FRL-2026-0915 (Total Document 180.00, Balance 180.00).
- Click the Credit to be Applied cell to open the credit window:
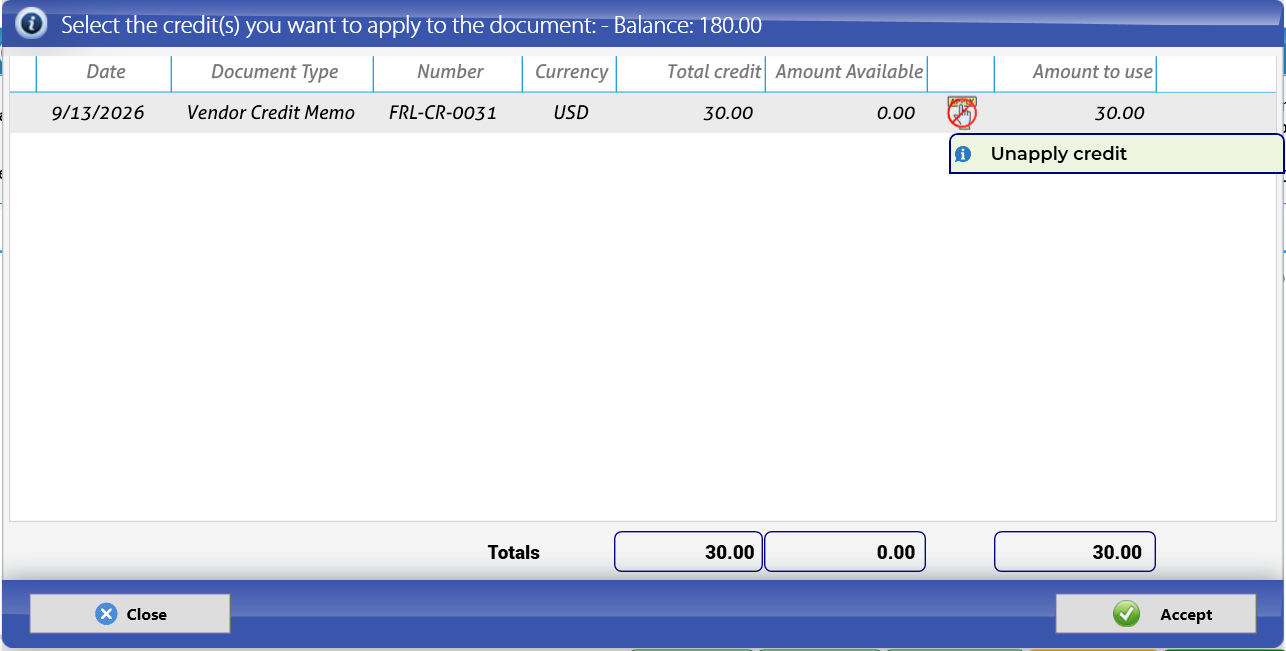
The window shows the bill balance (180.00) and the Vendor Credit Memo FRL-CR-0031 with Total credit 30.00. Apply it so that Amount to use is 30.00 (Amount Available becomes 0.00) and click Accept.
8. The line now shows Credit to be Applied 30, Payment 150.00, Total line 150.00.
9. Save the payment.
Accounting entry created by VP-000001:
| Account | Debit | Credit |
|---|---|---|
| 21110001 - Accounts payable | 150.00 | |
| 11120003 - Bank of America - Operating USD | 150.00 |
Check: 180.00 (bill) − 30.00 (credit) − 150.00 (payment) = 0.00 owed.
Careful: when you tick a bill that has a credit or discount applied, check that the Payment column shows the net amount (150.00), not the full bill (180.00). Paying the full amount would leave you with a USD 30 credit sitting at the vendor.
Argentina example. Suppose bill F-AR-0001 was corrected to 726.00 (section 5.7) and the vendor gave you the credit note of 60.50 (section 5.5). You owe 726.00 − 60.50 = 665.50. Pay from your peso bank account (a Check reference only if you pay with a check or an echeq); on the line of F-AR-0001 (total 726.00) apply 60.50: Credit to be Applied 60.50 and Payment 665.50.
Account Debit Credit 21110001 - Cuentas por pagar proveedores 665.50 Peso bank account 665.50 Check: 726.00 (corrected bill) − 60.50 (credit note) − 665.50 (payment) = 0.00 owed.
Careful: if your company is a withholding agent, when you pay certain vendors you must withhold part of the tax and give them the certificate. Ask your accountant how to record it before the first payment.
5.7 Finding and editing a document: the Operation List Explorer
Menu: Operations > List Explorer.
The explorer's ribbon lists every type of operation:

Journal Entries, Adjust Inventories, Quotes, Sales Orders, Invoices, Customer Credit Notes, Received Payments, Purchase Orders, Received Inventories, Bills, Vendor Credit Notes, Paid Bills, Checks, Deposits, Cash In Advanced Payments, Transfered Funds, Credit Card Charges and Bank Reconciliations.
Click one of them — for example Invoices — to open its list in a tab:

On the right, the actions for the selected document are Edit, Send, Void, Payment, Copy Document, Export To Excel and Assign Fiscal Stamping, plus Settings. Use the filter button on the left and Apply Filter to narrow the list (by date, customer, number...). Refresh list reloads it.
To edit invoice INV-000001:
- In Invoices, select the row of INV-000001.
- Click Edit. The invoice opens:
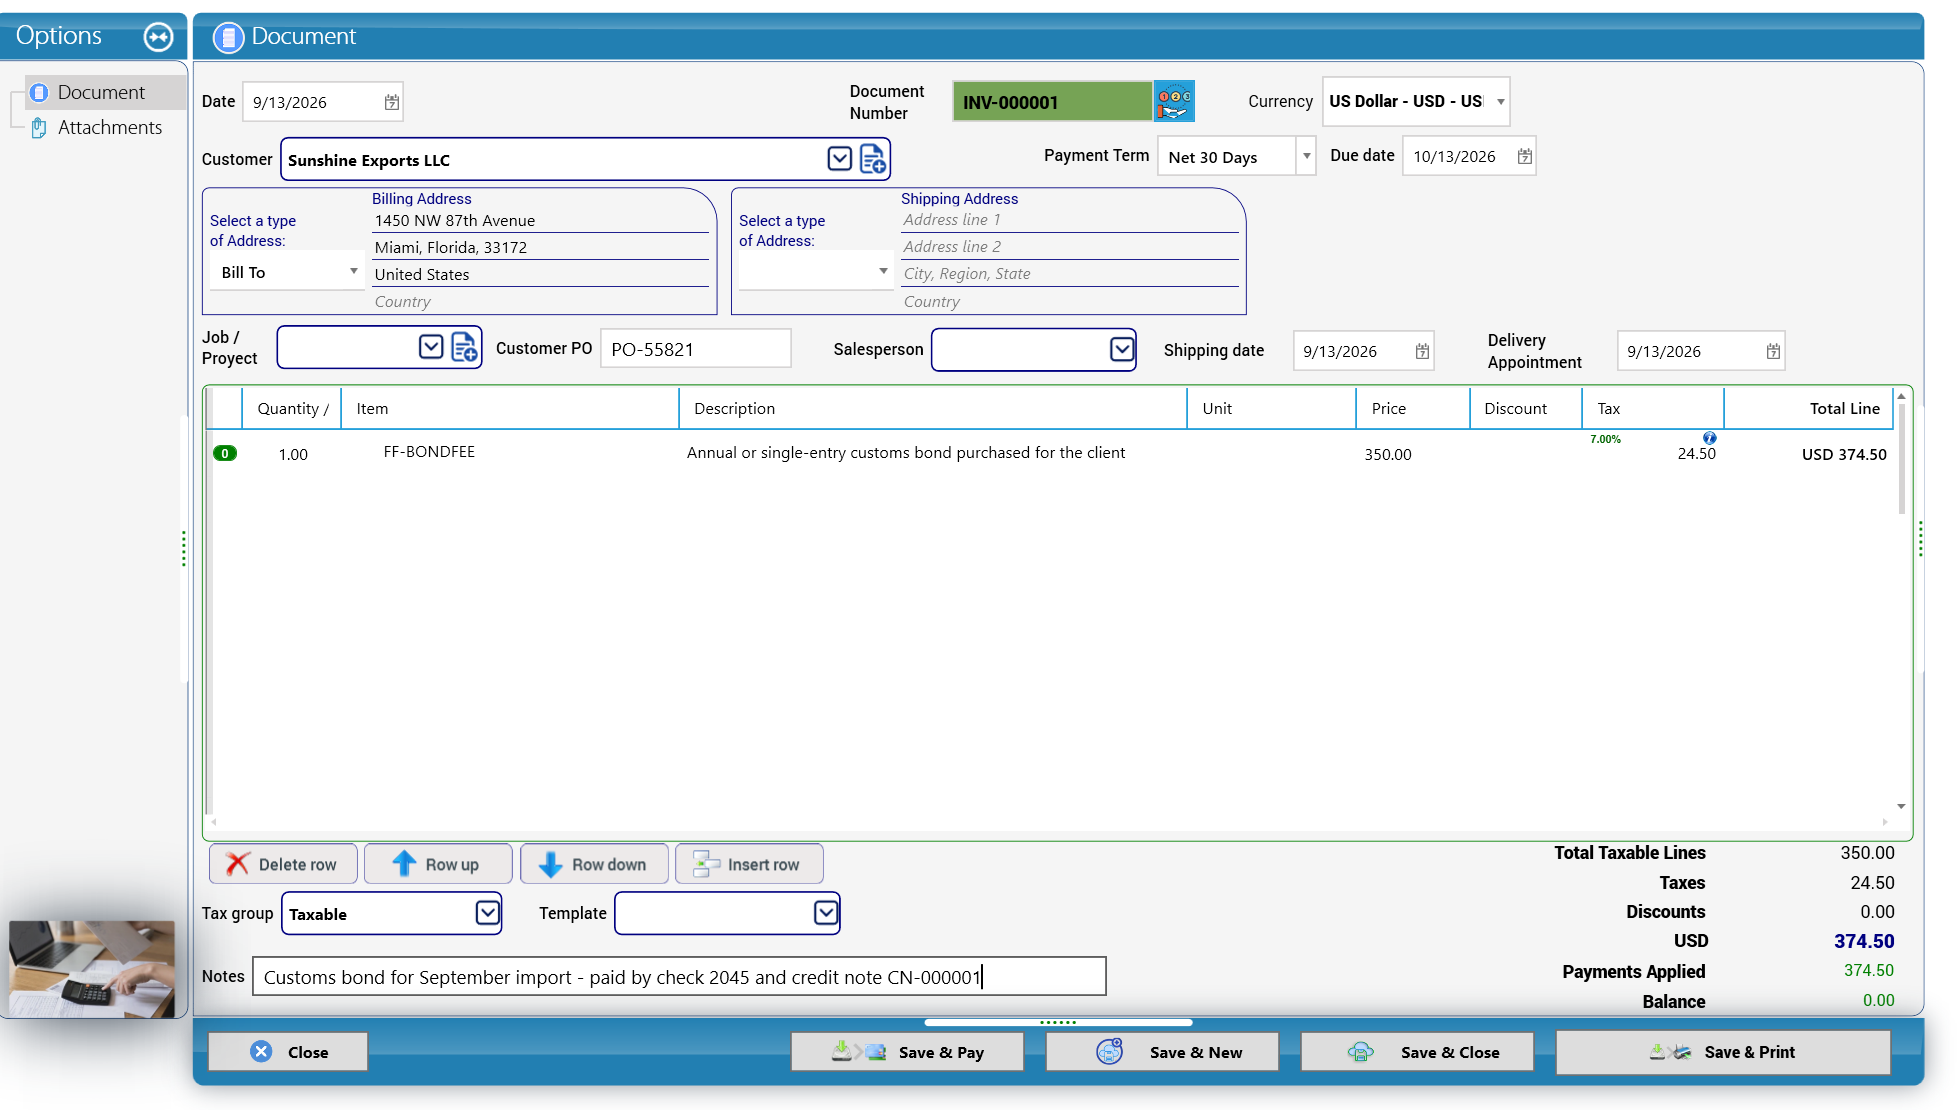
- The Document Number is shown in green, meaning it is an existing, saved document. The totals now show Payments Applied 374.50 and Balance 0.00: the credit note and the payment are applied.
- Make the change — in the demo, the Notes are completed: Customs bond for September import - paid by check 2045 and credit note CN-000001.
- Click Save & Close.
Careful: editing descriptive fields (notes, references) is harmless. Changing amounts, items, customer, date or tax group on a document that already has payments applied, or that belongs to a closed period, changes the accounting of the past. For amount corrections, prefer a credit note (or Void and re-enter, if your accountant agrees), and remember that closed periods must be reopened with a reason (chapter 2).
Argentina example: correcting a bill
Suppose Transportes del Litoral tells you its invoice F-AR-0001 was wrong: the service cost 600.00 + IVA, that is, 726.00.
- In Bills, select the row of F-AR-0001 and click Edit.
- Change the Price of the line to 600.00. KeyTray recalculates the tax at 21% = 126.00 and the Total Line to 726.00.
- Check the totals: Total Taxable Lines 600.00, Taxes 126.00, Balance 726.00.
- In Notes, record the reason: The vendor corrected the invoice: 600.00 + IVA.
- Click Save & Close.
What KeyTray does with the accounting when you change an amount: it does not "erase" the old entry. It voids the previous entry and posts a new one with the corrected amounts, so the trail of what happened remains:
Previous entry, voided (its effect is reversed):
| Account | Debit | Credit |
|---|---|---|
| 51170001 - Almacenaje (cost) | ||
| 11310001 - IVA credito fiscal 21% | ||
| 21110001 - Cuentas por pagar proveedores |
New entry (example):
| Account | Debit | Credit |
|---|---|---|
| 51170001 - Almacenaje (cost) | 600.00 | |
| 11310001 - IVA credito fiscal 21% | 126.00 | |
| 21110001 - Cuentas por pagar proveedores | 726.00 | |
| Total | 726.00 | 726.00 |
Careful — Argentina: a document whose IVA was already declared to ARCA also belongs to the past. A sales invoice that already has a CAE is corrected with a credit note (or a debit note), not by editing it: a voucher authorized by ARCA is not modified.
Careful: if you only change the Notes without touching any amount, the text may not be saved. After saving, reopen the document and check it (see Appendix B).
5.8 The Transaction Journal: seeing the accounting behind the documents
Menu: Operations > Accounting Explorer > Transaction Journal.
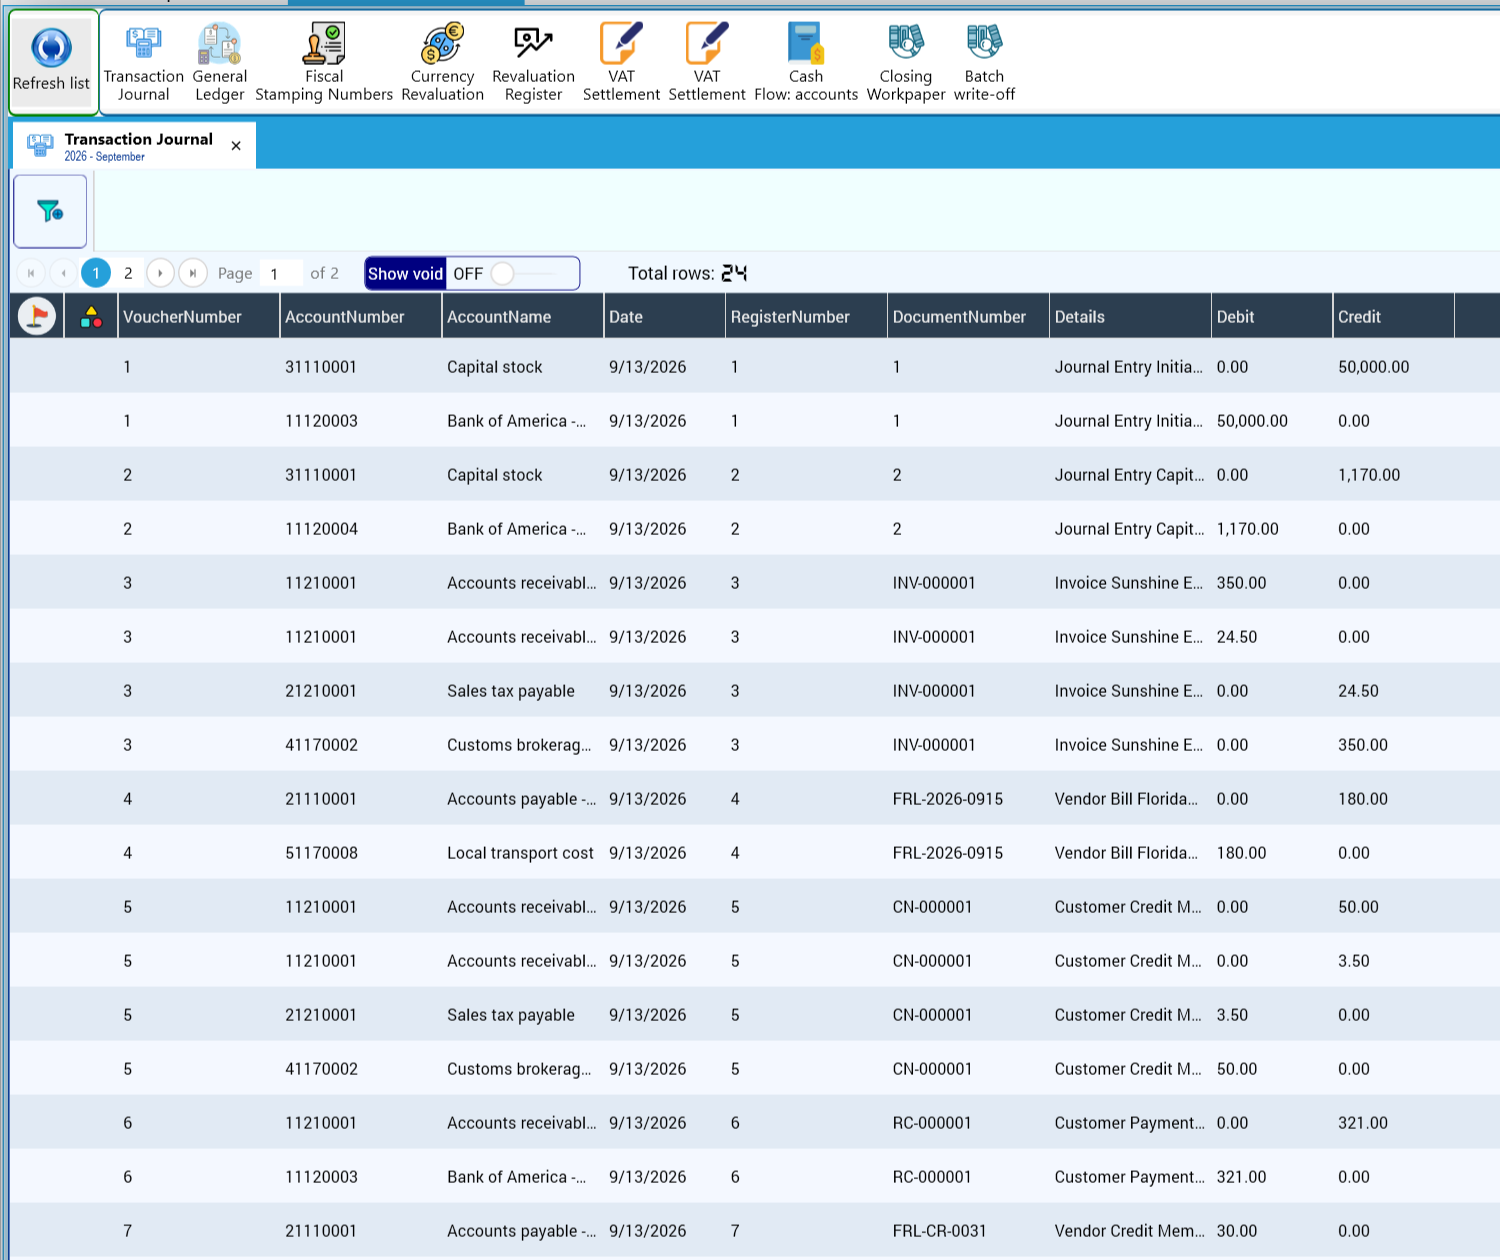
The Transaction Journal tab (2026 - September) shows every accounting line with VoucherNumber, AccountNumber, AccountName, Date, RegisterNumber, DocumentNumber, Details, Debit and Credit. Use the pager (Page 1 of 2) to move through the pages, and Show void to include voided entries. Total rows shows how many lines there are.
In the demo you can follow the whole chapter:
| Voucher | Document | What it shows |
|---|---|---|
| 1 | Journal entry 1 | Bank of America debit 50,000.00 / Capital stock credit 50,000.00 |
| 2 | Journal entry 2 | Bank of America EUR debit 1,170.00 / Capital stock credit 1,170.00 (the euro entry in dollars) |
| 3 | INV-000001 | Accounts receivable debit 350.00 and 24.50 / Sales tax payable credit 24.50 / Customs brokerage revenue credit 350.00 |
| 4 | FRL-2026-0915 | Accounts payable credit 180.00 / Local transport cost debit 180.00 |
| 5 | CN-000001 | Accounts receivable credit 50.00 and 3.50 / Sales tax payable debit 3.50 / Customs brokerage revenue debit 50.00 |
| 6 | RC-000001 | Accounts receivable credit 321.00 / Bank of America debit 321.00 |
| 7 | FRL-CR-0031 | Accounts payable debit 30.00 (the matching credit line continues on page 2) |
Why it matters: when a report looks wrong, the Transaction Journal is where you find out which document posted which account. If an airline charge shows up in an office expense account, this is where you will see it — and the fix is almost always in the item (section 1.9).
In Cargo Masters Argentina: the month's summary and the monthly IVA return
These are the real entries of the demo company:
| Document | Debit | Credit |
|---|---|---|
| INV-000001 | Accounts receivable 1,210.00 | Income 1,000.00 · IVA output tax 210.00 |
| F-AR-0001 | Cost 500.00 · IVA input tax 105.00 | Accounts payable 605.00 |
Result of the operation: income 1,000.00, cost 500.00, gross profit 500.00. Pending: 1,210.00 to collect from Distribuidora Pampeana and 605.00 to pay to Transportes del Litoral, both due on September 28, 2026.
Why it matters — how the monthly IVA return is prepared with these figures:
Concept Calculation Amount Output tax (IVA collected) 210.00 from INV-000001 210.00 Input tax (IVA paid) 105.00 from F-AR-0001 105.00 IVA payable to ARCA 210.00 − 105.00 105.00 The balance of 21210001 - IVA debito fiscal 21% is 210.00 credit and the balance of 11310001 - IVA credito fiscal 21% is 105.00 debit. When the return is paid, your accountant records:
Account Debit Credit 21210001 - IVA debito fiscal 21% 210.00 11310001 - IVA credito fiscal 21% 105.00 Peso bank account 105.00 Both tax accounts return to zero and only 105.00 leaves the bank: the government receives the tax on the value you added ((1,000.00 − 500.00) × 21% = 105.00), not on the whole sale. If the IVA on the purchase had been charged to cost (Mistake 5 in section 1.2), the company would have paid 210.00 instead of 105.00.
If the Argentina examples of sections 5.3 to 5.7 were also recorded (credit note to the customer for 242.00, bill corrected to 726.00 and vendor credit note for 60.50), the month would look like this:
| Concept | Calculation | Amount |
|---|---|---|
| Output tax | 210.00 − 42.00 | 168.00 |
| Input tax | 126.00 − 10.50 | 115.50 |
| IVA payable to ARCA | 168.00 − 115.50 | 52.50 |
And the result would be: net income 800.00, net cost 550.00, gross profit 250.00, with receivables and payables at zero after the payment received of 968.00 and the payment made of 665.50.
5.9 Quotes and sales orders
A quote is the offer to the customer and a sales order is the commitment once the customer accepts. Both use the same window as the sales invoice (customer, currency, lines, taxes), but they do not post a journal entry and are not fiscal documents: the entry and the fiscal document come with the invoice. They convert into each other without retyping anything, per line and partially: the quote becomes a sales order and the sales order an invoice, or the quote an invoice directly.
Menu: Operations > New Quote and Operations > New Sales Order (Customer Operations group). The lists are under Operations > List Explorer, which opens the Operation List Explorer with the Quotes and Sales Orders buttons.

Creating the quote with its template
- Click New Quote. Choose the quote template opens, with the General template and the ten KeyTray Cargo templates.
- Choose the template of the service you are quoting. In the example, Air freight.
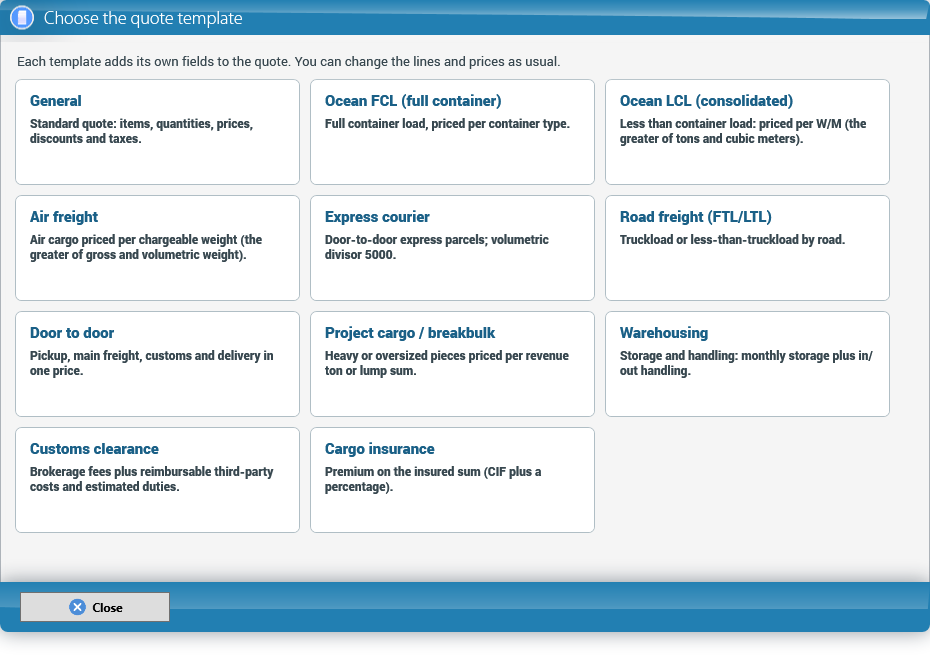
| Template | For | Calculates by itself |
|---|---|---|
| General | Any quote: items, prices and taxes, plus customer reference and delivery time. | — |
| Ocean FCL | Full containers (20' GP, 40' GP, 40' HC, 40' reefer). | Total containers and TEU. |
| Ocean LCL | Consolidated cargo per W/M. | Tons and chargeable W/M. |
| Air freight | Air cargo per chargeable weight. | Volumetric weight (m3 × 166.67) and chargeable weight. |
| Express courier | Door-to-door express parcels. | Chargeable weight with divisor 5000. |
| Road freight (FTL/LTL) | Full or partial truckload. | — |
| Door to door | Pickup, freight, customs and delivery in one price. | — |
| Project cargo | Heavy or oversized pieces. | Revenue tons. |
| Warehousing | Monthly storage plus inbound and outbound moves. | Pallet-months. |
| Customs clearance | Brokerage fee, third-party costs and duties. | Fee (% of CIF with a minimum). |
| Cargo insurance | Premium on the insured sum. | Insured sum (CIF + 10%) and premium. |
- On the Document tab enter the customer, the payment term and the lines, as in an invoice. Quotes have their own numbering (QT-1, QT-2...) and Valid until starts 30 days ahead.
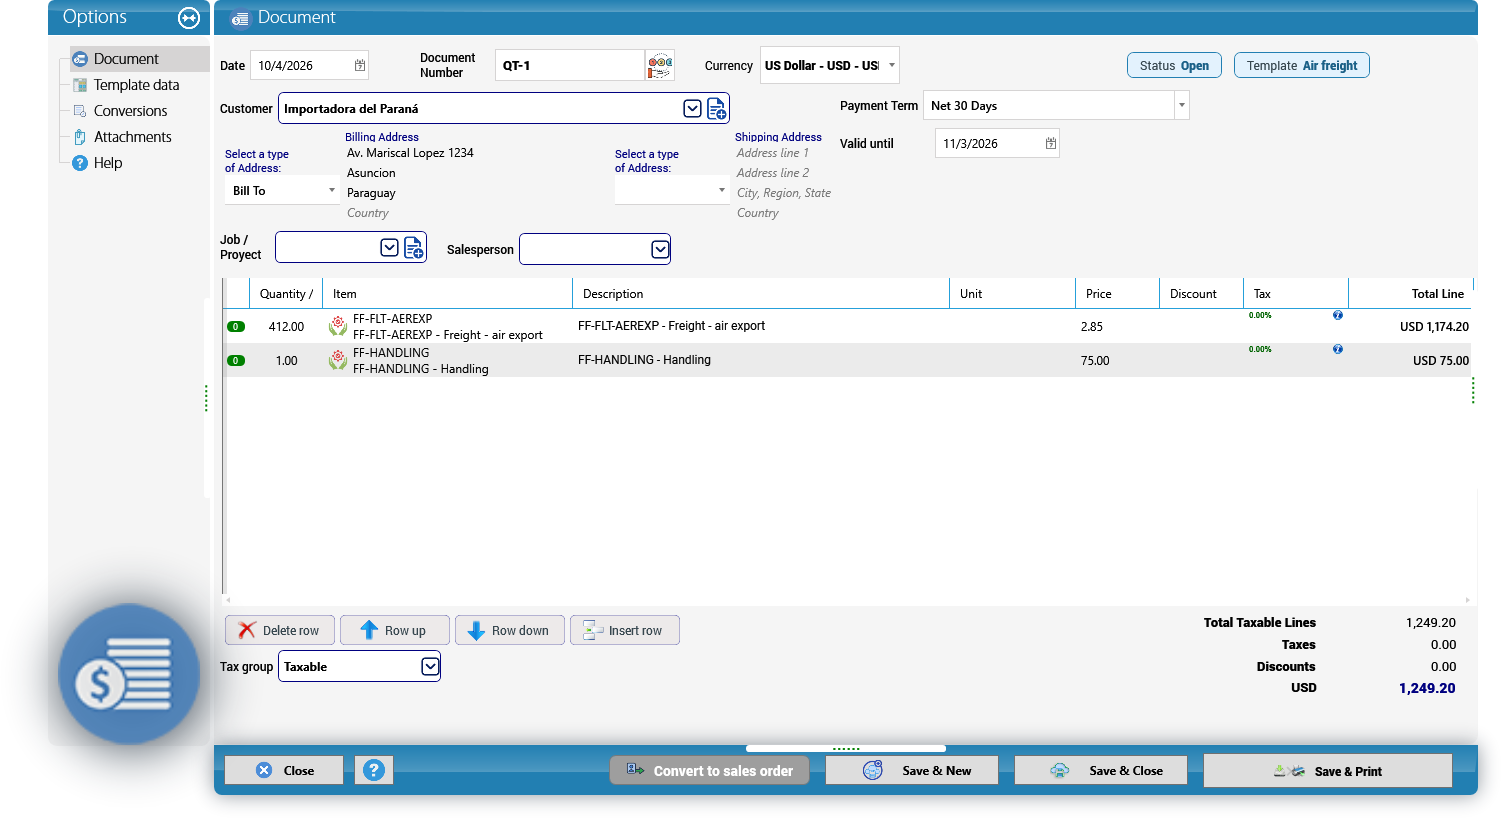
- On the Template data tab fill in the form: route, cargo and service. Fields with an asterisk are required; fields in the Calculated group are filled in by KeyTray as you type (the Refresh button recalculates them). In the example, 412 kg gross and 2.36 m3 give 412 kg chargeable.
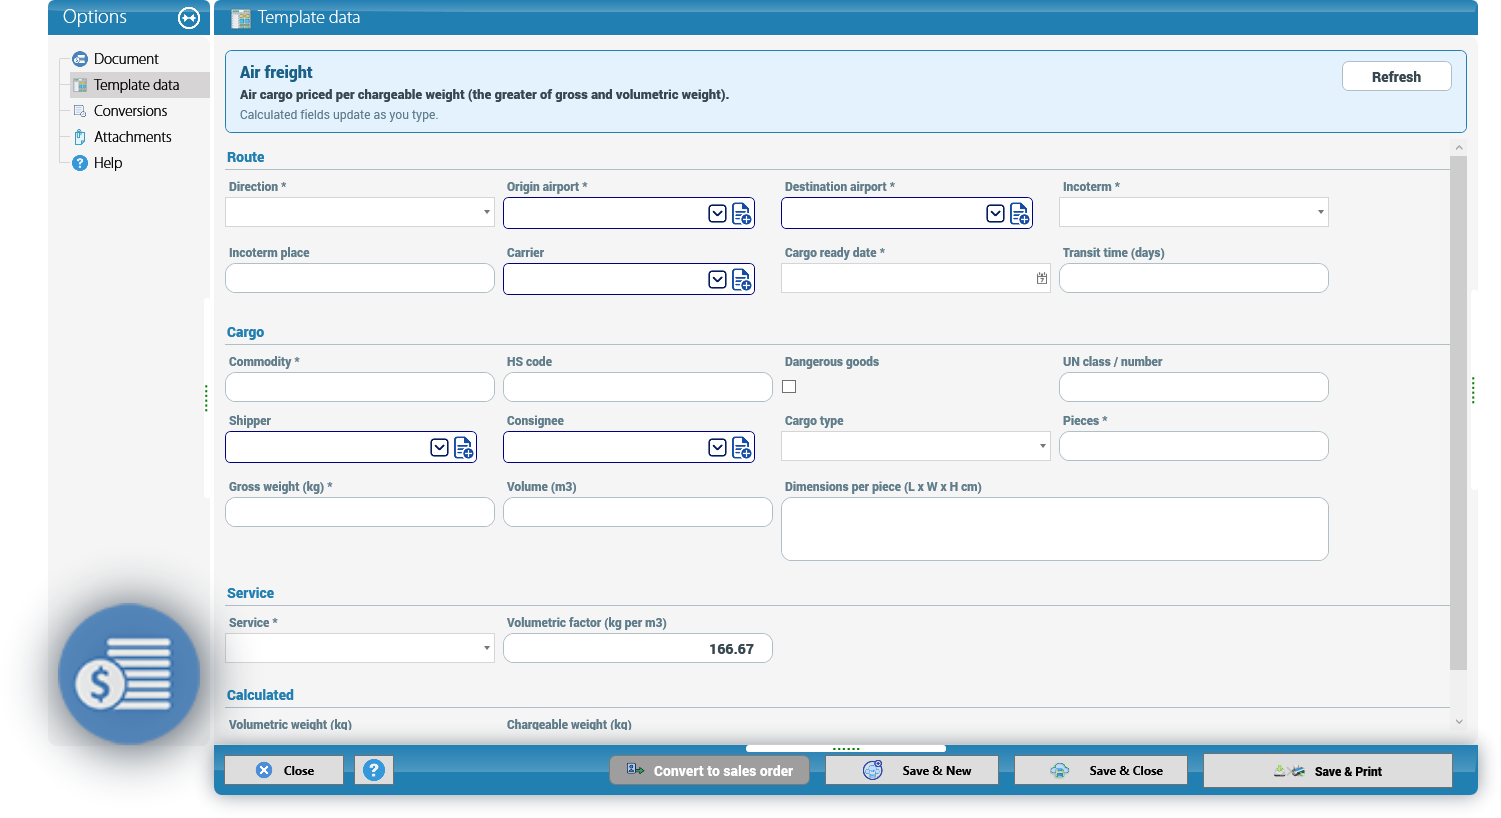
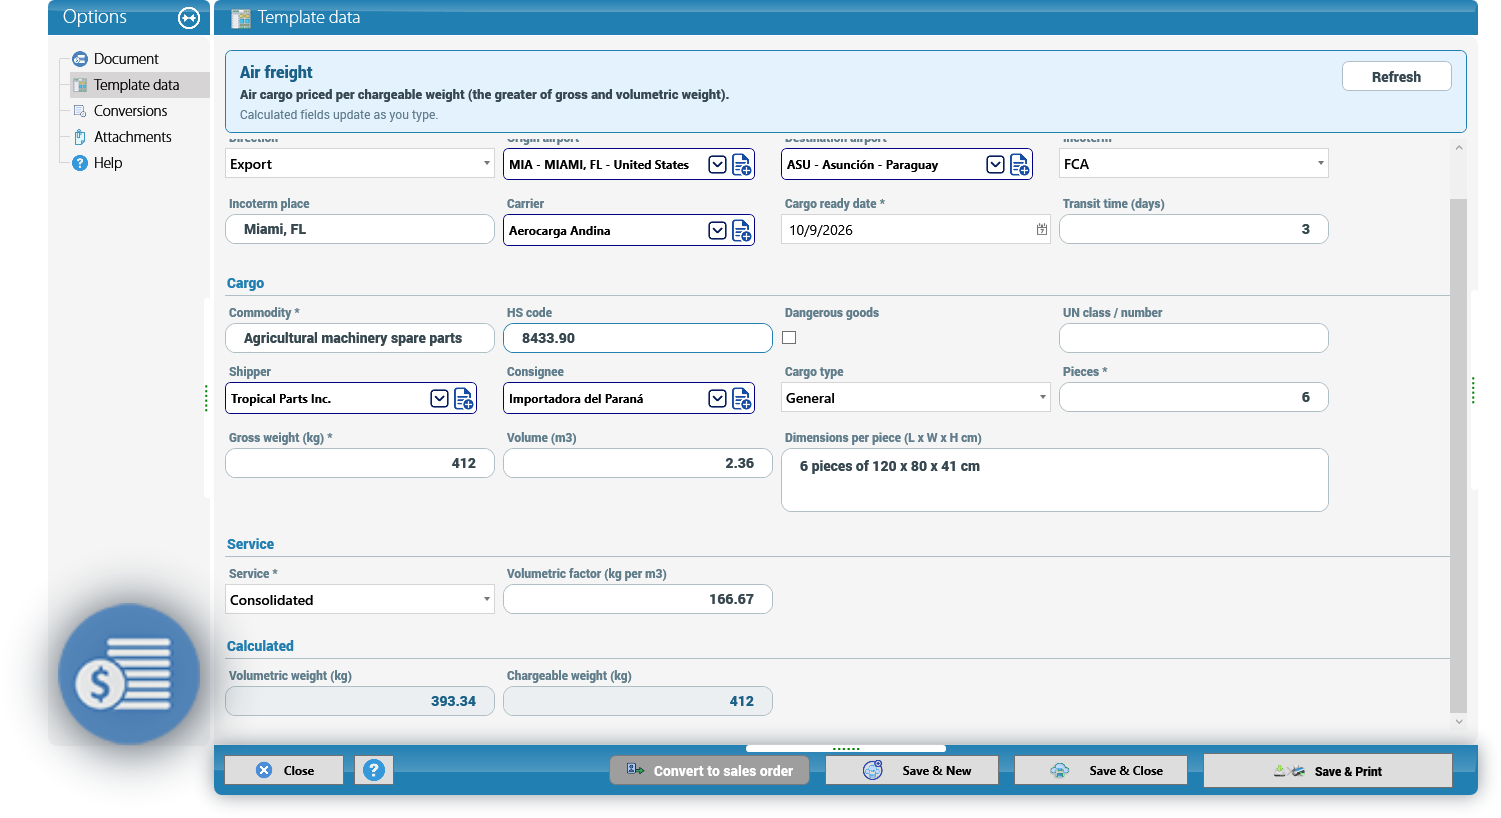
- Save. If a required field is missing, KeyTray says so and takes you to the tab. Save & Print opens the Operations quote formats, which include the template data meant for the customer.
Converting to a sales order and invoicing
- With the quote saved, click Convert to sales order. A new sales order (with its own numbering, SO-1, SO-2...) opens with the customer, the template and what is still pending on each line. If the customer confirms only part of it, lower the quantity: in the example, 300 of the 412 kg.
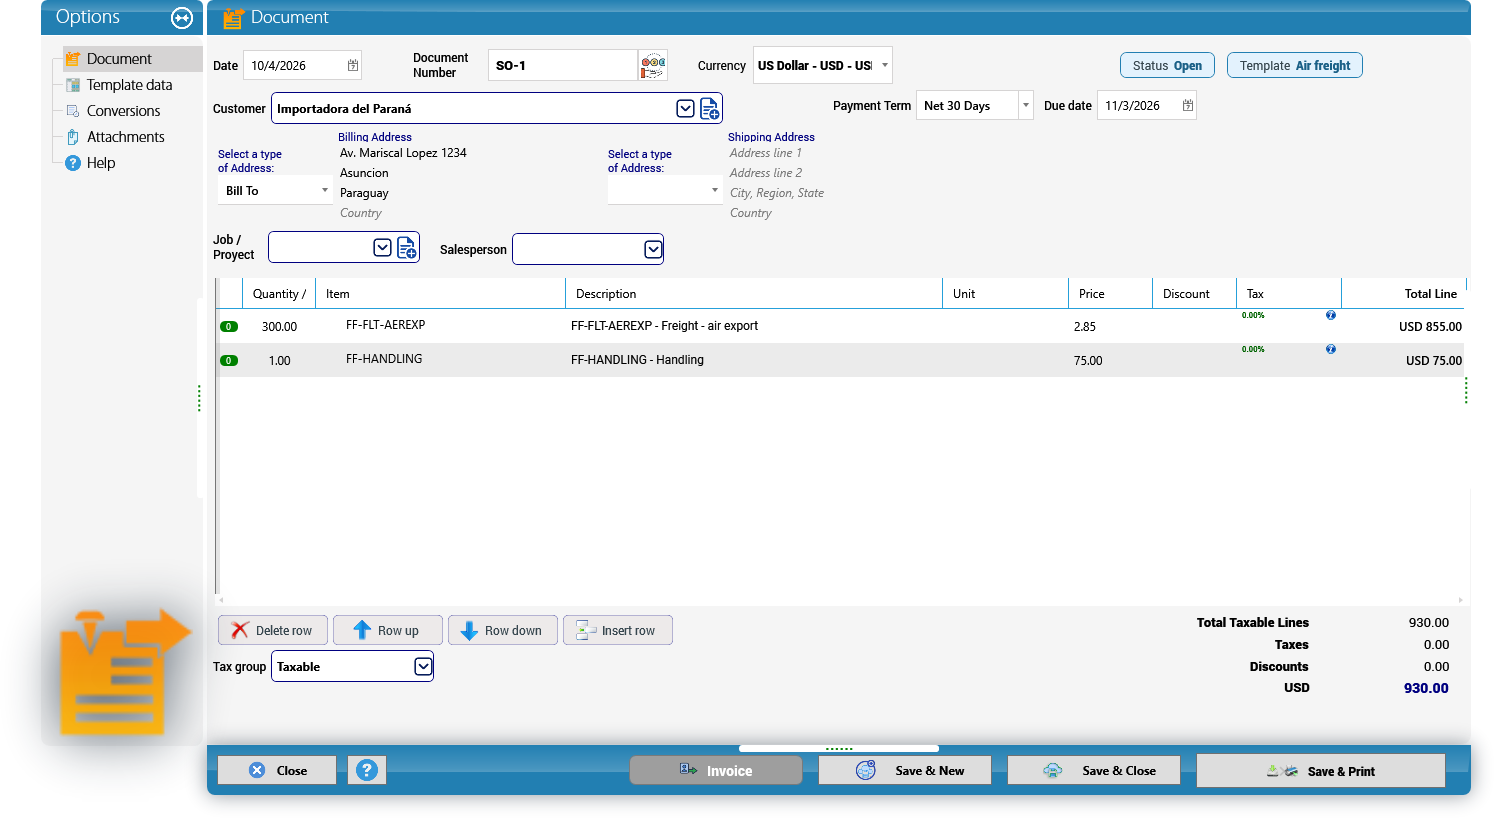
- On the saved sales order, Invoice opens a regular sales invoice (with its journal entry, fiscal numbering and, where applicable, e-invoice) for what is pending on the order.
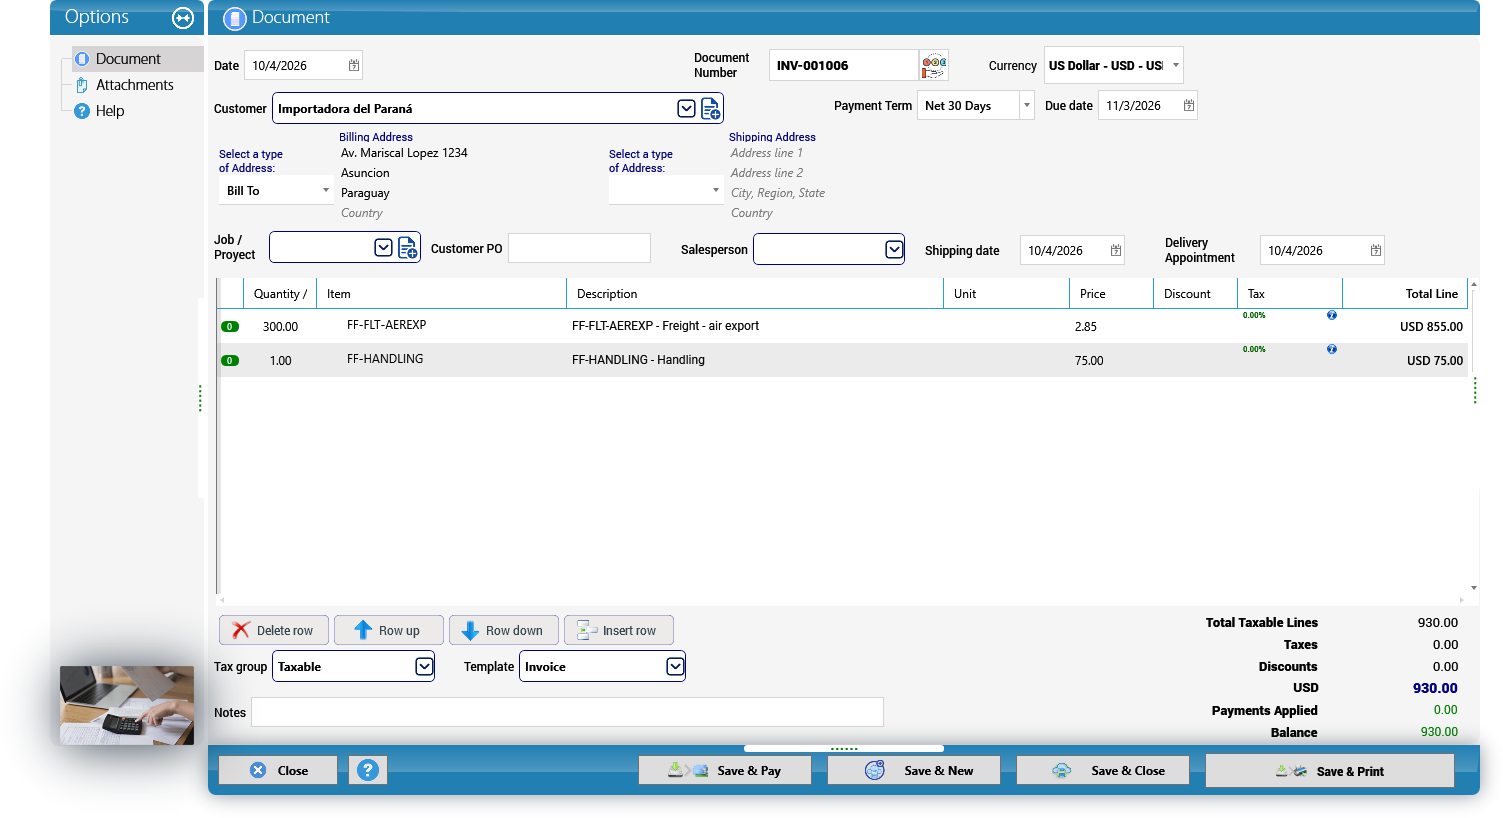
- What remained pending on the quote (112 kg) can go to another sales order or be invoiced directly: the quote's Conversions tab > Invoice.
The Conversions tab shows the source document and the generated documents, each with Open. It also has Mark as accepted, Mark as rejected (a rejected quote cannot be converted) and Reopen.
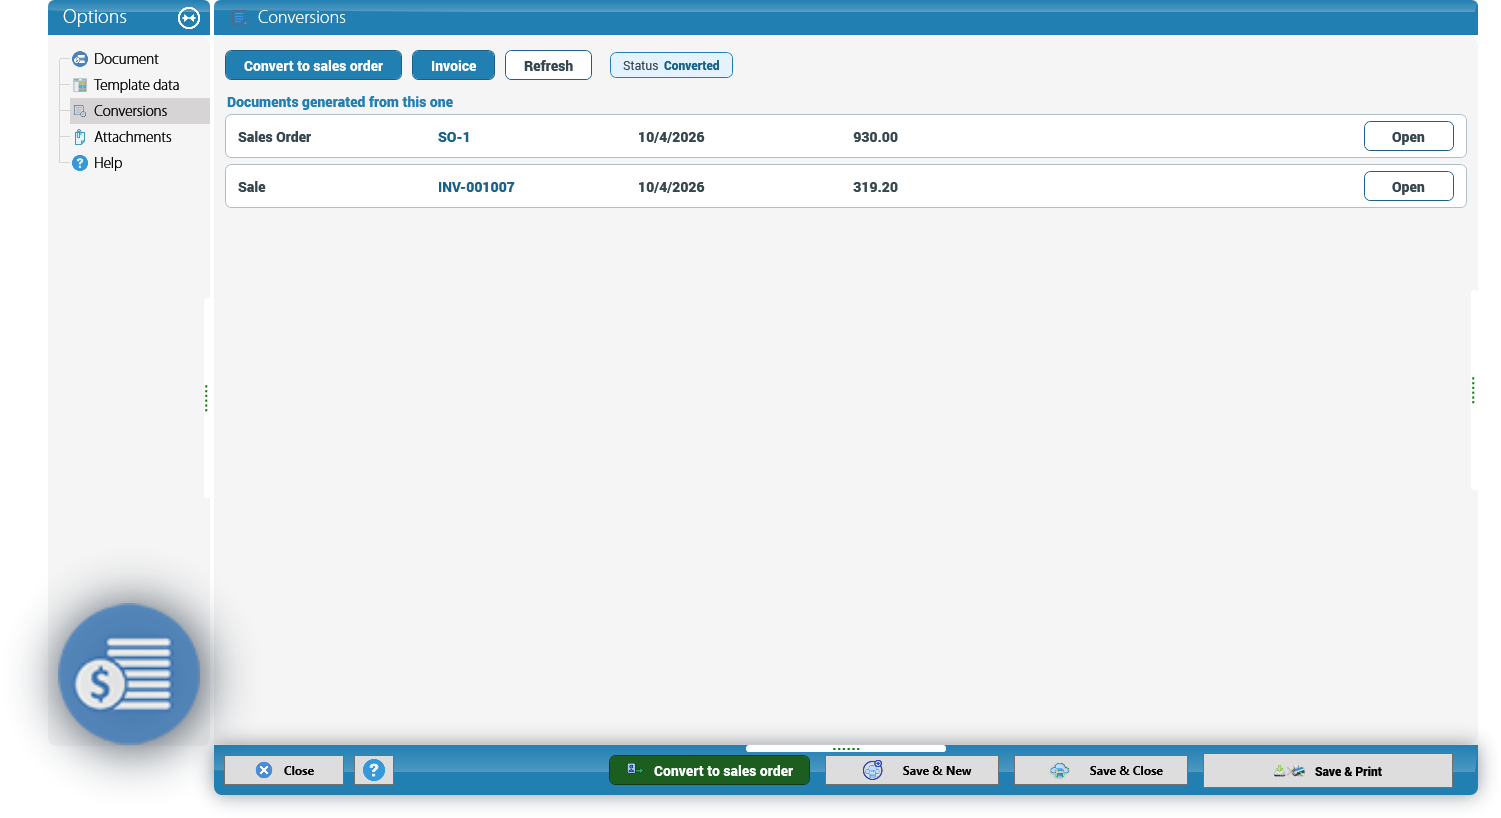
If you void a sales order or an invoice that came out of a conversion, its quantities become pending again on the source document.
Following up in the lists
The Quotes list shows the status of each quote (Open, Expired, Accepted, Partially converted, Converted, Rejected or Voided), the quantity still pending and the generated documents. Sales Orders also shows the source quote and the invoices.

From the CRM: an accepted CRM quote has the Formal quote button, which creates this Operations quote with the template of the transport mode and the cargo data already filled in (chapter 15).
6. Warehouse Receipt, Repacking and Dispatch
This chapter follows the physical cargo: three boxes of organic dried fruit arrive at the Miami warehouse by courier, are consolidated on one pallet, and are dispatched to be loaded on the air shipment of chapter 7.
All the warehouse operations are on the Freight Forwarding ribbon:

- List Explorer.
- Mobiles: PDA Config.
- Business Elements: New FF Agency, New Shipper, New Carrier, New Consignee, New Supplier, New Freight Vehicle, New Driver.
- Operations: New Booking, New PickUp Order, New Inland Order, New Pre-Reception, New Warehouse Receipt, New Repacking, New Dispatch, Shipment Request, New Cargo Release, New Shipment.
Why it matters — accounting: warehouse operations track cargo, not money. A pre-reception, a warehouse receipt, a repacking or a dispatch does not post anything to the ledger by itself. Money only enters the books when charges are invoiced or billed — for example when the shipment is settled (chapter 7).
6.1 Pre-Reception
A pre-reception registers packages at the door, usually by scanning the courier's tracking numbers, before the full warehouse receipt is prepared.
Menu: Freight Forwarding > New Pre-Reception.
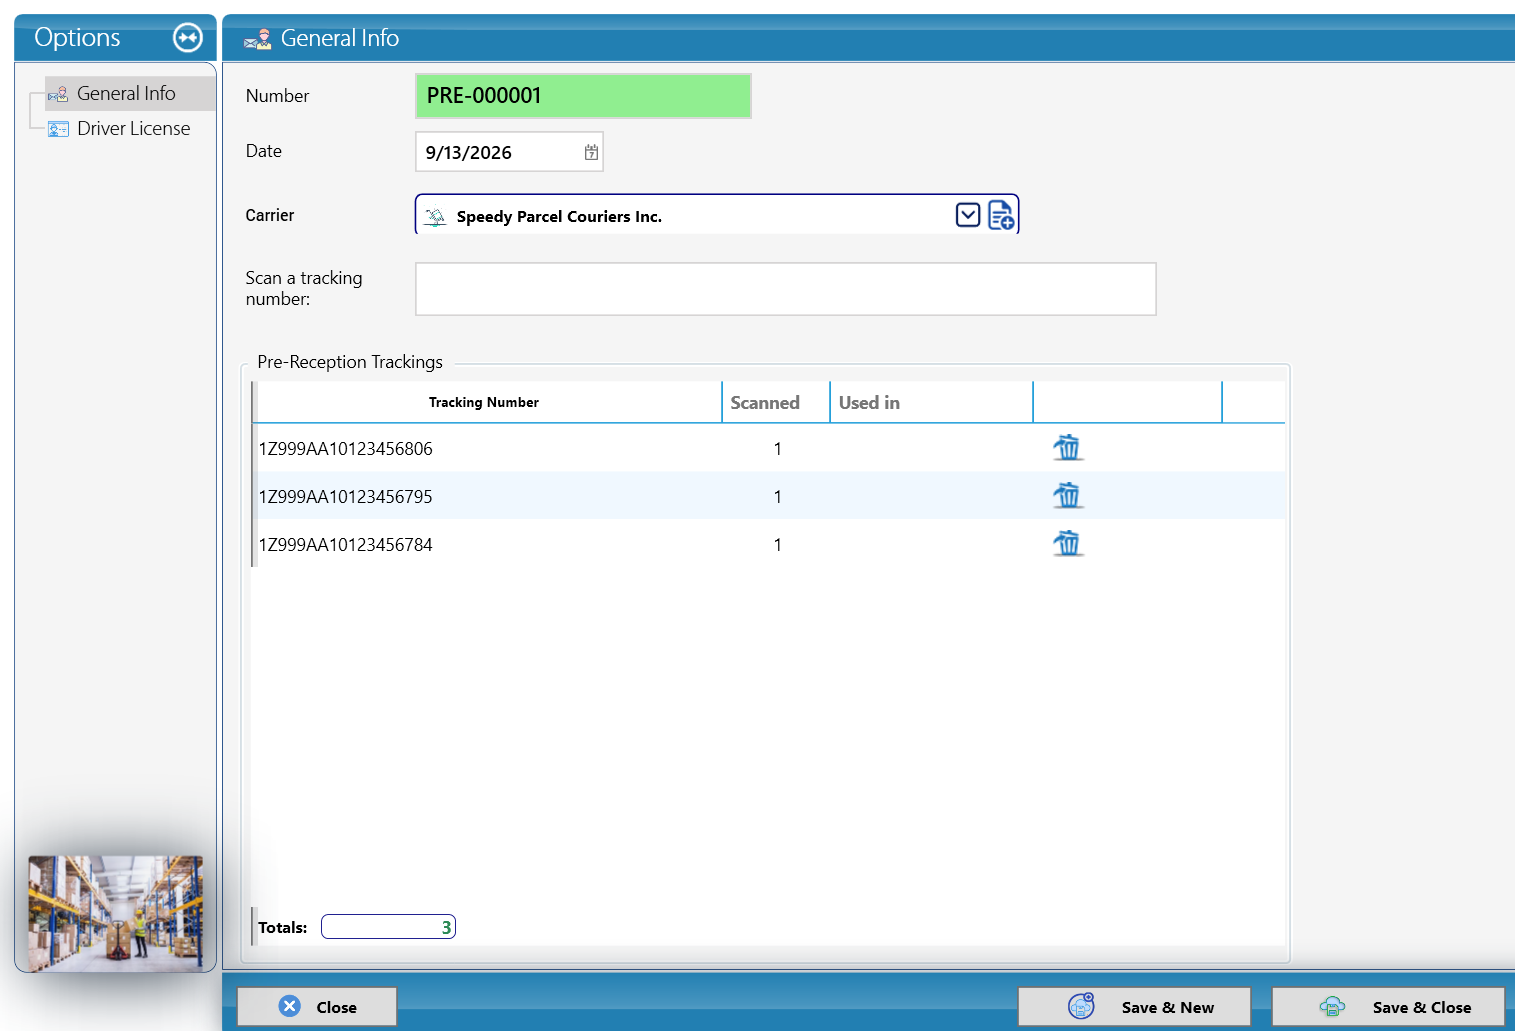
- Number: PRE-000001 (automatic). Date: 9/13/2026.
- Carrier: the courier that delivered — Speedy Parcel Couriers Inc.
- Click in Scan a tracking number: and scan (or type) each tracking number. Each one is added to Pre-Reception Trackings with Tracking Number, Scanned (how many times it was scanned) and Used in (the warehouse receipt that later uses it). Use the trash button to remove a wrong line.
- Check Totals: 3 packages.
- The Driver License tab records the delivery driver's license if needed.
- Click Save & Close.
6.2 Warehouse Receipt
The warehouse receipt (WR) is the official record that you received the cargo: who sent it, who it is for, how many pieces, their dimensions and weight.
Menu: Freight Forwarding > New Warehouse Receipt.
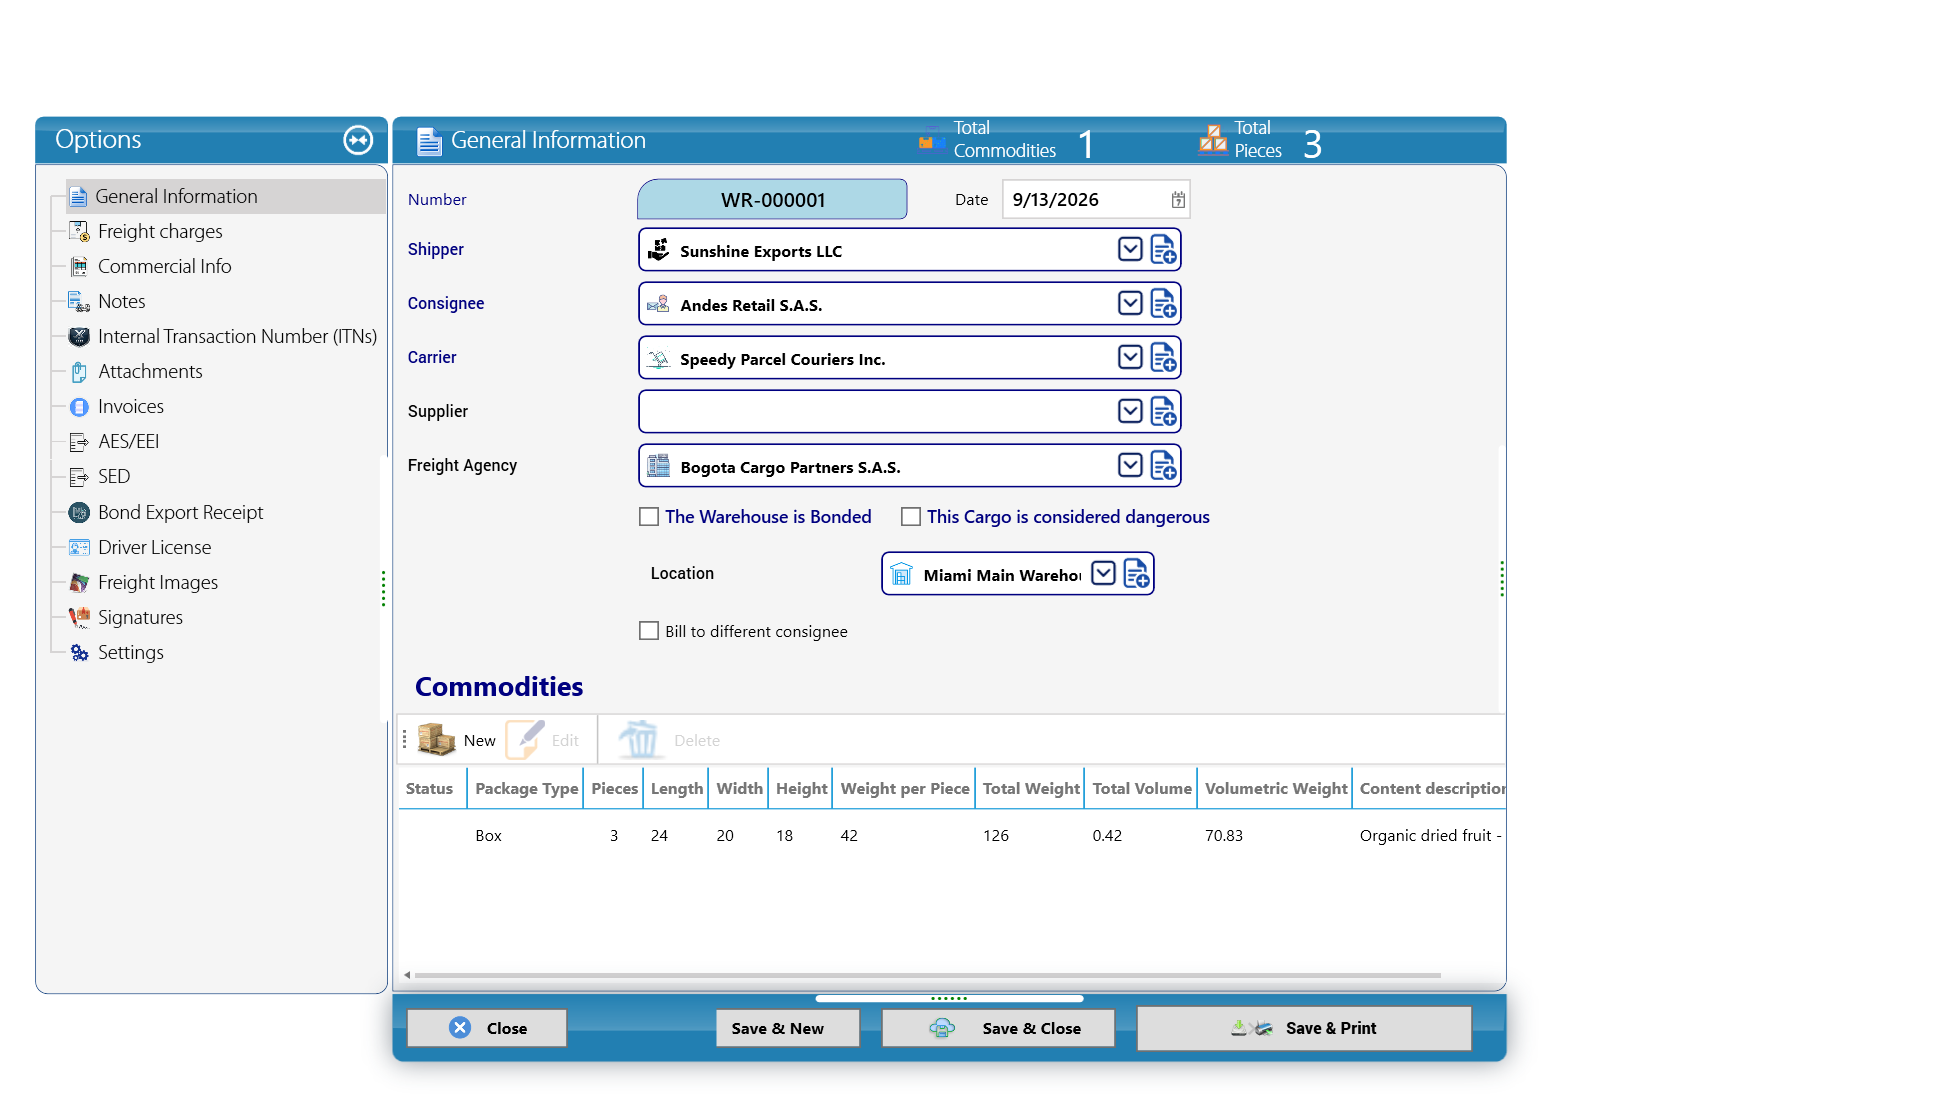
- Number: WR-000001 (automatic). Date: 9/13/2026.
- Shipper: Sunshine Exports LLC. Consignee: Andes Retail S.A.S. Carrier: Speedy Parcel Couriers Inc. Supplier: empty. Freight Agency: Bogota Cargo Partners S.A.S.
- Tick The Warehouse is Bonded or This Cargo is considered dangerous only when they apply. Tick Bill to different consignee if someone other than the consignee pays the warehouse charges.
- Location: the warehouse where the cargo is stored. If it does not exist yet, click the add button next to the field (see 6.3).
- In Commodities, click New to describe the cargo (see 6.4).
- The header shows Total Commodities 1 and Total Pieces 3.
- Click Save & Close (or Save & Print to print the receipt for the driver).
The left panel has many more tabs for export and compliance work: Freight charges, Commercial Info, Notes, Internal Transaction Number (ITNs), Attachments, Invoices, AES/EEI, SED, Bond Export Receipt, Driver License, Freight Images, Signatures and Settings.
Careful: Internal Transaction Number (ITNs), AES/EEI, SED and Bond Export Receipt are US export procedures. They are not used for shipments from Argentina; leave them empty.
6.3 Creating a warehouse
From the Location field, the add button opens the Warehouse window:
- Warehouse block: Name Miami Main Warehouse, Location MIA-01 (a short code).
- Address block: Address Line 1 8200 NW 25th Street, Bay 4, Address Line 2 Doral, FL 33122, Country United States.
- Contact block: Phone +1 305 555 0142, Email warehouse@cargomastersdemo.com.
- Notes (optional).
- Click Save & Close.
6.4 Adding the commodity
In the warehouse receipt, Commodities > New opens Adding new Commodity:
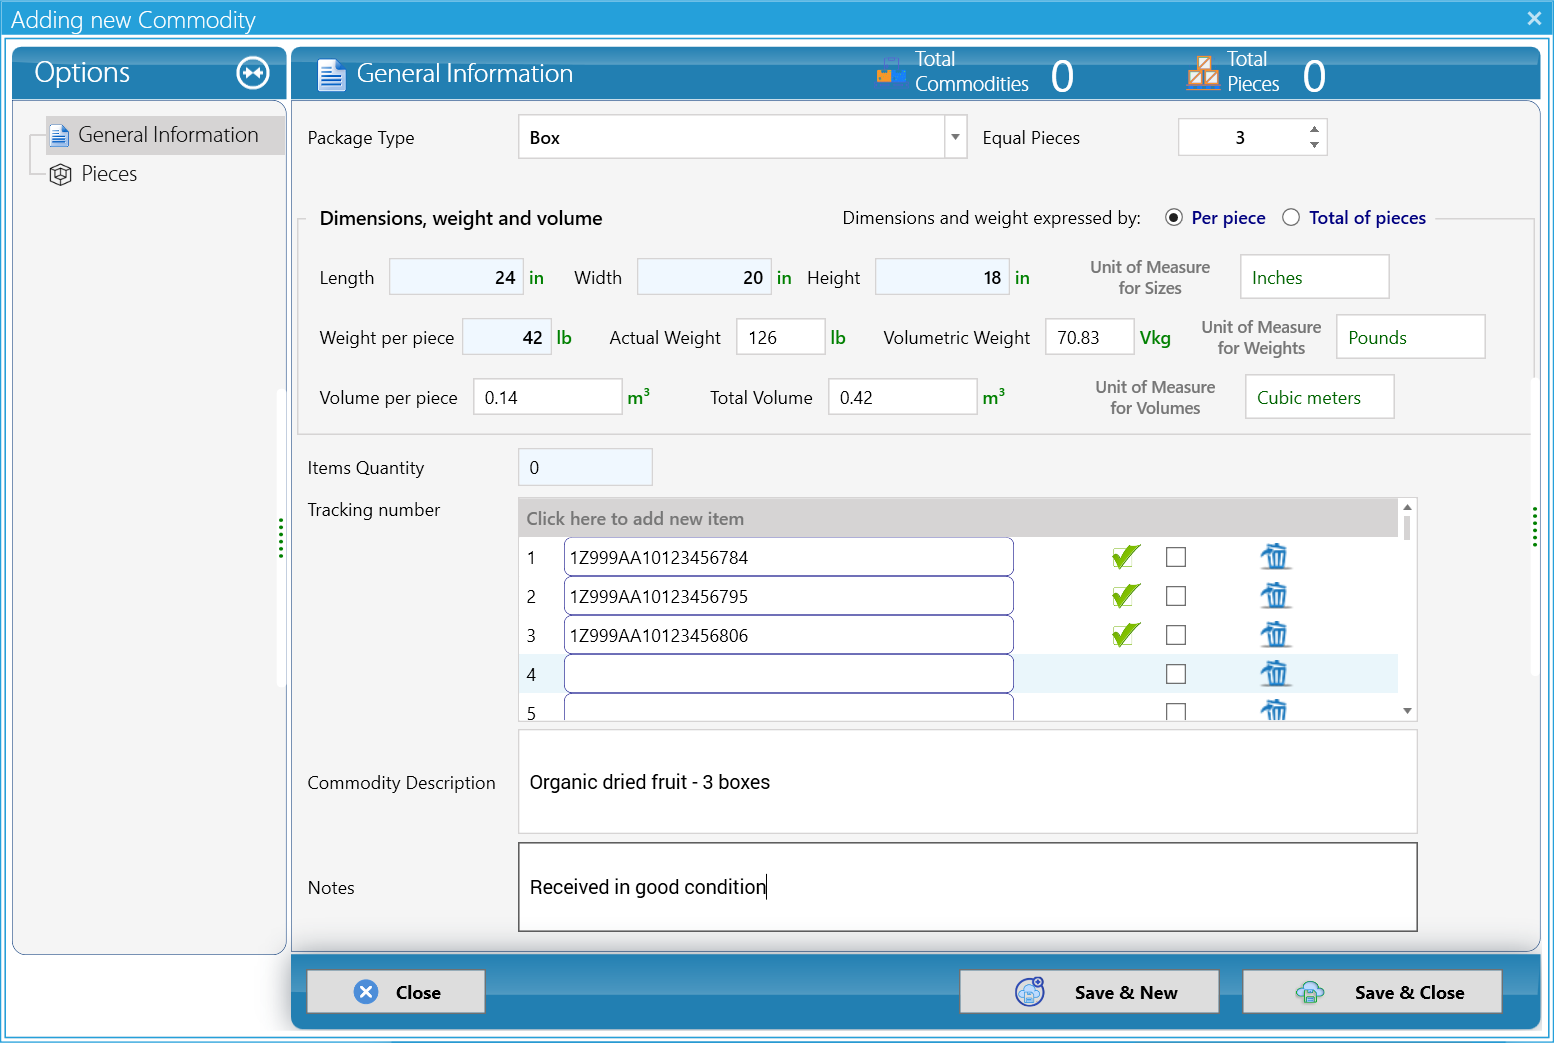
- Package Type: Box. Equal Pieces: 3 (three identical boxes).
- Dimensions and weight expressed by: Per piece (each box) or Total of pieces. Here, Per piece.
- Length 24 in, Width 20 in, Height 18 in. Weight per piece 42 lb.
- KeyTray calculates Actual Weight 126 lb, Volume per piece 0.14 m³, Total Volume 0.42 m³ and Volumetric Weight 70.83. The units are shown on the right: Unit of Measure for Sizes Inches, for Weights Pounds, for Volumes Cubic meters.
- Items Quantity: 0 (use it if you count items inside the boxes).
- Tracking number: the tracking numbers from the pre-reception are listed and marked with a green check. Click Click here to add new item to add more.
- Commodity Description: Organic dried fruit - 3 boxes. Notes: Received in good condition.
- The Pieces tab shows the individual pieces.
- Click Save & Close.
Careful — Argentina: in Argentina cargo is measured in the metric system (centimeters and kilograms). The US demo measures in inches and pounds. Check the default units in System Options > General (section 11.2) before you receive your first cargo: a package measured in the wrong unit gives impossible volumes and volumetric weights.
Why it matters — volumetric weight: airlines charge by the greater of the actual weight and the volumetric (dimensional) weight, because a light but bulky box takes space that could carry heavier cargo. Measuring dimensions accurately at reception is what protects your margin when the airline bills you.
6.5 Repacking
Repacking combines pieces into a new package — here, the three boxes are placed on one pallet and stretch-wrapped.
Menu: Freight Forwarding > New Repacking.
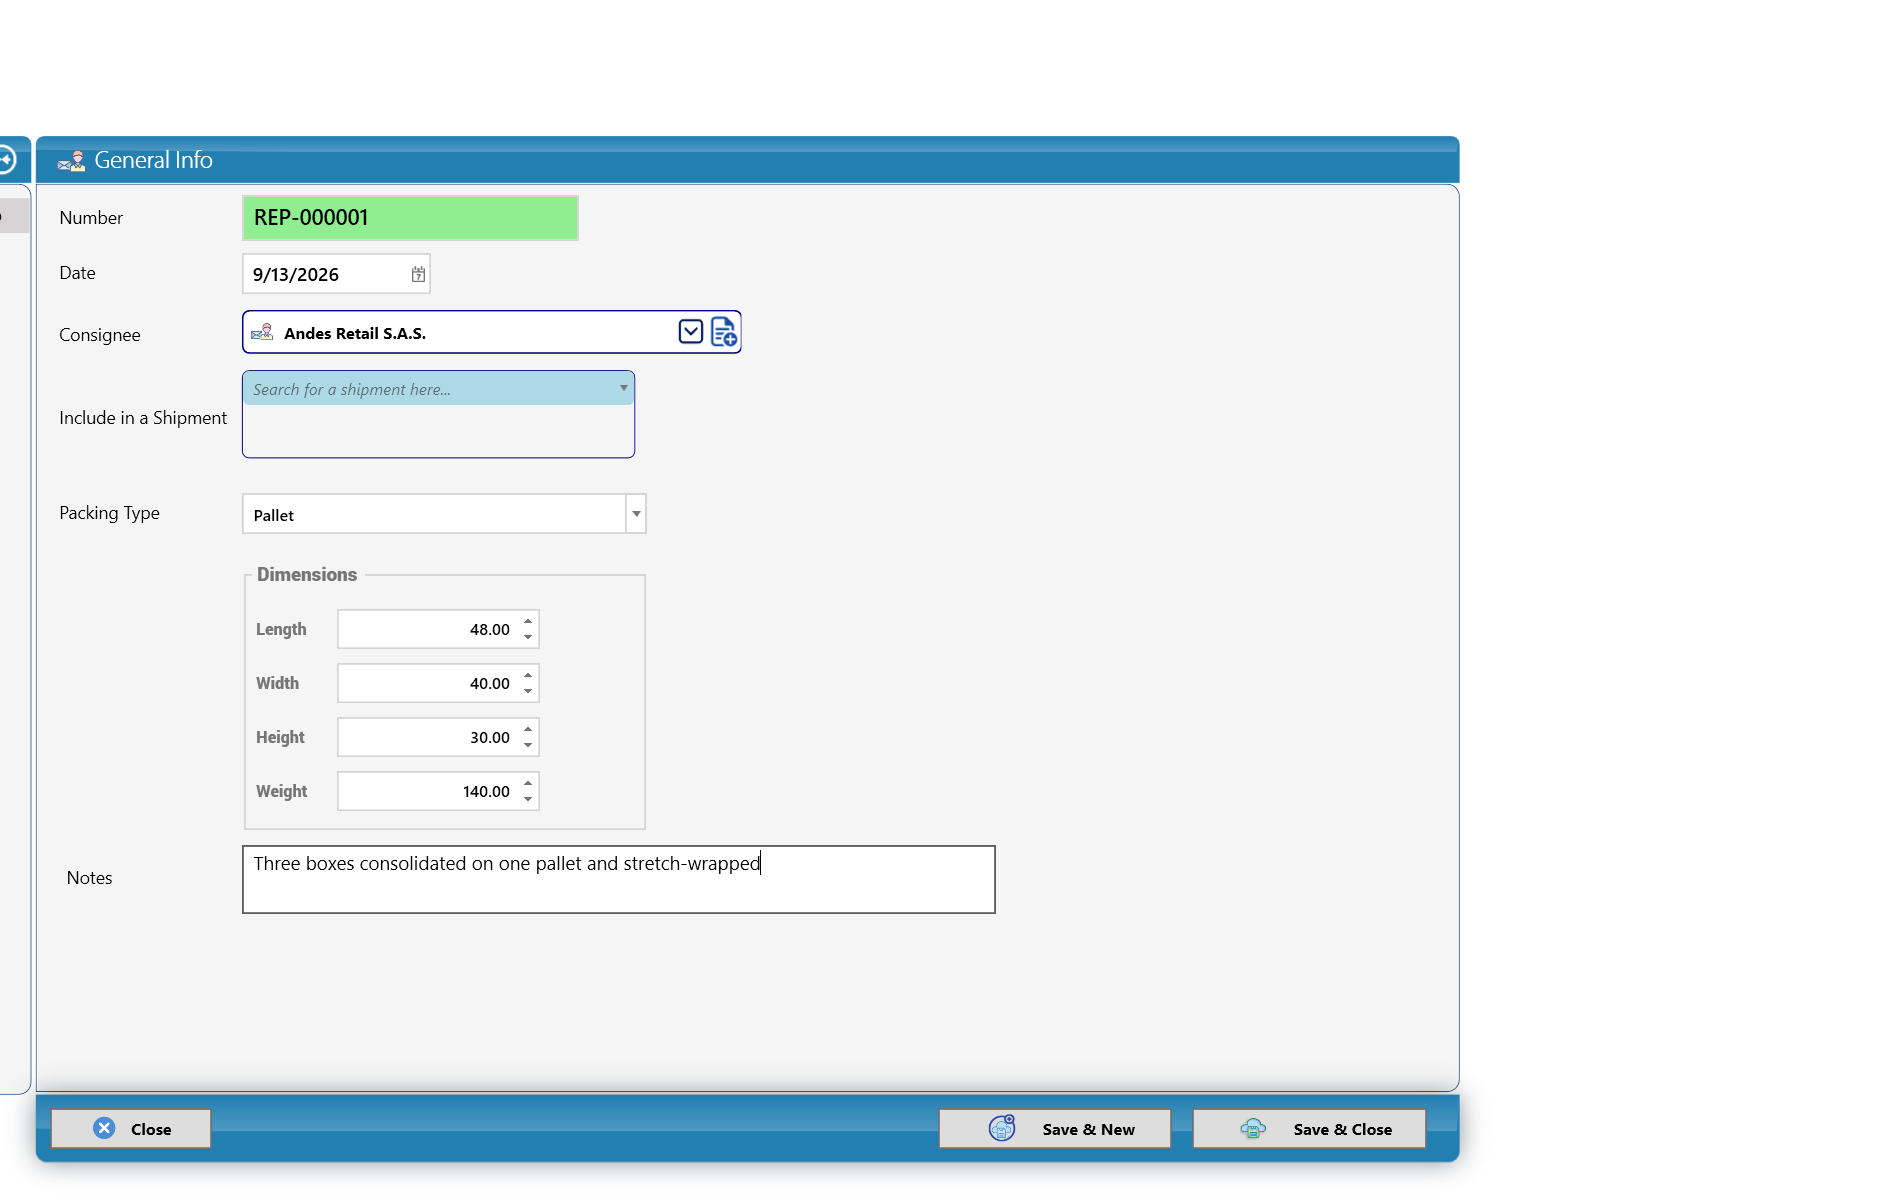
- Number: REP-000001 (automatic). Date: 9/13/2026.
- Consignee: Andes Retail S.A.S. (only this consignee's pieces can be repacked together).
- Include in a Shipment: optional; search a shipment if the pallet is already assigned to one.
- Packing Type: Pallet.
- Dimensions of the new package: Length 48.00, Width 40.00, Height 30.00, Weight 140.00 (the boxes plus the pallet).
- Notes: Three boxes consolidated on one pallet and stretch-wrapped.
- Go to the pieces section to choose what goes inside:
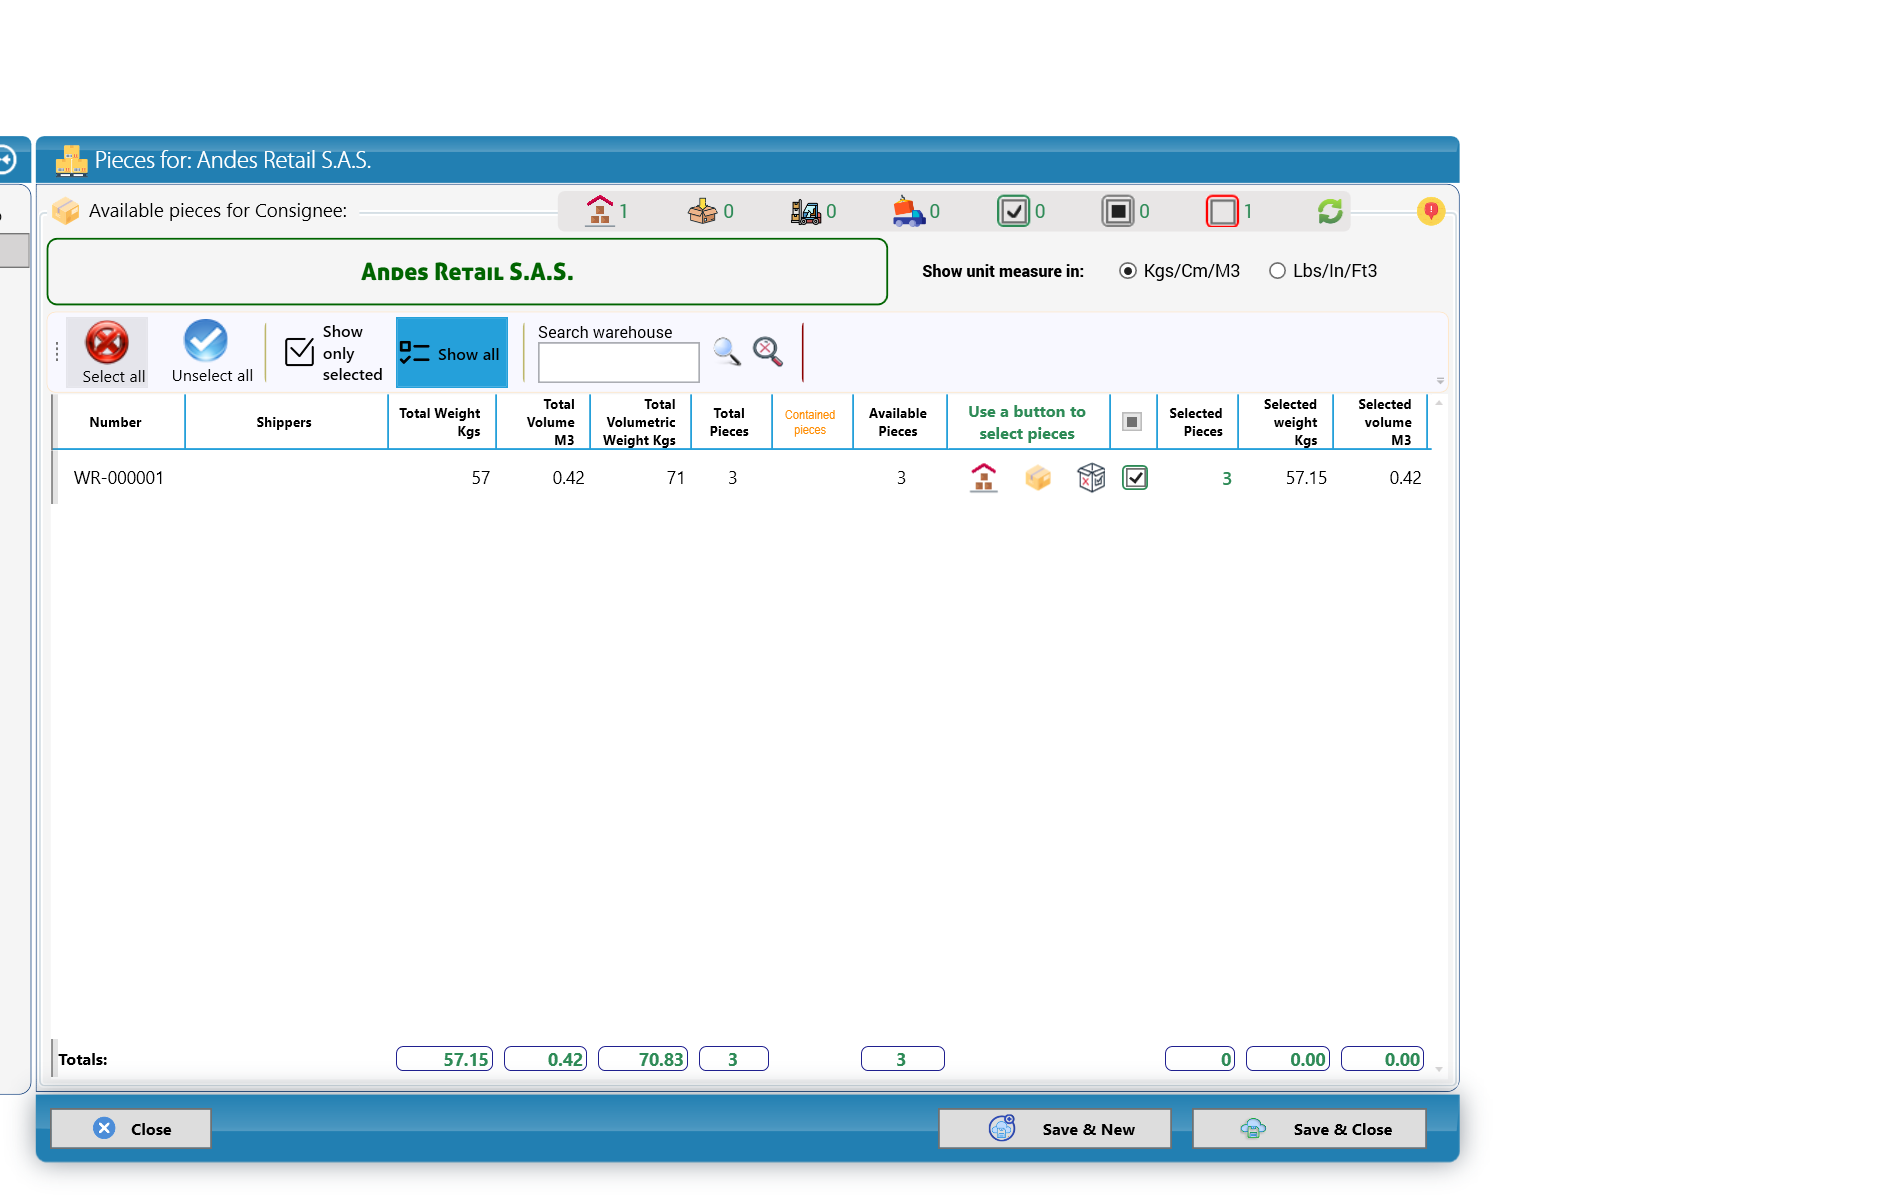
- The window Pieces for: Andes Retail S.A.S. lists the consignee's available cargo. The counters at the top show how many pieces are in each status (in warehouse, repacked, ready to load, loaded, selected, etc.). Show unit measure in: Kgs/Cm/M3 or Lbs/In/Ft3.
- On the row WR-000001 (Total Weight Kgs 57, Total Volume M3 0.42, Total Pieces 3, Available Pieces 3), use the buttons under Use a button to select pieces (or the checkbox) to select them. Selected Pieces shows 3, Selected weight Kgs 57.15, Selected volume M3 0.42.
- The toolbar has Select all, Unselect all, Show only selected, Show all and Search warehouse.
- Click Save & Close.
6.6 Dispatch
A dispatch records that cargo leaves the warehouse (or is prepared to leave).
Menu: Freight Forwarding > New Dispatch.
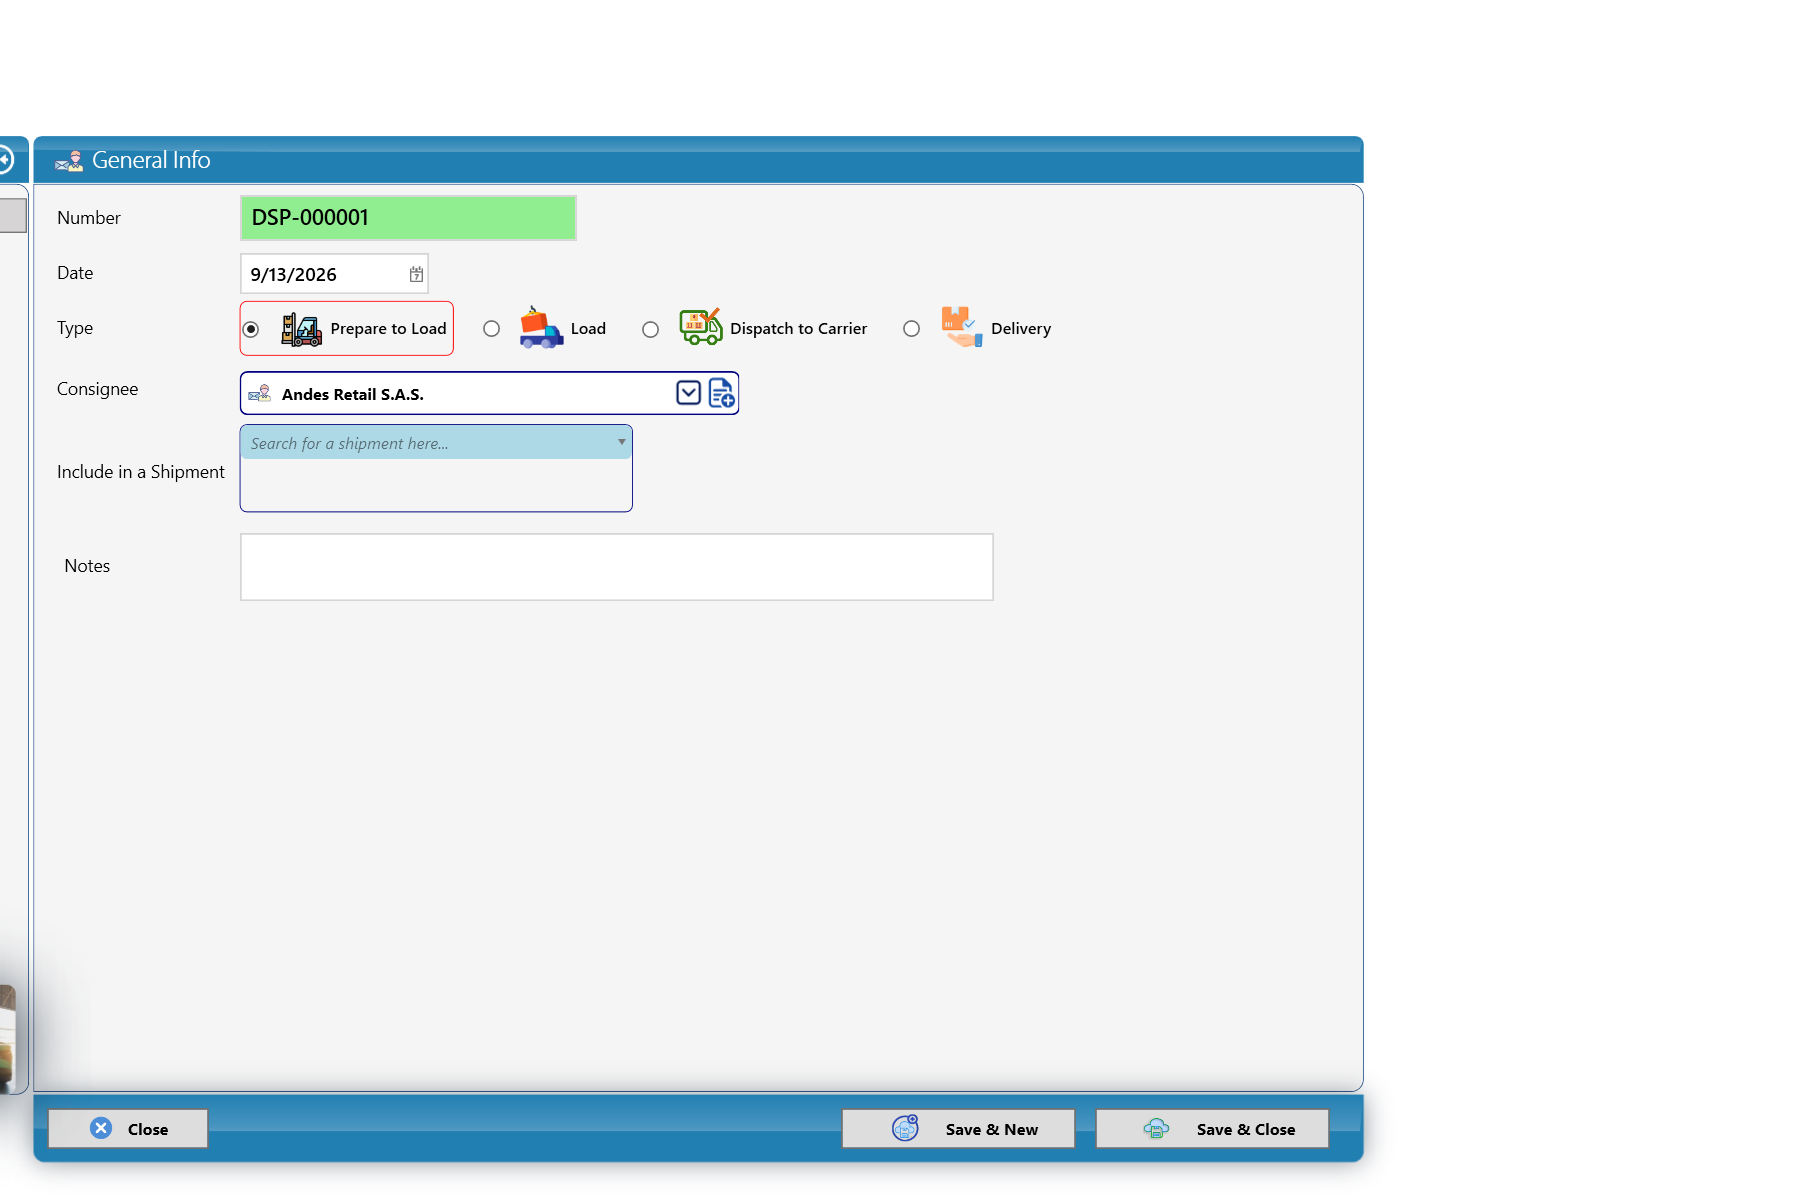
- Number: DSP-000001 (automatic). Date: 9/13/2026.
- Type: Prepare to Load, Load, Dispatch to Carrier or Delivery. Here, Prepare to Load (the pallet is staged for the air shipment).
- Consignee: Andes Retail S.A.S.
- Include in a Shipment: optional.
- Notes: optional.
- Go to the pieces section:
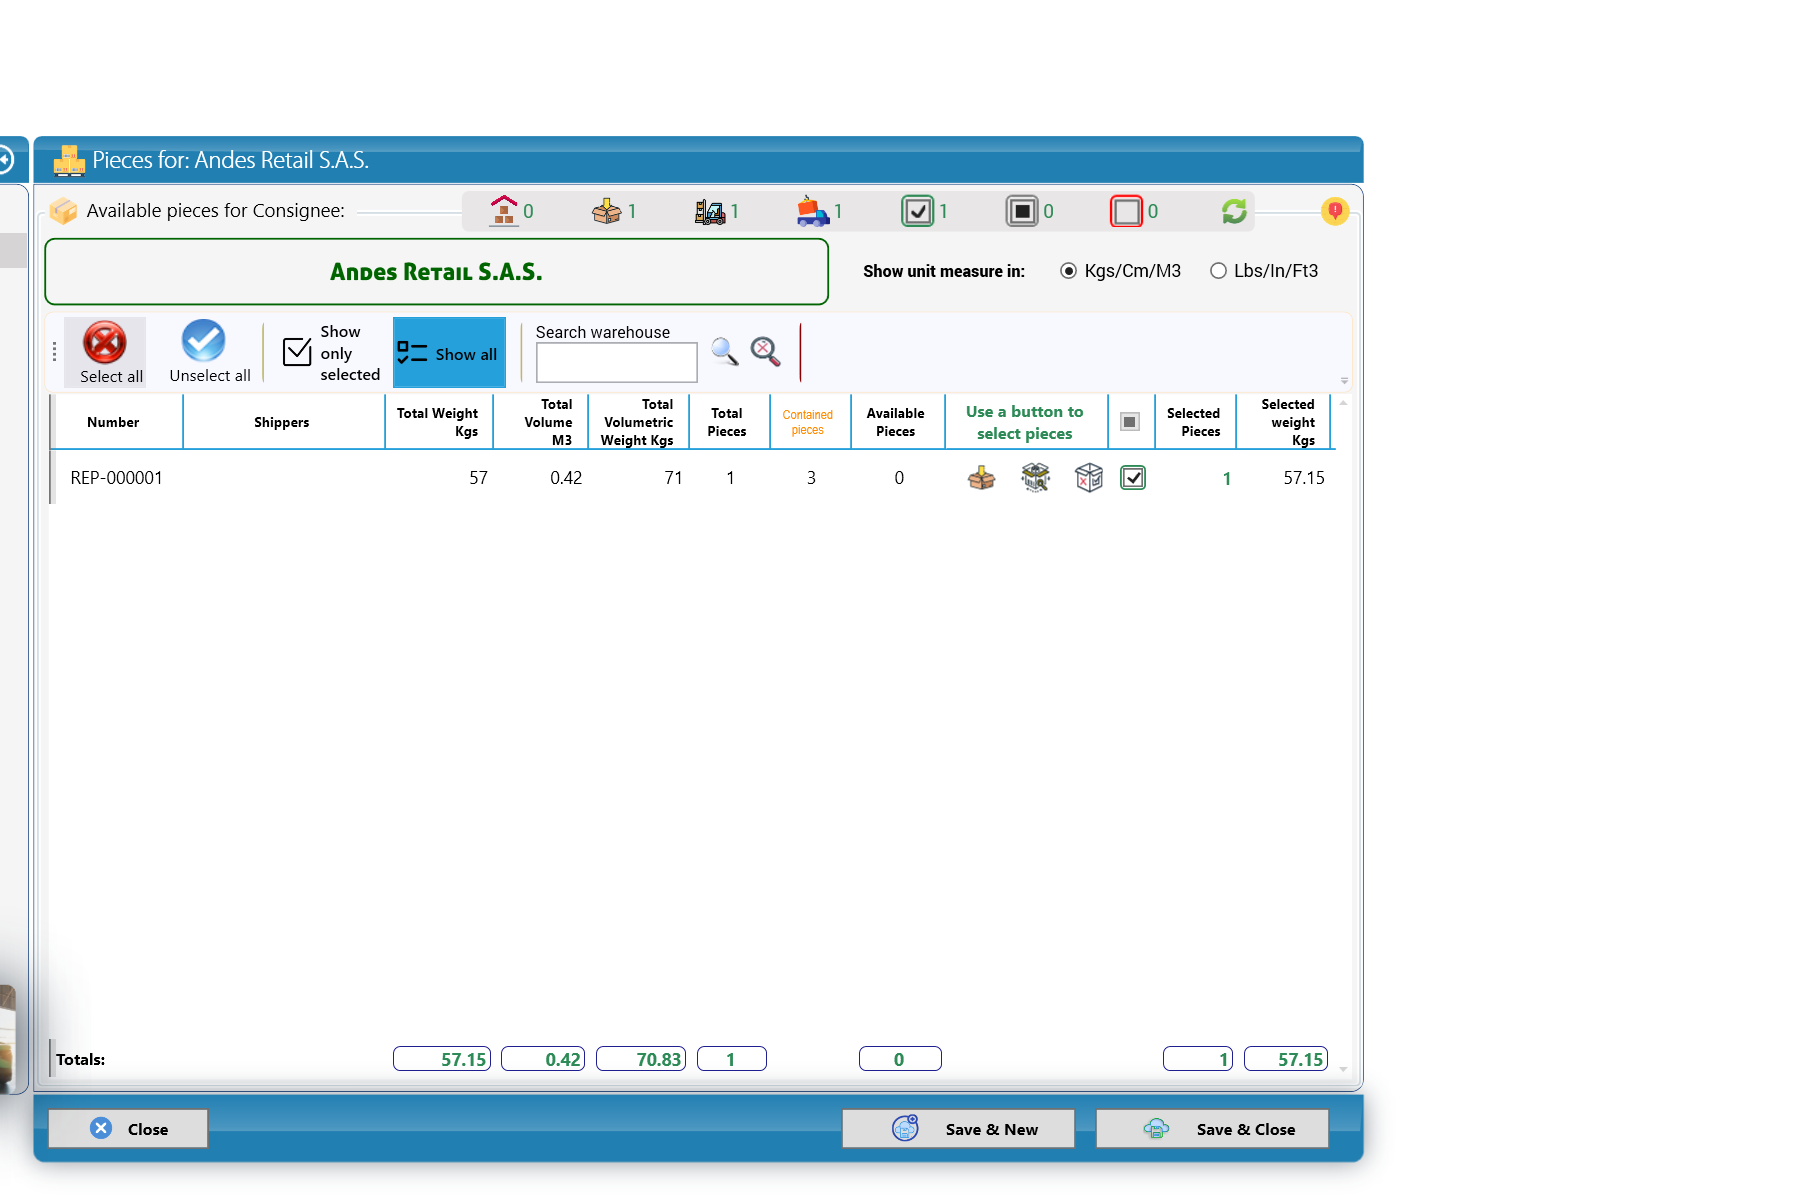
- The list now shows REP-000001: Total Pieces 1, Contained pieces 3 (the three boxes inside the pallet), Selected Pieces 1, Selected weight Kgs 57.15.
- Select it and click Save & Close.
Careful: type the dispatch Notes last, right before saving; notes can be lost when you switch sections (see Appendix B).
6.7 Cargo Release
A cargo release records that cargo leaves the warehouse without going on a shipment: the customer, or someone on its behalf, picks it up with its own truck. KeyTray takes the pieces out of inventory, keeps proof of who received them and bills the charges straight from the release.
The example was recorded in Cargo Masters USA: Andes Retail Corp picks up with its own truck, at the Miami Main Warehouse, the 5 boxes of receipt WR-000001. In Argentina the procedure is identical, and only the names of your warehouse, customers and carriers change. What is specific to Argentina (the currency, the IVA and customs) is in Freight charges and the invoice and Release by units.
Menu: Freight Forwarding > New Cargo Release.
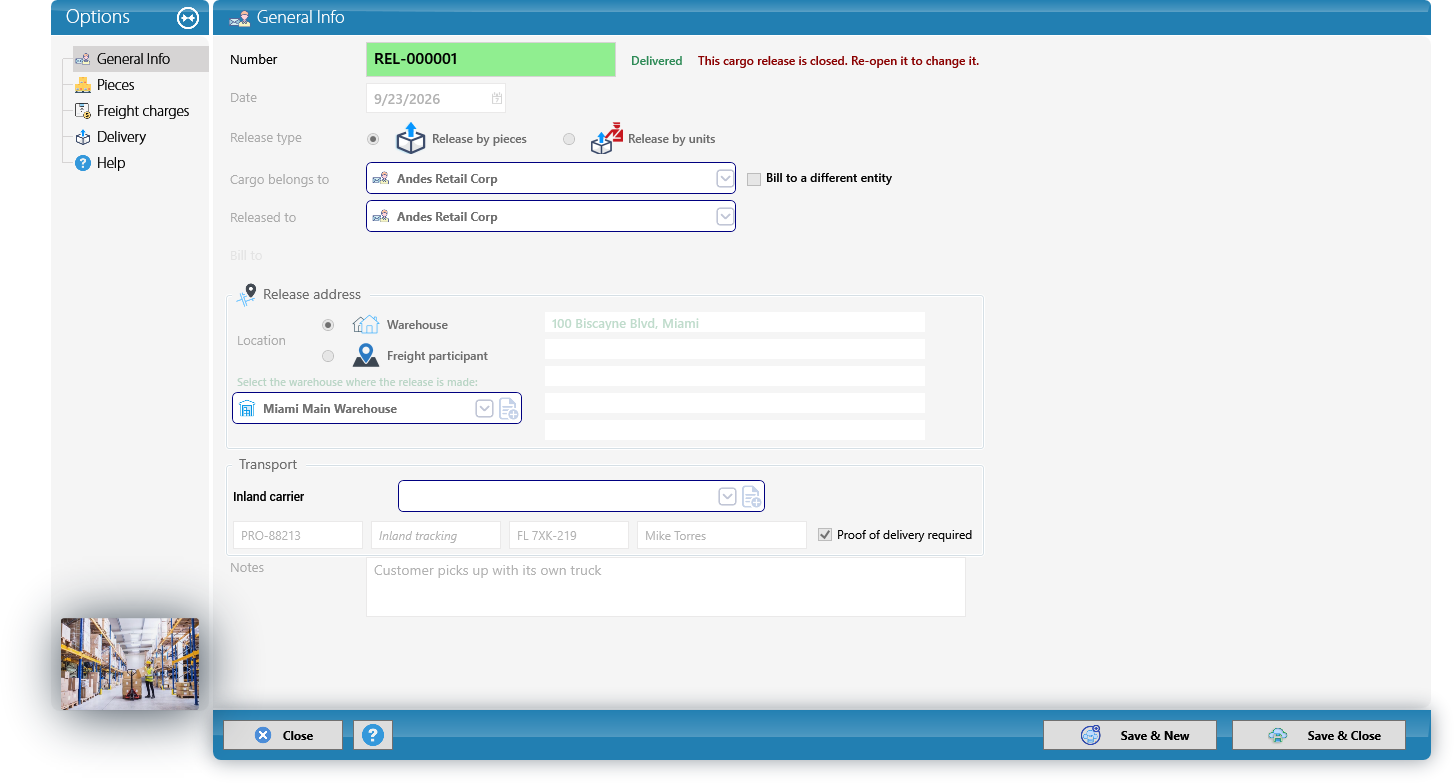
- Number: REL-000001 (automatic). Date: 9/23/2026. If the company has no numbering for cargo releases, KeyTray does not save and says: There is no document numeration defined for this document type.
- Release type: Release by pieces (you pick the pieces) or Release by units (you take out a quantity of a commodity; see below). The type is chosen when the release is created and cannot be changed afterwards.
- Cargo belongs to: the consignee — Andes Retail Corp. Only freight participants appear (consignees, agents, carriers...). Check Bill to a different entity if someone other than the owner pays the charges.
- Released to: who picks up the cargo. If left empty, it is the owner.
- Release address: Warehouse (the cargo is picked up at the warehouse; choose which one) or Freight participant (it is delivered to one of the participant's addresses). Here, Warehouse — Miami Main Warehouse.
- Transport: Inland carrier (optional), PRO number (PRO-88213), Inland tracking, plate (FL 7XK-219) and driver (Mike Torres). Check Proof of delivery required if the customer must sign on receipt (see Delivery and proof of delivery).
- Notes: Customer picks up with its own truck.
The pieces
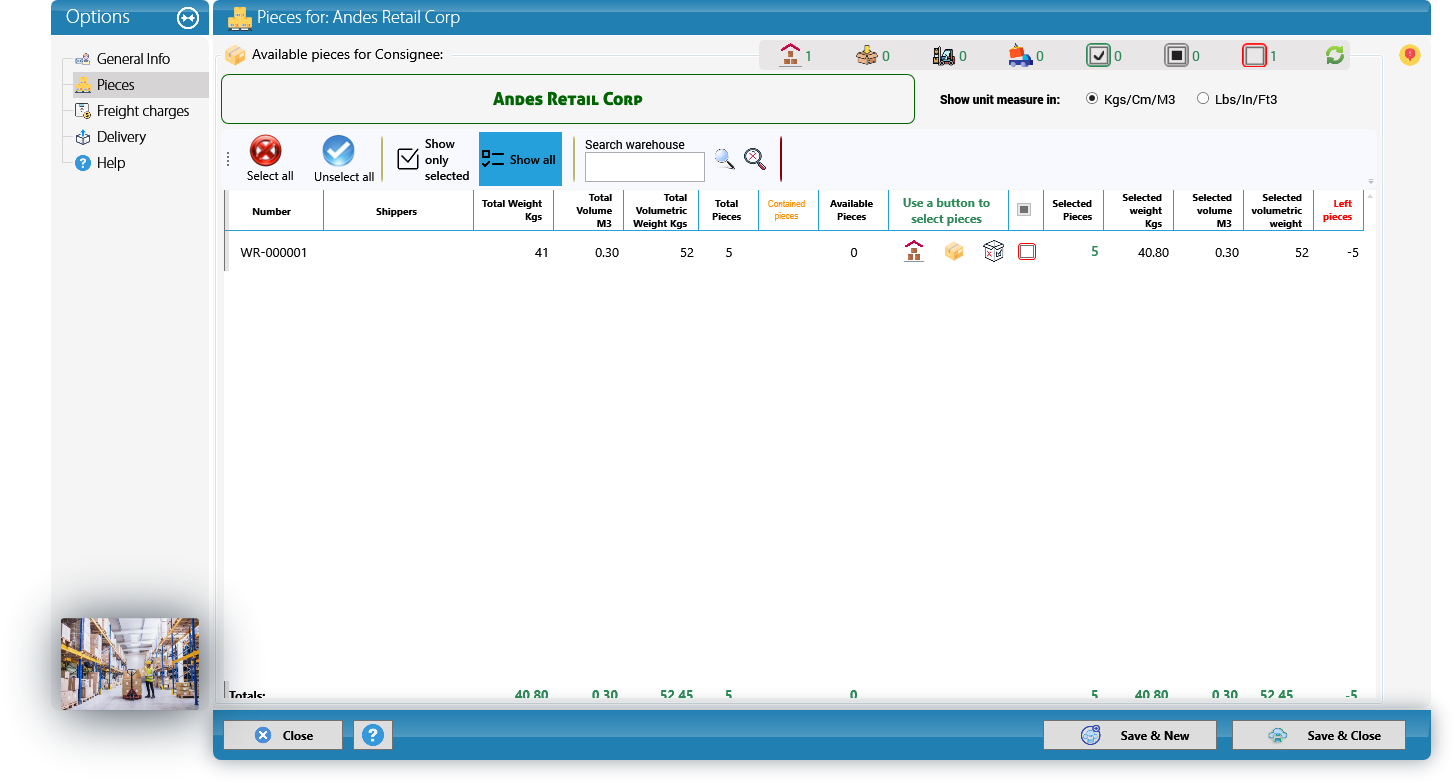
- The Pieces section lists the owner's warehouse receipts that have pieces in the warehouse. Select them with the same buttons as in repacking and dispatch (sections 6.5 and 6.6).
- Pieces staged in a Prepare to Load dispatch that is not on a shipment can be released: the release takes them out of that dispatch. If the dispatch is included in a shipment, KeyTray does not allow it: that cargo is already travelling on the shipment.
- A piece that already left on another release cannot be released again.
- Click Save & Close. The pieces become Released and the warehouse receipt shows the release in its Pieces Used In sub-tab.
Freight charges and the invoice
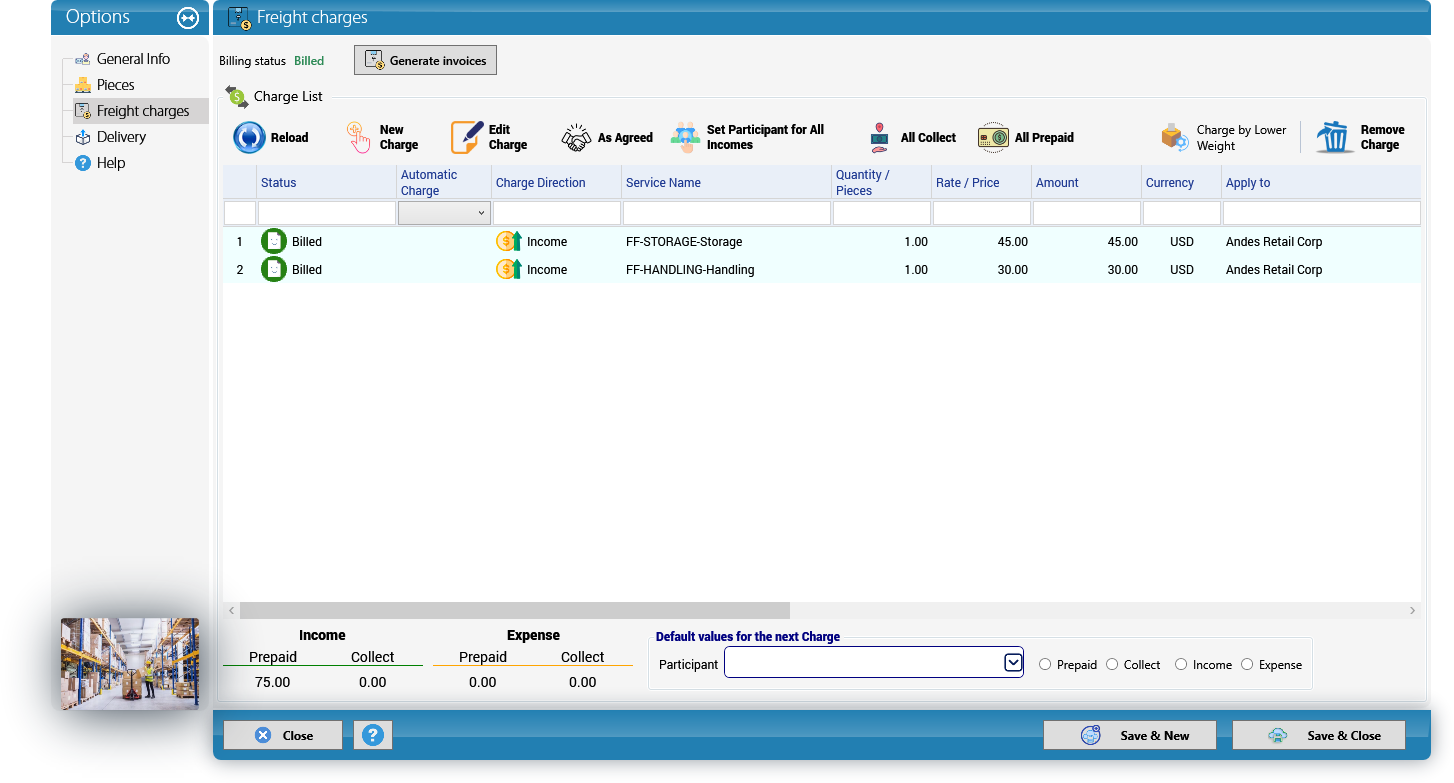
- One list holds every charge of the release: its own charges, added with New Charge as on a shipment (section 7.6) —in the example, Handling for 30.00 (handling and truck loading)— and the open charges of the warehouse receipts it takes out, which move to the release on their own when it is saved: here, the Storage charge of 45.00 of WR-000001.
- The first release that takes cargo from a receipt takes all its open charges, even if it releases only part of the pieces: a charge is never split. If you later unselect every piece of that receipt, its charges go back to it.
- On a release that has not been saved yet, New Charge asks whether to save it: charges are saved at once and need the release number. KeyTray saves it, re-opens it and you keep working in the same window. If you then close without saving, the release stays saved and re-opened.
- Generate invoices creates the customer invoice (and the vendor bill, if there are costs) from the release charges, without going through a shipment. It works on a closed release (if it is re-opened, click Save & Close first) and requires the access Allow billing from a cargo release. The Billing status goes from Assigned to Billed (or Several Status when part is still open).
- The invoice is built like a shipment settlement invoice (section 7.8), with the IVA of each service according to the tax setup (chapter 3).
In Argentina the charges are in the company currency, Argentine pesos (ARS). In the Argentina demo company, the release of Distribuidora Pampeana S.A. has two charges still unbilled (Handling and the receipt's Storage) for 53,000.00 ARS, as the Pending billing report shows:
Why it matters — the accounting: like every warehouse operation, a release tracks cargo, not money: by itself it posts nothing. Money enters the books when the invoice is generated. If the invoice is voided, its charges become open again on the release.
Delivery and proof of delivery
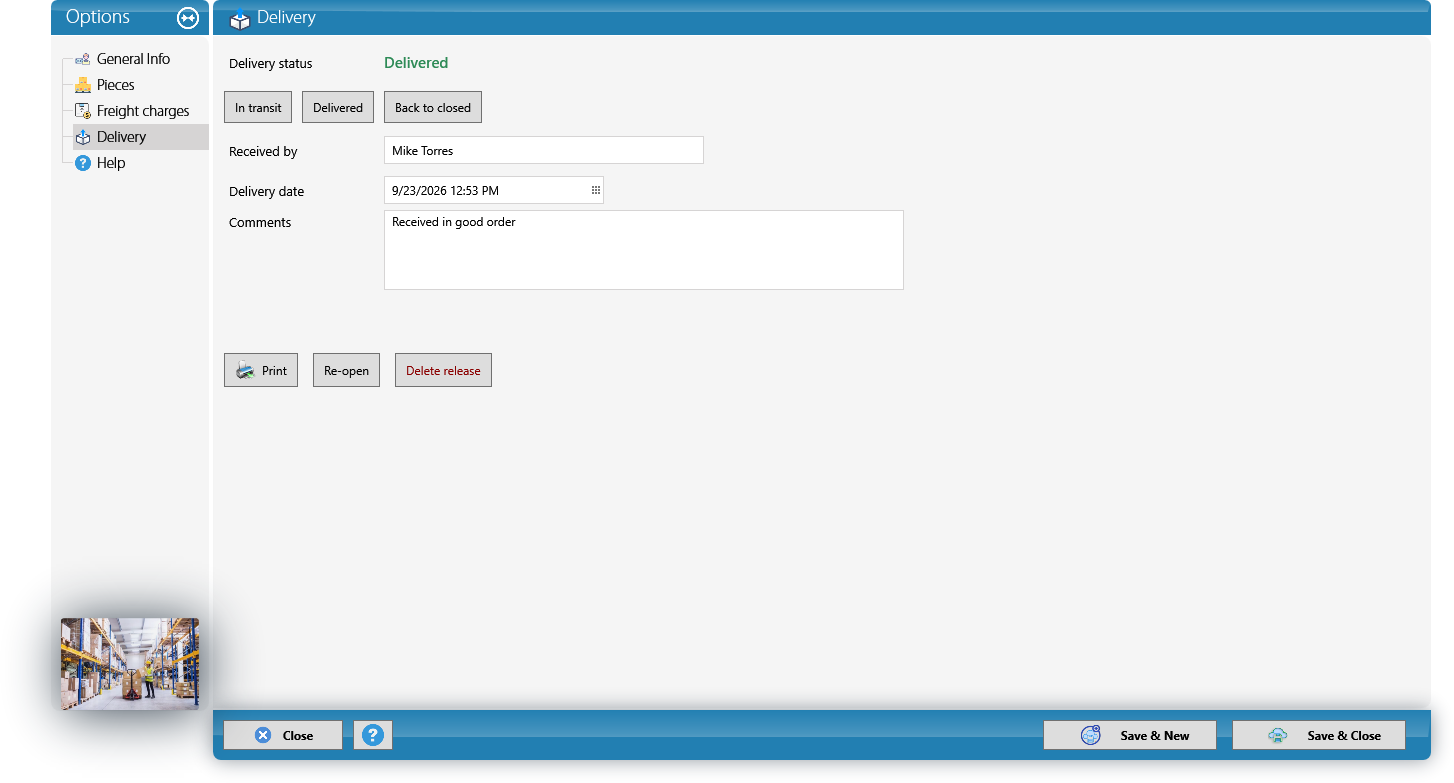
- A saved release is Closed and its delivery is Pending delivery. In transit and Delivered follow the trip; Back to closed returns it to pending.
- Received by, Delivery date and Comments are the proof of delivery. If the release requires proof of delivery, KeyTray does not mark it delivered without Received by and says: This cargo release requires a proof of delivery: enter who received the cargo.
- Print produces the Cargo Release form (A4): owner, released to, address, transport, one row per piece, total pieces, weight and volume, and the Received by line with date, time and signature.
- Re-open lets you change it. Delete release returns the pieces to the warehouse and the charges to the receipt. With billed charges it cannot be re-opened or deleted: void the invoice first, or ask for the access Allow deleting or re-opening a cargo release with billed charges.
Release by units
When the commodity leaves by quantity instead of whole pieces, choose Release by units. The Units section replaces Pieces:
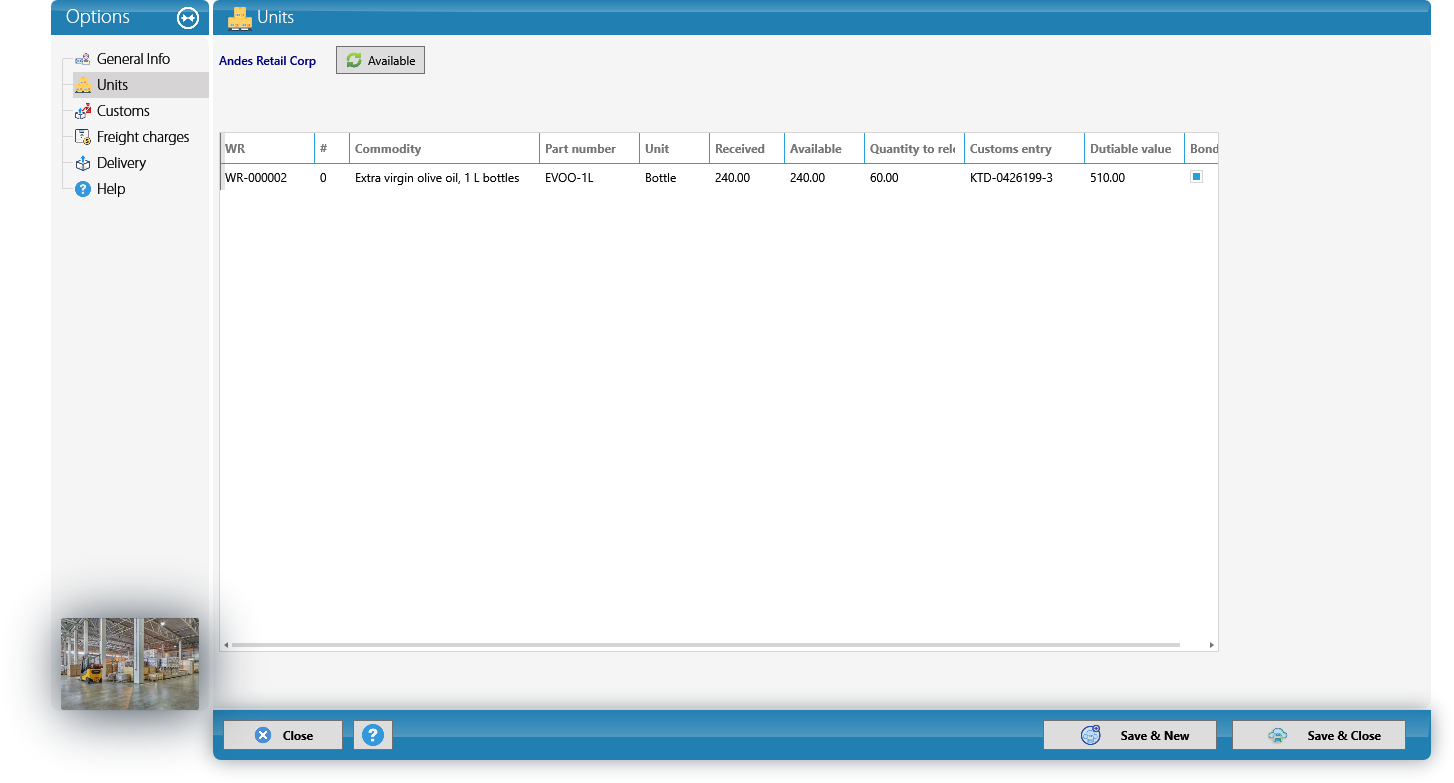
- The list shows the owner's commodities that have a quantity and a unit on the warehouse receipt (entered with the commodity, section 6.4): WR, Commodity, Part number, Unit, Received and Available.
- Type the Quantity to release. KeyTray does not allow more than what is available.
- The balance stays on the receipt: the next release offers what is left.
Careful — customs: the Customs section and the Customs entry and Dutiable value columns belong to the U.S. bonded warehouse regime (CBP, 19 CFR). In Argentina they are not used: leave them empty.
The list and the reports
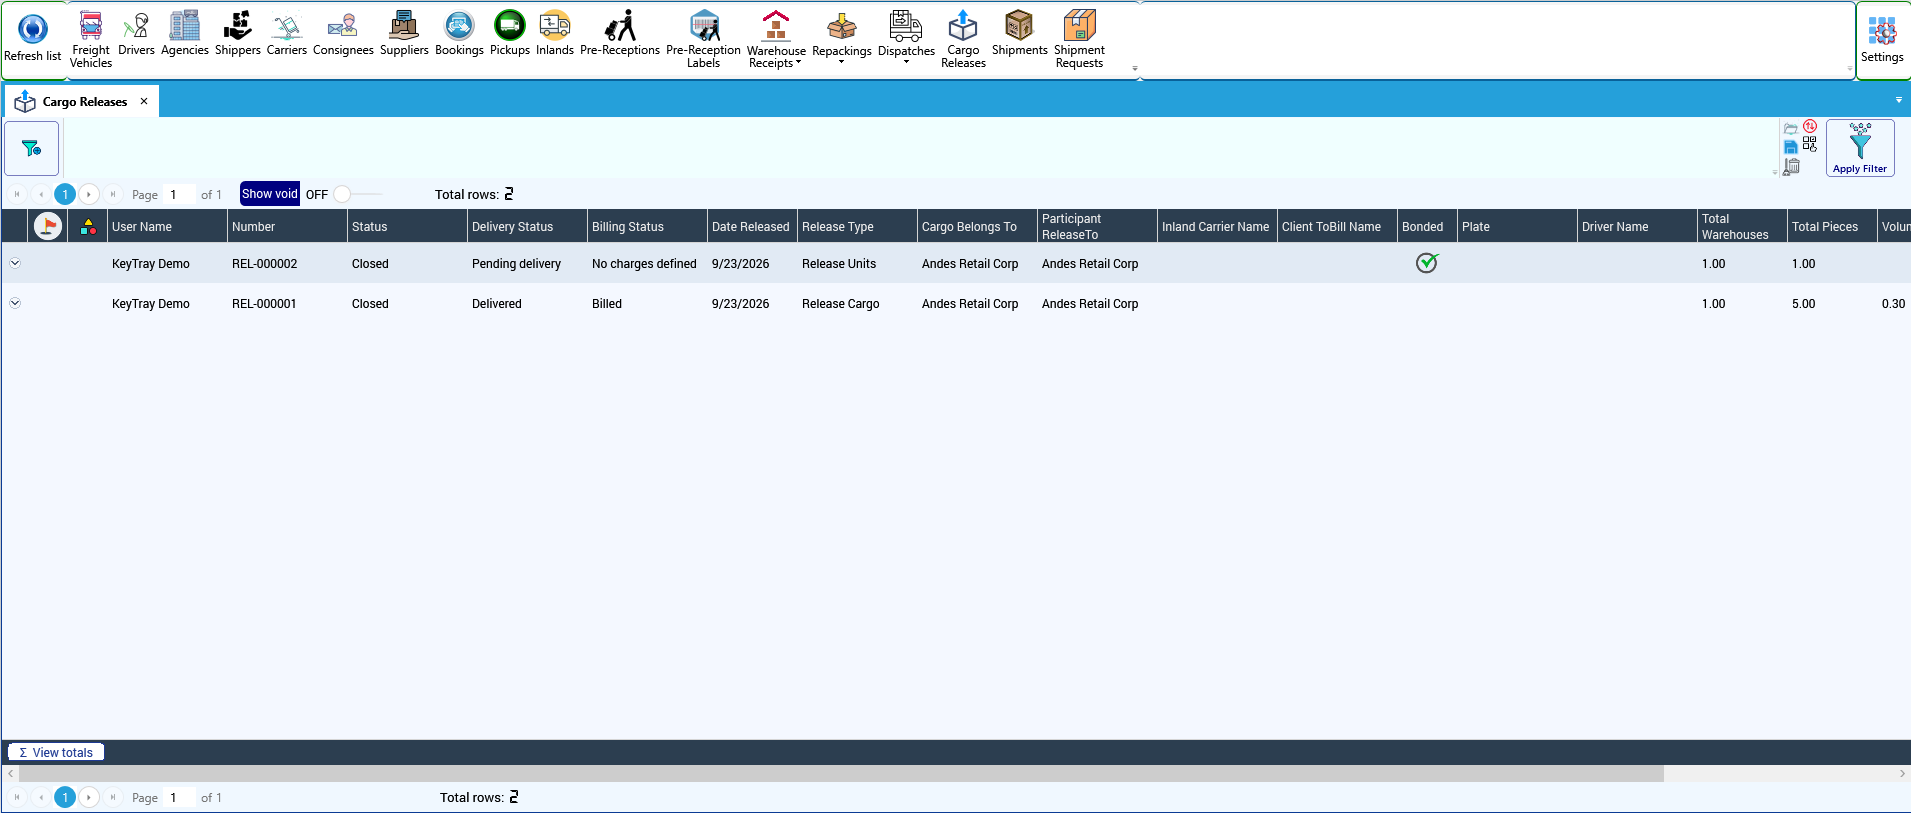
- List Explorer > Cargo Releases shows every release with its Status (closed or re-opened), Delivery Status and Billing Status, plus number, date, type, cargo owner, released to, bill to, bonded, pieces, weight, volume and PRO number. Deleted releases appear with Show void.
- Expanding a row shows its sub-tabs: Release Details (the pieces), Charges, Billing Documents and History (creation, closing, delivery and every change to its charges).
- Freight Forwarding > Reports has, by month:
- Cargo releases: what left, from which warehouse, to whom, with pieces, weight, volume and delivery and billing status.
- Pending billing: closed releases with charges still open, with income, cost and days since release, so nothing leaves the warehouse without being billed.
7. Shipments
In this chapter Cargo Masters USA exports the pallet by air from Miami (MIA) to Bogota (BOG):
- A consolidated shipment: one master air waybill (MAWB) issued by the airline to Cargo Masters USA, containing one house air waybill (HAWB) that Cargo Masters USA issues to its client.
- Airline: Sky Andina Cargo S.A. (IATA prefix 999), AWB 999-12345605, flight SK123.
- House: shipper Sunshine Exports LLC, consignee Andes Retail S.A.S., destination agent Bogota Cargo Partners S.A.S.
- Income: air freight 503.62 Collect to Andes Retail. Cost: air freight 330.50 Prepaid to Sky Andina. Profit: 173.12.
7.1 Before the first air shipment: the airline and its AWB stock
Creating the airline as a carrier
Menu: Freight Forwarding > New Carrier.
Fill in General Information as for any vendor (Sky Andina Cargo S.A.), then open Freight Forward Options:
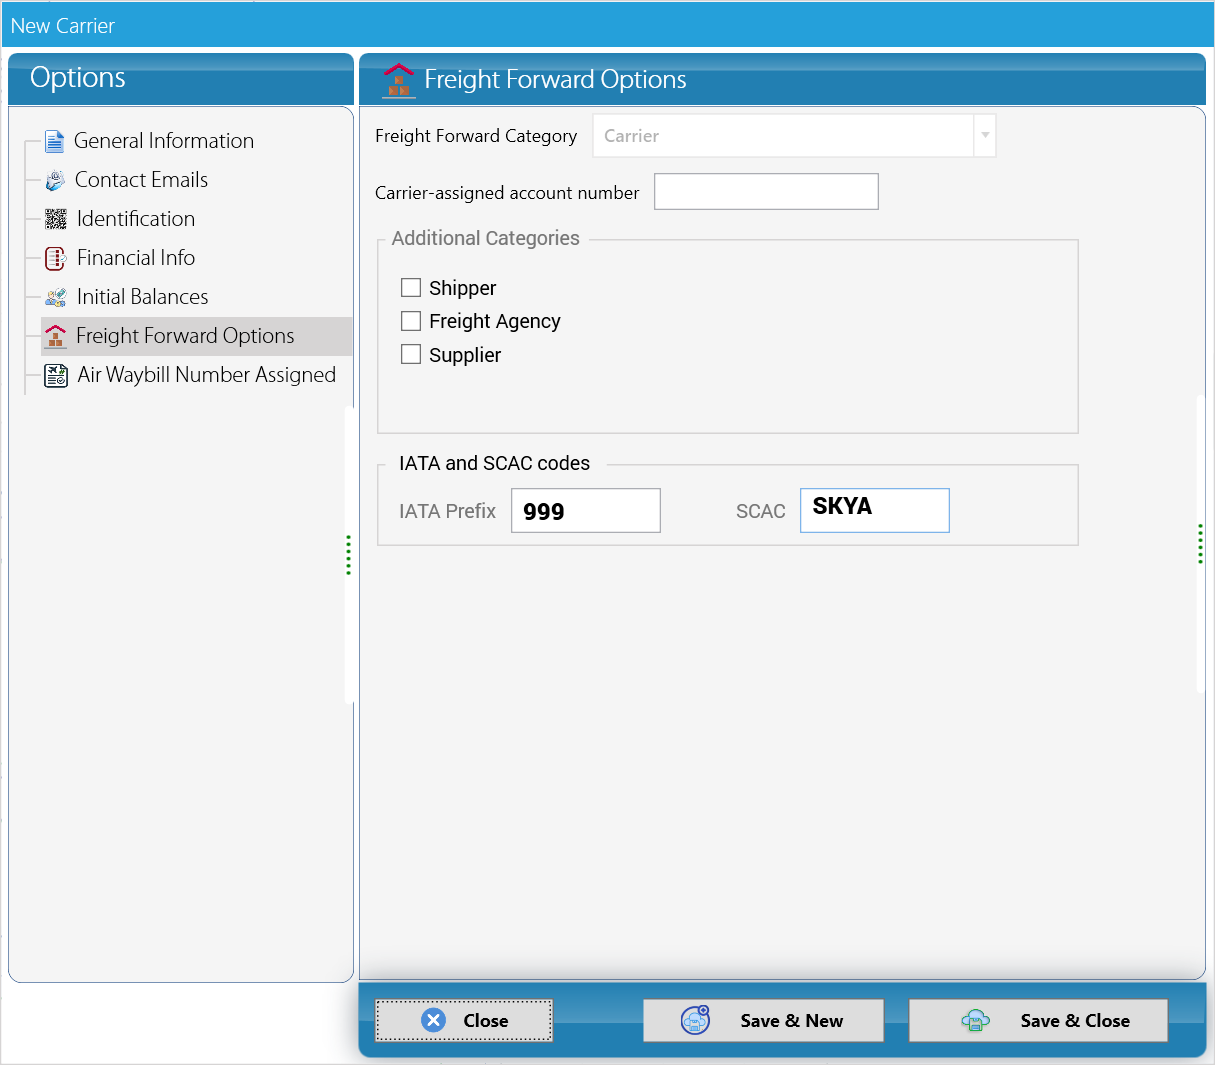
- Freight Forward Category: Carrier (fixed for a new carrier).
- Carrier-assigned account number: your account with the airline, if any.
- IATA Prefix: 999 — the 3-digit code that starts every air waybill number of this airline.
- SCAC: SKYA.
- Click Save & Close.
Assigning AWB stock
Airlines give forwarders blocks of air waybill numbers ("AWB stock"). You load the block into KeyTray so each master uses the next valid number.
- Open the carrier and go to Air Waybill Number Assigned. Create a new assignment.
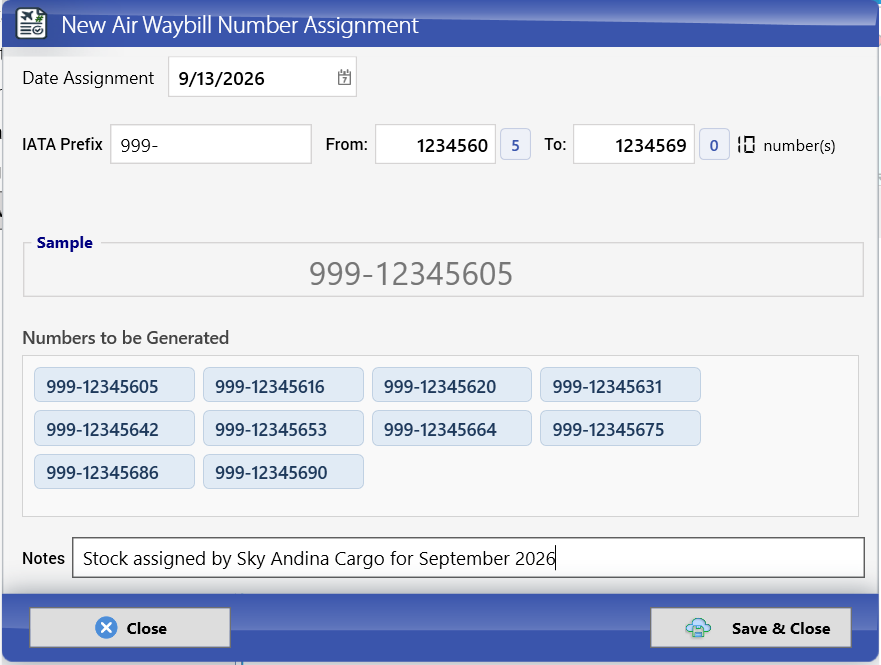
- Date Assignment: 9/13/2026. IATA Prefix: 999-.
- From: 1234560 and To: 1234569. KeyTray shows the count: 10 number(s).
- Sample and Numbers to be Generated show the real AWB numbers: 999-12345605, 999-12345616, 999-12345620, 999-12345631, 999-12345642, 999-12345653, 999-12345664, 999-12345675, 999-12345686, 999-12345690.
- Notes: Stock assigned by Sky Andina Cargo for September 2026.
- Click Save & Close.
Why it matters — the check digit: an AWB number is 8 digits after the prefix: a 7-digit serial number plus a check digit, which is the remainder of dividing the serial by 7. For 1234560, 1234560 ÷ 7 leaves a remainder of 5, so the AWB is 999-1234560-5 (written 999-12345605). KeyTray calculates it for you, which prevents invalid numbers that the airline would reject.
7.2 Creating the shipment
Menu: Freight Forwarding > New Shipment.
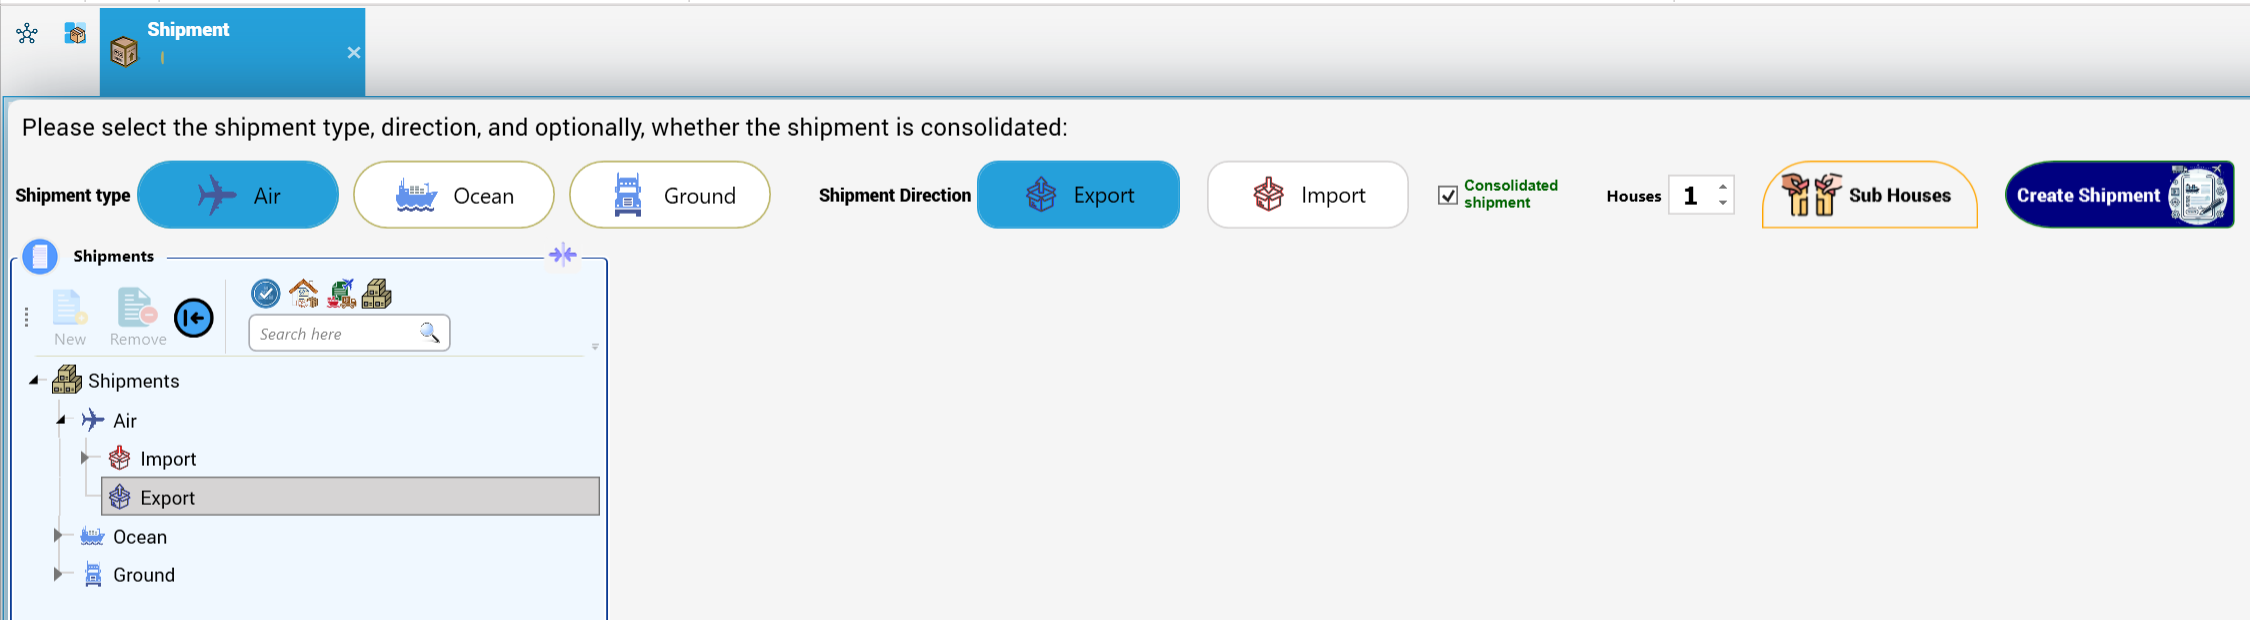
- The screen asks: "Please select the shipment type, direction, and optionally, whether the shipment is consolidated:"
- Shipment type: Air (the others are Ocean and Ground).
- Shipment Direction: Export (or Import).
- Tick Consolidated shipment and set Houses to 1. (Sub Houses is for houses that contain sub-houses.)
- Click Create Shipment.
KeyTray creates the master and its house:
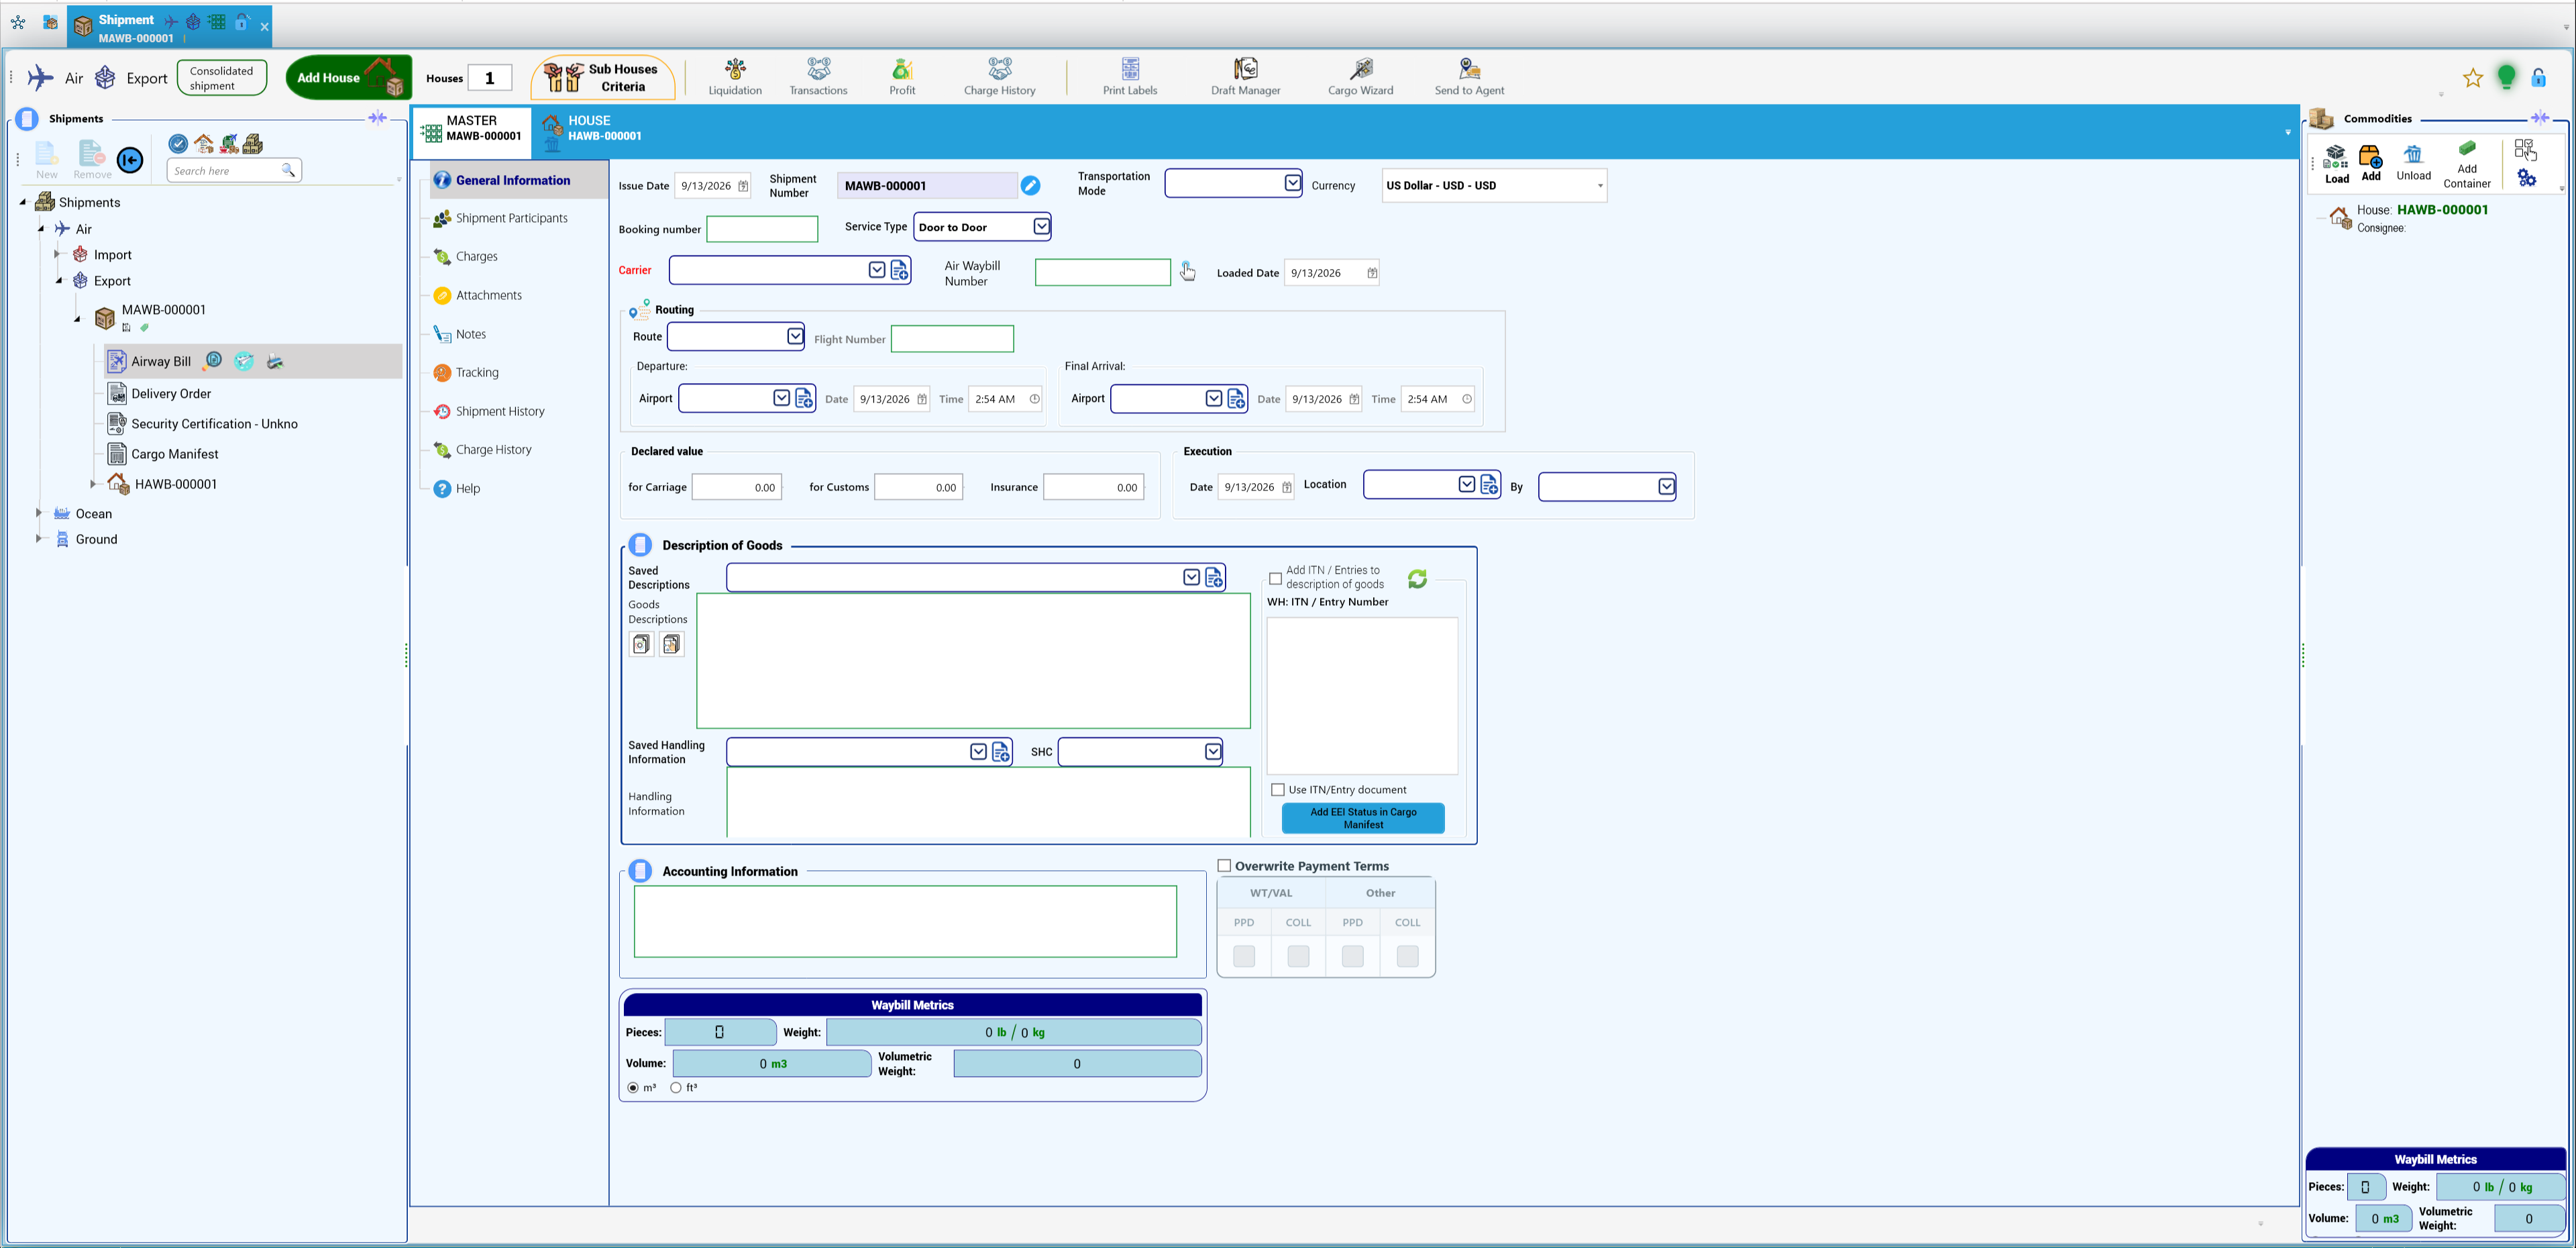
- The Shipments tree on the left now shows Air > Export > MAWB-000001 with its documents: Airway Bill, Delivery Order, Security Certification, Cargo Manifest and the house HAWB-000001.
- In the center, the tabs MASTER MAWB-000001 and HOUSE HAWB-000001 switch between the two waybills.
- The left menu of each waybill has General Information, Shipment Participants, Charges, Attachments, Notes, Tracking, Shipment History, Charge History and Help (the house also has Liquidation, Transactions and Profit).
- The top toolbar has Add House, Houses, Sub Houses Criteria, Liquidation, Transactions, Profit, Charge History, Print Labels, Draft Manager, Cargo Wizard and Send to Agent.
- The Commodities panel on the right has Load, Add, Unload and Add Container, and the Waybill Metrics (pieces, weight, volume, volumetric weight).
7.3 Master: General Information
Open the MASTER tab and General Information:
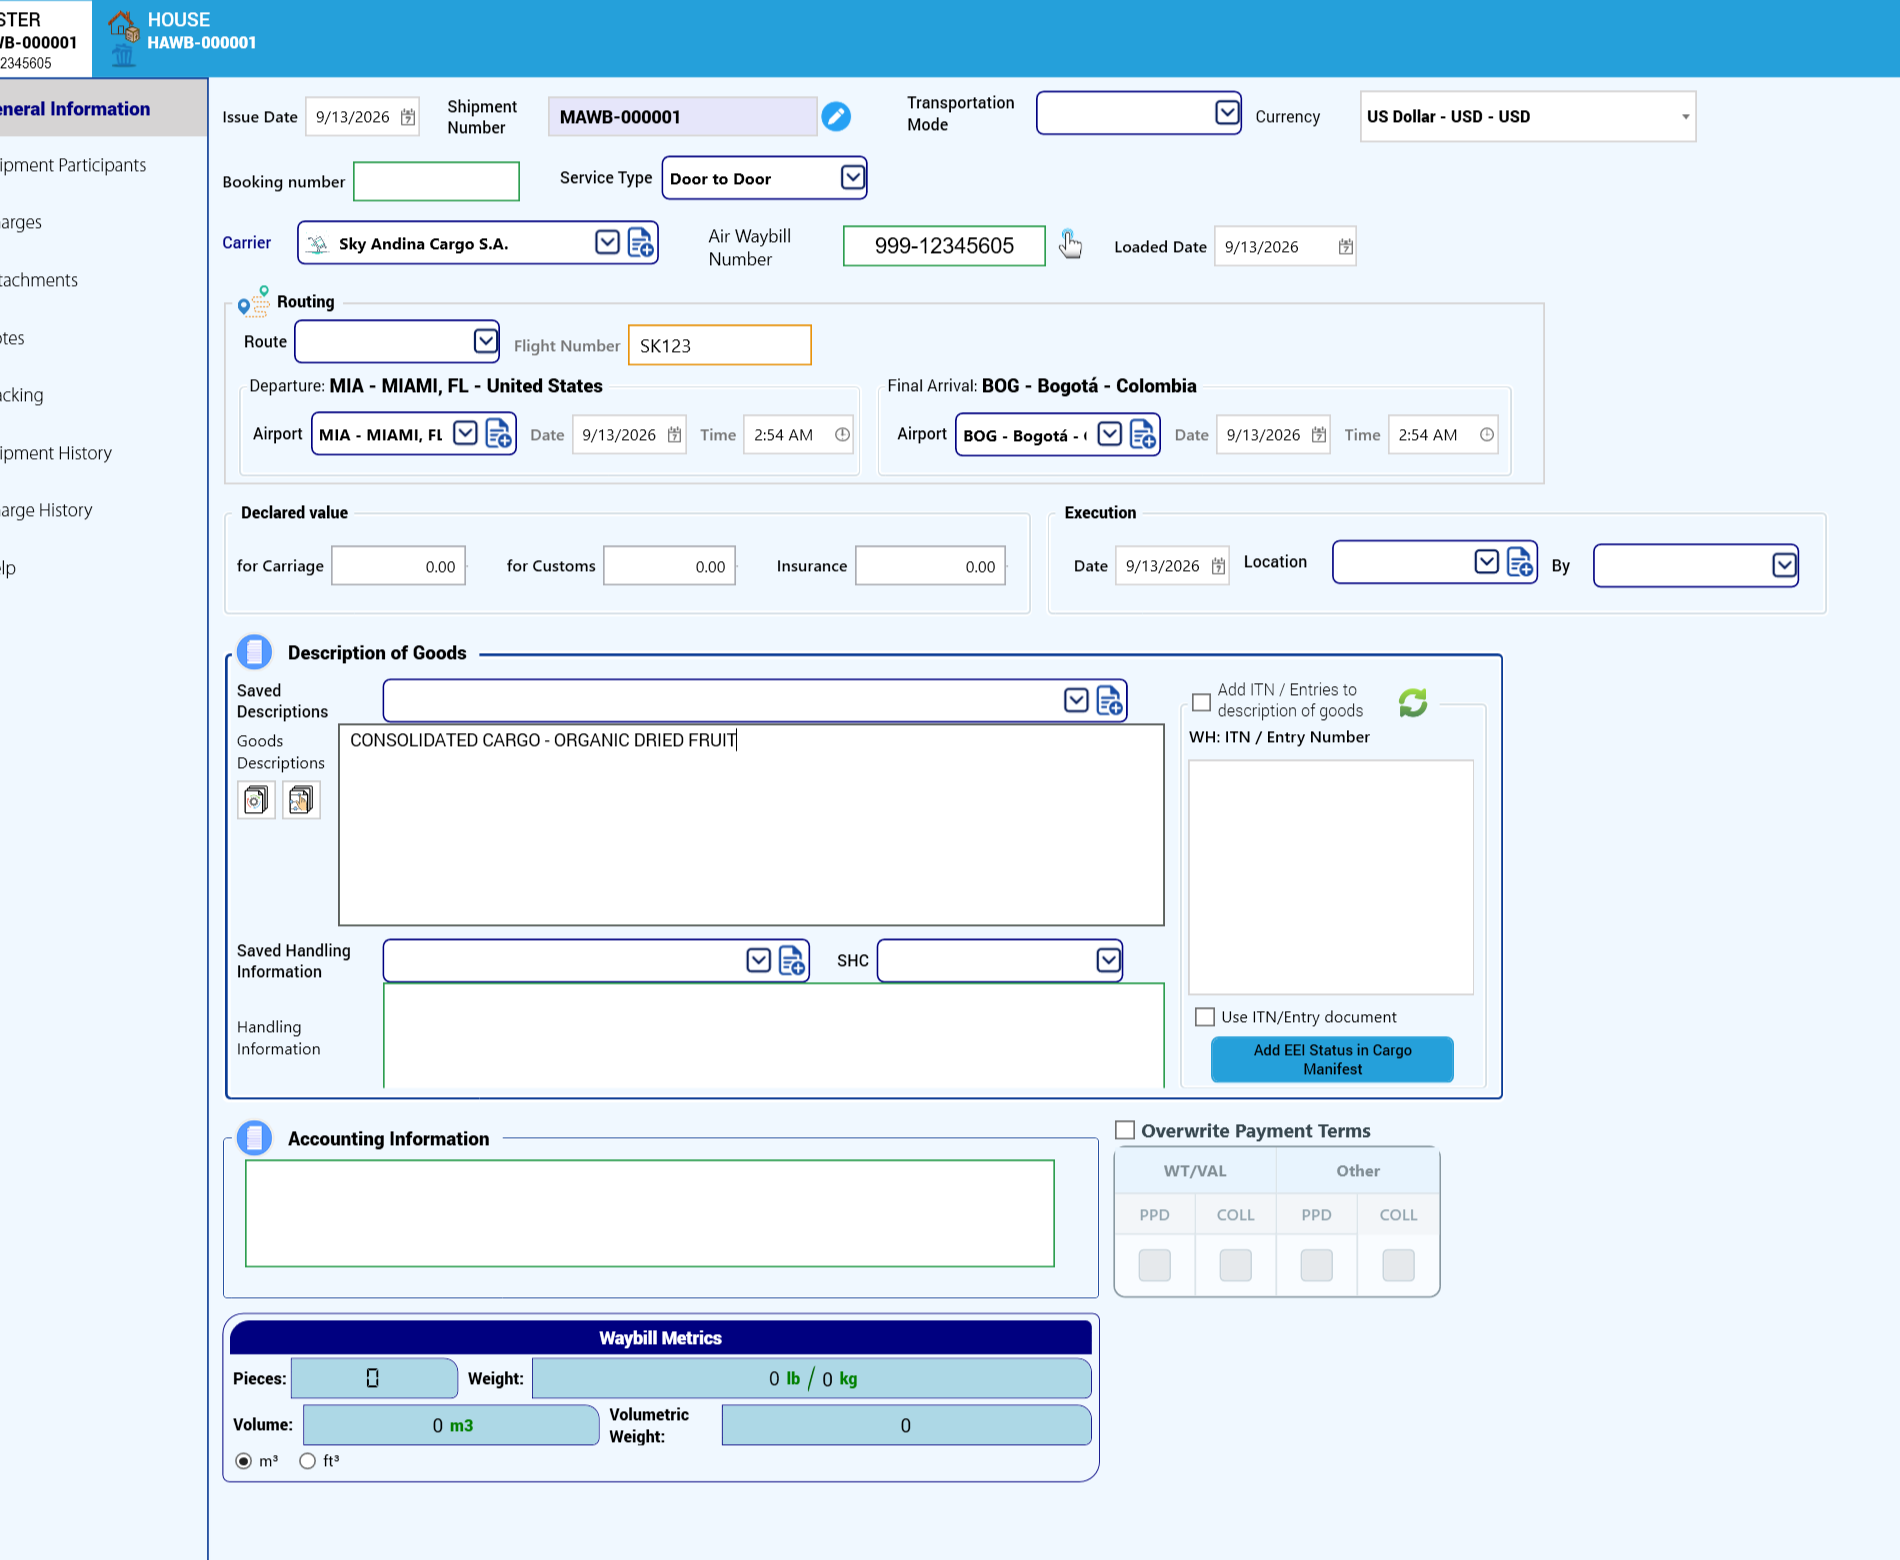
- Issue Date: 9/13/2026. Shipment Number: MAWB-000001.
- Service Type: Door to Door. Currency: US Dollar - USD. Transportation Mode and Booking number: optional.
- Carrier: Sky Andina Cargo S.A.
- Air Waybill Number: click the hand button next to the field. The Choose a AWB number window lists the airline's available stock:
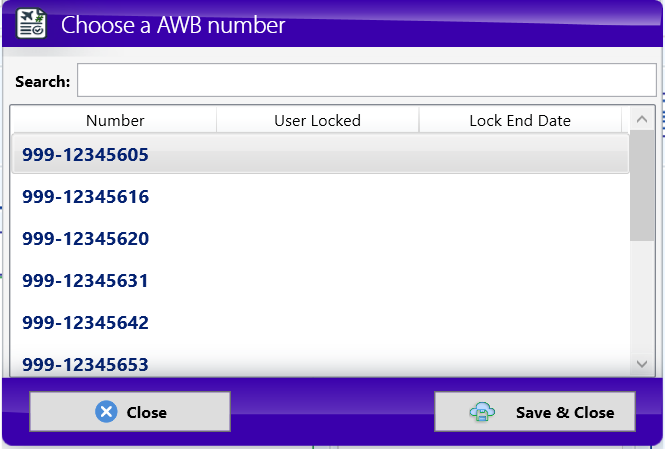
Select 999-12345605 and click Save & Close. (User Locked and Lock End Date show whether another user has reserved a number.) The field now shows 999-12345605.
5. Loaded Date: 9/13/2026.
6. Routing: Flight Number SK123. Departure: Airport MIA - MIAMI, FL - United States, with Date and Time. Final Arrival: Airport BOG - Bogotá - Colombia, with Date and Time.
7. Declared value: for Carriage, for Customs, Insurance (0.00 in the demo).
8. Execution: Date, Location, By.
9. Description of Goods: CONSOLIDATED CARGO - ORGANIC DRIED FRUIT. You can reuse Saved Descriptions and Saved Handling Information, choose SHC (special handling codes).
Careful: Add ITN / Entries to description of goods and Add EEI Status in Cargo Manifest are for US exports; they are not used from Argentina.
10. Accounting Information and Overwrite Payment Terms (WT/VAL and Other, each PPD or COLL) are printed on the air waybill.
7.4 Master and house participants
Master — Shipment Participants:
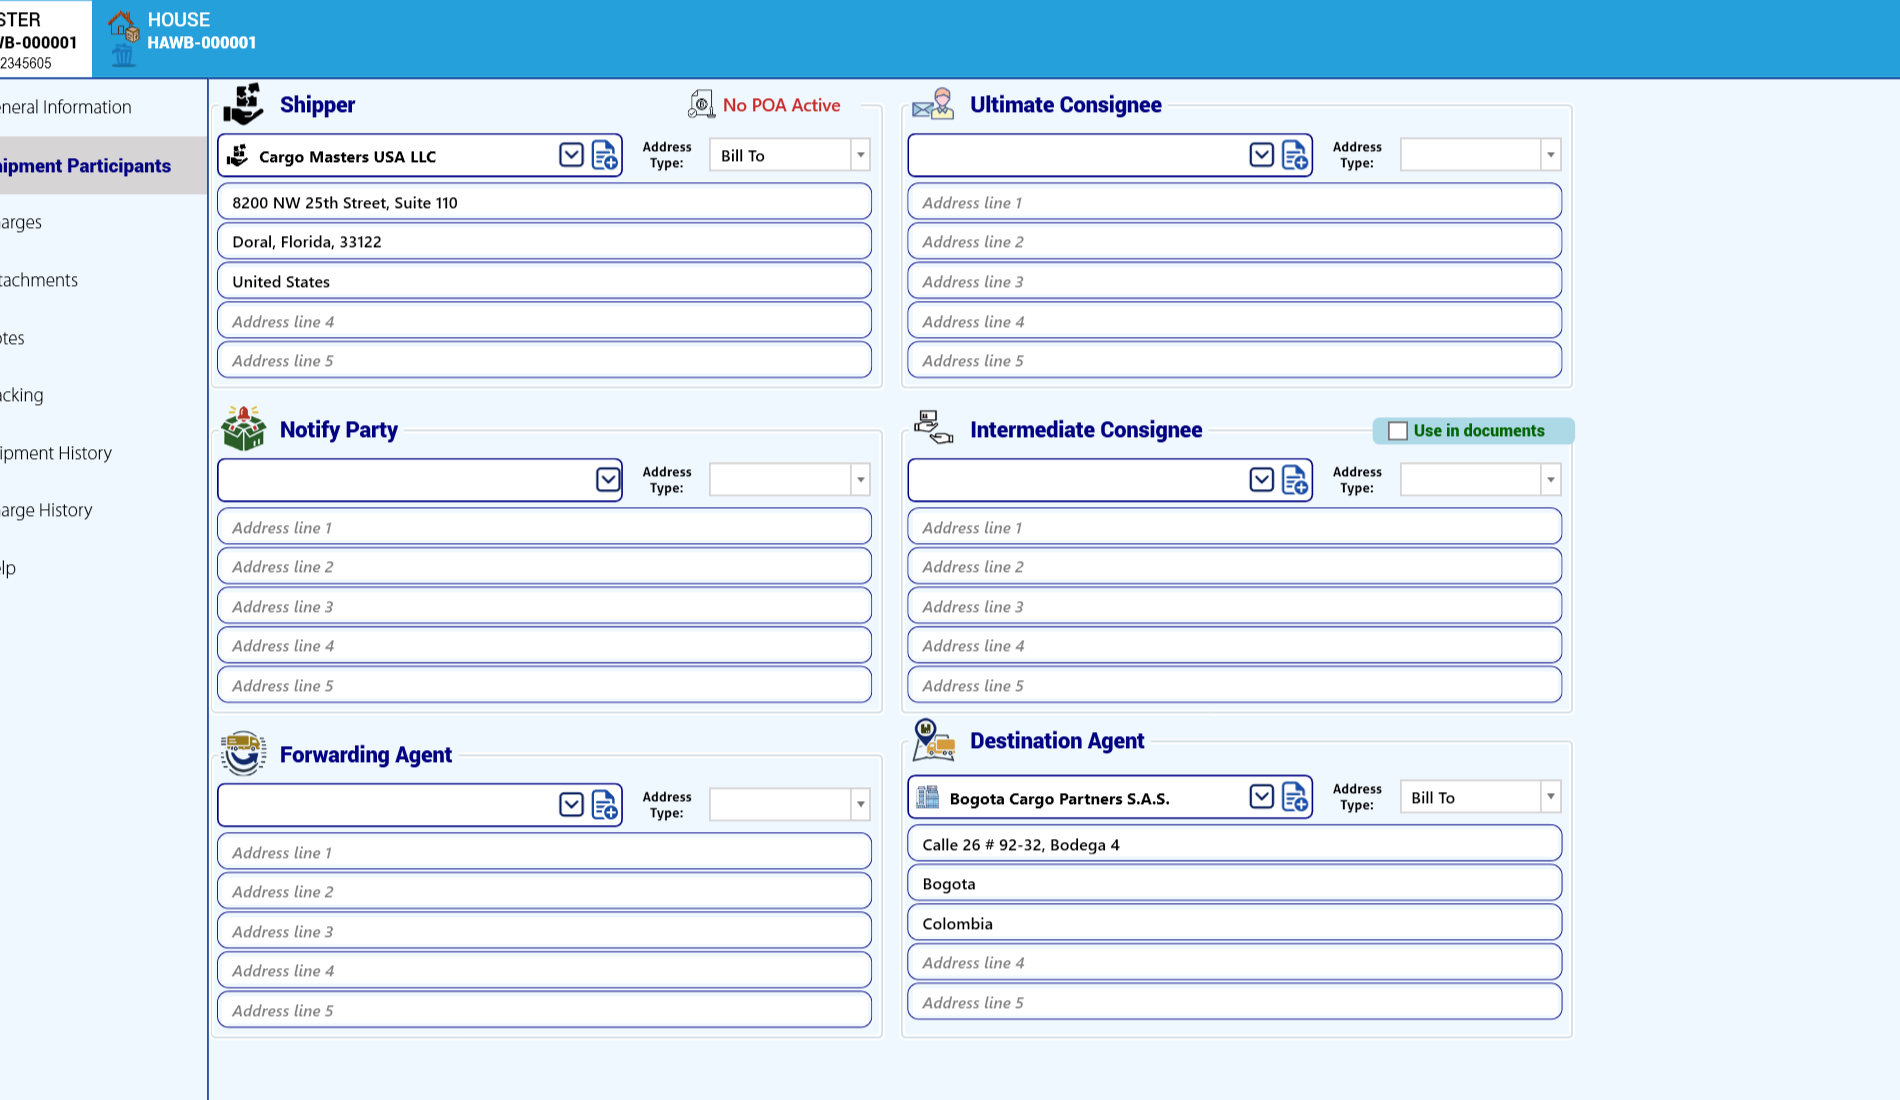
On a consolidated master, the airline's customer is your company:
- Shipper: Cargo Masters USA LLC (address 8200 NW 25th Street, Suite 110, Doral, Florida, 33122). The label No POA Active warns that no power of attorney is recorded for this shipper.
- Destination Agent: Bogota Cargo Partners S.A.S. — the agent who receives the consolidation in Bogota.
- Ultimate Consignee, Notify Party, Intermediate Consignee (with Use in documents) and Forwarding Agent are left empty here. Each participant has its Address Type and five address lines.
House — Shipment Participants:
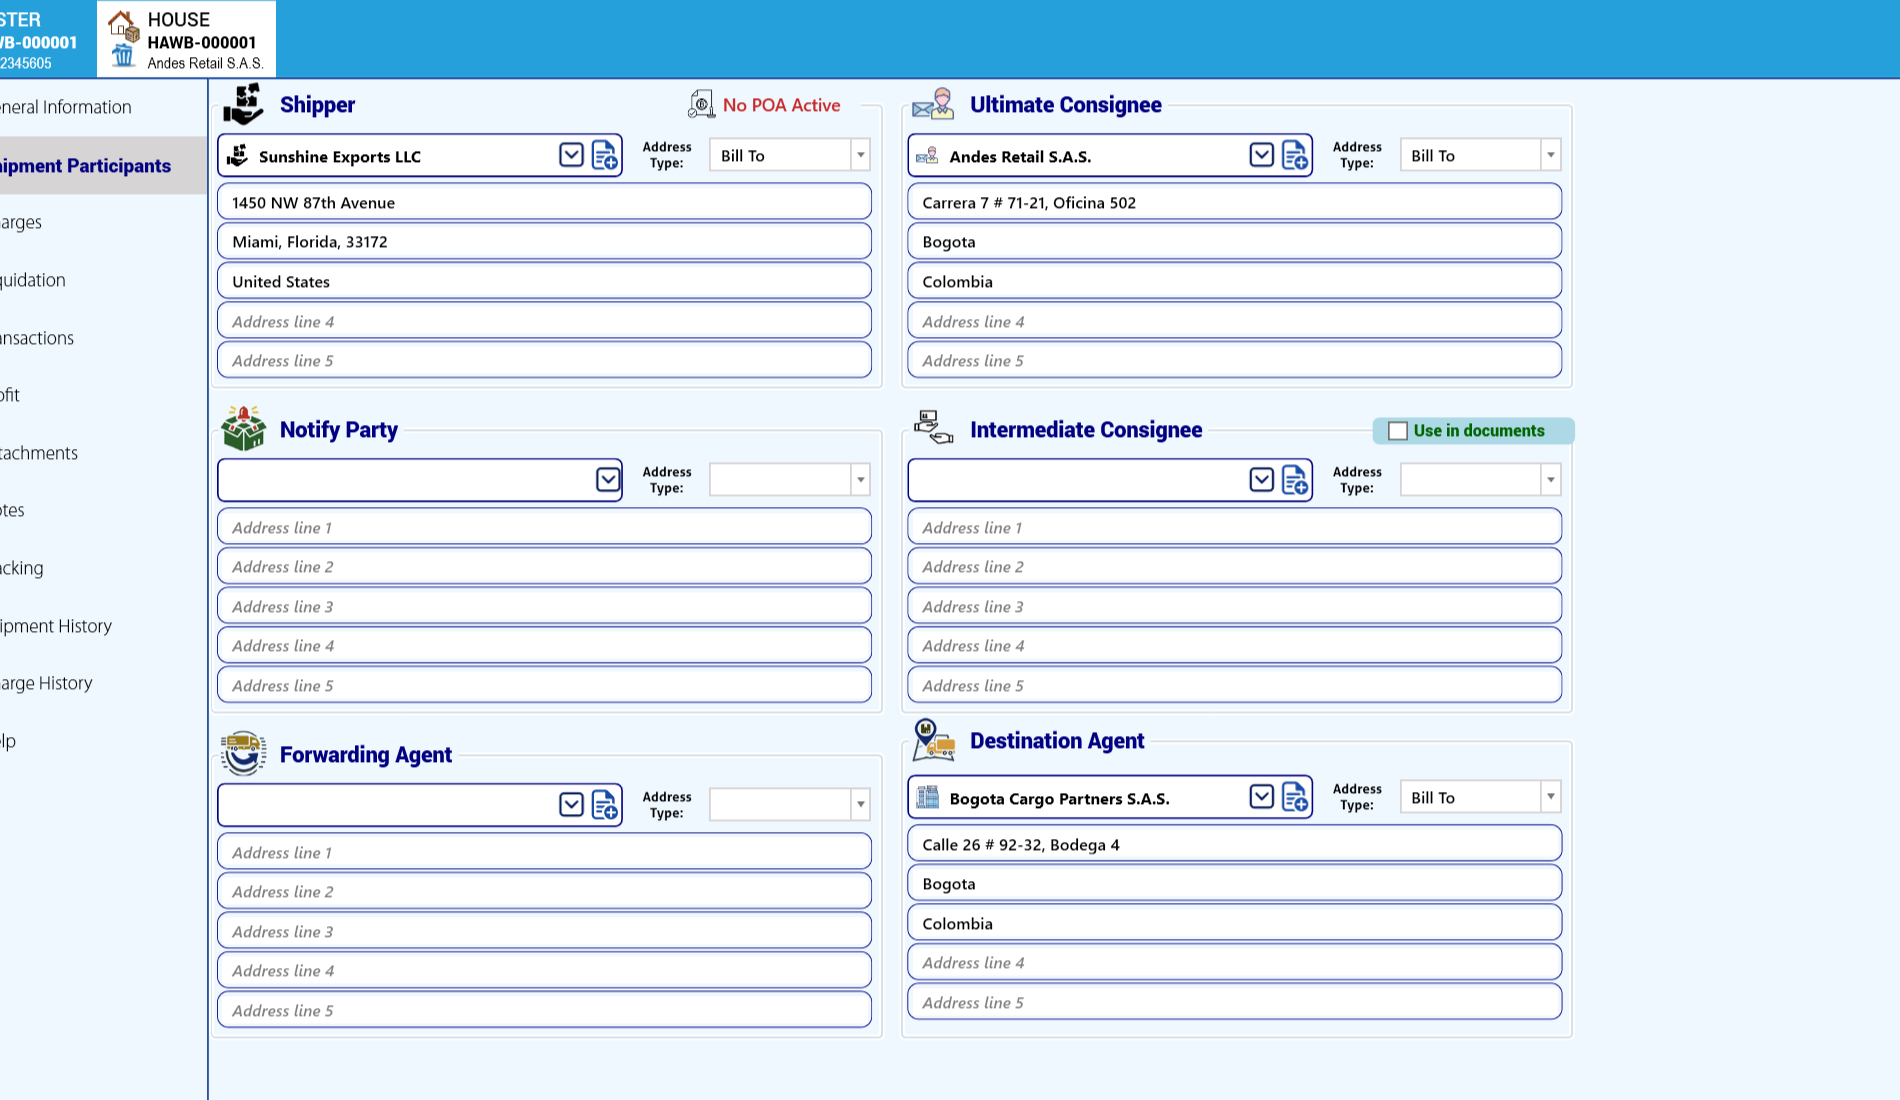
On the house, the real parties appear:
- Shipper: Sunshine Exports LLC, Bill To address in Miami.
- Ultimate Consignee: Andes Retail S.A.S., Bill To address in Bogota.
- Destination Agent: Bogota Cargo Partners S.A.S.
Careful: the participant lists only show companies whose main Freight Forward Category is the right one (Shipper, Consignee, Agent, Carrier...). If a company is missing, open it and check its main category (section 1.4). Additional categories do not make it appear.
7.5 Loading the cargo into the house
- In the Commodities panel, click Load. The Pieces selection opens:
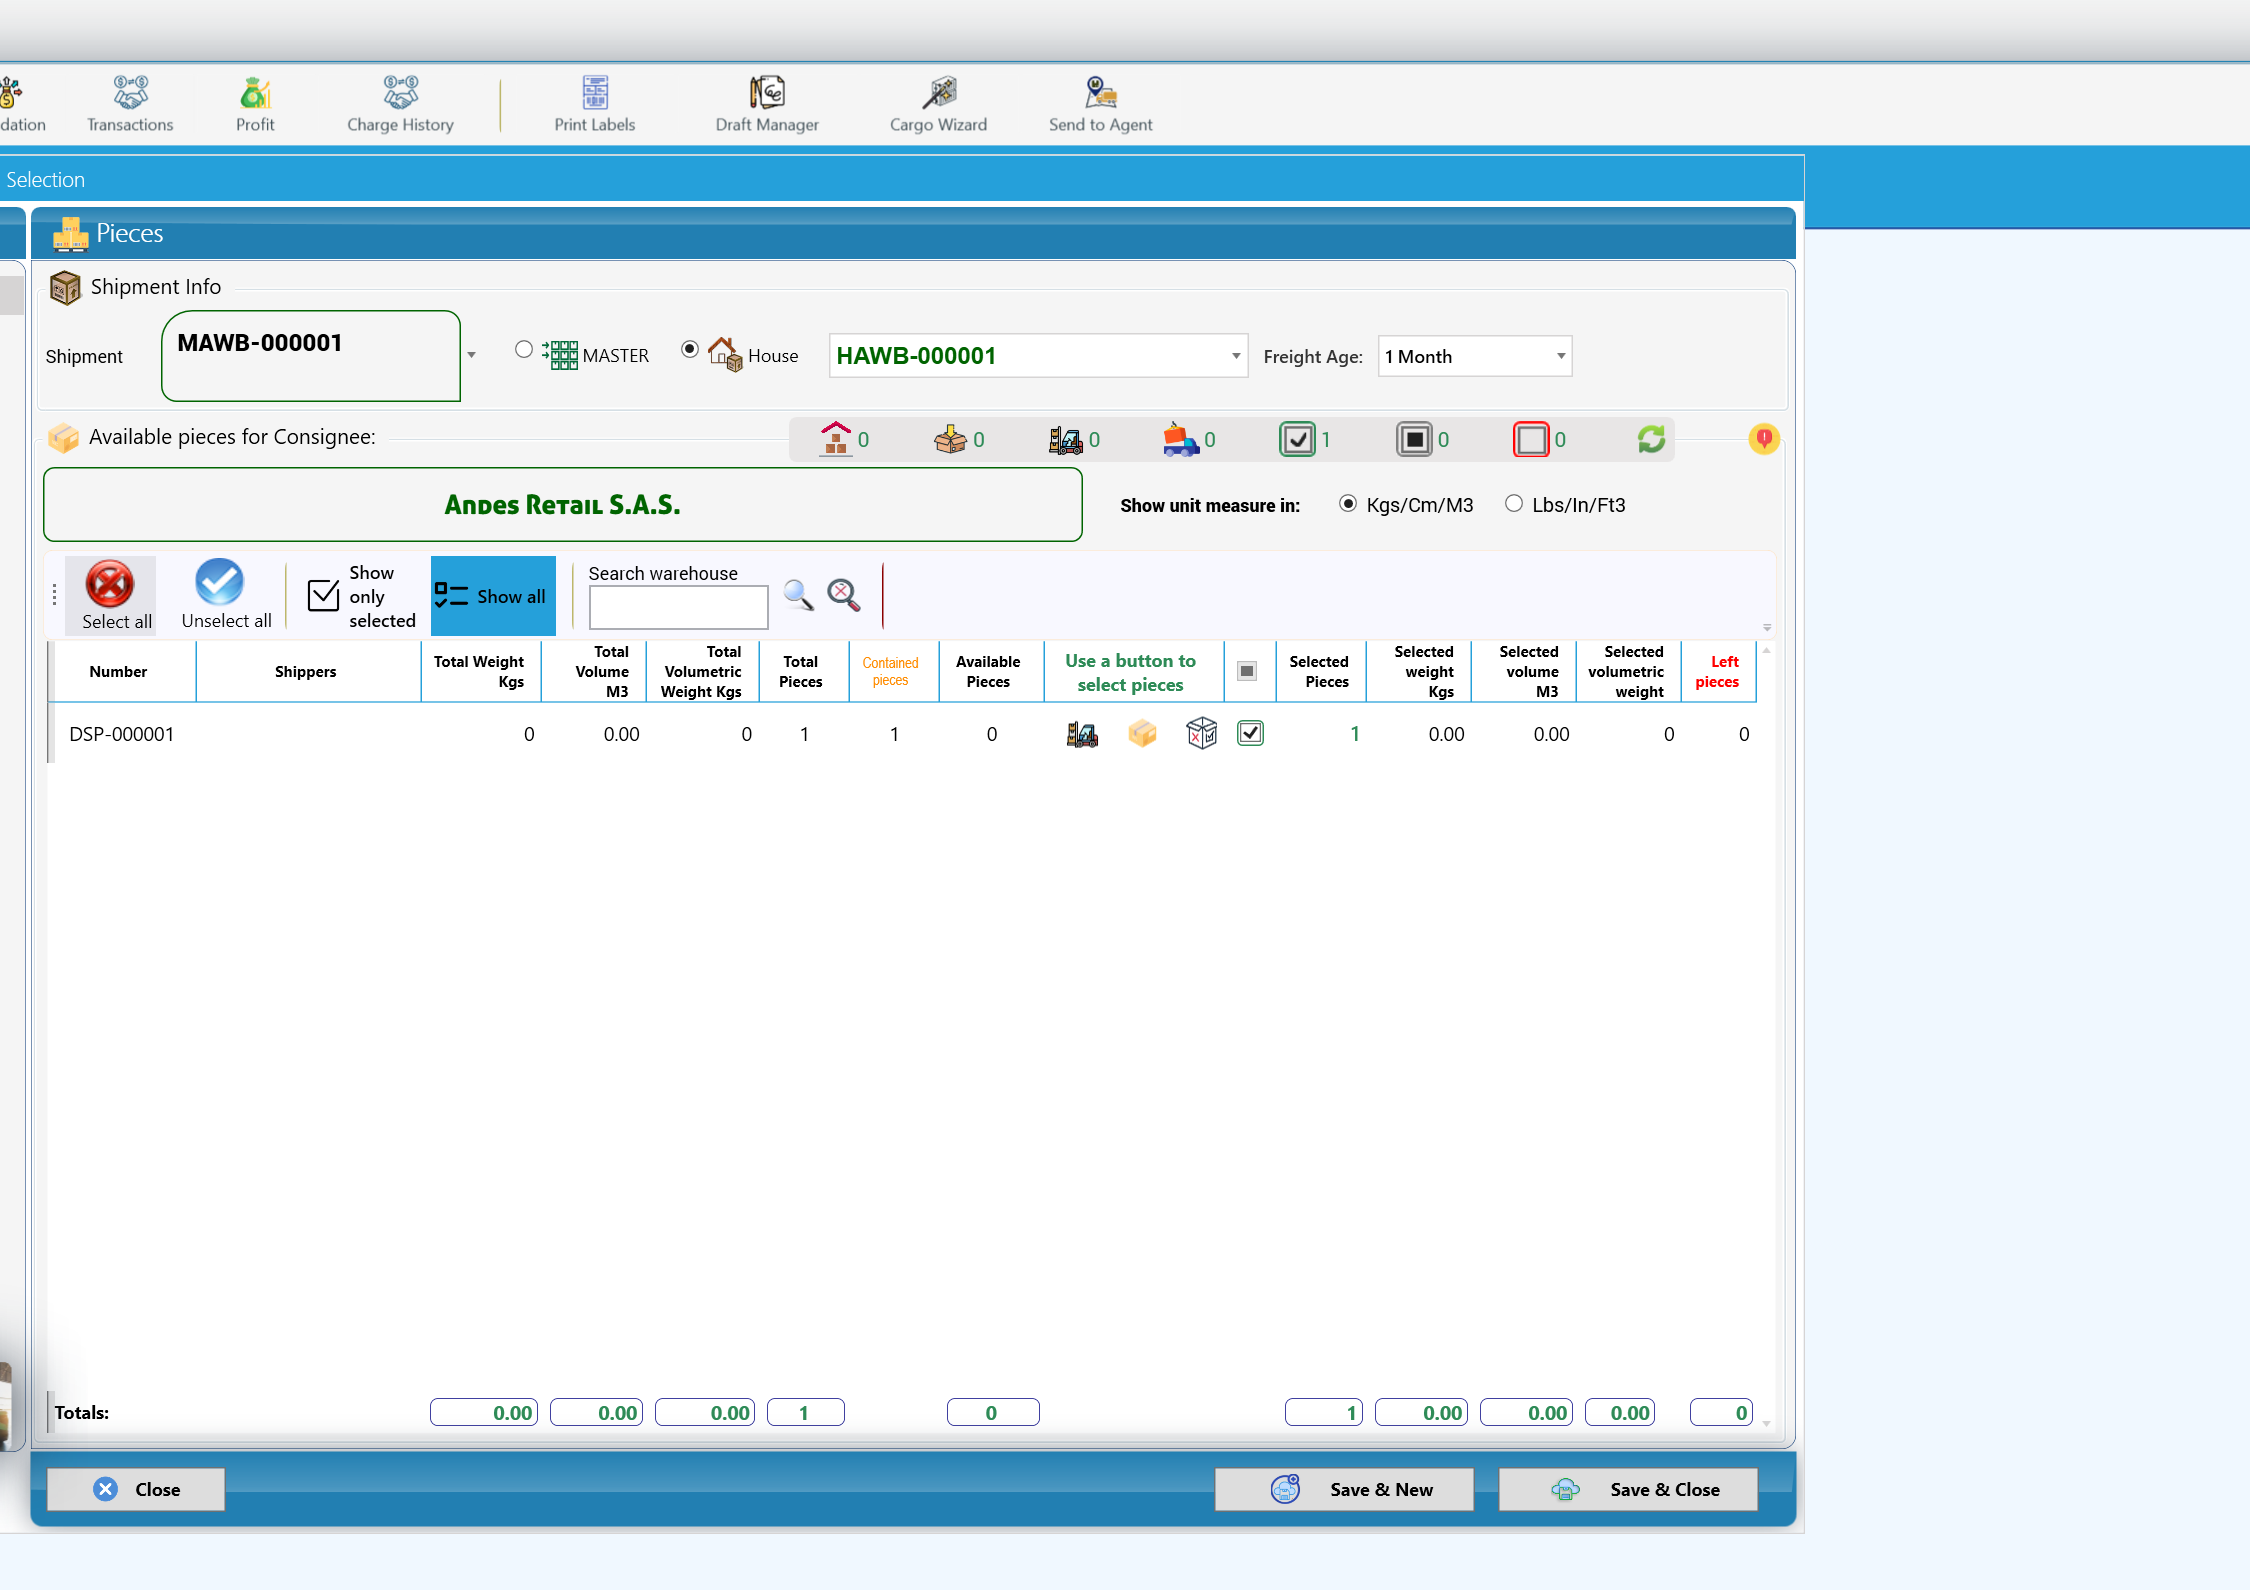
- Shipment: MAWB-000001. Choose House and HAWB-000001 (or MASTER to load directly on the master). Freight Age: 1 Month limits the list to recent cargo.
- The available cargo for the consignee appears — here the dispatch DSP-000001 with Total Pieces 1 and Contained pieces 1. Select it; Selected Pieces shows 1.
- Click Save & Close.
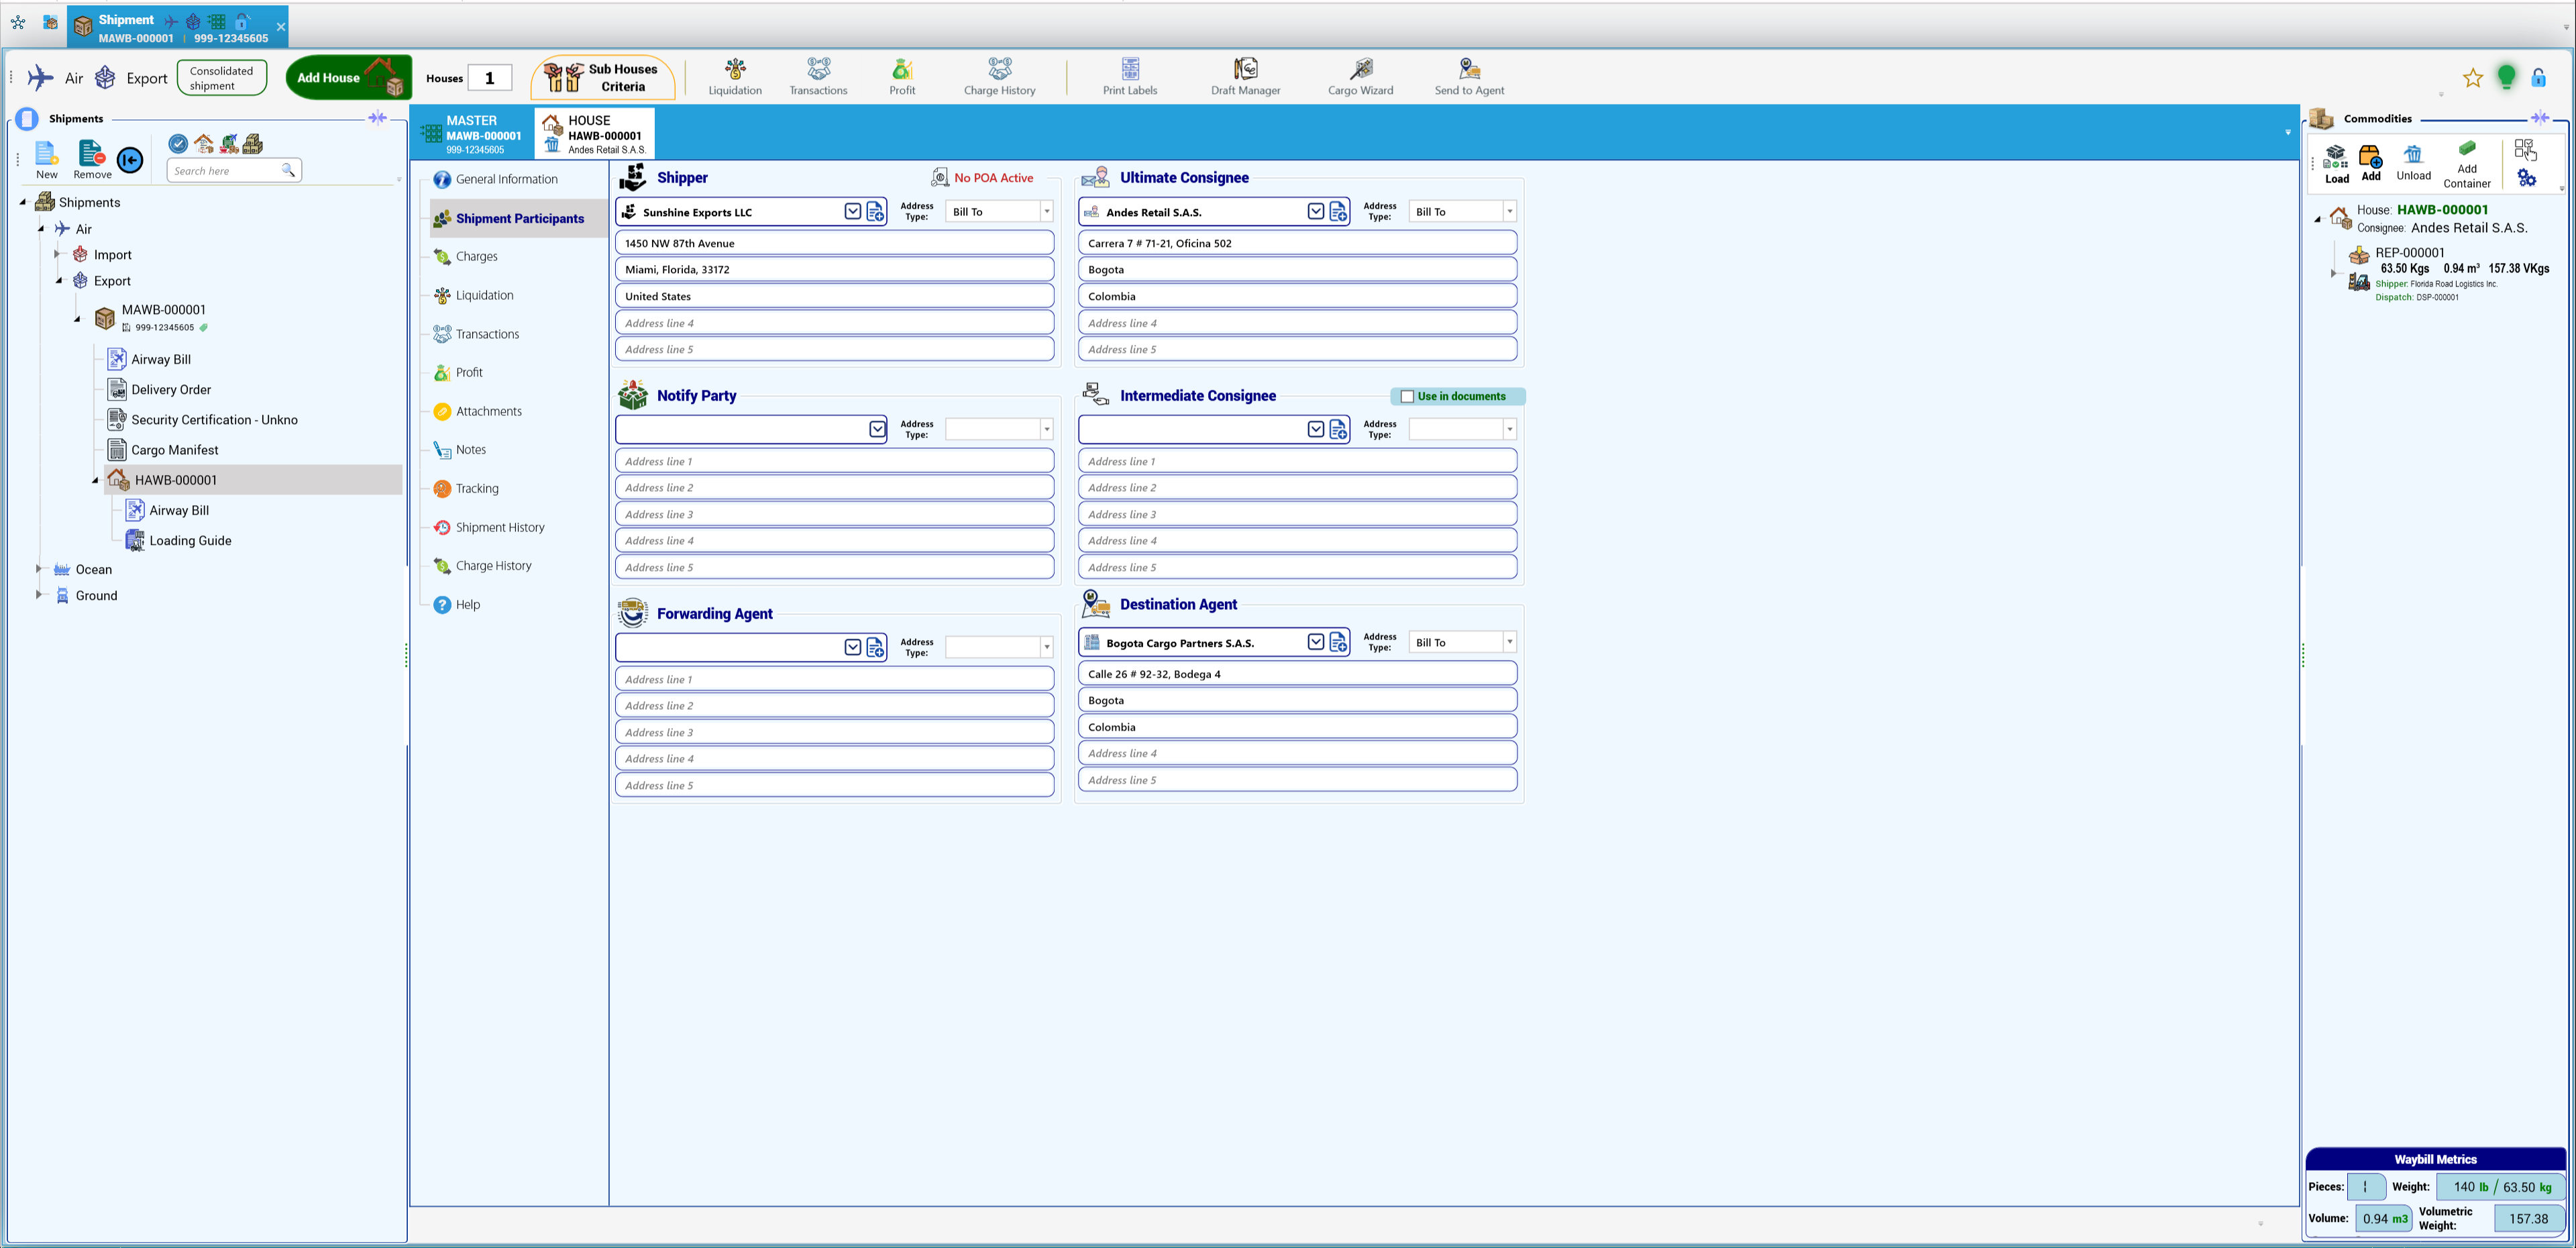
The Commodities panel now shows House: HAWB-000001, Consignee: Andes Retail S.A.S., and inside it REP-000001: 63.50 Kgs, 0.94 m³, 157.38 VKgs, linked to Dispatch: DSP-000001. The Waybill Metrics show Pieces 1, Weight 140 lb / 63.50 kg, Volume 0.94 m3 and Volumetric Weight 157.38. The tree shows the house's own Airway Bill and Loading Guide.
Notice that the volumetric weight (157.38 kg) is much larger than the actual weight (63.50 kg): the pallet is bulky. That is the weight the freight will be charged on.
7.6 Charges: income and cost
Charges are the money side of the shipment. Each charge has a direction (Income or Expense), a payment type (Prepaid or Collect) and the participant it applies to.
- Income — what you bill: it becomes a sales invoice.
- Expense — what you are billed: it becomes a purchase bill.
- Prepaid — paid at origin (normally by the shipper's side or by you to the carrier at origin).
- Collect — collected at destination (normally from the consignee).
House income charge: freight Collect to the consignee
Open the HOUSE tab > Charges > New Charge:
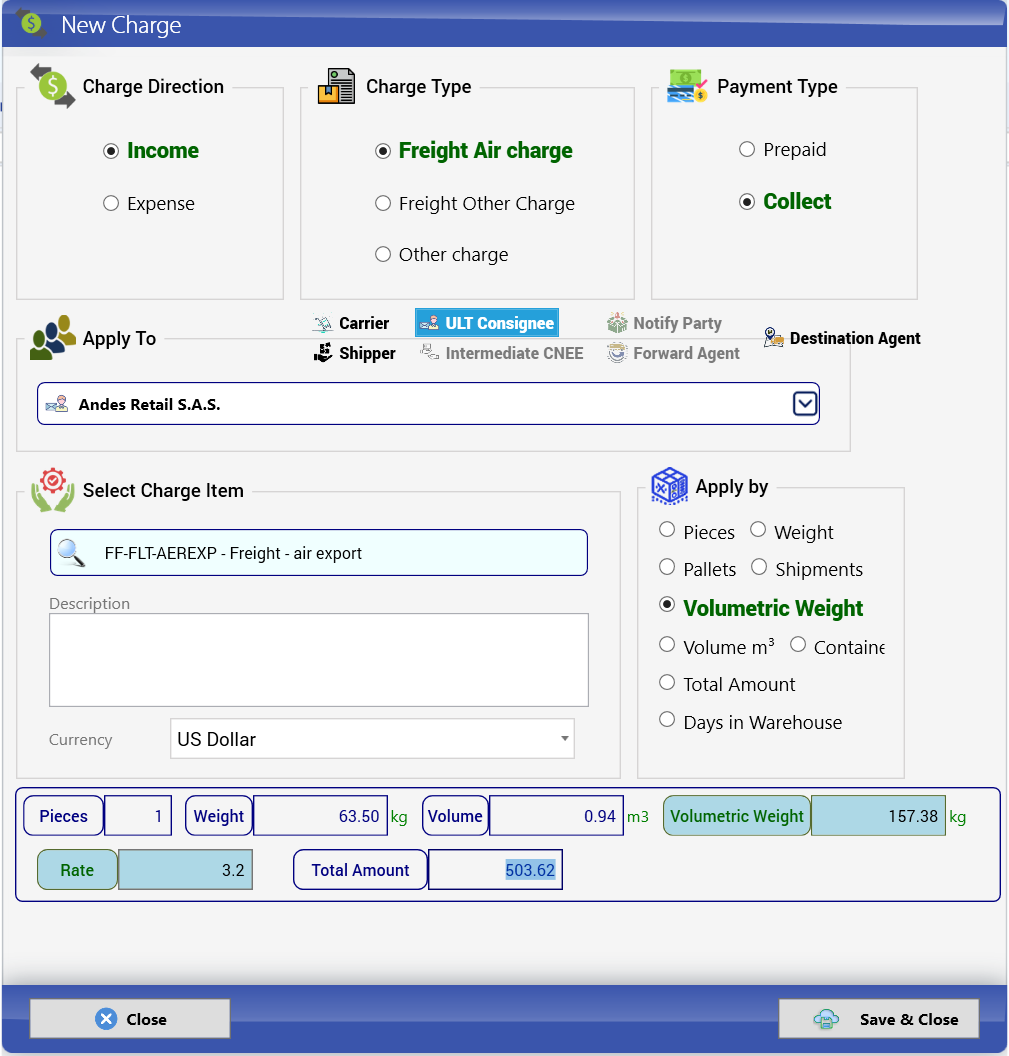
- Charge Direction: Income.
- Charge Type: Freight Air charge (others: Freight Other Charge, Other charge).
- Payment Type: Collect.
- Apply To: click ULT Consignee (the buttons are Carrier, Shipper, ULT Consignee, Intermediate CNEE, Notify Party, Forward Agent, Destination Agent). The list shows Andes Retail S.A.S.
- Select Charge Item: FF-FLT-AEREXP - Freight - air export. Description (optional) and Currency US Dollar.
- Apply by: Volumetric Weight (others: Pieces, Weight, Pallets, Shipments, Volume m³, Container, Total Amount, Days in Warehouse).
- KeyTray shows the shipment metrics: Pieces 1, Weight 63.50 kg, Volume 0.94 m3, Volumetric Weight 157.38 kg.
- Rate: 3.2. Total Amount: 503.62 (157.38 × 3.20).
- Click Save & Close.
Master expense charge: freight Prepaid to the airline
Open the MASTER tab > Charges > New Charge:
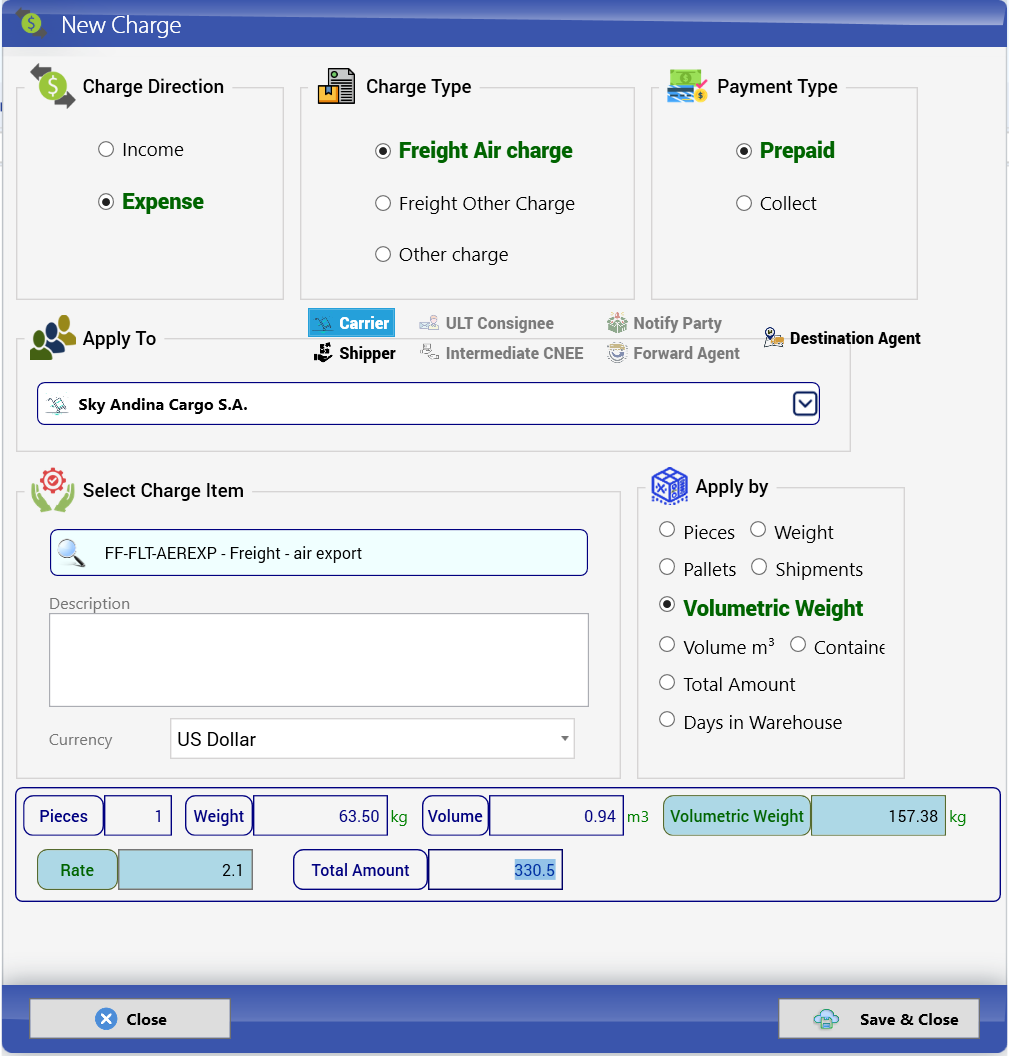
- Charge Direction: Expense.
- Charge Type: Freight Air charge.
- Payment Type: Prepaid.
- Apply To: Carrier — Sky Andina Cargo S.A.
- Select Charge Item: FF-FLT-AEREXP - Freight - air export (the same item: its income account is used for the sale and its purchase account for the cost).
- Apply by: Volumetric Weight. Rate: 2.1. Total Amount: 330.5 (157.38 × 2.10).
- Click Save & Close.
The charge list
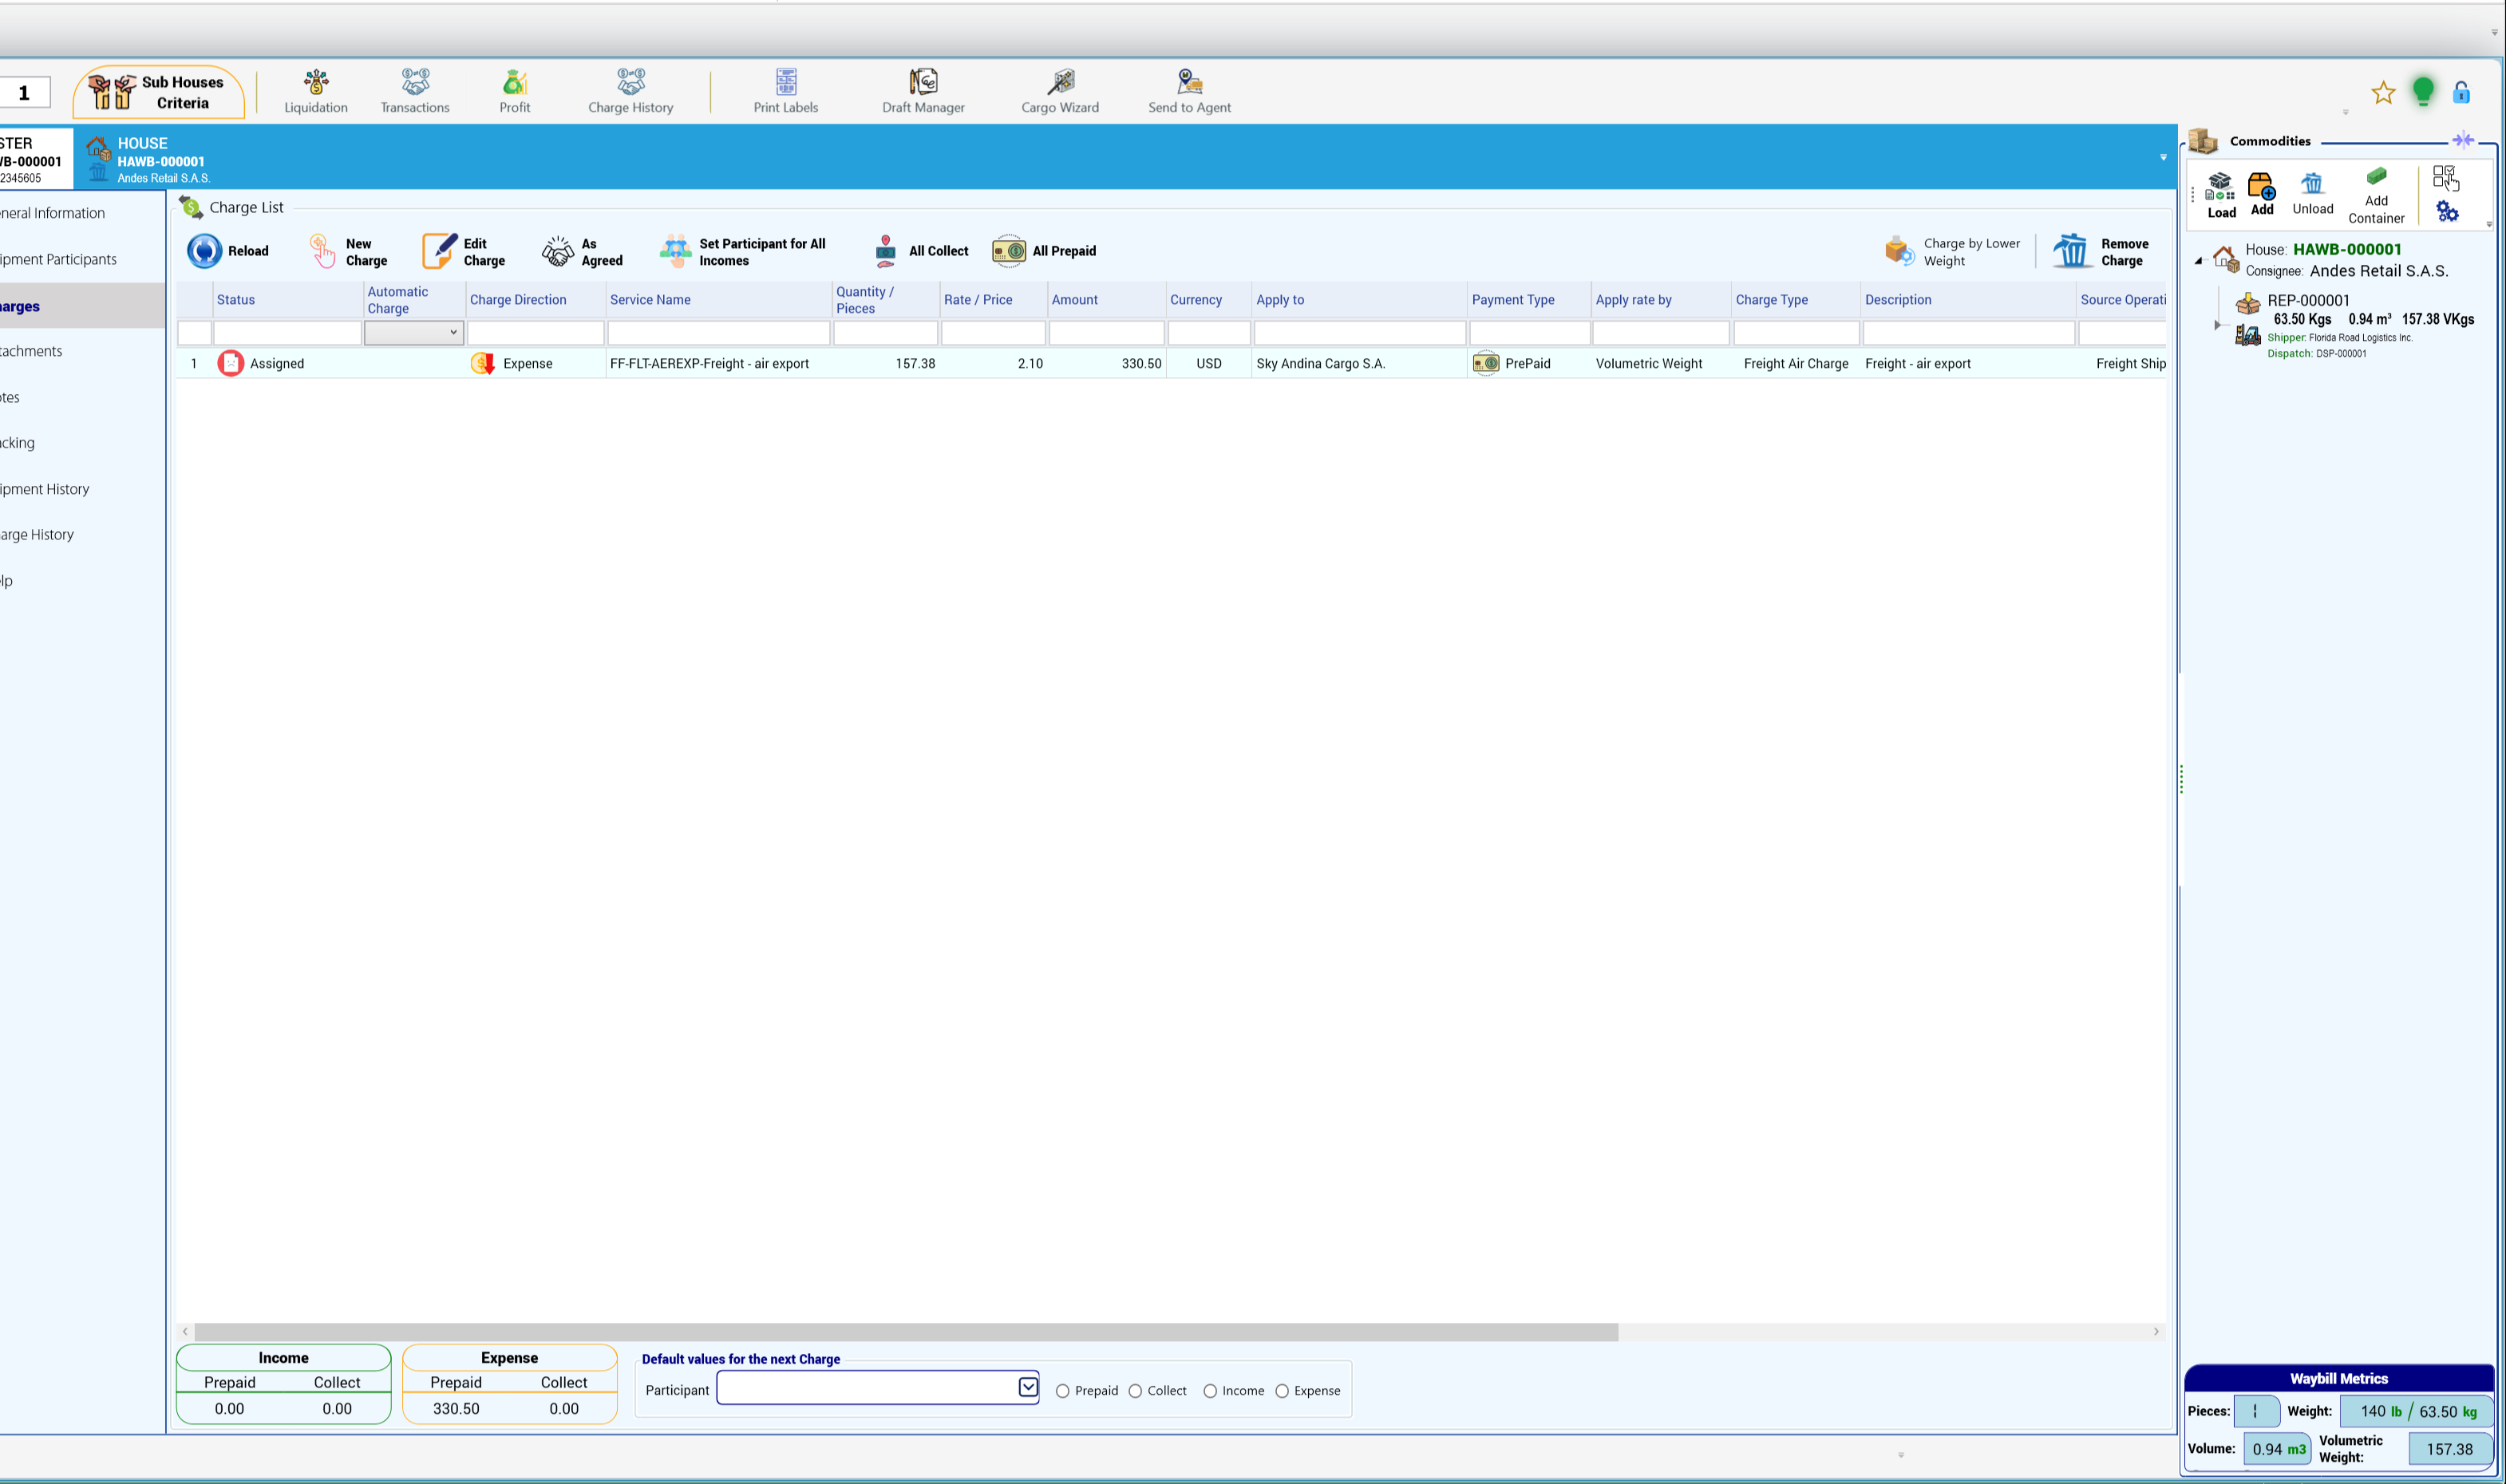
The Charge List shows each charge with Status (Assigned), Automatic Charge, Charge Direction (Expense), Service Name (FF-FLT-AEREXP-Freight - air export), Quantity / Pieces (157.38), Rate / Price (2.10), Amount (330.50), Currency (USD), Apply to (Sky Andina Cargo S.A.), Payment Type (PrePaid), Apply rate by (Volumetric Weight), Charge Type, Description and Source Operation.
Its toolbar has Reload, New Charge, Edit Charge, As Agreed, Set Participant for All Incomes, All Collect, All Prepaid, Charge by Lower Weight and Remove Charge. At the bottom, the Income and Expense boxes total Prepaid and Collect (here Expense Prepaid 330.50), and Default values for the next Charge lets you preset the Participant and Prepaid/Collect/Income/Expense for the next charges.
Why it matters: the item on the charge (FF-FLT-AEREXP) decides the accounts when the shipment is settled. If its purchase account is a Cost of Goods Sold account, the 330.50 airline cost lands in COGS and your gross margin is right. Check it in Accounting info (section 1.9) before your first settlement.
7.7 Profit
Click Profit (hint: See the profit of this shipment):
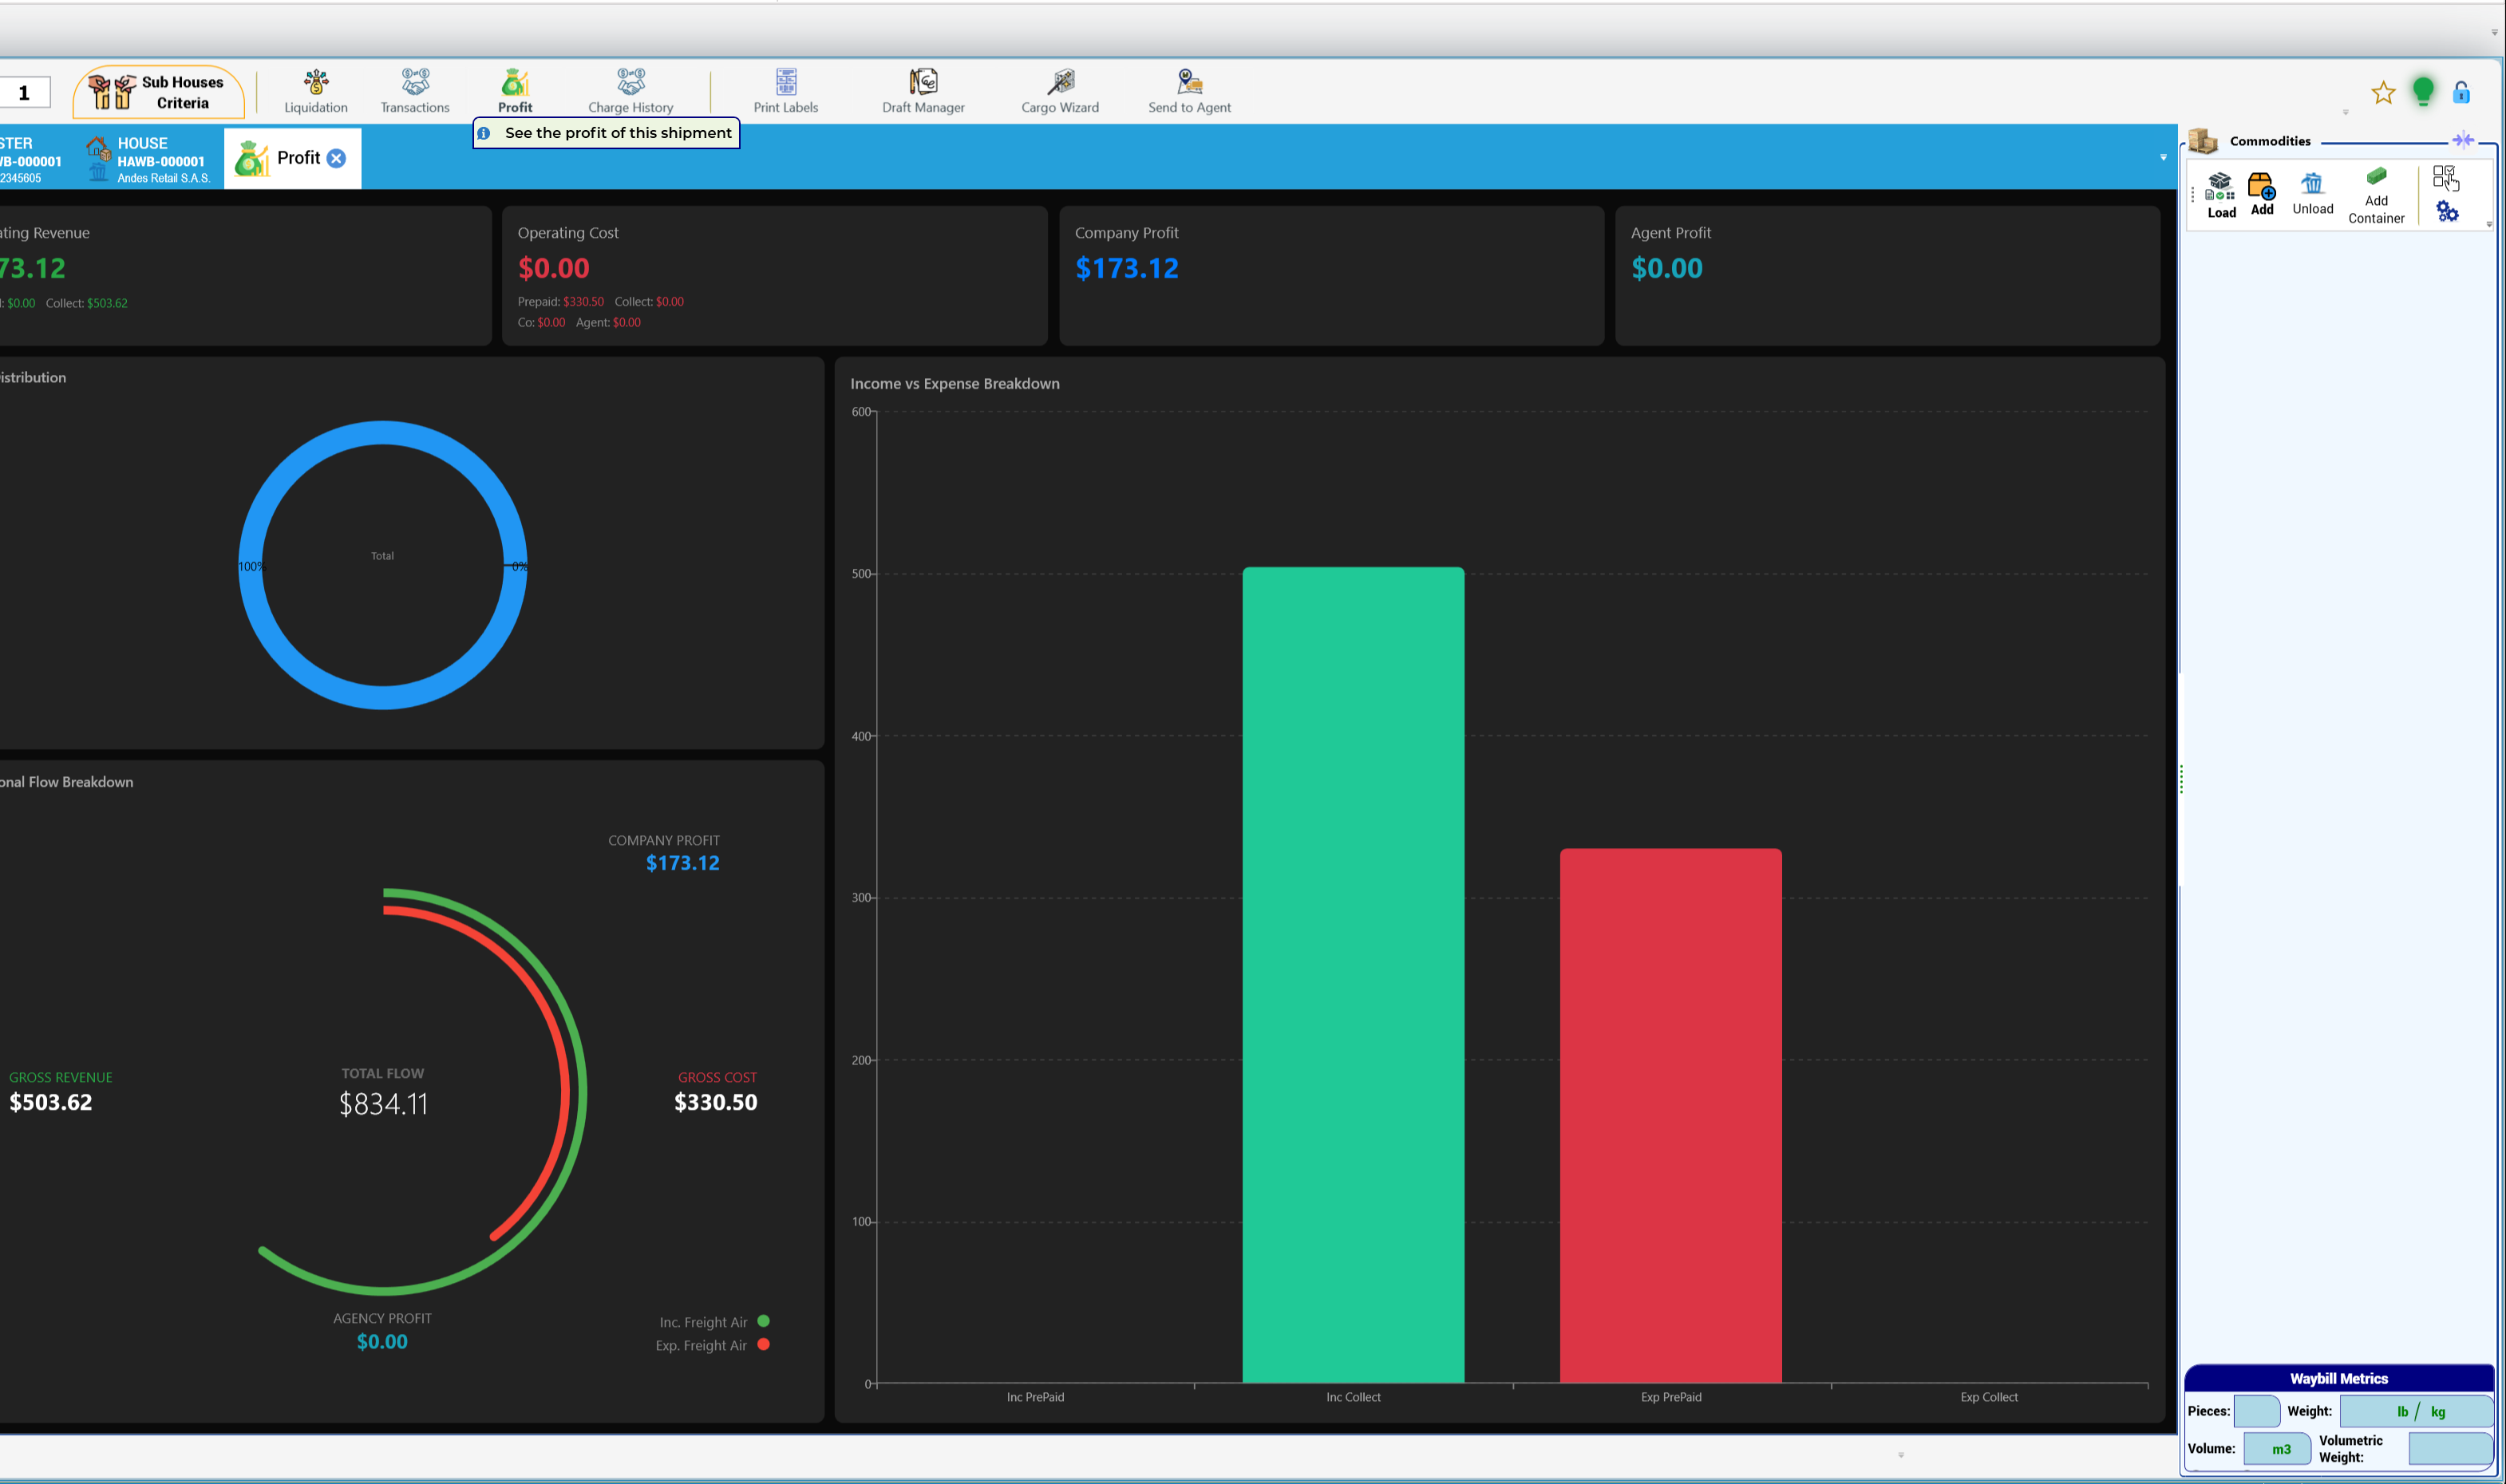
The dashboard shows:
- Company Profit: $173.12 and Agent Profit: $0.00.
- The flow breakdown: GROSS REVENUE $503.62, GROSS COST $330.50, TOTAL FLOW $834.11, COMPANY PROFIT $173.12, AGENCY PROFIT $0.00, with the legend Inc. Freight Air and Exp. Freight Air.
- Income vs Expense Breakdown: bars for Inc PrePaid, Inc Collect (about 500), Exp PrePaid (about 330) and Exp Collect.
503.62 − 330.50 = 173.12. Check the profit before settling: a negative or unusually high profit usually means a missing or duplicated charge.
7.8 Liquidation and settlement
Liquidation (settlement) is the step that turns the shipment's charges into accounting documents.
- Click Liquidation. The tab shows Status: Unsettled:
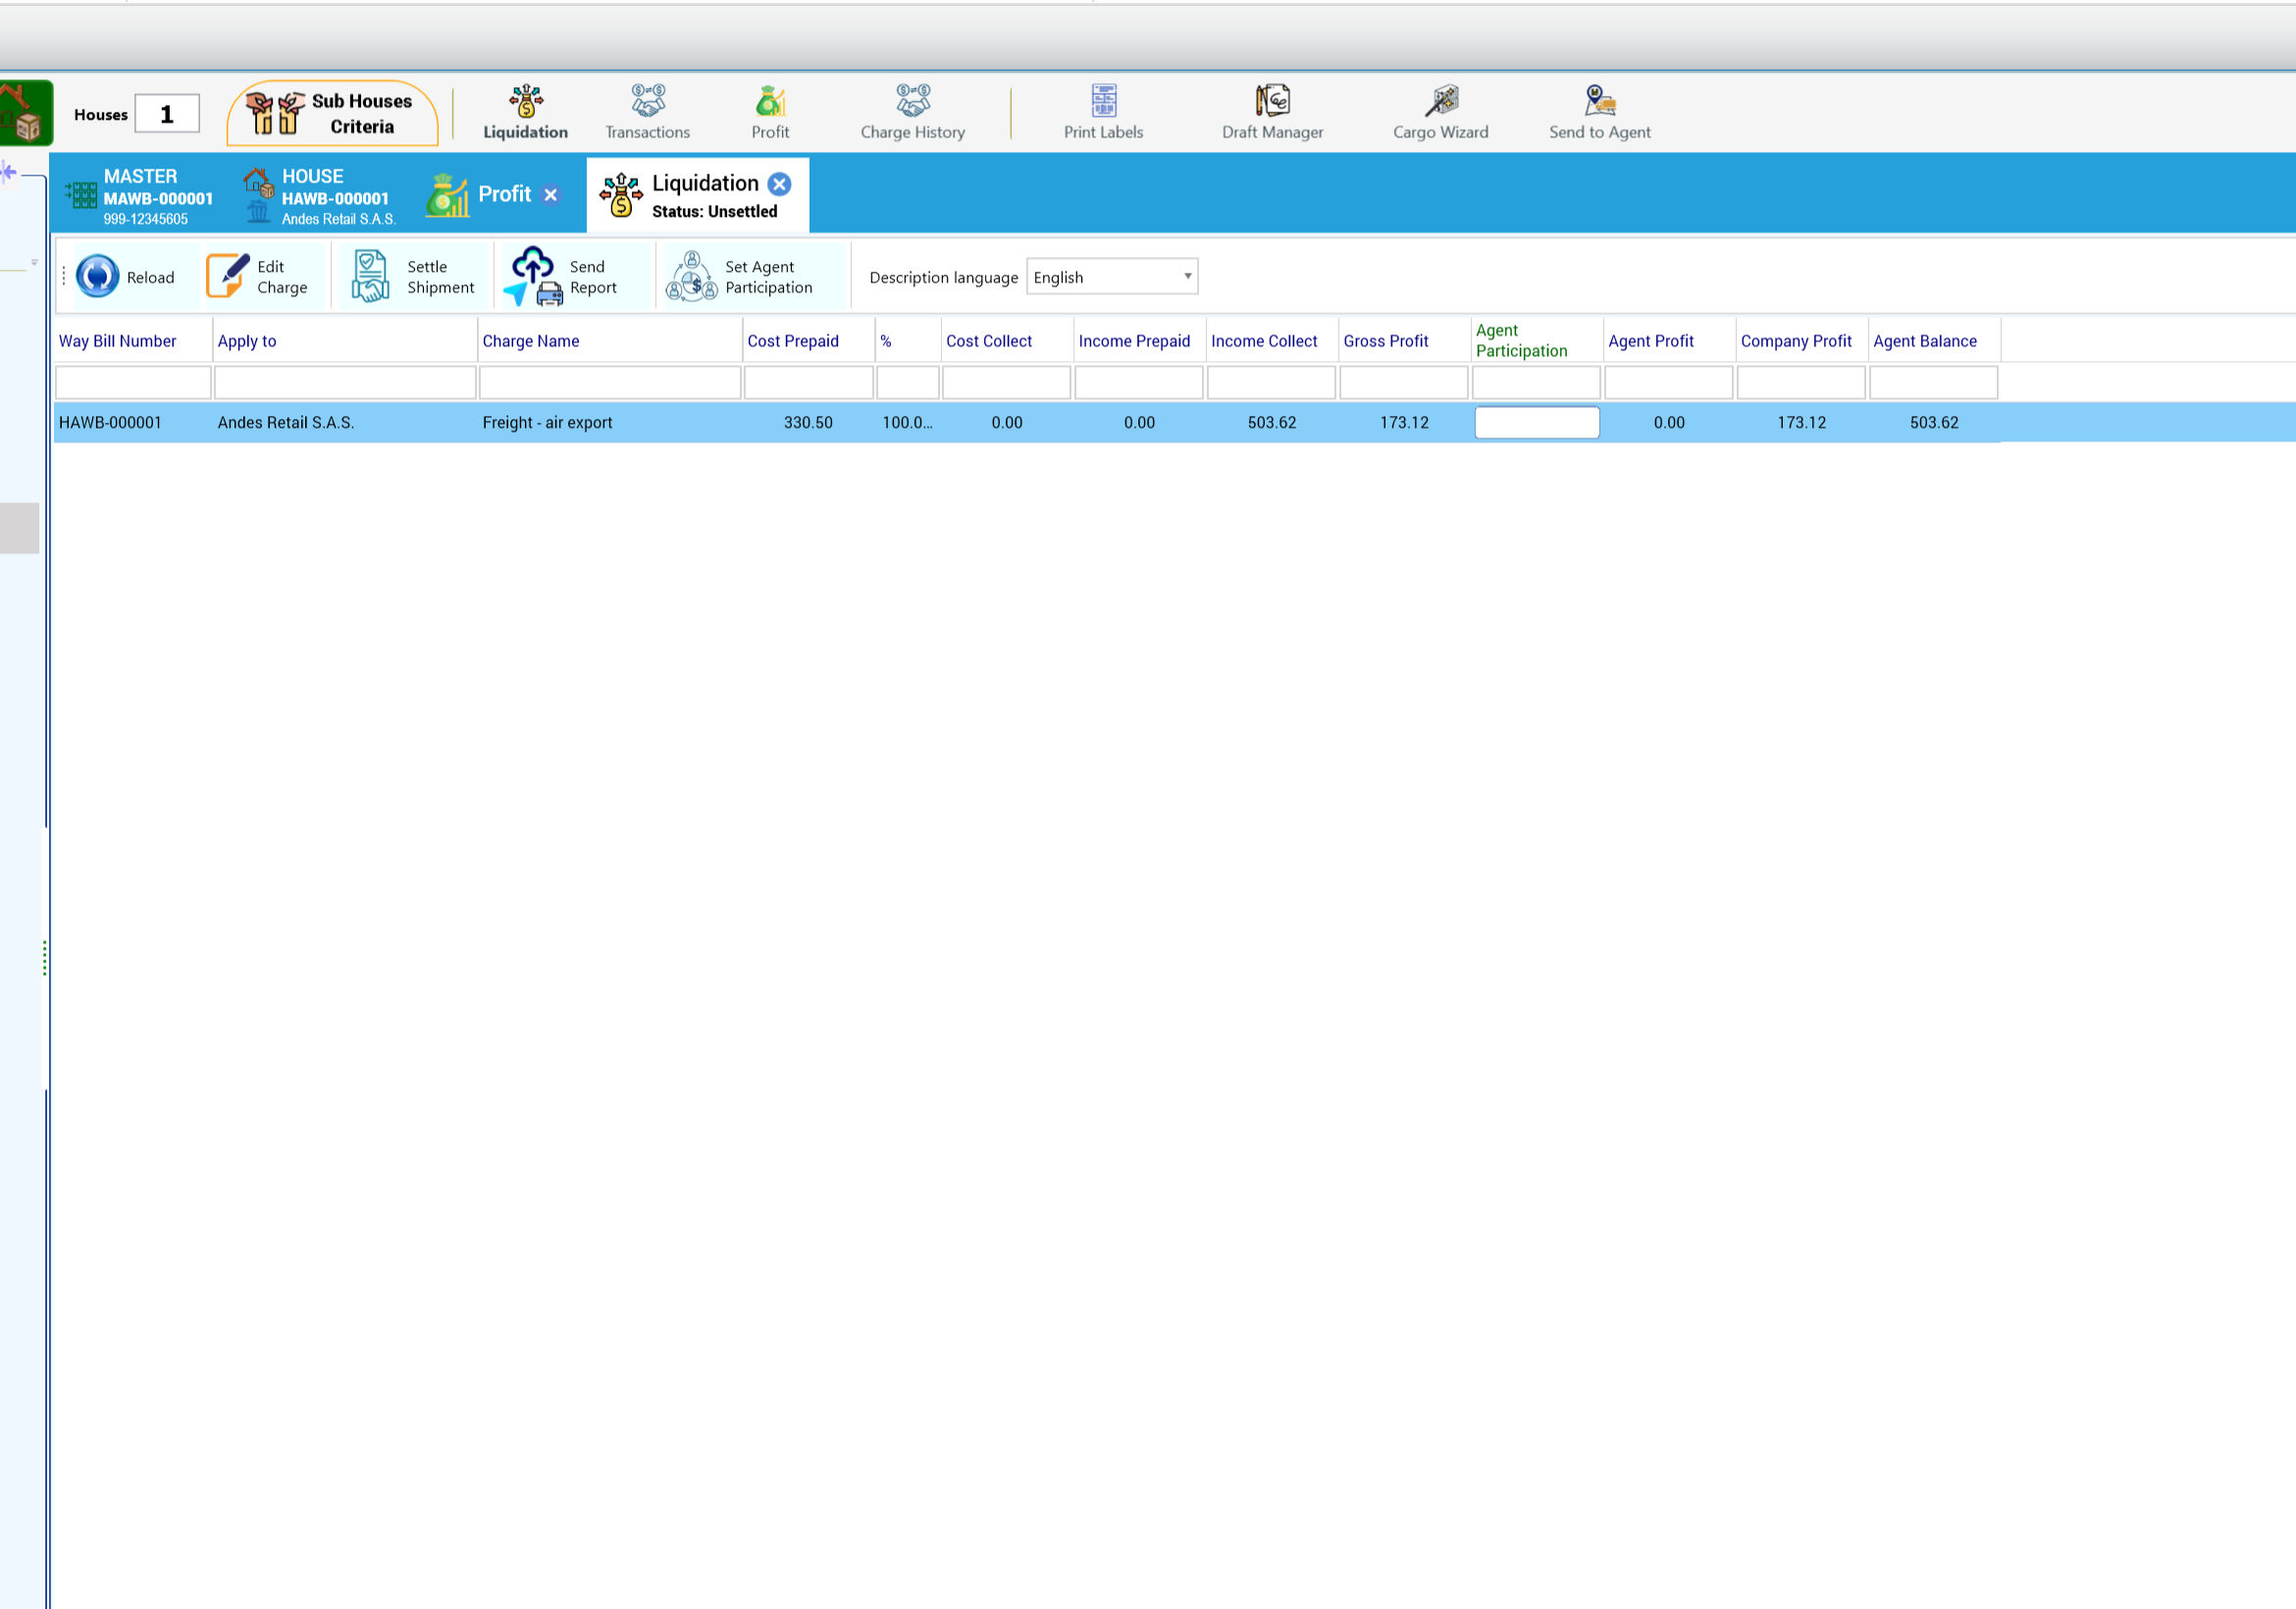
The grid lists, per house and participant: Way Bill Number (HAWB-000001), Apply to (Andes Retail S.A.S.), Charge Name (Freight - air export), Cost Prepaid 330.50, % 100, Cost Collect 0.00, Income Prepaid 0.00, Income Collect 503.62, Gross Profit 173.12, Agent Participation, Agent Profit 0.00, Company Profit 173.12 and Agent Balance 503.62. The toolbar has Reload, Edit Charge, Settle Shipment, Send Report, Set Agent Participation and Description language (English).
2. If the destination agent shares the profit, use Set Agent Participation first. In the demo the agent does not participate.
3. Click Settle Shipment. The Settle Shipment preview opens:
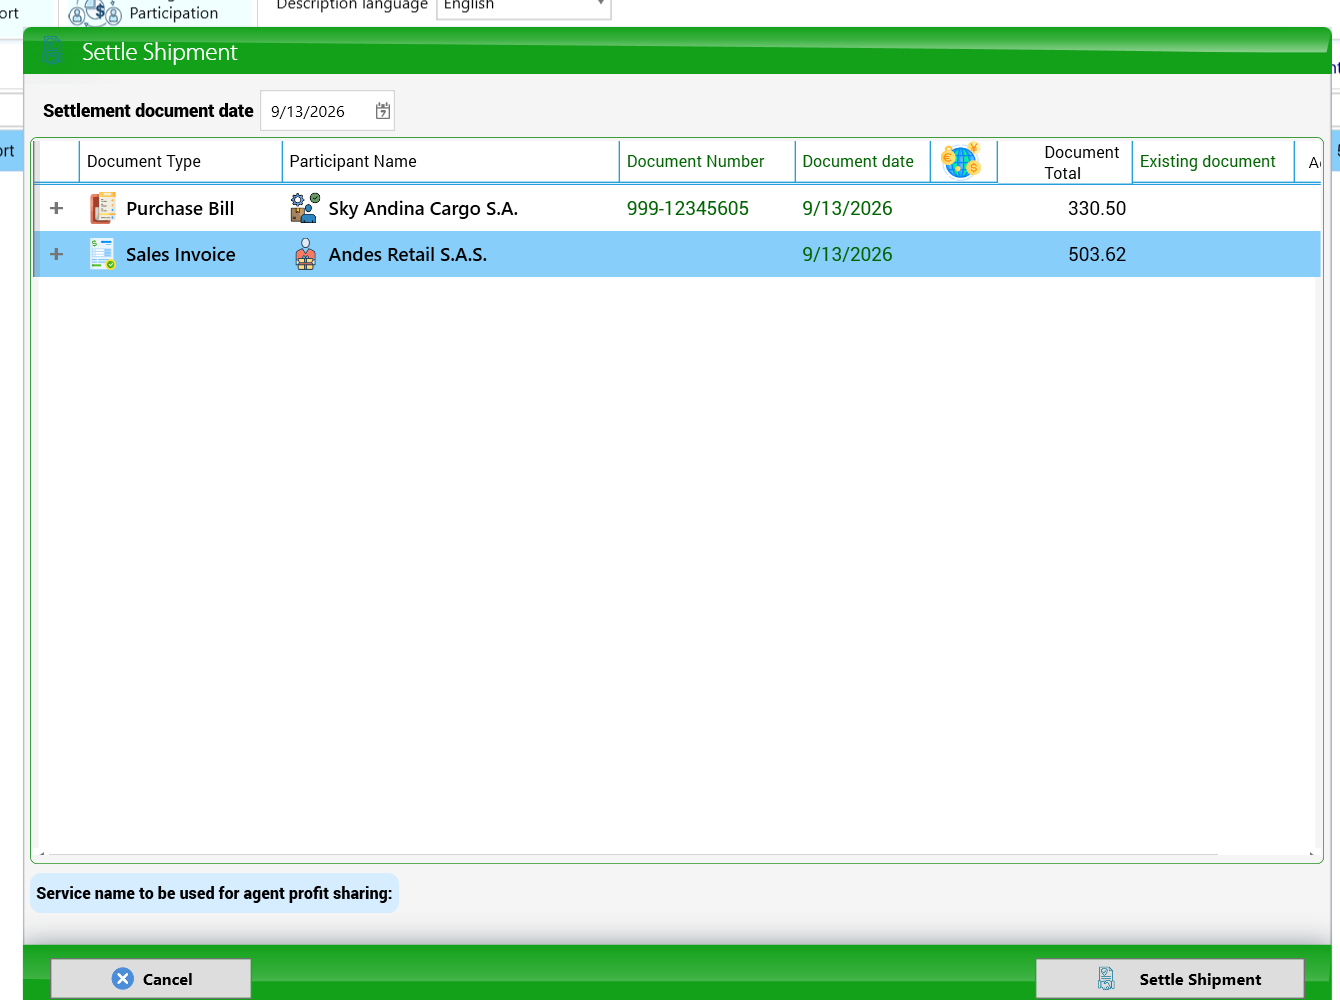
- Settlement document date: 9/13/2026 — the accounting date of the documents. Make sure it falls in an open period.
- The grid shows the documents that will be created: Purchase Bill to Sky Andina Cargo S.A., Document Number 999-12345605 (the AWB number), Document Total 330.50; and Sales Invoice to Andes Retail S.A.S., Document Total 503.62 (its number is assigned when saved). Existing document would show a document already linked. Click + on a row to see its lines.
- Service name to be used for agent profit sharing: only used when there is agent participation.
- Click Settle Shipment to confirm (or Cancel).
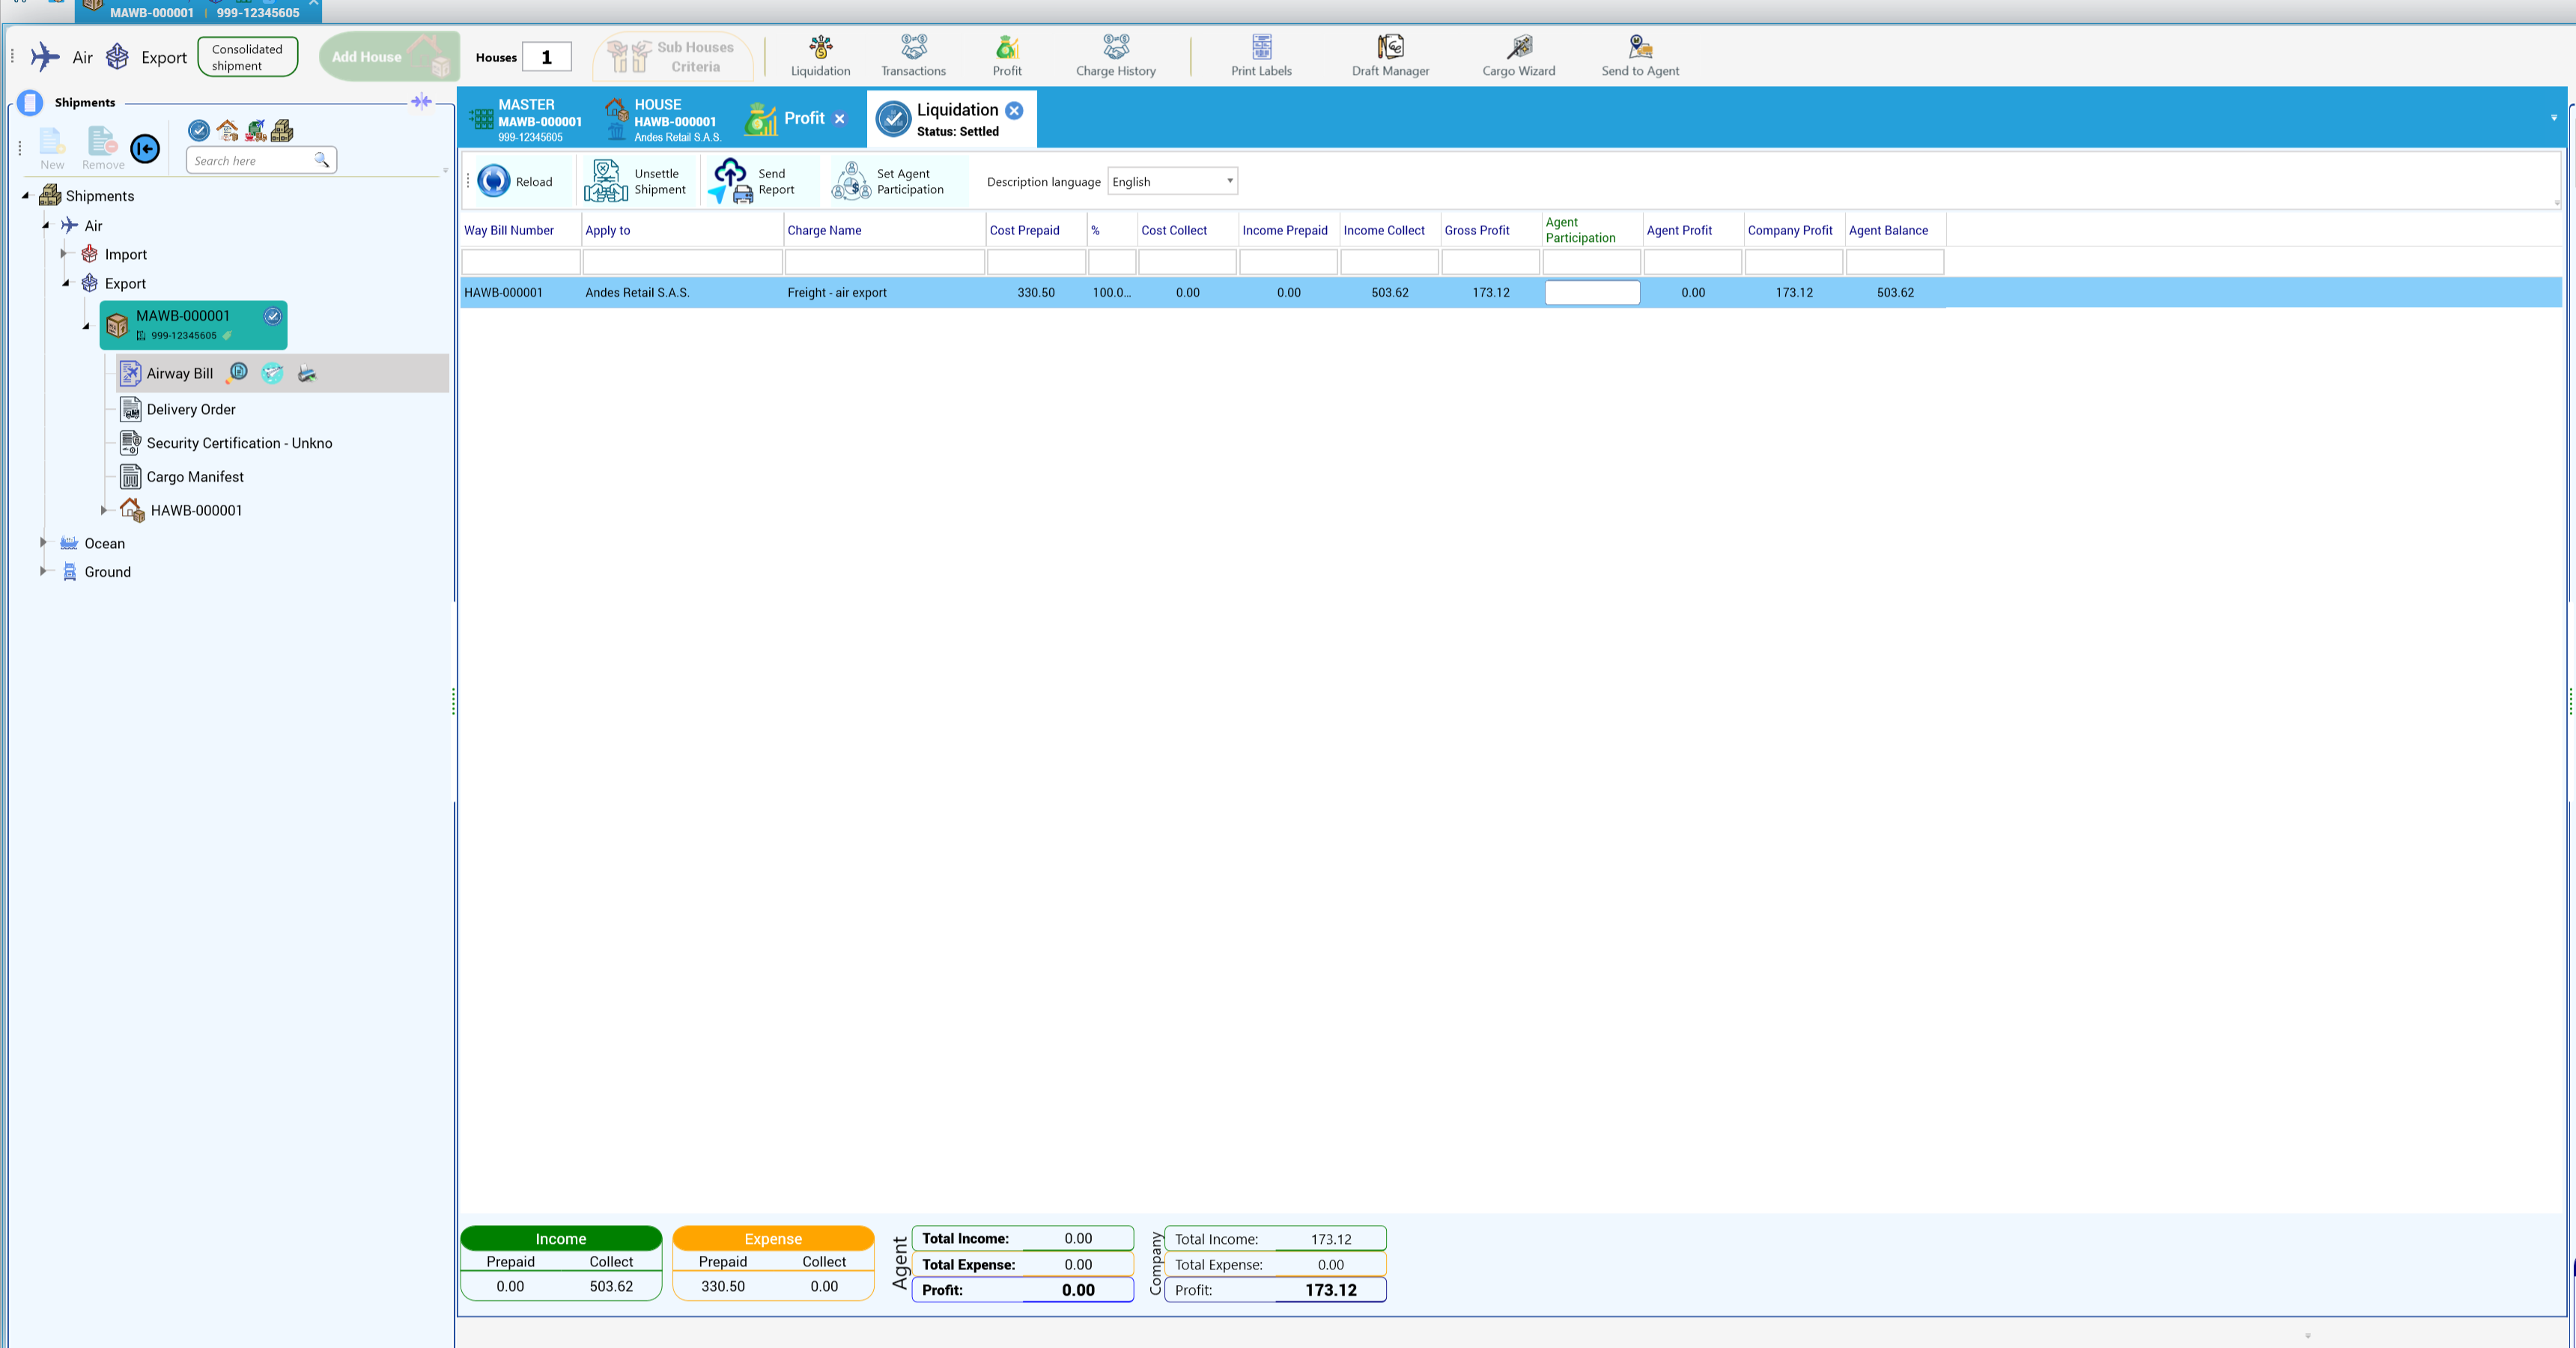
The liquidation now shows Status: Settled, the master in the tree is highlighted with a check mark, and Settle Shipment has become Unsettle Shipment (use it only to correct a mistake before the documents are paid). At the bottom:
- Income: Prepaid 0.00, Collect 503.62. Expense: Prepaid 330.50, Collect 0.00.
- Agent: Total Income 0.00, Total Expense 0.00, Profit 0.00.
- Company: Total Income 173.12, Total Expense 0.00, Profit 173.12.
7.9 The documents created: Transactions
Click Transactions:

The list (Total rows: 2) shows:
| Document Type | Document Number | Transport Document | Participant | Total | Payment Status | Balance |
|---|---|---|---|---|---|---|
| Purchase | 999-12345605 | 999-12345605 | Sky Andina Cargo S.A. (C-4) | 330.50 | Not Paid | 330.50 |
| Sale | INV-000002 | 999-12345605 | Andes Retail S.A.S. (C-3) | 503.62 | Not Paid | 503.62 |
Other columns include Master, House, Is Voided, Date, Currency Symbol, Total Taxes (0.00 — no sales tax on this export freight), Discounts, Payments Applied, Payment Term Name, Due Date and Sales Tax Group Name. The toolbar has Reload list, New Transaction, Edit, Change Number or Date, Void, Link Transaction and Unlink Transaction.
These are normal commercial documents: you will find the invoice under Invoices and the purchase under Bills in the Operation List Explorer (section 5.7), and you collect and pay them exactly as in sections 5.4 and 5.6.
Accounting entries created by the settlement:
Sales invoice INV-000002 to Andes Retail S.A.S.:
| Account | Debit | Credit |
|---|---|---|
| Accounts receivable - customers | 503.62 | |
| Income account of item FF-FLT-AEREXP (air export freight income) | 503.62 |
Purchase bill 999-12345605 from Sky Andina Cargo S.A.:
| Account | Debit | Credit |
|---|---|---|
| Purchase account of item FF-FLT-AEREXP (should be a Cost of Goods Sold account) | 330.50 | |
| Accounts payable | 330.50 |
Effect on the Income Statement: Income +503.62, Cost of Goods Sold +330.50, Gross profit +173.12 — the same figure the Profit dashboard showed.
Why it matters: a forwarder's whole business model is in this one screen: sell freight for more than it costs. When the settlement uses items with the right income and COGS accounts, the accounting profit of every shipment matches the operational profit, and management can trust both.
7.10 The Shipments list and the shipment tree
Every shipment you create appears in Freight Forwarding > List Explorer > Shipments:

Double-click a row to open the shipment. On the left of the shipment tab, the tree holds the master, its houses and a set of nodes that work on the selected waybill:
- Attachments — the files of the shipment. Click New Attachment and select up to 3 PDF files at a time:
The list shows the files you added (for example the commercial invoice and the packing list) and, below them, the files inherited from the warehouse receipts loaded into the shipment:
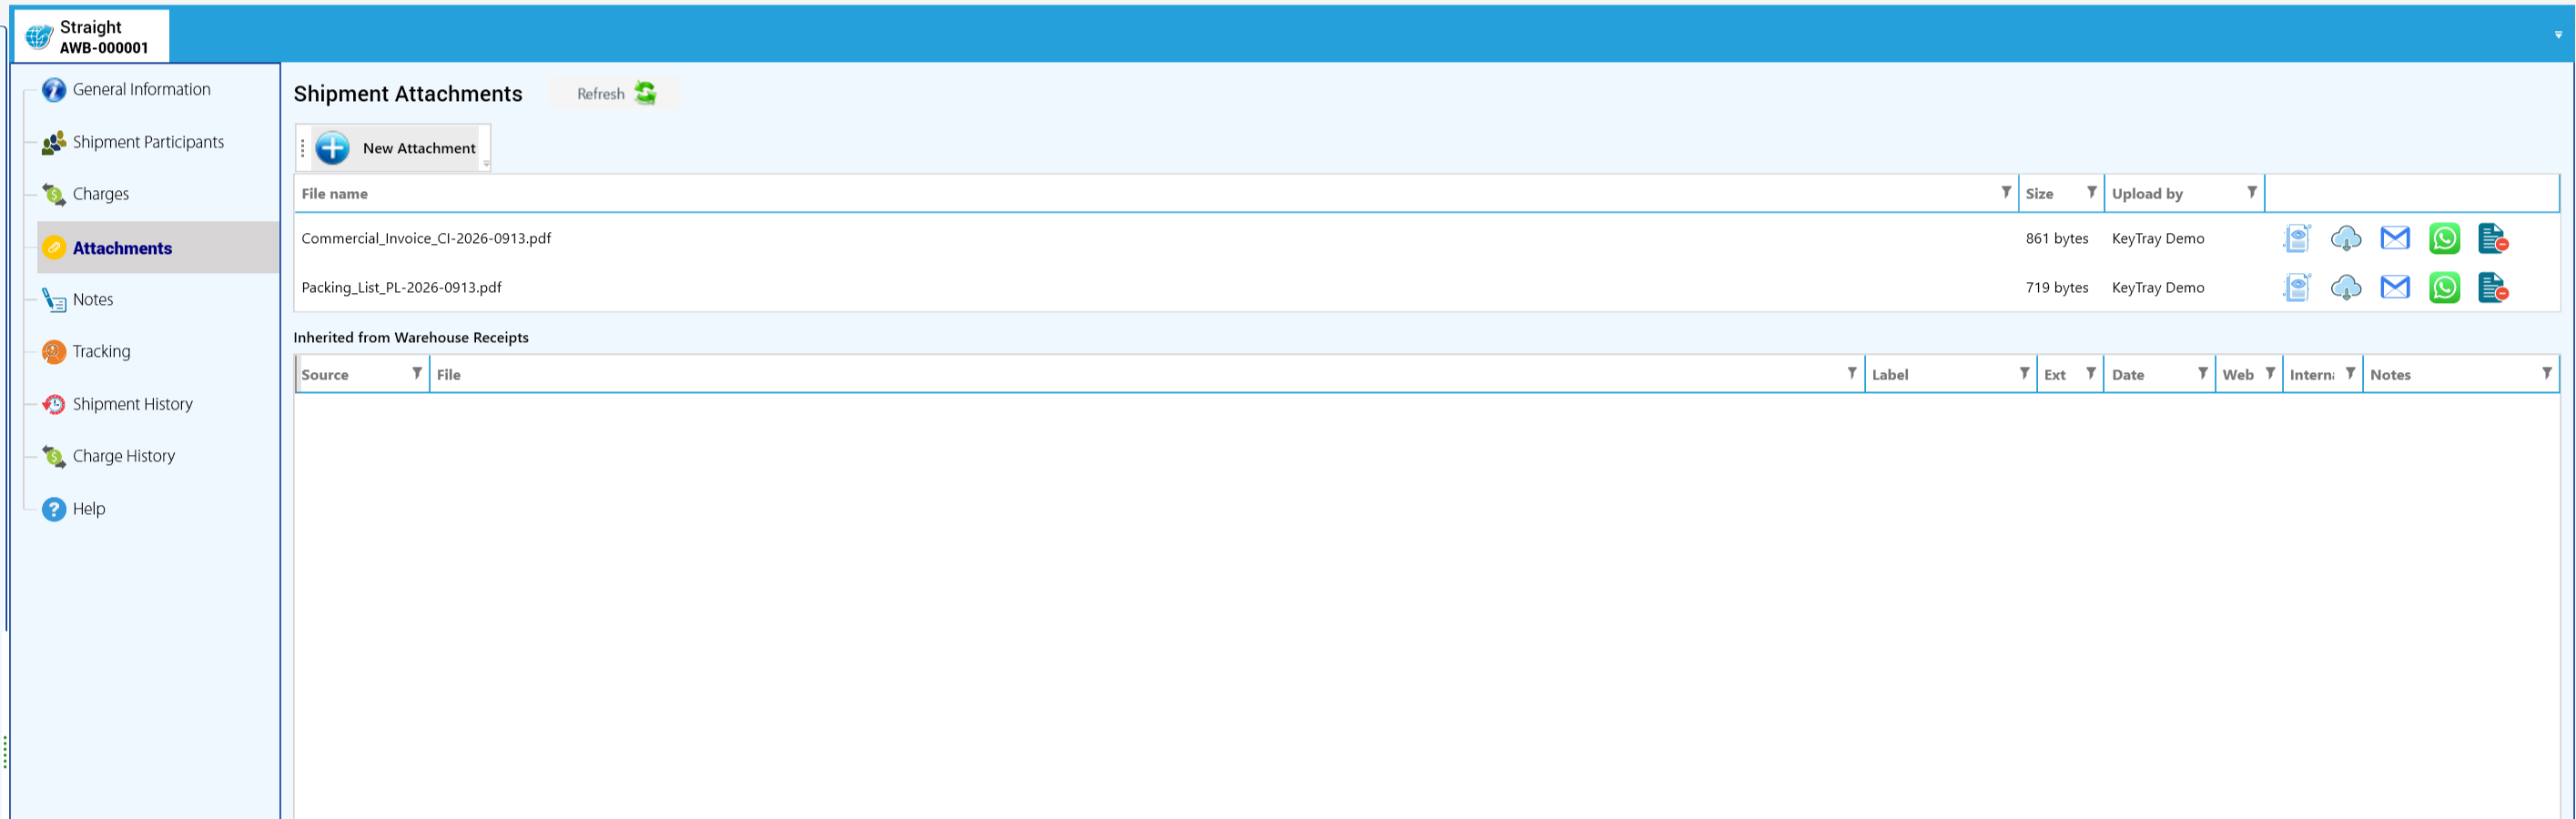
- Notes — two separate boxes: Internal Notes stay inside your company; Destination Agent Notes are translated and shared with the agent when the shipment is sent (section 7.14):
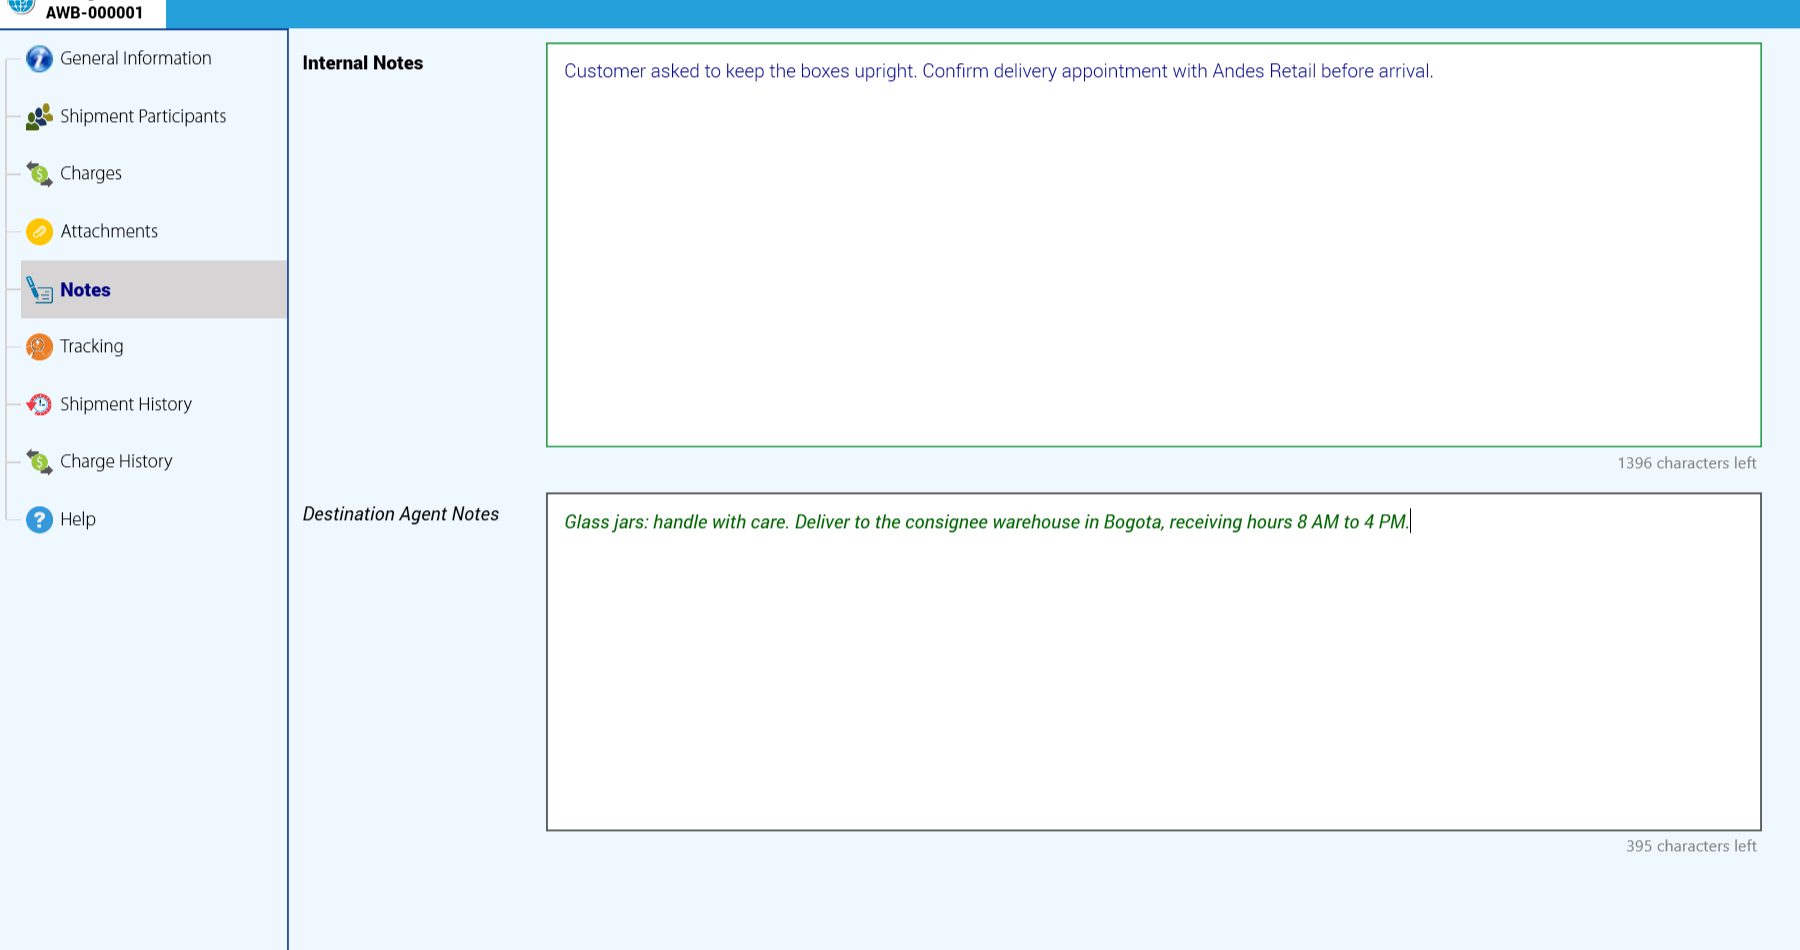
- Tracking, History and Charges History — what happened to the shipment and to its charges, and who did it.
- Help — opens this chapter of the manual inside KeyTray.
7.11 A straight (direct) air export
A straight shipment has a single air waybill: the airline carries the cargo directly for one shipper and one consignee, without a house. In the demo, AWB-000001 goes from Miami to Bogota.
- In the Shipments tree select the folder where the shipment will live. If no folder is selected, KeyTray stops and asks for one:
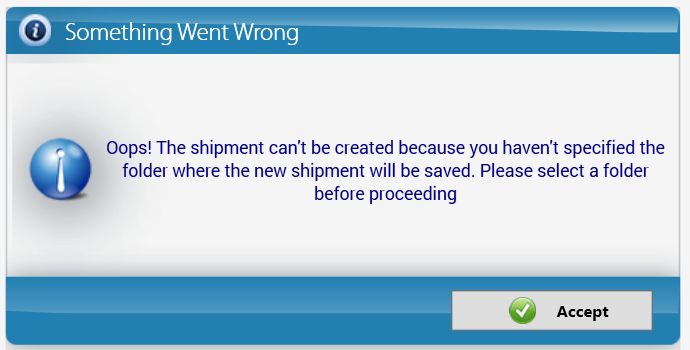
- Click New Shipment and choose Air, Export and leave Consolidated shipment unchecked:

The shipment opens with a single tab and its documents in the tree:
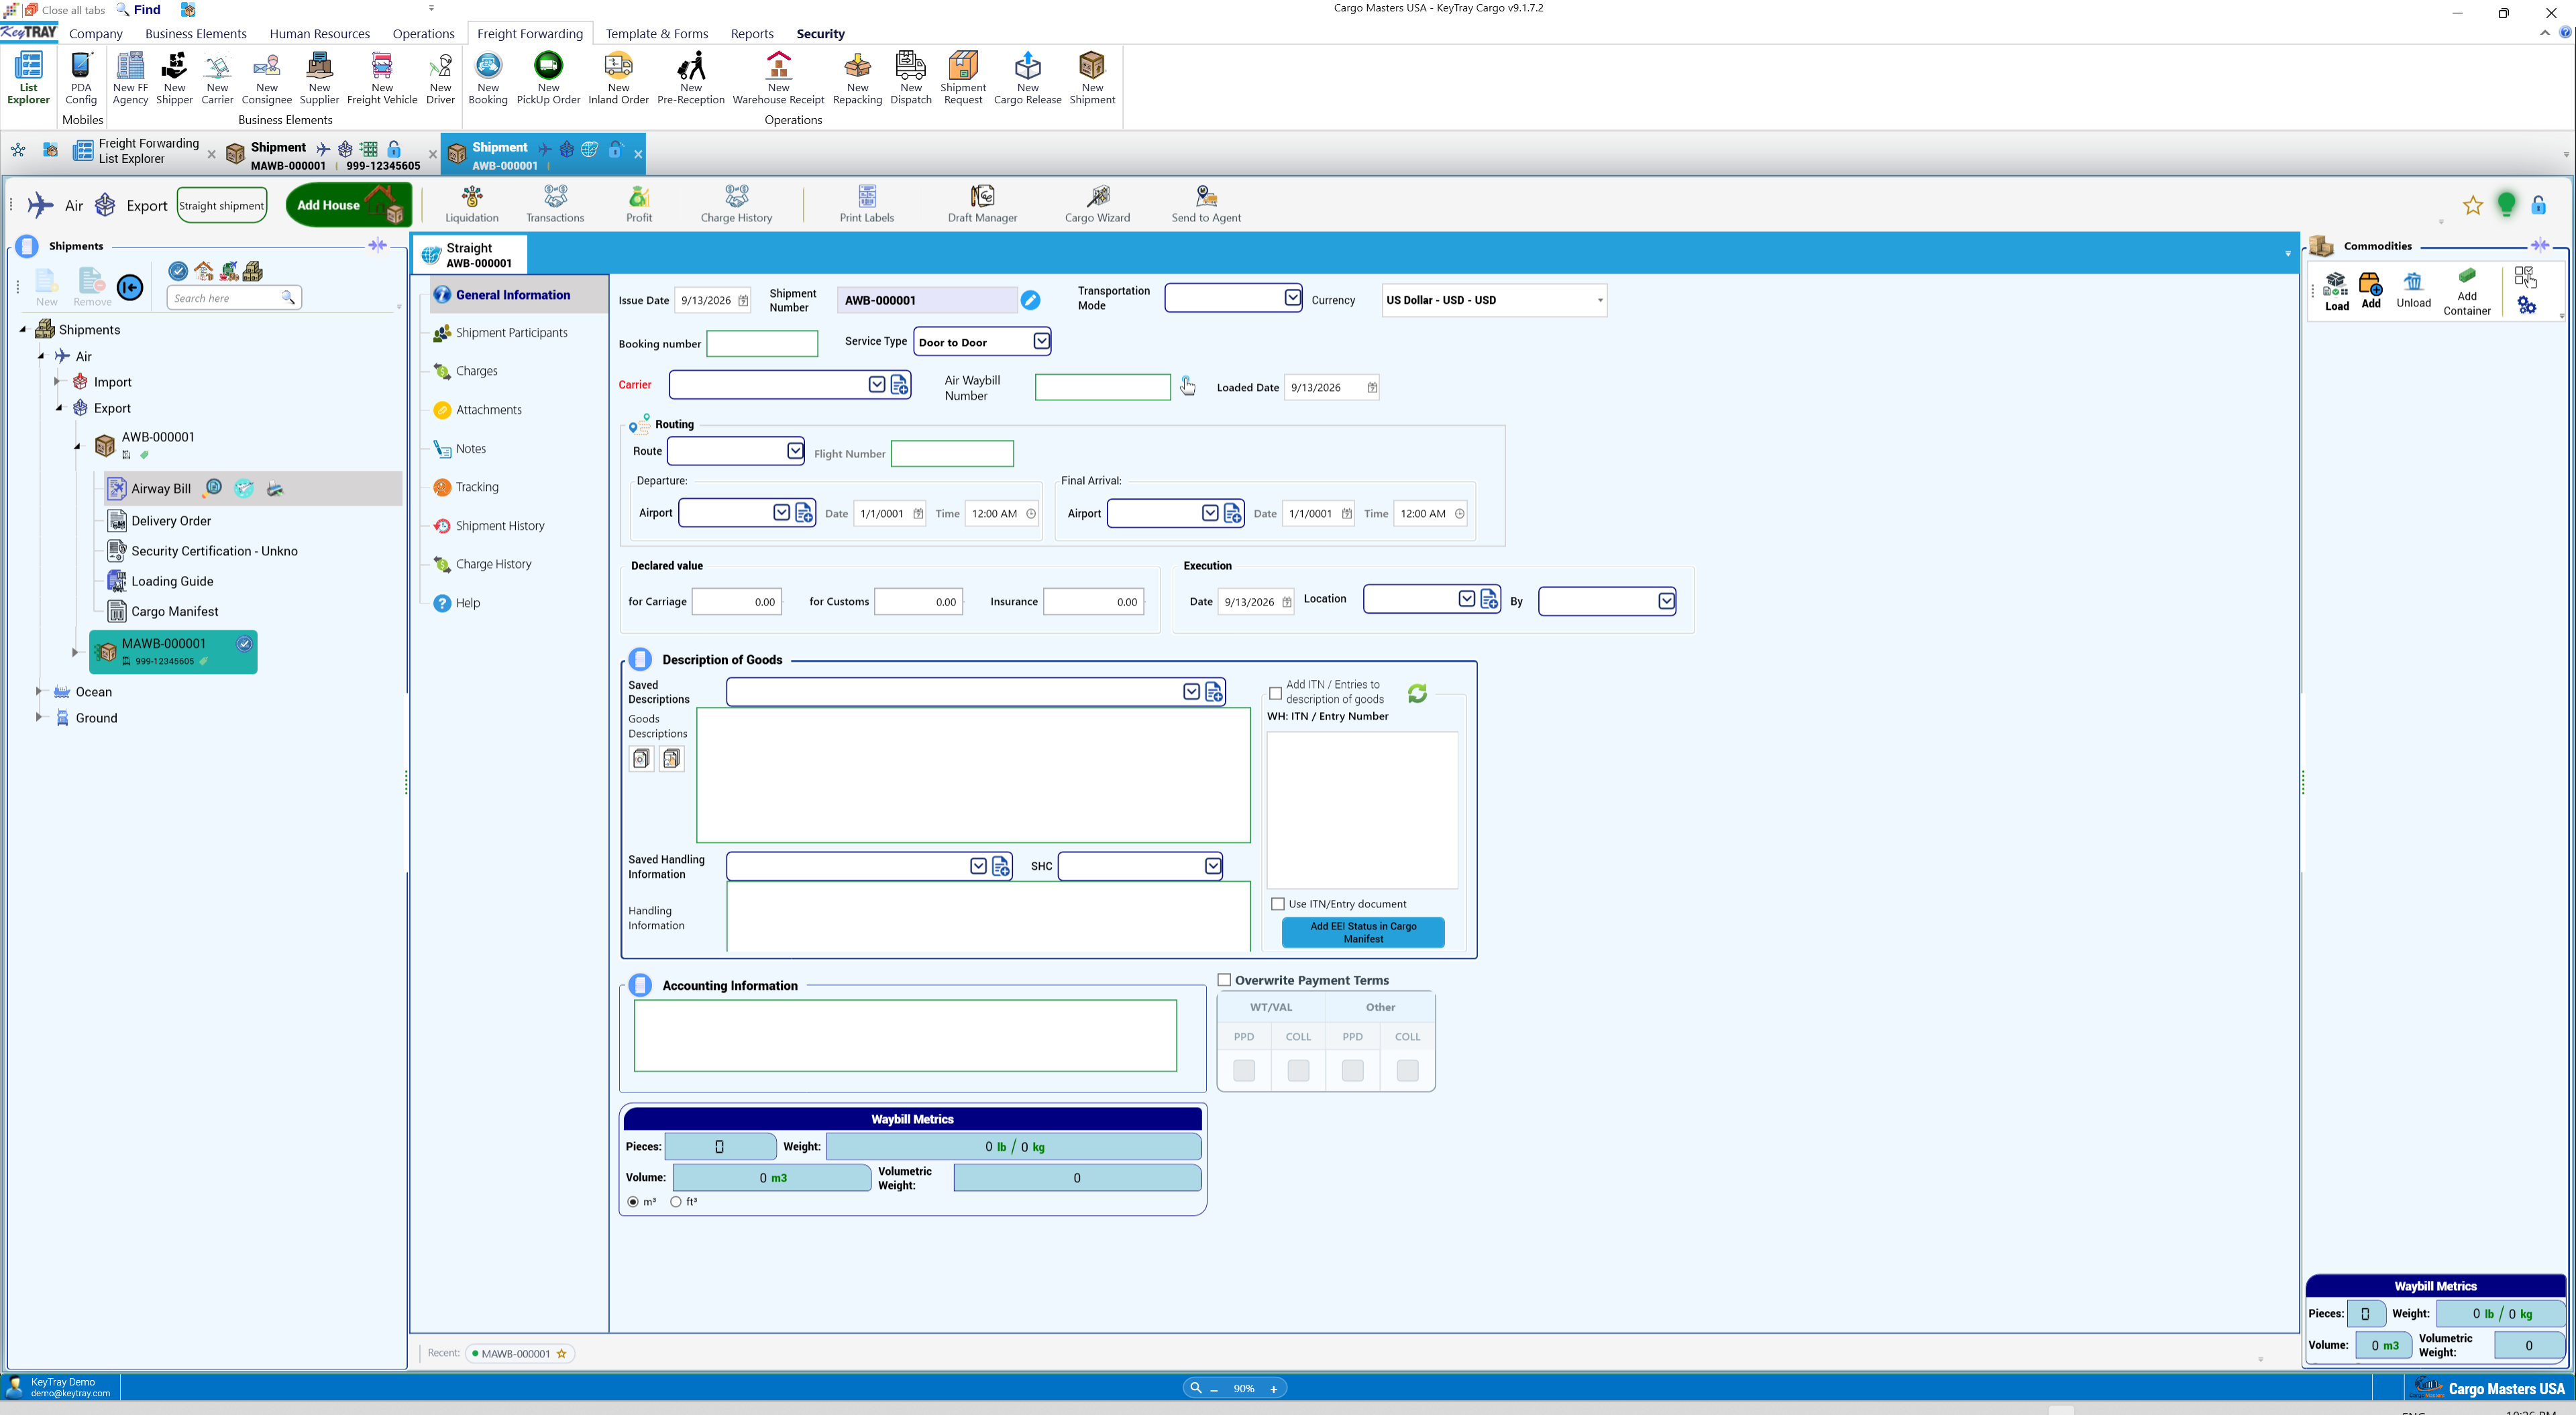
- General Information: pick the carrier, take the air waybill number from the airline's stock (section 7.1) and complete the flight and the routing:
- Shipment Participants: the shipper, the ultimate consignee and the destination agent:
- Add commodity when the cargo did not go through your warehouse. Select the waybill card first and type the pieces: in the demo, 20 boxes of 16 x 12 x 10 in and 18 lb each:
KeyTray calculates the line: 20 boxes, 360 lb, 231.33 lb volumetric, 0.6293 m3:
7.12 Charges in depth
Each charge is a line with a direction (Income or Expense), a type (Freight Air, Freight Ocean, Freight Ground, Freight Other or Other), a payment (Prepaid at origin or Collect at destination), the participant it is applied to, and how it is calculated (Apply by weight, volumetric weight, volume, pieces, pallets, or None for quantity x price).
- Income, Freight Air, Collect to the ultimate consignee, 163.29 kg x 2.40:
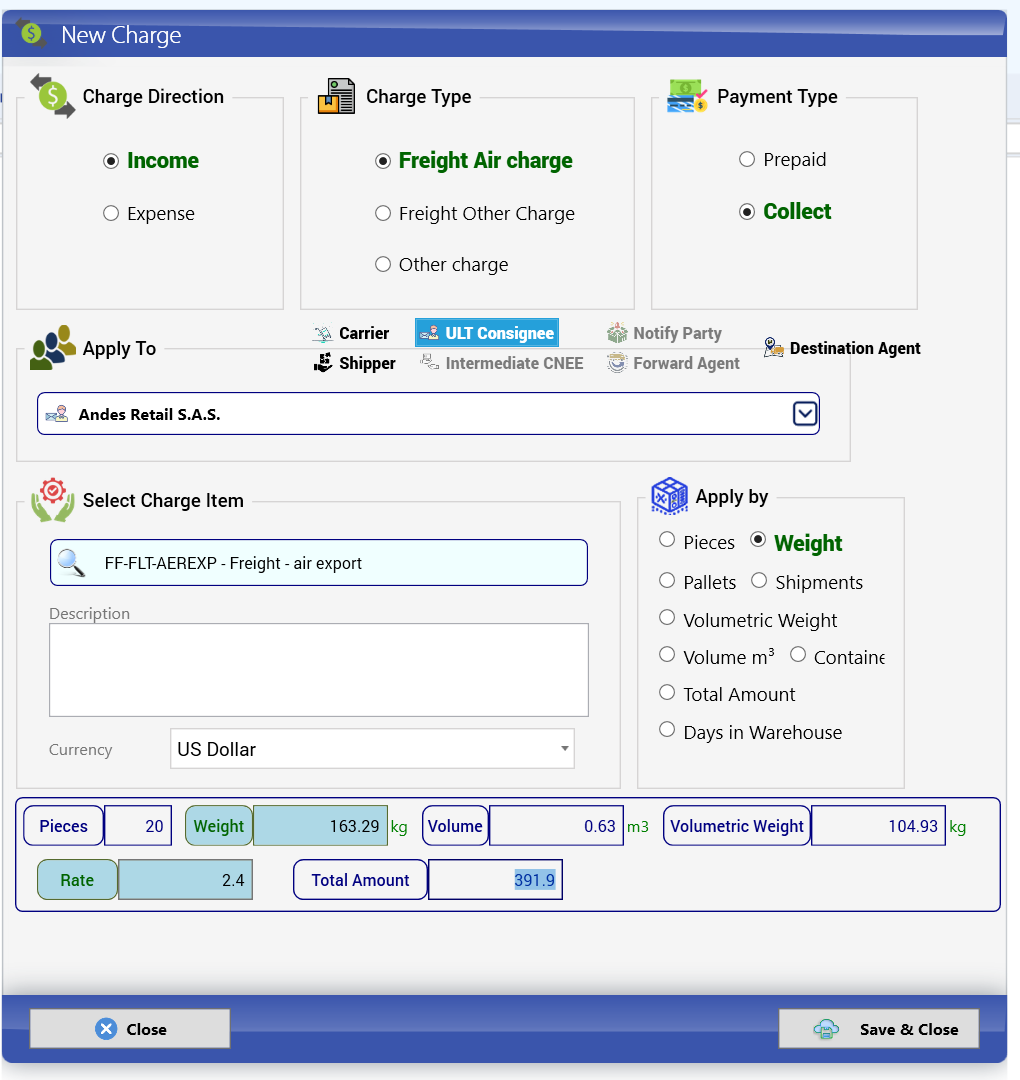
- An income can only be applied to a participant that is registered as a customer. If you pick one that is not, KeyTray says so:
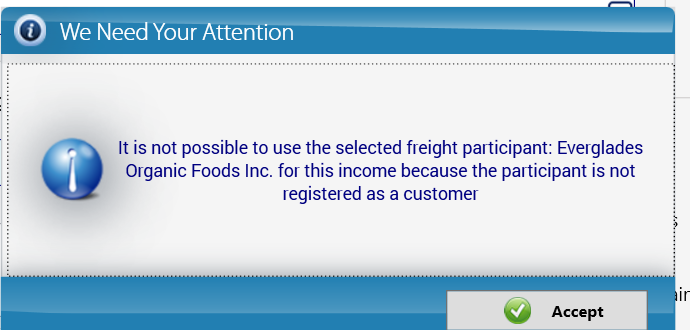
- Other charge (export documentation) with Apply by: None: the amount is Quantity x Price:
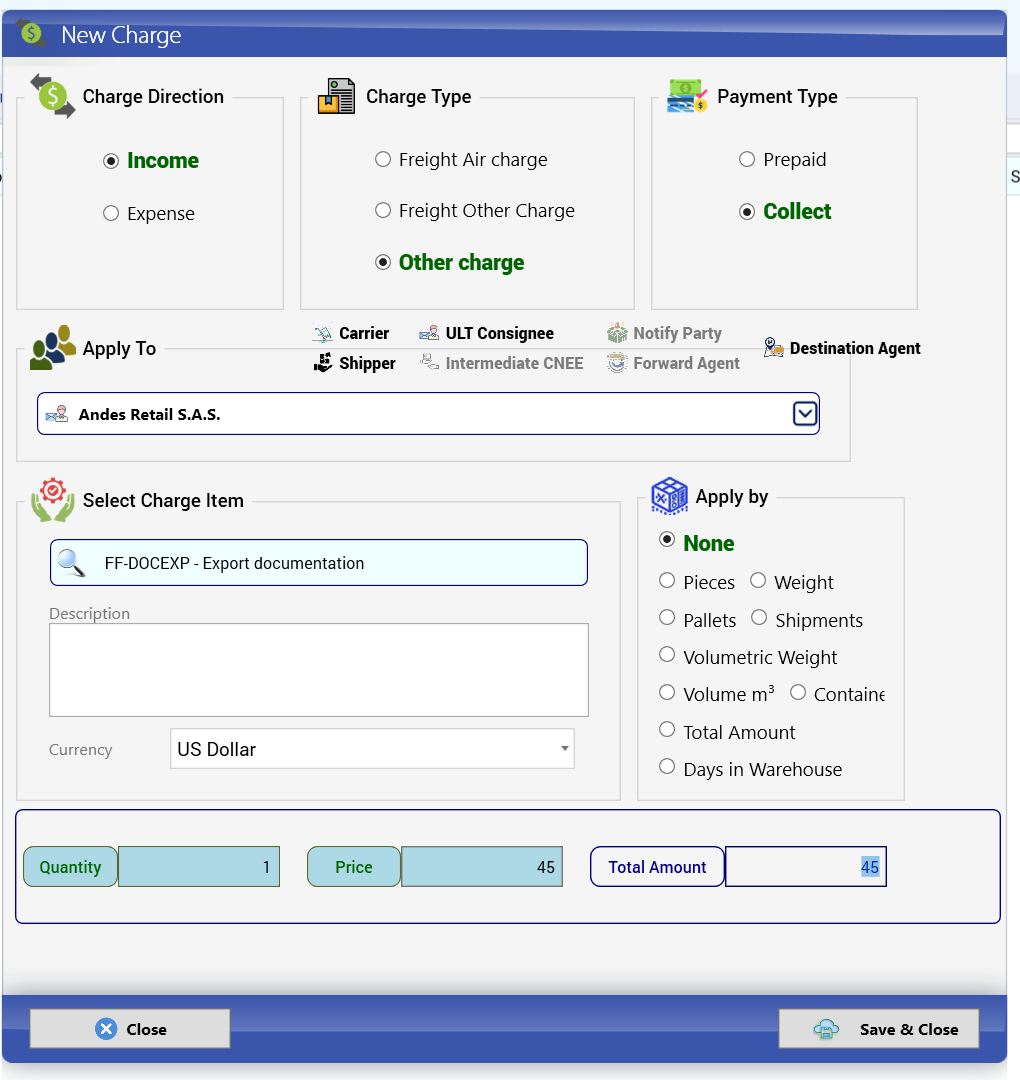
- Freight Other charge: the fuel surcharge by weight, Collect:
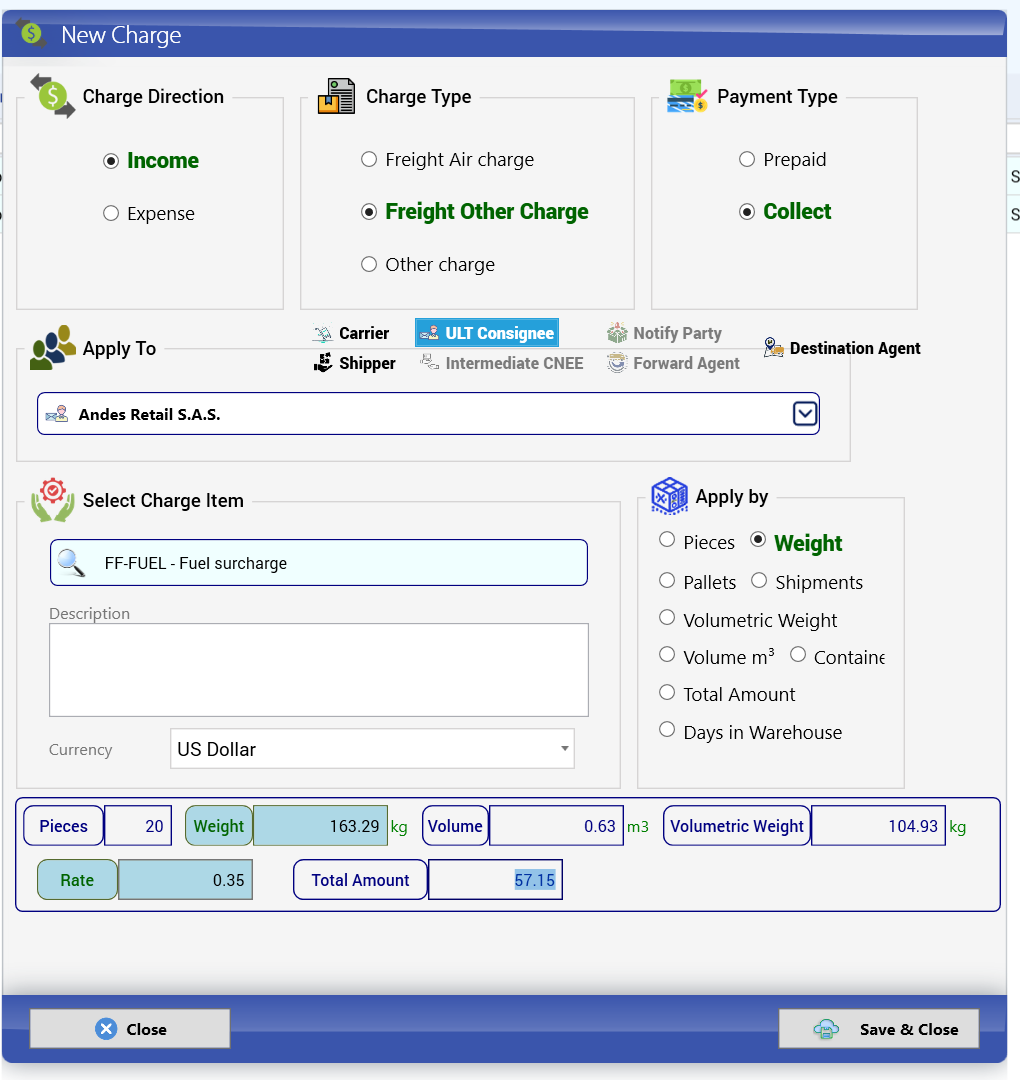
- Expense: the air freight Prepaid to the carrier, 163.29 kg x 1.60, and the security surcharge:
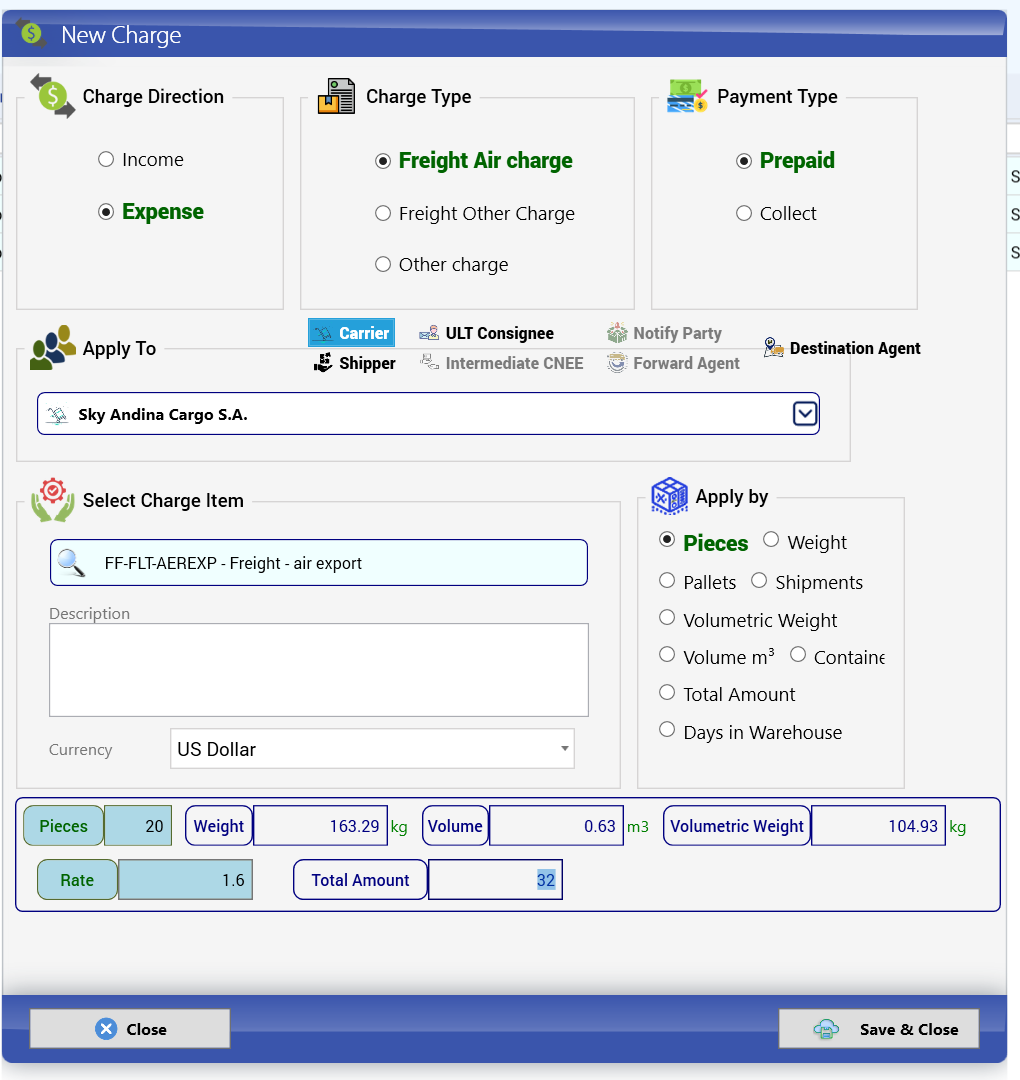
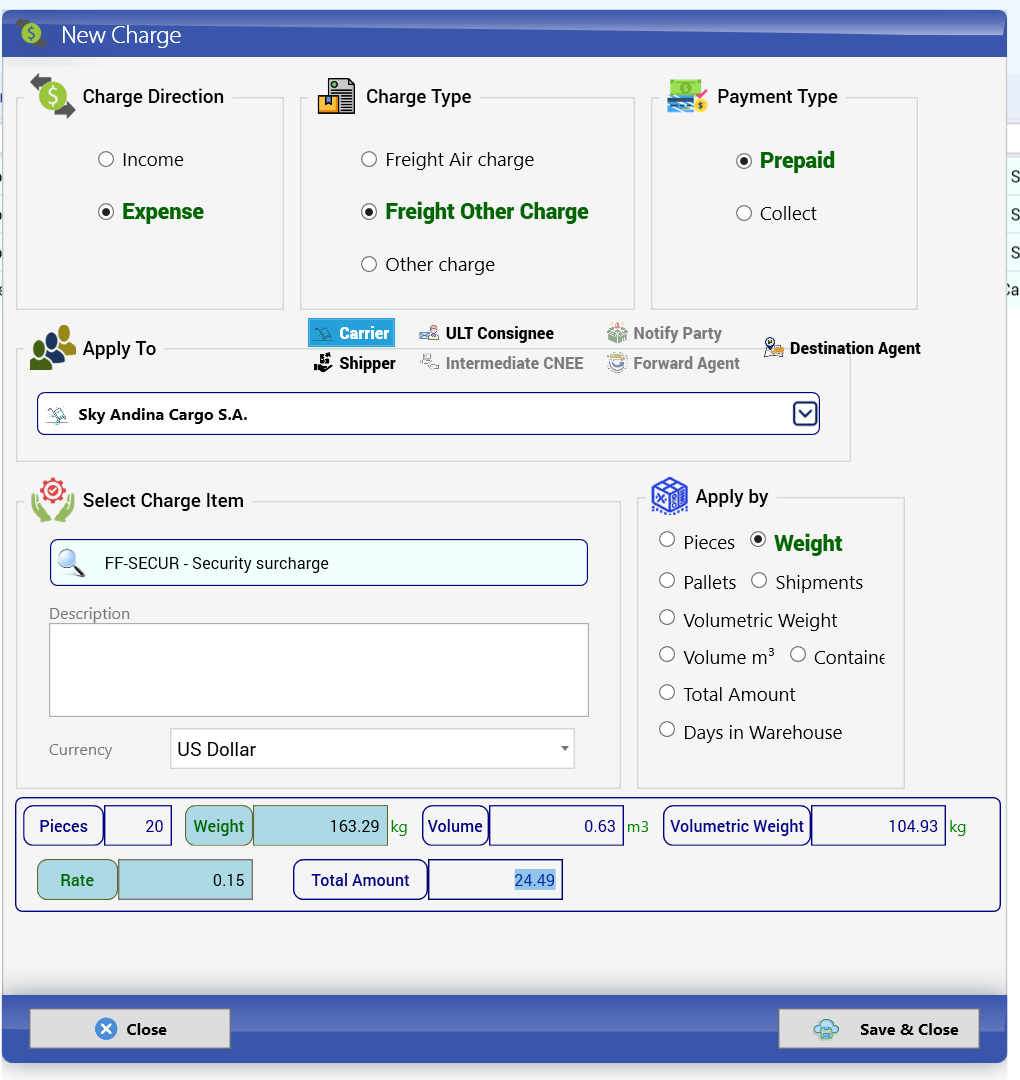
To correct a charge, select it and click Edit Charge. In the demo the carrier freight was changed from Pieces to Weight:
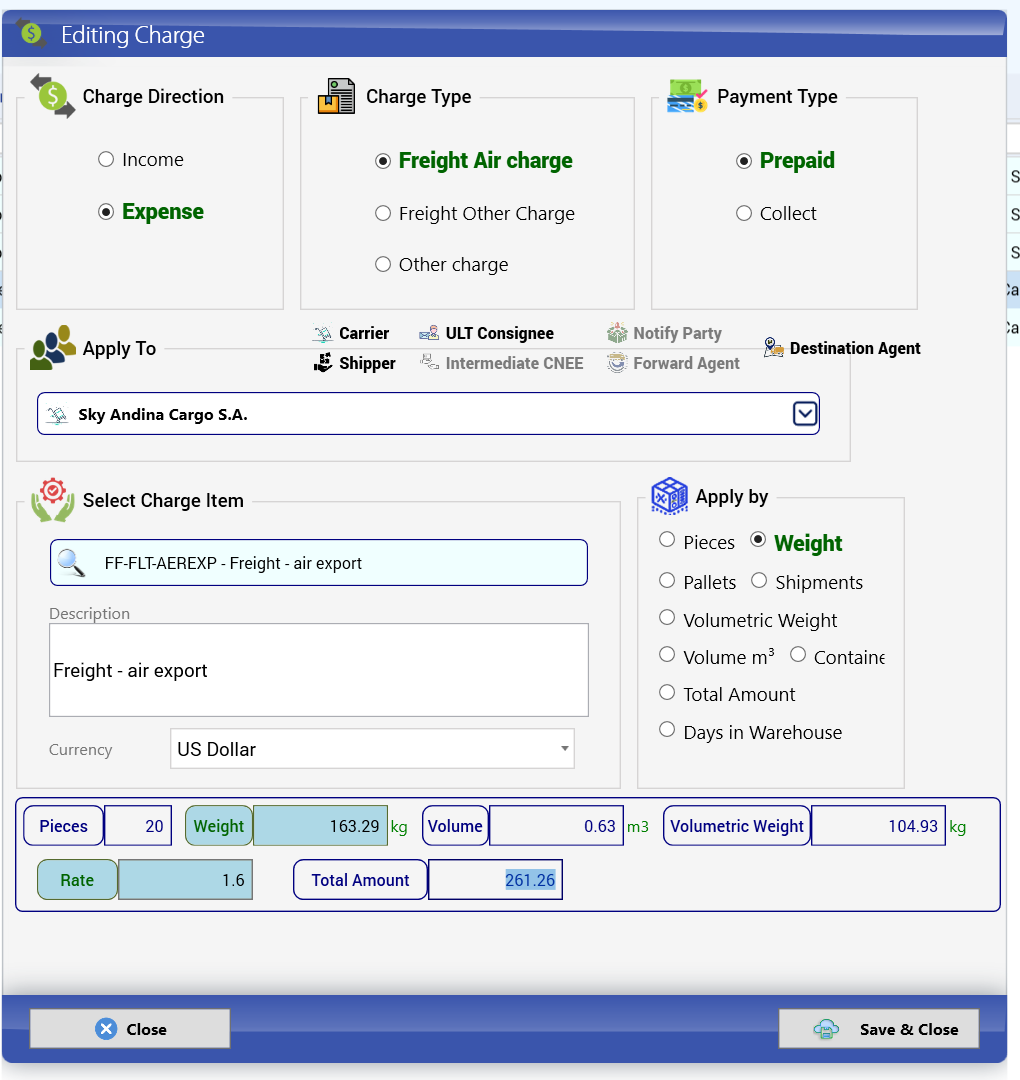
The Charge List of AWB-000001 ends with three incomes Collect and two expenses Prepaid:
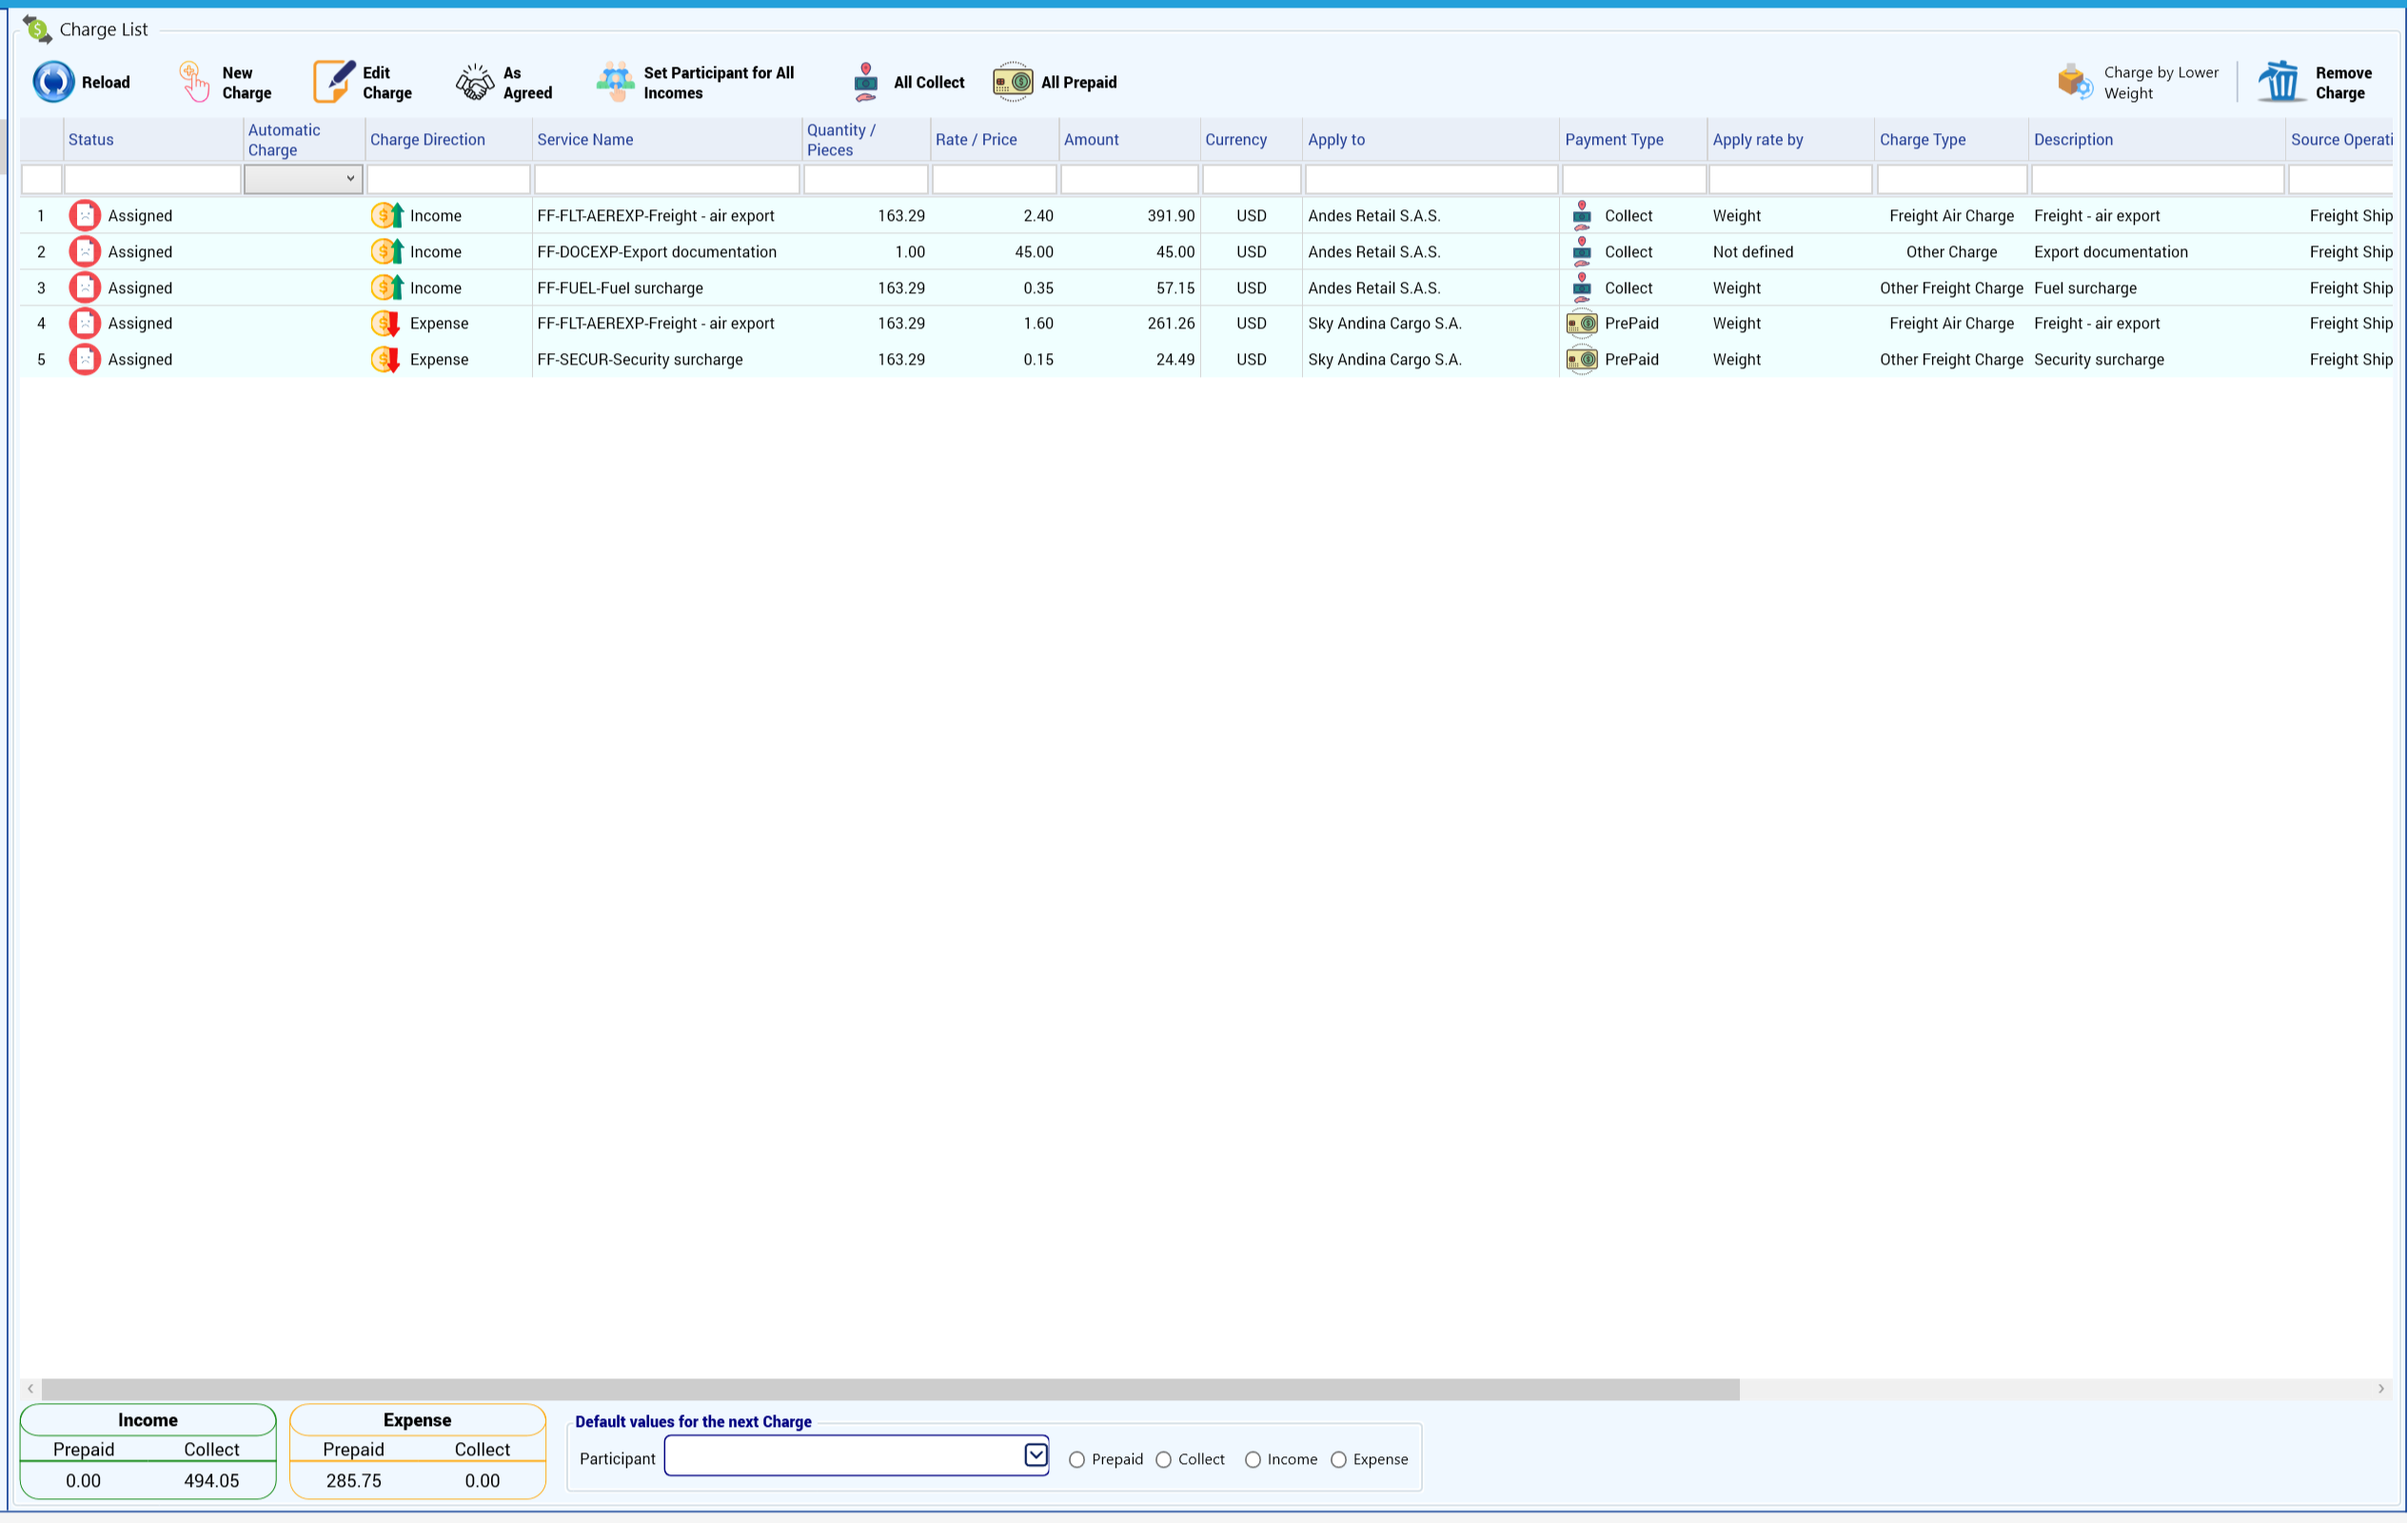
Profit shows the result before settling: revenue 494.05, cost 285.76, company profit 208.29:
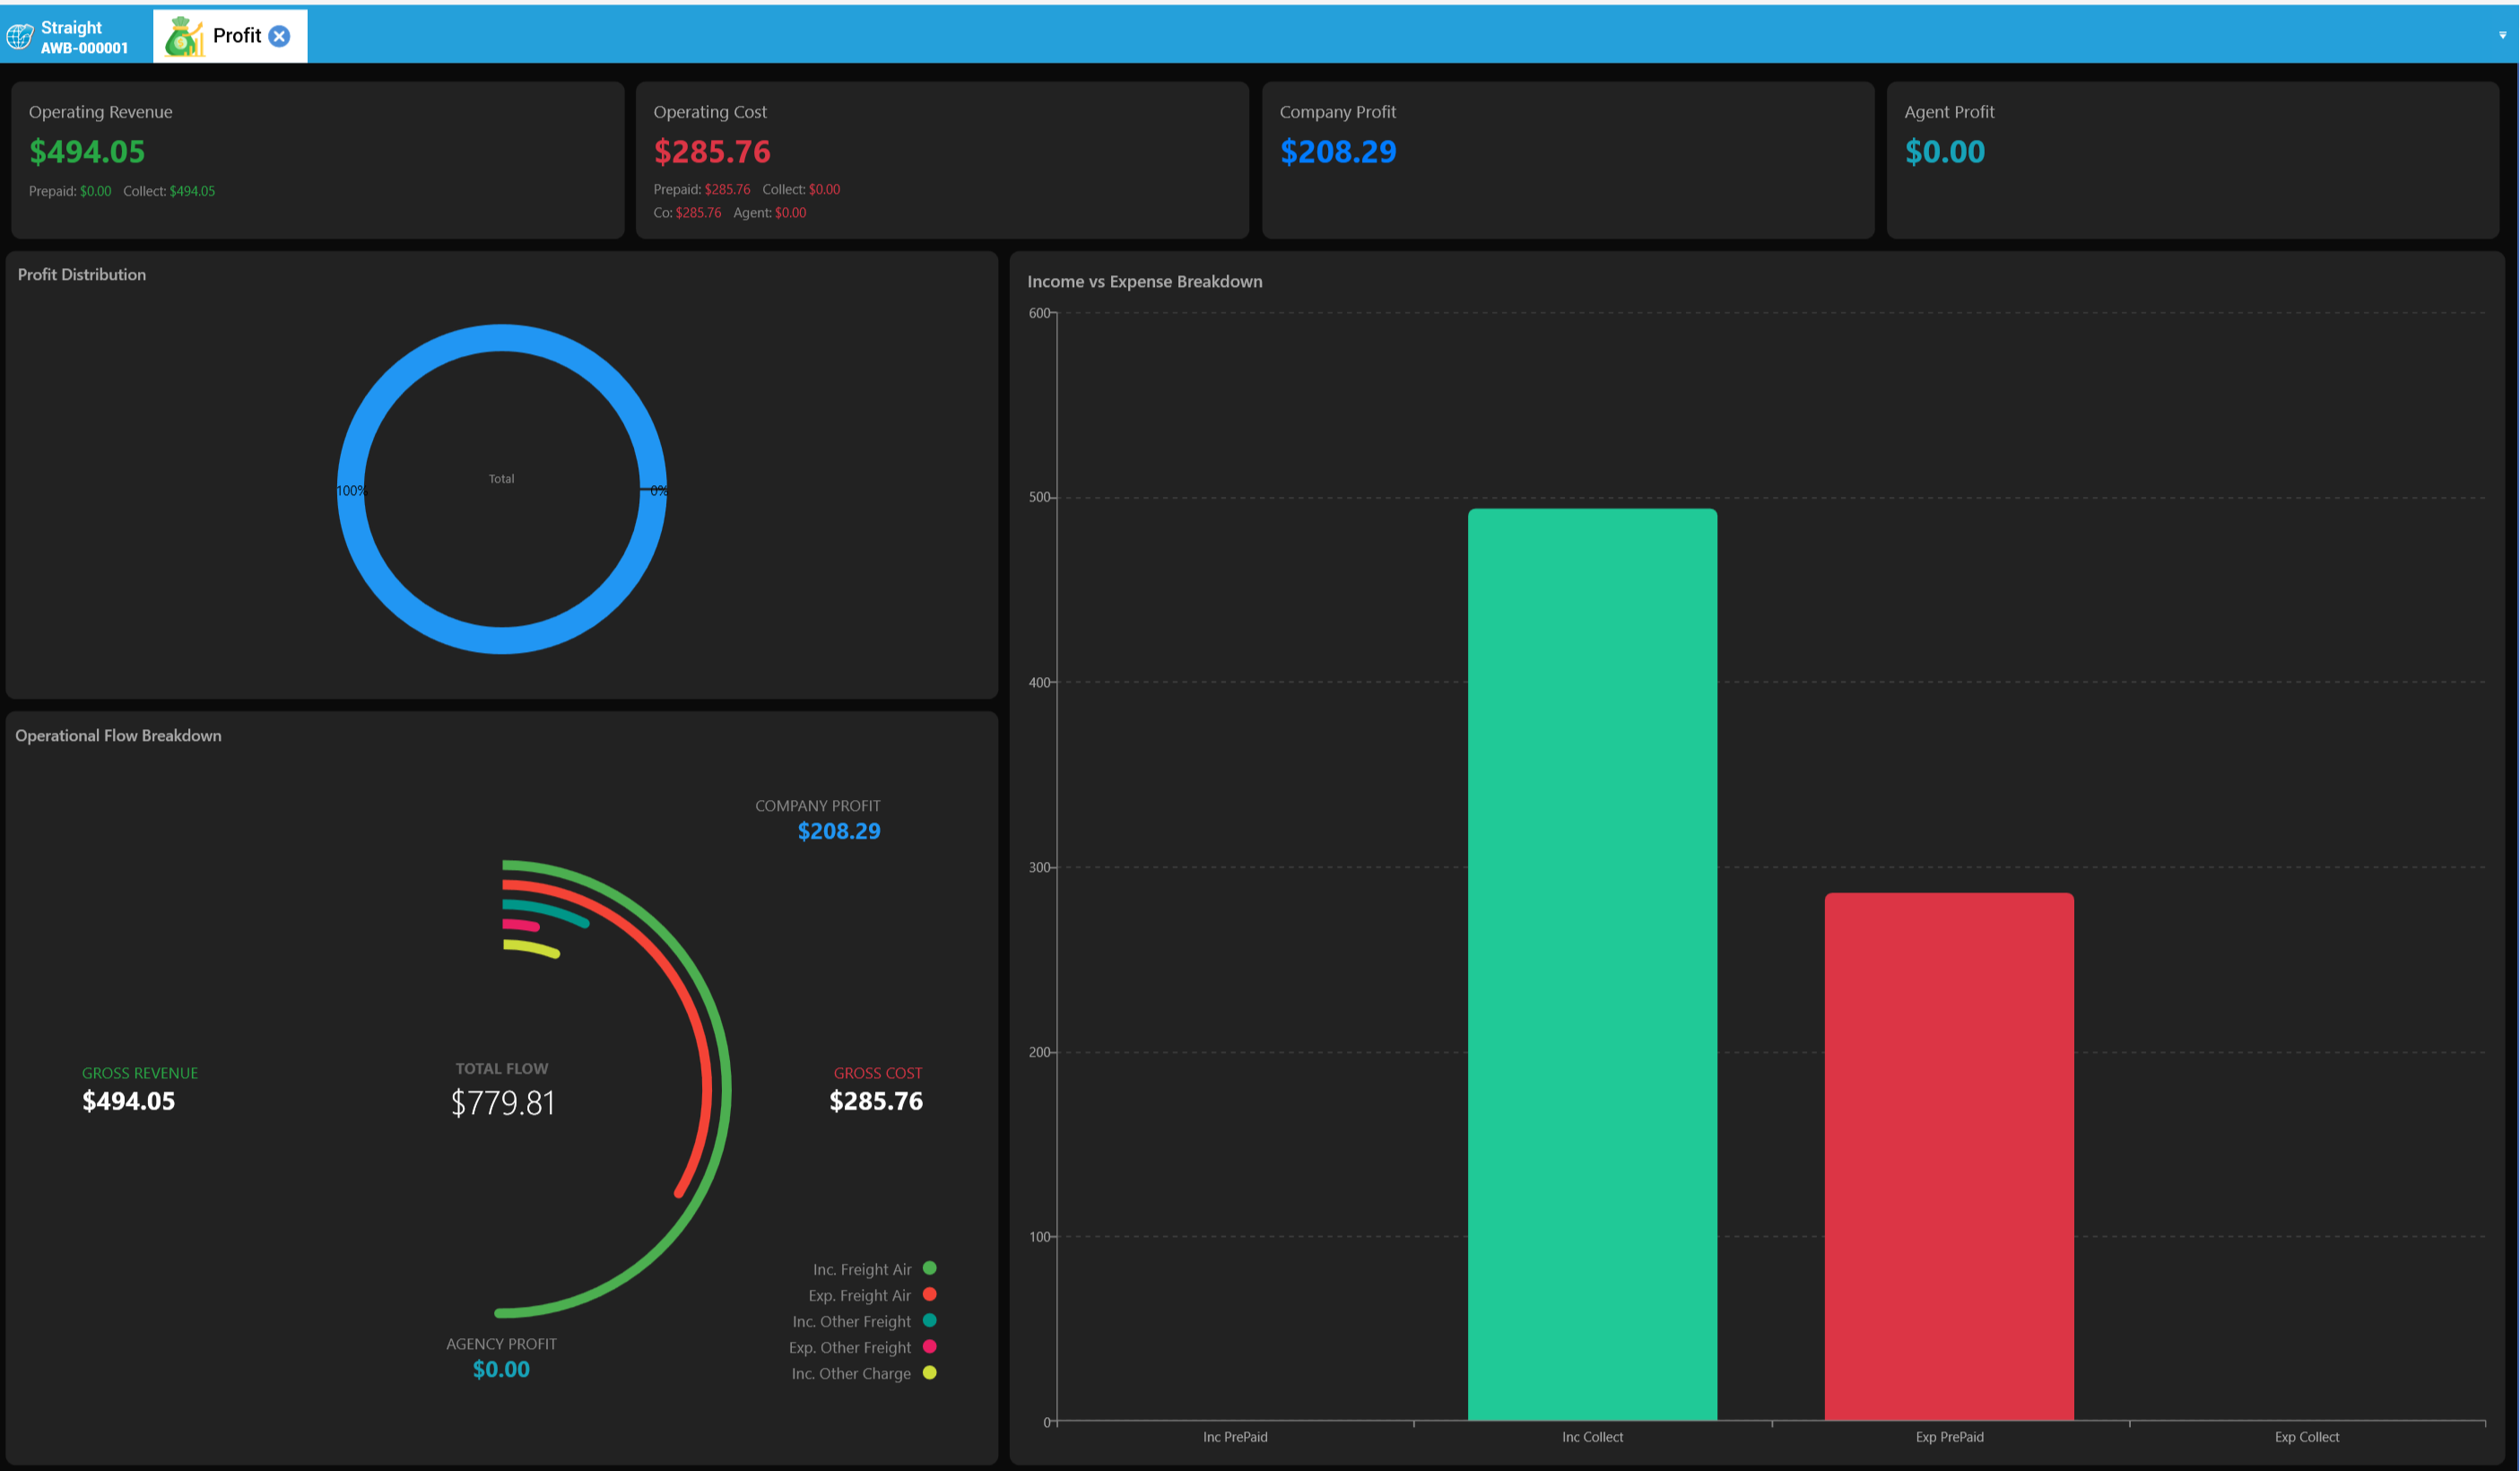
7.13 Sharing the profit with the destination agent
Many forwarders split the profit of a shipment with the agent at the other end. KeyTray records that split in the Liquidation tab, before settling.
- Before the split, the liquidation has one line per charge and all the profit (208.29) belongs to the company:
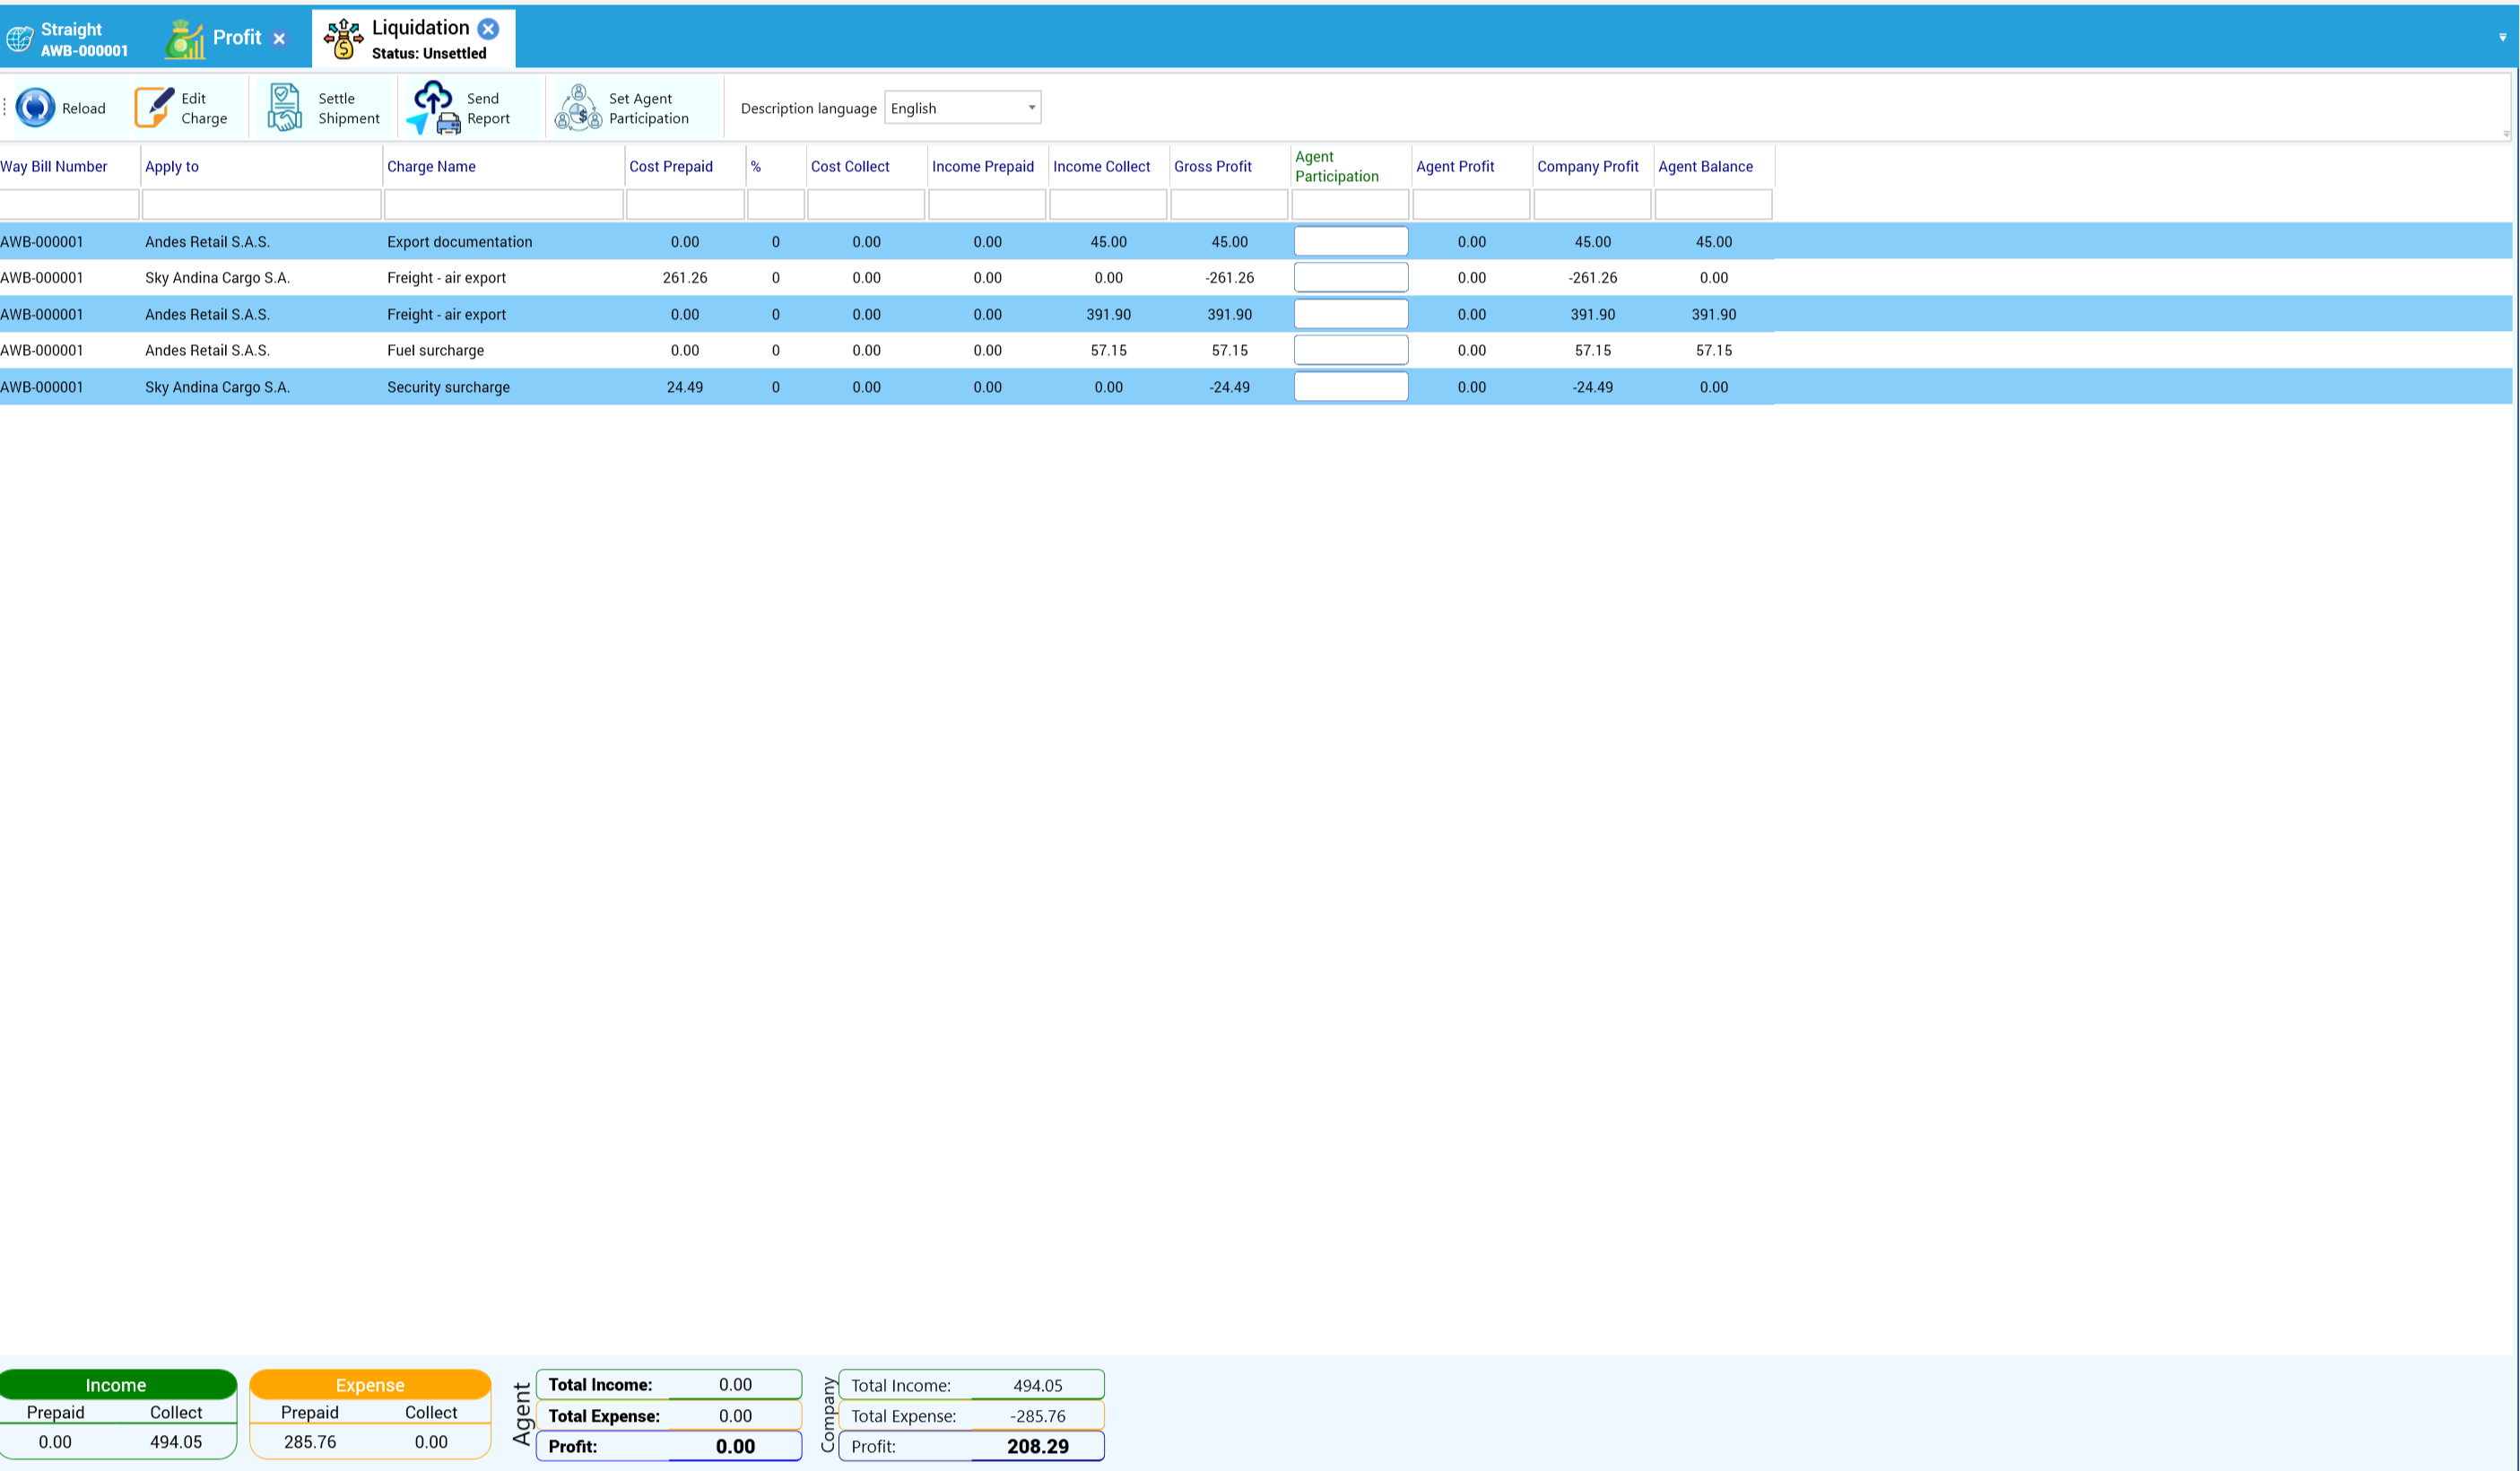
- Click Set Agent Participation. Type the value: with the % sign it is a percentage (50%); without it, a fixed amount. Choose where it applies — All Charges, All Incomes, All Expenses, All Prepaid or All Collect — and click Save & Close:
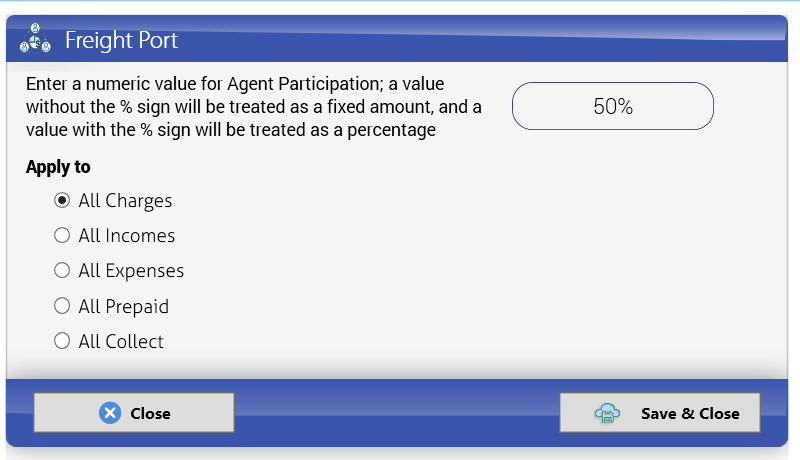
Every line now shows the agent's part: agent profit 104.15 and company profit 104.15:
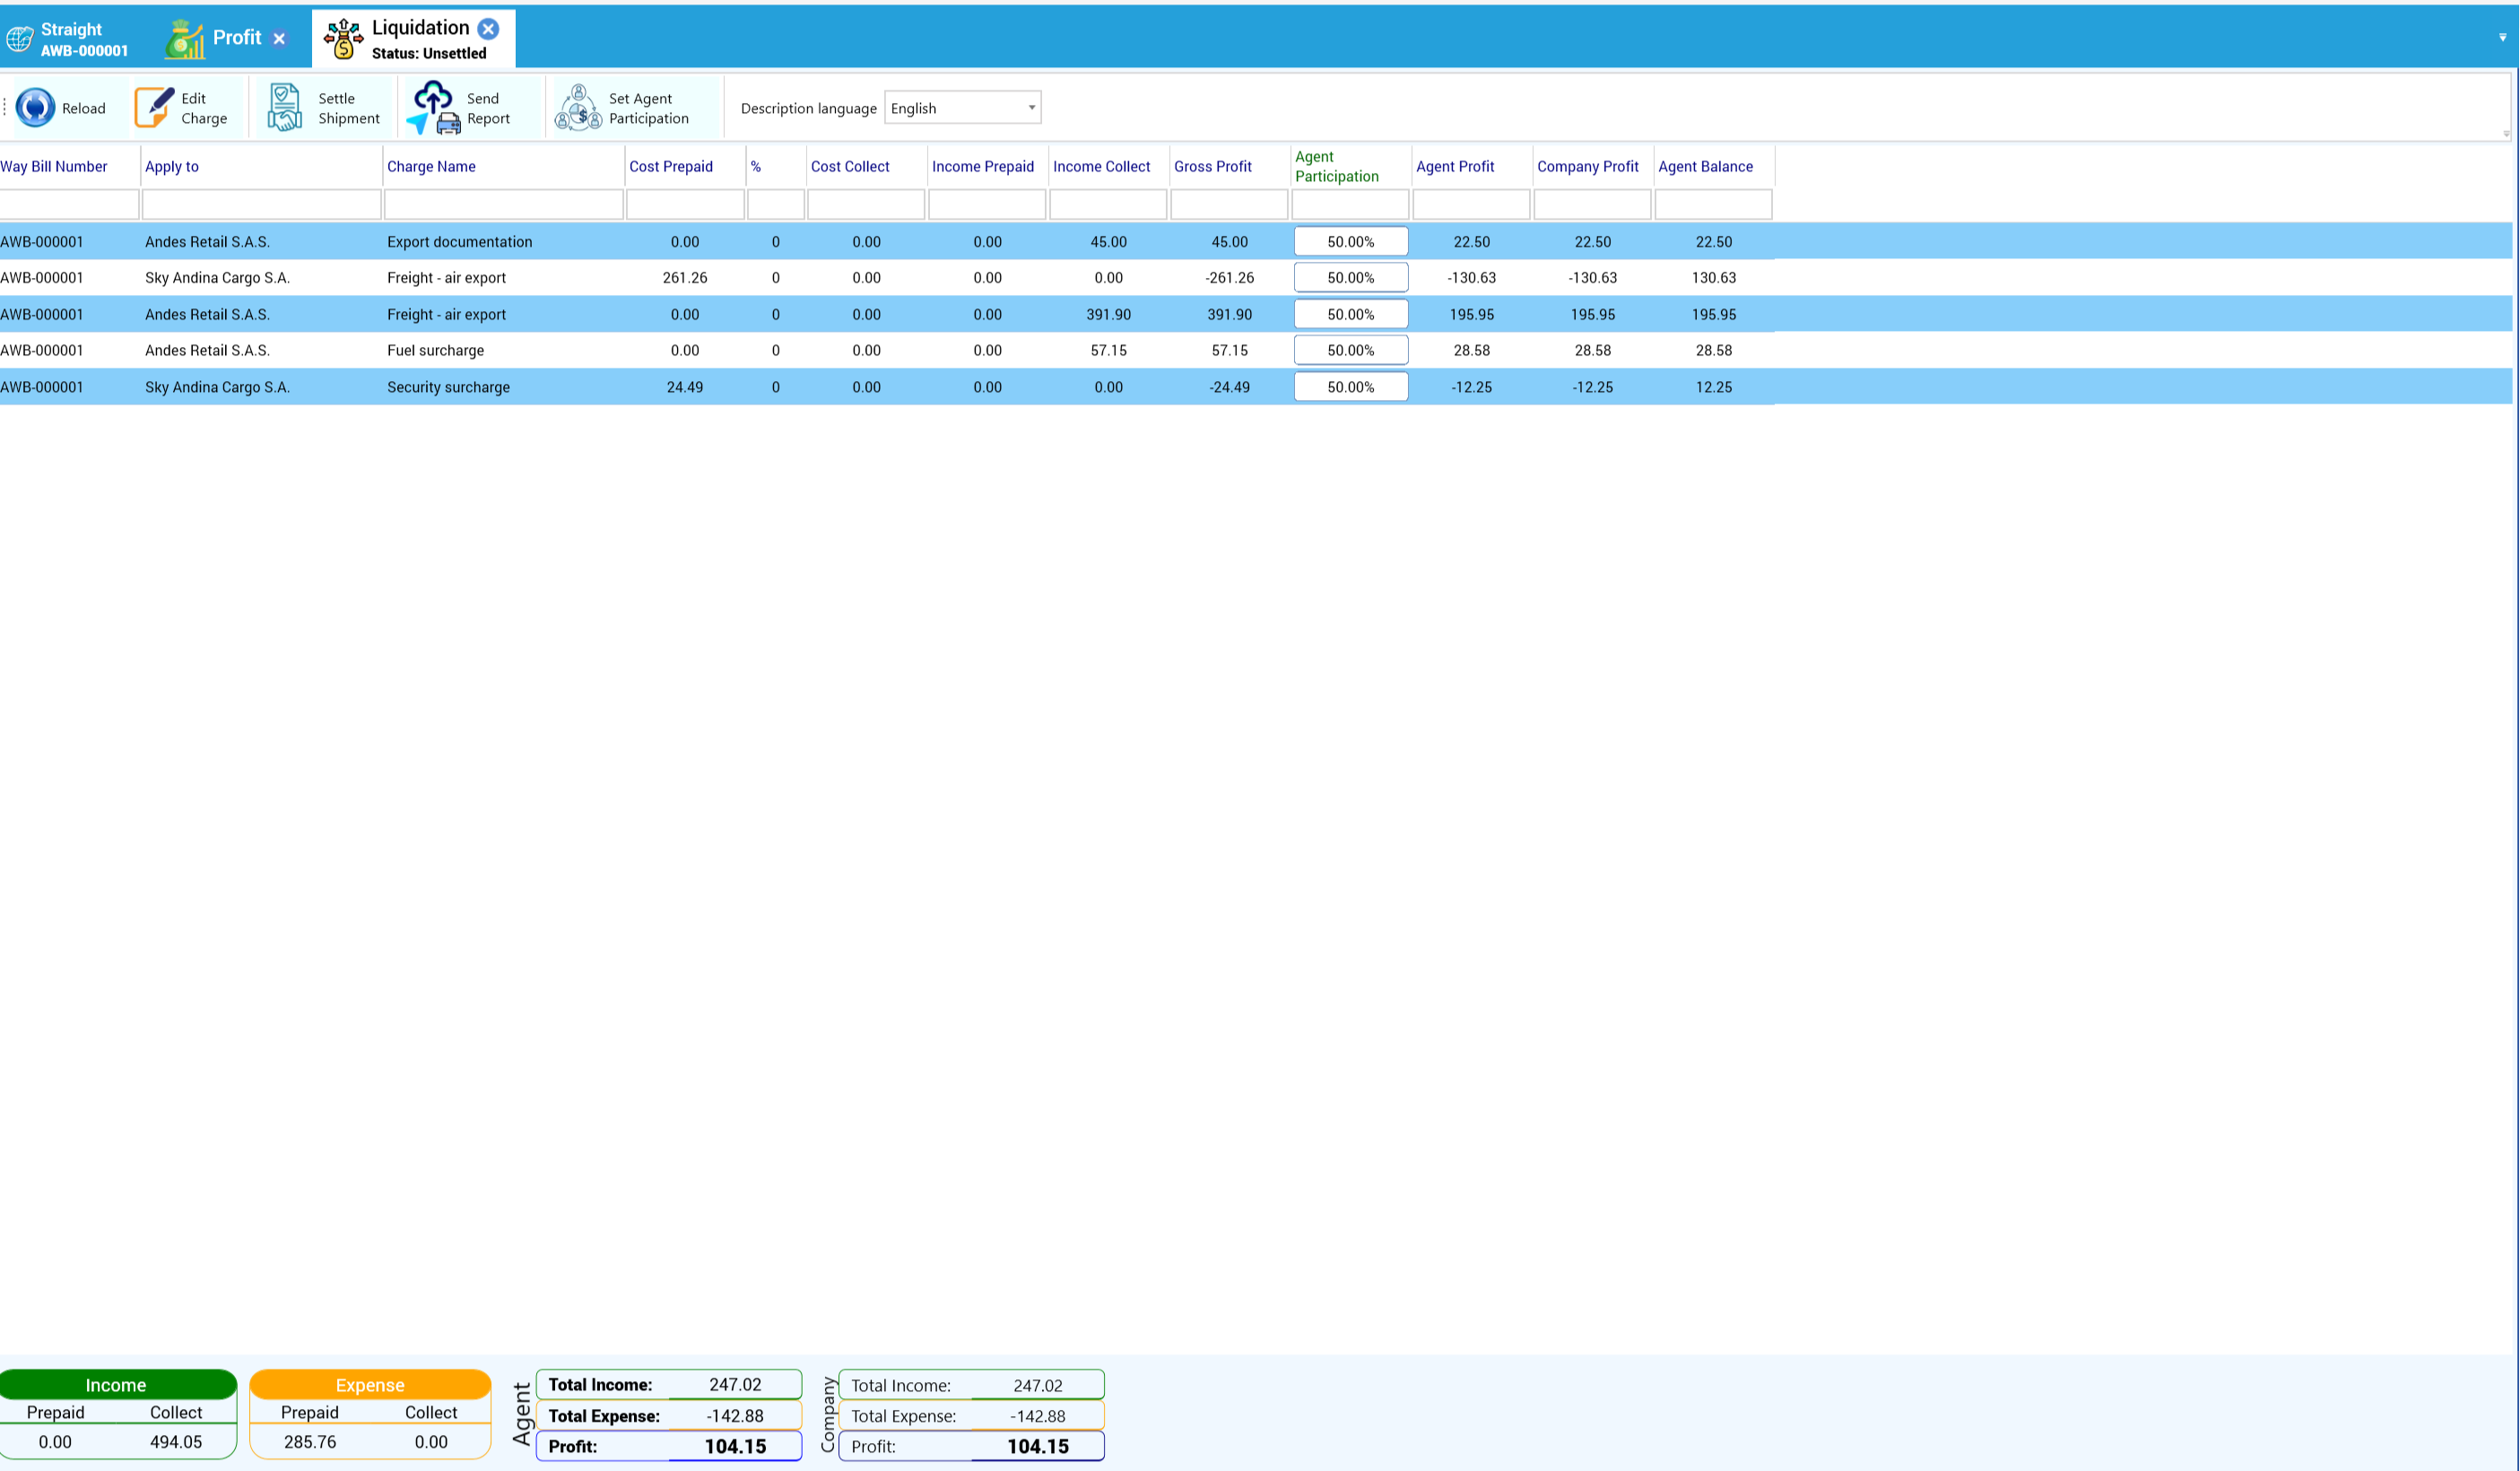
You can also type the participation on a single line. In the consolidated shipment of section 7.15, 40% of one house freight gives the agent 51.43 and leaves 77.15 to the company on that line.
- The agent's share is invoiced with a service marked for profit sharing. The company is created with these services; open Business Elements > List Explorer > Items to see them with their income, expense and cost accounts:
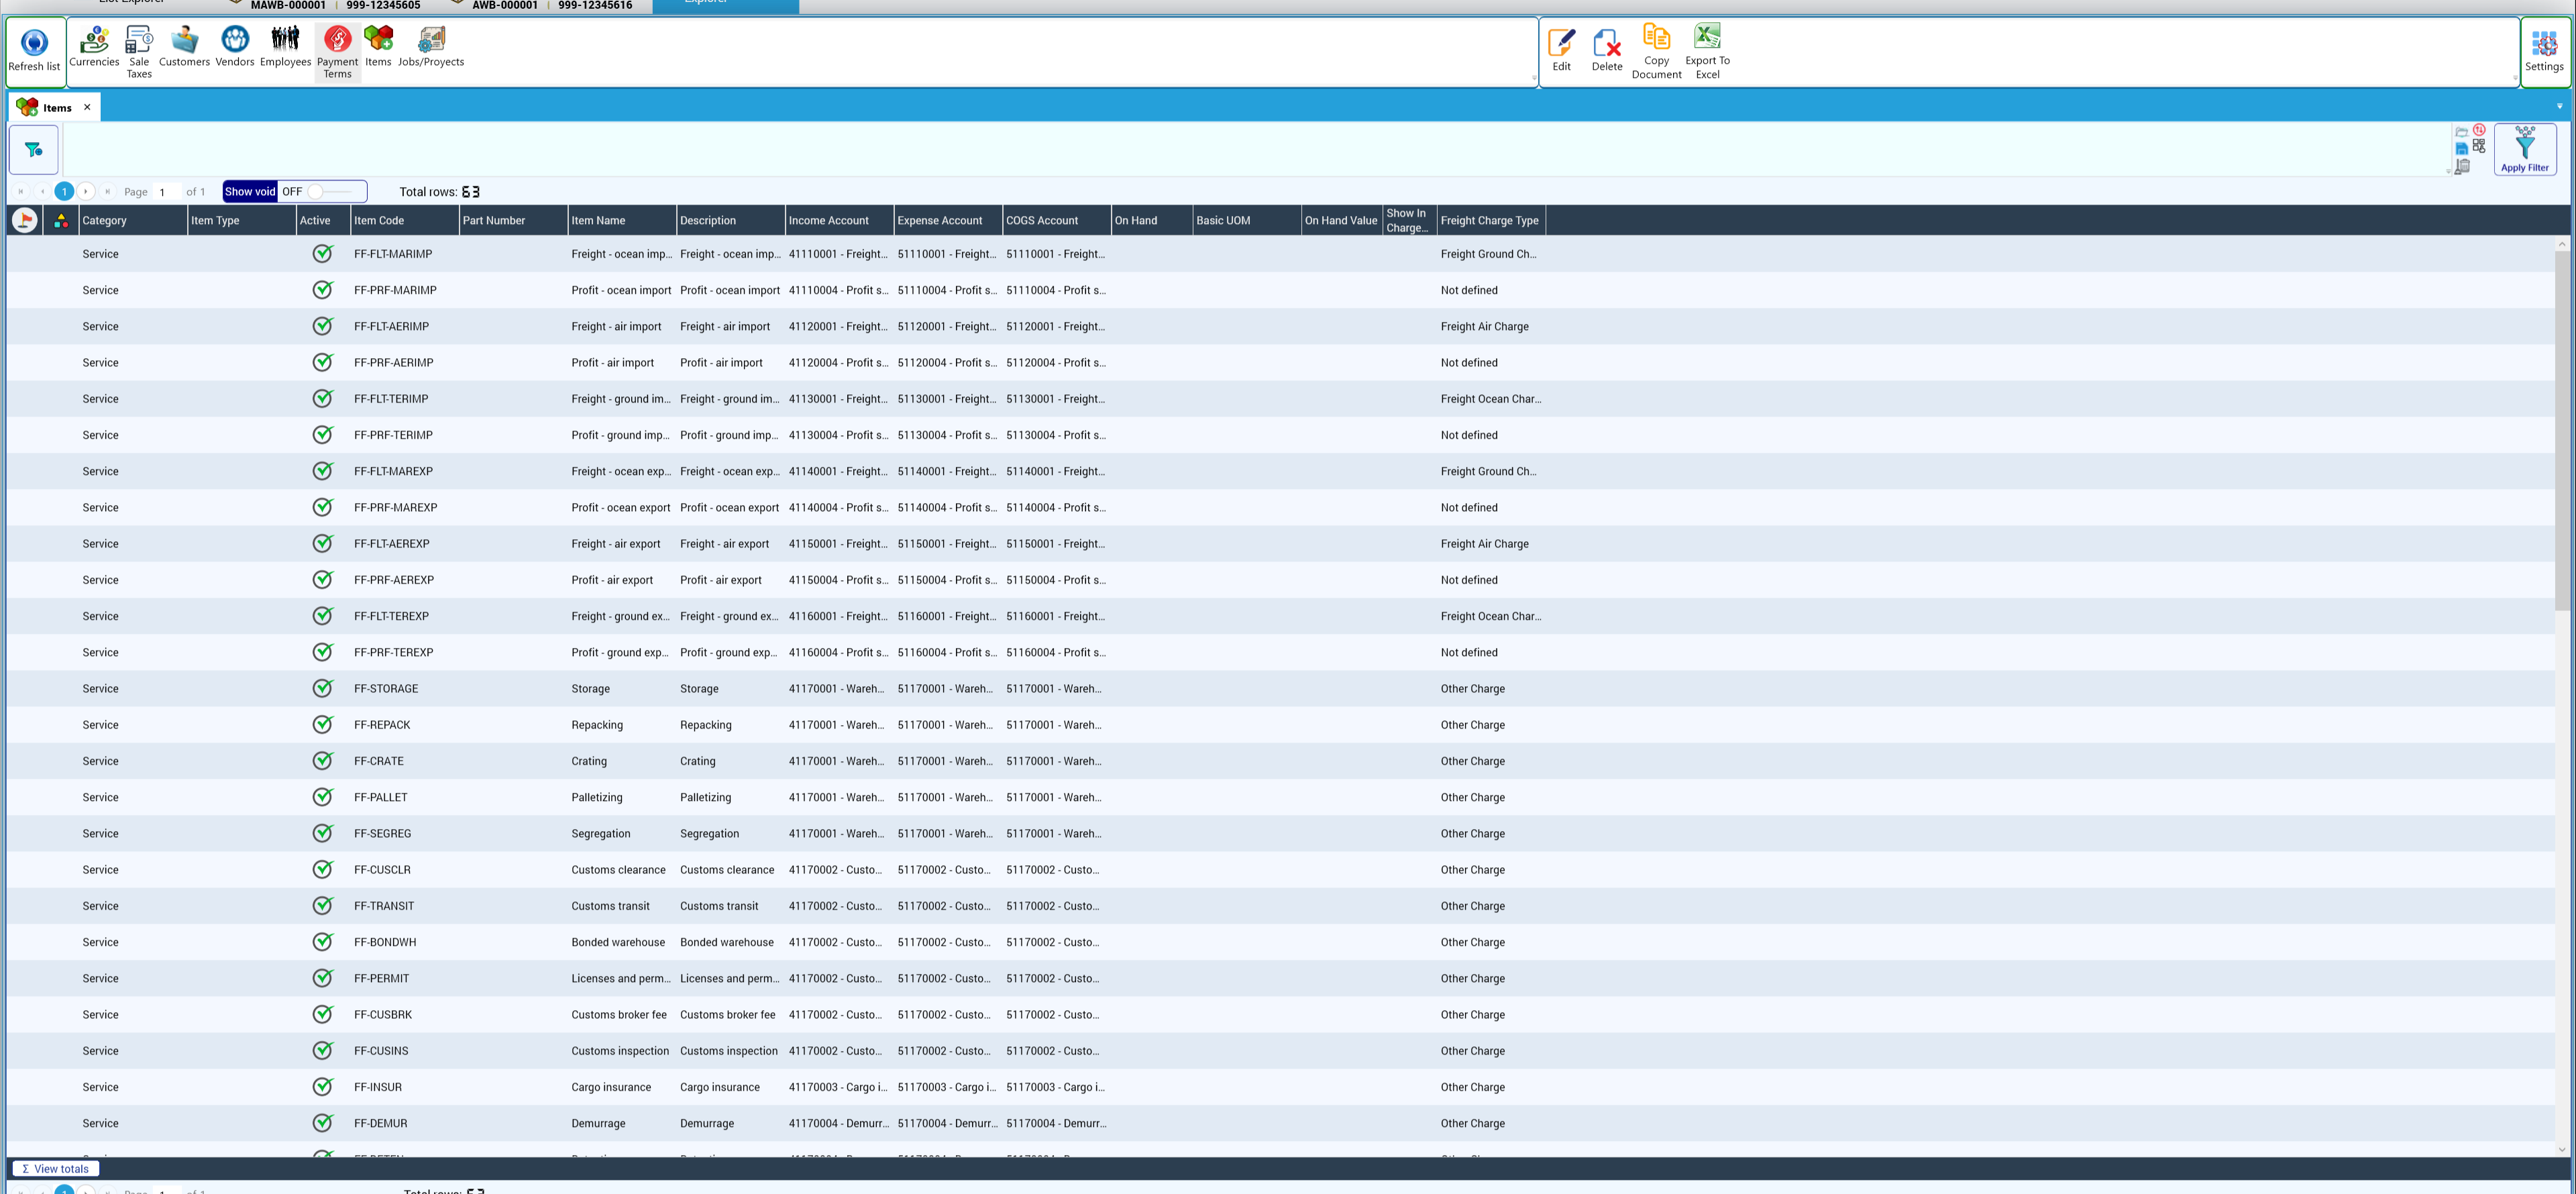
In the item, Shipment Settlement Options decides how lines are merged into invoices and bills, and Use this service for agent profit sharing in Settled documents? must be Yes for the profit-sharing service:
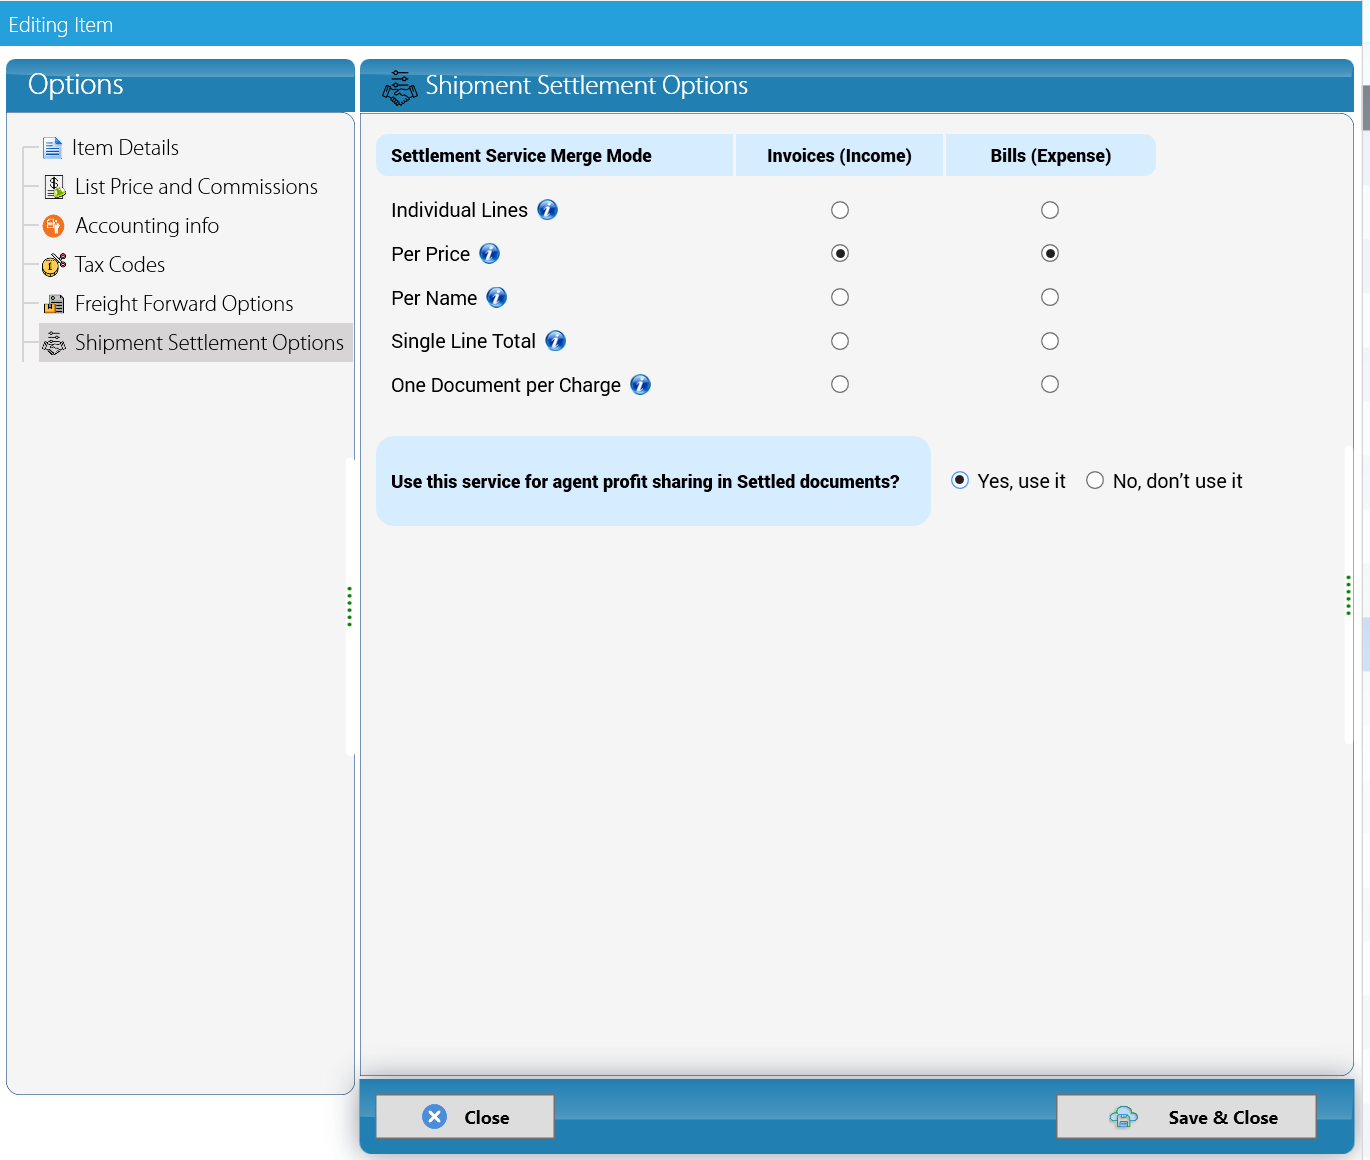
- Click Settle Shipment. The proposal now has three documents: the Purchase Bill to the carrier (numbered with the air waybill, 999-12345616, 285.75), the Sales Invoice to the consignee (494.05) and a Customer Credit Note to the destination agent for its share (104.15). At the bottom, Service name to be used for agent profit sharing shows Profit - air export:
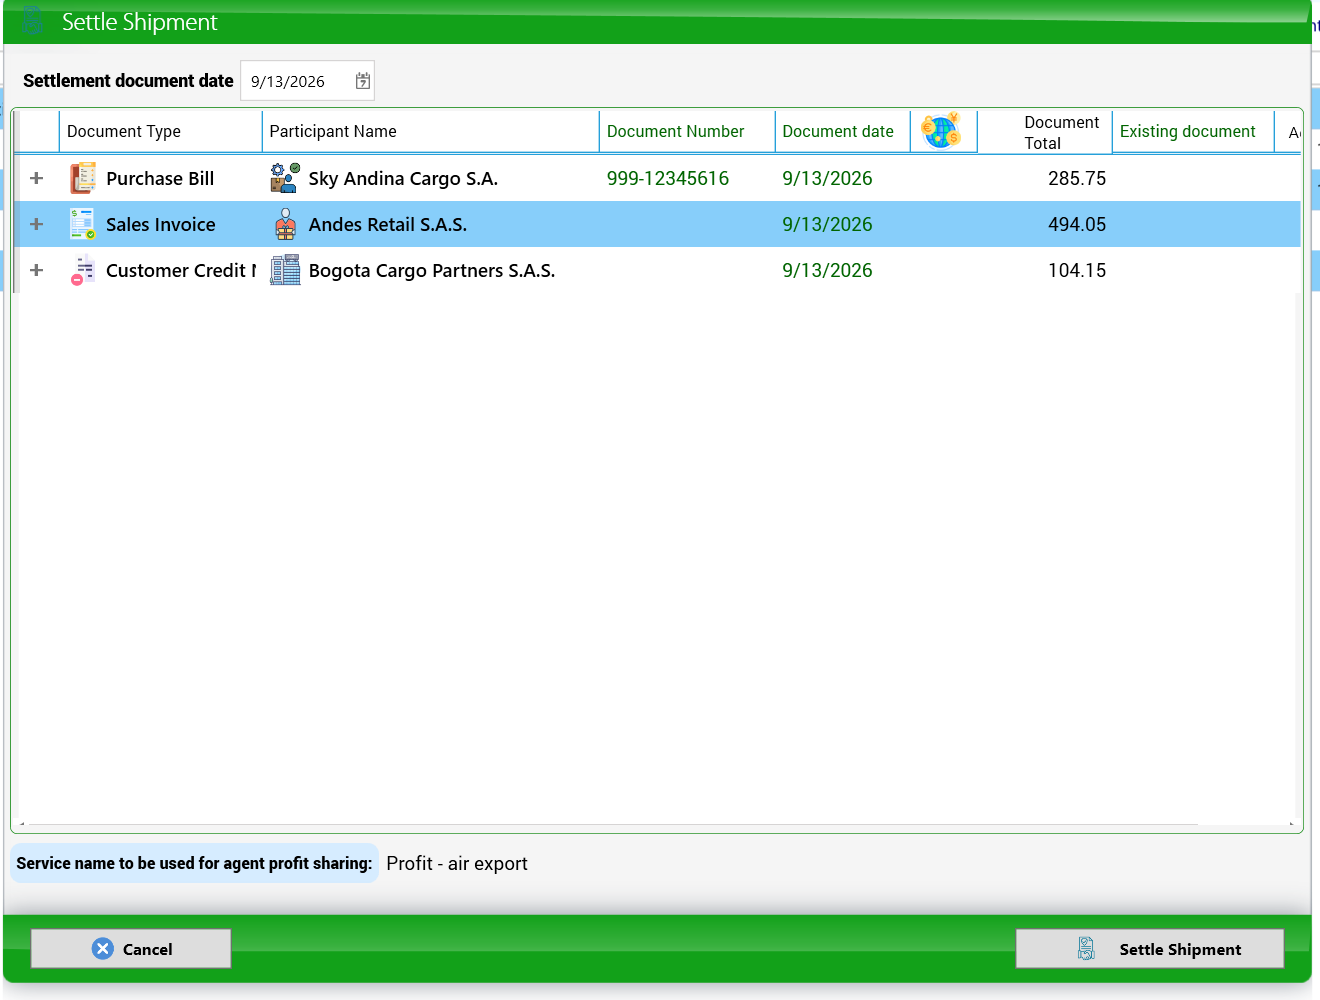
The + of a row shows the lines of that document before you confirm:
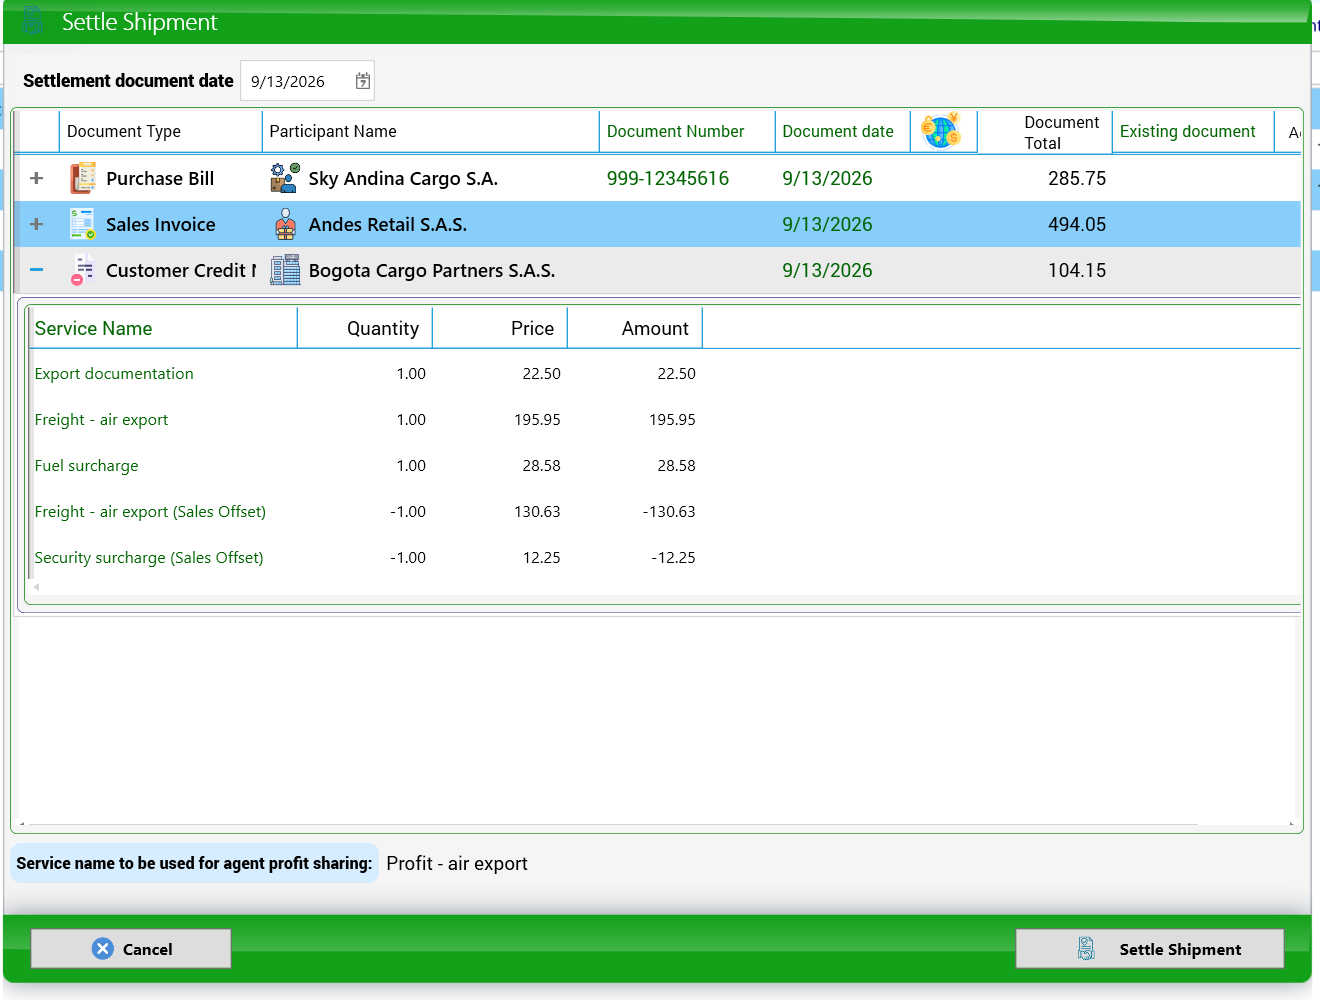
- Confirm with Settle Shipment. The tab shows Status: Settled, the button becomes Unsettle Shipment and Add House is disabled:
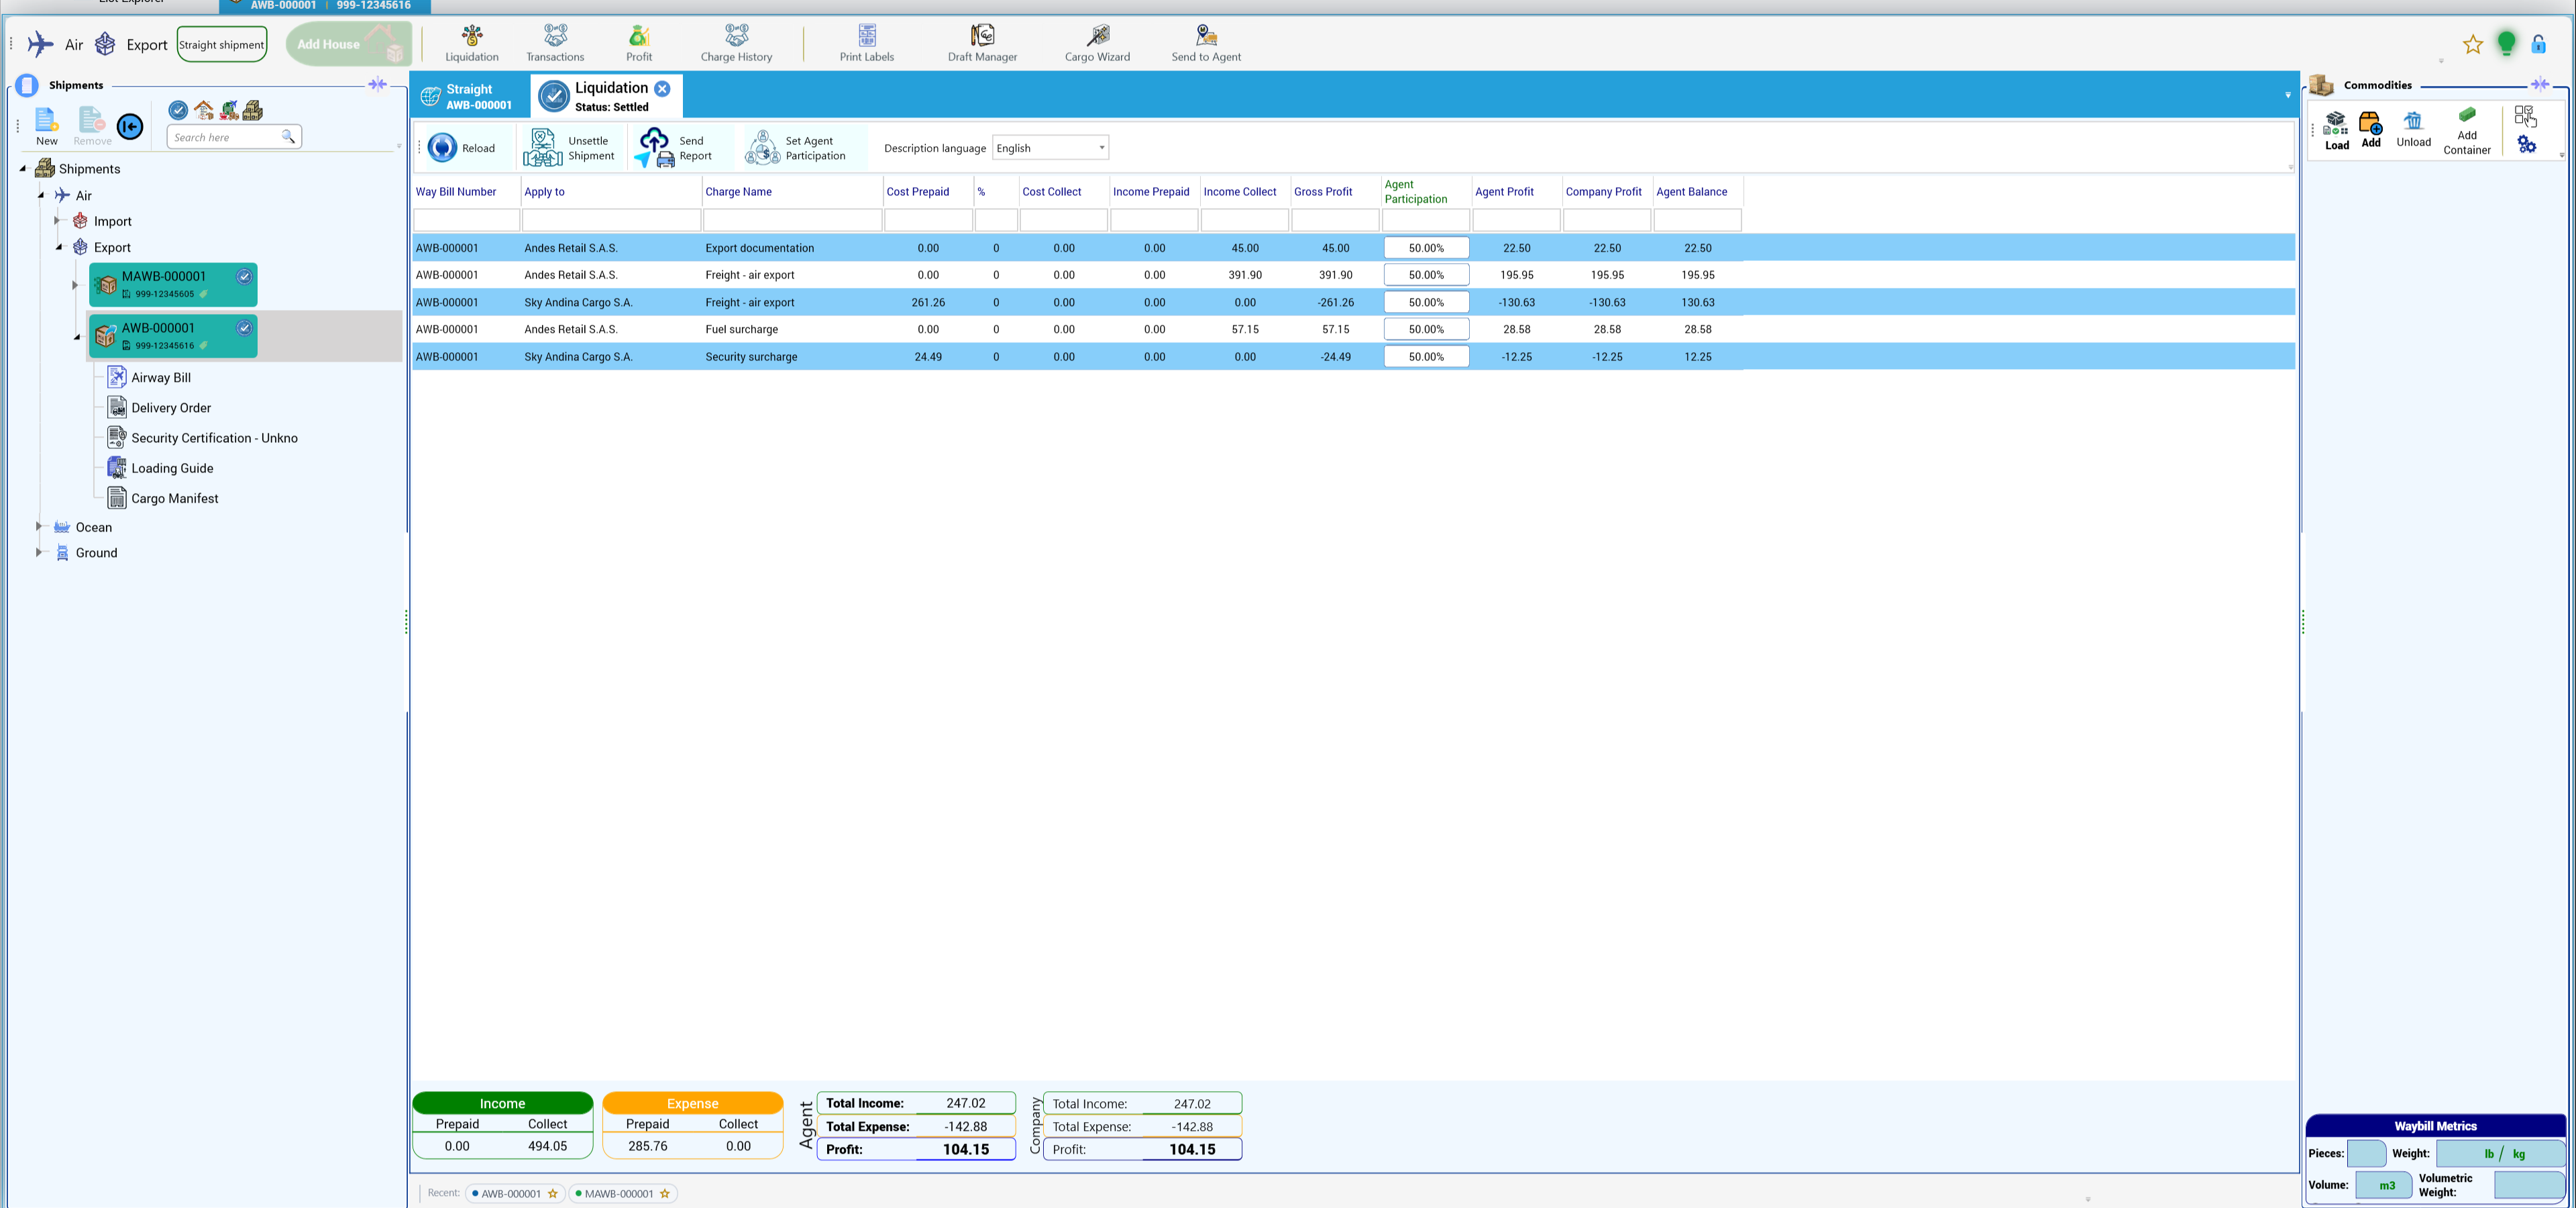
Transactions lists the three documents: purchase bill 999-12345616, sales invoice INV-000003 and credit note CN-000002 to the agent:

A settled shipment opens read-only: the fields are greyed, Add House is disabled and each waybill in the tree has a check mark:
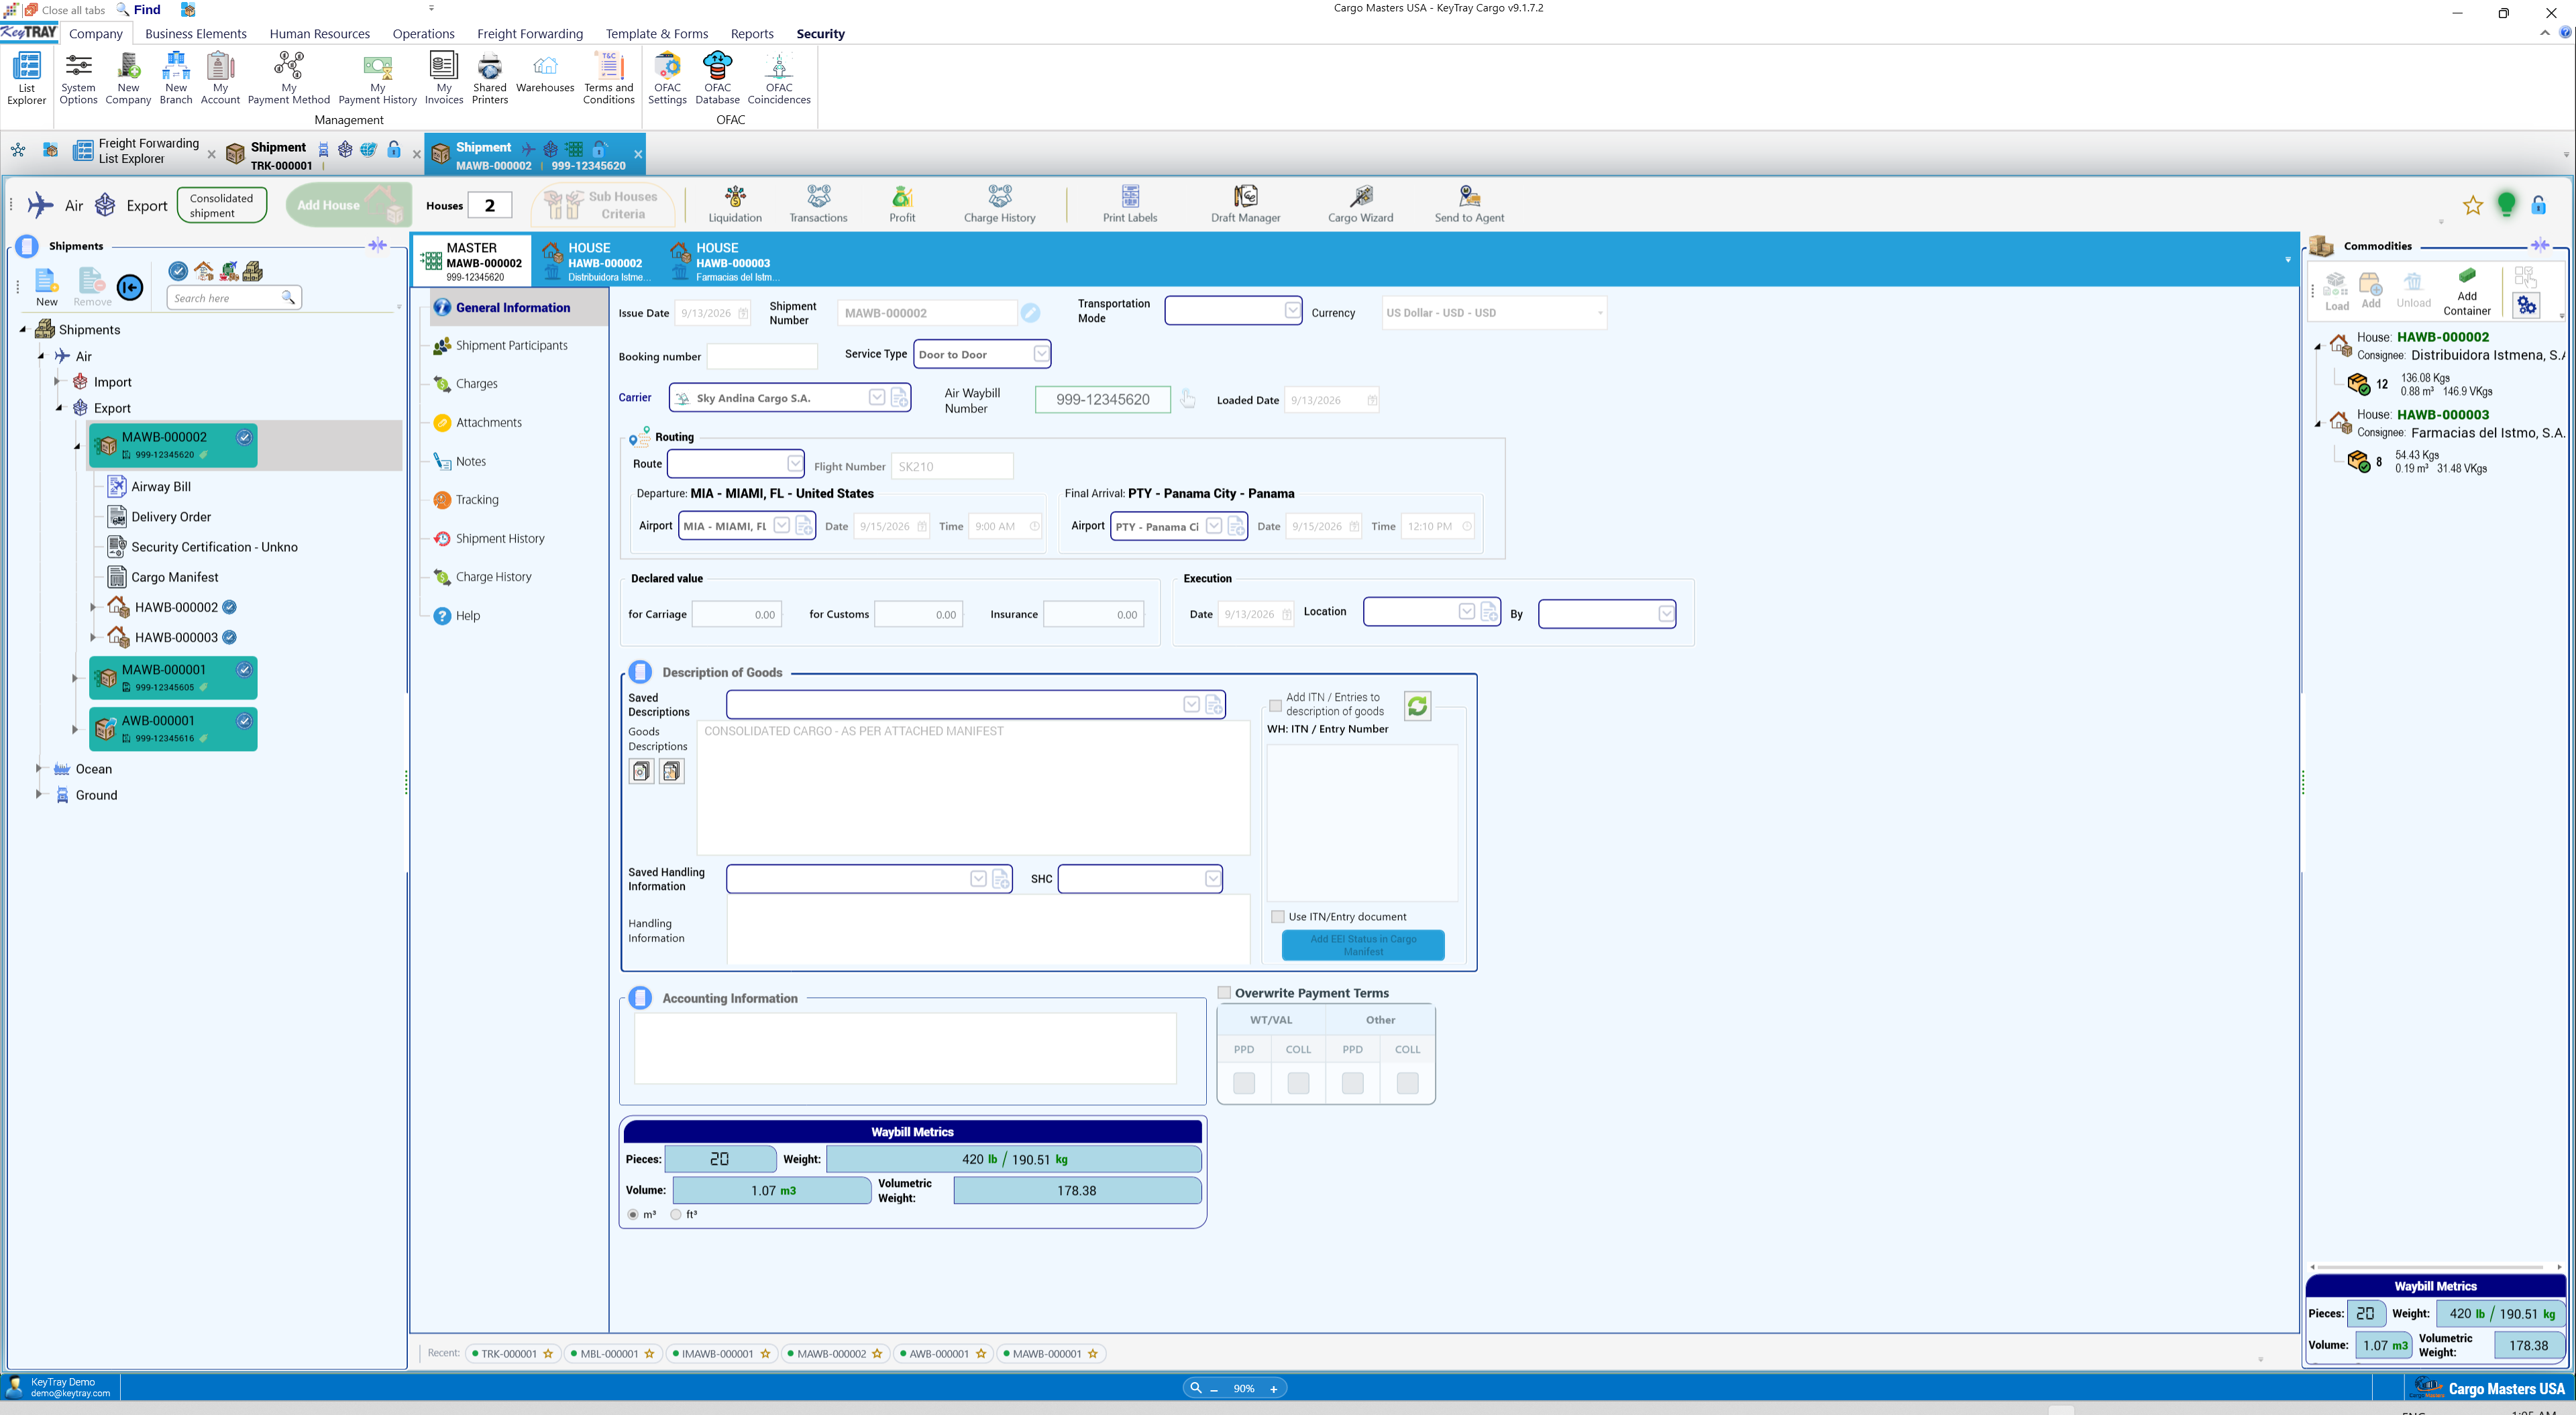
Accounting entries of this settlement (as posted in the demo):
Purchase bill 999-12345616 (Sky Andina Cargo S.A.):
| Account | Debit | Credit |
|---|---|---|
| Freight cost - air export | 261.26 | |
| Surcharges cost | 24.49 | |
| Accounts payable - suppliers | 285.75 |
Sales invoice to the consignee:
| Account | Debit | Credit |
|---|---|---|
| Accounts receivable - customers | 494.05 | |
| Freight revenue - air export | 391.90 | |
| Documentation revenue | 45.00 | |
| Surcharges revenue | 57.15 |
Credit note to the agent (50% of each income, less 50% of each cost):
| Account | Debit | Credit |
|---|---|---|
| Freight revenue - air export (50% of 391.90) | 195.95 | |
| Documentation revenue (50% of 45.00) | 22.50 | |
| Surcharges revenue (50% of 57.15) | 28.58 | |
| Freight revenue - air export (50% of the 261.26 cost) | 130.63 | |
| Surcharges revenue (50% of the 24.49 cost) | 12.25 | |
| Accounts receivable - customers (net) | 104.15 |
Why it matters: the agent's share reduces your revenue, not your cost, and it is a credit to the agent's receivable. If the agent also owes you invoices, the credit note is applied against them like any other credit note (section 5.4), and the income statement shows the profit that really stayed in the company.
7.14 Undoing a settlement, labels, drafts, cargo wizard and sending to the agent
Unsettle Shipment. If something was wrong, click Unsettle Shipment. KeyTray voids every document of the settlement, as long as none of them has payments applied:
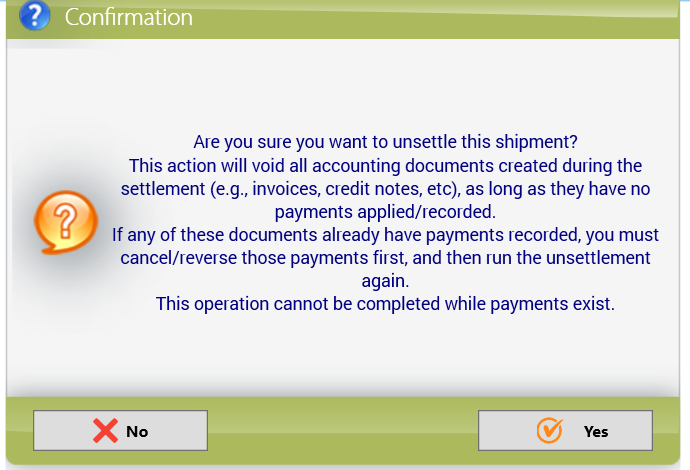
The documents stay in Transactions as voided (turn Show void on to see them). Each void posts the exact reverse entry, so the accounts return to where they were; when you settle again, new documents are created (in the demo INV-000004 and CN-000003):

Print Labels. Choose the printer, the label form (Shipment Label Direct) and the waybills to print:
Draft Manager. When part of the cargo travels first, create a named draft with its own values and print the shipment documents with them, without touching the shipment. In the demo, the draft Partial - first 10 boxes has Pieces 10, Chargable Weight (Kg) 81.65, Gross Weight (Kg) 81.65 and Measurement (m3) 0.31; on the right, tick the documents (Airway Bill, Delivery Order, Security Certification, Loading Guide, Cargo Manifest) and click Print Selected. The draft also has the Print As Agreed option:
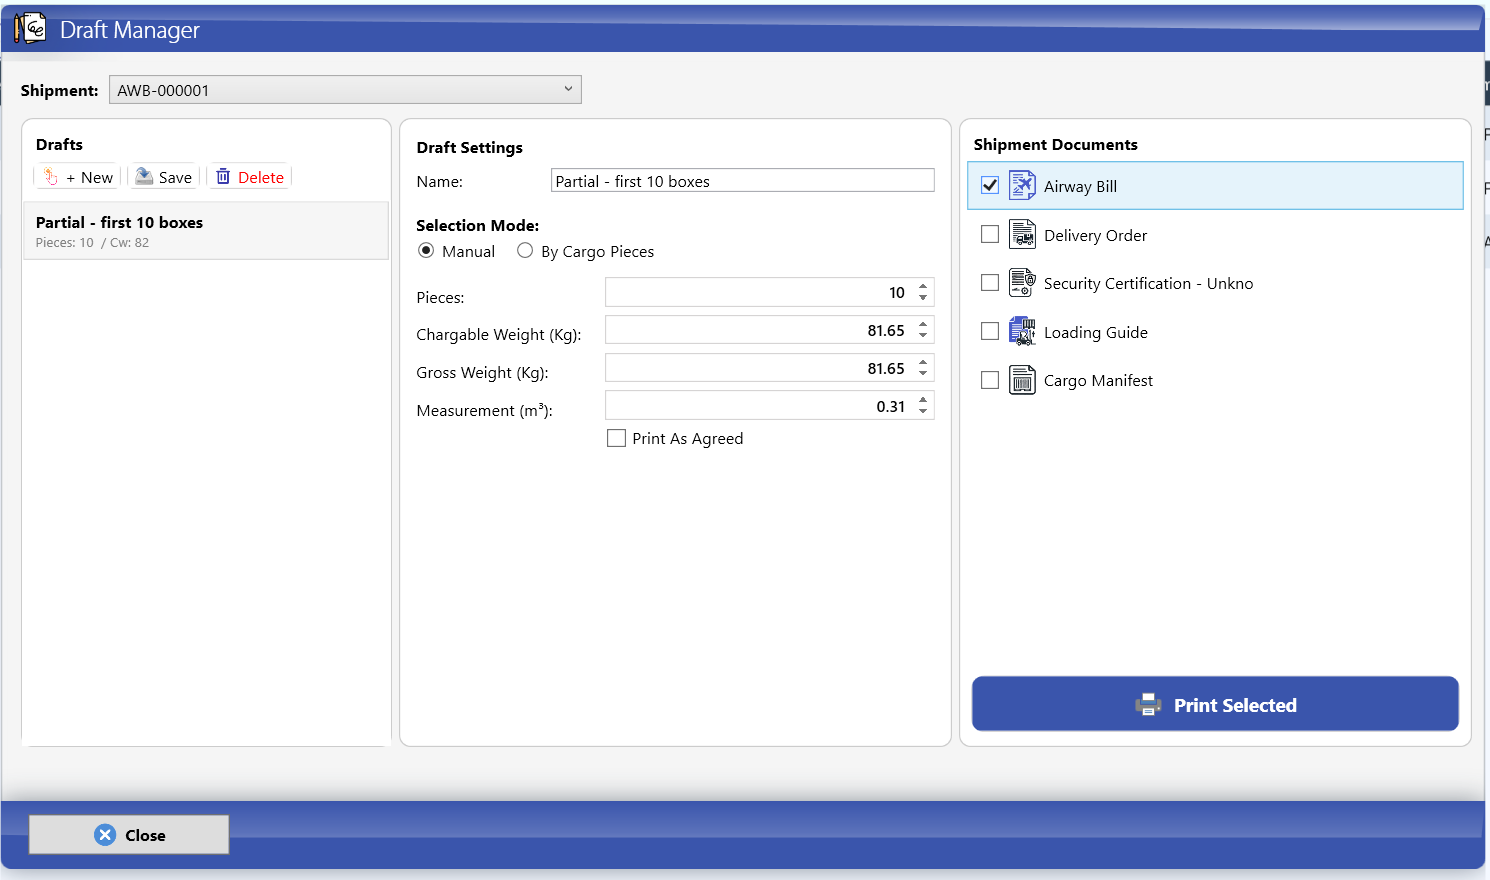
Cargo Wizard. The 3D loading optimizer has Container, Cargo, Rules and Advisor tabs. It works with the pieces received in your warehouse and loaded into the shipment; with commodities typed by hand it reports that the shipment has no cargo pieces to load:
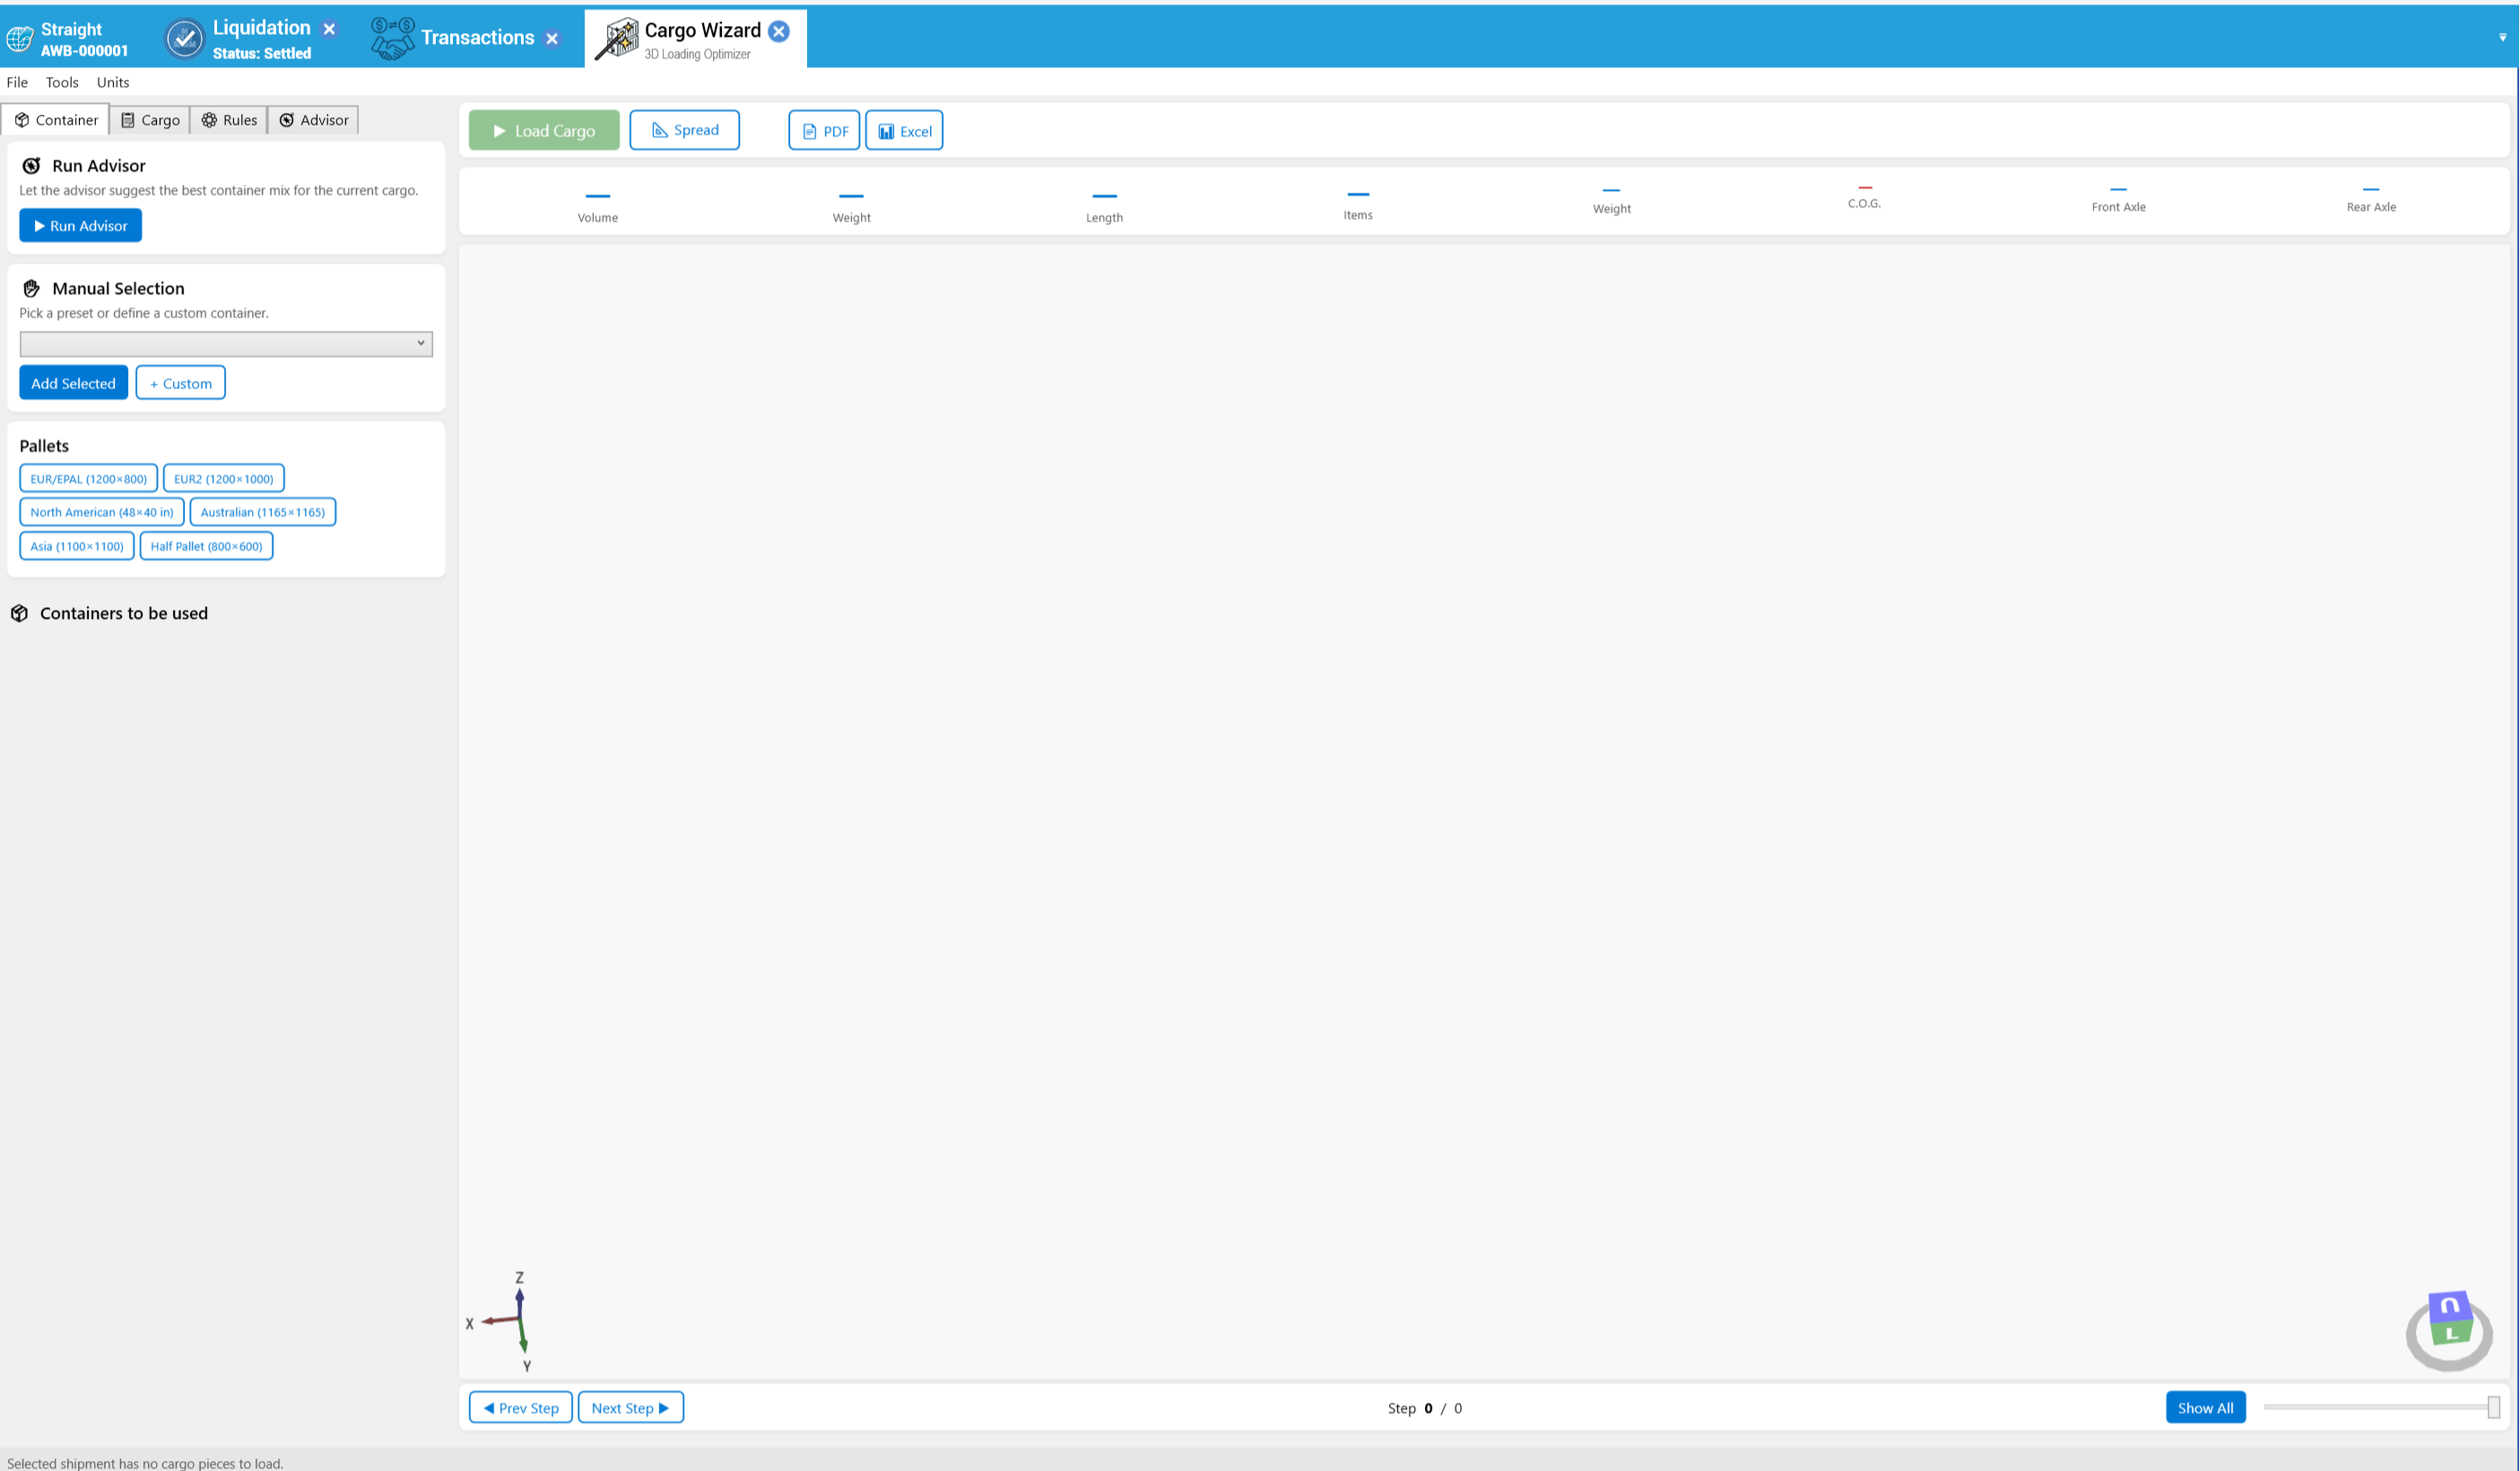
Send to Agent. If your destination agent also works with KeyTray, you can send the shipment to the agent's company. The agent must be linked to that company first; otherwise KeyTray tells you:
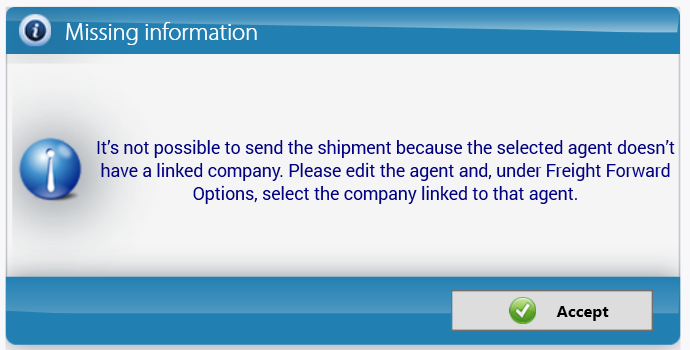
To link it, open the agent (New Freight Agency; in the demo the agent in Panama, marked as foreign customer):
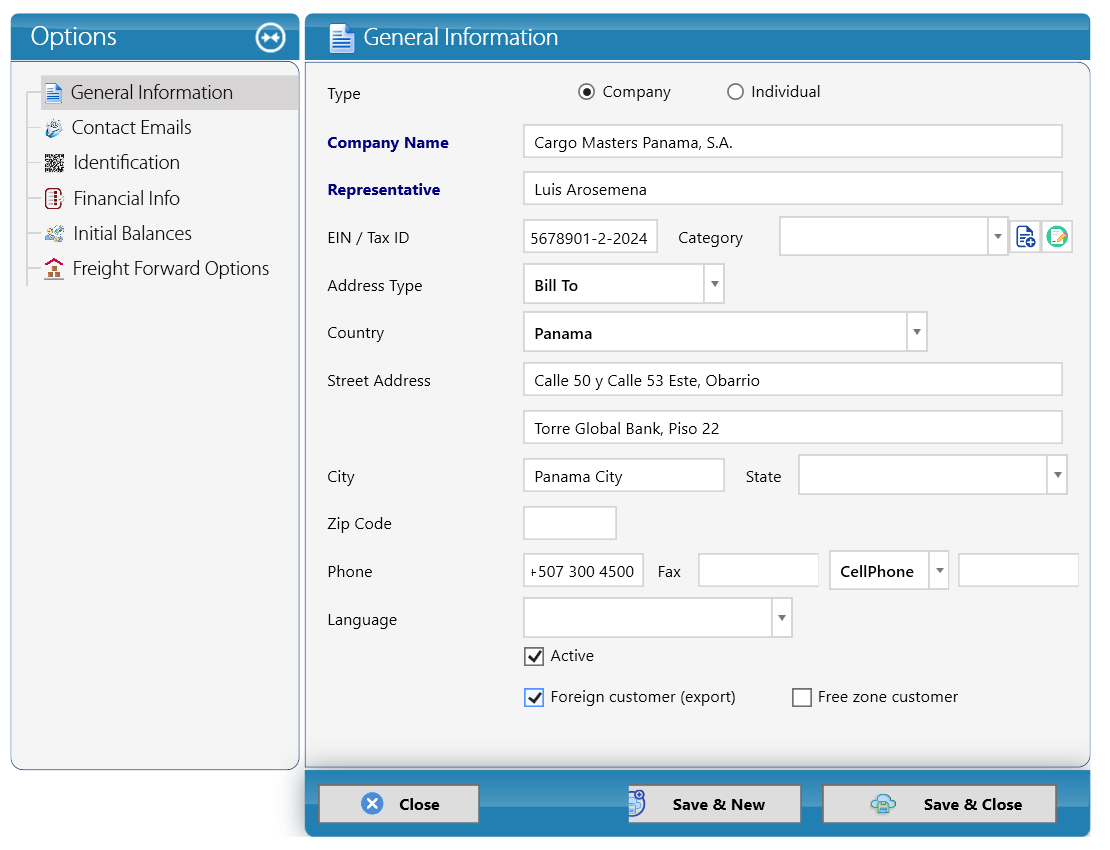
In Freight Forward Options > Select Company Linked to Agent choose, from the KeyTray companies you can reach, the agent's company:
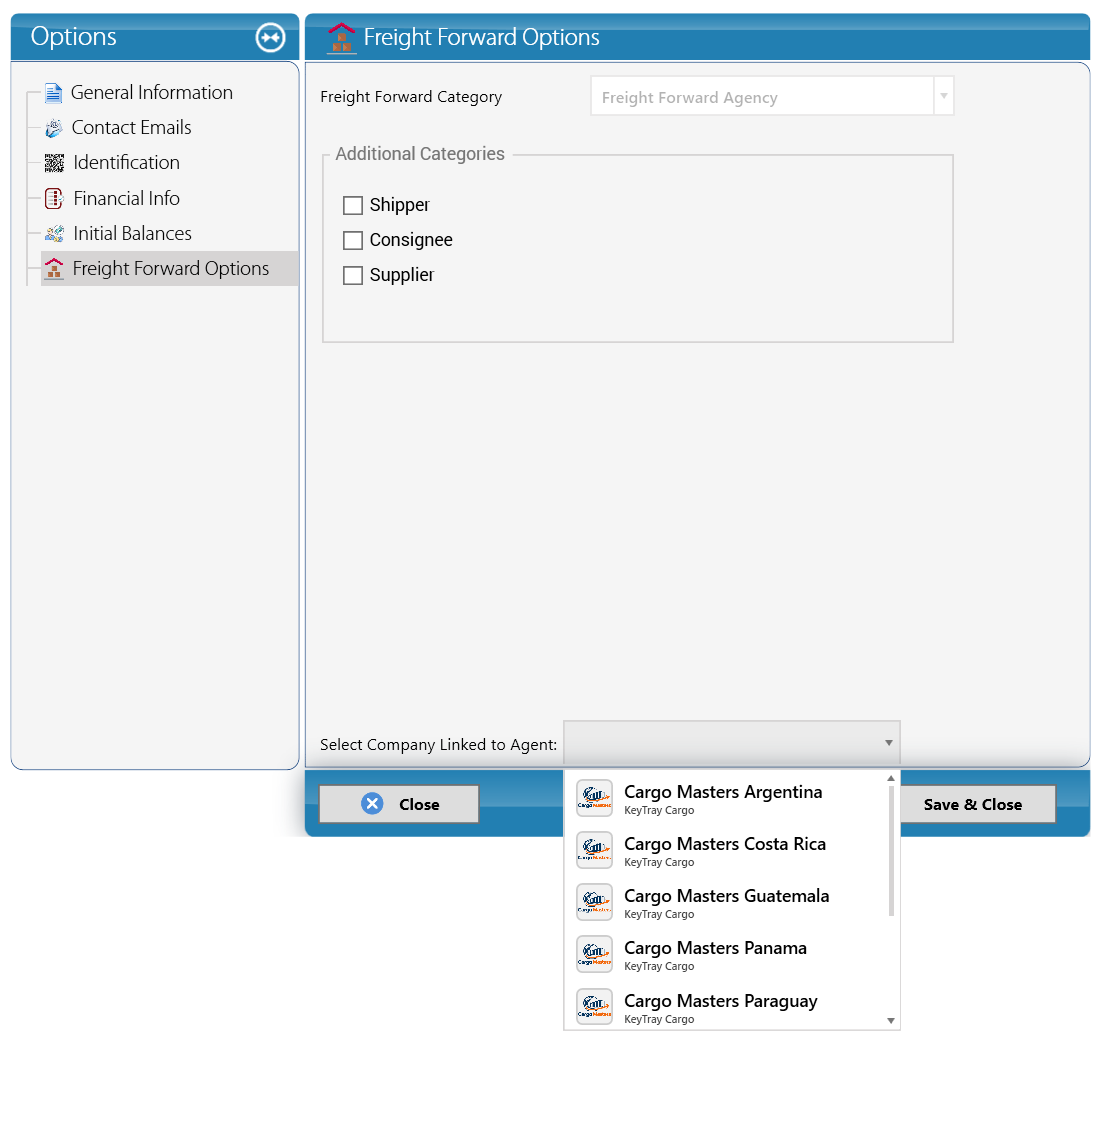
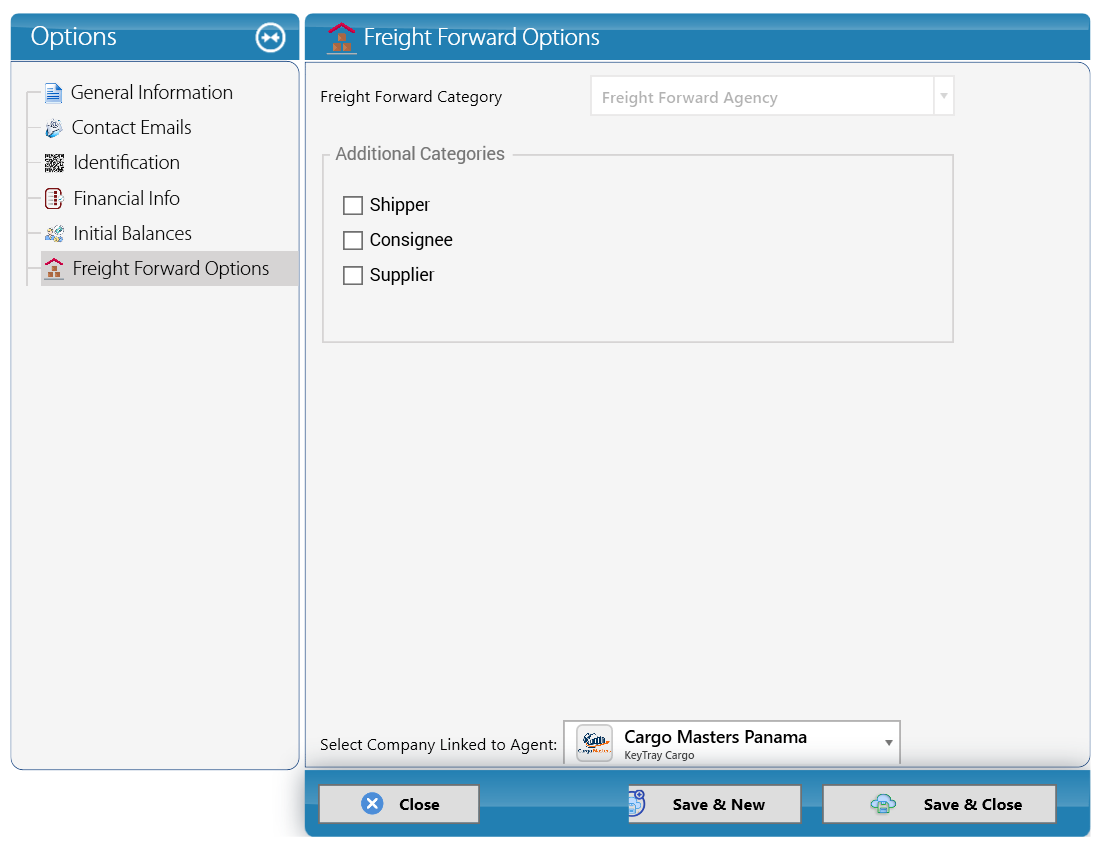
Now Send to Agent sends the shipment to Cargo Masters Panama. KeyTray shares it again automatically when the weight, the carrier or the pieces change. If the agent has no email, no notification is sent:
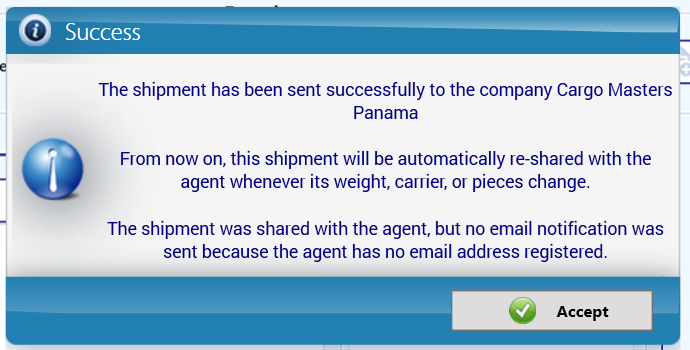
7.15 A consolidated air export with two houses
A consolidation puts the cargo of several shippers under one master air waybill (MAWB) issued by the airline to you; each shipper gets its own house waybill (HAWB).
- For a new consignee, create it first (New Consignee):
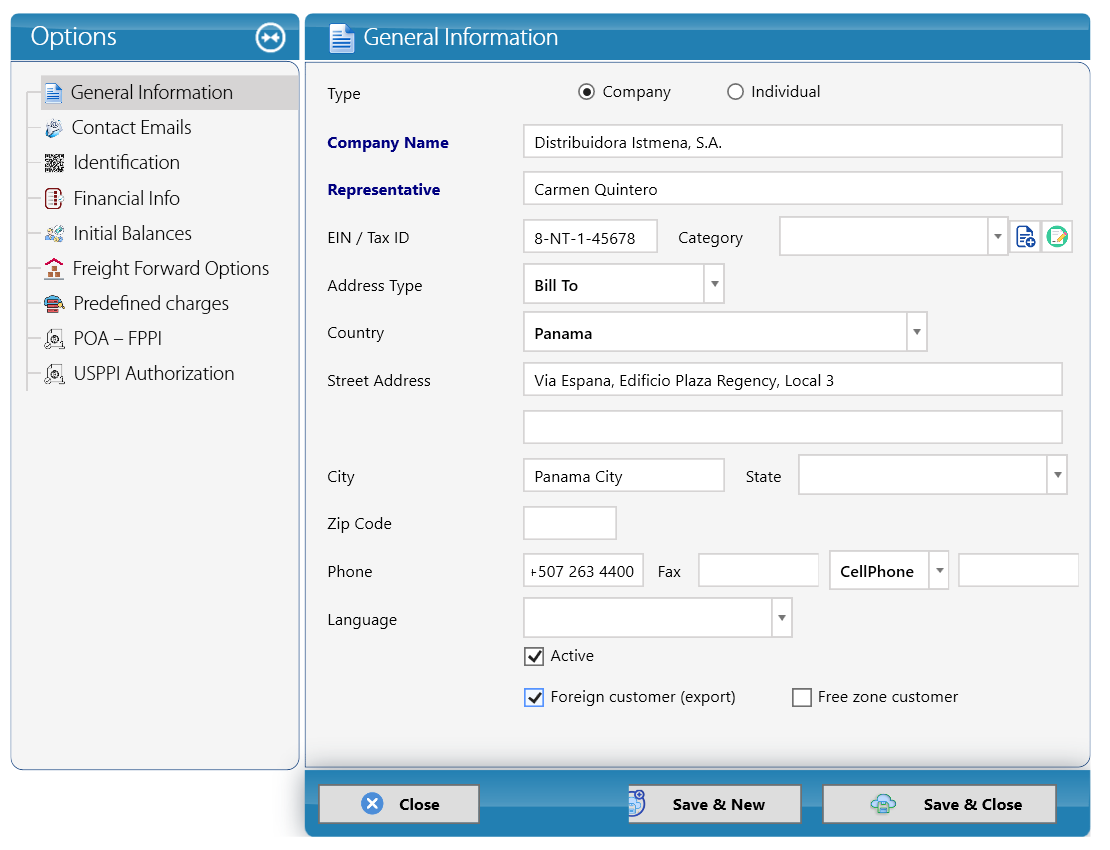
- New Shipment: Air, Export, Consolidated shipment checked, 2 houses. (Sub Houses is only for houses that contain sub-houses.)

- Master MAWB-000002: Sky Andina Cargo, air waybill 999-12345620, flight SK210 Miami to Panama City:
- Master participants: your own company as shipper and the destination agent:
Each house has its real shipper and consignee; the destination agent is inherited from the master:
- Add commodity: pick the house card first. 12 boxes go to HAWB-000002 and 8 boxes to HAWB-000003:
- Charges on the houses (what you sell). HAWB-000002: air freight Collect to the consignee applied by Volumetric Weight (146.9 kg):
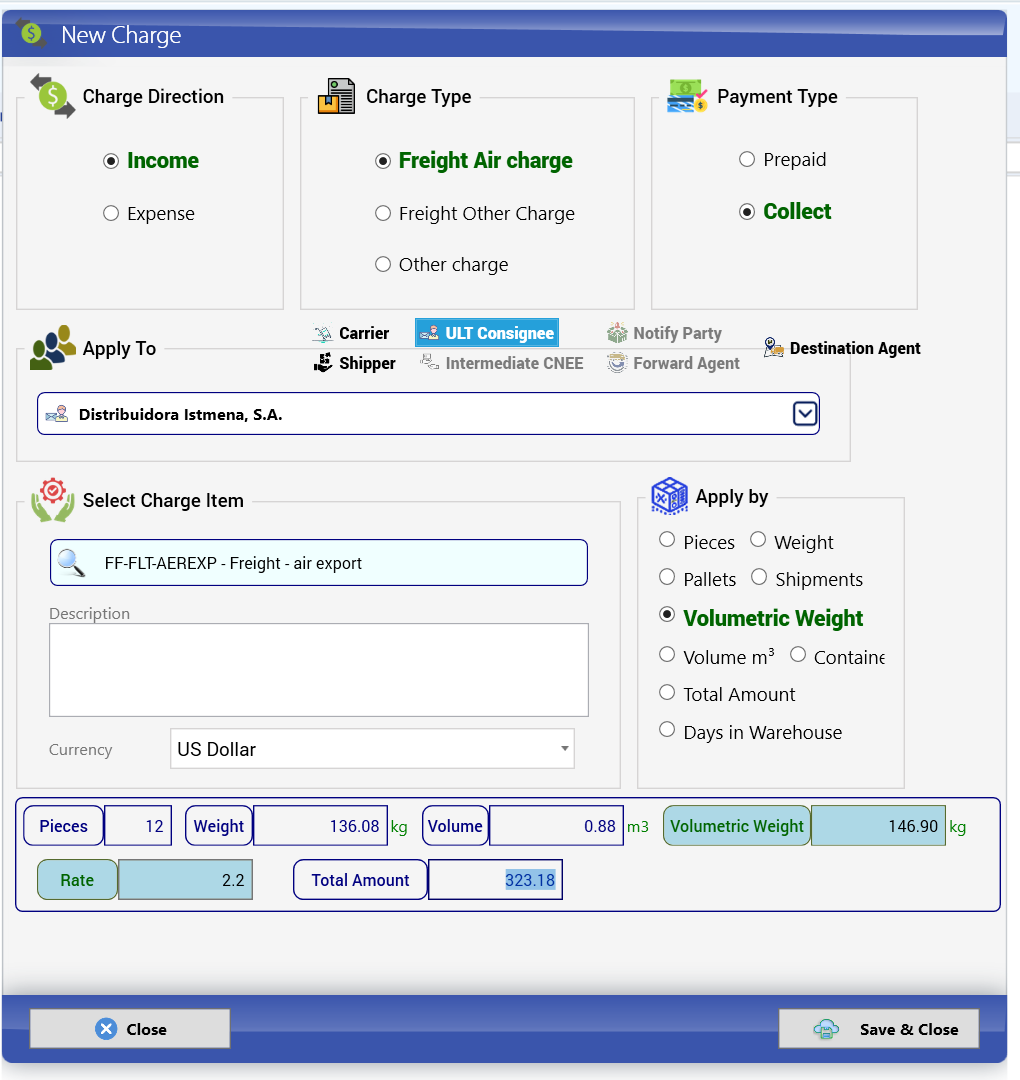
- Charges on the master (what the airline sells to you): the freight of the whole consolidation, 190.51 kg x 1.40 Prepaid to the carrier:
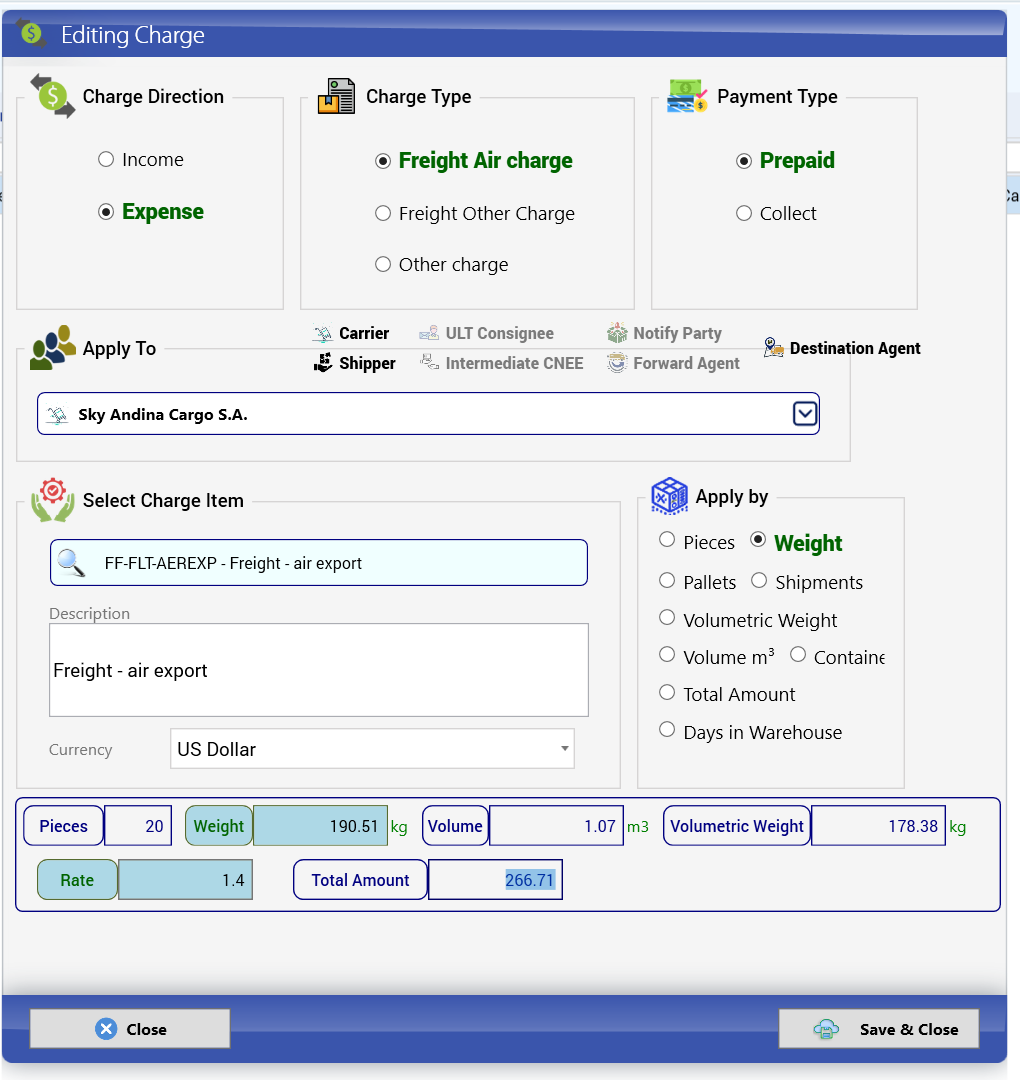
- Liquidation: the master cost of 266.71 is prorated to each house by chargeable weight (72.96% / 27.04%), so each house shows its own profit:
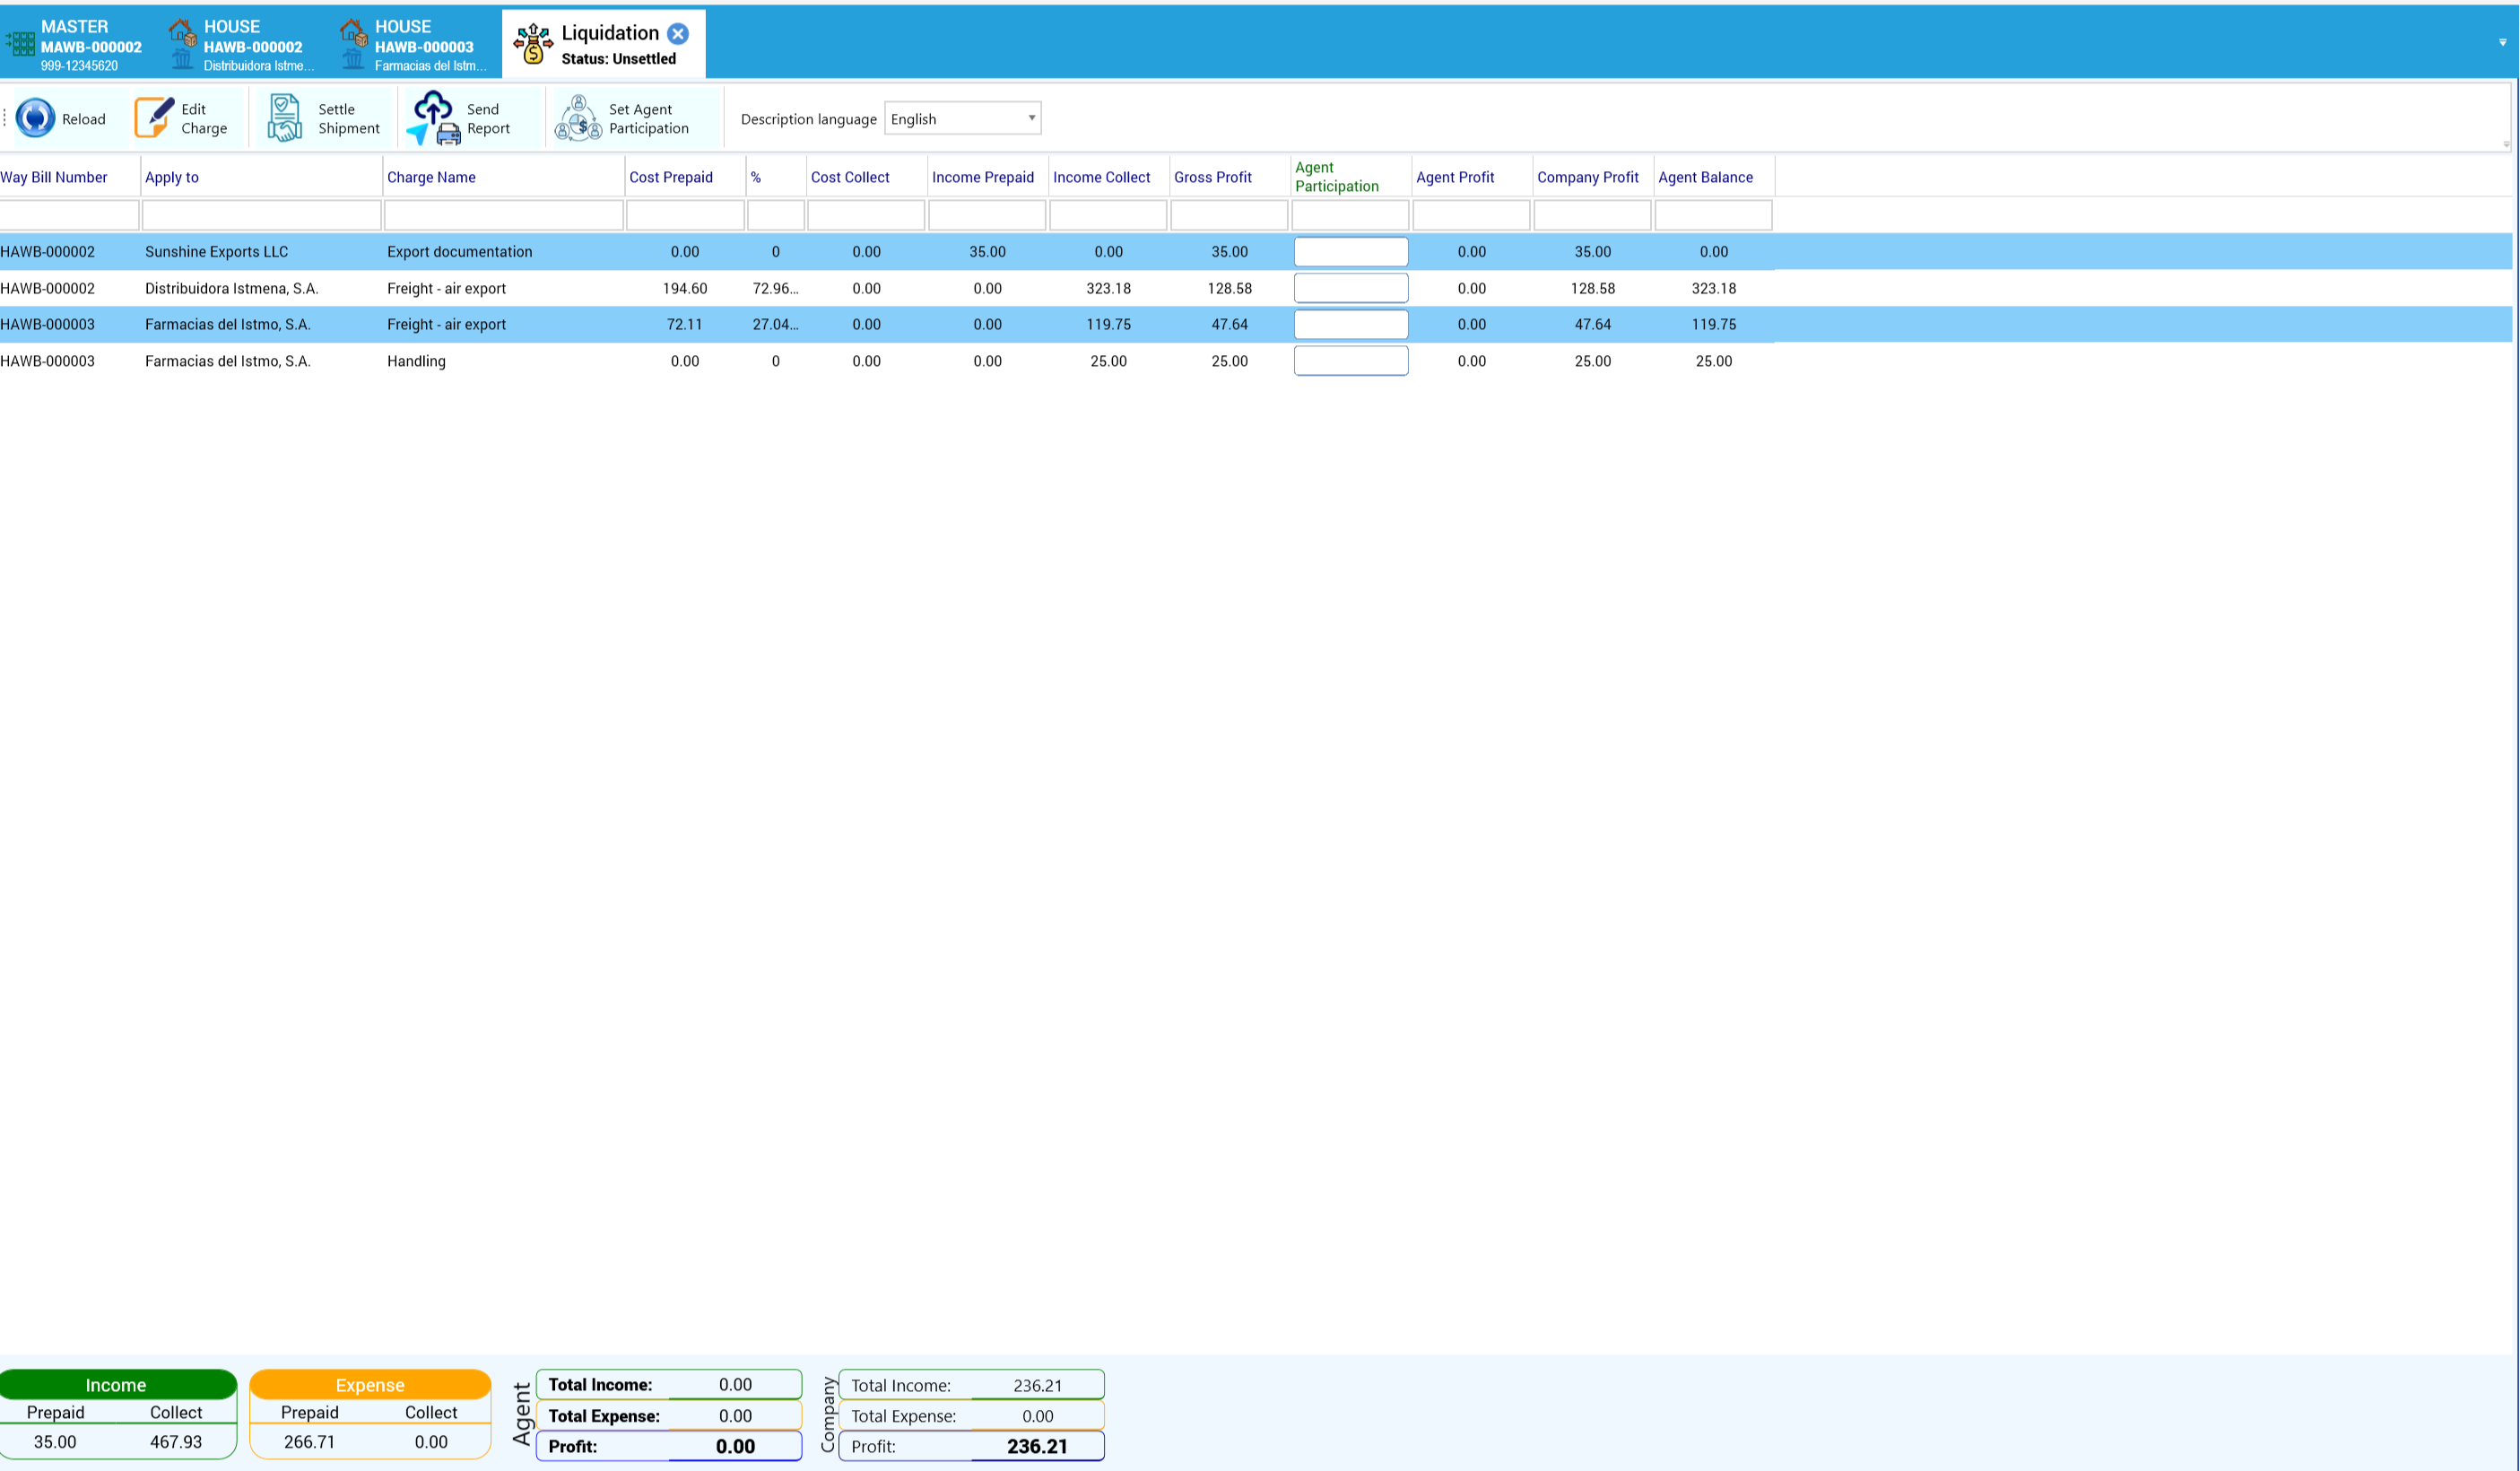
Agent participation typed on one line (40% of the HAWB-000002 freight):
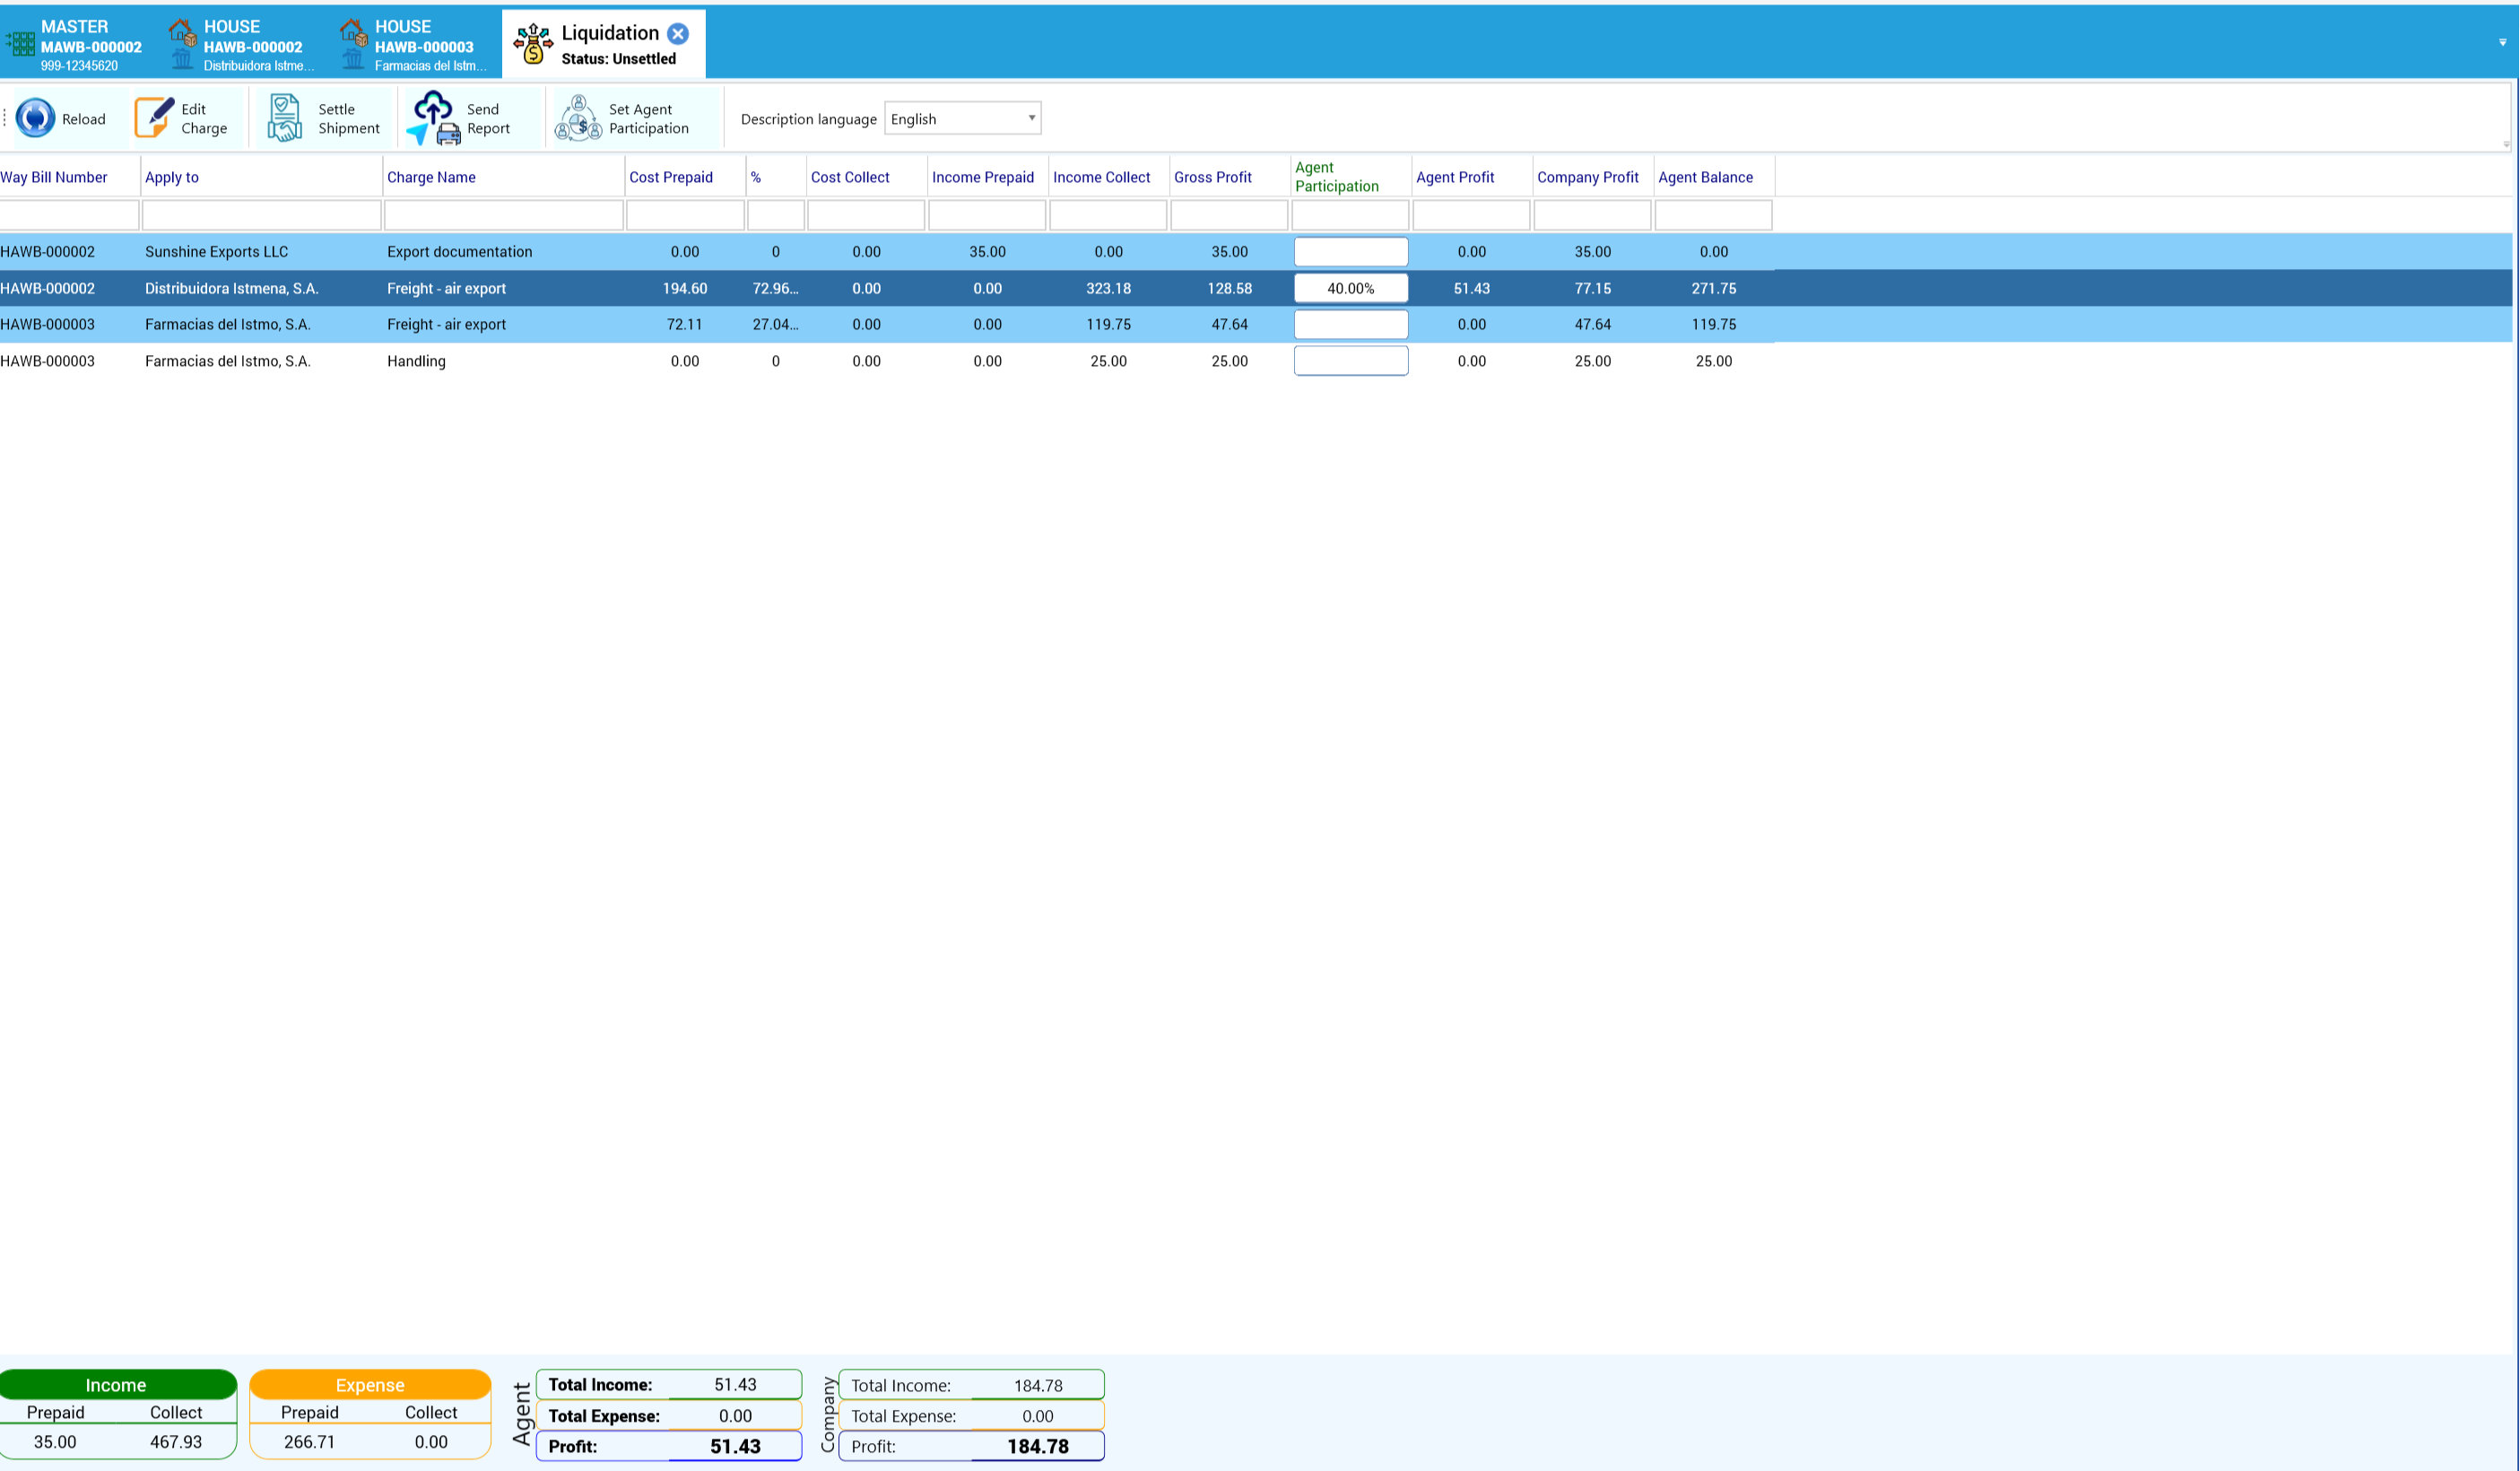
- Settle Shipment proposes one purchase bill for the airline, one sales invoice per bill-to party and the credit note for the agent share:
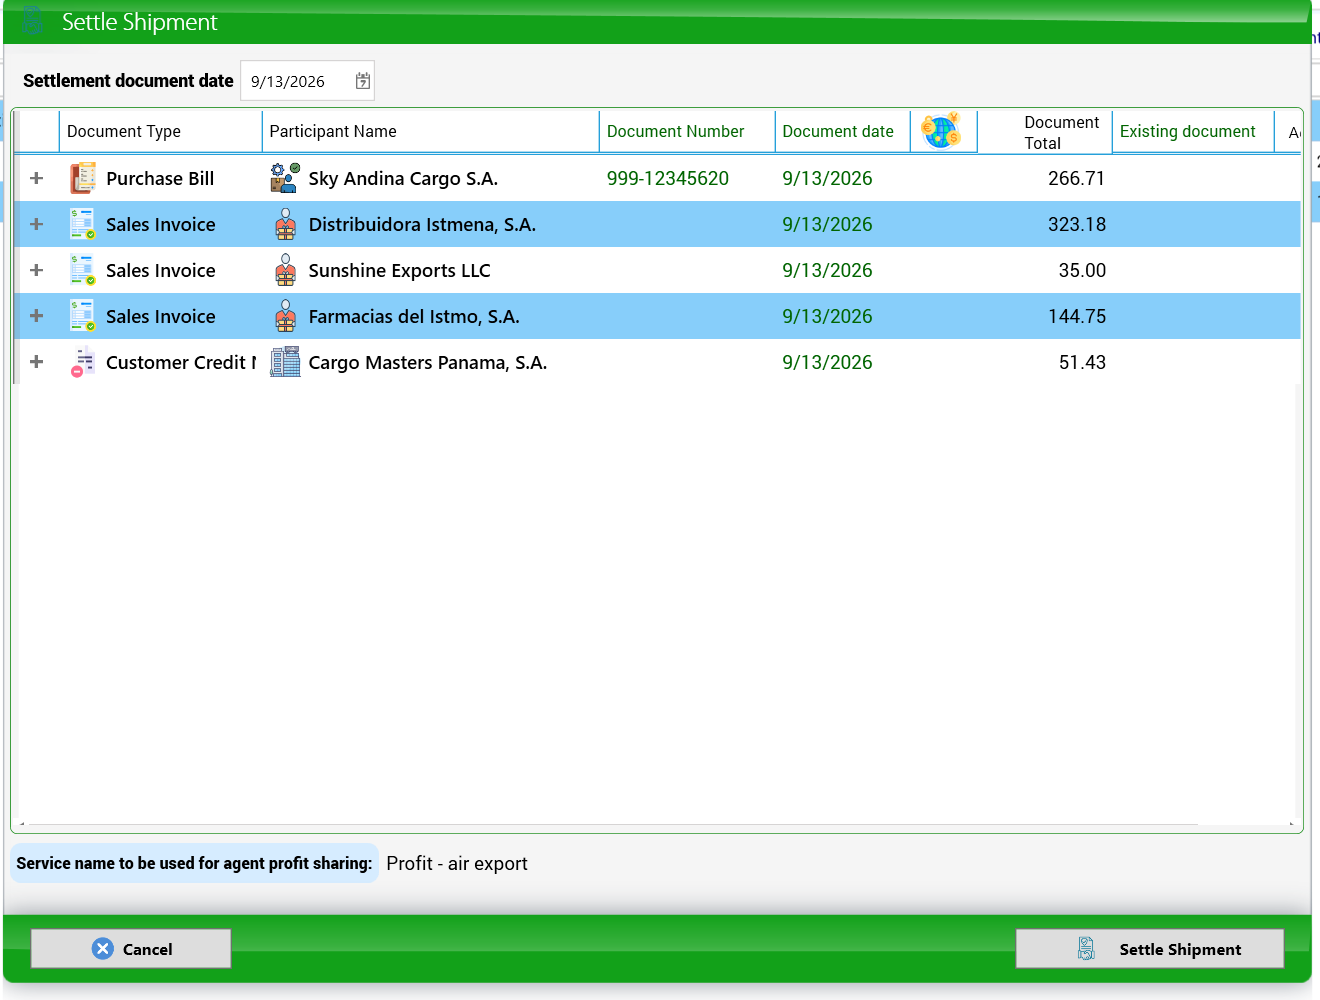

Why it matters — how many invoices come out: charges do not come out one by one; KeyTray groups them into documents. For a customer it builds one invoice per house, per currency, with its prepaid and collect charges on the same document. The destination agent is handled differently: the collect revenue of the whole shipment goes on one single invoice (the master and all its houses together), and the prepaid revenue on one invoice per waybill. So if the master has no destination agent, those same charges are invoiced like a regular customer's and one invoice per house comes out: the amount and the recipient are the same, but split across more documents. If you see more invoices than you expected, look at the destination agent on the master: the houses may have it while the master does not. A service configured as "one document per charge" always breaks out on its own.
Accounting entries (demo):
| Document | Account | Debit | Credit |
|---|---|---|---|
| Purchase bill 999-12345620 | Freight cost - air export | 266.71 | |
| Accounts payable - suppliers | 266.71 | ||
| Invoice INV-000005 | Accounts receivable - customers | 323.18 | |
| Freight revenue - air export | 323.18 | ||
| Invoice INV-000006 | Accounts receivable - customers | 35.00 | |
| Documentation revenue | 35.00 | ||
| Invoice INV-000007 | Accounts receivable - customers | 144.75 | |
| Freight revenue - air export | 119.75 | ||
| Handling and terminal revenue | 25.00 | ||
| Credit note CN-000004 (agent) | Freight revenue - air export | 51.43 | |
| Accounts receivable - customers | 51.43 |
7.16 Numbering for other kinds of shipments
A new company comes with a numbering for air exports only. The first time you create another kind of shipment, KeyTray says:
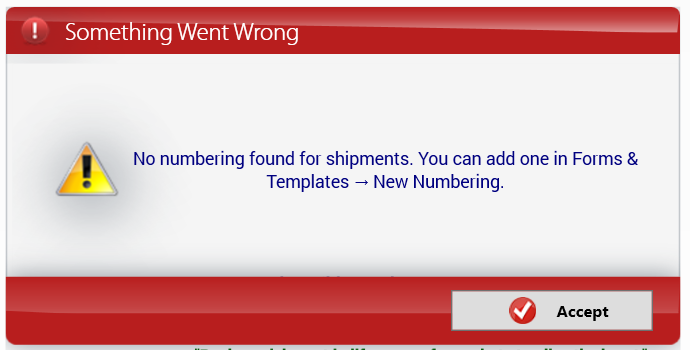
Create it in Template & Forms > New Numbering. For the air import master: Freight Shipment, Air, Import, Consolidated, Master, prefix IMAWB- with 6 digits (sample IMAWB-000001):
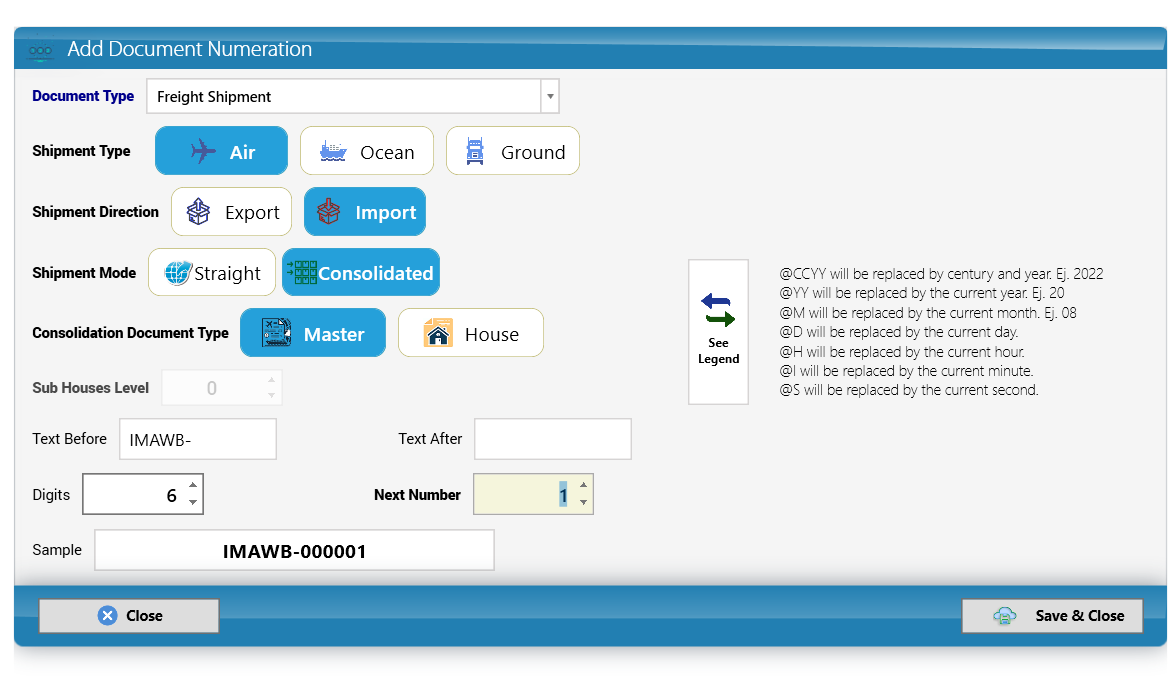
Repeat for each combination you use. In the demo: IMAWB / IHAWB / IAWB for air imports, MBL / HBL / BL for ocean, TRK / MTRK / HTRK for ground.
7.17 An air import: settling a house before the master
- New Shipment: Air, Import, Consolidated with 1 house, in the folder Air > Import:

- For a shipper abroad, create it (New Shipper; in the demo Flores de la Sabana S.A.S., Colombia):
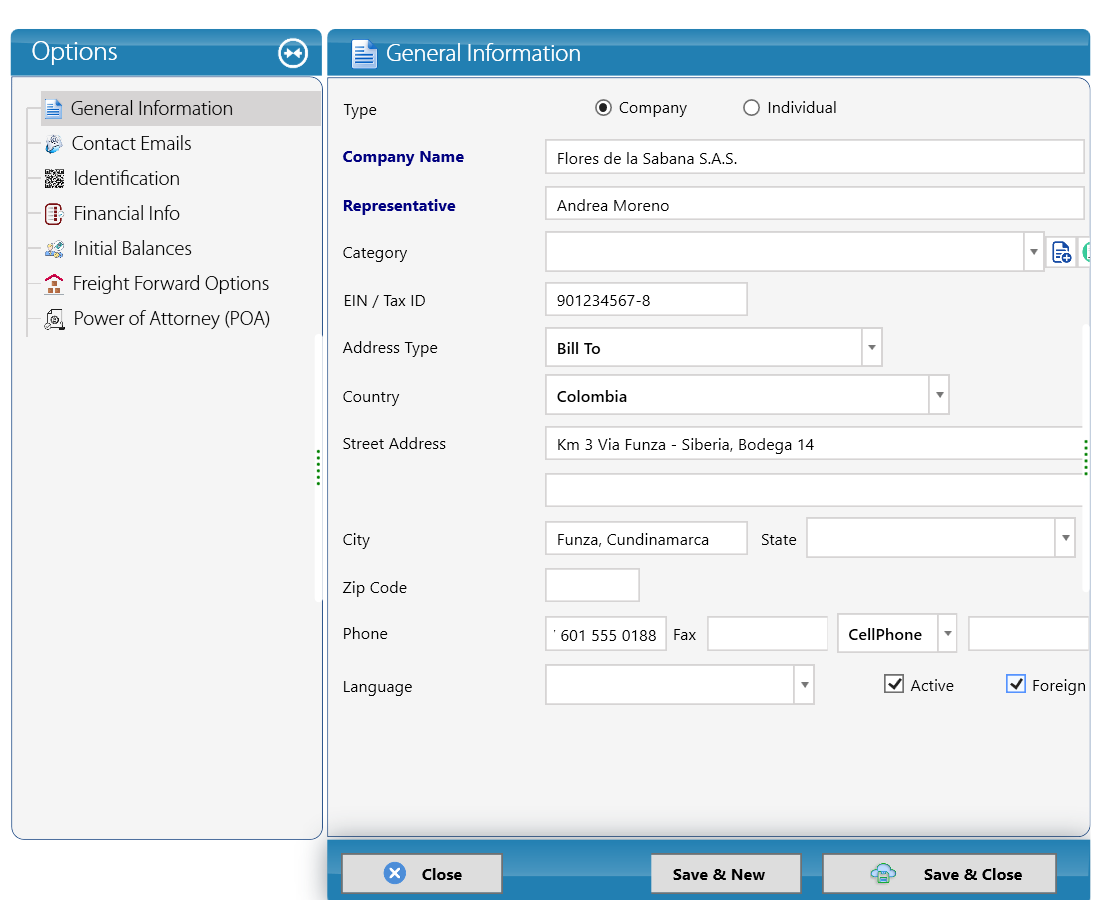
- The import has its own documents in the tree (Delivery Order, Security Certification, Cargo Manifest); Print Labels and Send to Agent do not apply:
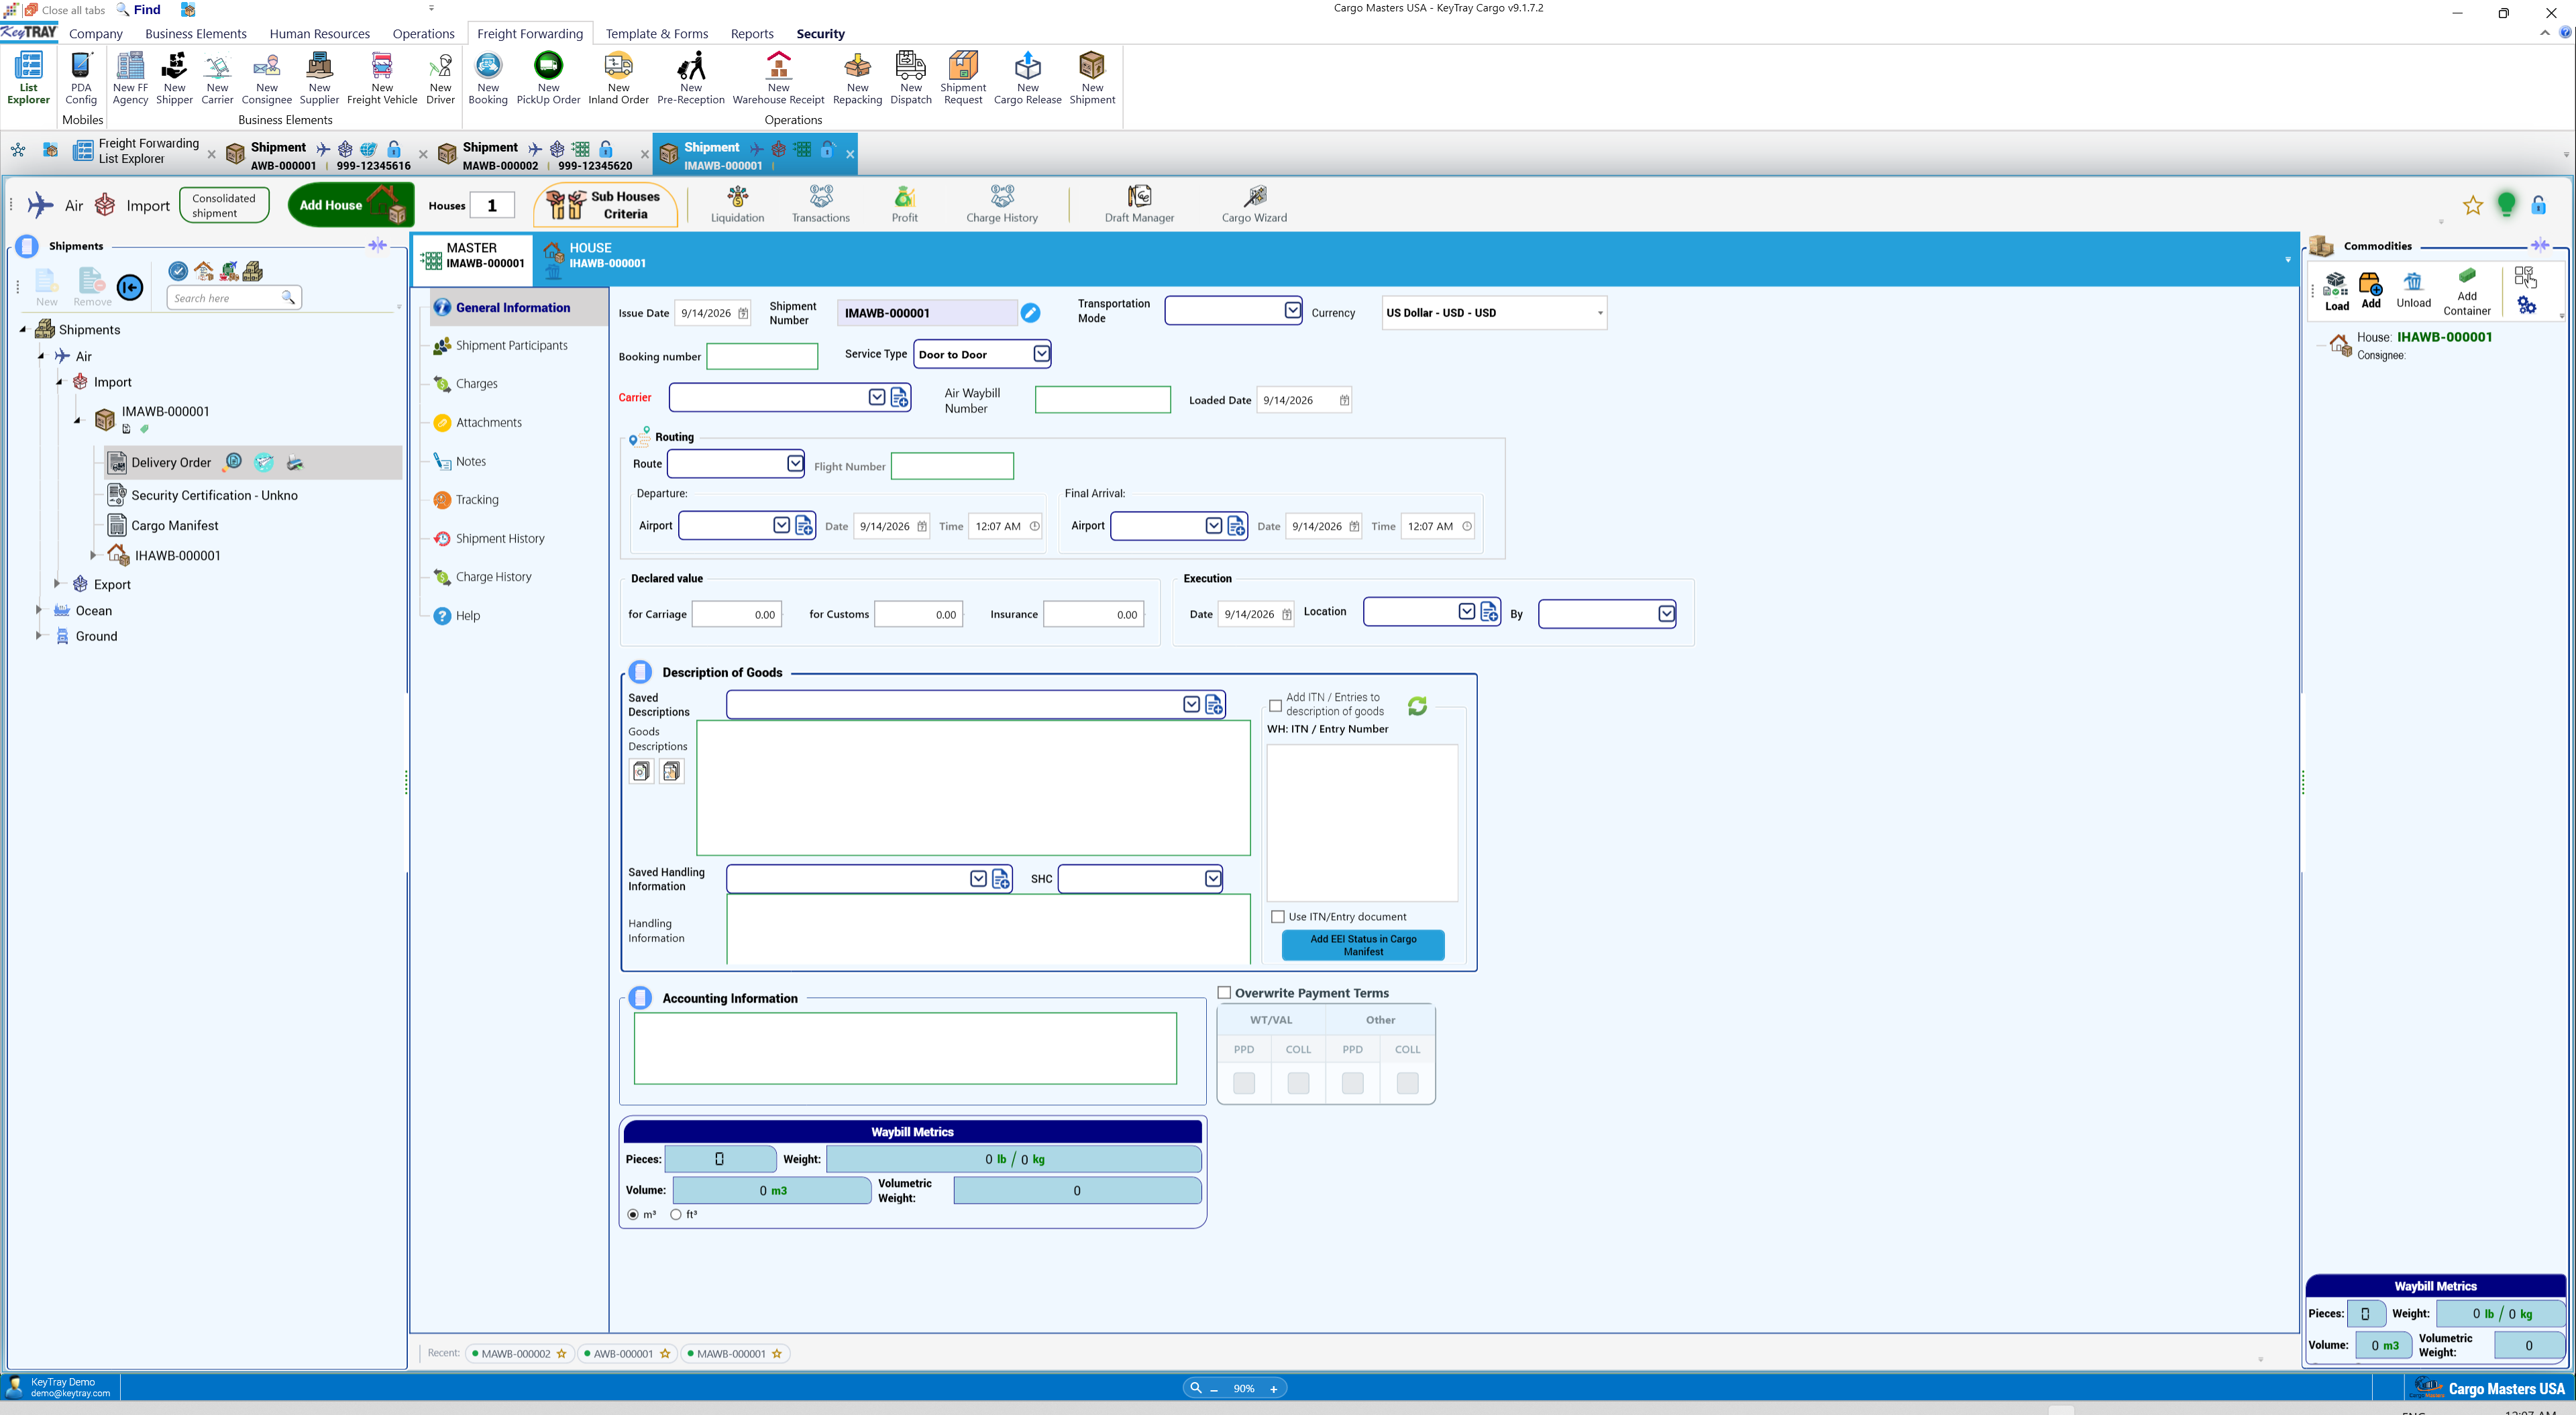
- Master: the air waybill number is typed, because it comes from the airline at origin and not from your stock. Flight SK125 Bogota to Miami:
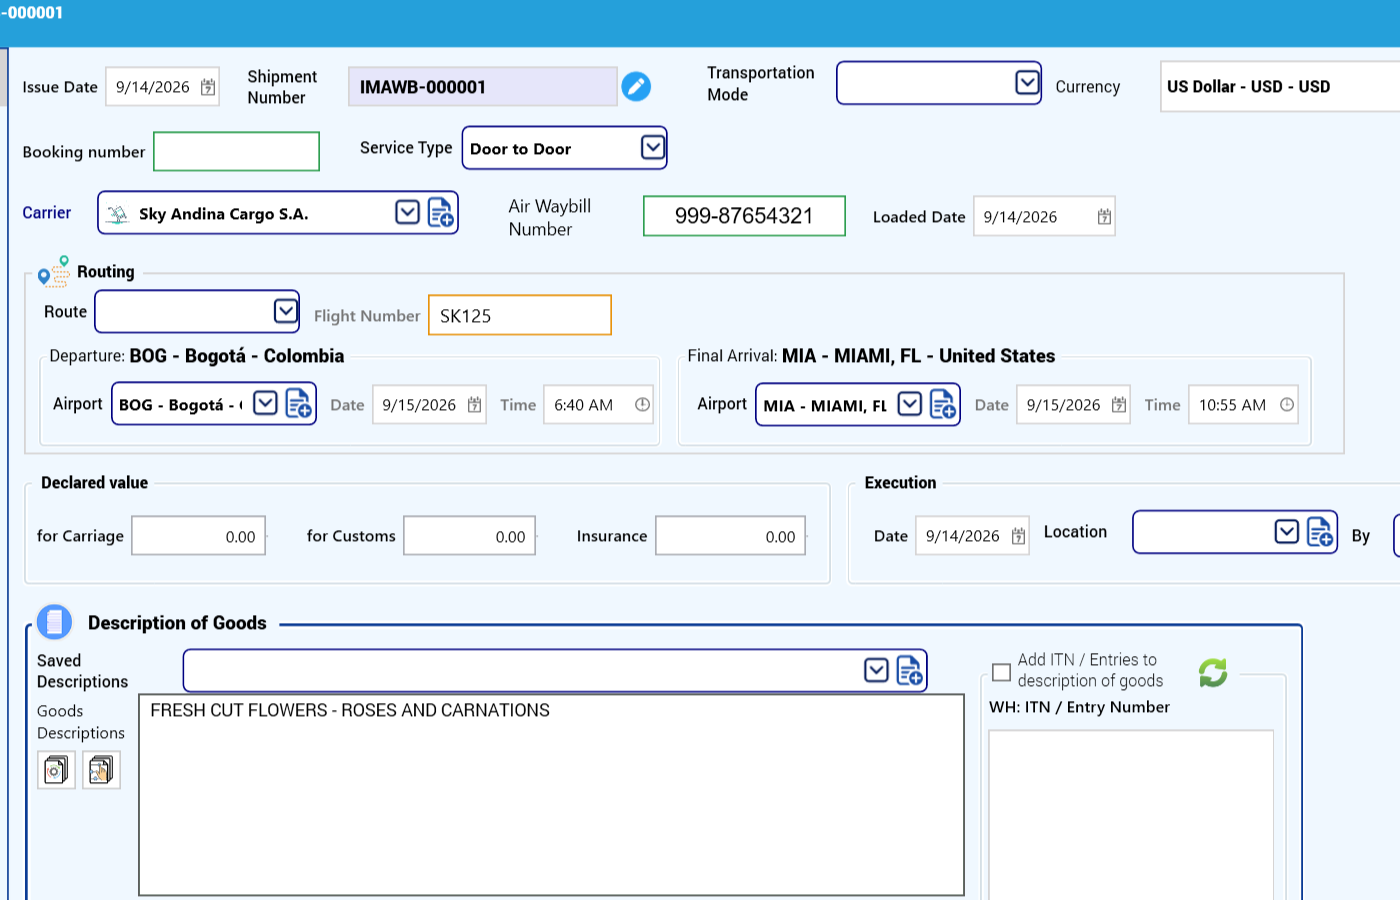
Master participants: the foreign shipper, the local consignee and the agent in Colombia:
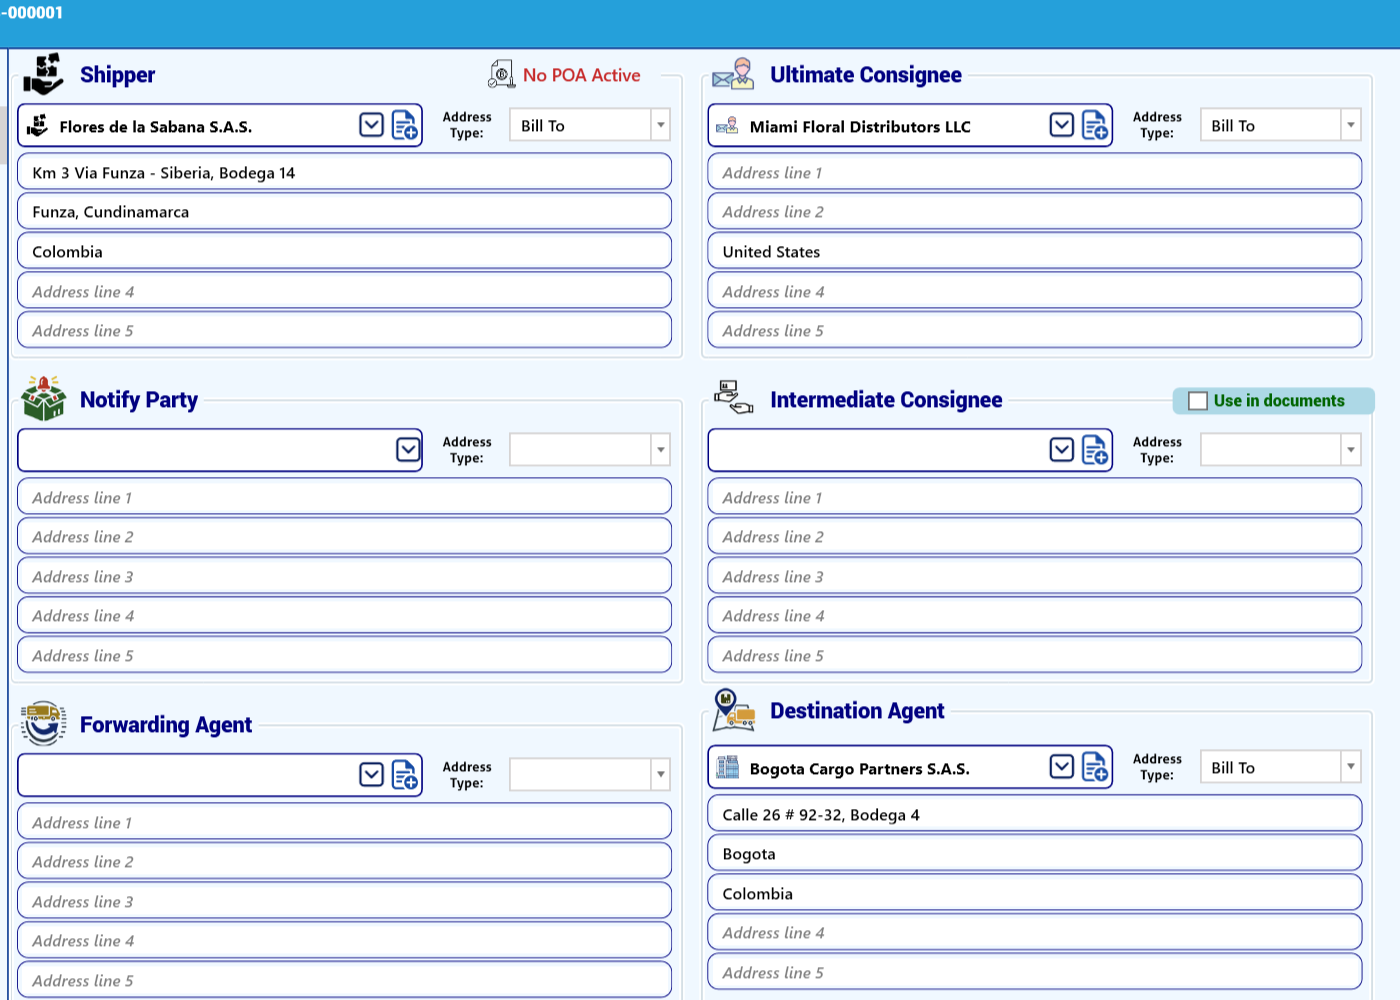
On the house, the address lines of a participant can be completed right on the shipment:
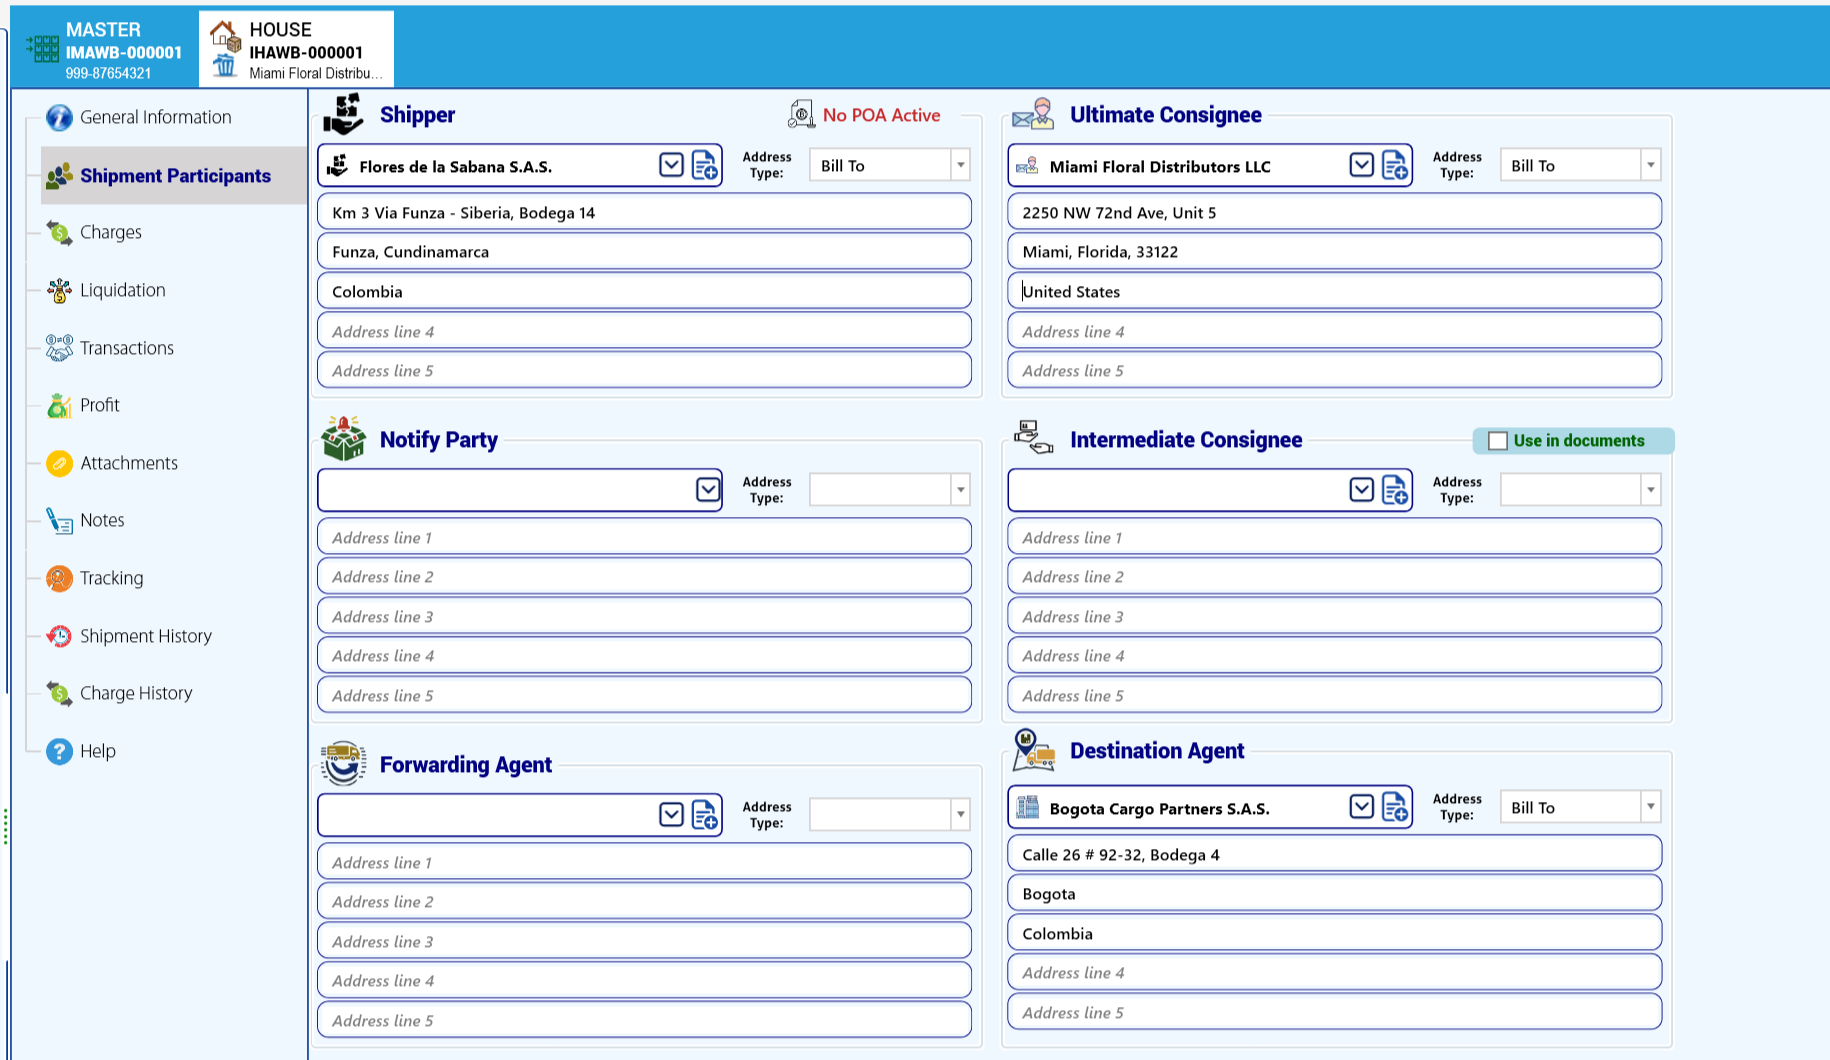
- Charges: on the house, destination charges Collect to the local consignee (for example the Import fee 85.00); on the master, the airline's Terminal Handling Charge 60.00 Prepaid:
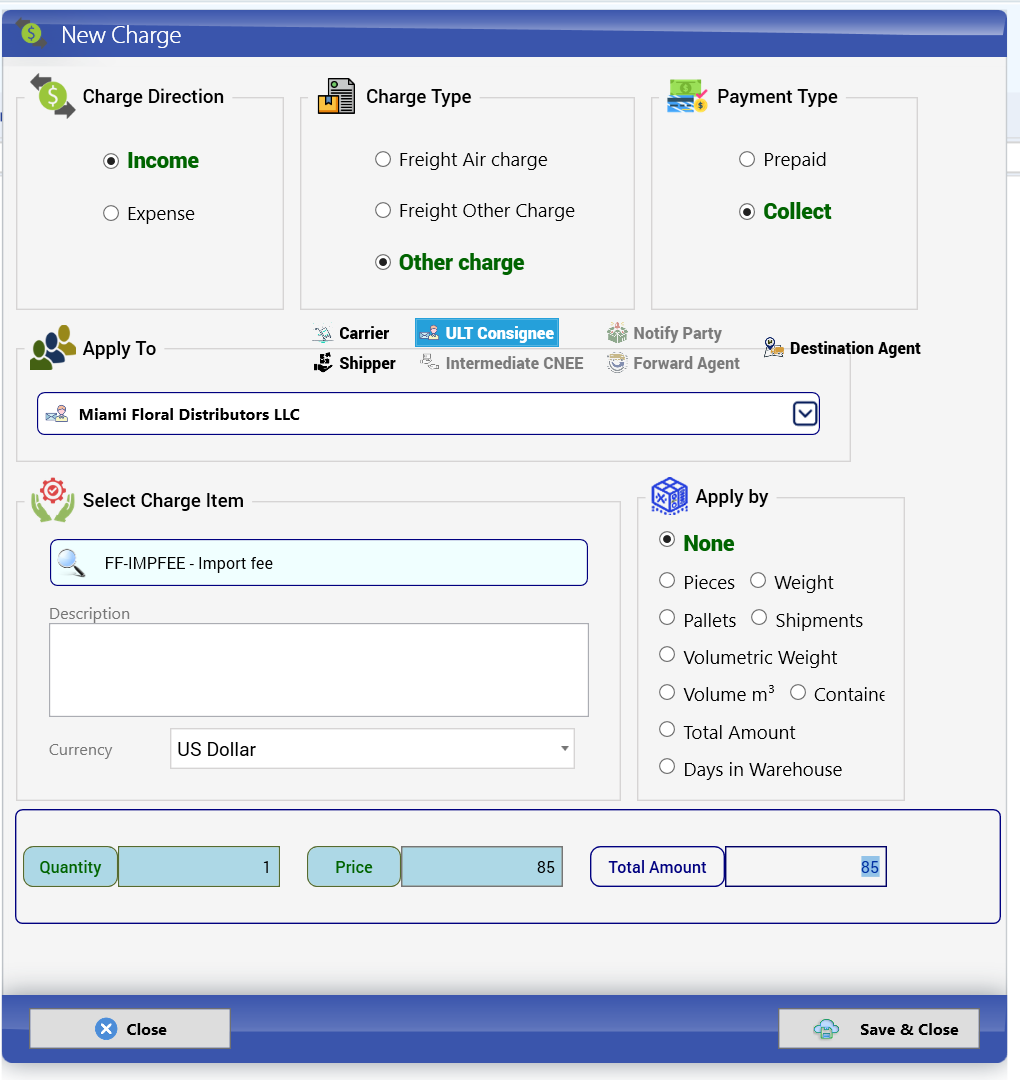
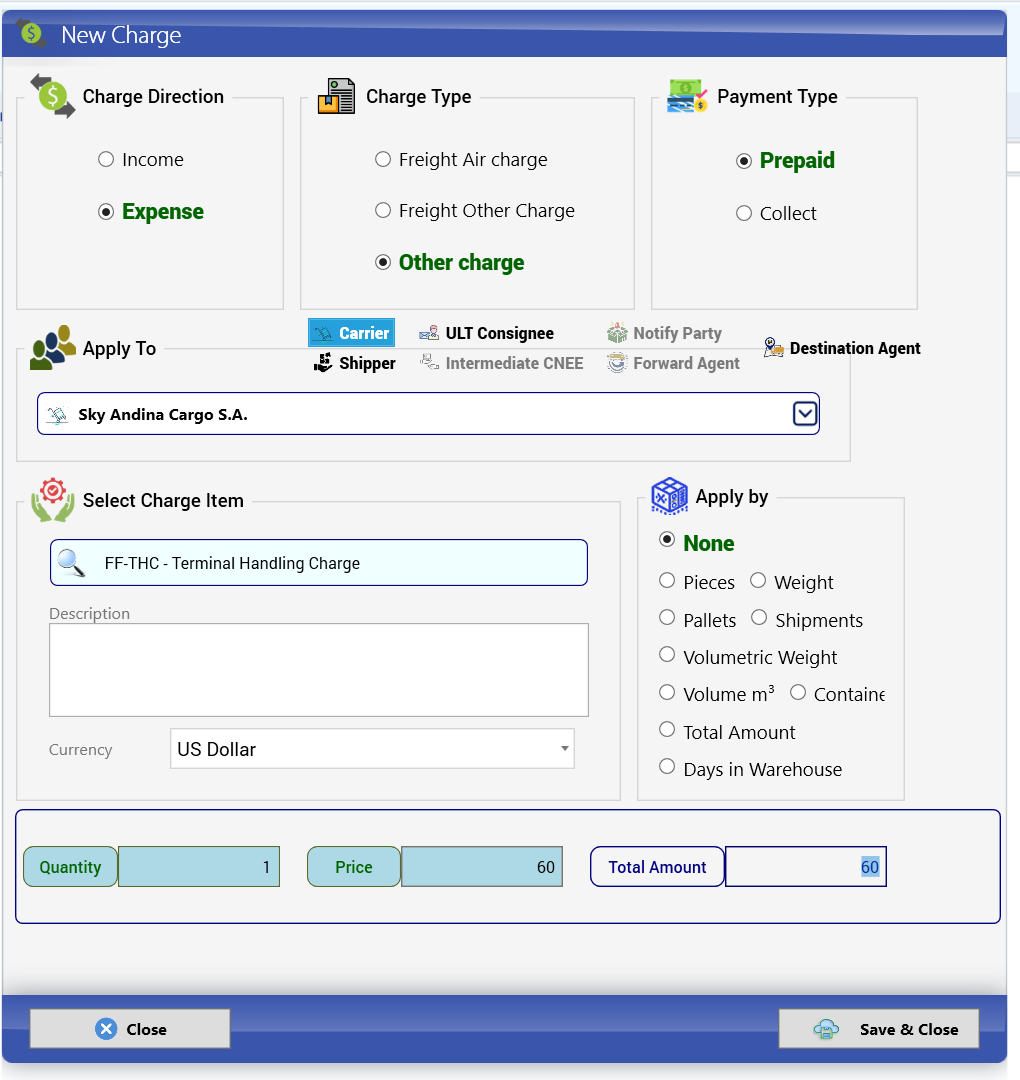
Liquidation: company profit 270.00:
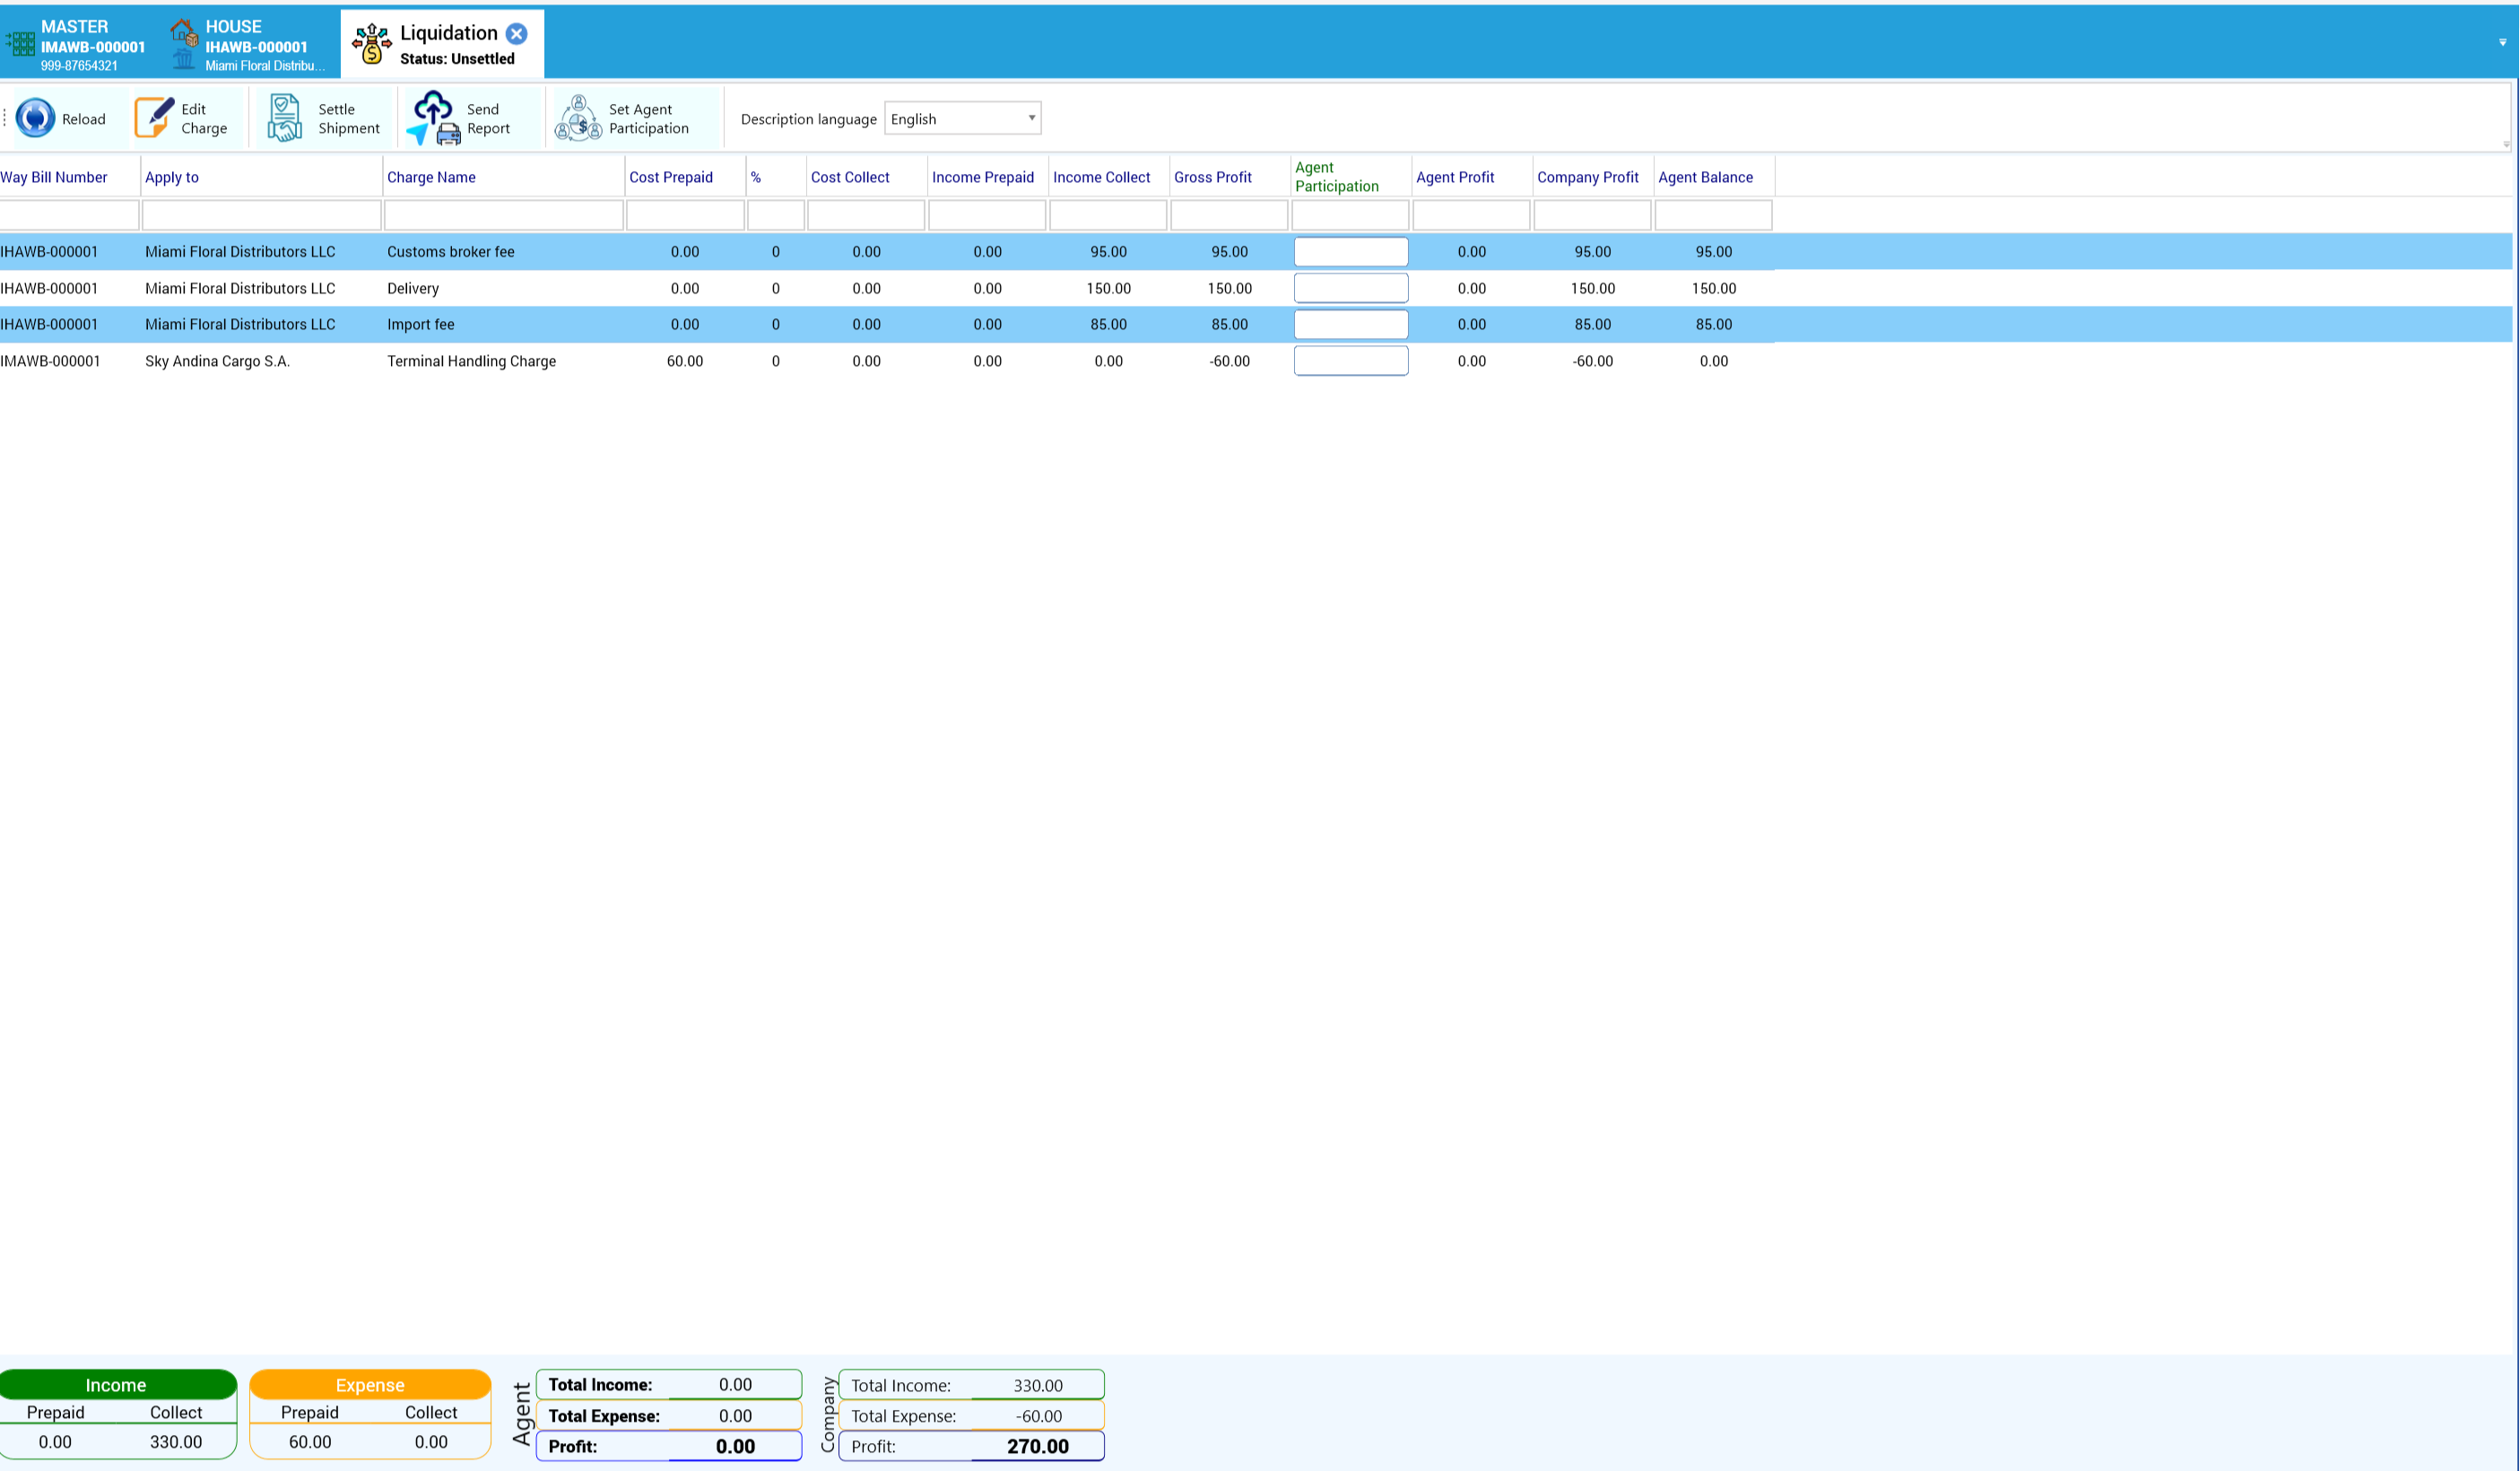
- Settle only the house. Often you must invoice the consignee before the airline's bill arrives. Open House > Liquidation, which lists only the house charges, and click Settle House:
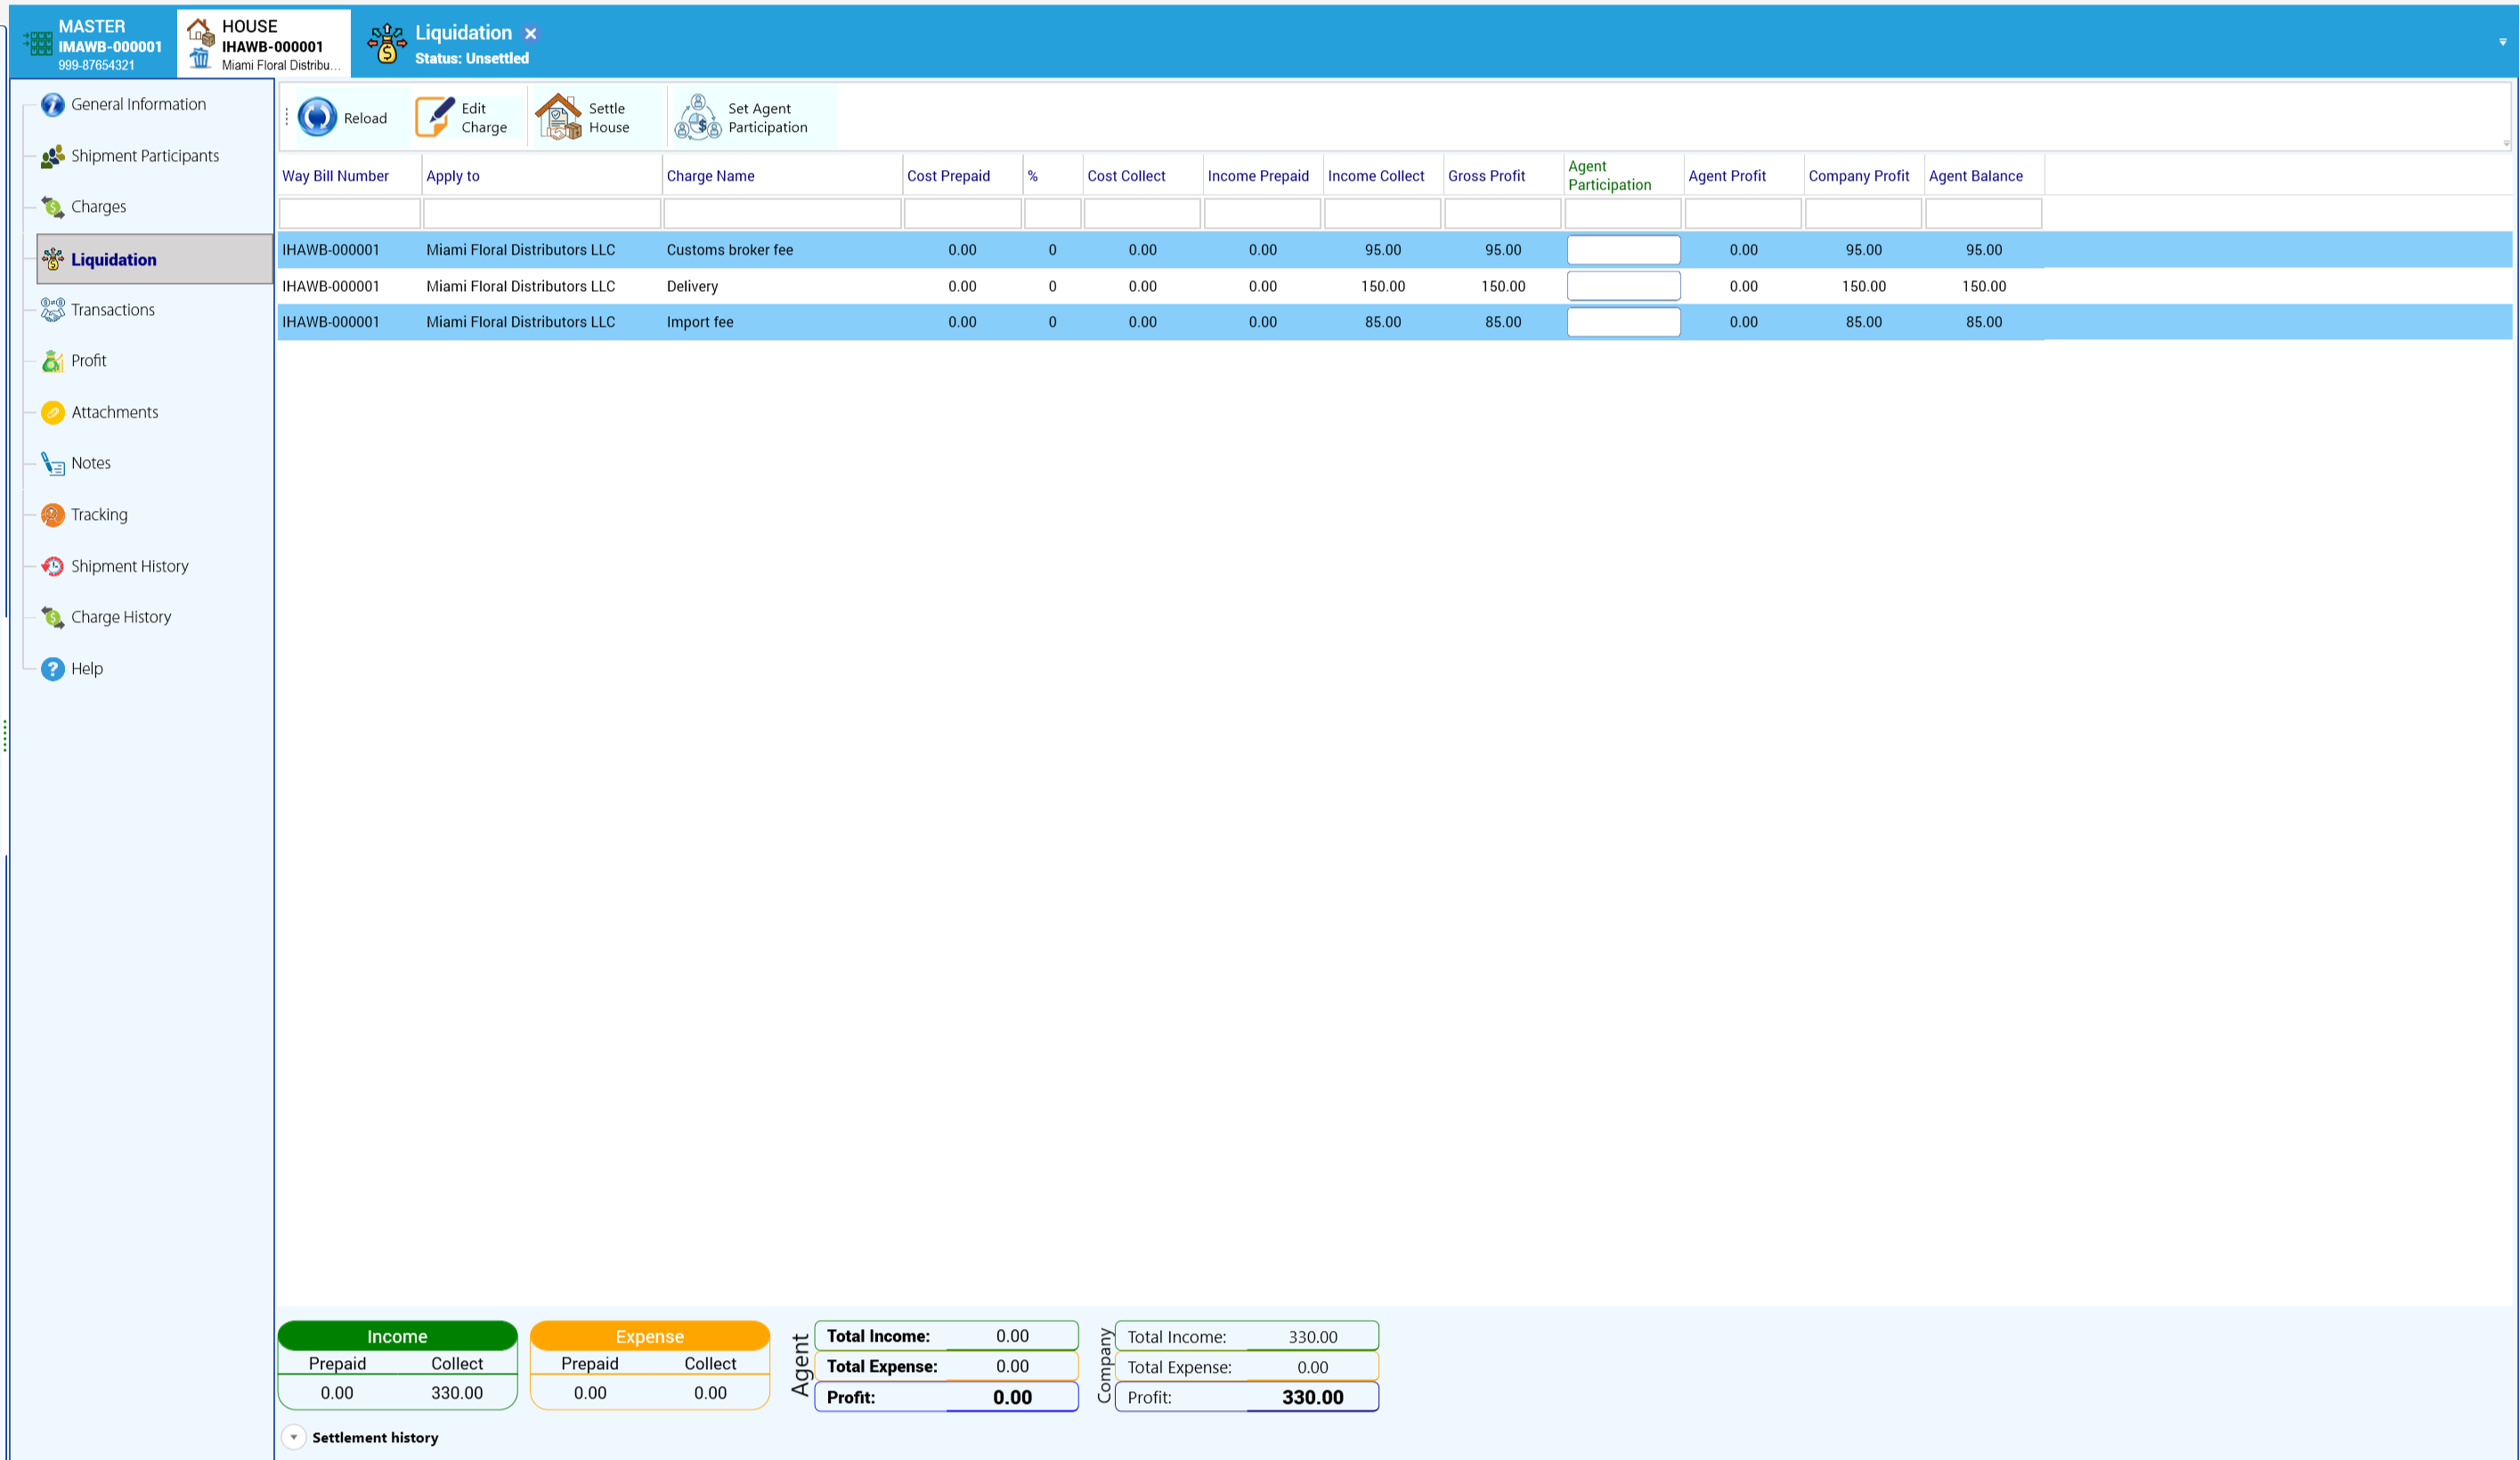
The proposal is a single sales invoice of 330.00 to Miami Floral Distributors LLC (the three charges merge into one document):
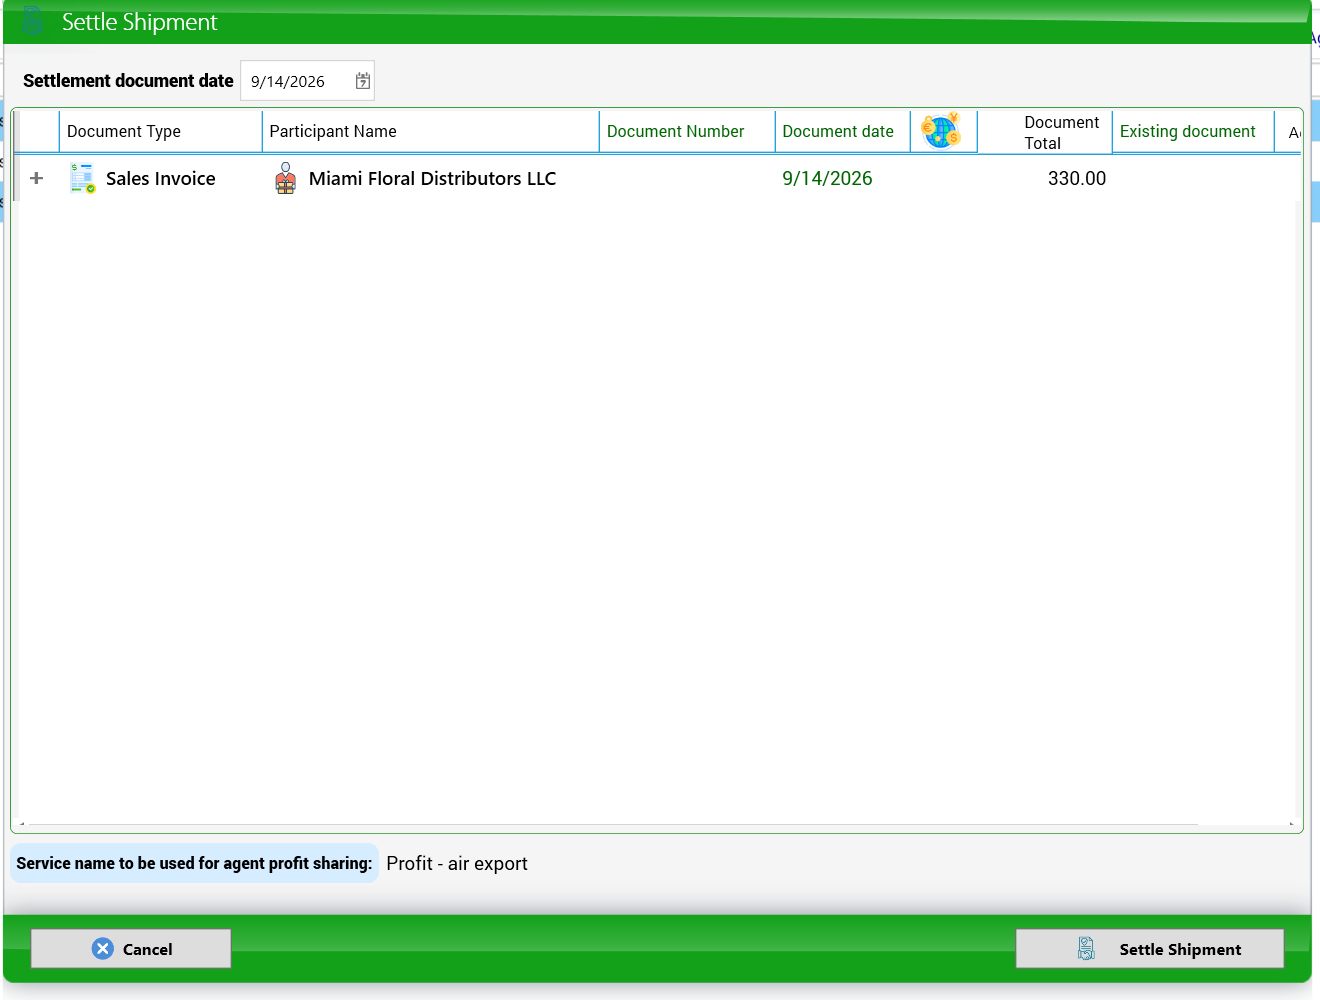
The shipment is now Partially Settled:
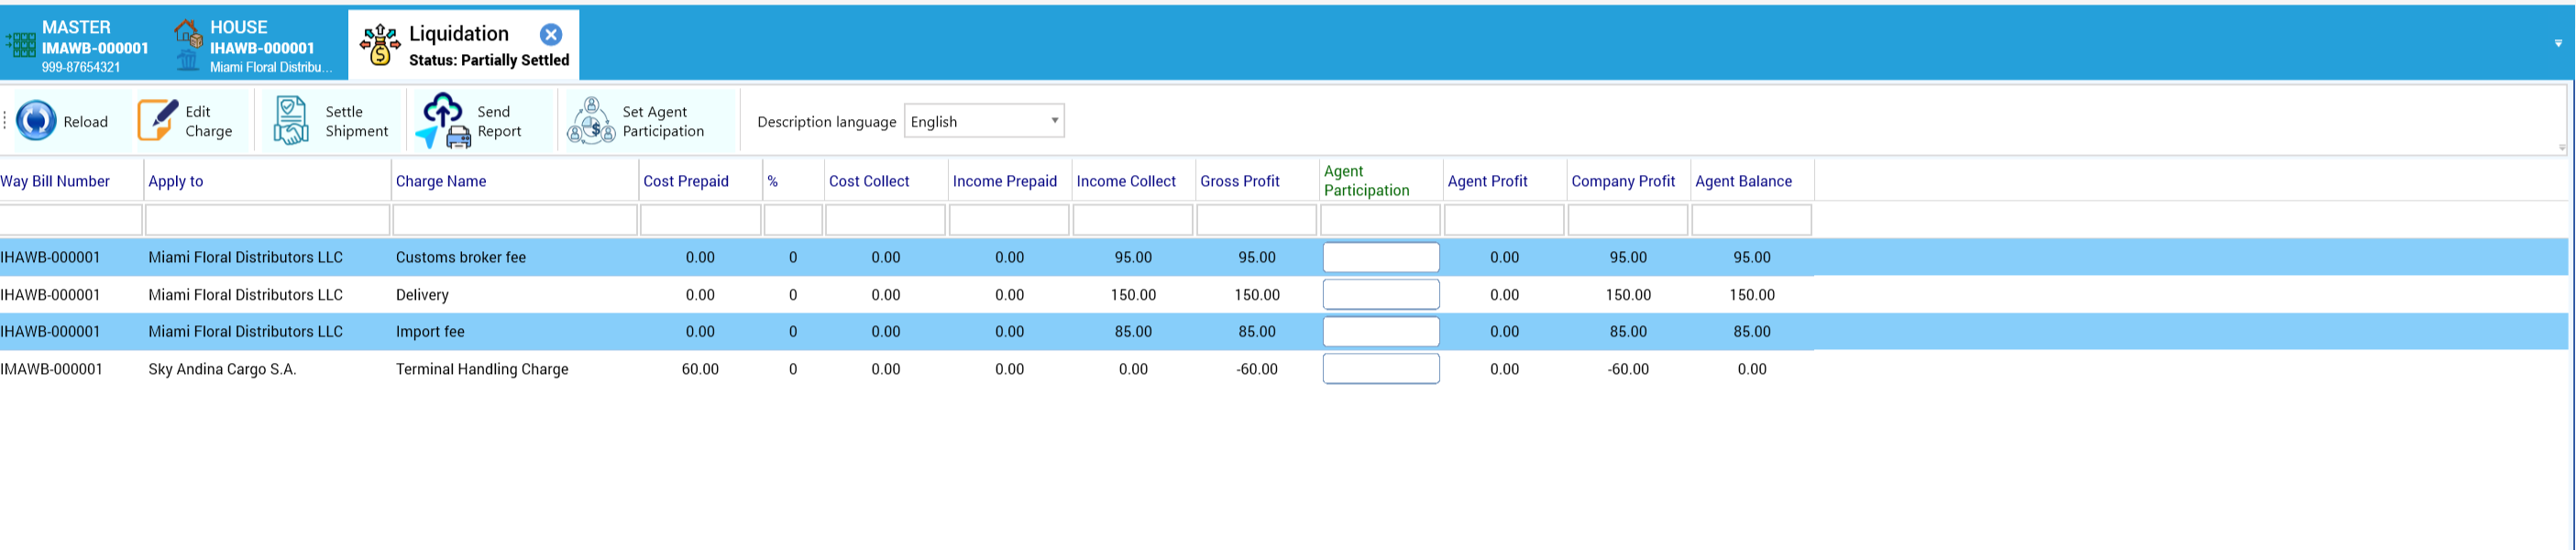
- When the airline bill arrives, Settle Shipment proposes only what is still open: the 60.00 purchase bill, numbered with the air waybill:
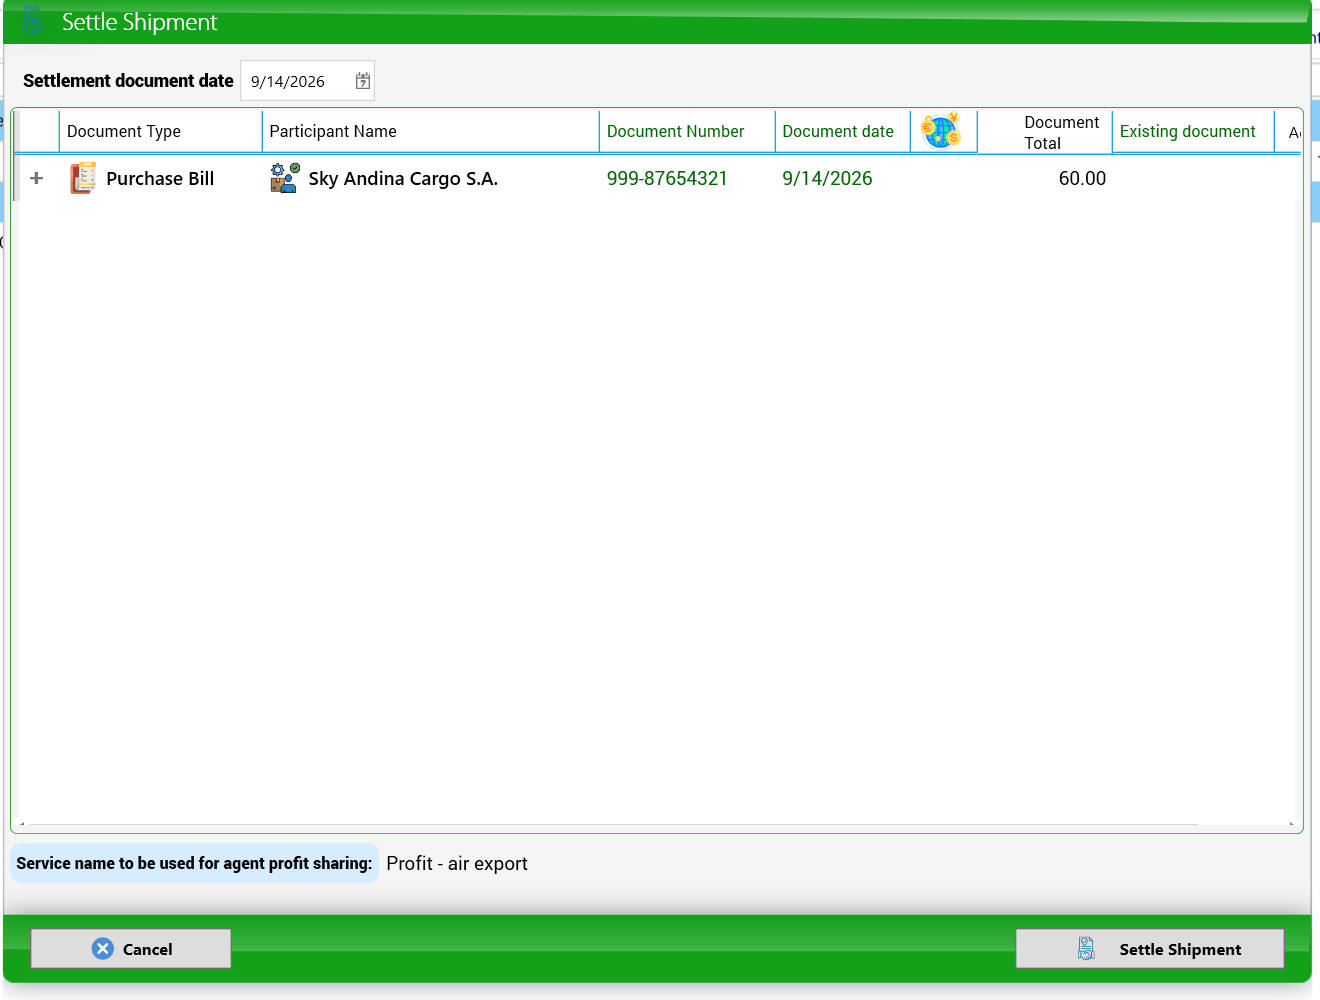

7.18 An ocean export (FCL) with a container
- The shipping line. Create the carrier with Freight Forward Options: the SCAC code (ABLU) and the account number the line gave your company:
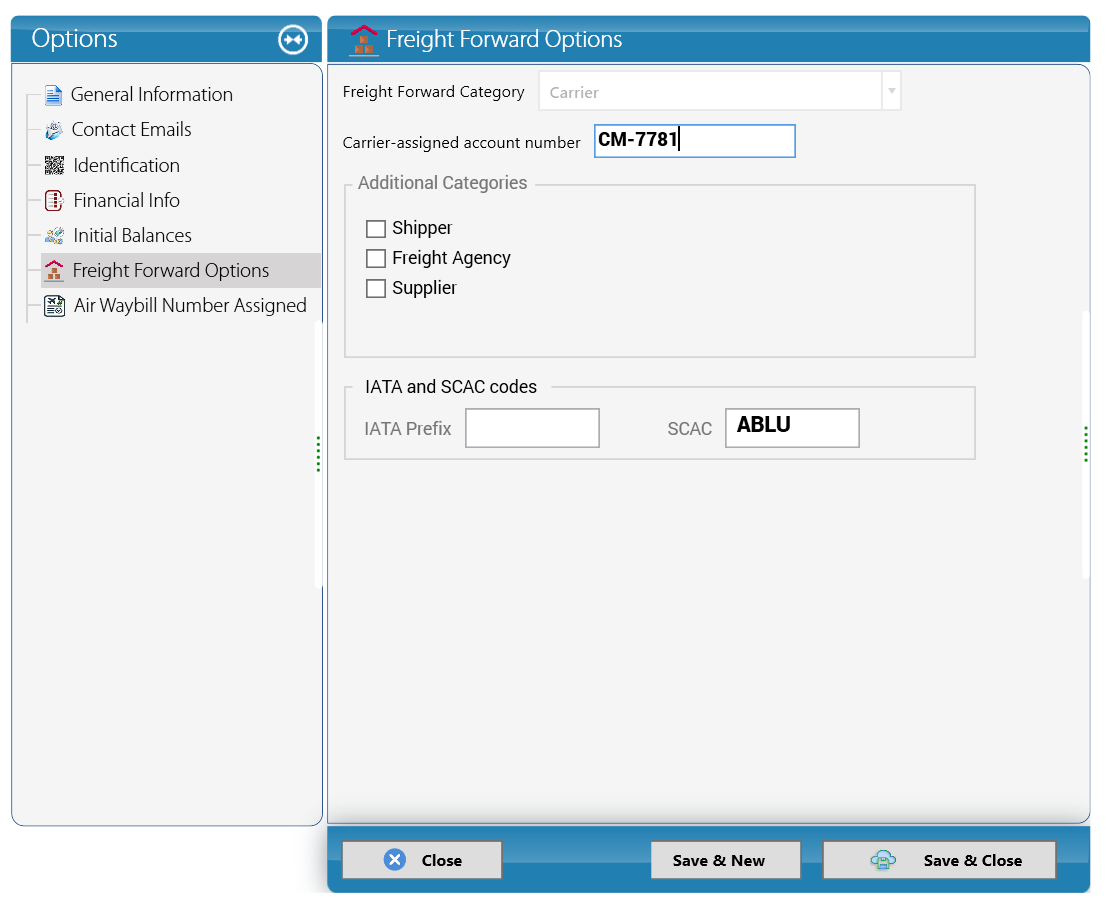
- The vessel. Add it from the Vessel Name list: name, operator, flag, TEU and IMO number:
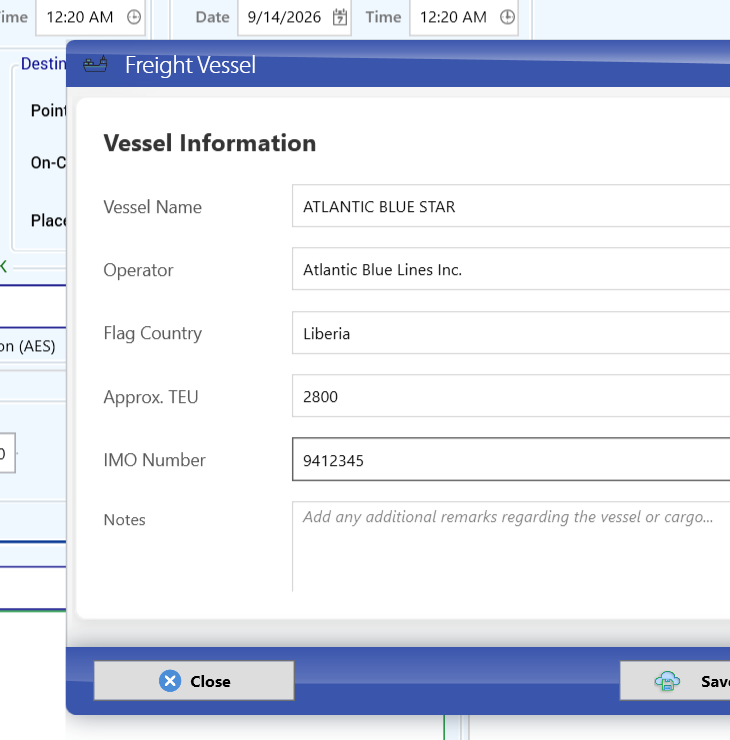
- Master MBL-000001: bill of lading and booking numbers, routing (point of origin and port of loading Miami, point of unloading Manzanillo), exporting carrier, vessel and voyage:
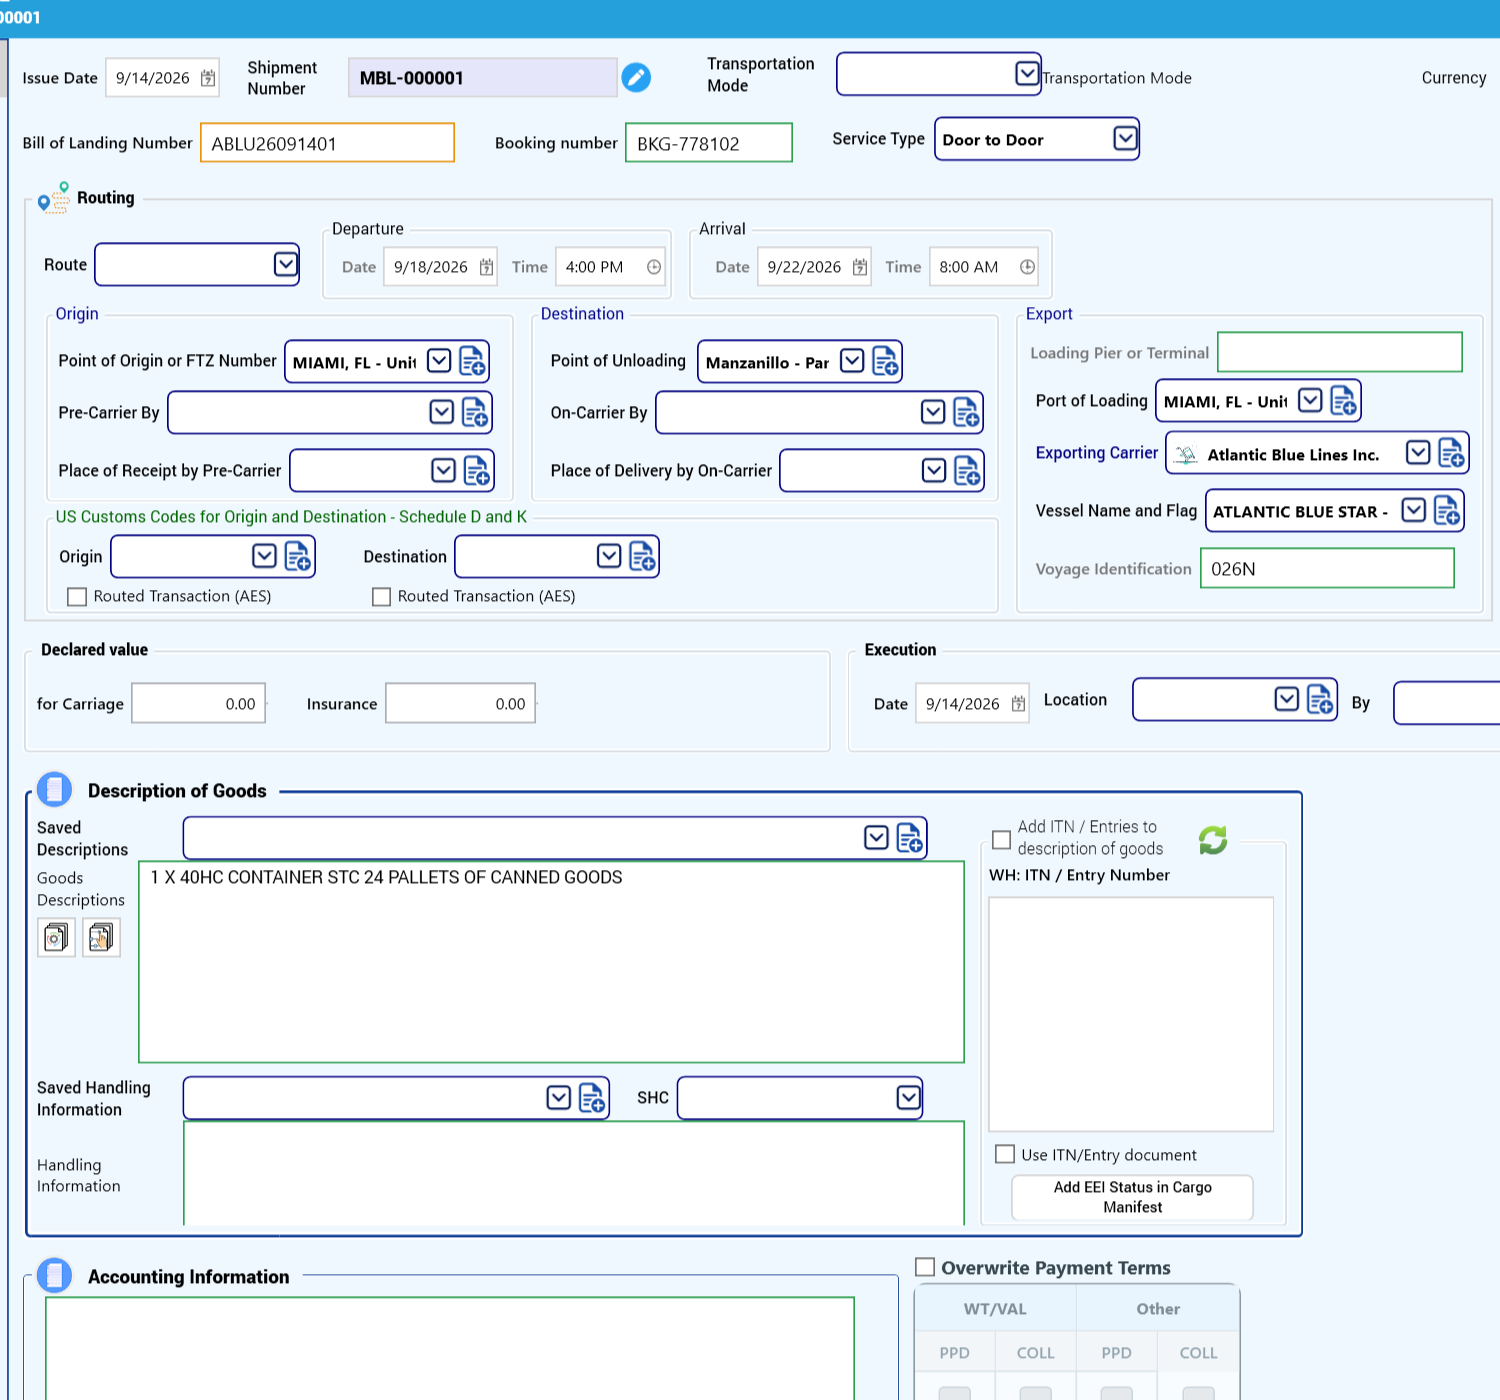
- House HBL-000001: shipper, consignee and destination agent. The house tree has Loading Guide and Bill of Lading:
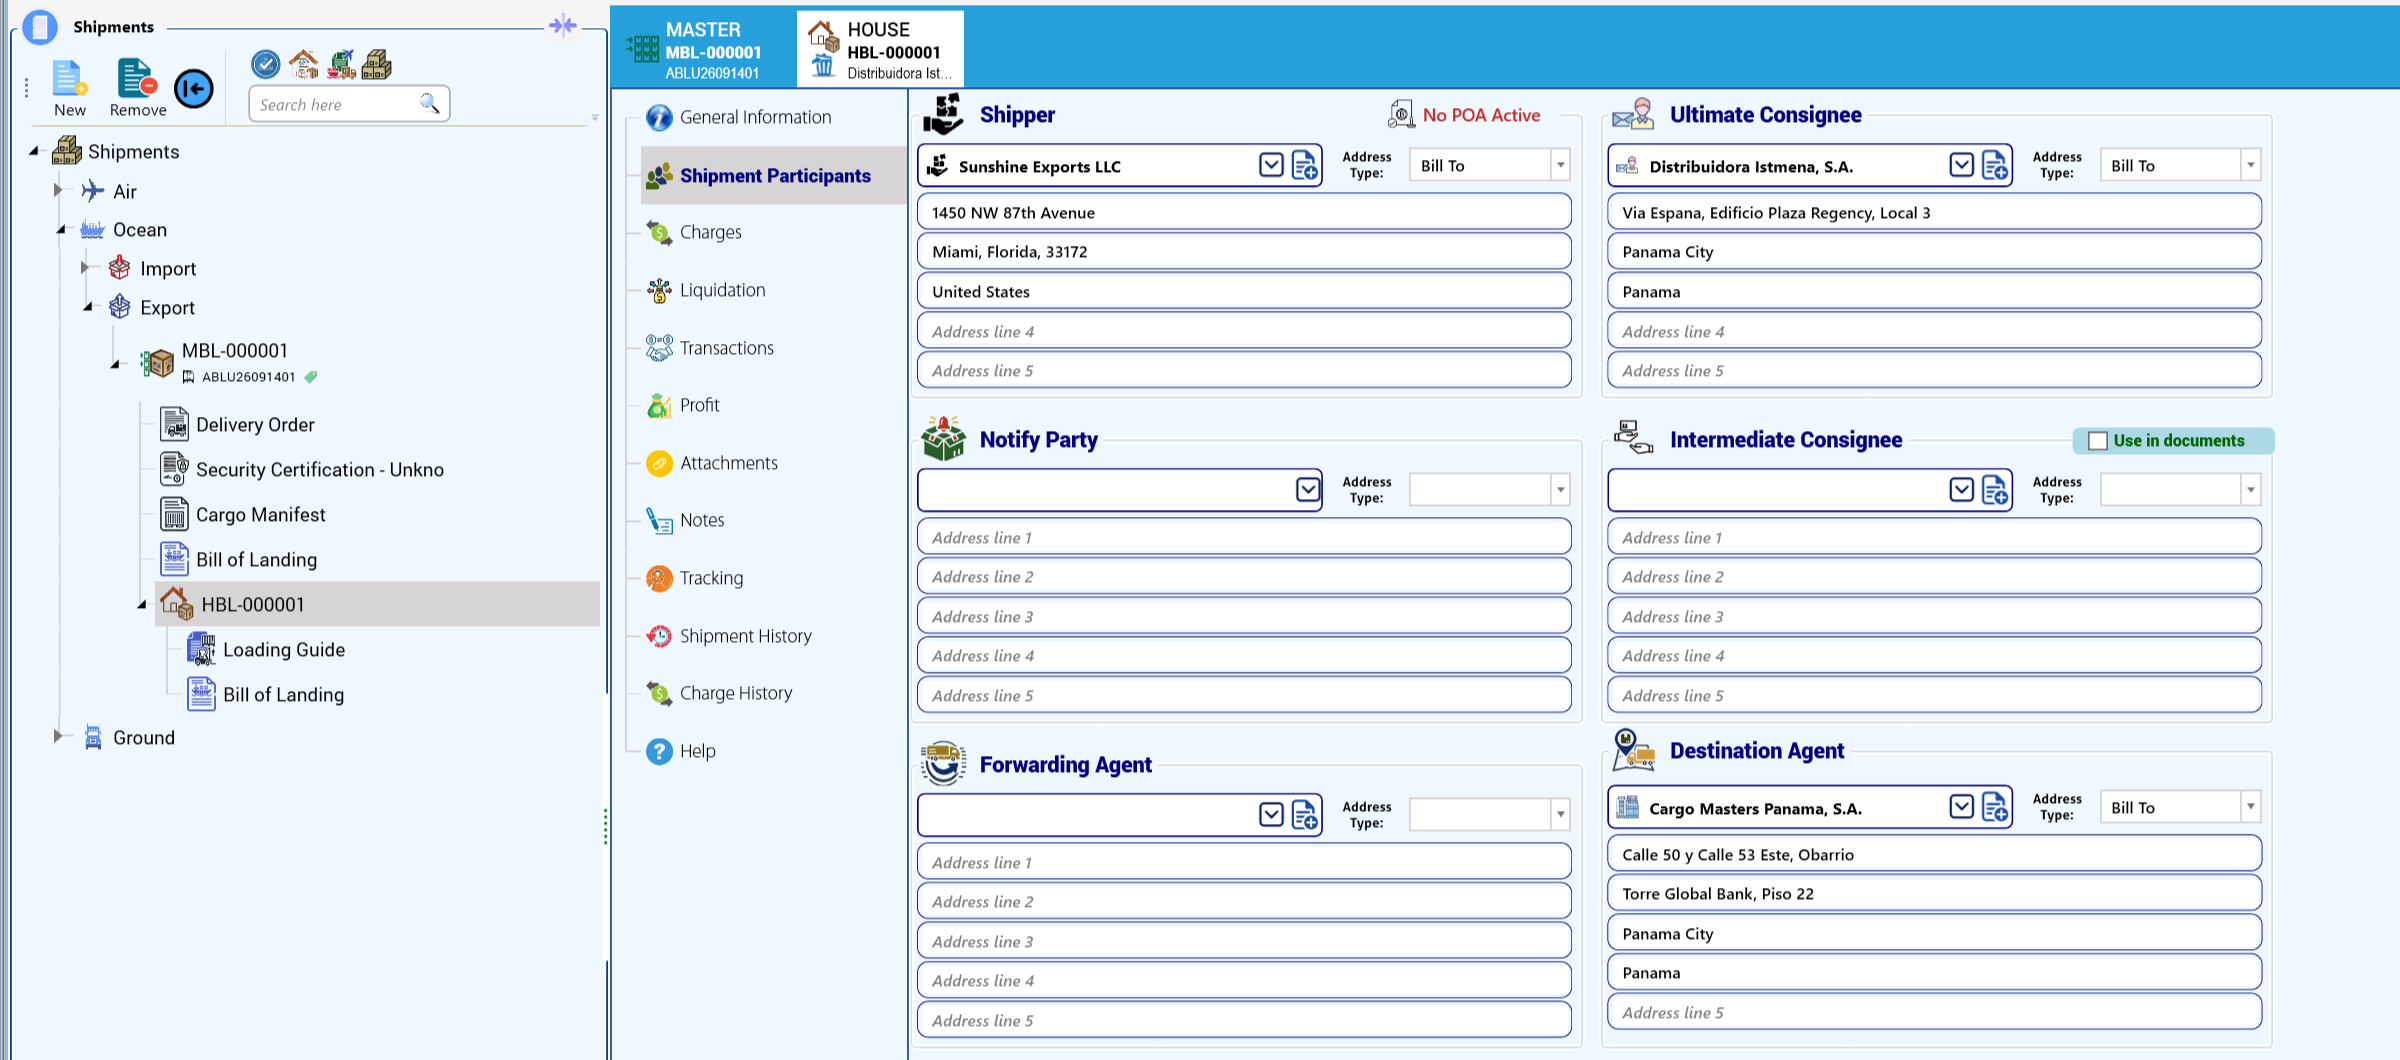
- Cargo: 24 pallets of 48 x 40 x 60 in and 1,100 lb each (26,400 lb, 45.31 m3):
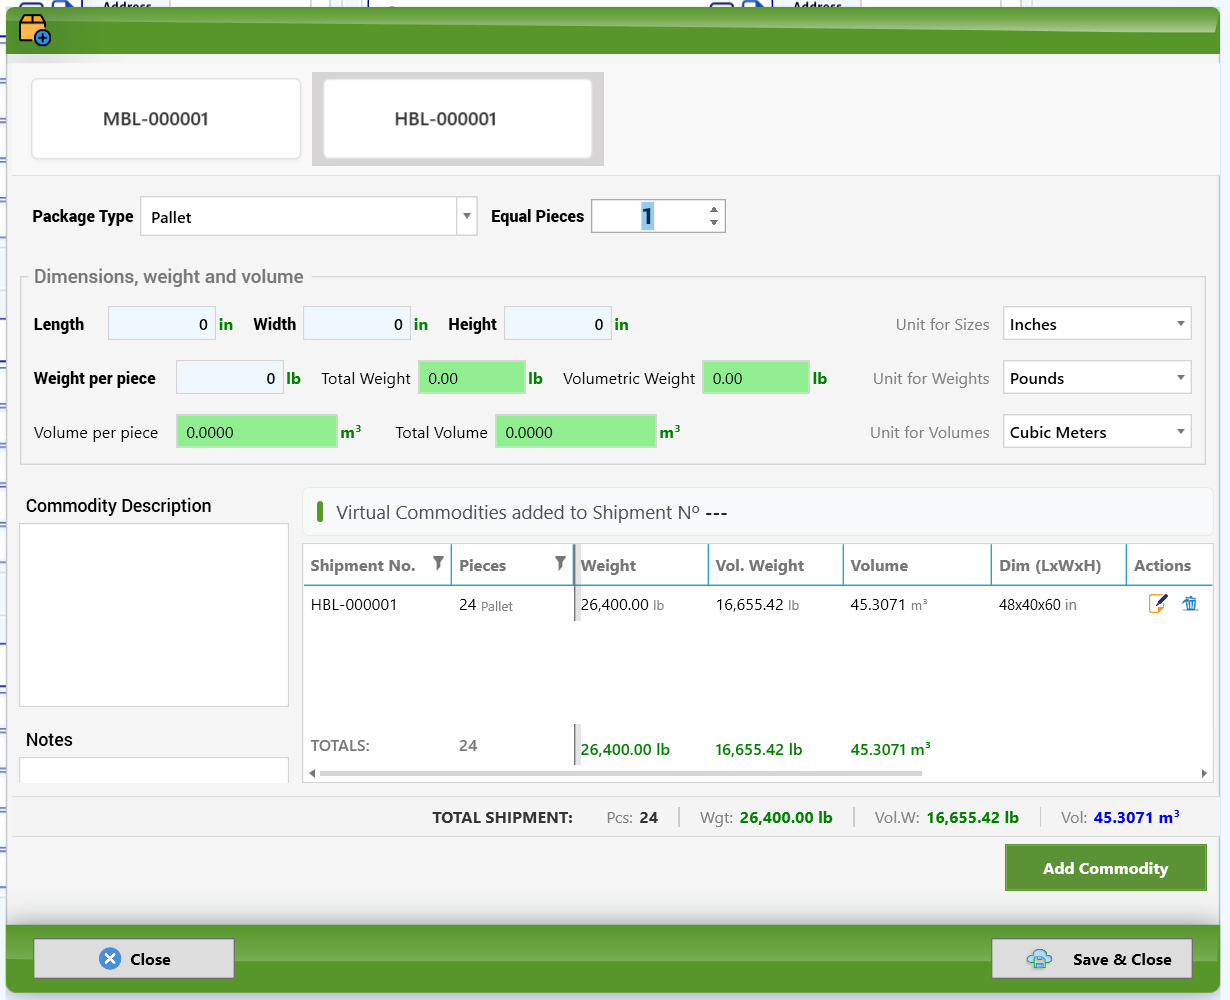
- Container Manager > Add Container: a 40' High Cube (12032 x 2352 x 2698 mm, max 26480 kg) under Containers to be used:
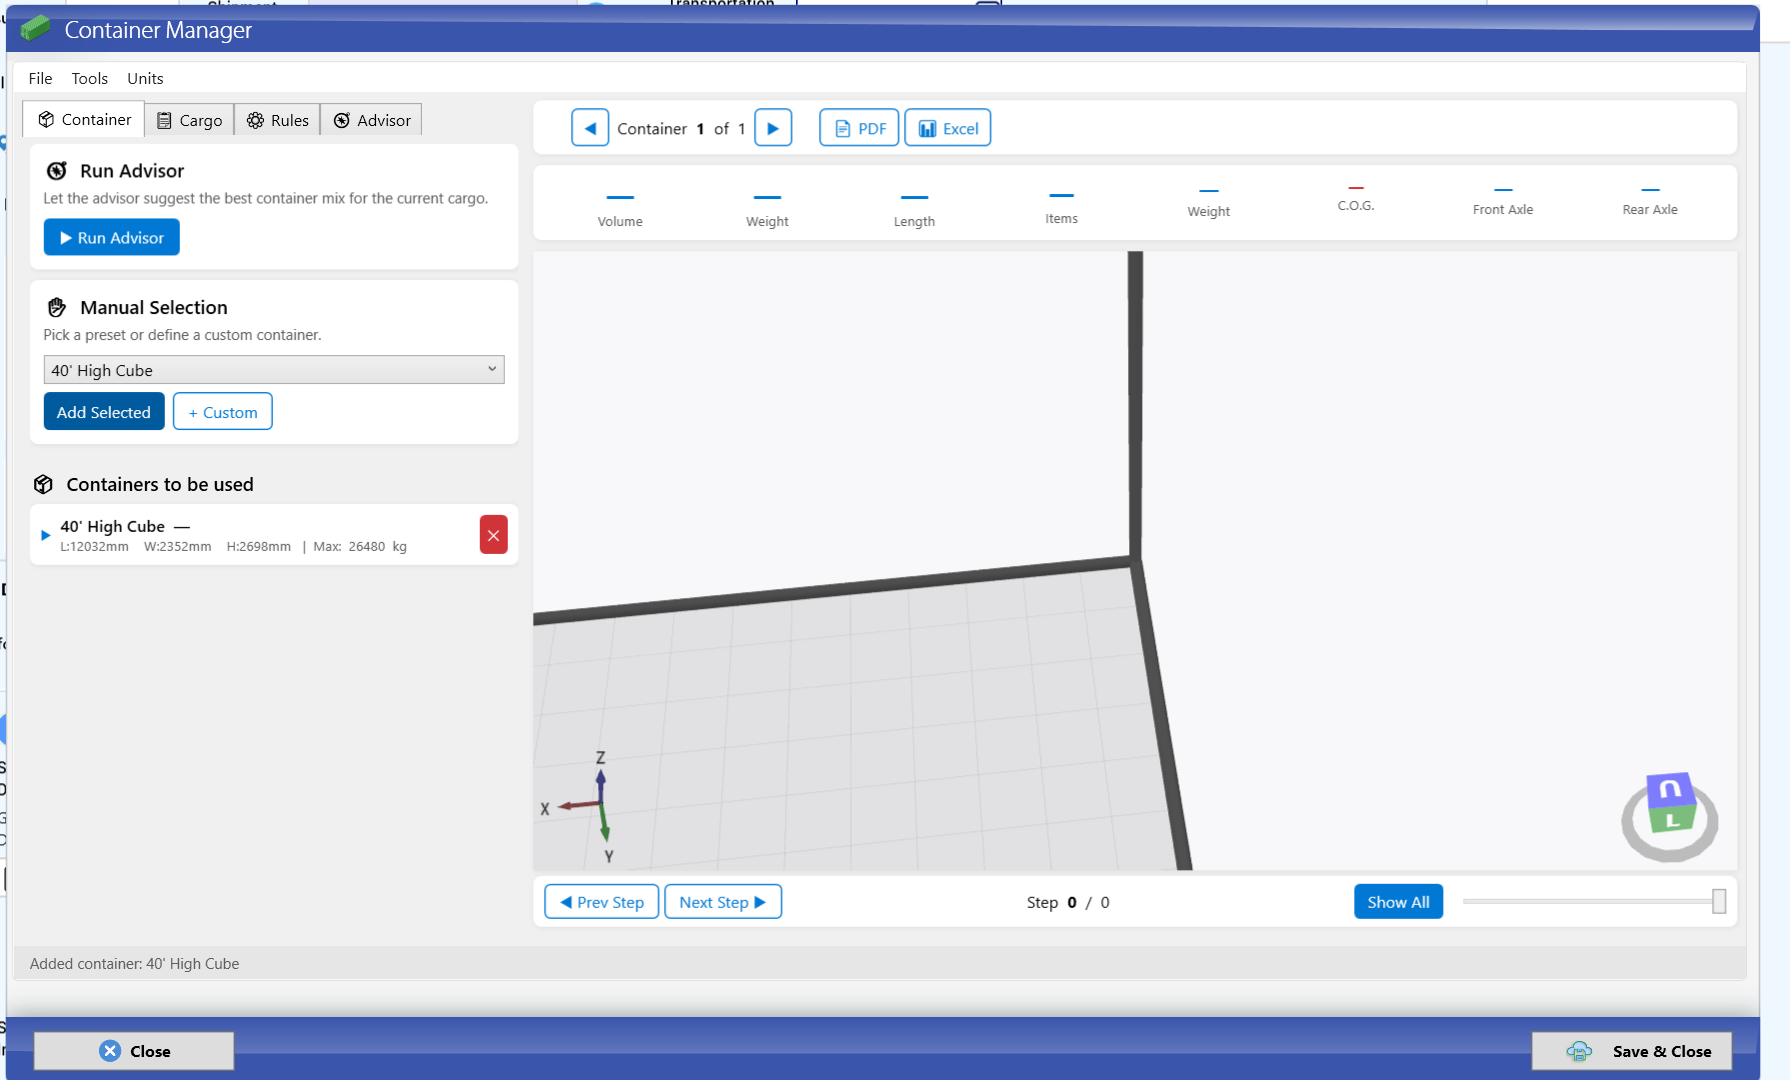
A container cannot be saved without cargo, and the Container Manager assigns warehouse pieces loaded with Load. With commodities typed by hand it reports Selected shipment has no cargo pieces to load; receive the cargo in the warehouse (chapter 6) when you need to plan containers:
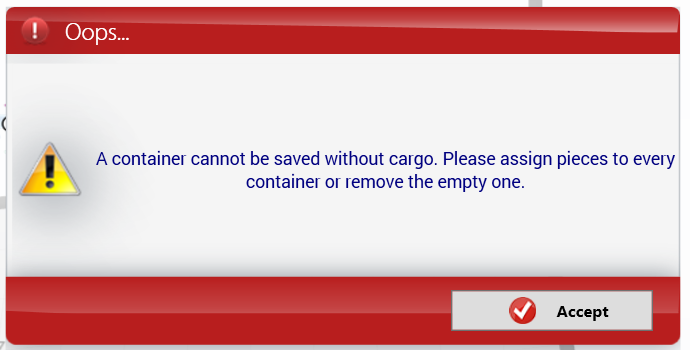
- Charges: on the house, Freight Ocean Collect to the consignee by Volume m3 (45.31 m3 x 85.00); on the master, the line's freight for the container as Total Amount 2,850.00 Prepaid. In ocean, pick the shipping line in the Apply To list:
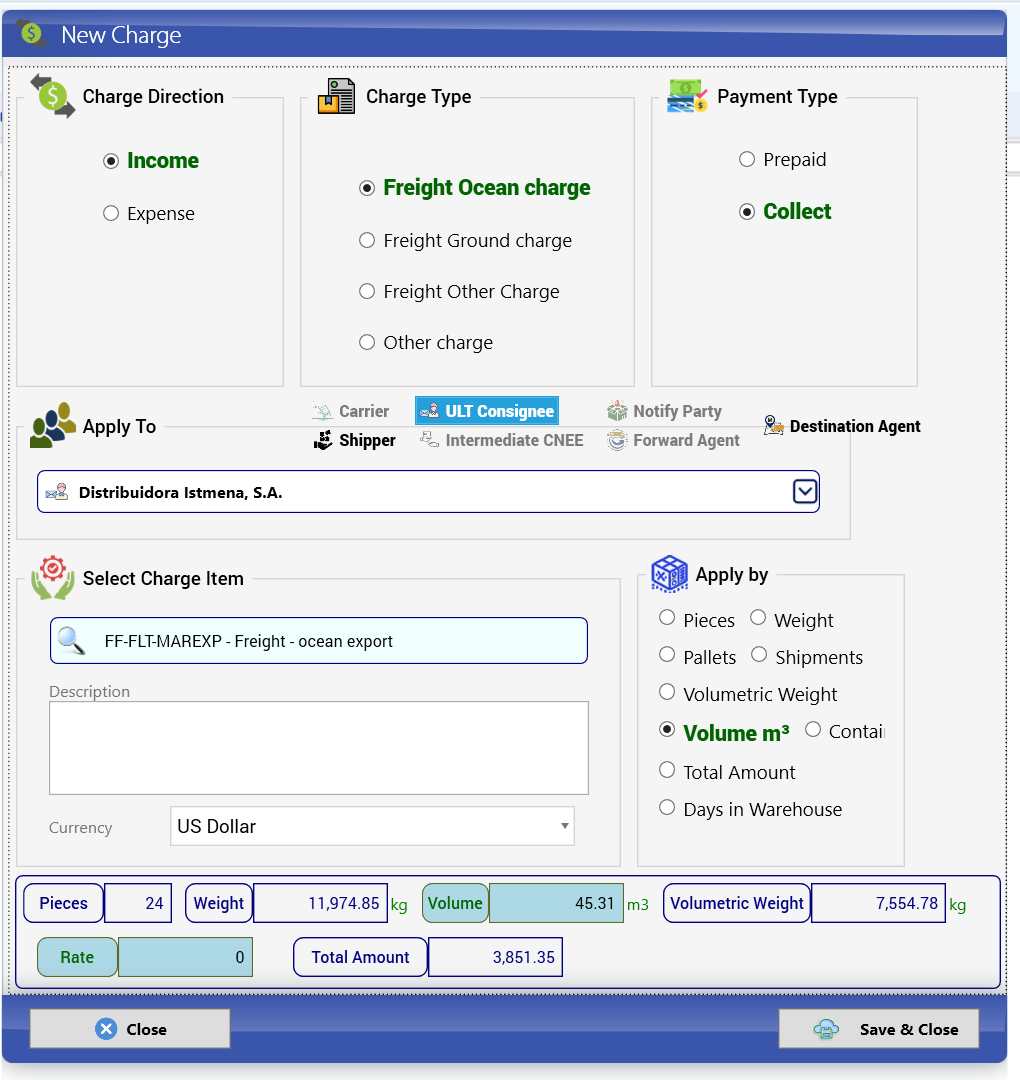
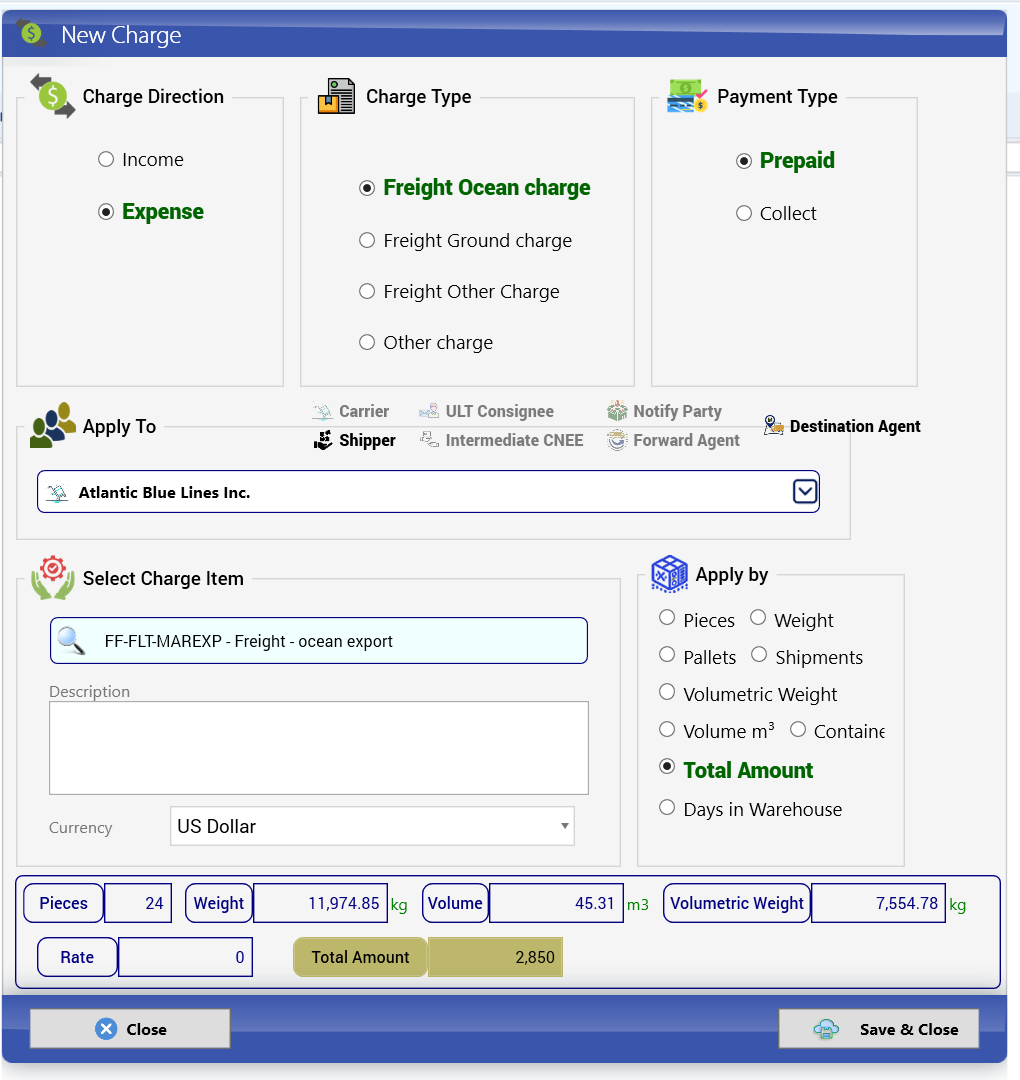
- Liquidation: the 2,850.00 cost goes 100% to the only house; company profit 1,076.35. The purchase bill is numbered with the booking number:
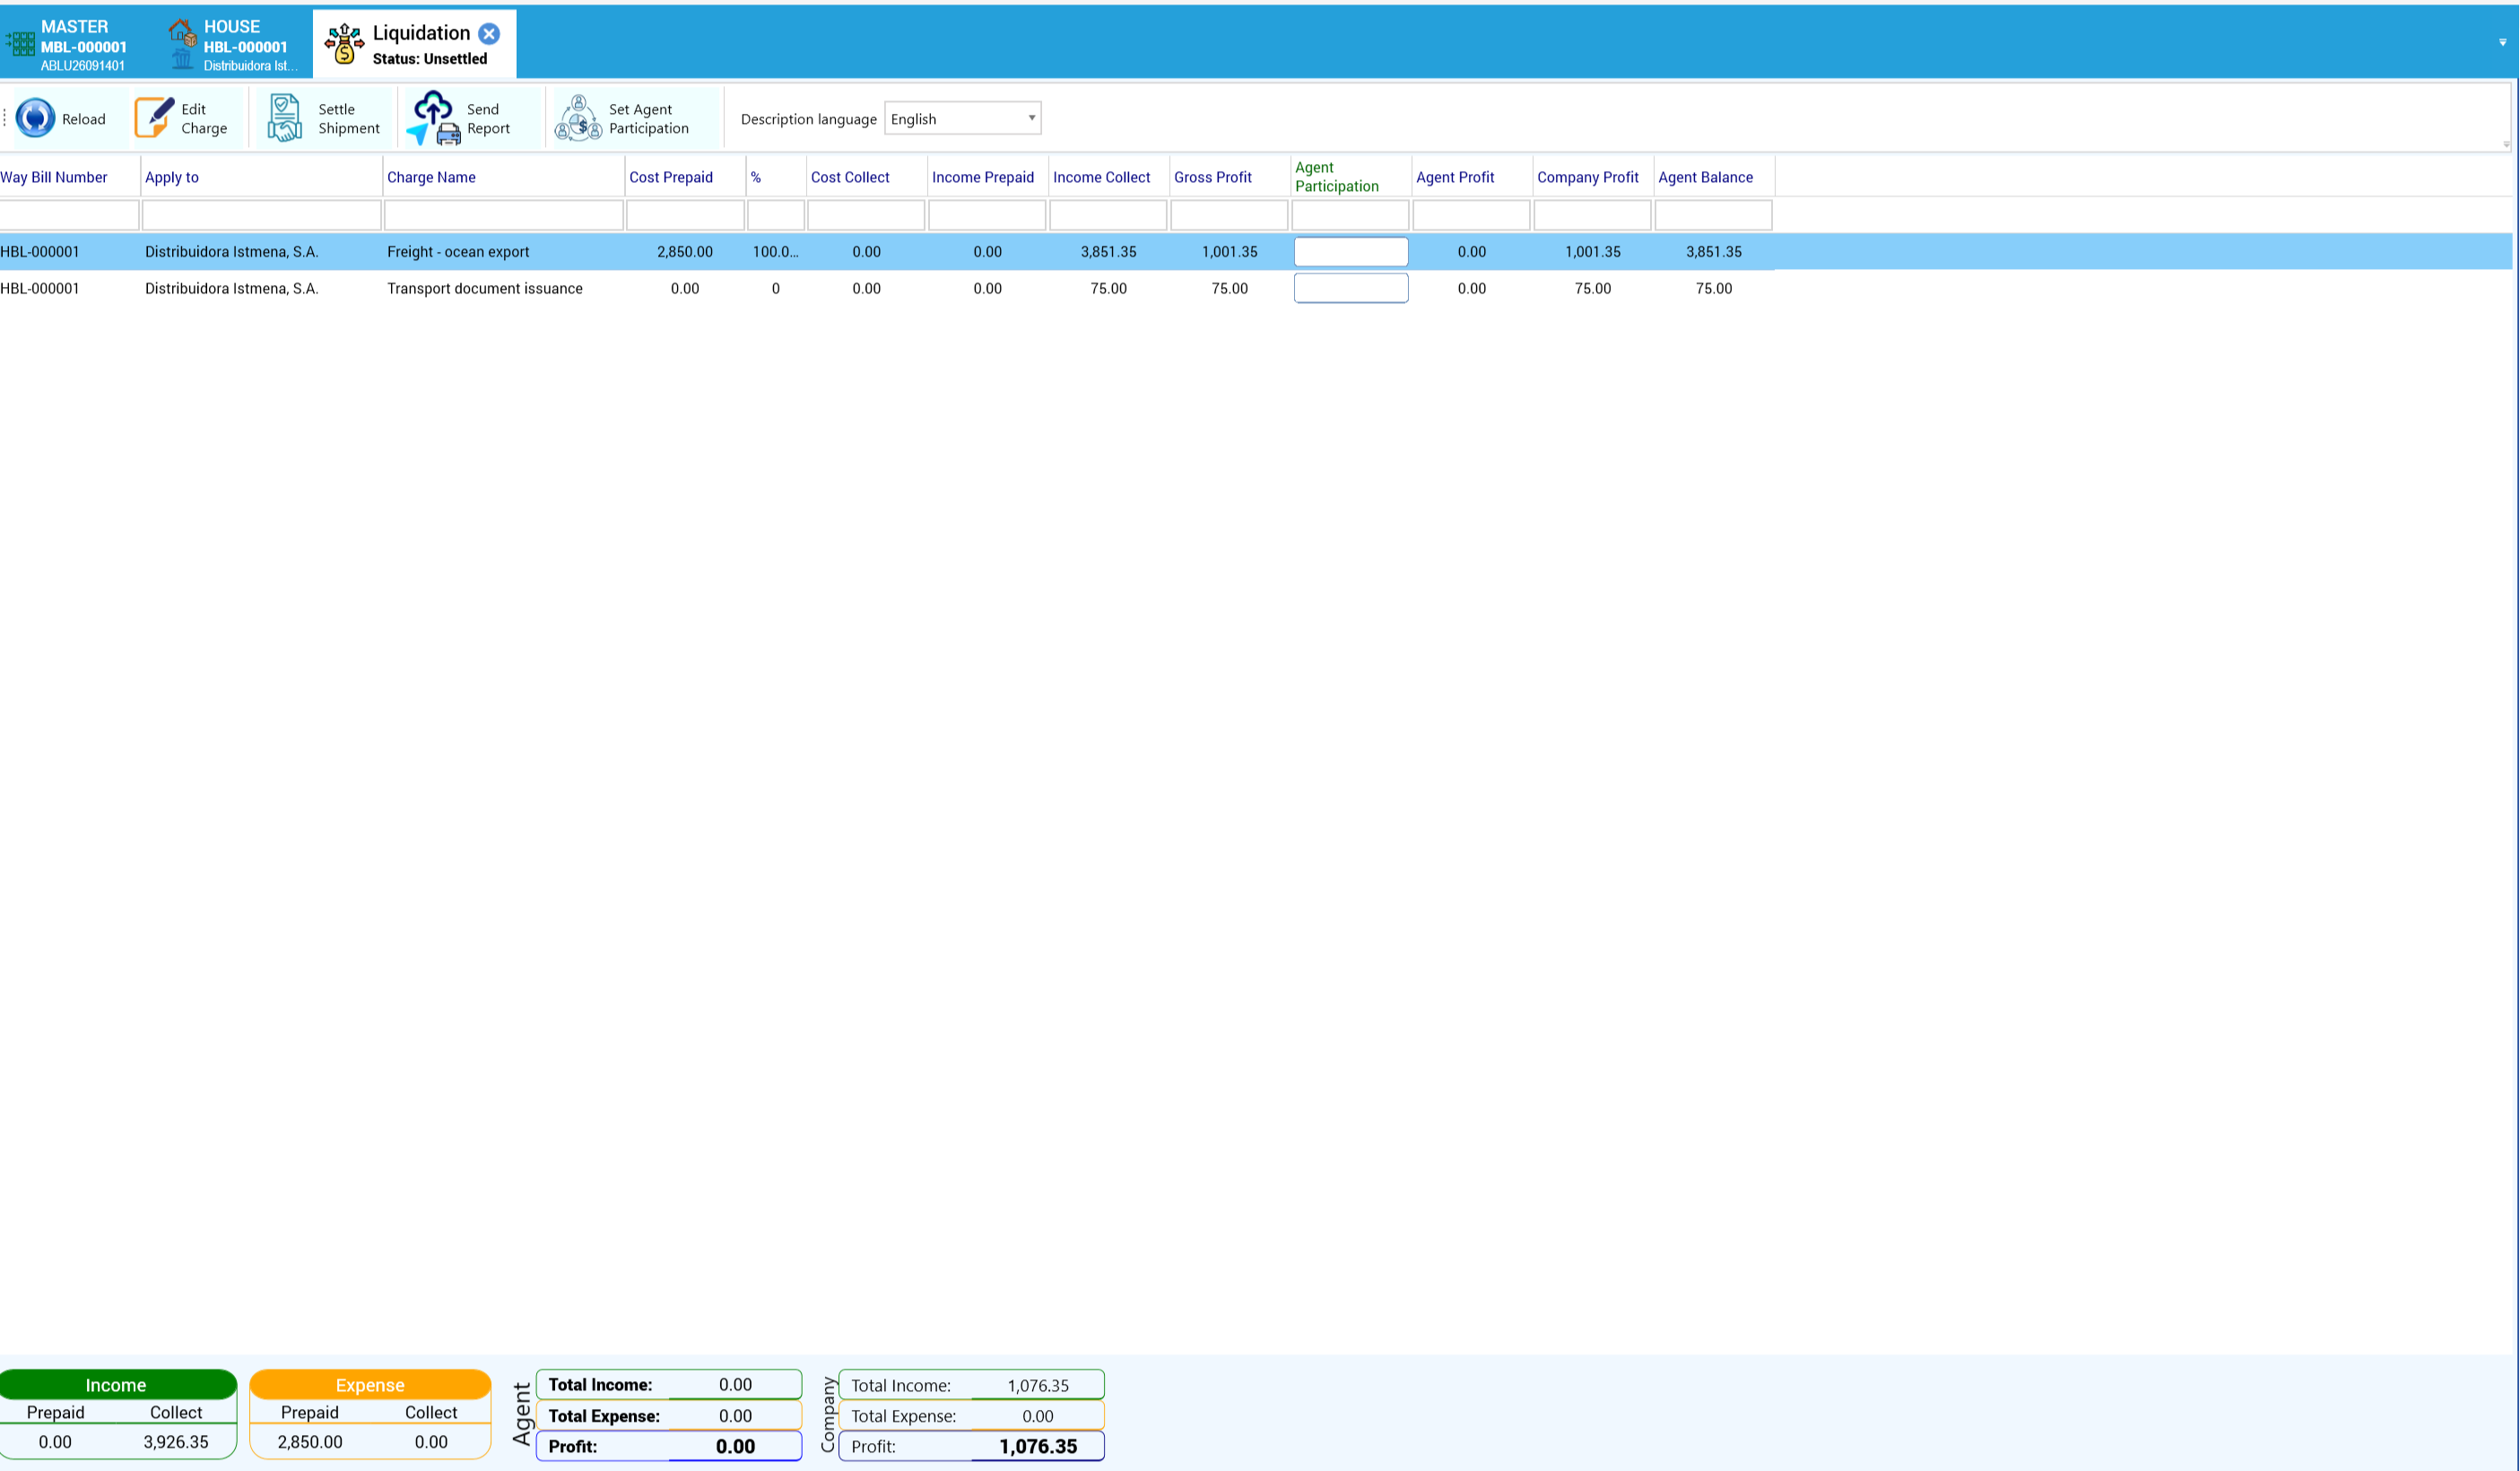
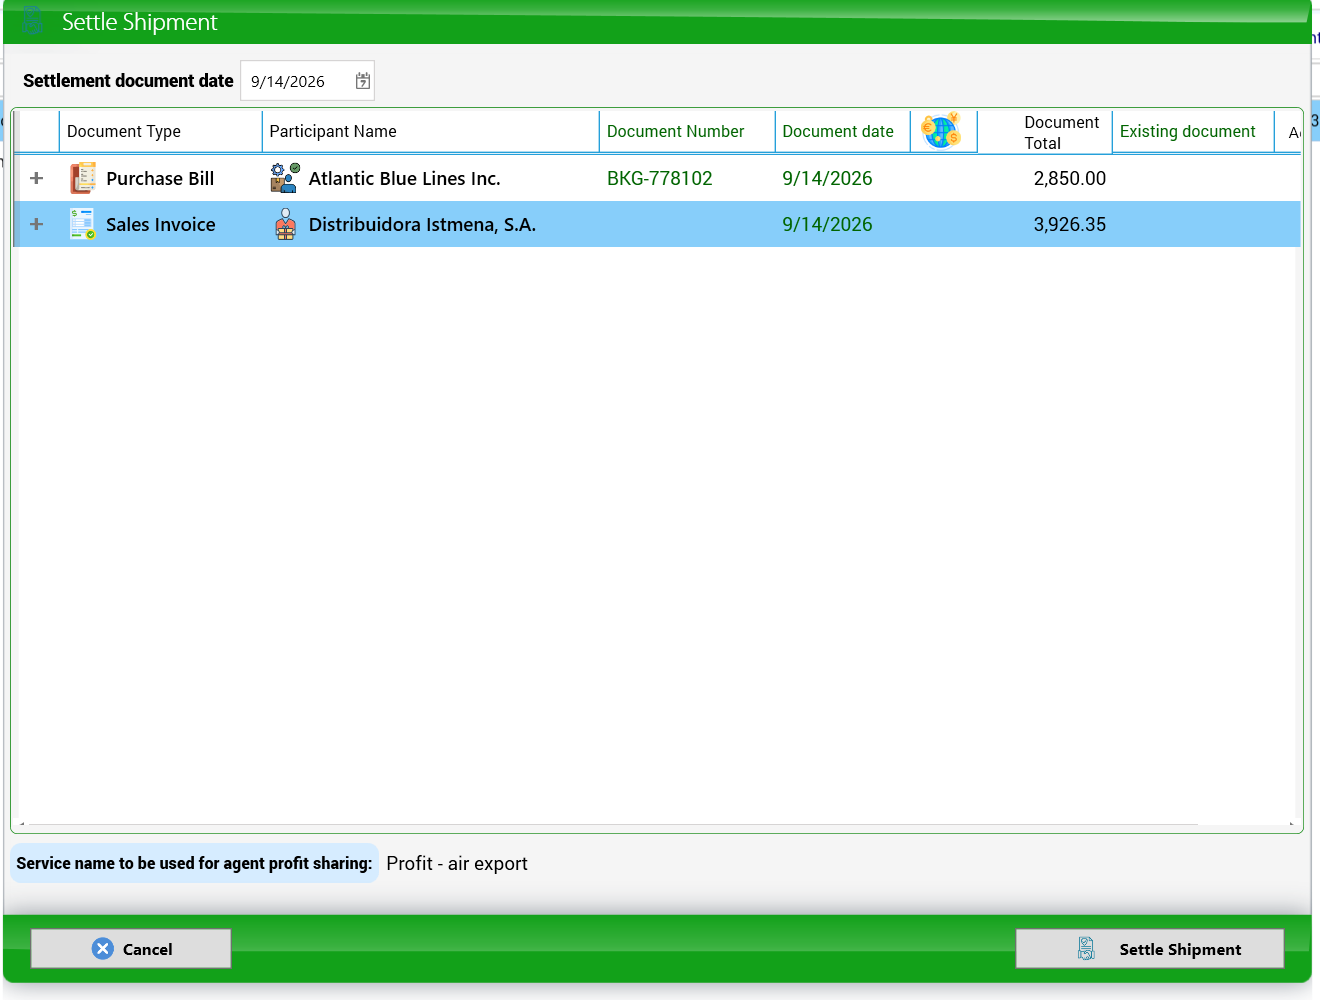

7.19 A ground (trucking) shipment
- Straight ground shipment TRK-000001: departure Miami 9/15 7:00 AM and final arrival Atlanta 9/16 9:00 AM. Ground shipments have no carrier field in General Information; the trucker is chosen on the charges:
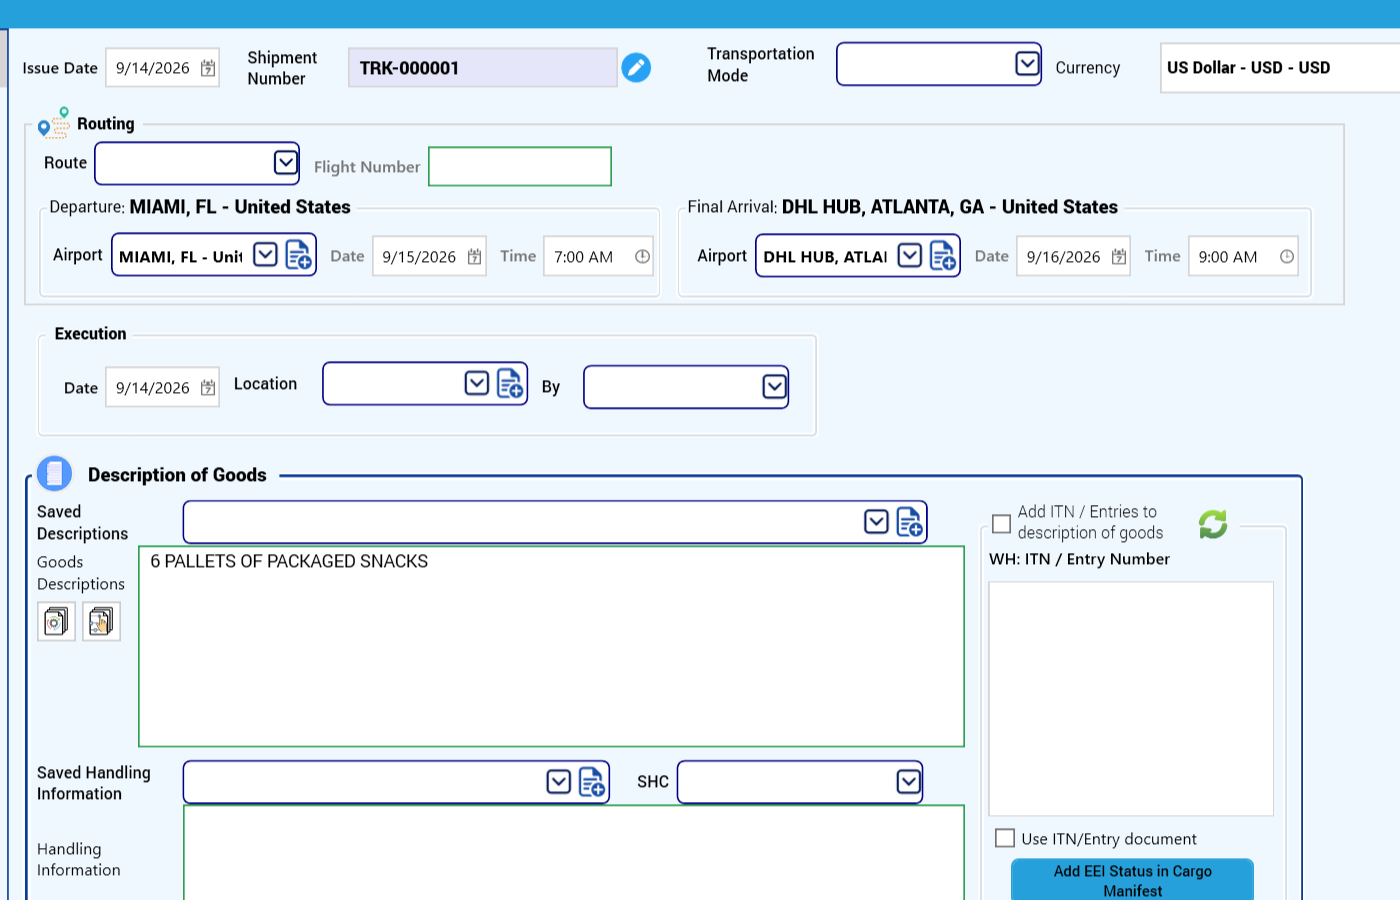
- Charges: Freight Ground Collect to the consignee, 6 pallets x 140.00, the fuel surcharge, and the trucker's freight 520.00 Prepaid (trucker searched in Apply To):
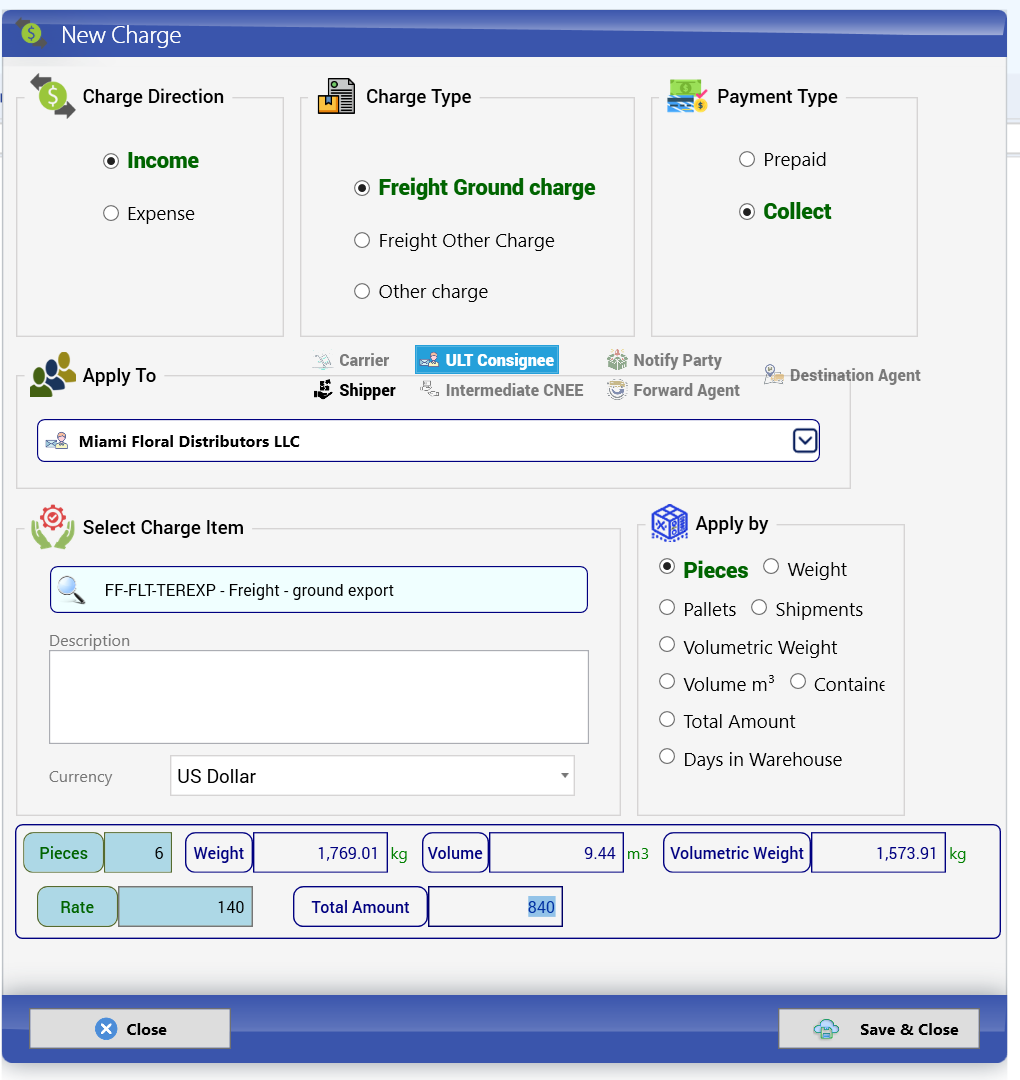
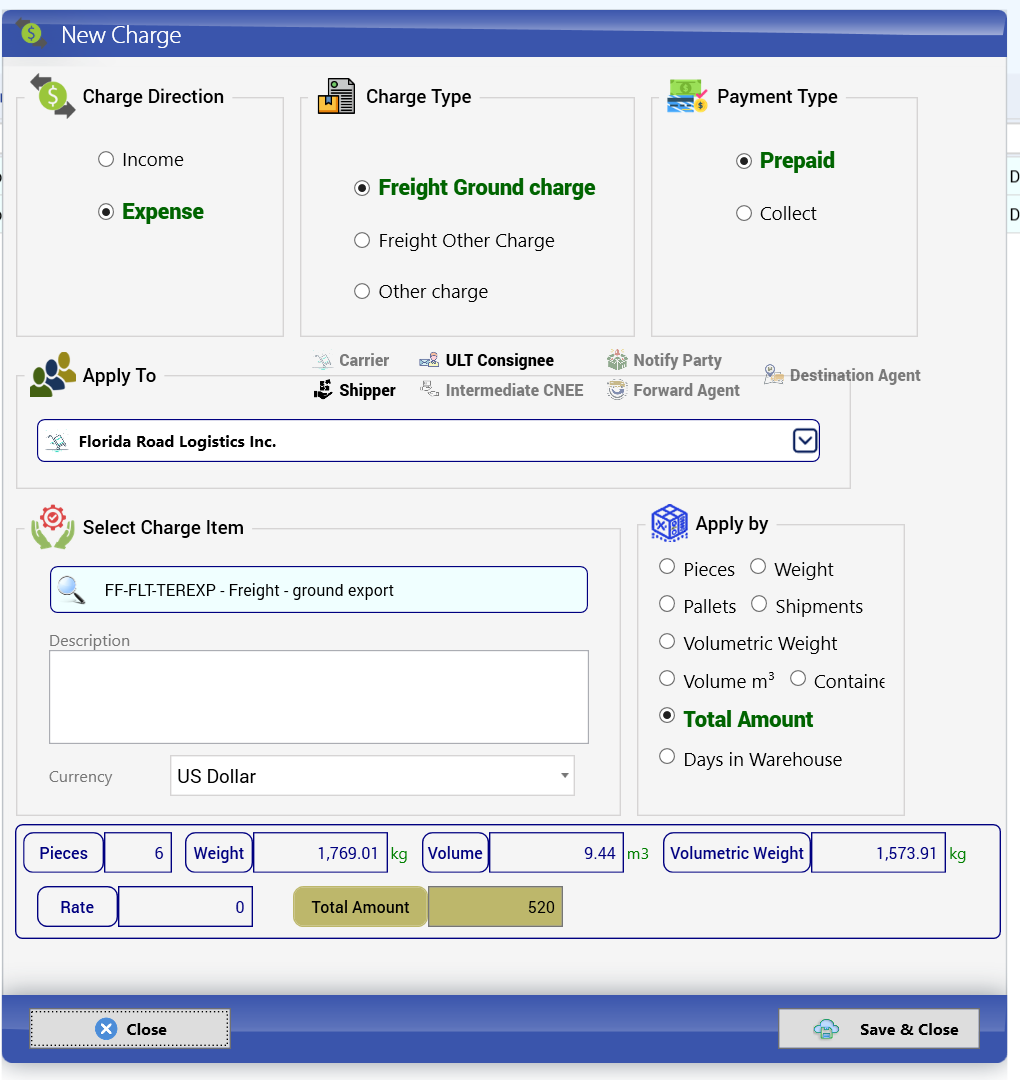

- Liquidation: income 903.00, trucker cost 520.00, company profit 383.00:
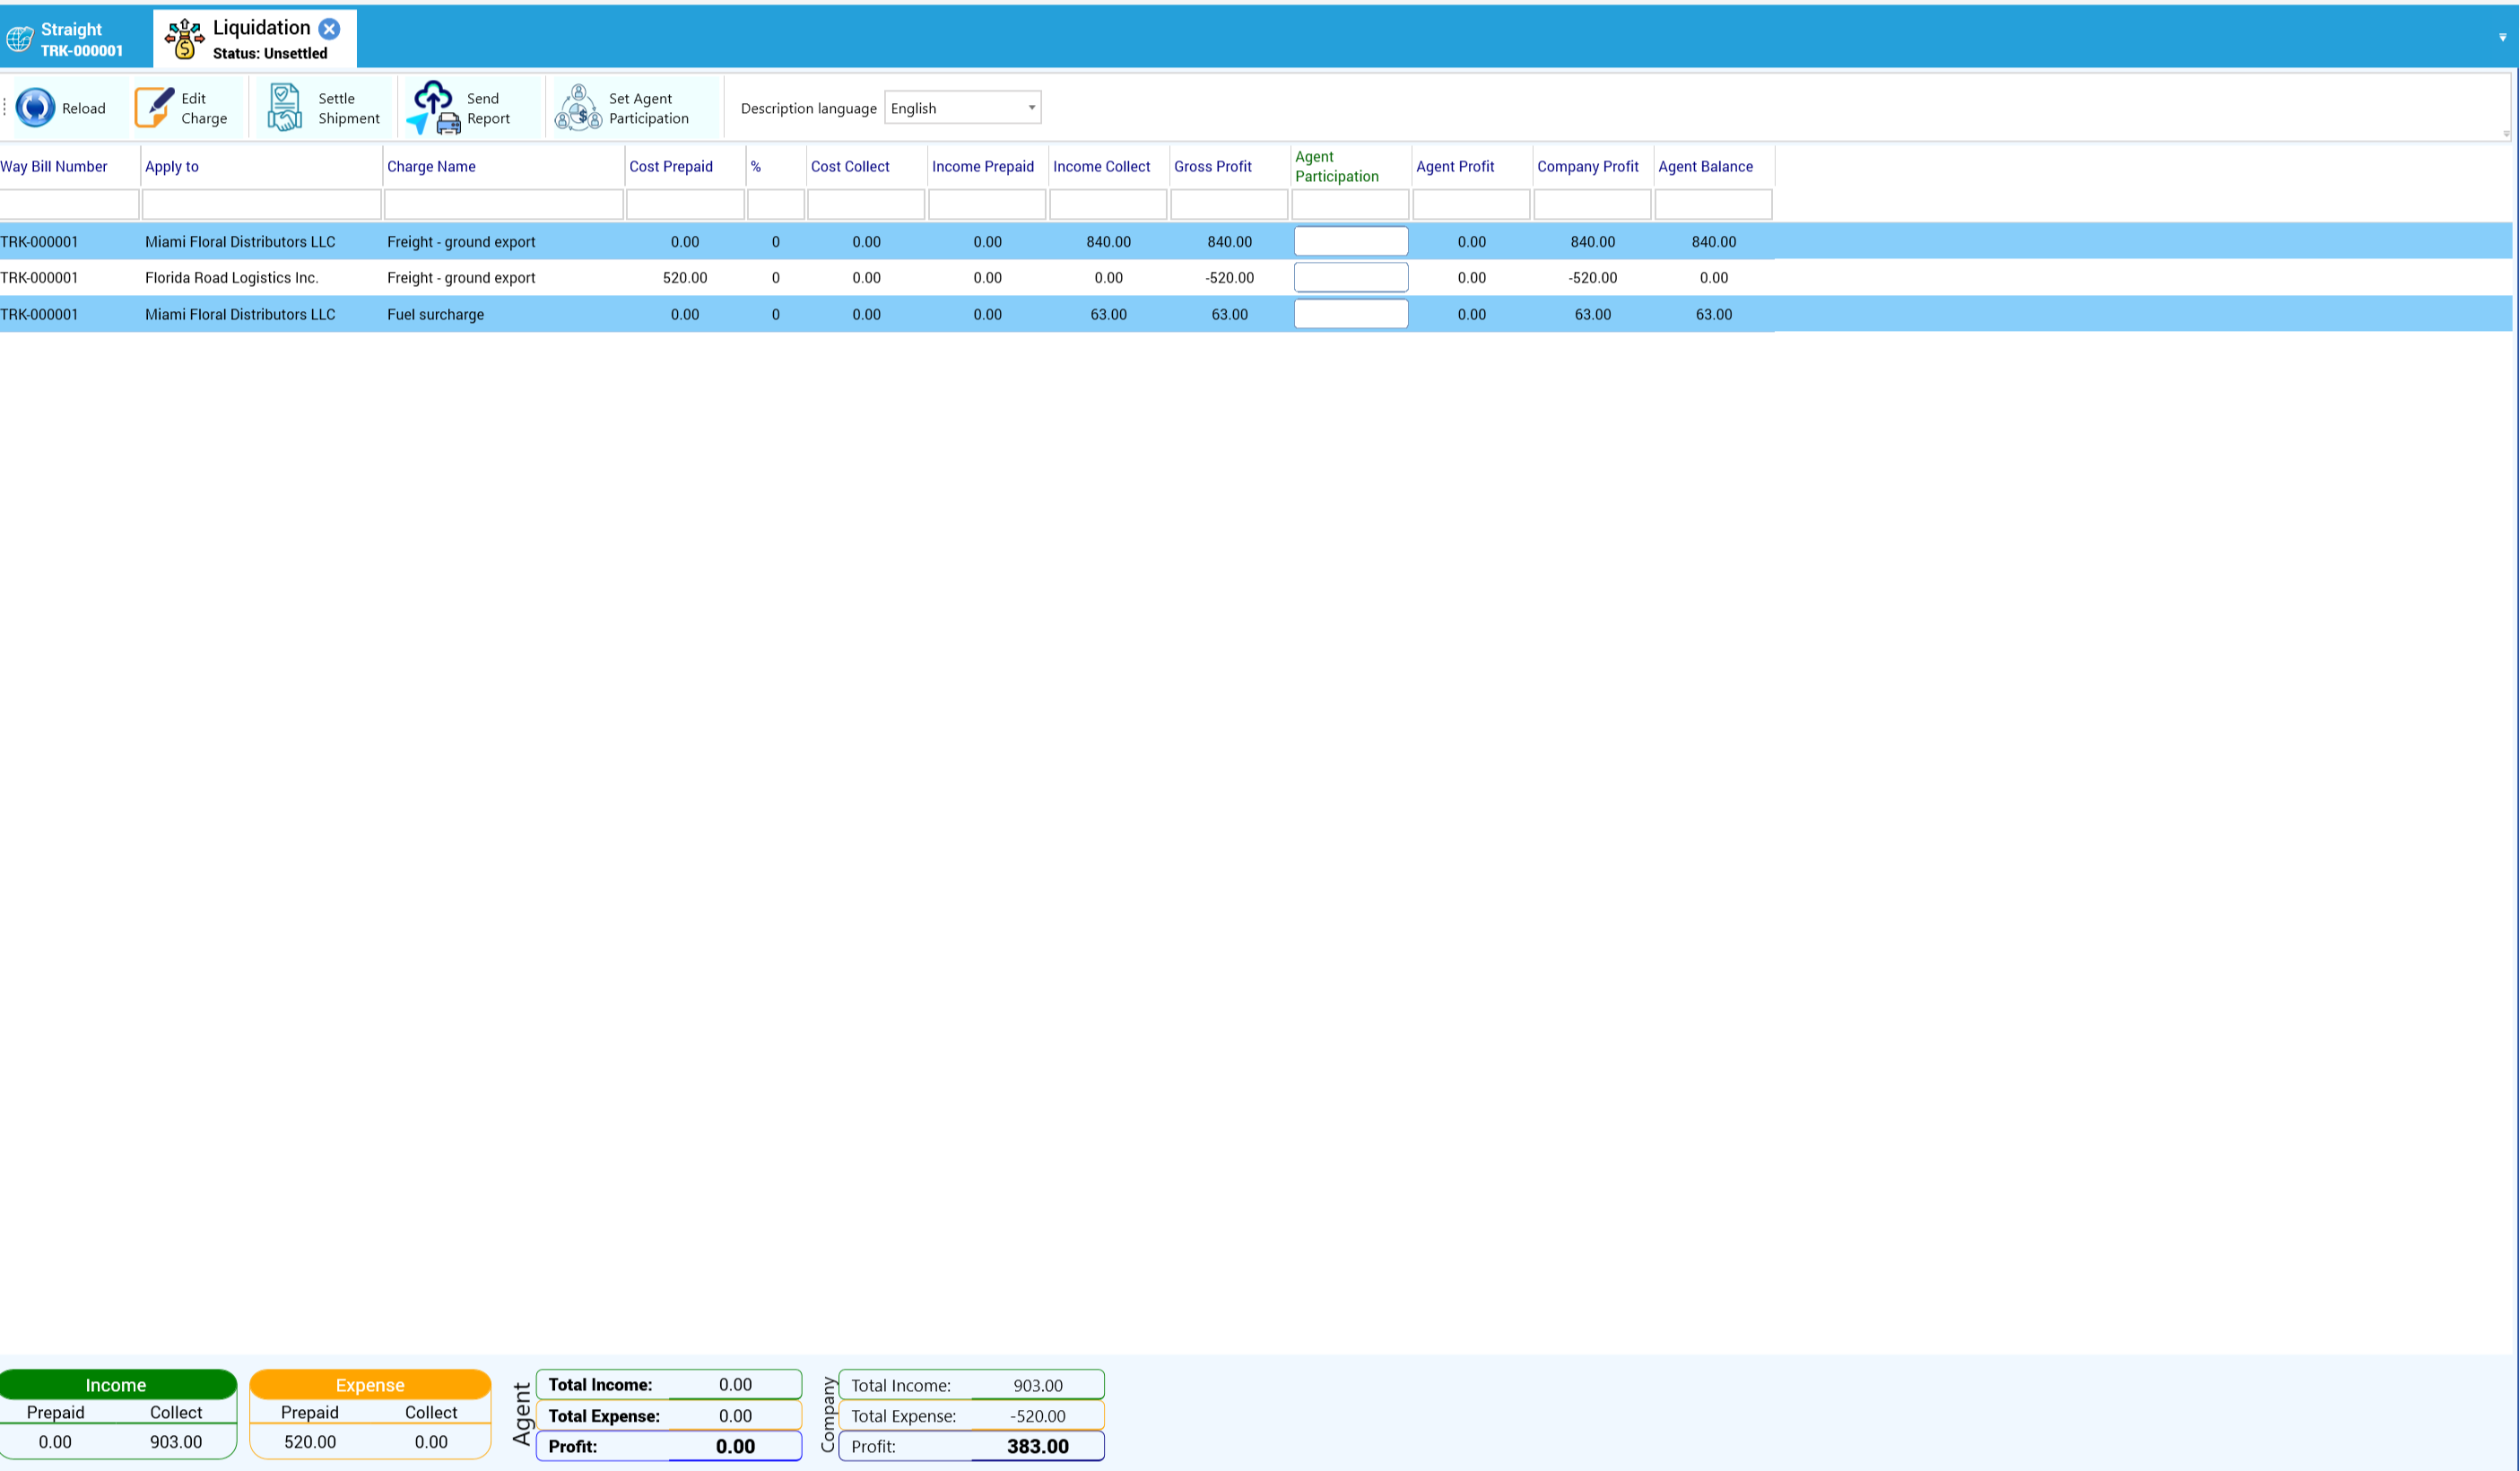
- Settle Shipment asks for a destination agent:
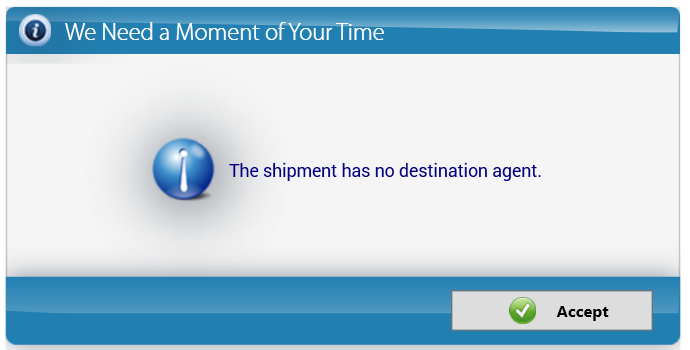
Domestic trucking usually has none. Turn on System Options > Freight Forward > Allow settling GROUND shipments without a Destination Agent (section 11.2). The shipment then settles with a purchase bill to the trucker numbered with the shipment number (TRK-000001) and the invoice to the consignee:
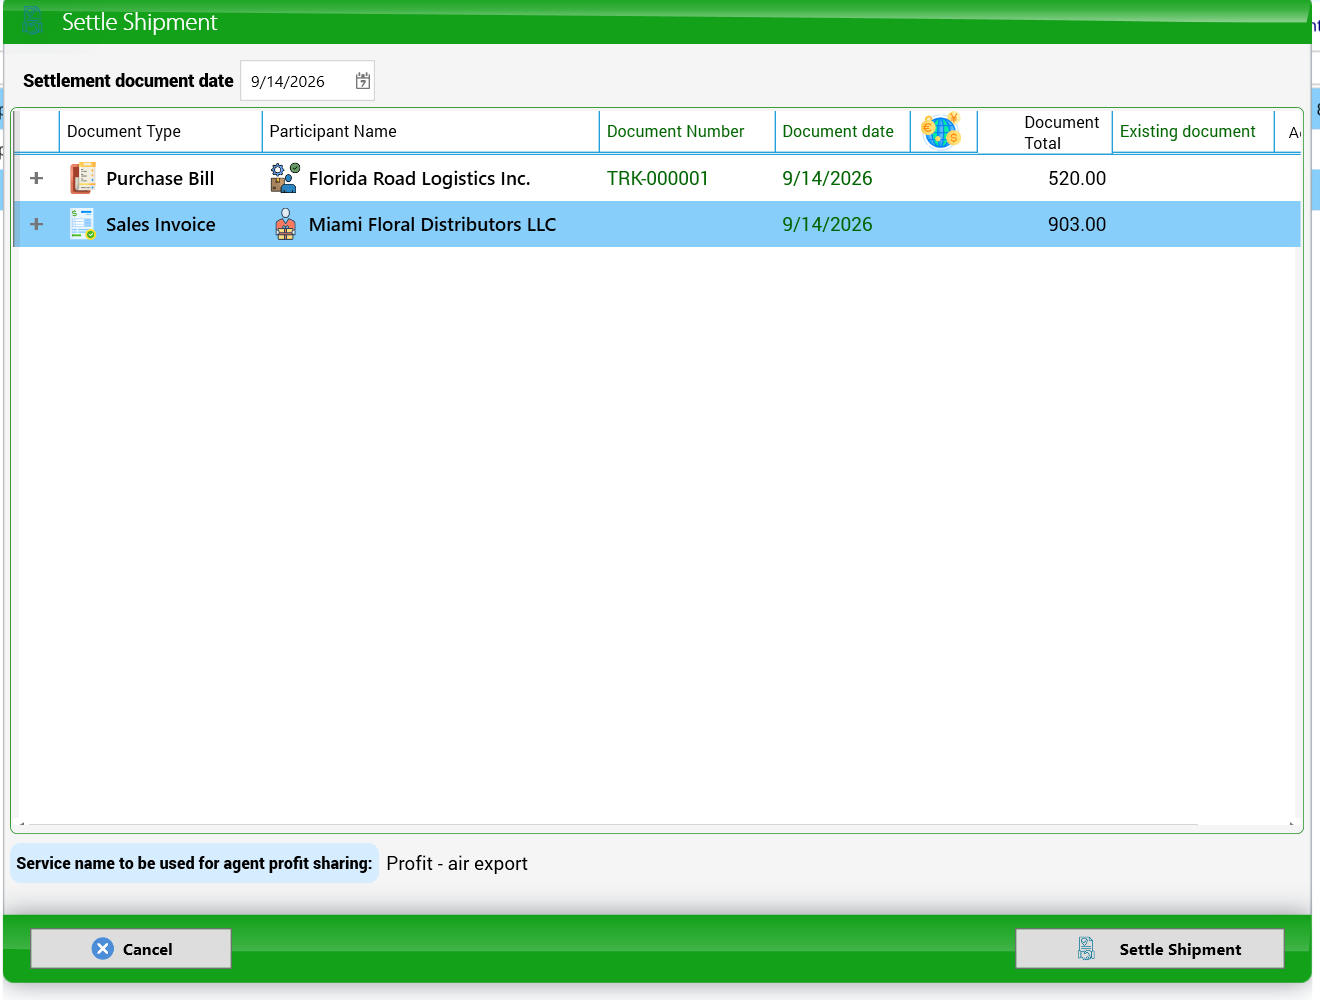

8. Advanced accounting and month-end
This chapter covers what an accountant does around the monthly close: checking the books, revaluing foreign currency, settling the VAT (IVA), reconciling banks, cleaning old balances and preparing the cash flow. Every section starts with the idea behind the task (Lesson) and then shows how to do it in KeyTray.
Except for the Accounting Explorer toolbar in section 8.1 and the VAT settlement in section 8.5, the screenshots and figures of this chapter come from Cargo Masters USA (US dollars, US sales tax). In Argentina the procedure is the same, with Argentine pesos (ARS) and IVA.
8.1 Where everything is
Operations holds the daily and month-end work: the List Explorer, the Accounting group (Fiscal Years, Periods Manager, Journal Entry, New Adjust Inventory, the registers, Depreciation Manager and the Accounting Explorer), Customer Operations, Vendor Operations and Banking:

Business Elements holds the accounting set-up: accounts and chart of accounts, predefined accounts, currencies, initial balances, the sales tax manager, data import, electronic invoicing and deferred checks:

Reports holds the financial statements and every report of chapter 10:

The Accounting Explorer groups the accounting tools in one toolbar: Transaction Journal, General Ledger, Fiscal Stamping Numbers, Currency Revaluation, Revaluation Register, VAT Settlement, Cash Flow: accounts, Closing Workpaper and Batch write-off:

In Cargo Masters Argentina the toolbar has eight buttons: Transaction Journal, General Ledger, Currency Revaluation, Revaluation Register, VAT Settlement (section 8.5), Cash Flow: accounts, Closing Workpaper and Batch write-off. Fiscal Stamping Numbers does not appear:

Careful: New Quote, New Sales Order, New Purchase Order and New Receive Inventory are not available yet: KeyTray shows a notice and closes the tab. Write Check and Credit Card charge show the same notice. Record sales and purchases with New Invoice and New Bill, pay vendors by check from Pay Bills (section 5.6) and record credit card charges with a Journal Entry (chapter 4) (see Appendix B).
8.2 The books: Transaction Journal and General Ledger
Lesson — journal and ledger. Every transaction is first written in the journal, in date order, as a balanced entry (debits = credits). The ledger is the same information sorted by account: for each account, its opening balance, every movement and the running balance. The journal answers "what happened on this day?"; the ledger answers "why does this account have this balance?".
Transaction Journal (year 2026, month September): one line per debit or credit, with the voucher, account, register number, document and details. Show void includes voided documents; the filters and Export To Excel work as in any list:
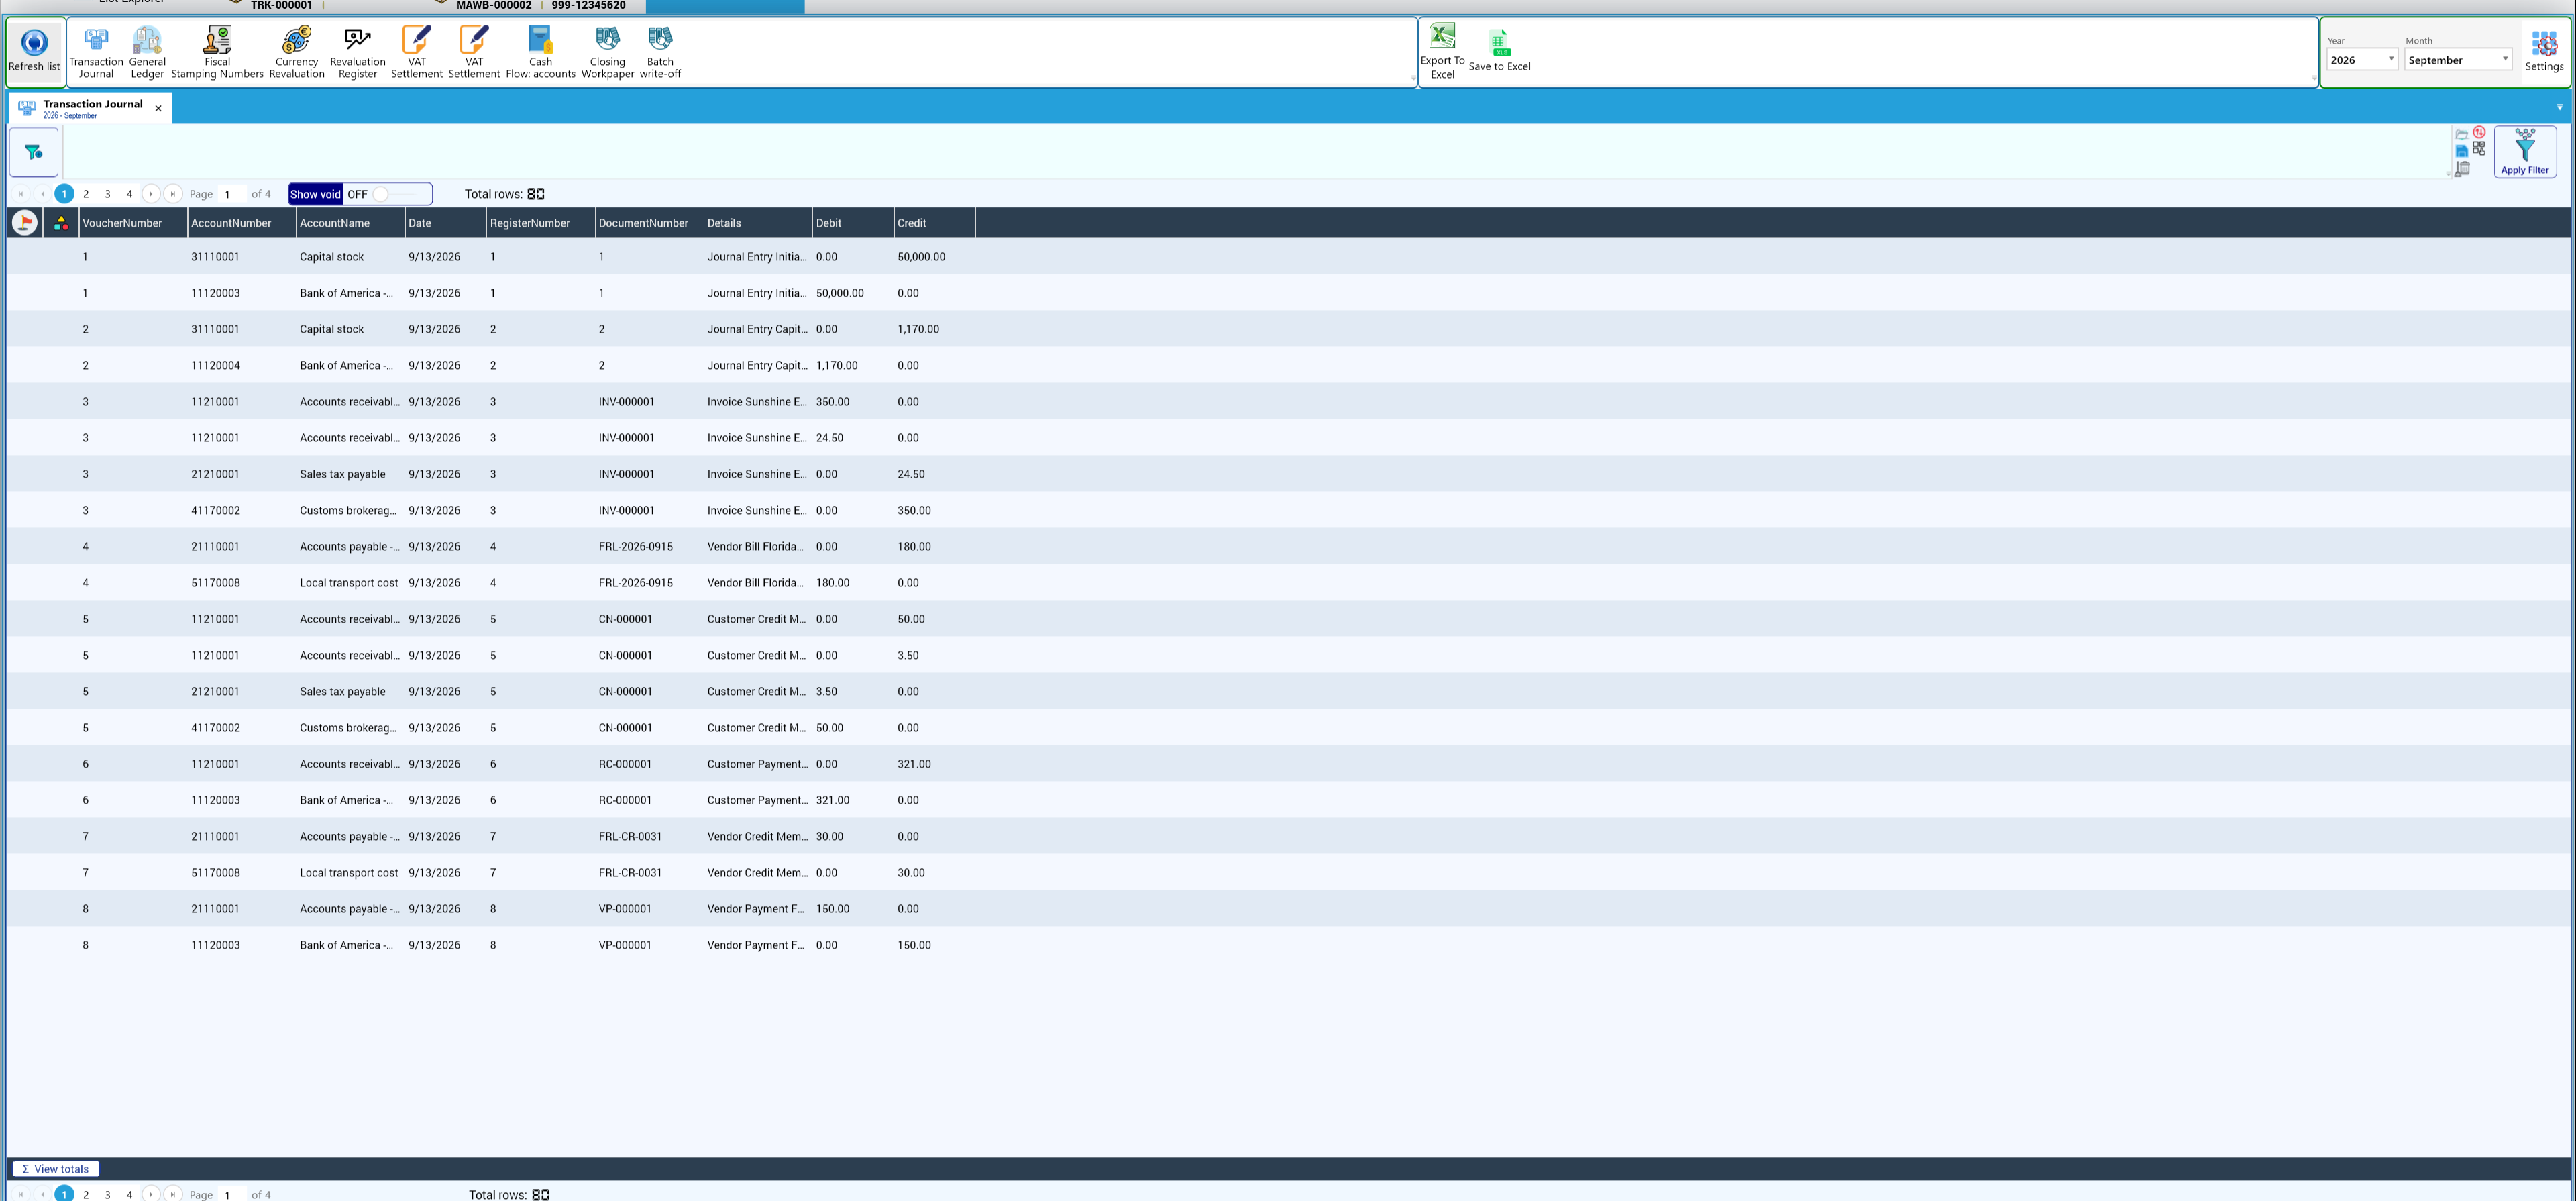
General Ledger for the month: account number, account, control number, date, document, detail, debit, credit, opening and balance:
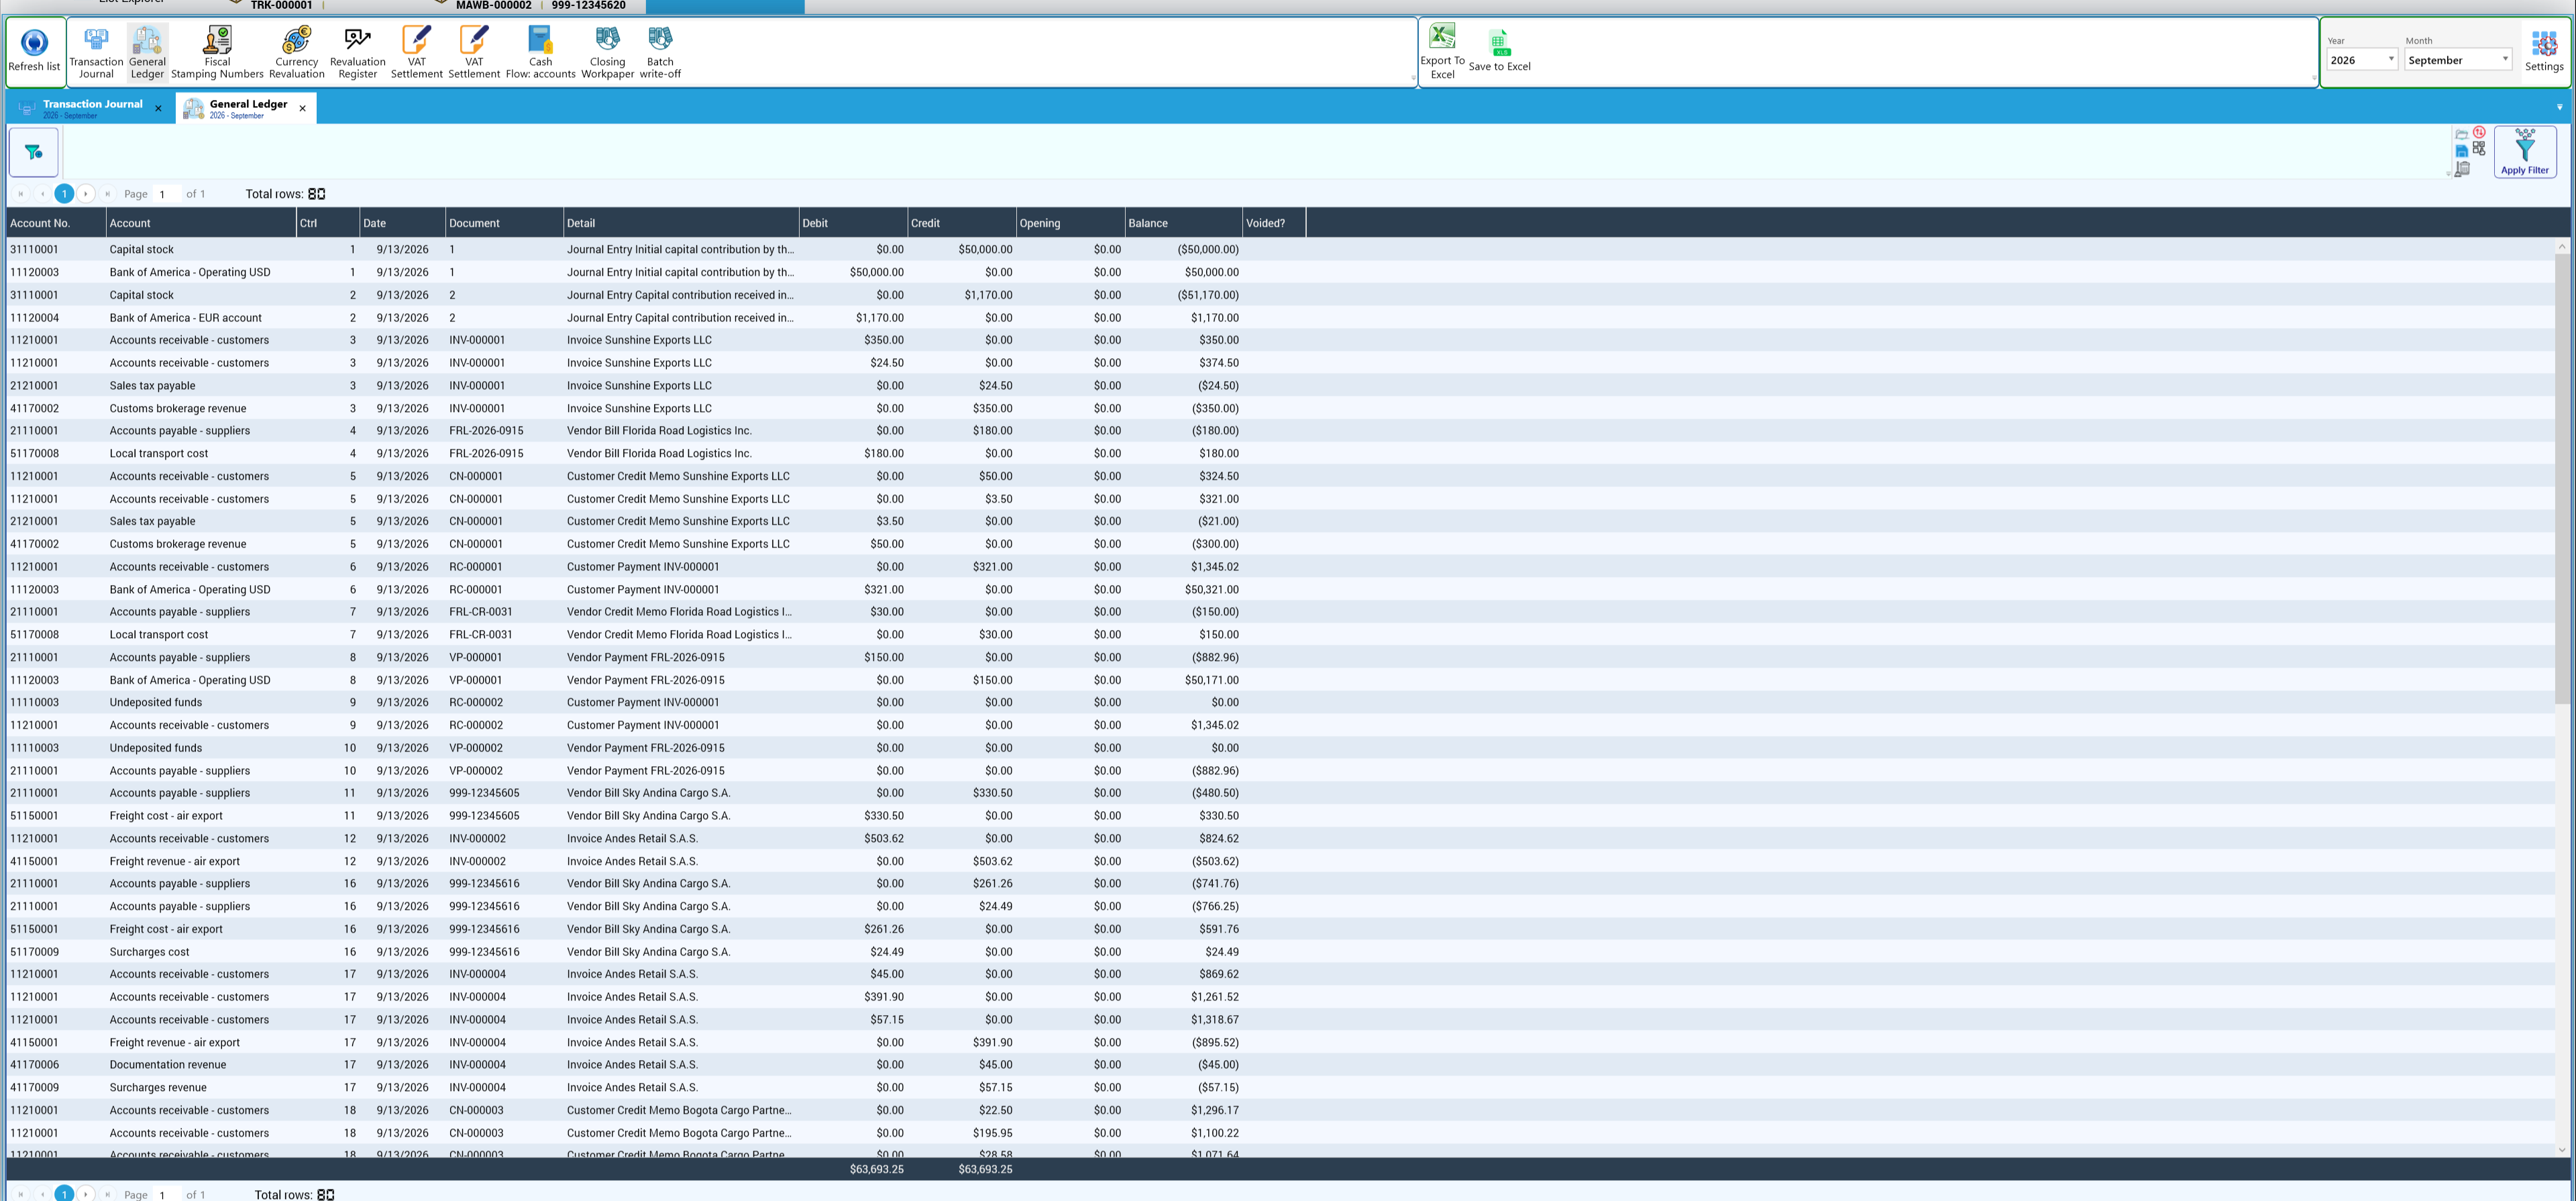
The printable versions of both books are in chapter 10.2.
8.3 Registers: one account, one customer, one vendor
A register shows the history of a single account, customer or vendor for a period, with the running balance.
Account Register (Operations > Account Register) — the bank account Bank of America - Operating USD for September: initial balance, each movement (journal entry, received payment, vendor payment) with its running balance, company-currency columns and the ending balance 50,171.00:
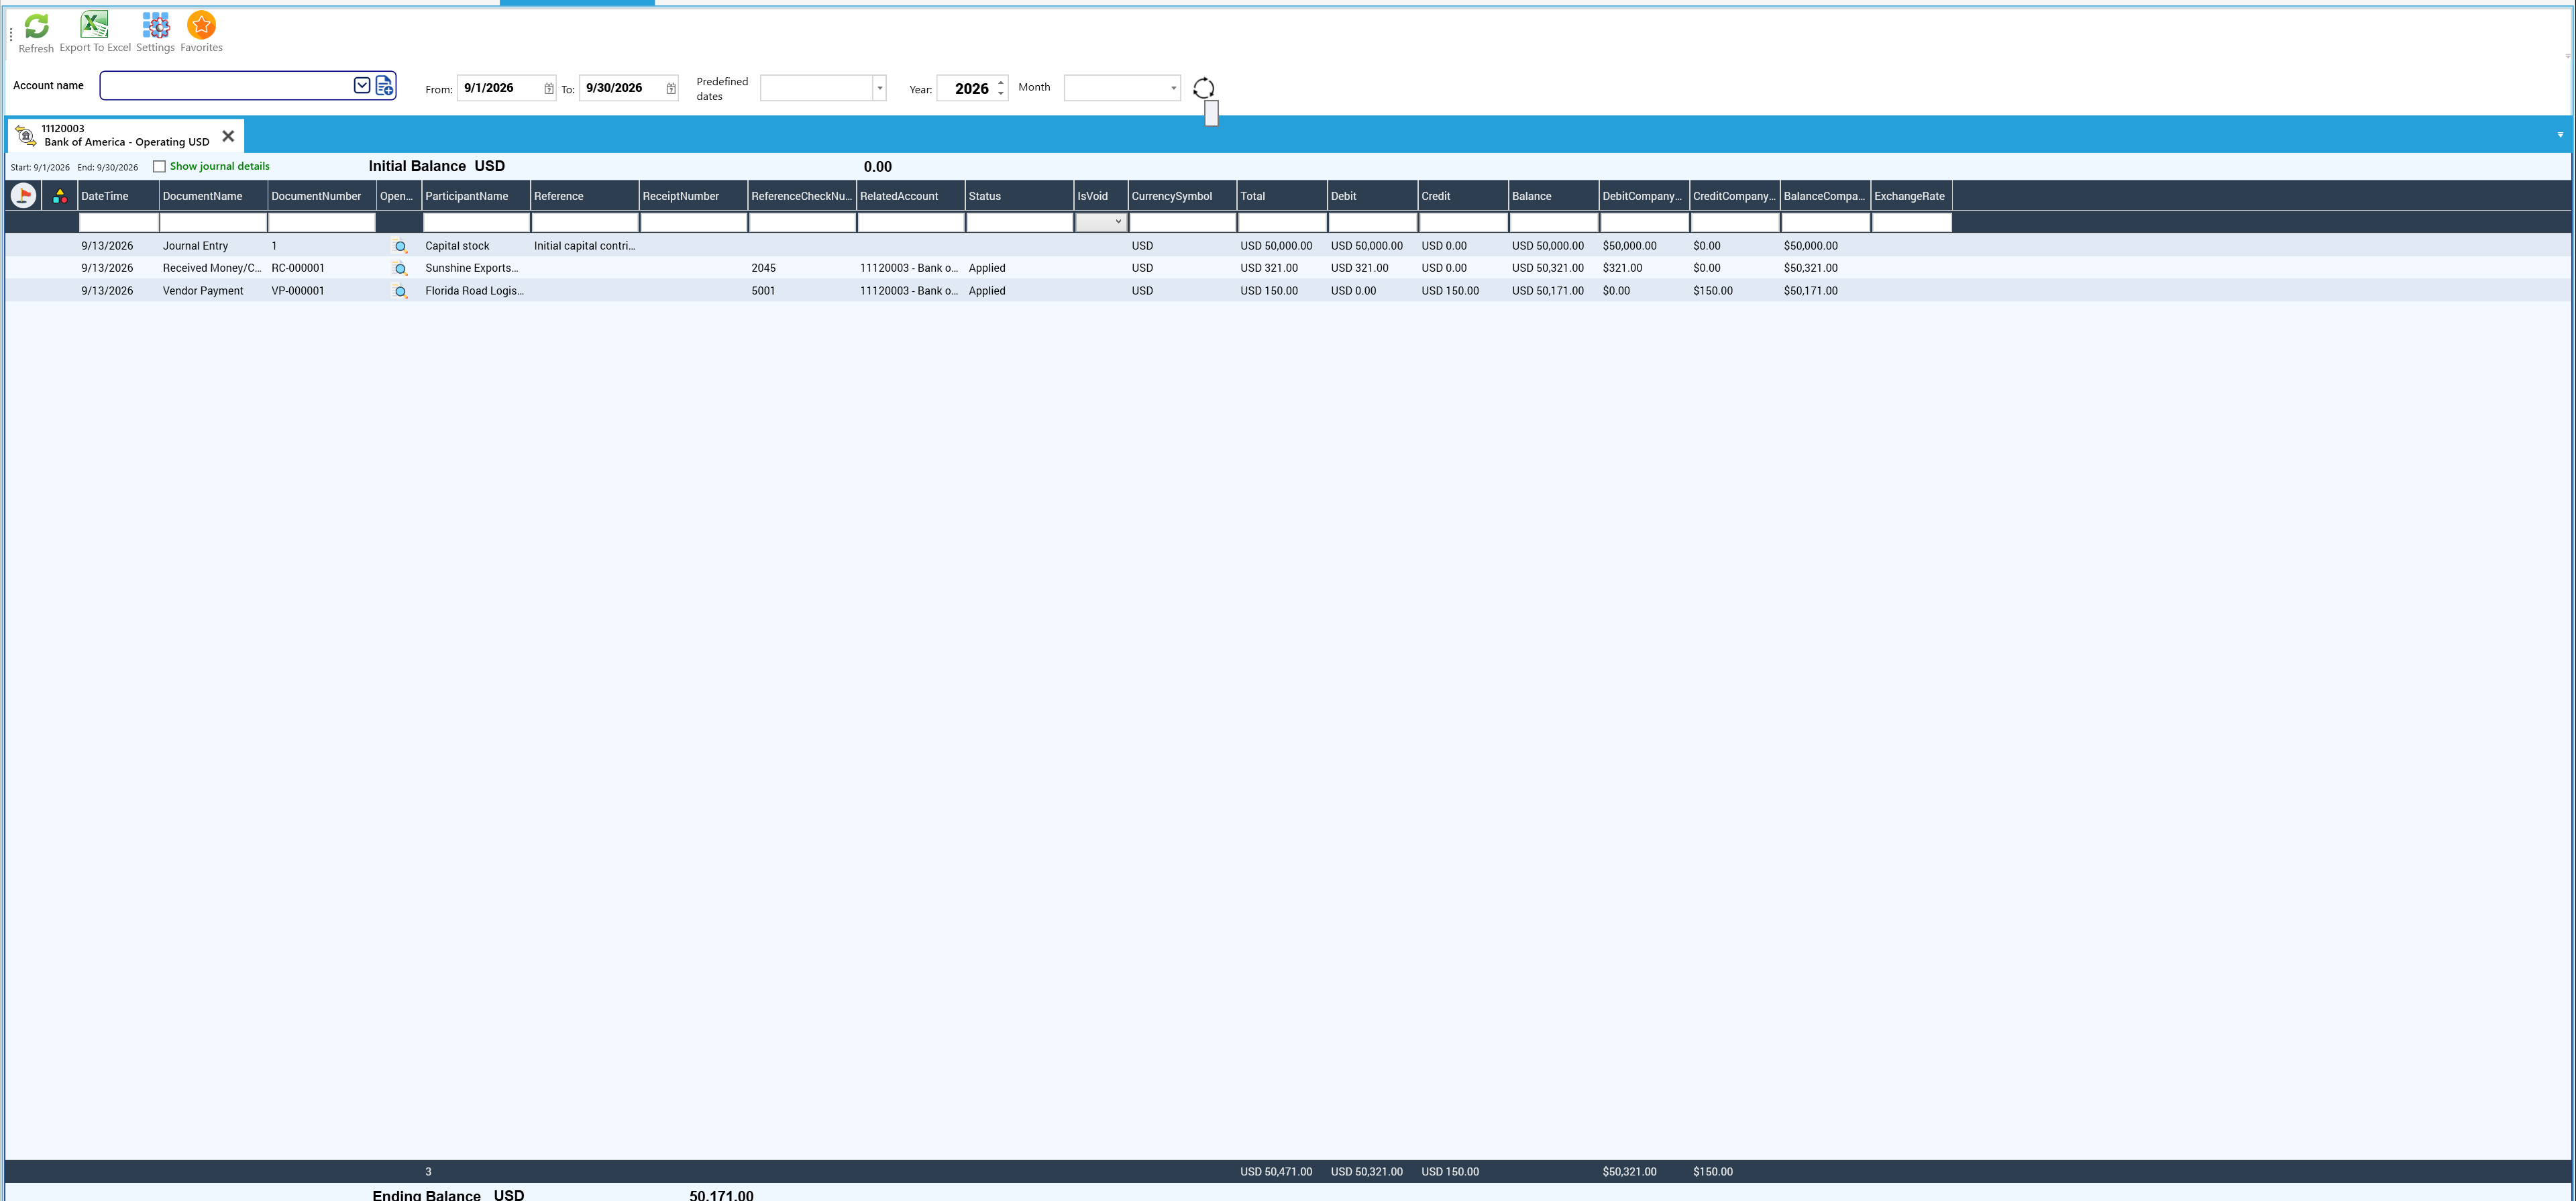
Customer Register (Operations > Customer Register) — choose the Currency first (in a multicurrency company KeyTray asks for it), then the customer. Each document shows type, number, due date, aging, status, the amount in the document currency and in company currency, and the register ends with the initial and ending balance (Distribuidora Istmena, S.A.: two invoices, ending balance 4,249.53):
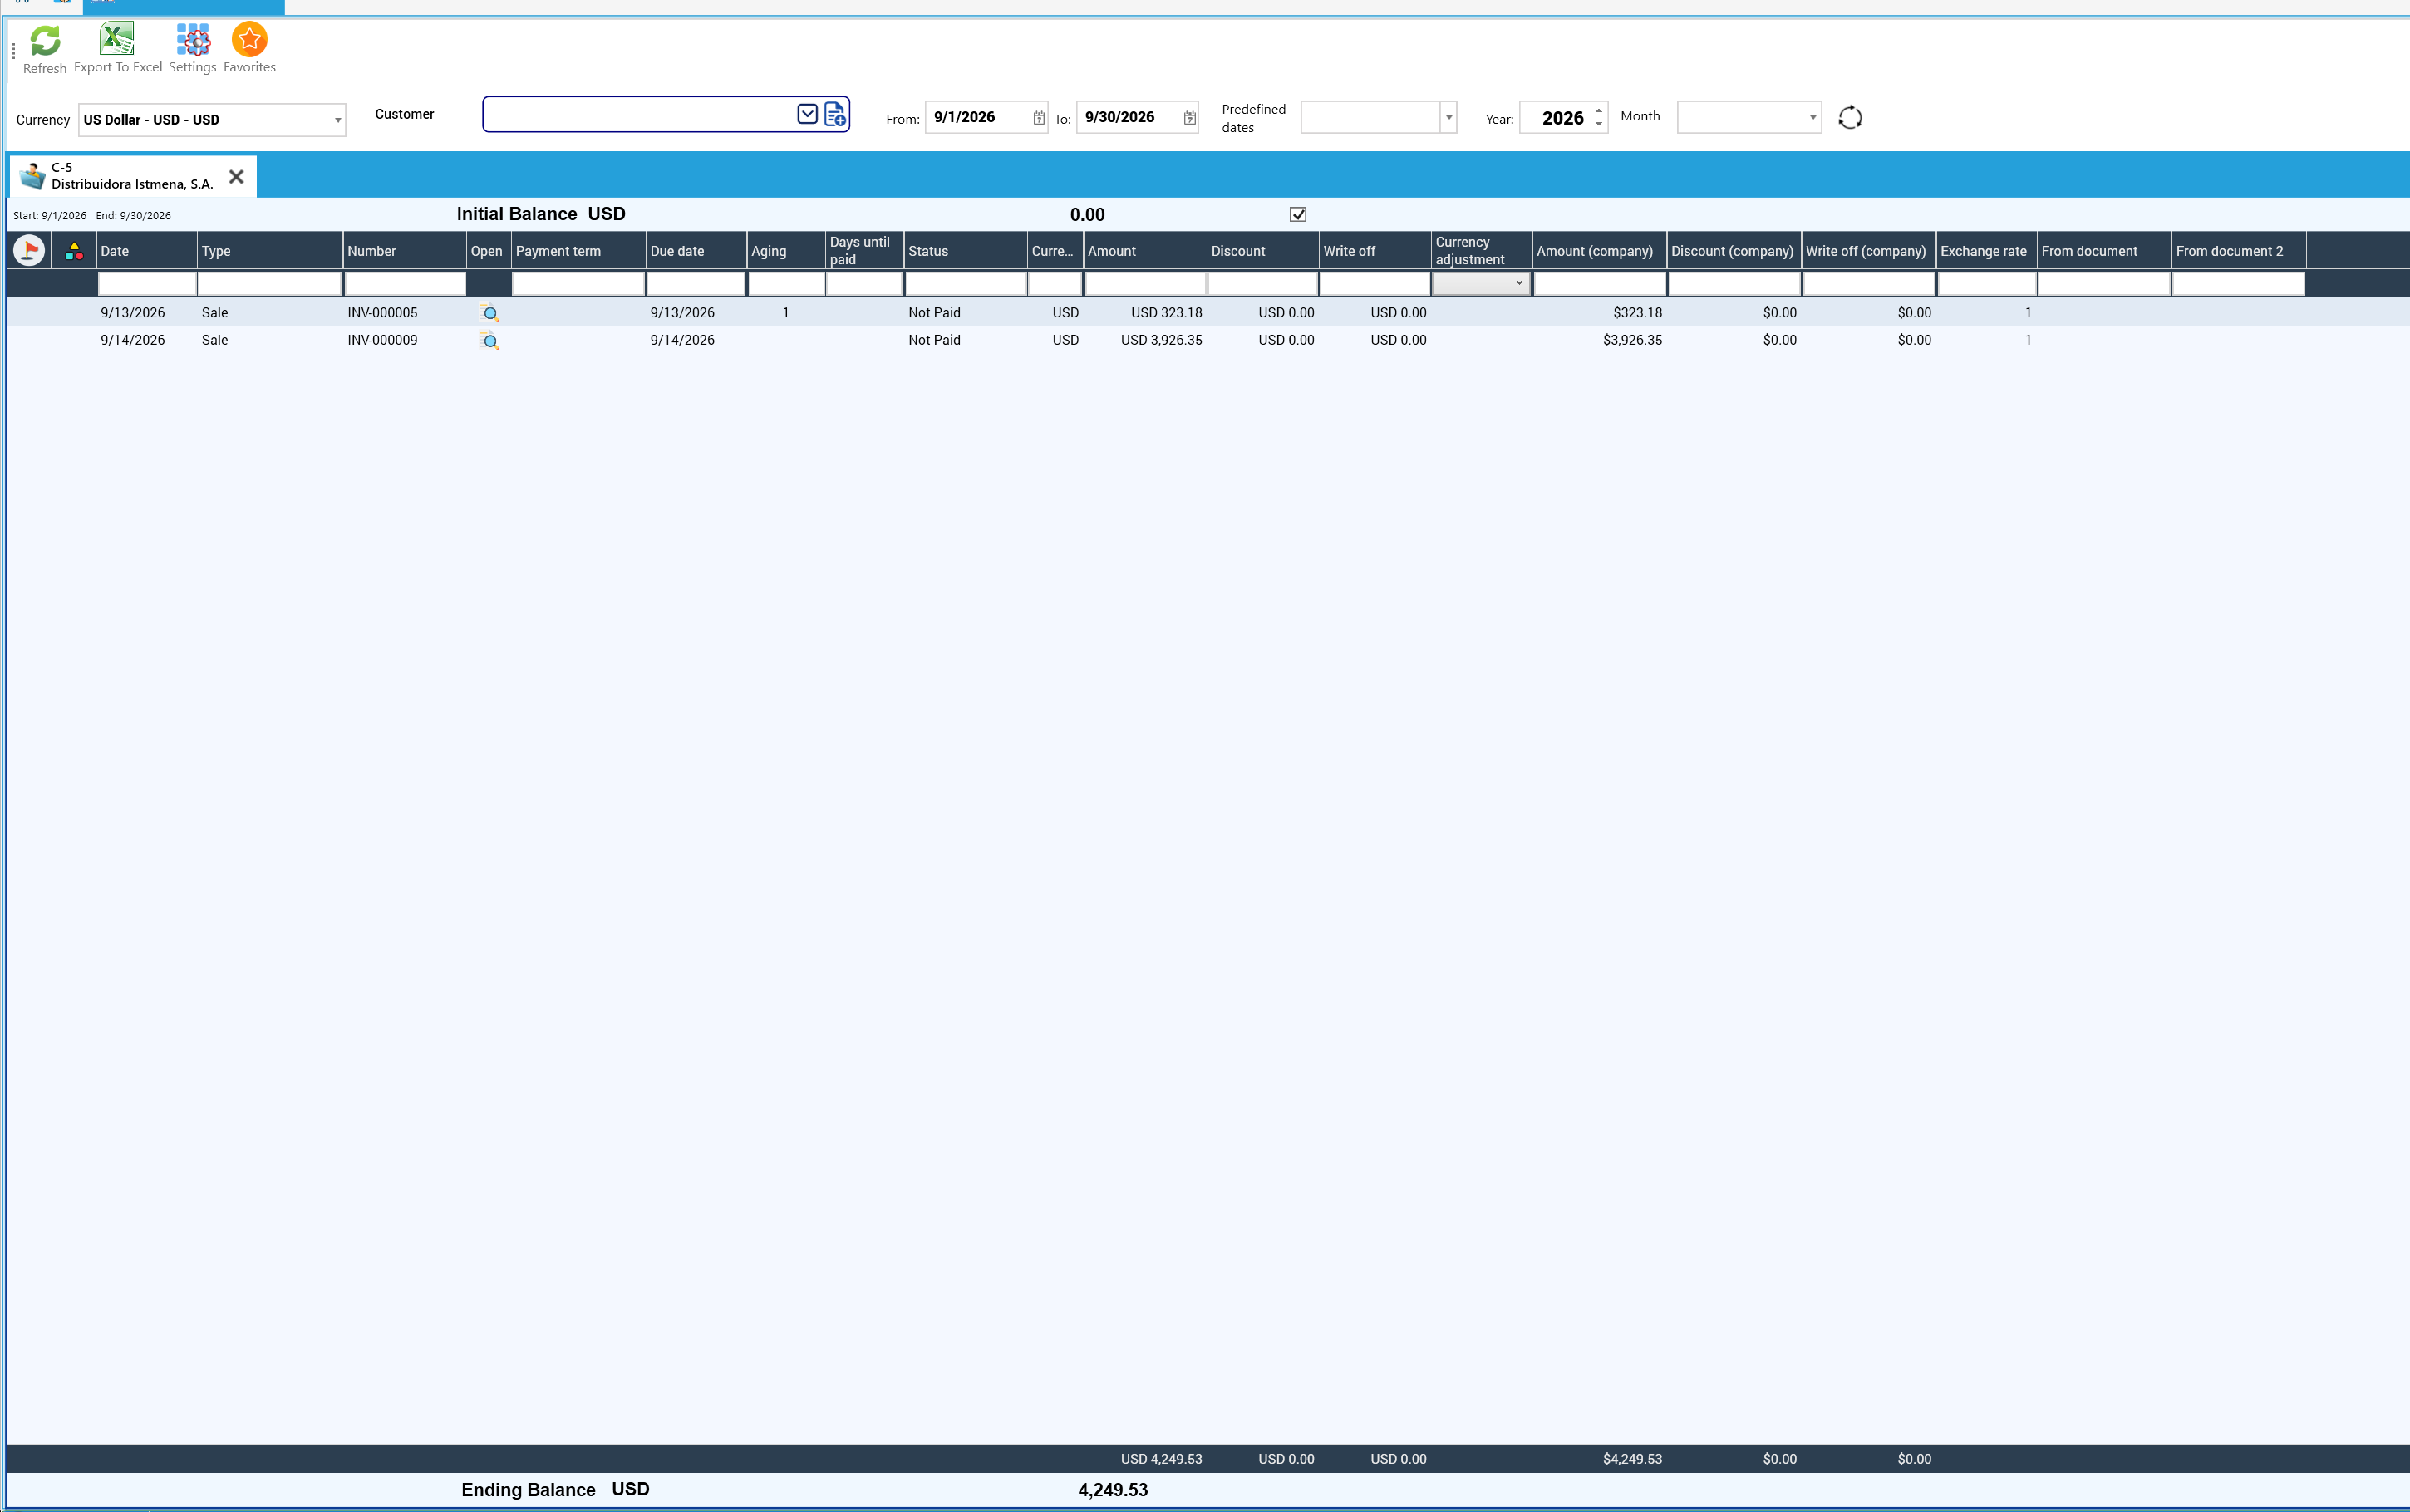
Vendor Register works the same way for a vendor (Sky Andina Cargo S.A.: four bills, ending balance 942.96):
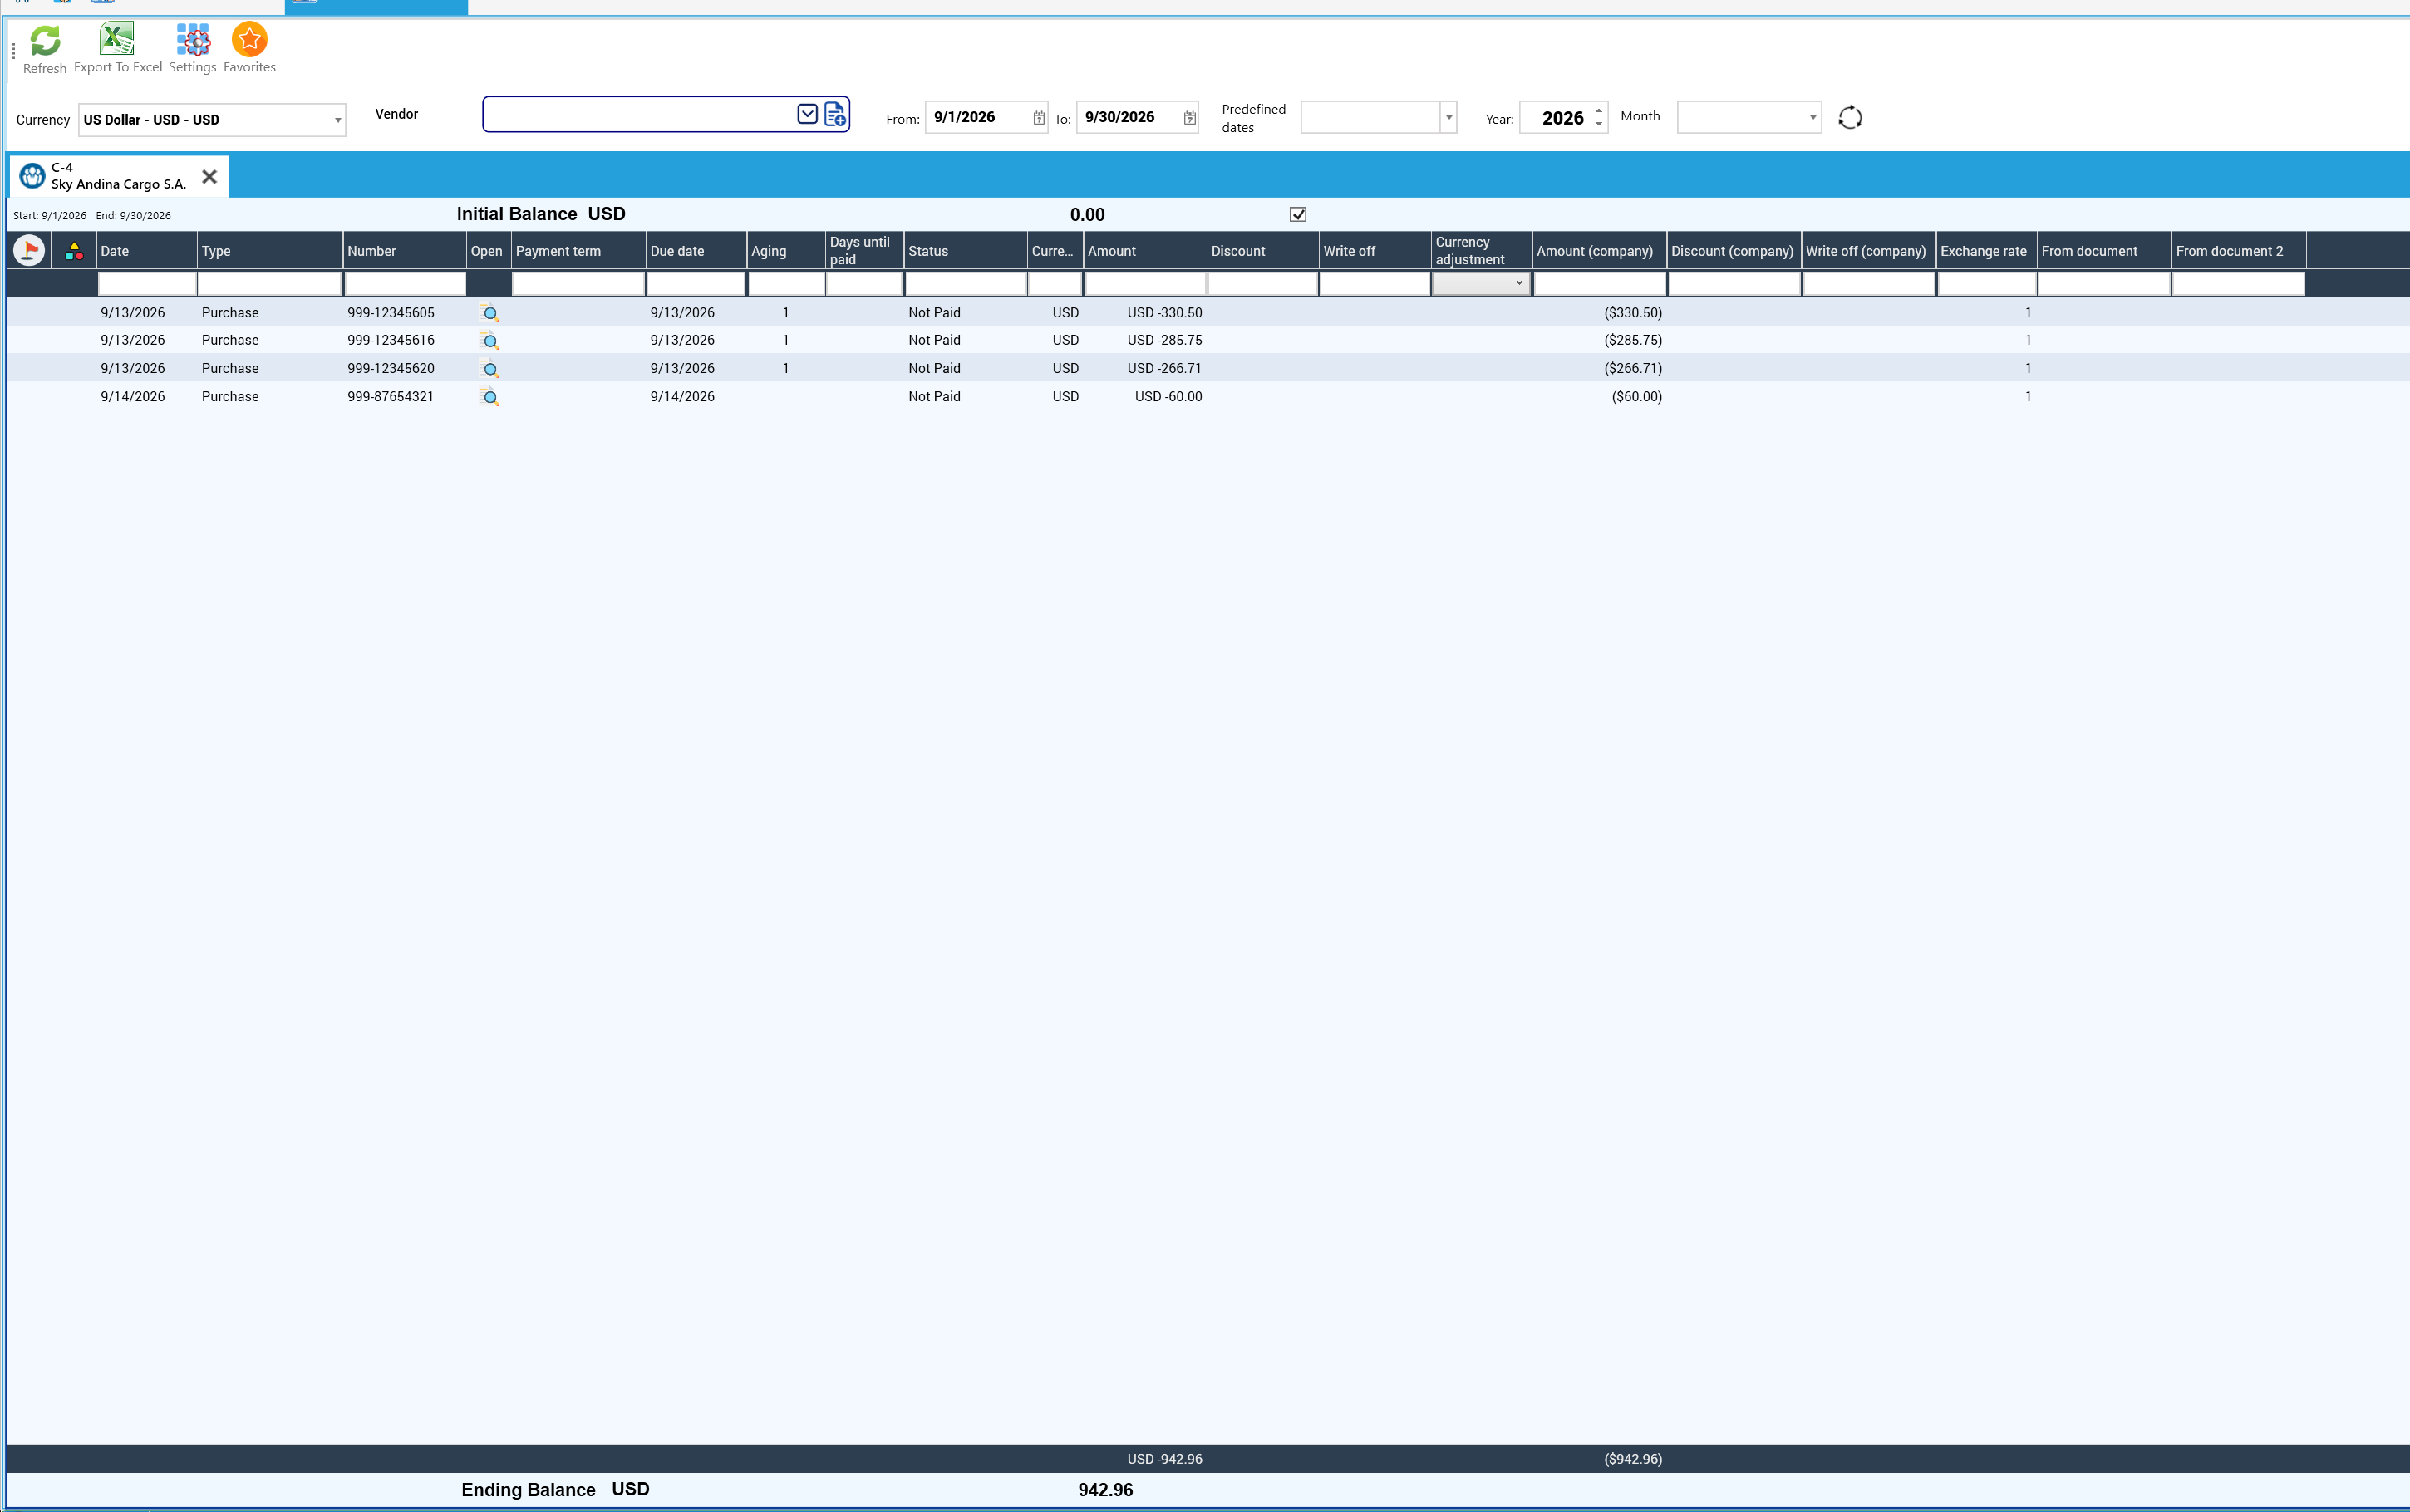
Tip: a customer's ending balance in the register must equal the customer's line in the A/R Aging Summary (section 10.3) and, added over all customers, the balance of Accounts receivable in the Balance Sheet. When they agree, the subledger and the ledger are in balance.
8.4 Foreign currency revaluation
Lesson — why revalue. An account in a foreign currency (a bank account in euros, an invoice to be collected in euros) is booked in your company currency at the rate of each transaction. At month-end the rate is different, so the balance in dollars no longer tells the truth. Revaluation restates the balance at the closing rate and books the difference as a foreign exchange gain or loss. It is an unrealized result: nothing was bought or sold, the value of what you hold changed.
In Accounting Explorer > Currency Revaluation choose the closing date and the rates. In the demo, at 9/30/2026 for EUR (buy 1.20 / sell 1.21): the EUR bank account holds 1,000.00 EUR, booked at 1,170.00 USD; at 1.20 it is worth 1,200.00 USD, so the adjustment is +30.00:

When you confirm, KeyTray posts the entry at the end of the closing day:
| Account | Debit | Credit |
|---|---|---|
| Bank of America - EUR account | 30.00 | |
| Foreign exchange gain | 30.00 |
The Revaluation Register keeps every closing revaluation with its rates, entries, gain, loss and net adjustment. A row opens the detail by account; Edit and Void act on the whole revaluation:
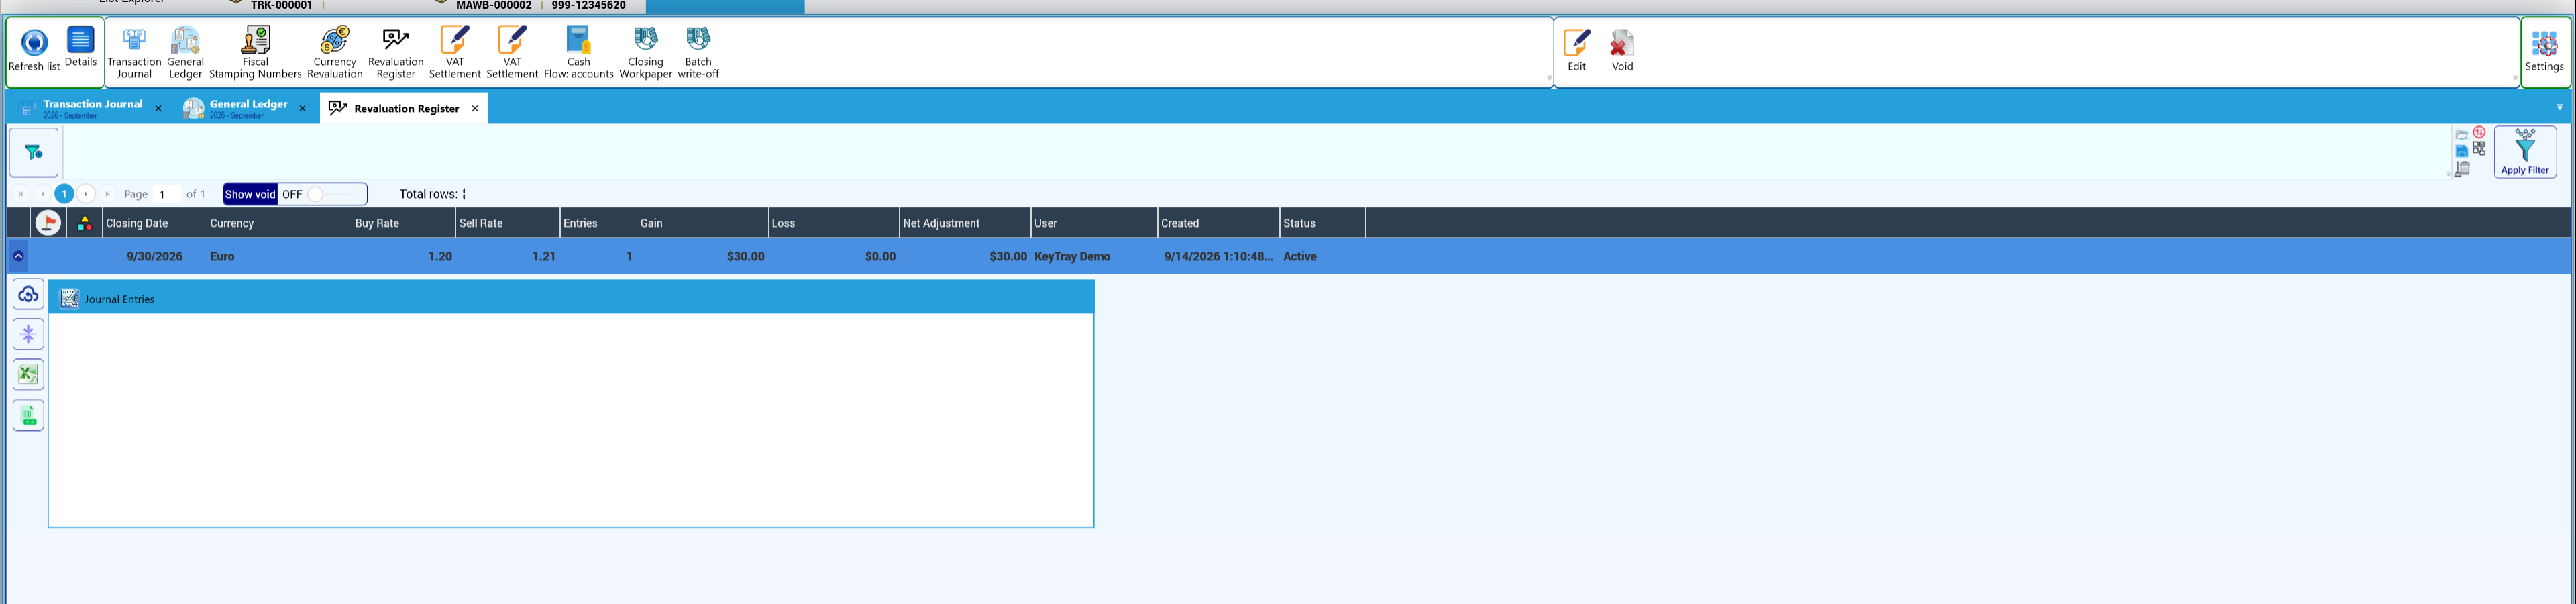
Which accounts KeyTray revalues
Lesson — an account's currency is declared, not guessed. An account is in a foreign currency because it was defined that way, not because most of its movements happen to be in dollars. KeyTray revalues everything that has a declared foreign currency.
- Banks and cash accounts: by the currency of the bank account.
- Customers and vendors: by the currency of each customer or vendor, one by one.
- Chart of accounts accounts (loans, dividends payable, guarantee deposits...): by the account currency, chosen next to the account type in Business Elements > Chart Of Accounts. Empty, the account accepts any currency. With a currency chosen, the account only accepts entries in that currency and is included in the revaluation, unless its Revalue foreign currency balance box is unchecked (see section 8.12).
An account without a chosen currency is still revalued if all its movements are in the foreign currency, or if the movements in other currencies cancel each other out. That is only a safety net for older accounts: if the account is in a foreign currency, choose its currency. A single adjustment in the company currency on an account without a chosen currency is enough for the safety net to leave it out.
How the adjustment is calculated
- Balance in currency: the sum of the movements recorded in that currency, and only those.
- Current balance (company currency): the sum of all the account's movements, including adjustments recorded directly in the company currency.
- Target (balance x rate): the balance in currency times the closing exchange rate. KeyTray uses the buying rate when the balance is a debit (what you own or are owed) and the selling rate when it is a credit (what you owe).
- Adjustment: target minus current balance. The offset goes to the exchange gain or exchange loss account configured for the currency.
If the balance in currency is zero but a residue remains in the company currency (everything was collected or paid at another rate), the adjustment takes that residue to zero: it is exchange difference of the year. Only a residue that already existed when the fiscal year opened, with no foreign currency left, is kept.
If a foreign currency account is missing from the list
When you calculate, the accounts that have a balance in the currency but are not taken by the revaluation are shown apart, in the yellow box below the list, with the reason for each one: a bank set up in another currency, or an account without a chosen currency that also has movements in other currencies. If any of them is really in the foreign currency, follow these steps:
- Open the account in Business Elements > Chart Of Accounts, choose its currency and save.
- If the account already has movements, KeyTray lets you choose the currency only when the history does not contradict it: every movement in that currency, plus adjustments in the company currency. With movements in a third currency, or if the account already had another currency, it cannot be changed.
- Calculate the revaluation again: the account appears with its adjustment.
- If the account was missing from months already revalued, the next revaluation brings the whole backlog at once. To spread it month by month, void the revaluations from the first missing month on and redo them in order: KeyTray does not allow a revaluation dated before another one that is still active.
Warning: do not choose a foreign currency for accounts that are really in the company currency even if they receive documents in dollars (sales tax, withholdings, local currency banks). They would be revalued when they should not, and from then on KeyTray would reject entries in the company currency on that account.
Accounts that are not revalued: the "Revalue foreign currency balance" box
Lesson — not everything in dollars is revalued. Revaluation updates what will be collected or paid in money: banks, cash, customers, vendors, loans. An advance is different: the customer already paid and you owe a service, not dollars. The accounting standard (IAS 21) treats it as a non-monetary item: it stays at the rate of the day it was received and produces no exchange difference at closing.
Each account of the chart decides whether it is revalued. In Business Elements > Chart of Accounts, open the account and use the Revalue foreign currency balance box:
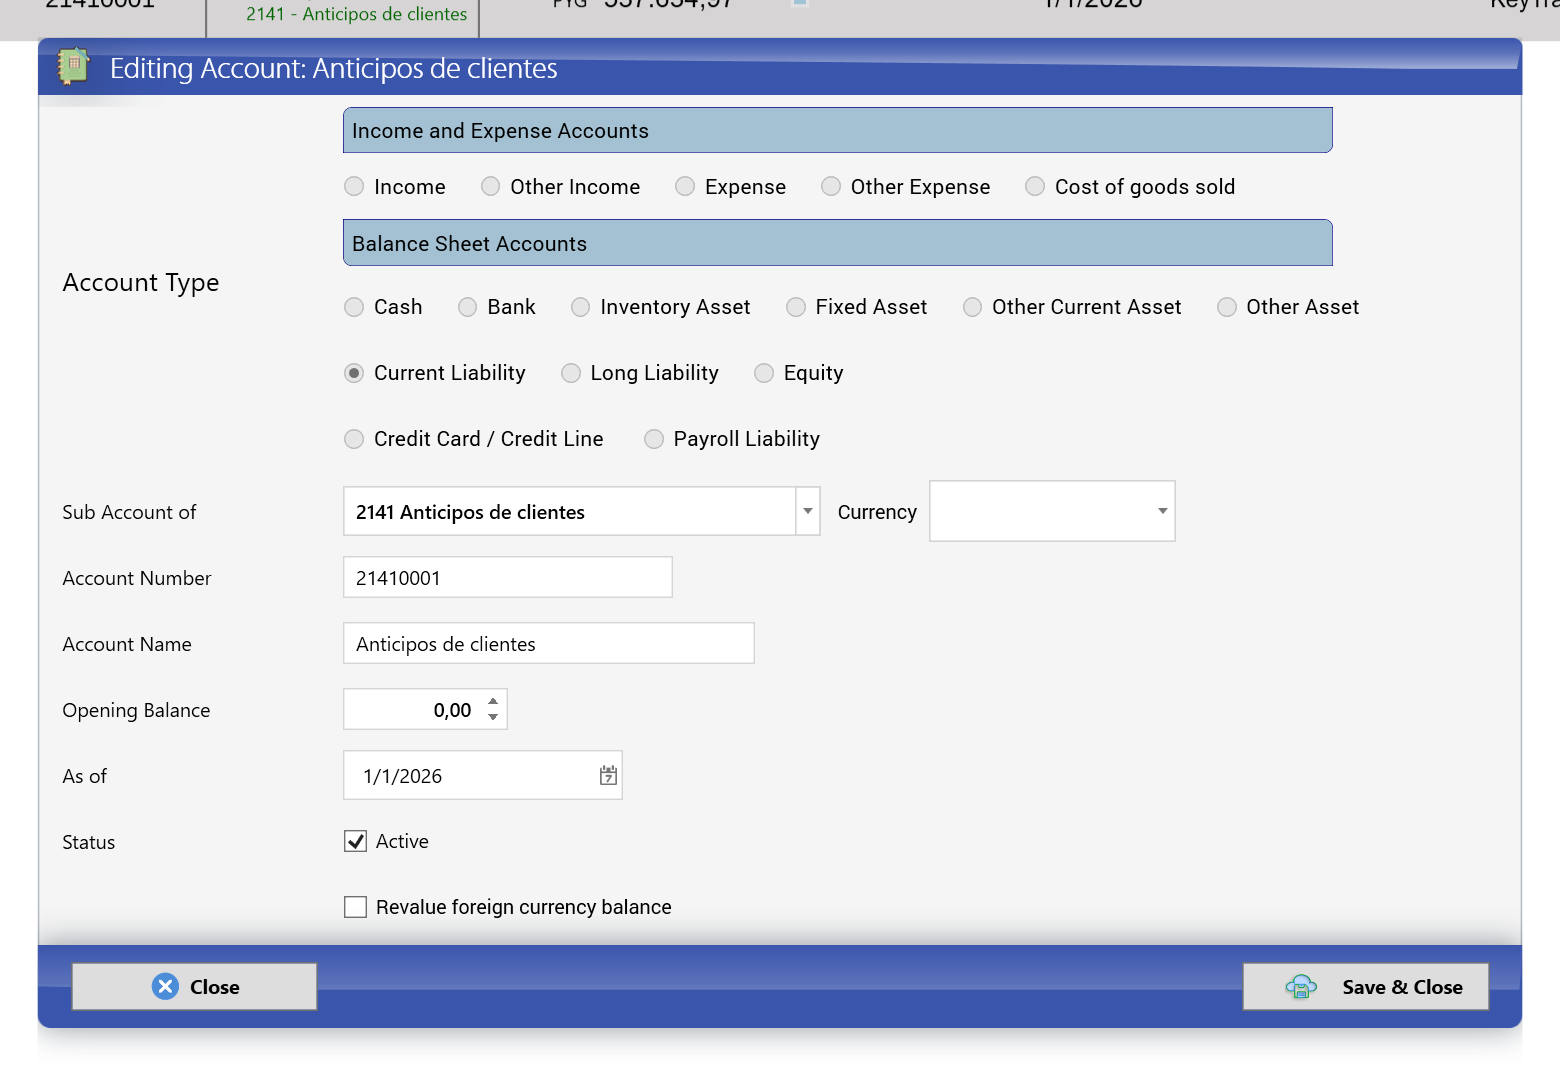
- Checked (as always): the revaluation takes the account when it has a foreign currency balance.
- Unchecked: the revaluation leaves it out. When you calculate, the account appears in the yellow box with the reason Marked "do not revalue" in the account settings.
Advances accounts are proposed unchecked (see section 8.12). Uncheck only the accounts your accountant considers non-monetary.
Good practice: revalue once per month, after all the month's documents are entered and before closing the period. If you correct a document later, void the revaluation, correct, and revalue again, so the gain or loss is never counted twice.
Careful — Argentina: in your company the current balance and the target are expressed in pesos; ask your accountant which closing exchange rate to use (section 3.3).
Careful: when you expand a revaluation in the Revaluation Register, its list of journal entries can come out empty even though the revaluation did post its entry. To see it, use the General Ledger of the revalued account (see Appendix B).
8.5 VAT (IVA) settlement
Lesson — the tax you collect is not yours. The IVA you charge on an invoice is held on behalf of the government: it goes to a liability account, the output tax (21210001 - IVA debito fiscal 21%). The IVA you pay on your purchases, when it can be deducted, is an asset, the input tax (11310001 - IVA credito fiscal 21%). Every month both are compared: IVA payable = output tax − input tax; if the input tax is larger, the balance in your favor carries forward to the following months. With those figures your accountant files the IVA return with ARCA (section 3.2).
This is the only section of the chapter with screenshots of Cargo Masters Argentina: the settlement of September 2026, with the two documents of chapter 5.
Accounting Explorer > VAT Settlement. The options on the left are Period settlement, Settlements and Settings.
Period settlement. Type Period: from 1/9/2026 to 30/9/2026 and click Calculate:
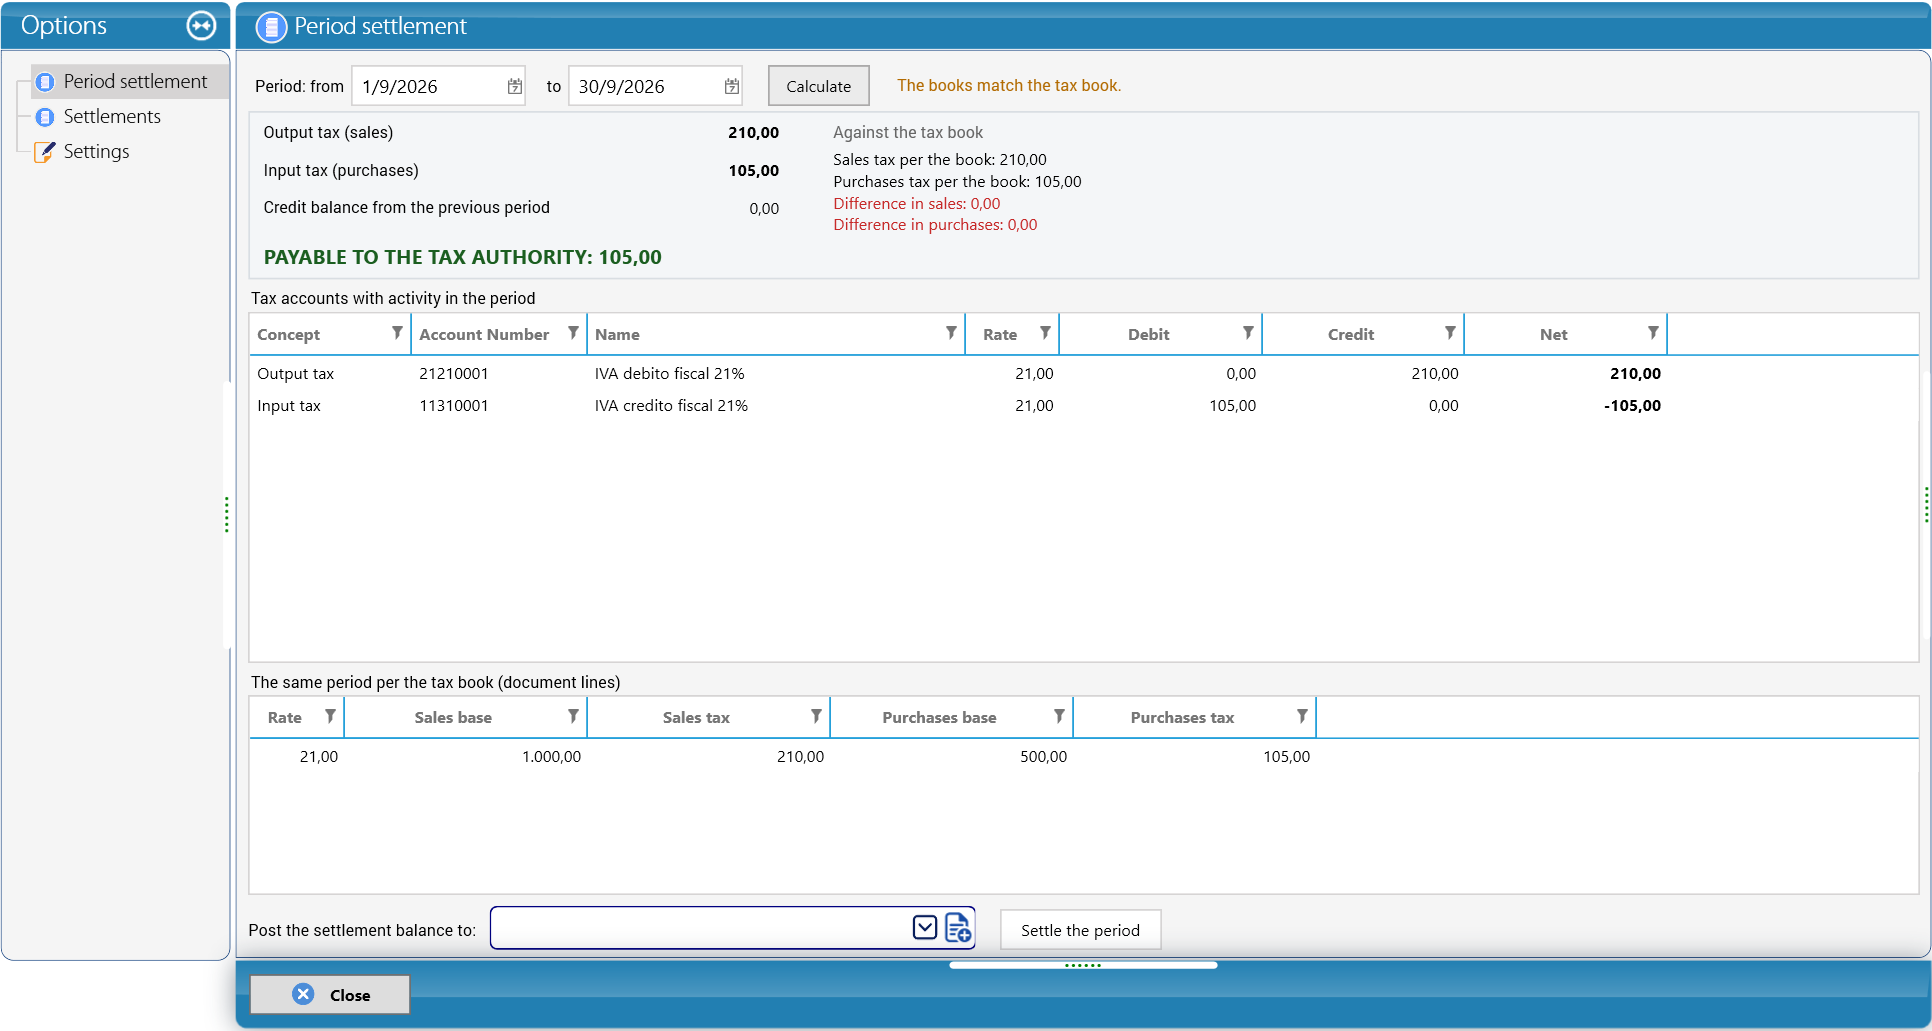
- Output tax (sales): 210,00. Input tax (purchases): 105,00. Credit balance from the previous period: 0,00.
- PAYABLE TO THE TAX AUTHORITY: 105,00 (210,00 − 105,00).
- Against the tax book: Sales tax per the book: 210,00, Purchases tax per the book: 105,00, and, in red, Difference in sales: 0,00 and Difference in purchases: 0,00. Next to Calculate, in orange: "The books match the tax book."
- Tax accounts with activity in the period:
| Concept | Account Number | Name | Rate | Debit | Credit | Net |
|---|---|---|---|---|---|---|
| Output tax | 21210001 | IVA debito fiscal 21% | 21,00 | 0,00 | 210,00 | 210,00 |
| Input tax | 11310001 | IVA credito fiscal 21% | 21,00 | 105,00 | 0,00 | -105,00 |
- The same period per the tax book (document lines):
| Rate | Sales base | Sales tax | Purchases base | Purchases tax |
|---|---|---|---|---|
| 21,00 | 1.000,00 | 210,00 | 500,00 | 105,00 |
- At the bottom: Post the settlement balance to: (empty), Settle the period and Close.
Where the figures come from: the output tax is the IVA of sales invoice INV-000001 to Distribuidora Pampeana (210.00 on a base of 1,000.00) and the input tax is the IVA of bill F-AR-0001 from Transportes del Litoral (105.00 on a base of 500.00). It is the same calculation as the IVA return in section 5.8: 210.00 − 105.00 = 105.00 payable to ARCA. Because September only had transactions at 21%, the screenshot shows a single rate; remember that each rate has its own pair of accounts (section 3.2).
All the amounts on this screen use the number format of Cargo Masters Argentina: a point for thousands and a decimal comma (1.000,00, 210,00).
Why it matters: if Difference in sales or Difference in purchases is not 0.00, the balance of the tax accounts does not agree with the IVA on the document lines. Before preparing the IVA return, find out with your accountant where the difference comes from.
To post the settlement, choose in Post the settlement balance to: the account where the balance will stay and click Settle the period. Your accountant decides which account to use.
Settlements lists the settlements already posted. The screenshot below was taken in Cargo Masters USA, where no period had been settled yet, so both grids are empty. At the top are the Show voided checkbox (ticked in the screenshot), which includes the voided settlements in the list, and the buttons Refresh list and Void settlement (greyed out in the screenshot). The columns are No., From, To, Output tax, Input tax, Prior credit, Payable, Credit carried forward, Journal entry, Balance account, Voided, Form and User (the last ones are further to the right: in the screenshot Voided is cut off). Below, Details of the selected settlement shows the lines of the settlement you select, with the columns Concept, Account Number, Name, Rate, Debit, Credit and Net:
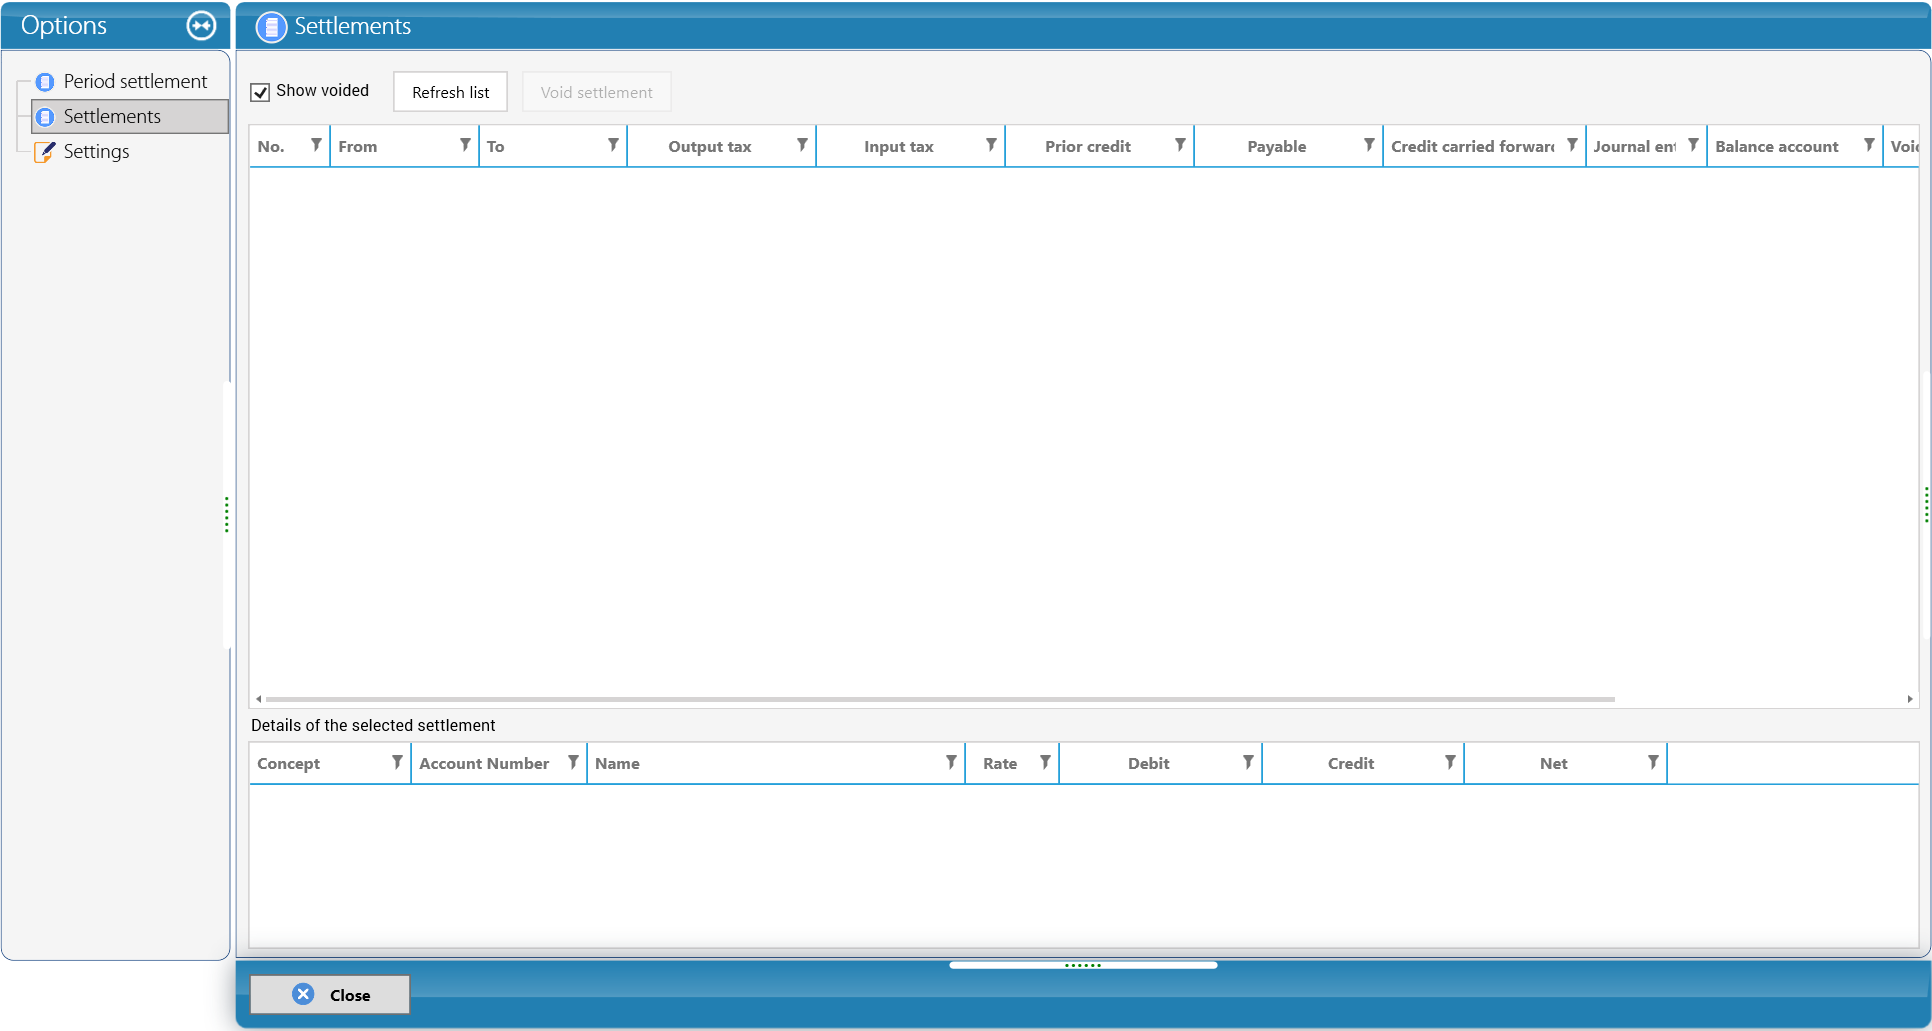
Settings shows whether KeyTray has a VAT return form configured for the country. In Cargo Masters Argentina it says "This country has no VAT return form configured: the generic settlement is used.": the settlement compares the accounting with the tax book, without the boxes of an official form. The return is prepared with those figures in the tax authority's system.
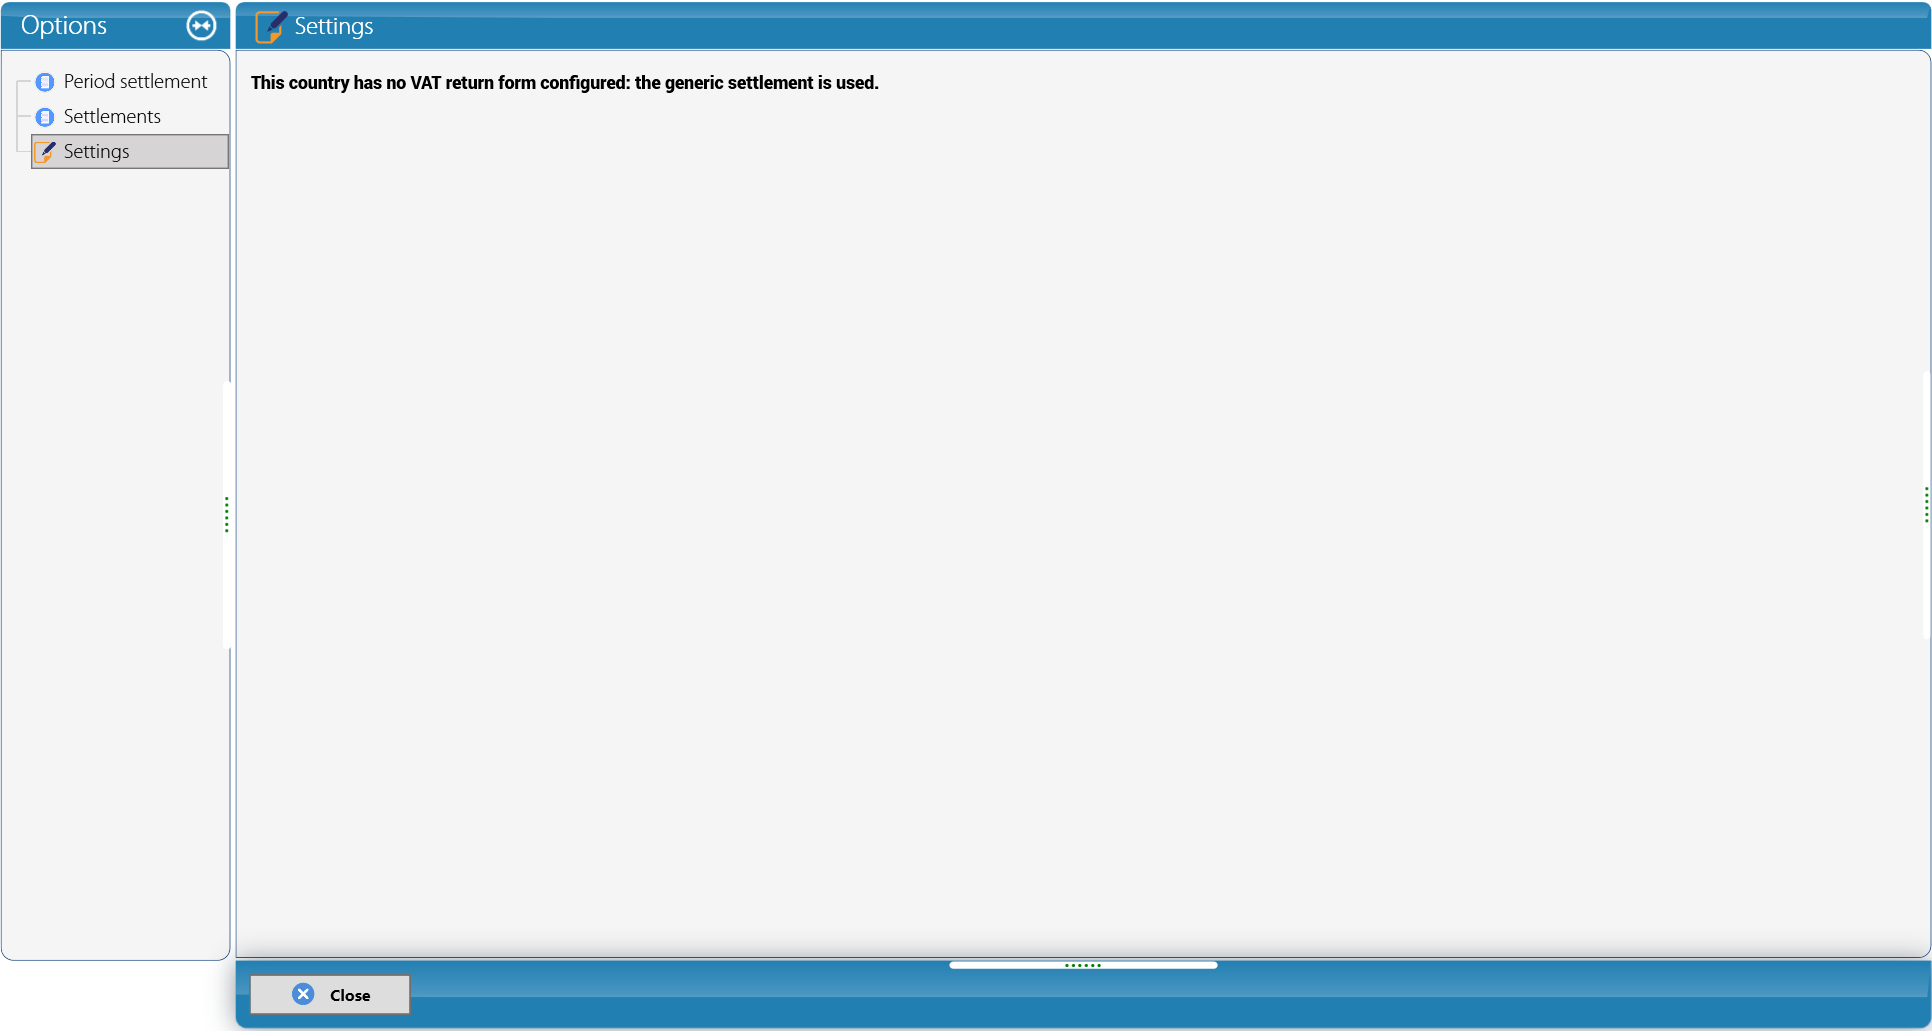
8.6 Bank deposits of deferred checks
A check received with the Deferred check payment method is not money in the bank yet: it waits in a portfolio until its date. Operations > Make Deposit opens that portfolio; select the checks, the bank account and the credit date, and deposit them. The registered deposits are listed below, where you can void them or change the exchange rate:
Careful: in an English session this screen still shows most of its texts in Spanish (in the US screenshot: Cartera de cheques diferidos, the deferred checks portfolio; Depositar en, deposit in; Fecha de acreditación, credit date; Depositar seleccionados, deposit selected), and Make Deposit opens only this portfolio: it does not offer an ordinary deposit (see Appendix B).
8.7 Bank reconciliation
Lesson — two records of the same money. The bank keeps its record of your account and you keep yours. They differ for timing (a check you wrote that the bank has not paid yet, a deposit in transit) and for errors or charges you have not recorded. Reconciling means matching both records line by line and explaining every difference. An unreconciled bank account is the most common hiding place for mistakes and fraud.
Operations > Banking > Reconcile Banking Accounts opens the screen. Pick the Bank Account at the top left. Each reconciliation is a bank statement (a period, with an opening and a closing balance) compared with the ledger of that account; the Statement box lists the account's statements, with the number of lines still to resolve in brackets.
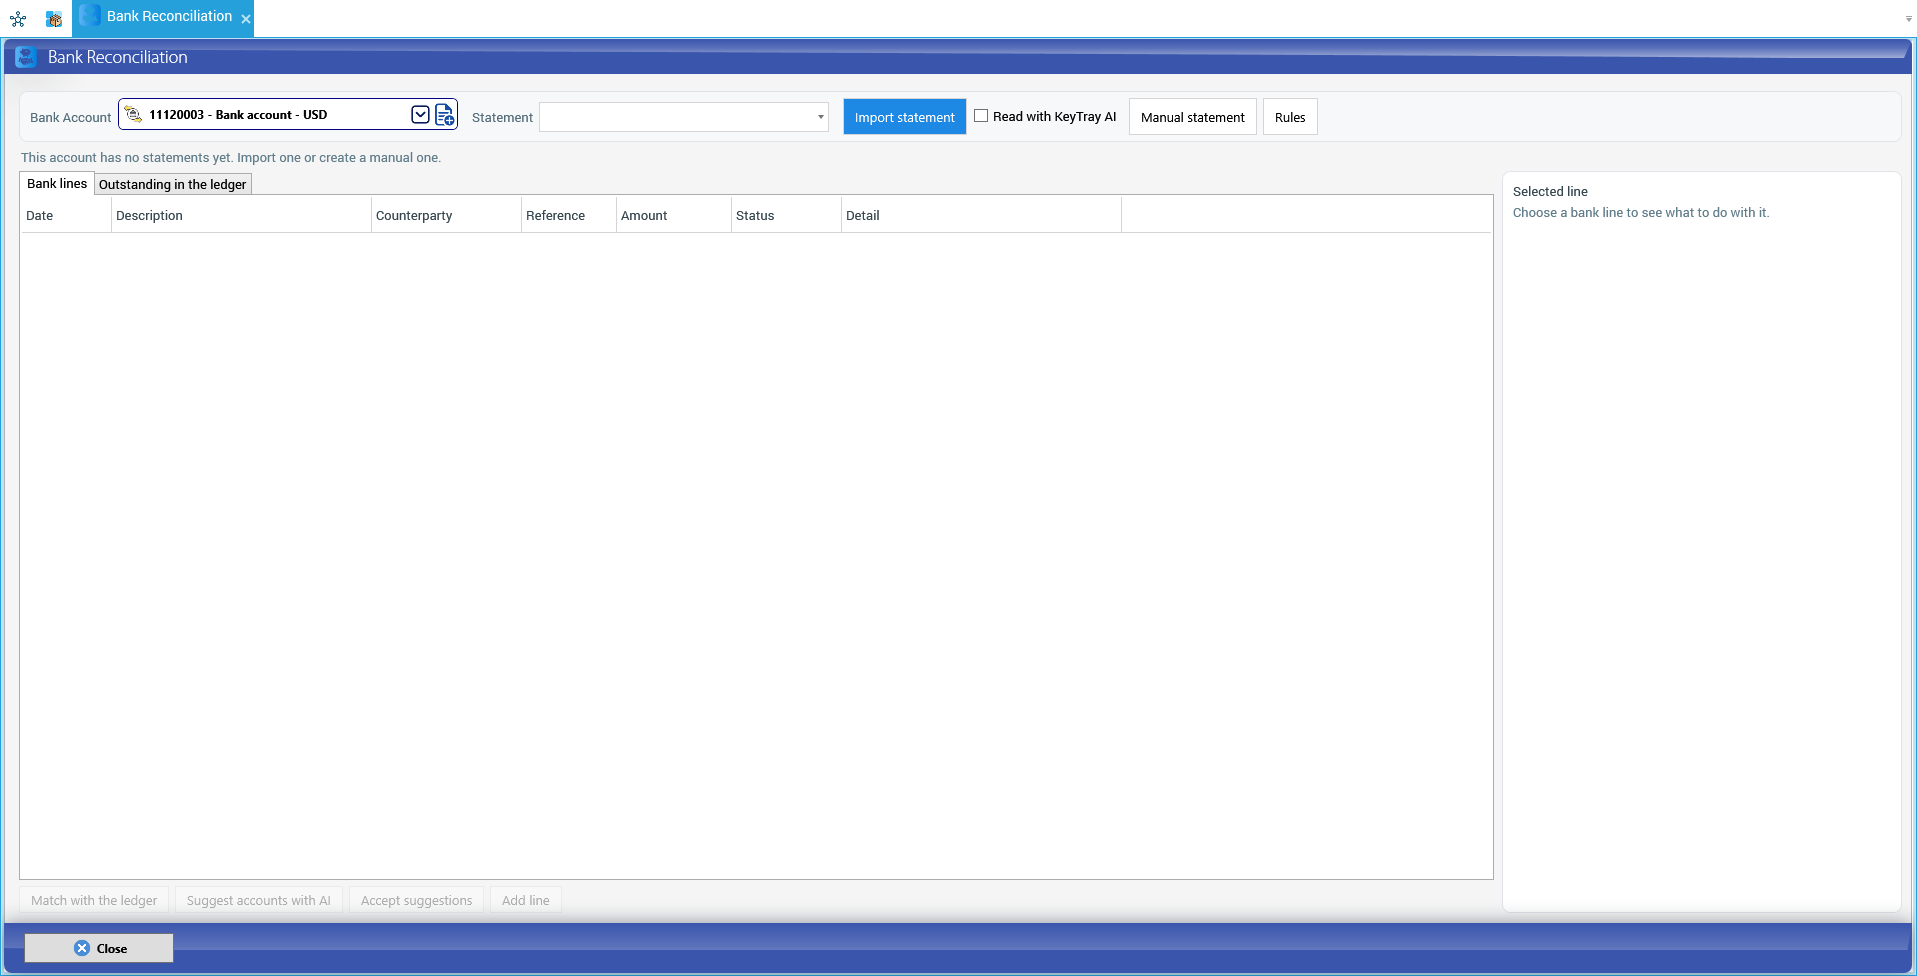
You can work without AI (Excel, CSV, OFX or manual entry, plus rules) or with KeyTray AI (it reads a PDF or a photo of the statement and suggests accounts). AI is optional: the Owner turns it on in My Company, with a monthly spending limit.
Bringing in the statement
There are three ways:
- Import statement with the file your bank gives you: Excel (.xlsx), CSV or OFX/QFX. No AI involved. With an Excel or CSV file, KeyTray shows File columns: a preview and which column is the date, the description, the debit, the credit, the balance, the reference, the counterparty and the check number. It proposes everything; review it and click Import. That reading setup is saved for the bank account: next time it comes ready.
- PDF or image of the statement: only with KeyTray AI (see below). The Read with KeyTray AI box makes an Excel or CSV file go through the AI too.
- Manual statement: you type the header (bank, from, to, opening and closing balance) and add the lines with Add line.
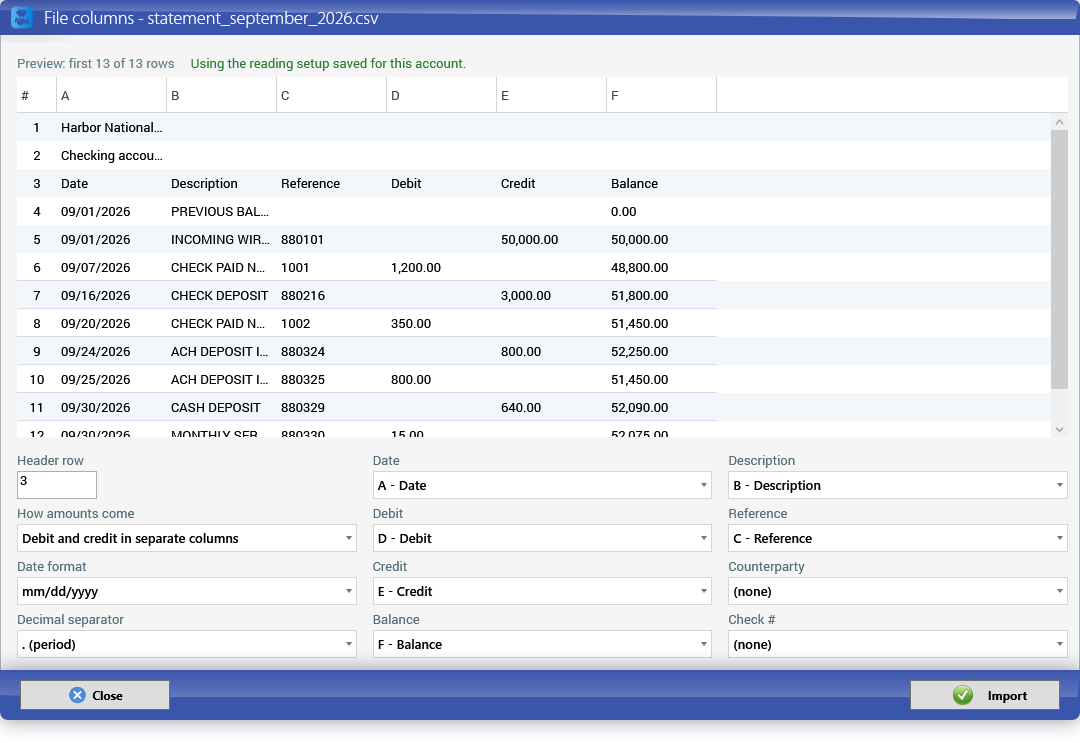
In Date format, Automatic looks at the whole column: if any day is greater than 12, it knows whether the file is month/day or day/month. If every date is ambiguous (1 to 12), choose it yourself.
When importing, KeyTray warns in orange about what deserves a look: rows it ignored (titles, totals, previous balance), an opening balance that does not match the previous statement's closing balance, a currency different from the account's, or movements that were already imported (it does not repeat them). It will not load two statements of the same account whose dates overlap.
The example: September
The September statement of account 11120003 - Bank account - USD has nine lines:
| Date | Description | Amount |
|---|---|---|
| 09/01/2026 | INCOMING WIRE CAPITAL CONTRIBUTION | 50,000.00 |
| 09/07/2026 | CHECK PAID NO. 1001 | −1,200.00 |
| 09/16/2026 | CHECK DEPOSIT | 3,000.00 |
| 09/20/2026 | CHECK PAID NO. 1002 | −350.00 |
| 09/24/2026 | ACH DEPOSIT IN ERROR | 800.00 |
| 09/25/2026 | ACH DEPOSIT IN ERROR REVERSAL | −800.00 |
| 09/30/2026 | CASH DEPOSIT | 640.00 |
| 09/30/2026 | MONTHLY SERVICE FEE | −15.00 |
| 09/30/2026 | CHECKBOOK CHARGE | −25.00 |
Opening balance 0.00, closing balance 52,050.00. On import, KeyTray matches what it can on its own and tells you: 4 line(s) matched with the ledger.
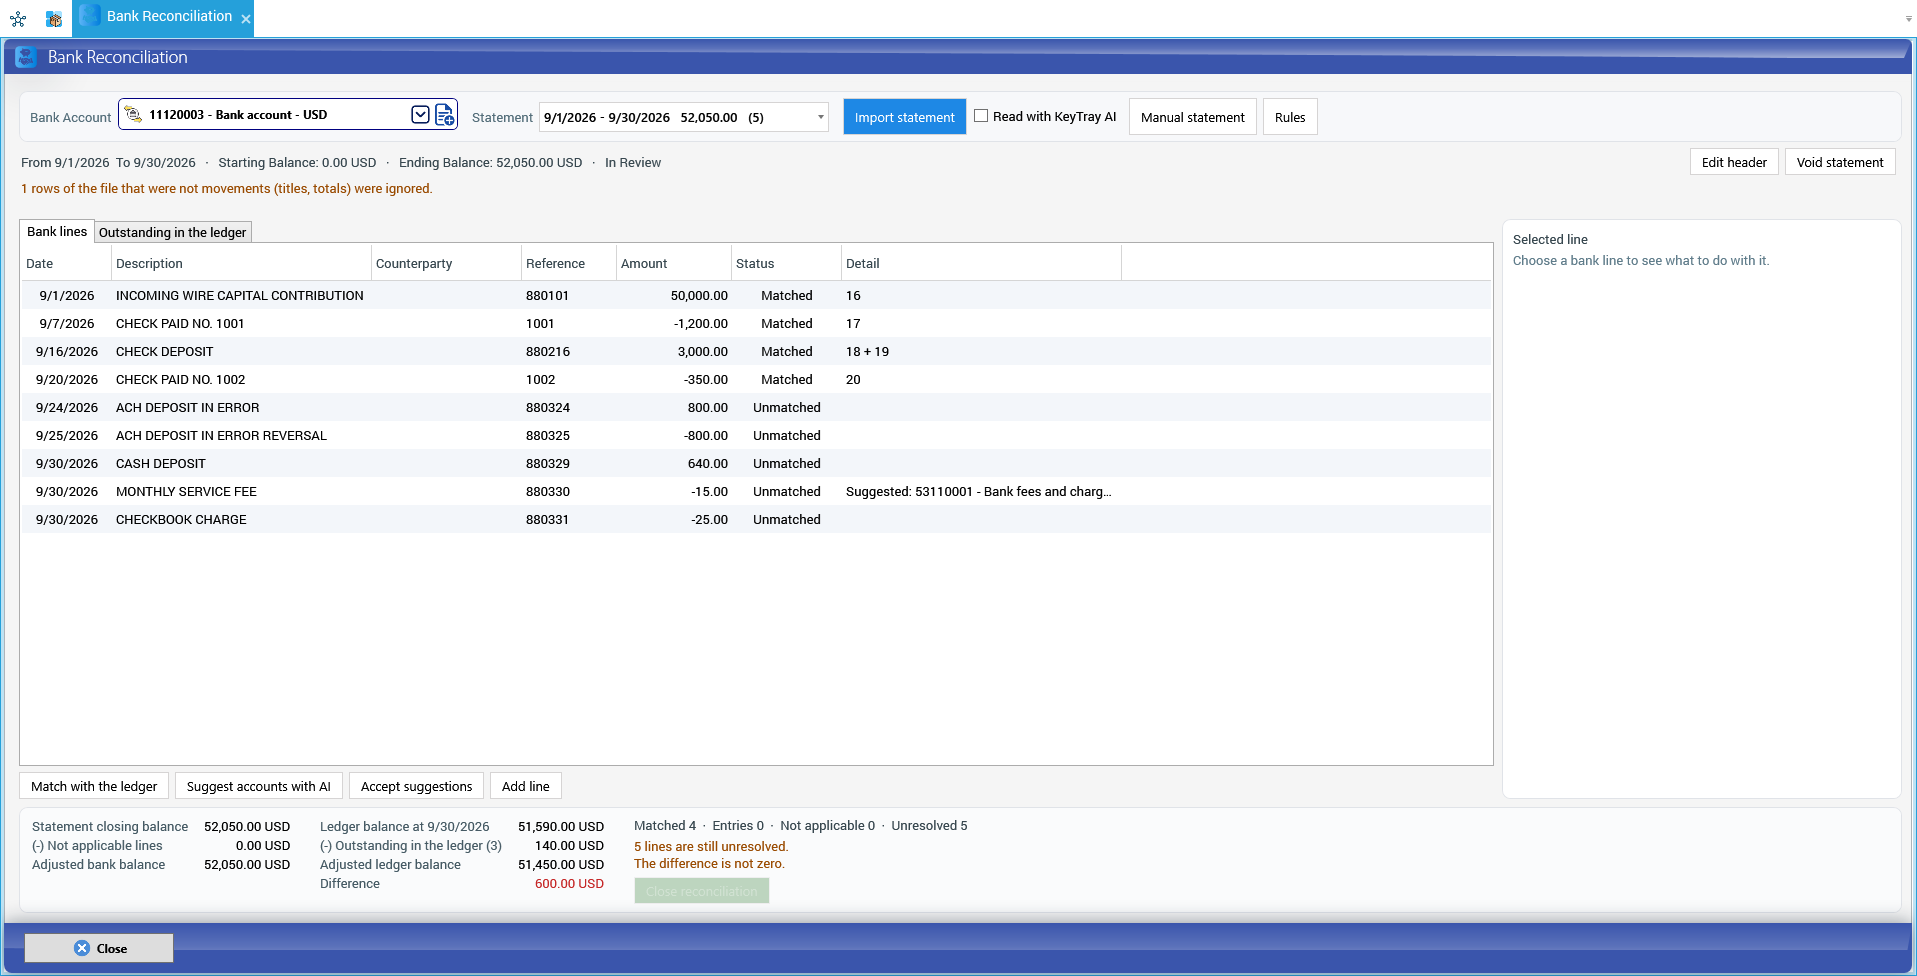
Automatic matching looks in the account's ledger for:
- One movement for the same amount, booked up to 45 days before or 10 days after the bank date (the check the vendor takes time to cash, the deposit booked late). If the line has a check number, the movement with that number wins; otherwise, the closest date.
- Several collections that add up to one deposit: up to four movements of the same sign, from 10 days before to 3 days after. That is how the CHECK DEPOSIT of 3,000.00 was matched against the two customer checks of 1,800.00 and 1,200.00 deposited together: the Detail column shows 18 + 19, the two entries.
The Status column says Matched, Unmatched, Entry created or Not applicable. The service fee already shows Suggested: 53110001 - Bank fees and charges (rule): a rule prepared it (see Rules). Match with the ledger runs the automatic matching again, for example after you record a missing receipt.
Outstanding in the ledger
The Outstanding in the ledger tab shows the opposite: what the ledger has up to the statement date that the bank has not shown yet. In the example, two cash collections on 09/12 (400.00 and 240.00) and the Transfer to petty cash on 09/29 (−500.00).
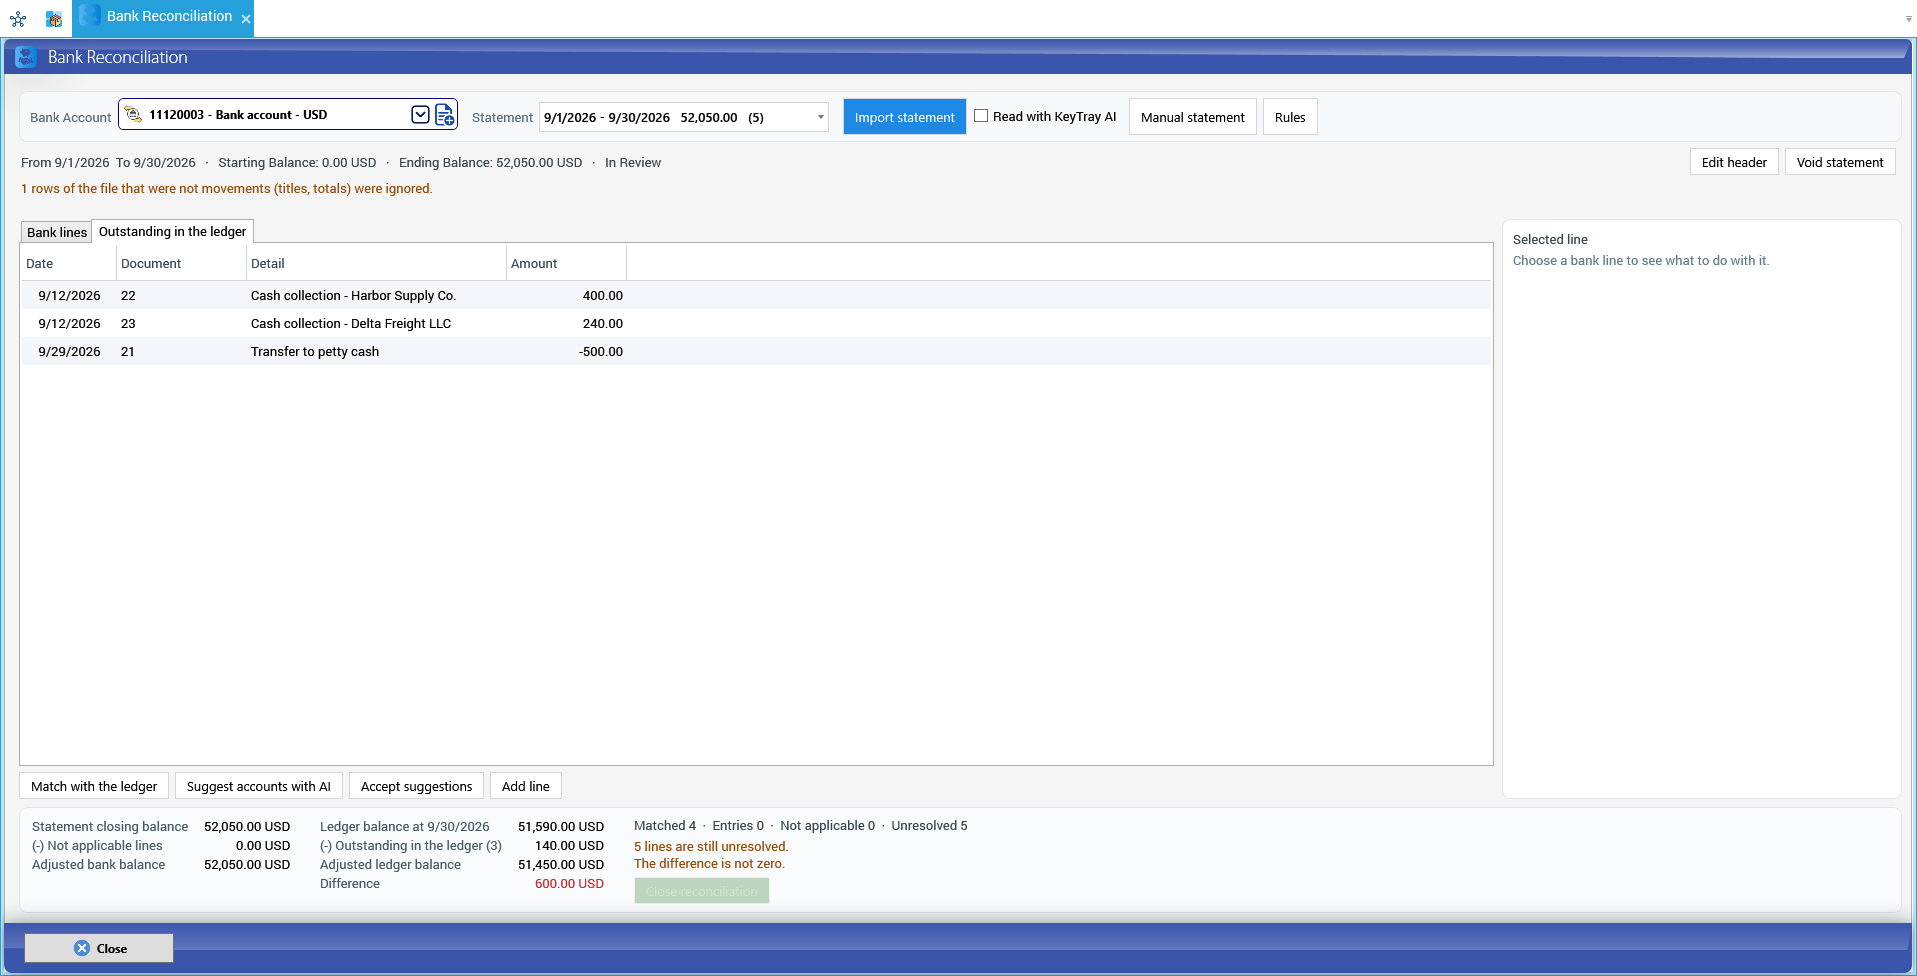
Resolving each line
Pick a line and the Selected line panel on the right offers three ways out:
Match with ledger movements. The candidates are the account's movements not matched yet, sorted by how close the amount and date are. Select one, or several with Ctrl+click; below you see Selected and Missing. When they add up exactly to the line, click Match selected. In the example, the CASH DEPOSIT of 640.00 is the two collections of 09/12 (400.00 + 240.00): they were deposited 18 days later, too far apart for automatic matching.
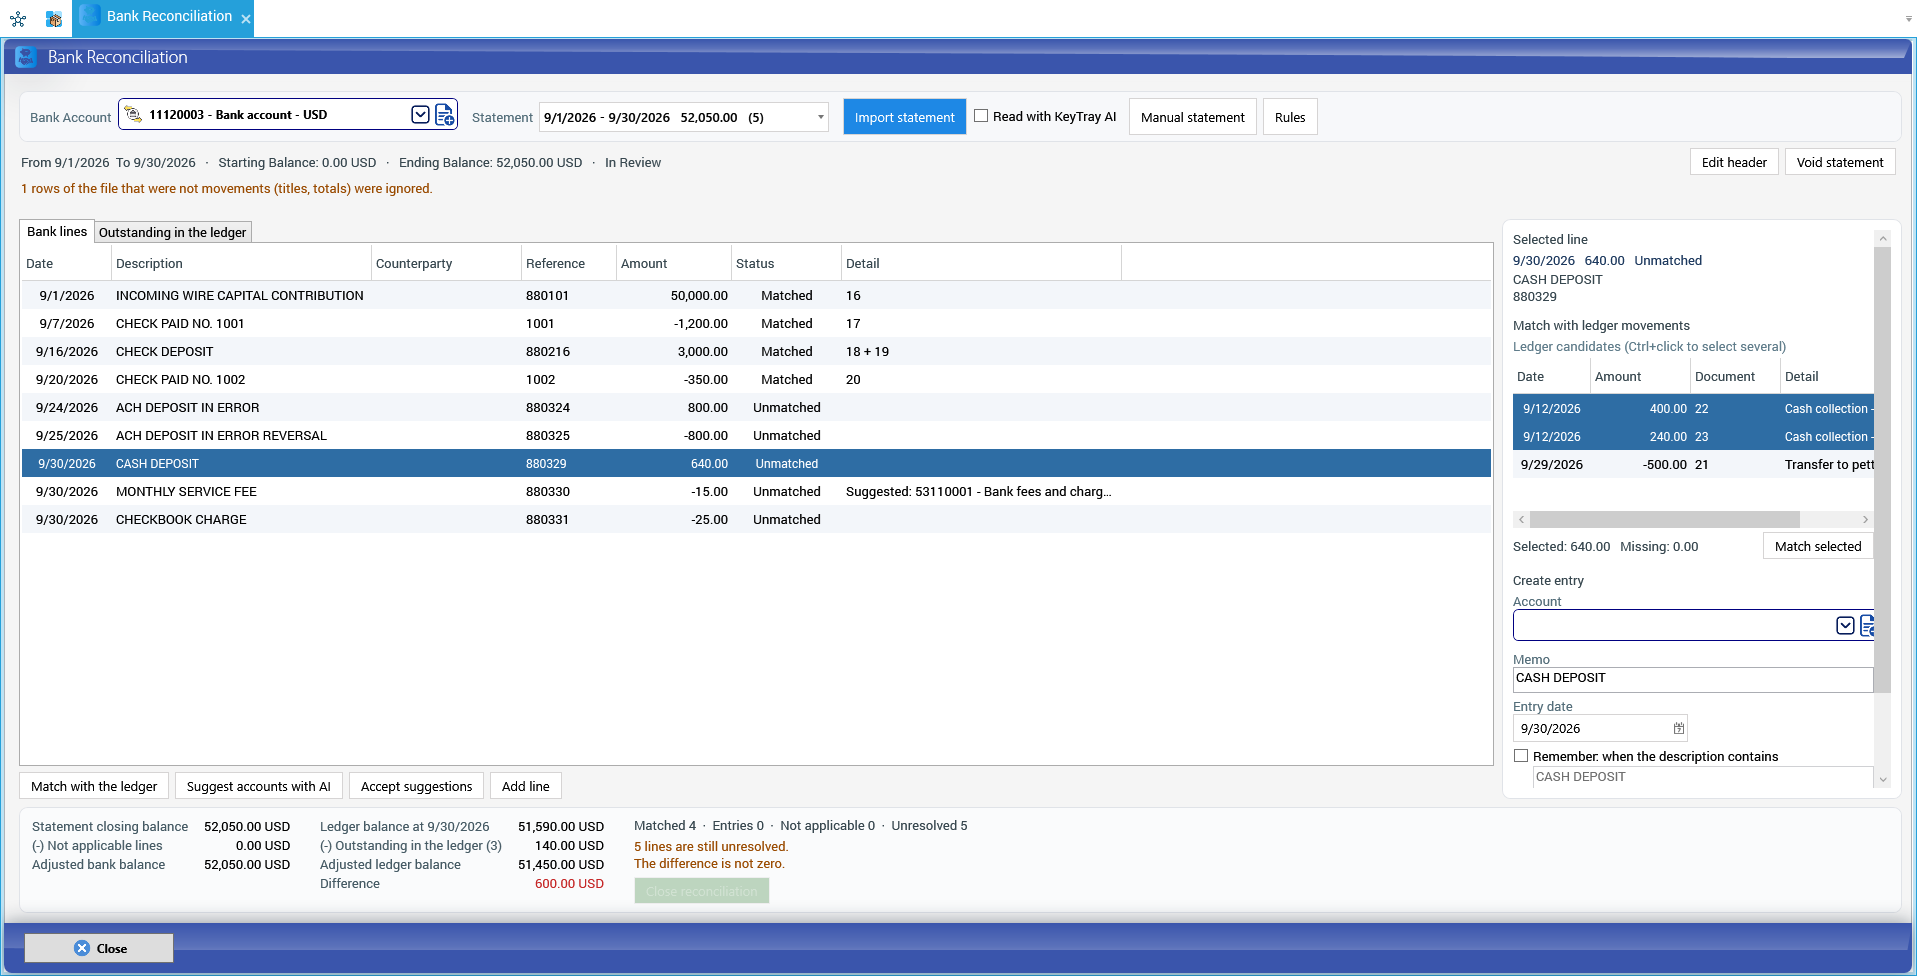
Create entry. For what is missing in your books: a fee, interest, a bank charge. Choose the Account, check the Memo and the Entry date (for a foreign-currency account, also the Exchange rate) and click Create entry: the bank account goes on one side and the chosen account on the other. If you tick Remember: when the description contains and type a text, KeyTray also creates a rule for the months to come. In the example, CHECKBOOK CHARGE goes to 53110001 - Bank fees and charges and is remembered with the text CHECKBOOK.
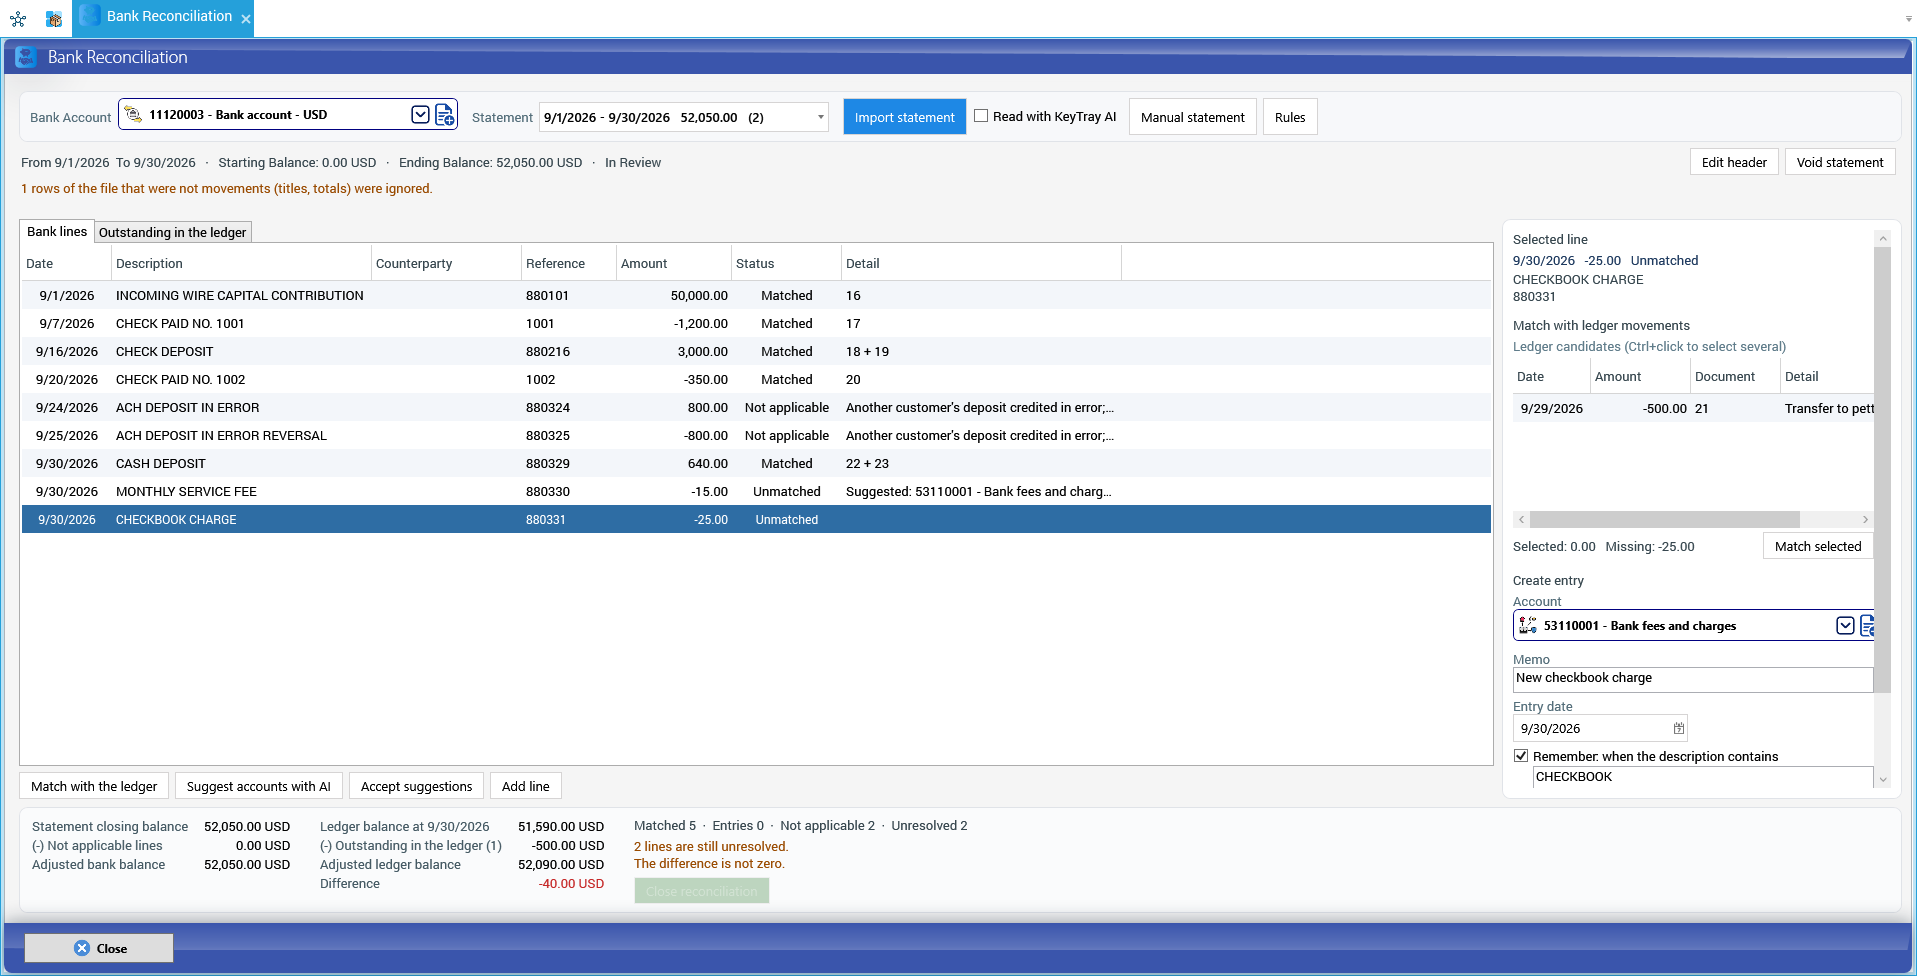
Not applicable. For a line that must not be reconciled against anything: a bank error the bank itself reversed, a movement under dispute. KeyTray asks for the reason, and the reason stays in the Detail column. In the example, the ACH DEPOSIT IN ERROR of 800.00 and its REVERSAL of −800.00.
An unresolved line also has Edit line and Delete line, to fix a statement typed by hand or read wrong. A resolved line shows Undo: it removes the match or the not applicable and the line goes back to Unmatched. If the line created an entry, Undo voids the entry in accounting, and KeyTray asks first.
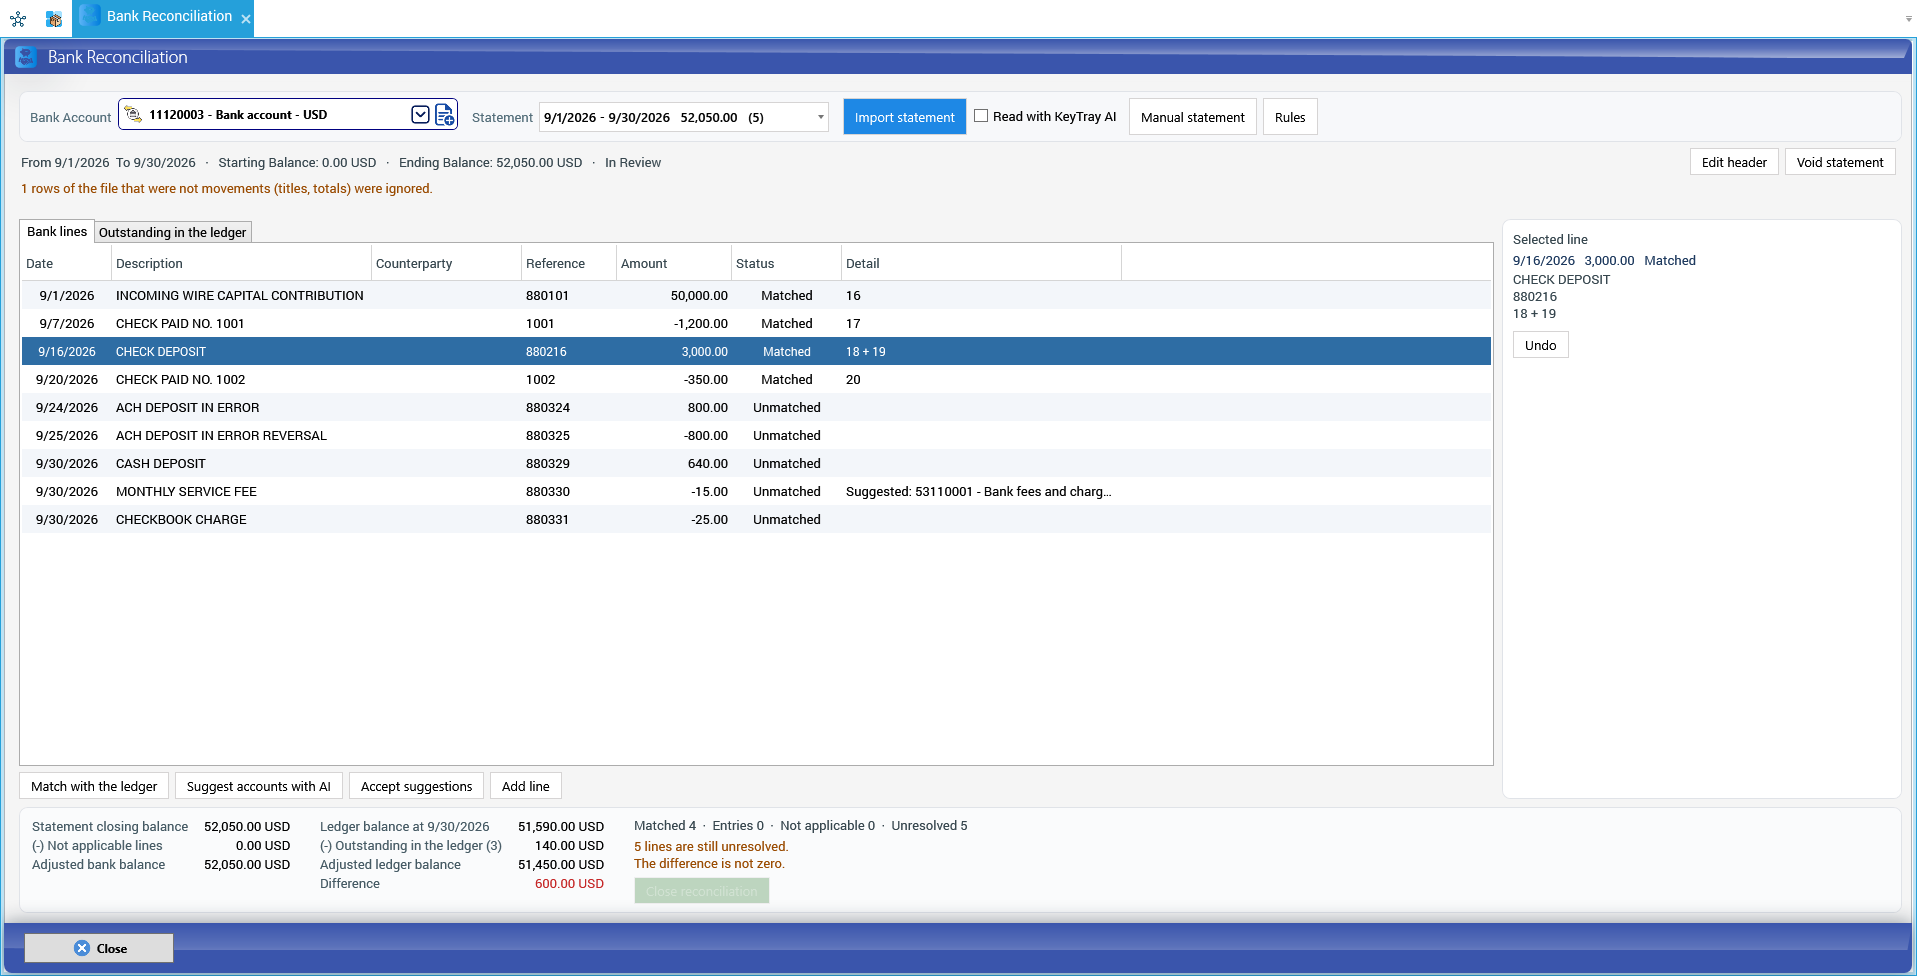
Rules and "Accept suggestions"
A rule says: when the description (or the counterparty, or the reference) contains / starts with / equals this text, the account is this one. It can apply to money in only or money out only, and to this bank account only or to all. The Rules button opens the list to create, change or deactivate them; the Uses column counts how many times each one was applied.
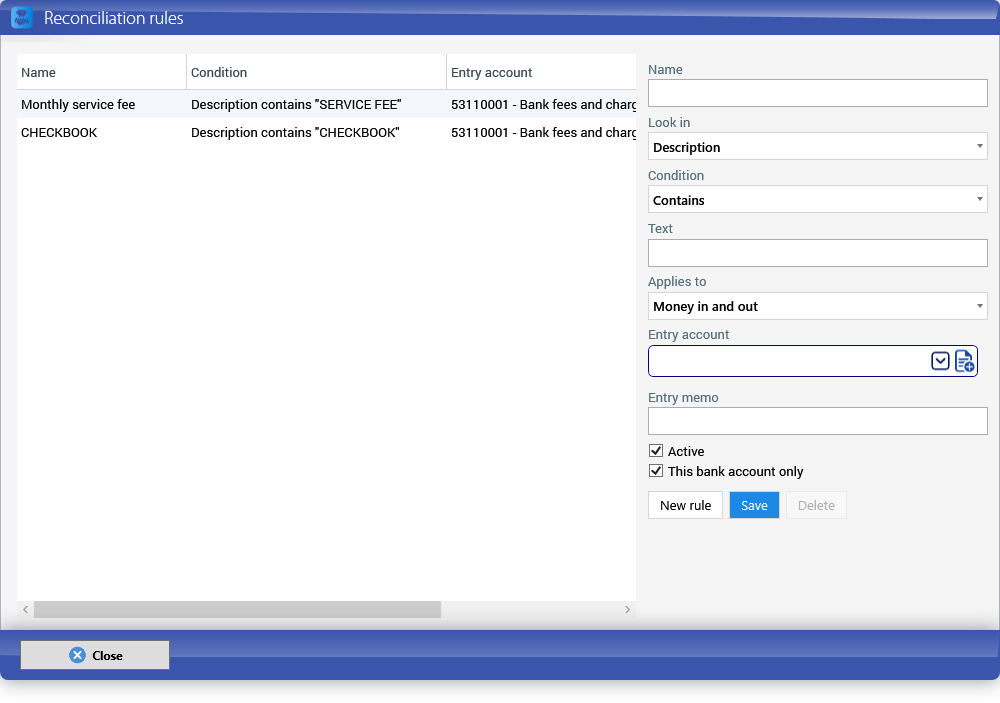
When a line meets a rule, it shows as Suggested with the account. Accept suggestions creates in one go the entries for every unresolved line that has a suggested account, after asking how many it will create. Nothing is posted without your click.
With KeyTray AI
With KeyTray AI Model on, the screen adds two things. Each use shows what it cost (cents of a dollar), which counts against the monthly limit the Owner set. Without AI, the Read with KeyTray AI box and the Suggest accounts with AI button show disabled, with the explanation; and a PDF tells you to export the statement as Excel, CSV or OFX.
Reading a PDF or a photo of the statement. Import statement with the PDF (up to 20 pages or 12 MB): the AI reads the lines and balances, checks that the opening balance plus the movements gives the closing balance, and leaves its Reading notes at the top. If it read with low confidence, it says so: compare the lines with the original.
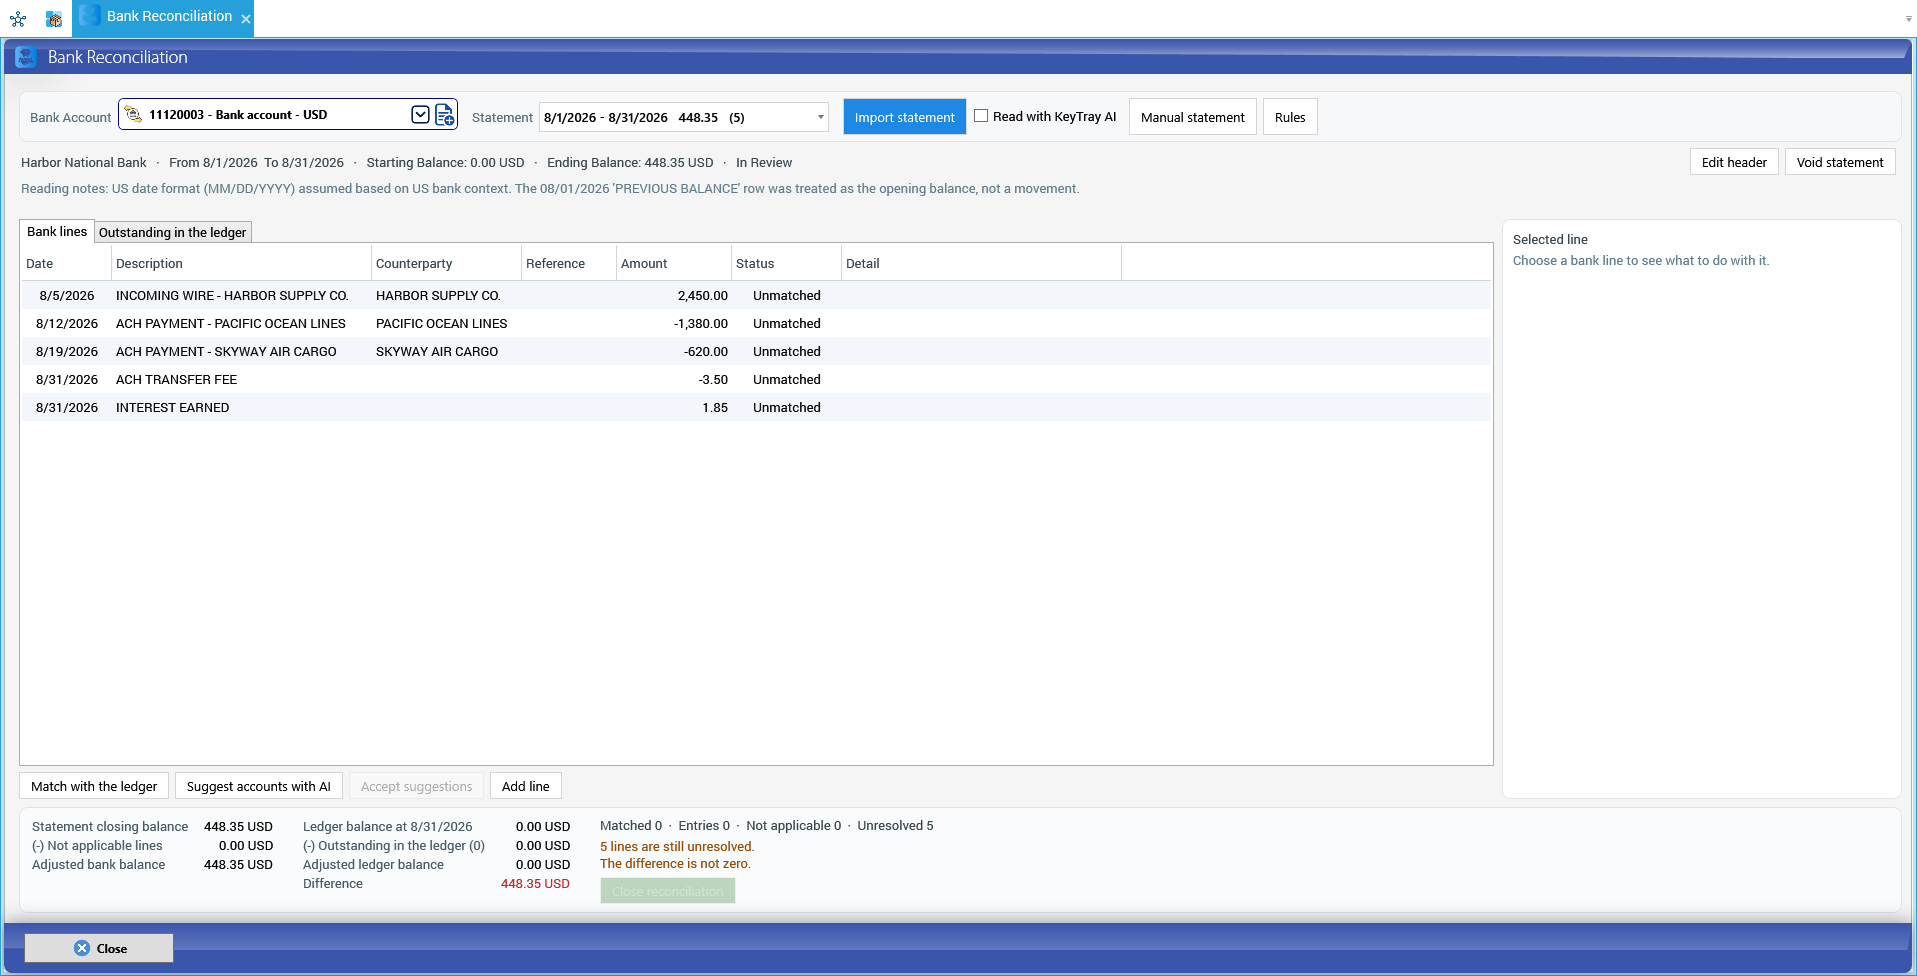
Suggest accounts with AI. For unresolved lines no rule solved, the AI proposes an account with its confidence (AI 75 %) and, in the panel, why. AI suggestions are used like rule suggestions: Create entry with the account already filled in, or Accept suggestions.
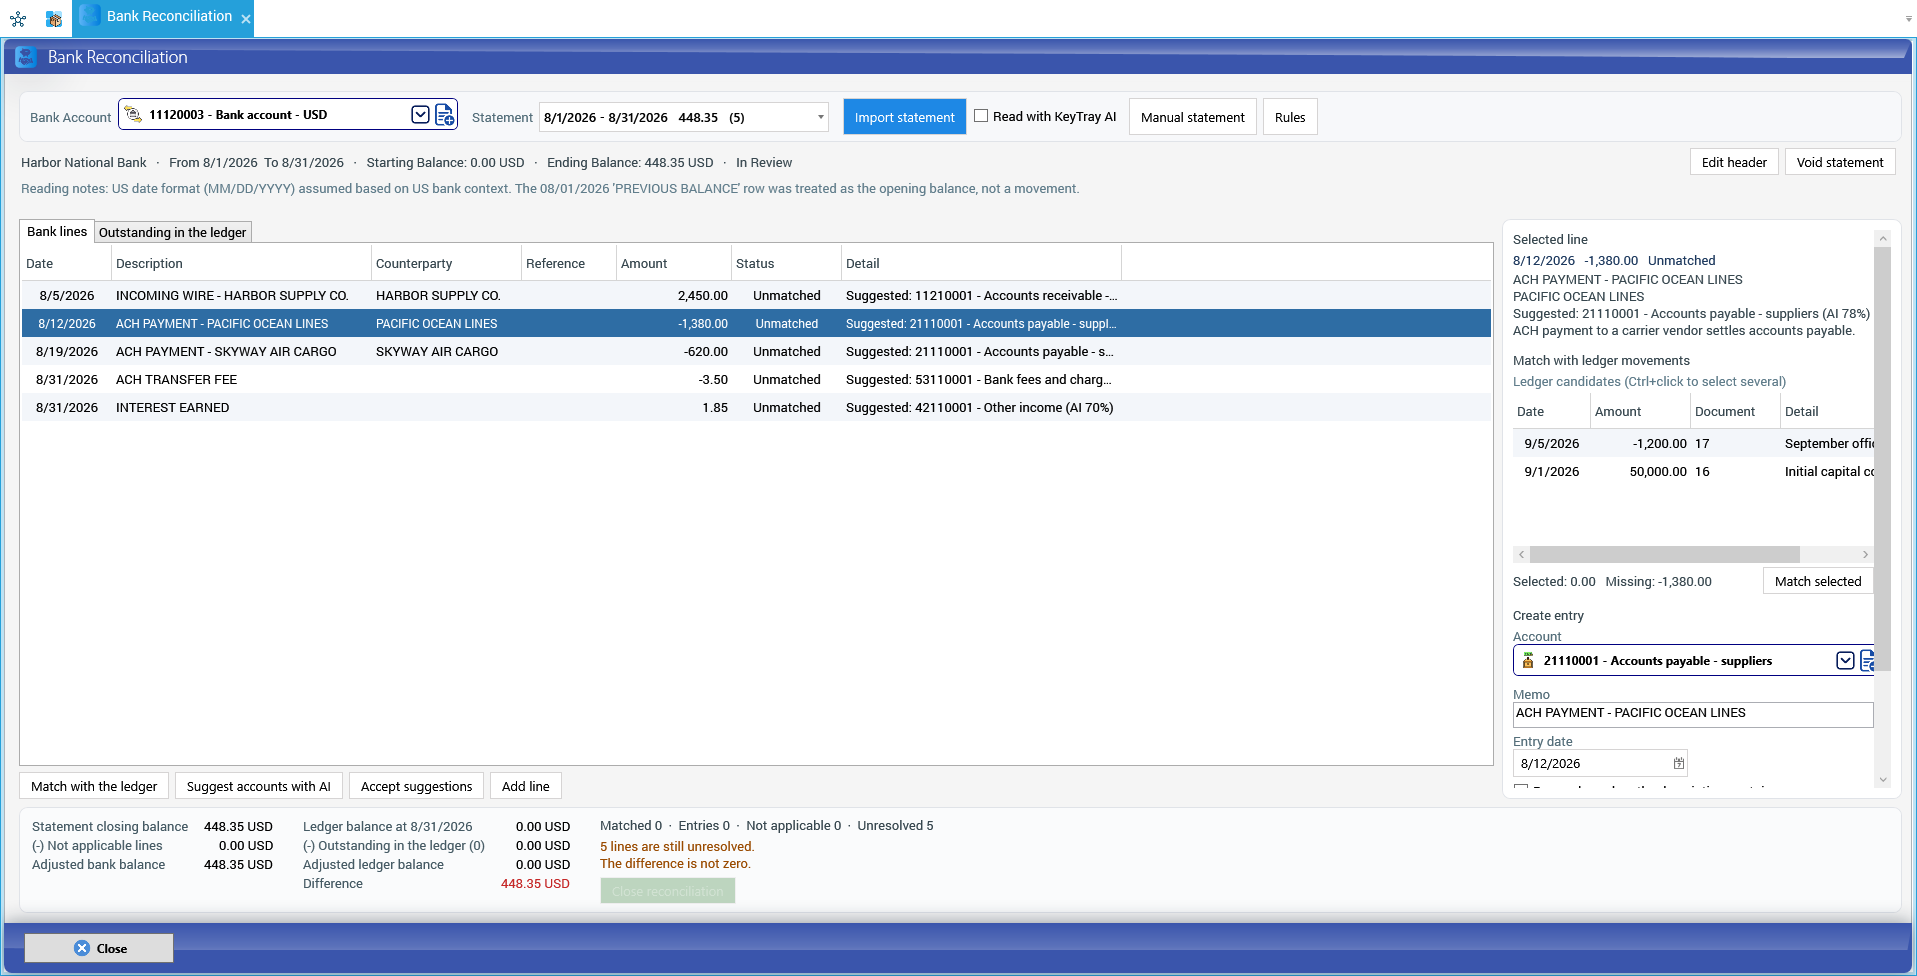
Review every suggestion before accepting it. The AI does well with fees, interest and charges; but if it proposes Accounts receivable - customers for a customer's wire, the right thing is to record the customer receipt (or the vendor payment) and then match the line with that document, not a direct entry against receivables.
If you imported a statement by mistake, Void statement removes it with its lines and matches, without touching accounting. If a line already created an entry, undo it first.
Balancing and closing
At the bottom, the summary compares both sides:
| Bank | Ledger | ||
|---|---|---|---|
| Statement closing balance | 52,050.00 | Ledger balance at 9/30/2026 | 51,550.00 |
| (−) Not applicable lines | 0.00 | (−) Outstanding in the ledger (1) | −500.00 |
| Adjusted bank balance | 52,050.00 | Adjusted ledger balance | 52,050.00 |
| Difference | 0.00 |
The two not-applicable lines add up to zero (800.00 − 800.00). The only outstanding item is the petty-cash transfer of 09/29, which the bank will show in October. When it applies, the summary also adds what was booked in the ledger after the statement date and subtracts items before the start not yet seen by the bank.
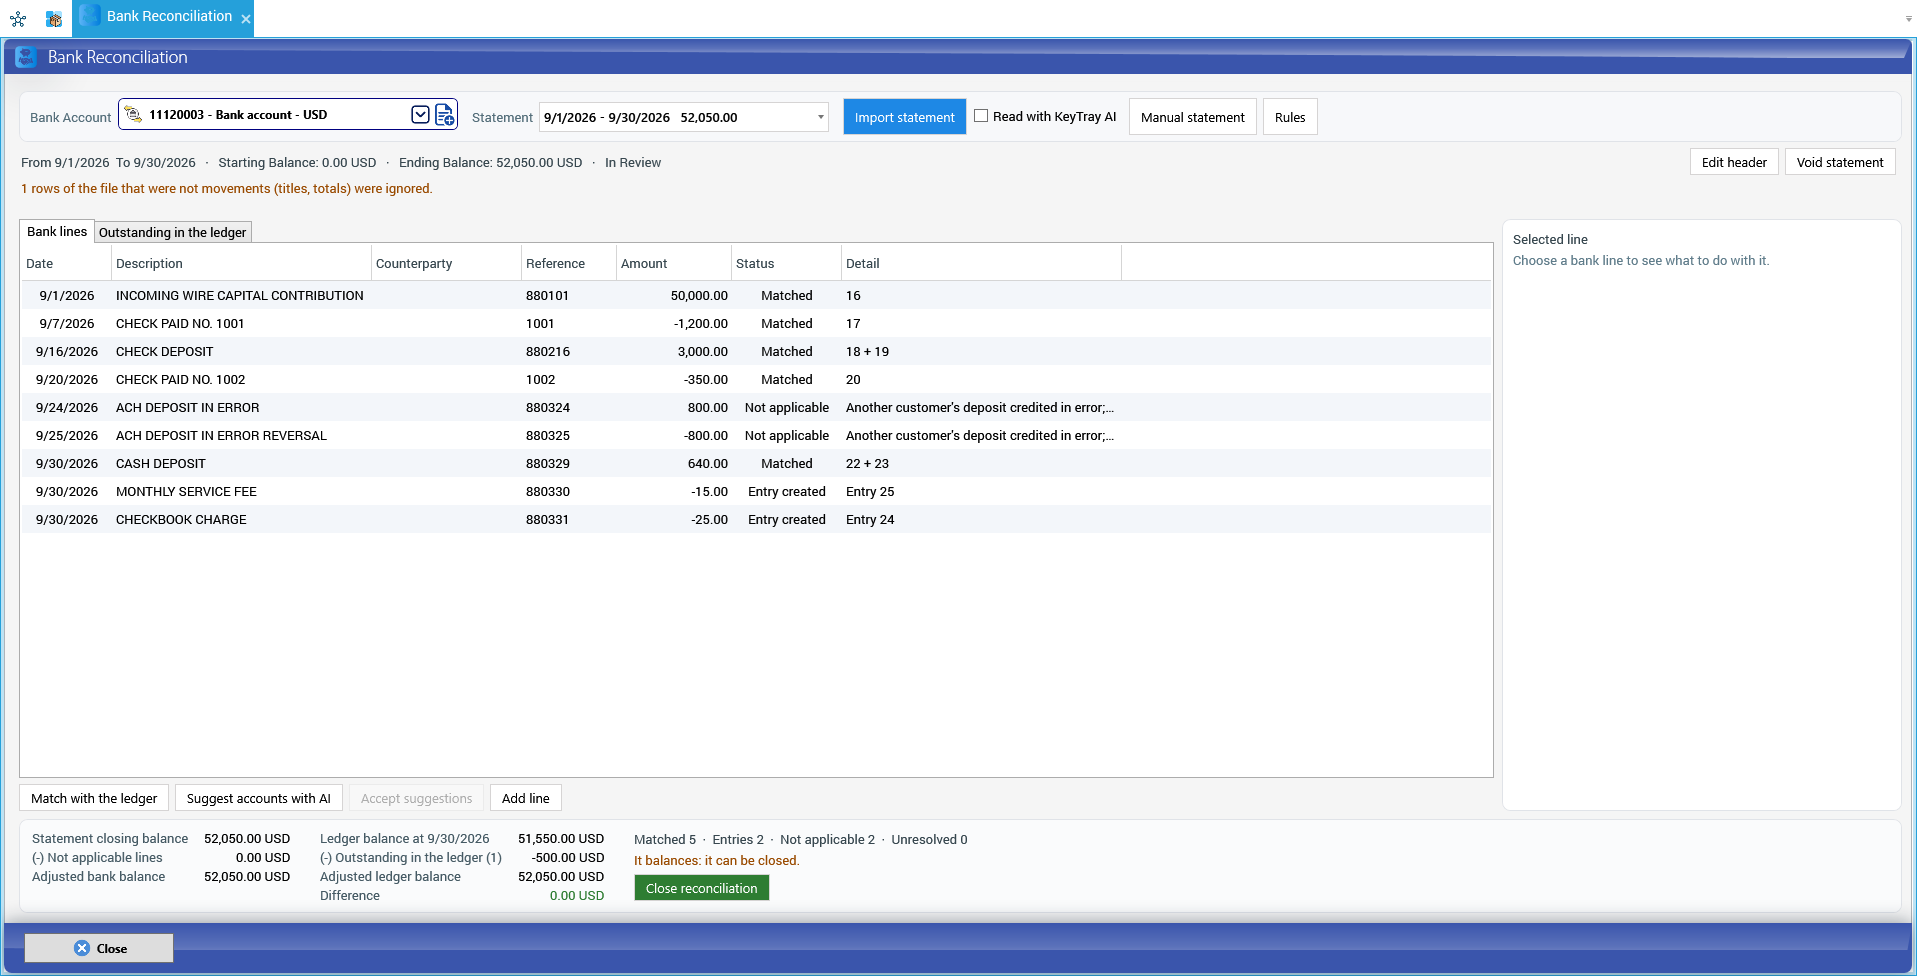
Next to the summary are the counters (Matched, Entries, Not applicable, Unresolved) and, in orange, whatever still prevents closing: unresolved lines, a difference other than zero, a statement without an opening or closing balance, an opening balance plus movements that does not give the closing balance (a line is missing or extra), or the account's previous statement still open.
Close reconciliation is enabled only when everything balances. It asks for confirmation and freezes the reconciliation: the top says Closed by whom and when, and the statement box marks it with a check. Only the Owner can Reopen, only the account's latest closed reconciliation, and a reason is required.
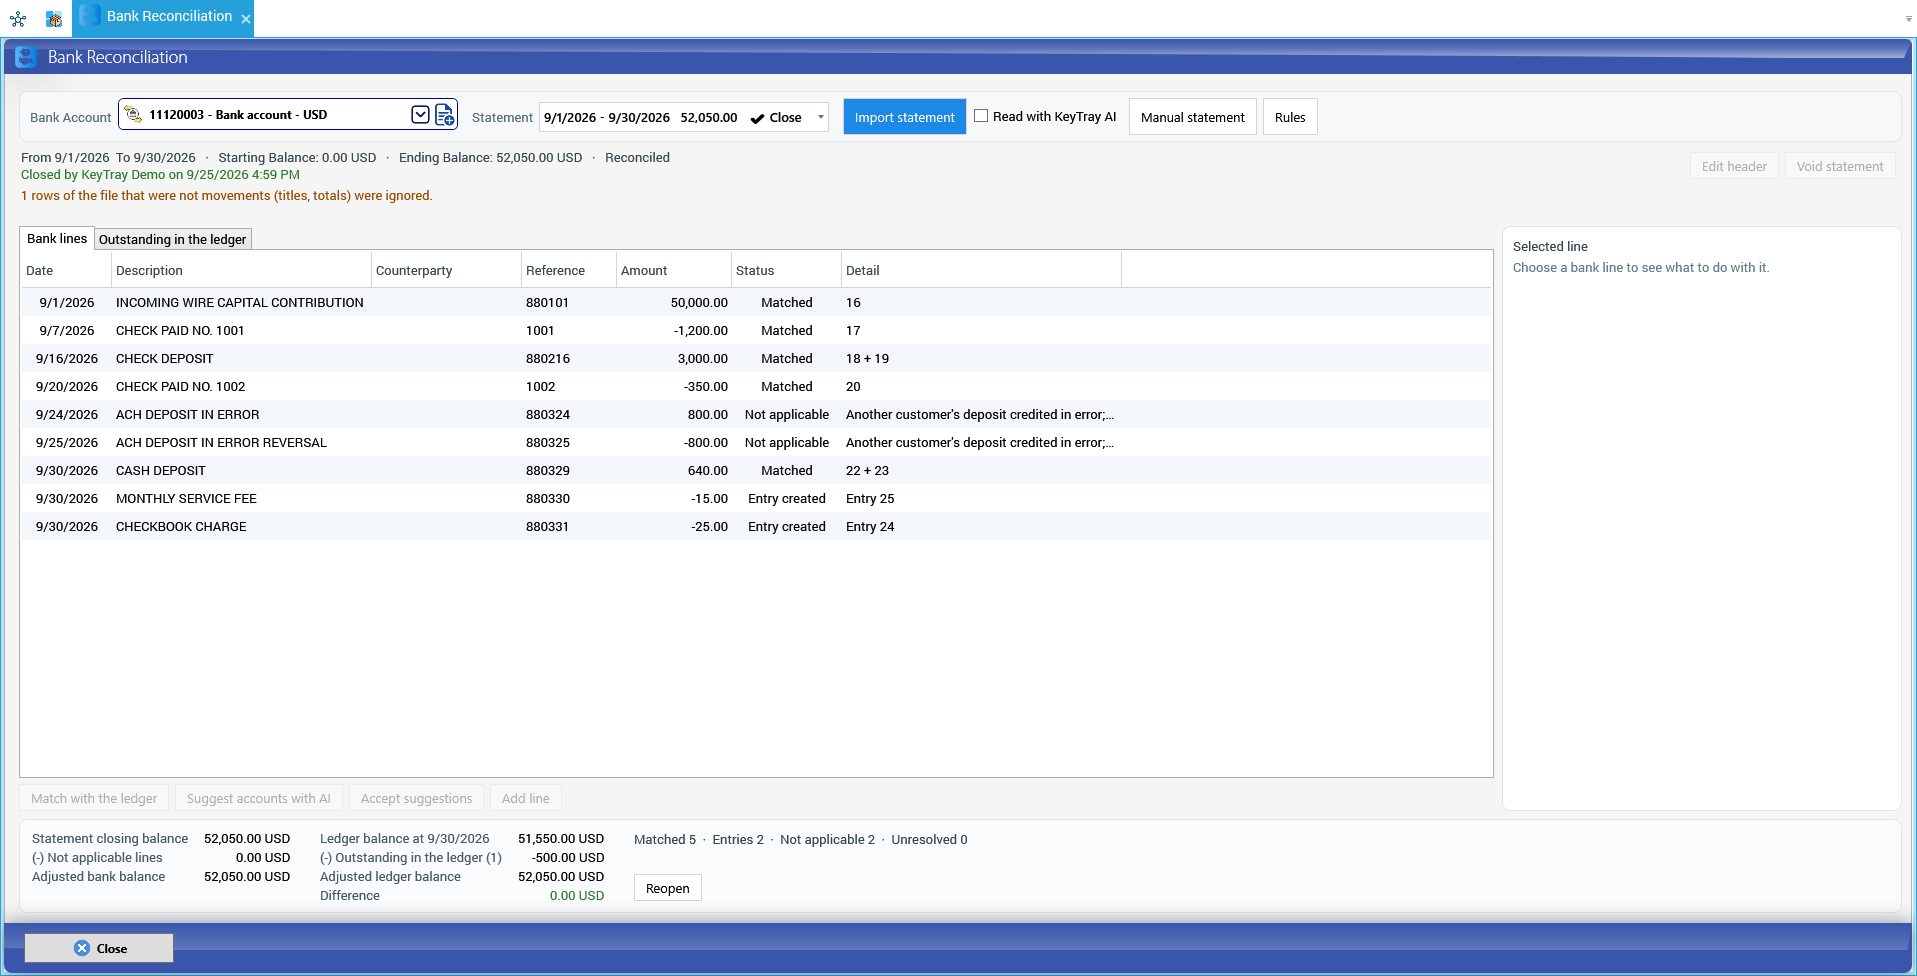
Closing does not lock the ledger: if someone later changes or voids a movement that was already reconciled, the reconciliation warns you when you open it.
History
List Explorer > Bank Reconciliations lists every reconciliation of the company: account, currency, bank, period, balances, lines, unresolved, status, difference, who closed it and when, and where it came from (KeyTray IA, CSV / Excel, OFX or Manual). Double-click opens the reconciliation.
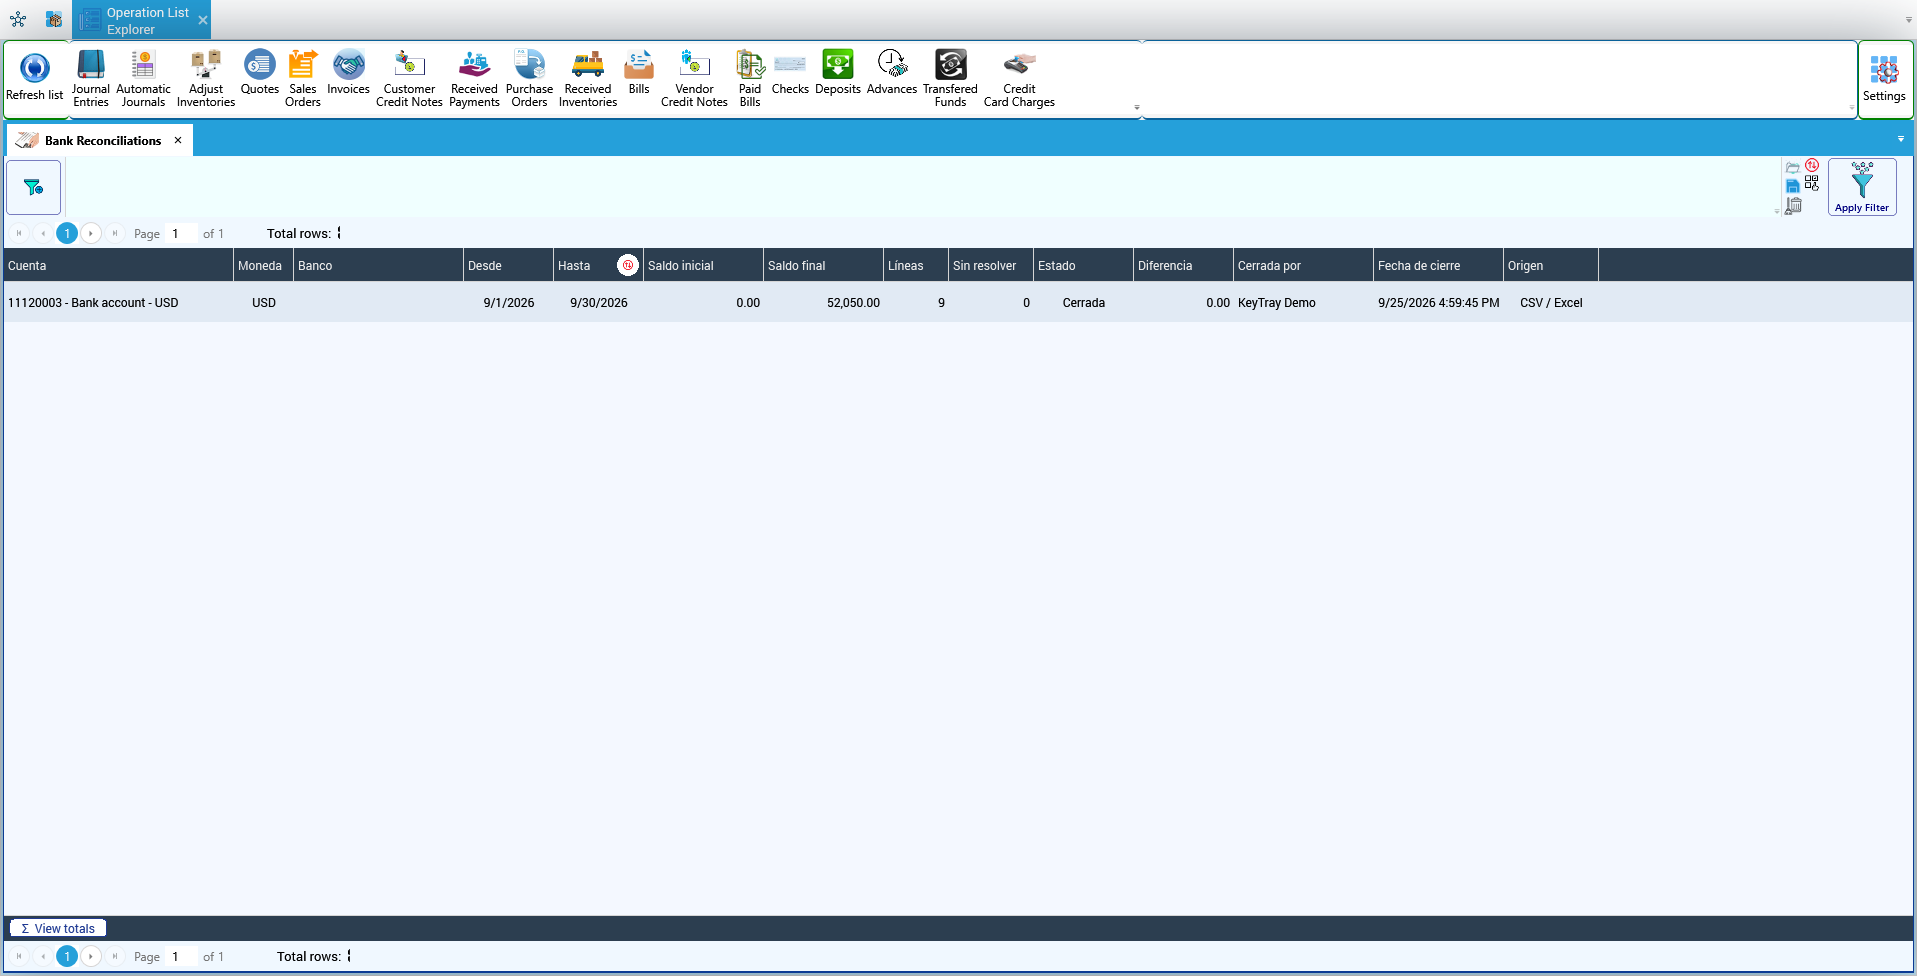
Careful: an entry created from the reconciliation is undone from the reconciliation (Undo on the line), which voids the entry and leaves the line unmatched in one step. If you void it from the General Journal instead, the line still says Entry created and the summary stops showing zero.
8.8 Writing off old balances in batch
Lesson — the allowance for doubtful accounts. When a customer will not pay, the receivable is no longer an asset. Removing it is a write-off. If you had already estimated the loss in an allowance for doubtful accounts, the write-off uses that allowance; otherwise it goes to bad-debt expense. Small differences (rounding, residual exchange differences) are written off to their own accounts. Always keep the reason: auditors ask for it.
- Accounting Explorer > Batch write-off. Search the open customer (or vendor) documents as of a date, by minimum age, and optionally only those from closed fiscal years:
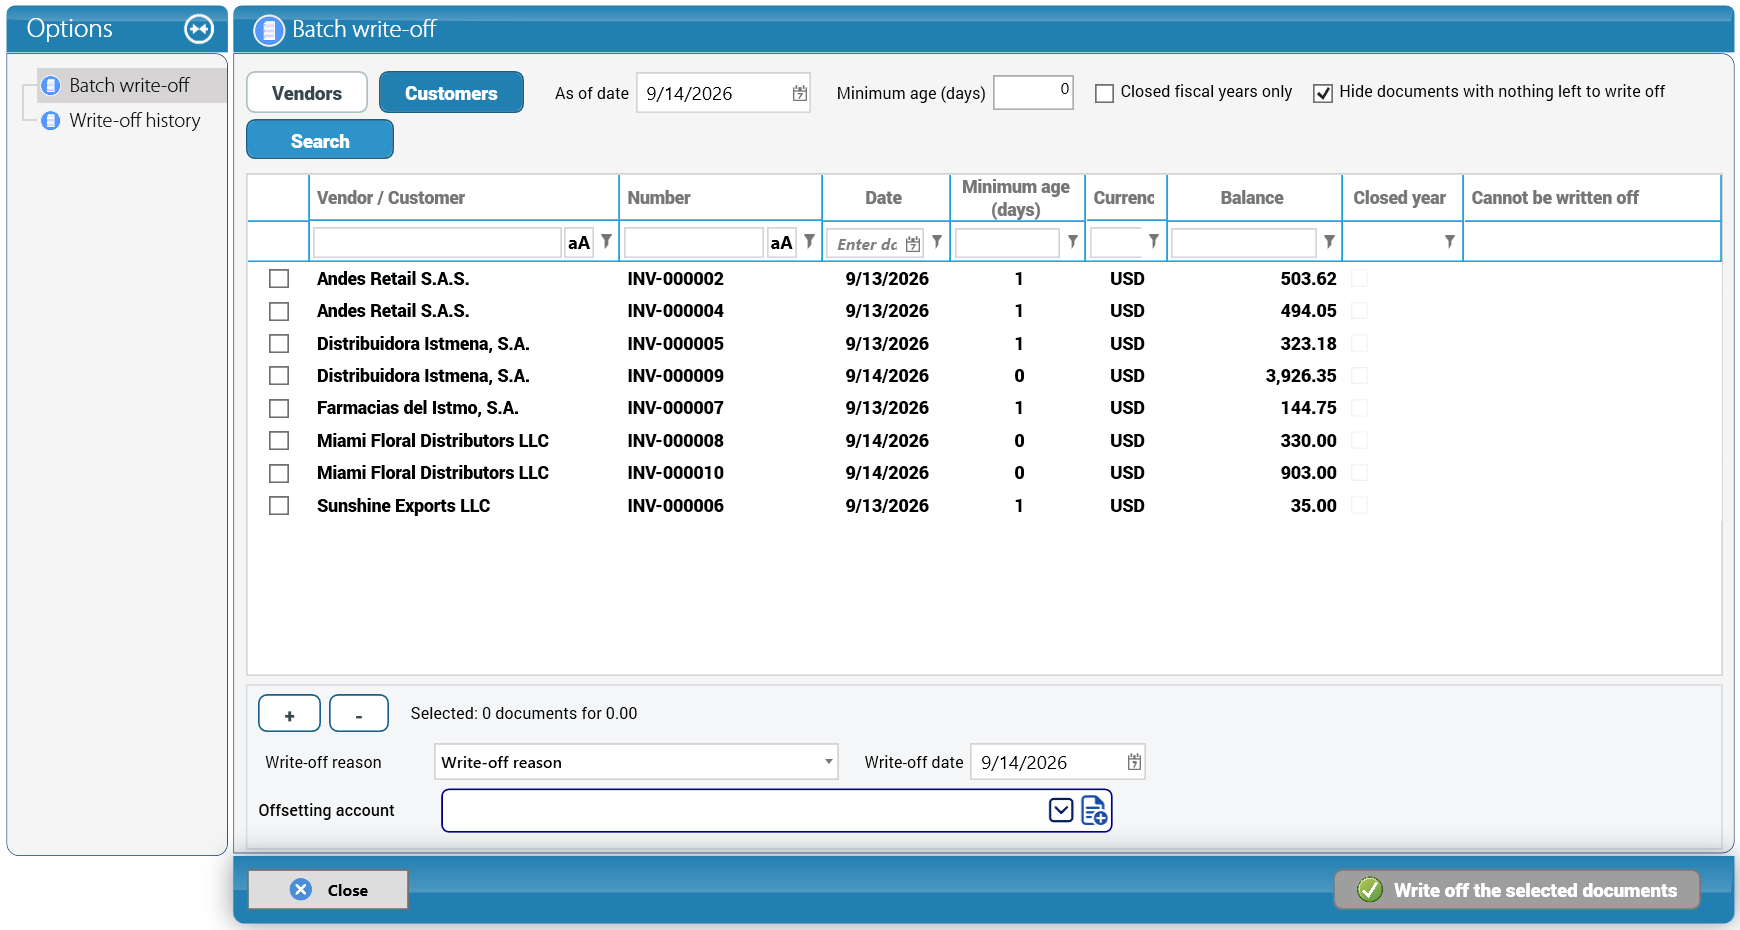
- Each document needs a reason from the catalog (commercial agreement, negotiated reduction, minor difference/rounding, residual exchange difference, collection efforts exhausted, customer insolvent, customer untraceable…):
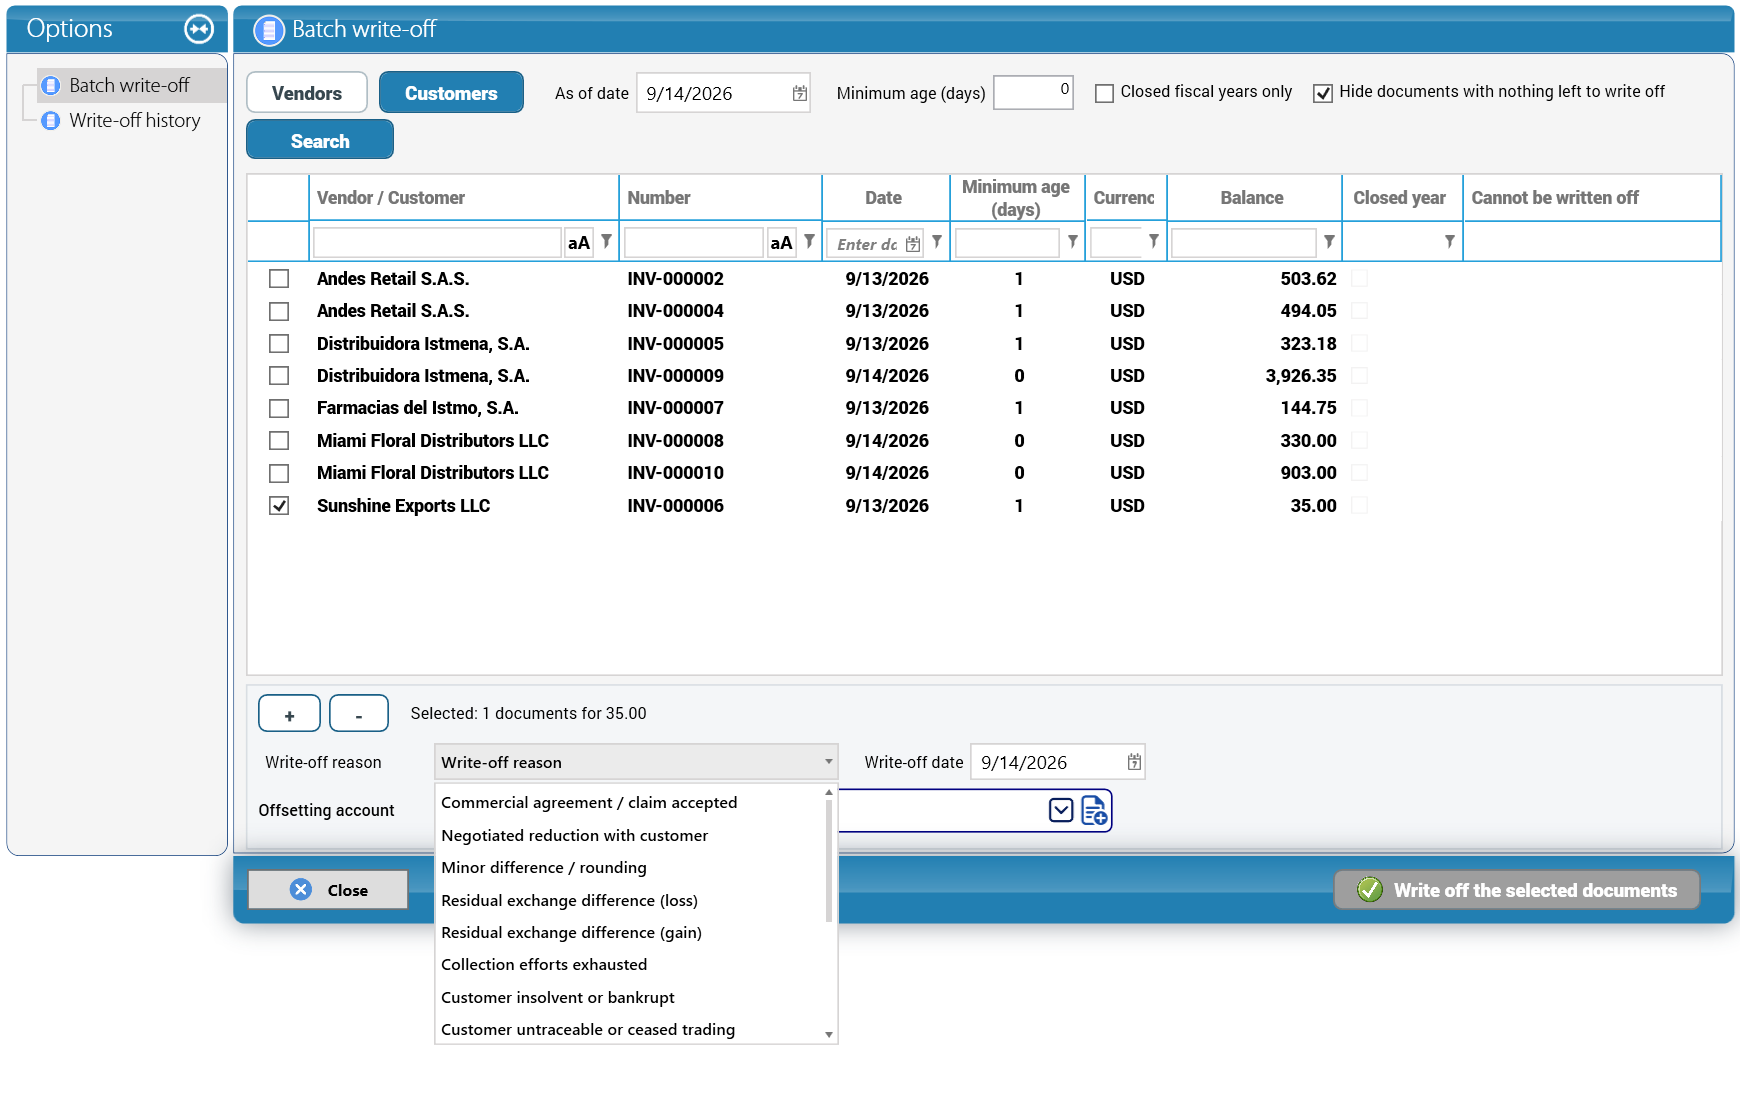
- The reason proposes the offsetting account. In the demo, invoice INV-000006 (35.00) with reason Customer insolvent or bankrupt proposes the Allowance for doubtful accounts:
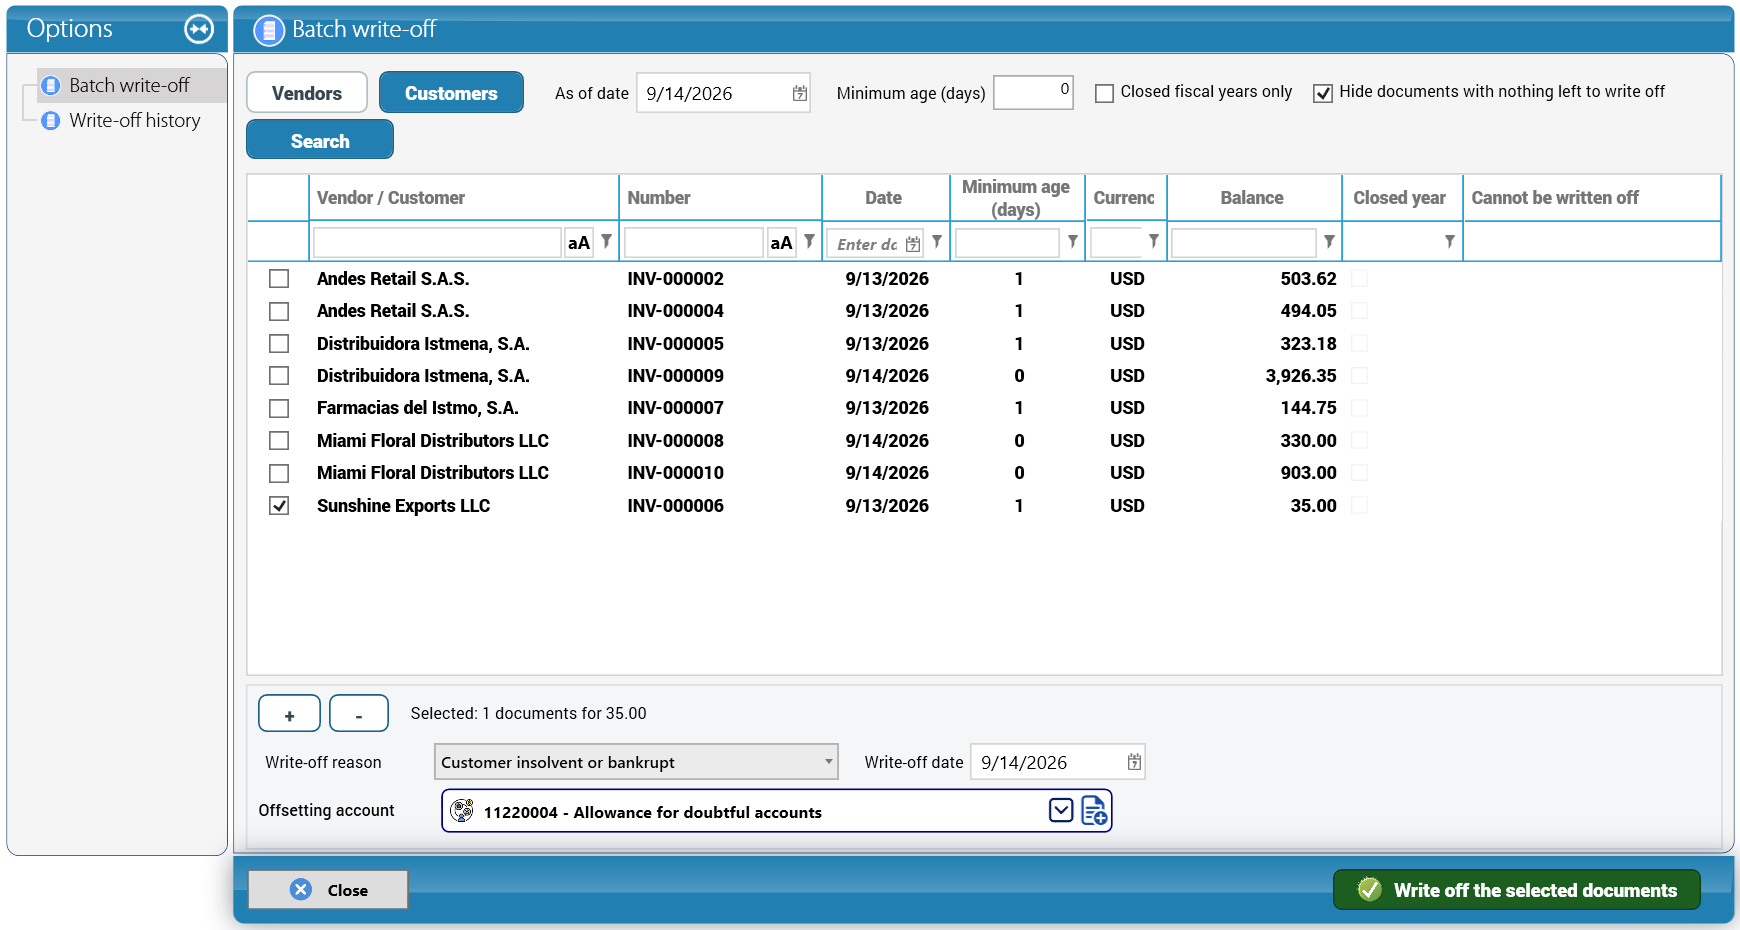
8.9 Cash flow: assigning accounts
Lesson — profit is not cash. The income statement counts an invoice when it is issued; the cash flow statement counts it when it is collected. The cash flow statement explains how the cash at the beginning of the period became the cash at the end, in three blocks: operating (customers, suppliers, employees, taxes), investing (buying and selling long-term assets) and financing (loans and capital).
Accounting Explorer > Cash Flow: accounts shows each account with the cash flow line it feeds. Cash and bank accounts are the cash itself; for the rest, KeyTray suggests the line from the account type. The grid shows the movement of the period and the status; Edit Mode lets you assign a different line:
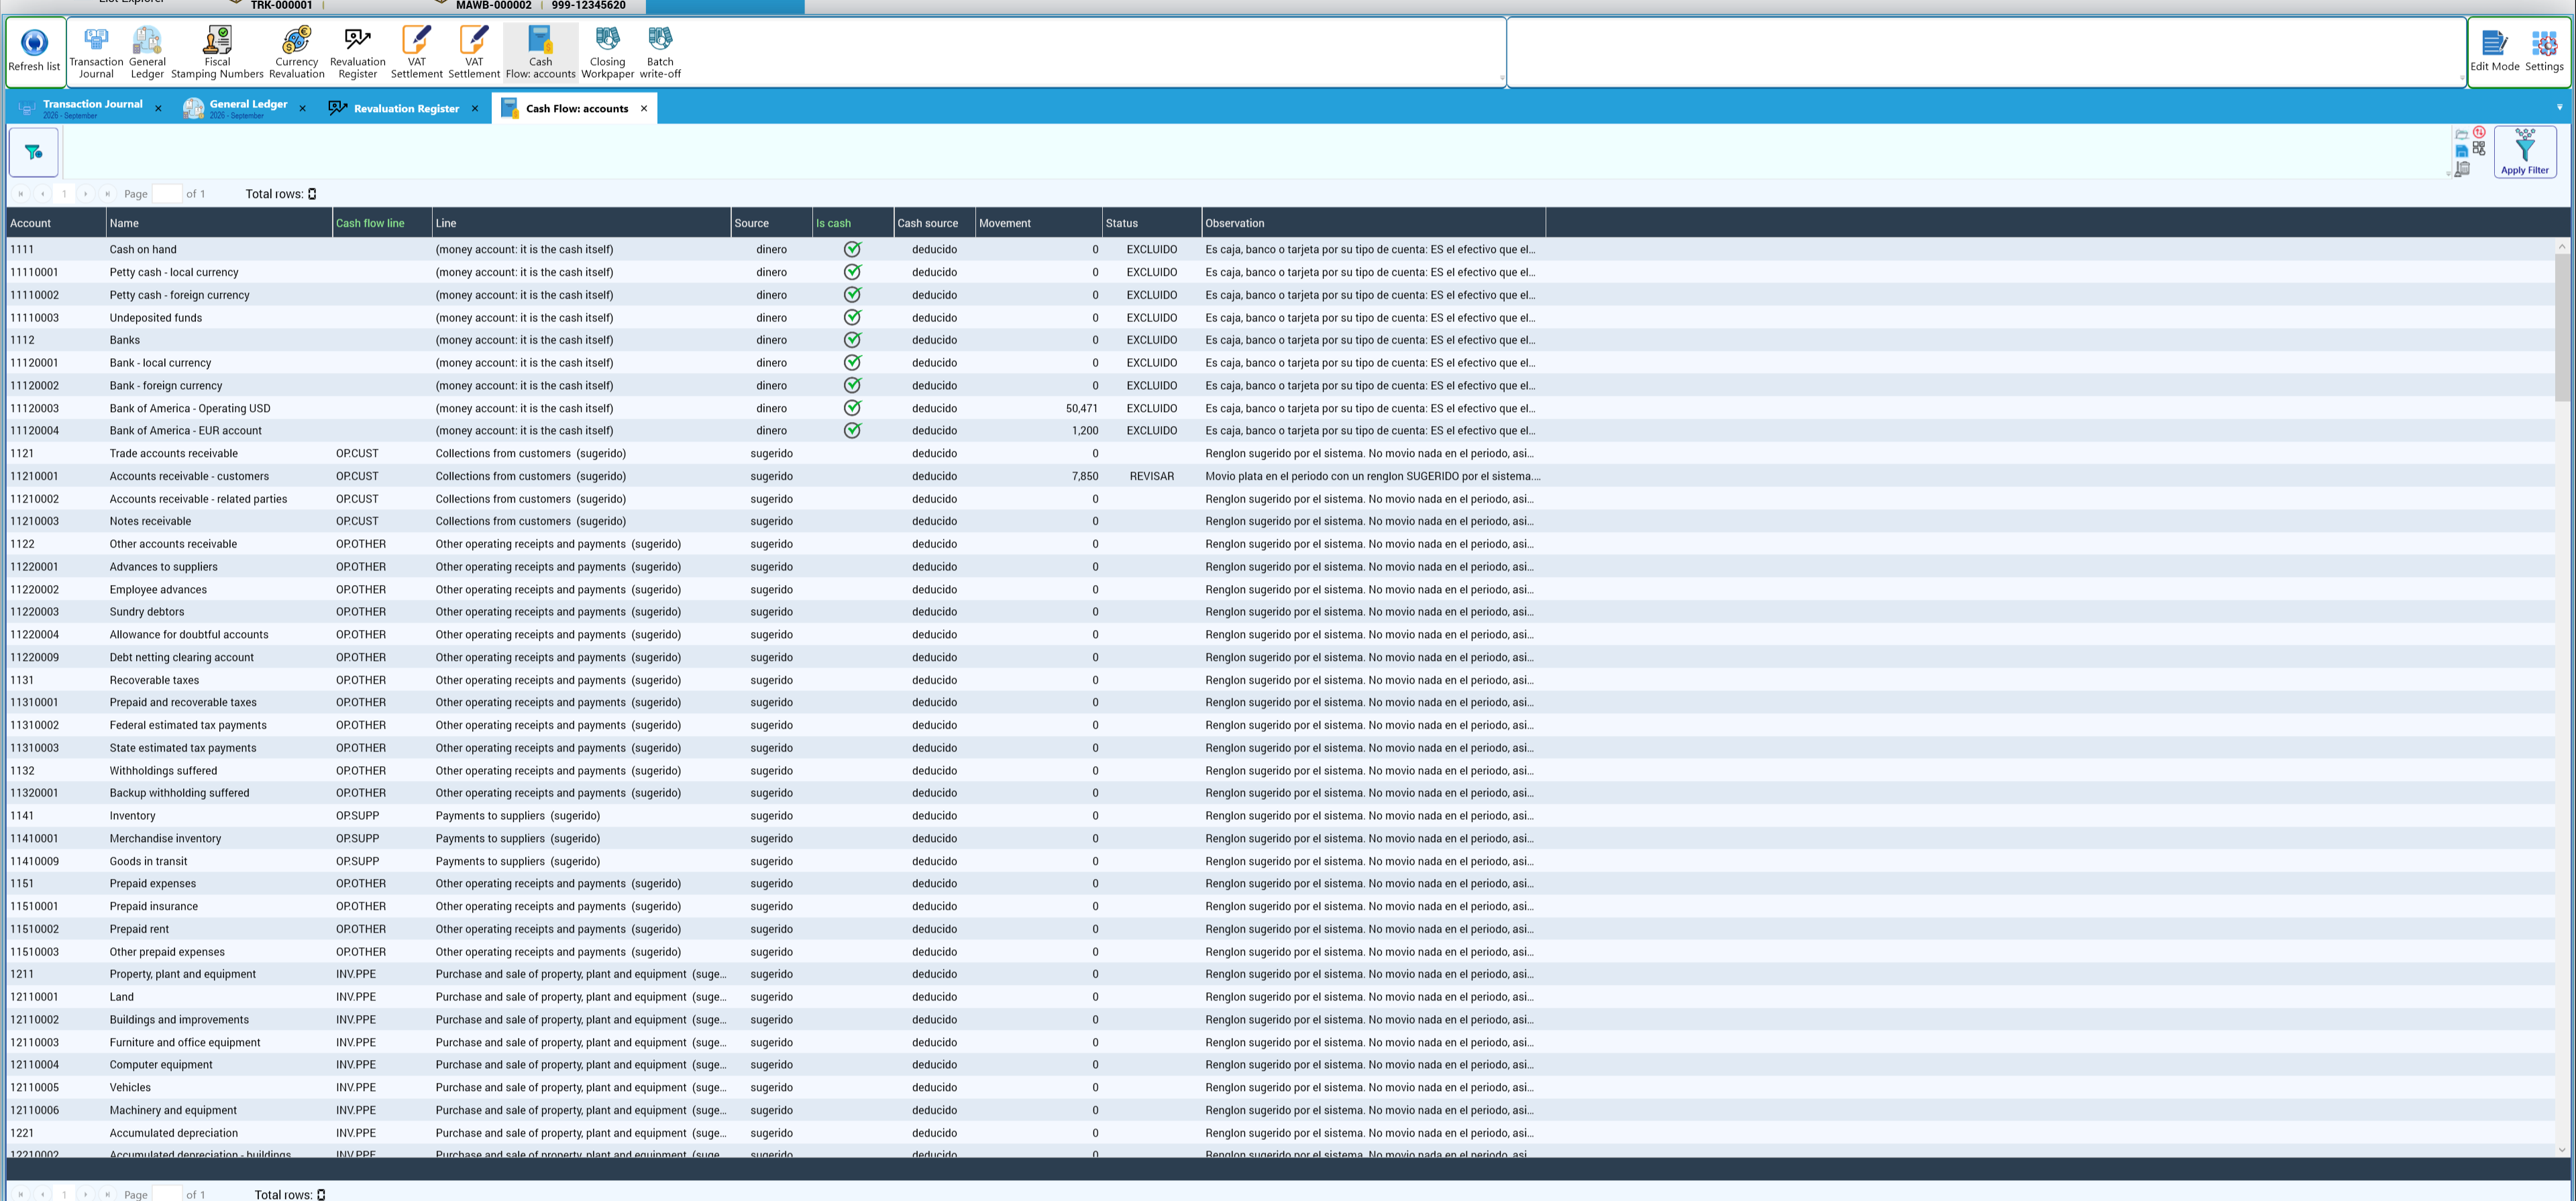
The statement itself is in section 10.1.
8.10 The Closing Workpaper
Before closing a month, open Accounting Explorer > Closing Workpaper. It runs automatic checks by section — integrity, subledgers against the ledger, activity of the period, foreign currency, tax and statutory forms, documents — and shows each check with its status, amount and detail:
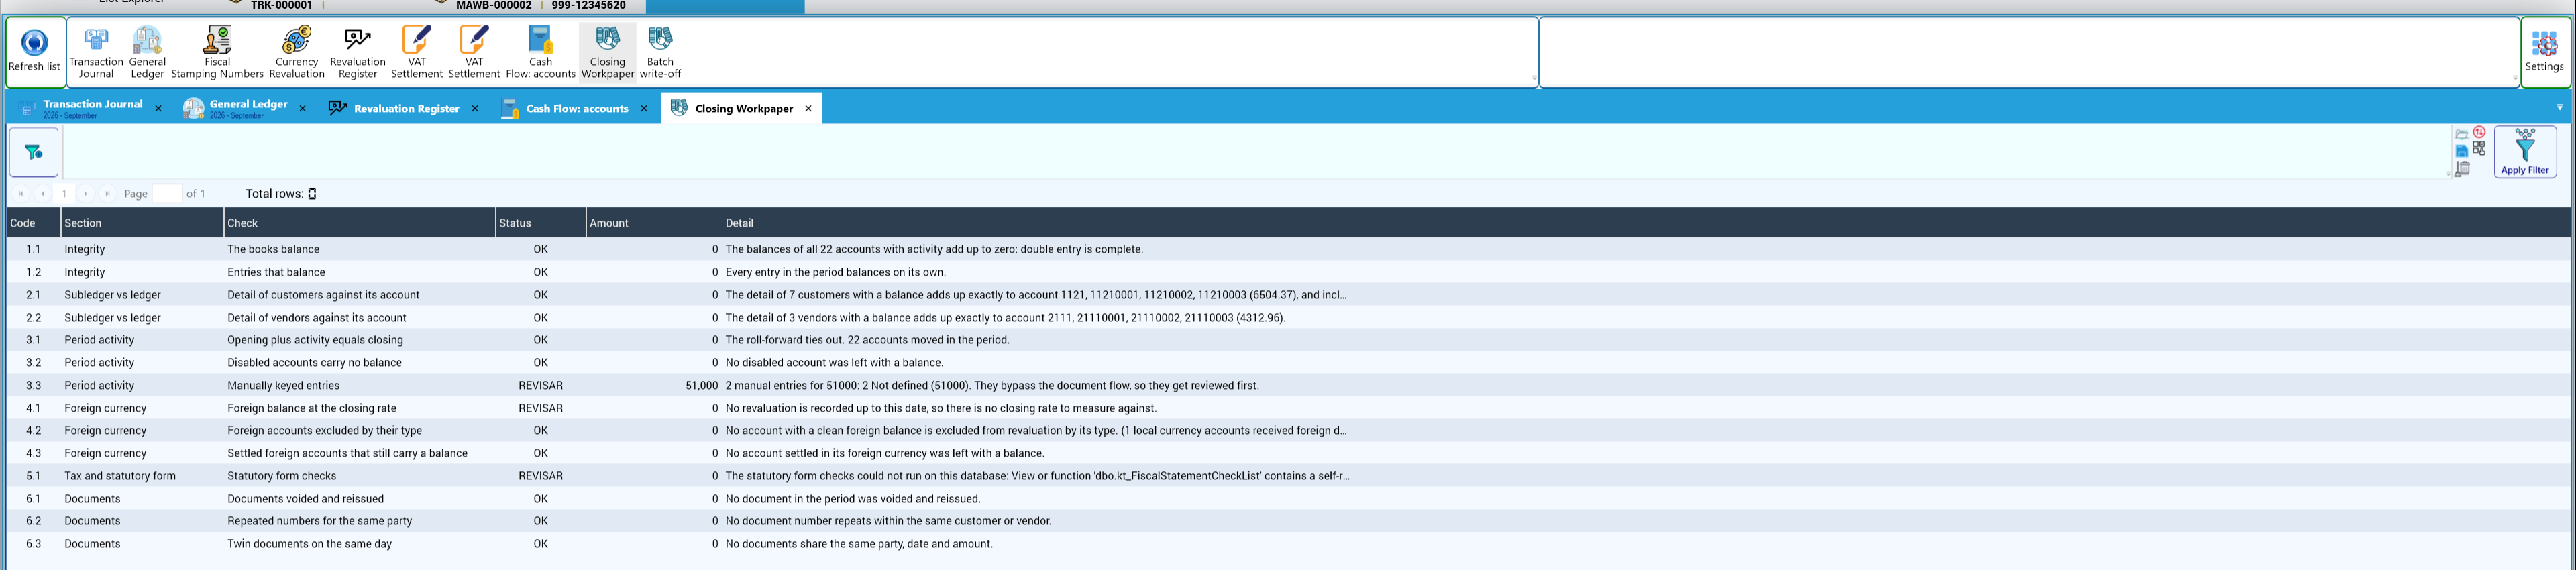
Work down the list until every check is green, then close the period in the Periods Manager (chapter 2).
Careful: check 5.1 of the Closing Workpaper always shows the review status with a technical message about the statutory form checks. Ignore that check: it does not point to an error in your accounting (see Appendix B).
Month-end checklist: 1) all documents of the month entered; 2) bank accounts reconciled (8.7); 3) deferred checks deposited (8.6); 4) foreign currency revalued (8.4); 5) IVA settled (8.5); 6) Closing Workpaper green (8.10); 7) financial statements reviewed (10.1); 8) period closed (2.2).
Accounting auditor: the accounting auditor runs these same checks every day, shows them on the dashboard, e-mails what is new and, if you ask it to, does not let the fiscal year close while a blocking one fails. See chapter 16.
8.11 Fixed assets and depreciation
Lesson — spreading the cost. A truck or a computer is used for years, so its cost is not an expense of the month you buy it. It is recorded as an asset and its cost is spread over its useful life as depreciation. Each month: debit Depreciation expense, credit Accumulated depreciation. The net book value is cost minus accumulated depreciation.
Operations > Depreciation Manager opens a window with six pages in the Options panel: Dashboard, Fixed Assets, Depreciation Journals, Asset classes, Reports and Help.
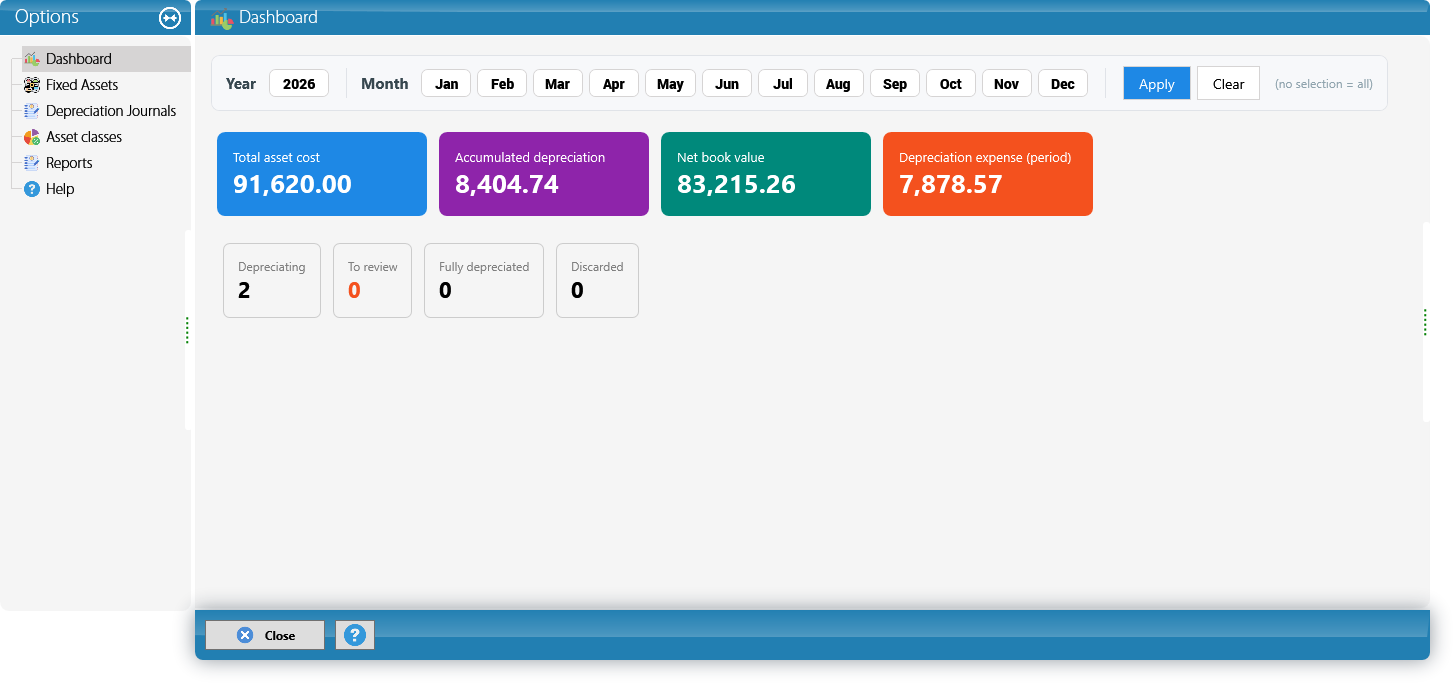
The Dashboard sums up where you stand: Total asset cost, Accumulated depreciation, Net book value and Depreciation expense (period), plus the counters Depreciating, To review, Fully depreciated and Discarded. The Year and Month filter at the top narrows what the cards and the lists show; with nothing selected, it shows everything.
Asset classes
A class says how long an asset lasts, at what rate it depreciates, what it is worth at the end (salvage value) and which accounts it is recorded in. Every company is born with the classes of its country, taken from the tax rules, and you adjust them.
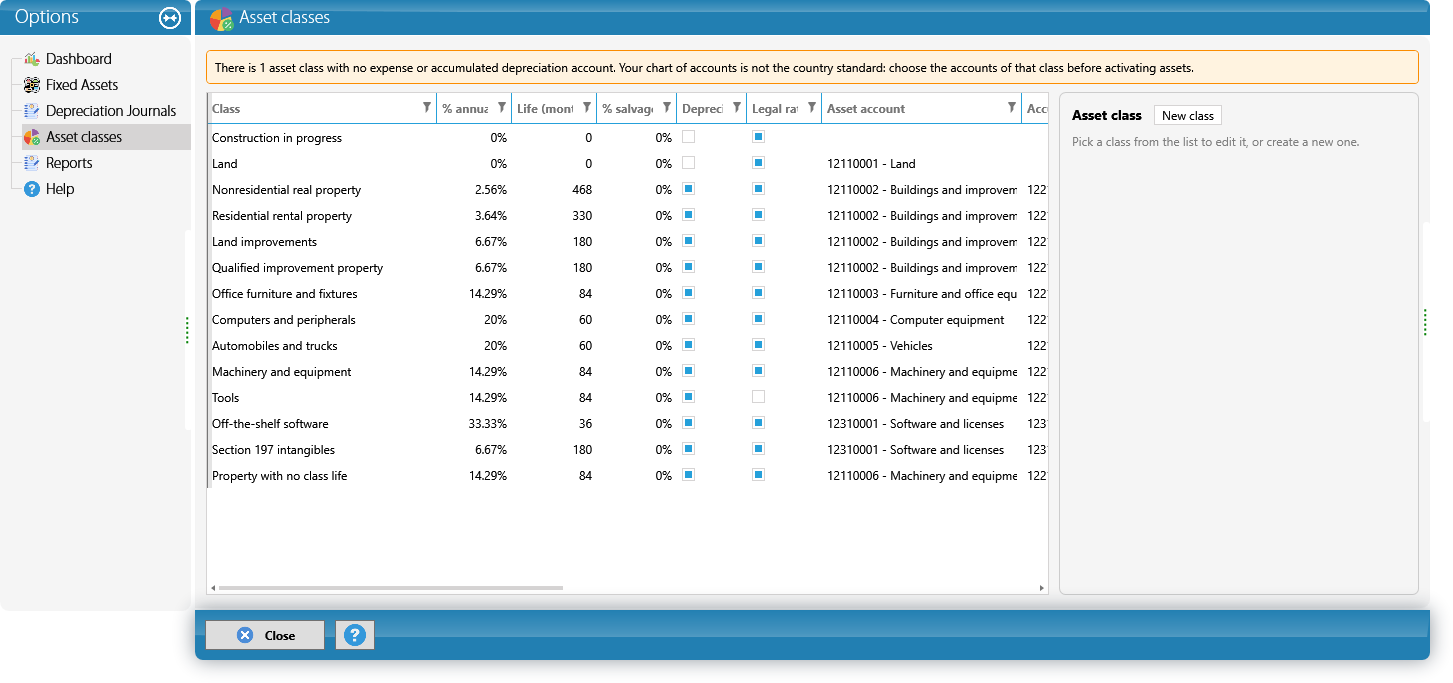
| Class | Annual rate | Useful life | Legal reference |
|---|---|---|---|
| Buildings and constructions | 2% | 50 years | Ley de Ganancias (t.o. 2019) art. 87 |
| Furniture and fixtures | 10% | 10 years | Ley de Ganancias art. 88: vida útil probable (sugerida) |
| Computer equipment | 33.33% | 3 years | Ley de Ganancias art. 88: vida útil probable (sugerida) |
| Vehicles | 20% | 5 years | Ley de Ganancias art. 88 (sugerida); tope para automóviles: arts. 86 f) y 92 l) |
| Machinery | 10% | 10 years | Ley de Ganancias art. 88: vida útil probable (sugerida) |
That is how some of the classes of Argentina arrive, each with the rule behind it.
Each class carries three accounts: the asset account, the accumulated depreciation account and the depreciation expense account (plus, for disposals, the gain or loss account). If your chart of accounts is not the country standard, KeyTray leaves the class with no accounts instead of guessing, warns you in orange at the top and will not let you activate assets of that class until you choose them. That is on purpose: the same account number means different things in different companies.
New class creates one of your own; Save class stores your changes. Changing the rate or the useful life does not touch assets that are already activated: each asset keeps the ones it had when it was activated.
Adding an asset
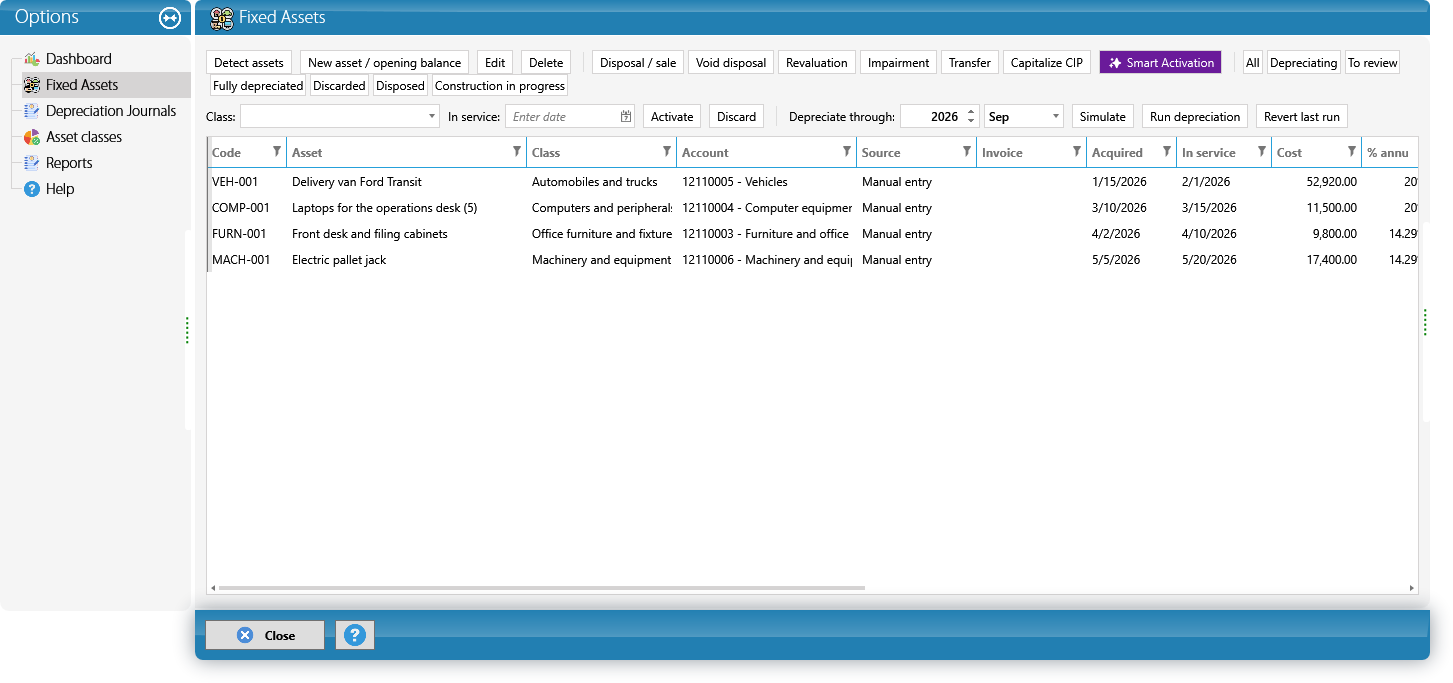
There are three ways, all on the Fixed Assets page:
- Detect assets. KeyTray looks through your purchase invoices for lines posted to fixed asset accounts and brings them in as assets To review. You give each one its class and its in-service date and click Activate. Whatever does not belong, Discard.
- New asset / opening balance. For what has no invoice in KeyTray: an asset that was already in the ledger when you started with the system, or one bought without a purchase invoice. If it was already depreciating, enter the accumulated depreciation as of the cut-off date: KeyTray carries on from the following month. Adding it posts no journal, because the asset and its accumulated depreciation are already in the ledger.
- Construction in progress. A building or a machine still being assembled does not depreciate. It is recorded in a construction-in-progress class and, when it goes into service, Capitalize CIP turns it into an asset that does depreciate.
Once an asset is activated you can only edit its descriptive fields (brand, model, serial, location, custodian): its cost and its class have already moved the ledger.
Running the depreciation
On Fixed Assets, at the top right: pick the year and month in Depreciate through and use
- Simulate: calculates and shows you the result without posting anything. Use it to review before closing the month.
- Run depreciation: posts. One journal per month, with one line per asset in the expense account of its class and the total in accumulated depreciation.
- Revert last run: voids the last journal and undoes its sub-ledger, both book and tax.
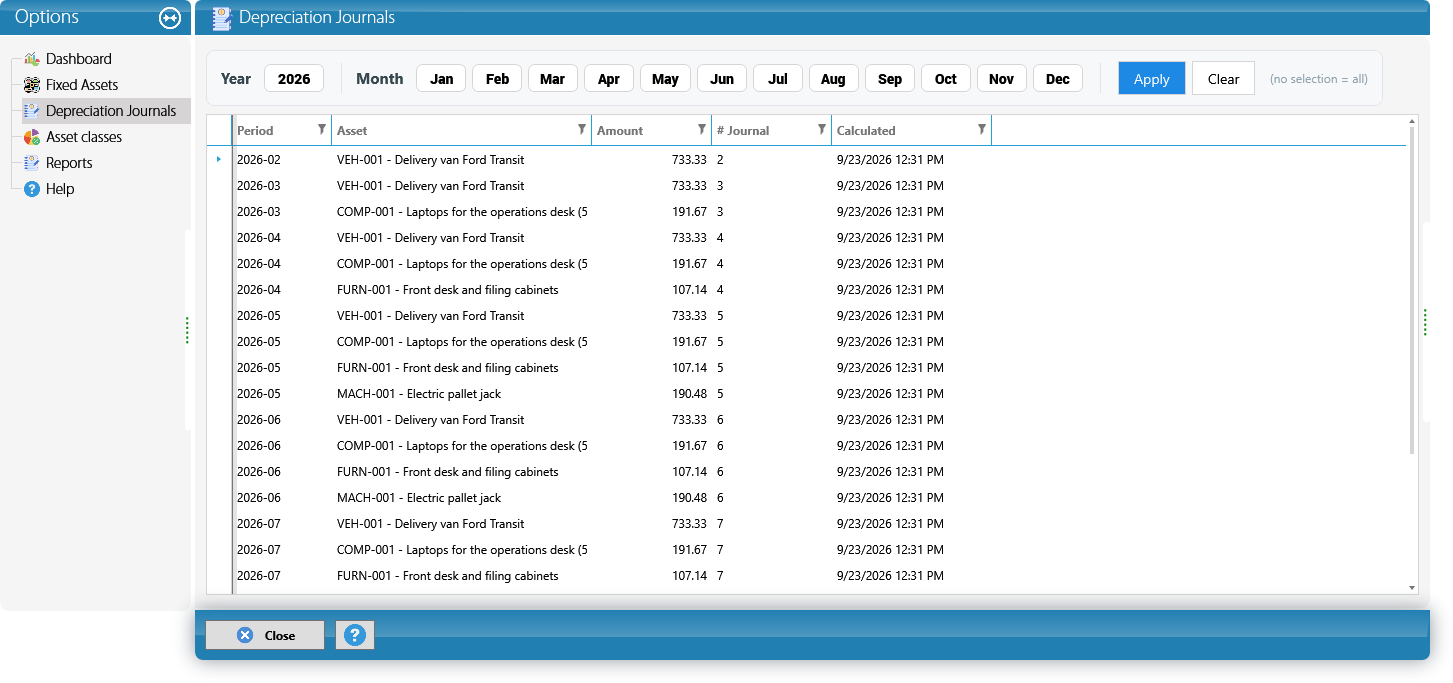
Two cases KeyTray handles on its own, with nothing for you to do:
- A closed accounting month: that month's depreciation is not lost. It accumulates and lands in the first open month, and the journal says so in its memo (through 2026-03).
- An asset older than your first fiscal year: equipment in use before you started with KeyTray depreciates all the same, and everything earlier than the first fiscal year lands, accumulated, in the first open month.
The run is idempotent: running it twice for the same month duplicates nothing.
Operations on an asset
Pick the asset in the list and use the buttons at the top. Each operation posts on its own:
| Operation | What it does |
|---|---|
| Disposal / sale | Brings depreciation up to the date, disposes of the asset and posts the result. On a sale you invoice as usual against a bridge account and choose that same account here: the bridge nets to zero and the difference against net book value goes to the gain or loss on disposal. |
| Void disposal | Undoes the disposal and its journal; the asset returns to its previous state. |
| Revaluation | By factor (tax revaluation, inflation adjustment) or to fair value (IAS 16). With no asset selected, it revalues every asset in service. |
| Impairment | Debits the impairment expense and credits accumulated impairment. Future depreciation is recalculated on the net book value. |
| Transfer | Changes the class (reclassifying the accounts with a journal), the location or the custodian. Useful life and method do not change. |
| Capitalize CIP | Moves one or more construction-in-progress items into an asset in service. |
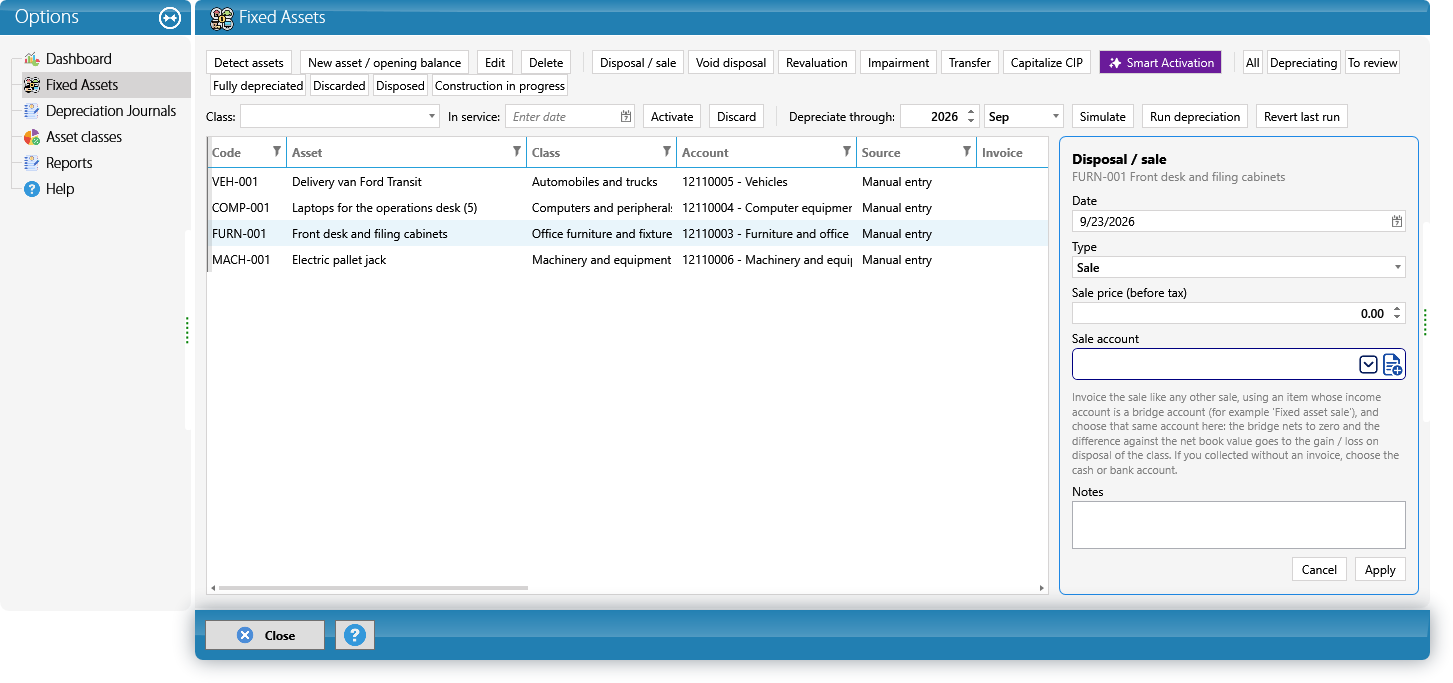
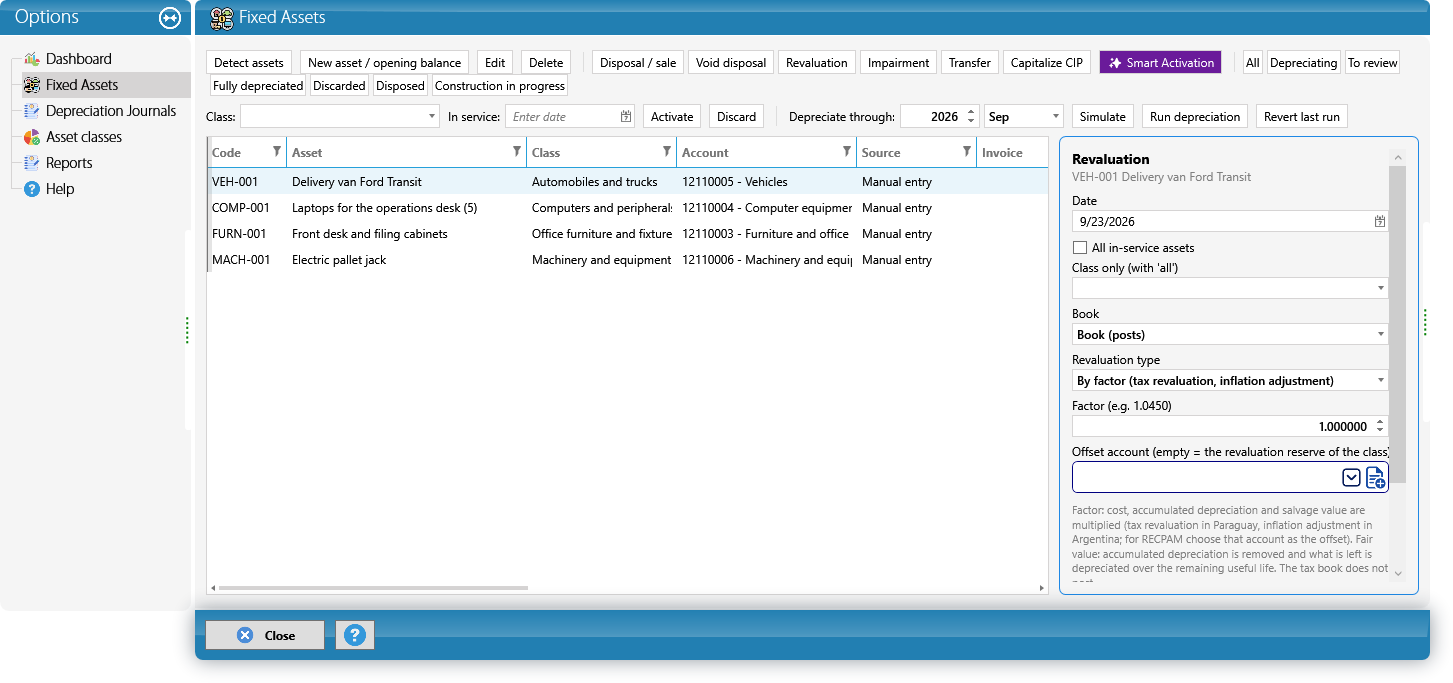
The two books
KeyTray keeps two books per asset:
- The book one, which posts to the ledger.
- The tax one, which is record only: it is there for when the tax rules impose a different useful life, a different method or a revaluation that accounting does not recognize. It posts no journals.
Each asset can have its own useful life and its own method in the tax book; leave it empty and the tax book matches the accounting one.
Reports
On the Reports page, choosing the Book (book or tax):
- Asset register as of a date: cost, accumulated depreciation, impairment, revaluation and net book value of each asset.
- Movement schedule between two dates: opening balance + additions + revaluations, plus or minus transfers, less disposals = ending balance, by class. This is the schedule the financial statements ask for.
- Projection: future depreciation, month by month, posting nothing.
- In Peru, additionally PLE 7.1: it generates the TXT of SUNAT's Fixed Asset Register (RS 108-2020/SUNAT).
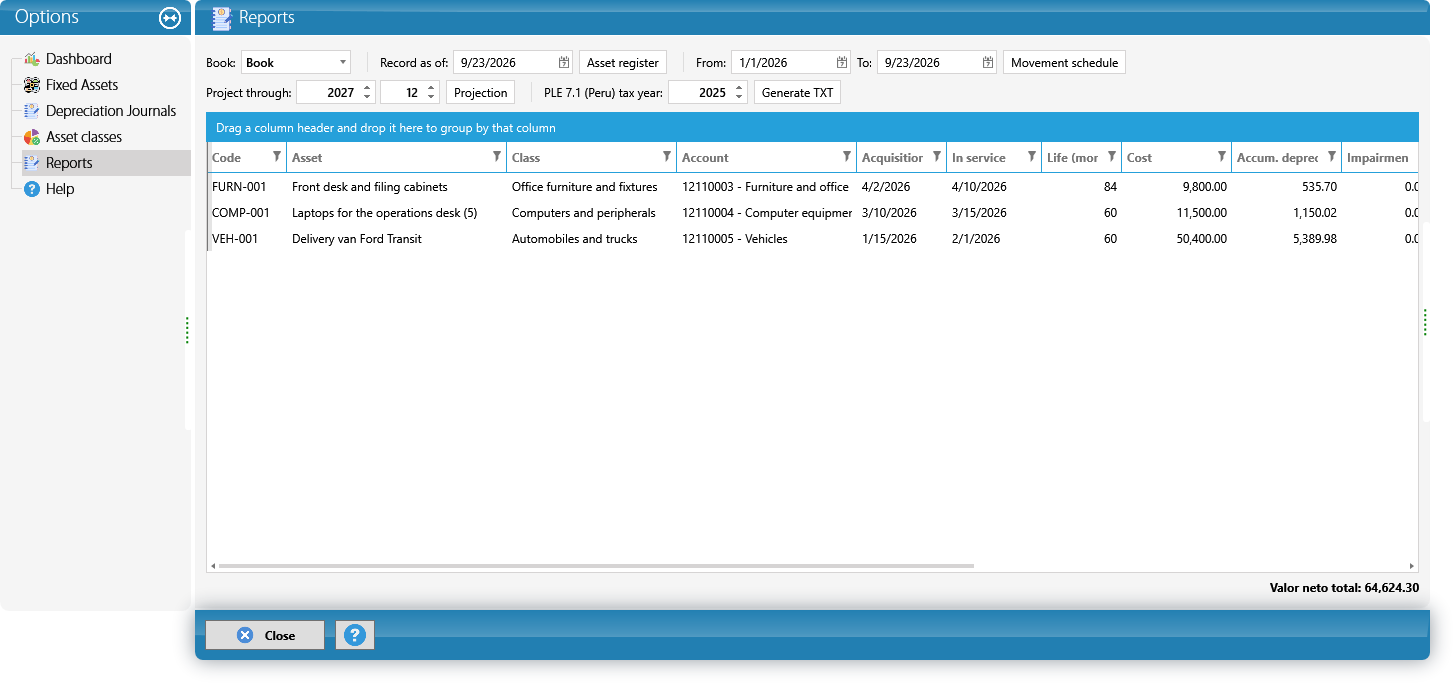
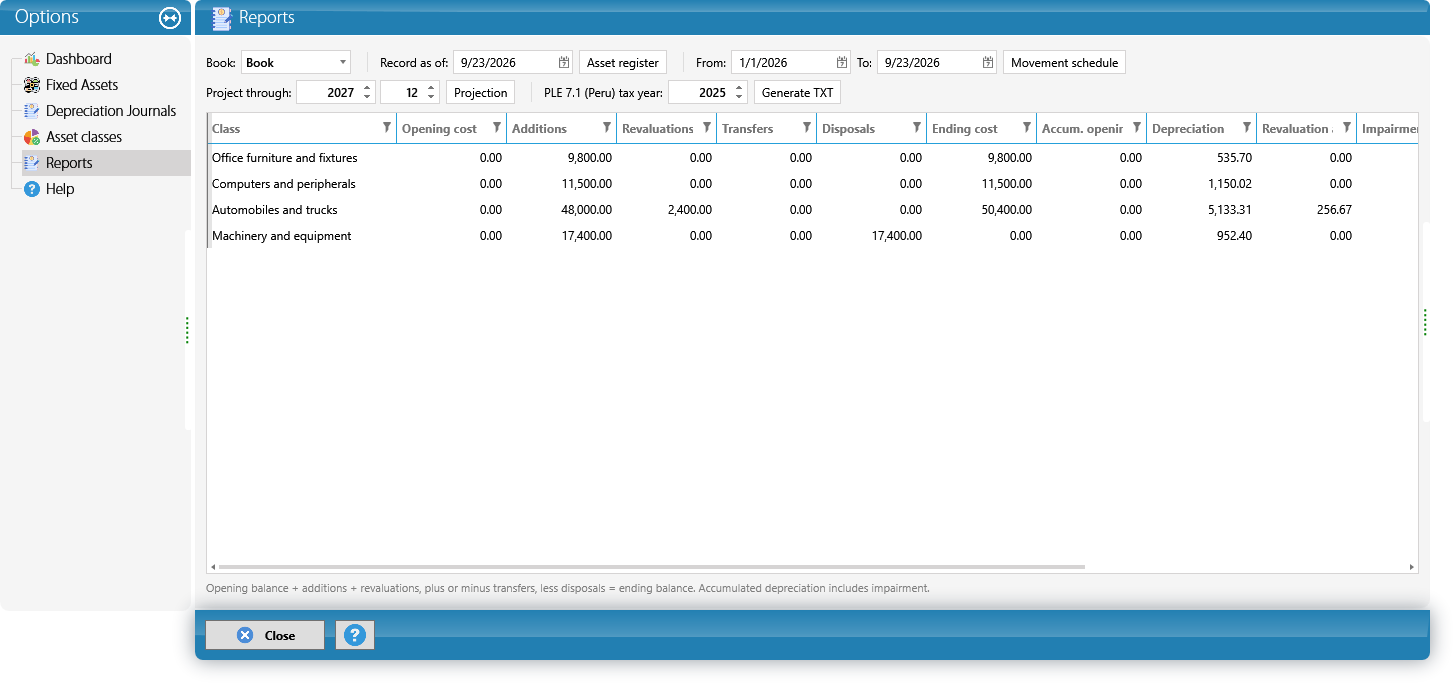
Careful: depreciation, disposal and revaluation journals are not edited or voided from the General Journal. Use the Manager's own buttons (Revert last run, Void disposal), which undo the journal and the asset's sub-ledger. If you edit them by hand, the ledger and the asset's record stop matching and the movement schedule no longer ties.
8.12 Customer and vendor advances
Lesson — the advance is a document of its own. When a customer pays before the invoice, the money comes into the bank but does not settle anything yet: it is a debt with the customer. KeyTray records the advance with its number and its balance, and later applies it to the invoice or refunds it. You do not choose accounts: KeyTray always uses the advances account of the currency.
| Operation | Debit | Credit |
|---|---|---|
| Customer advance | Bank or cash | Customer advances (liability) |
| Application to an invoice | Customer advances | Customer accounts receivable |
| Refund | Customer advances | Bank or cash |
A vendor advance is the mirror, with the Vendor advances account (asset). The application also records a receipt that settles the invoice; if the invoice has a different exchange rate, the difference goes to realized exchange difference. The advance is not a tax document: the invoice is issued as usual and the advance settles it.
1. Set up the accounts (once). Business Elements > Predefined Accounts, Advances tab: for each currency, the customer advances account (liability) and the vendor advances account (asset). In a foreign currency, Do not revalue is proposed.
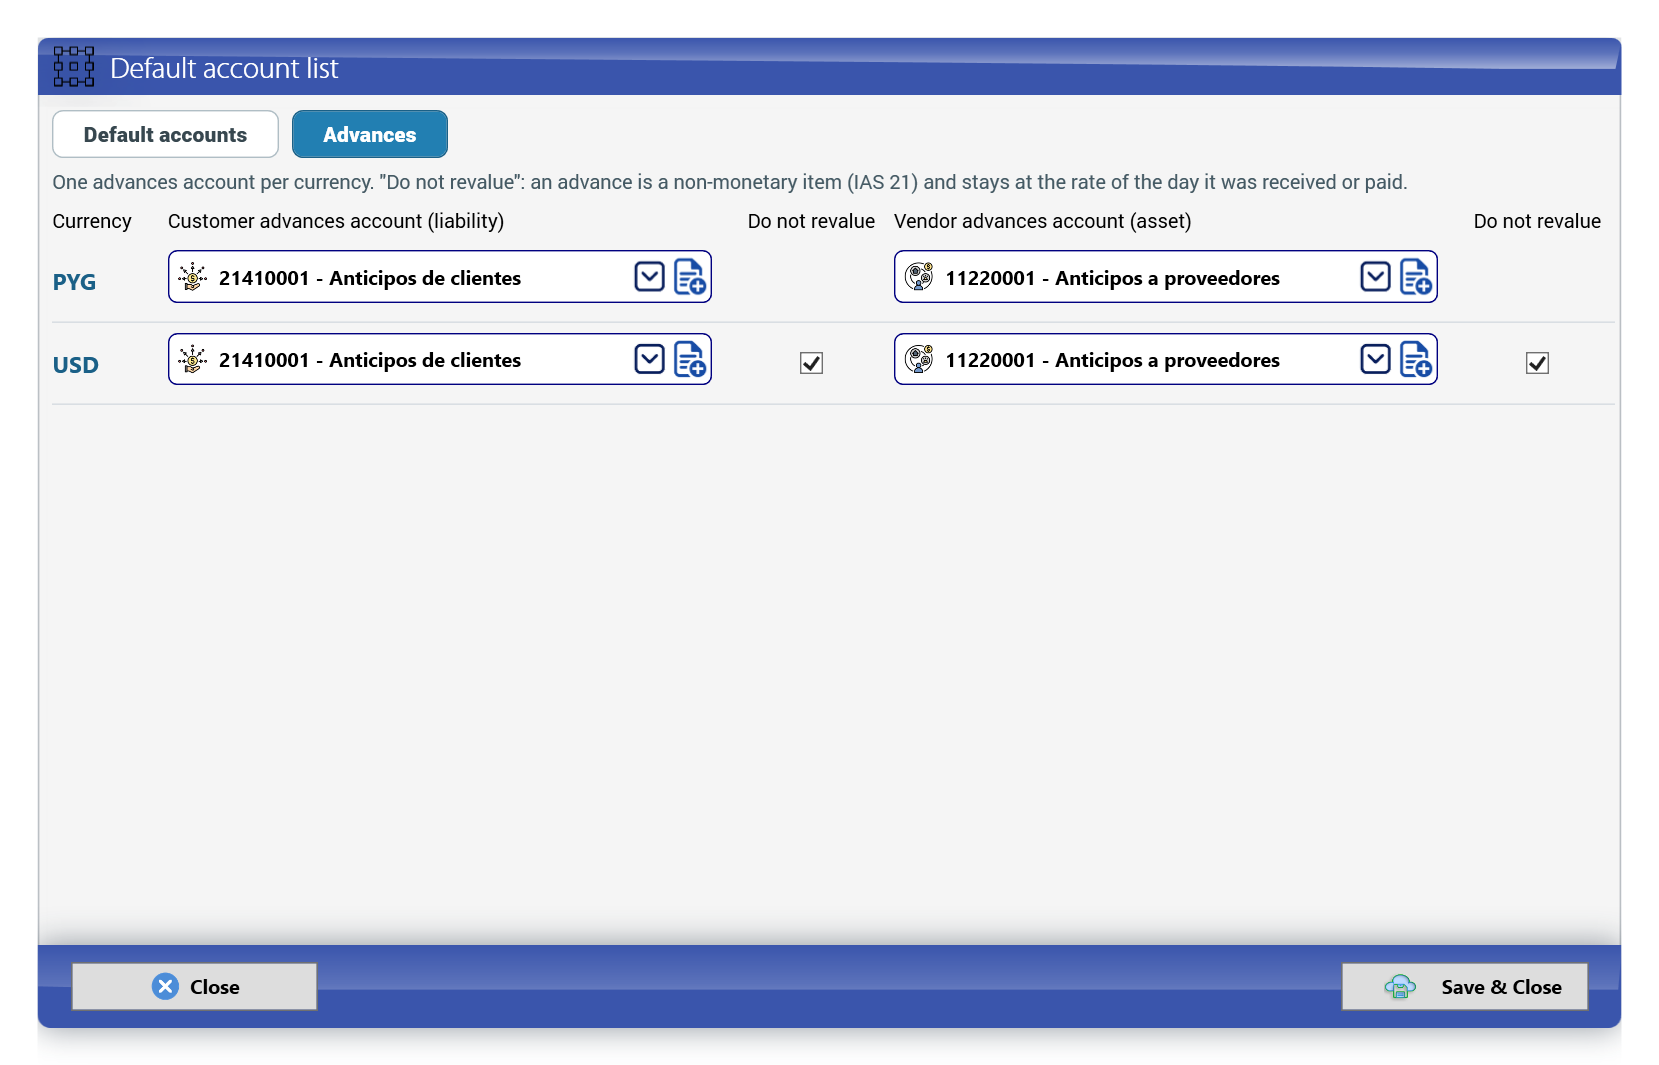
If a currency has no account, the advance window says so and does not save in that currency.
2. Record the advance. Operations tab, Banking group, Advances button. Choose Customer or Vendor, the participant, the date and the money account (bank or cash): the currency comes from the account. In a foreign currency KeyTray proposes the official rate of the day (buying for what you receive, selling for what you pay); check it. Fill in Amount, Reference and Memo and click Save advance. KeyTray numbers it ANC-000001 (customers) or ANP-000001 (vendors).
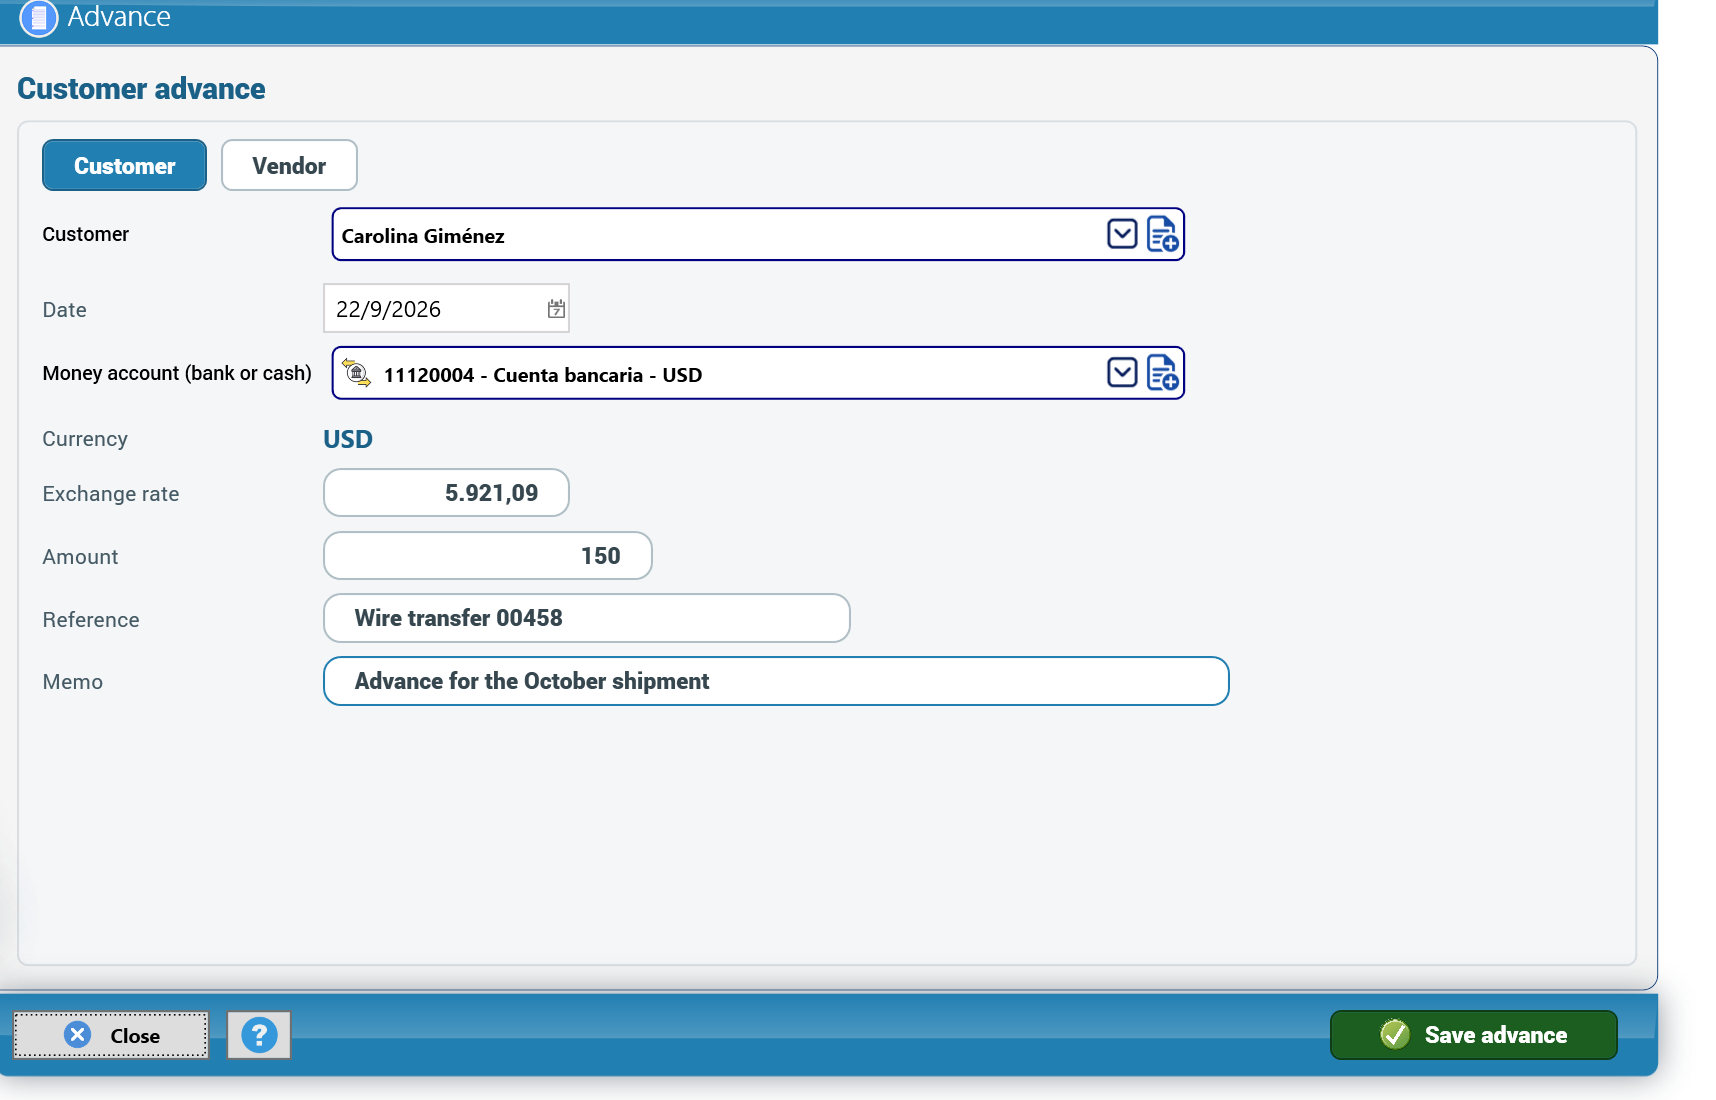
3. Apply it to an invoice. Apply and refund tab: it lists the open documents of the same customer (or vendor) in the currency of the advance. Check the invoices, adjust the Amount to apply for a partial application and click Apply to the selected documents.
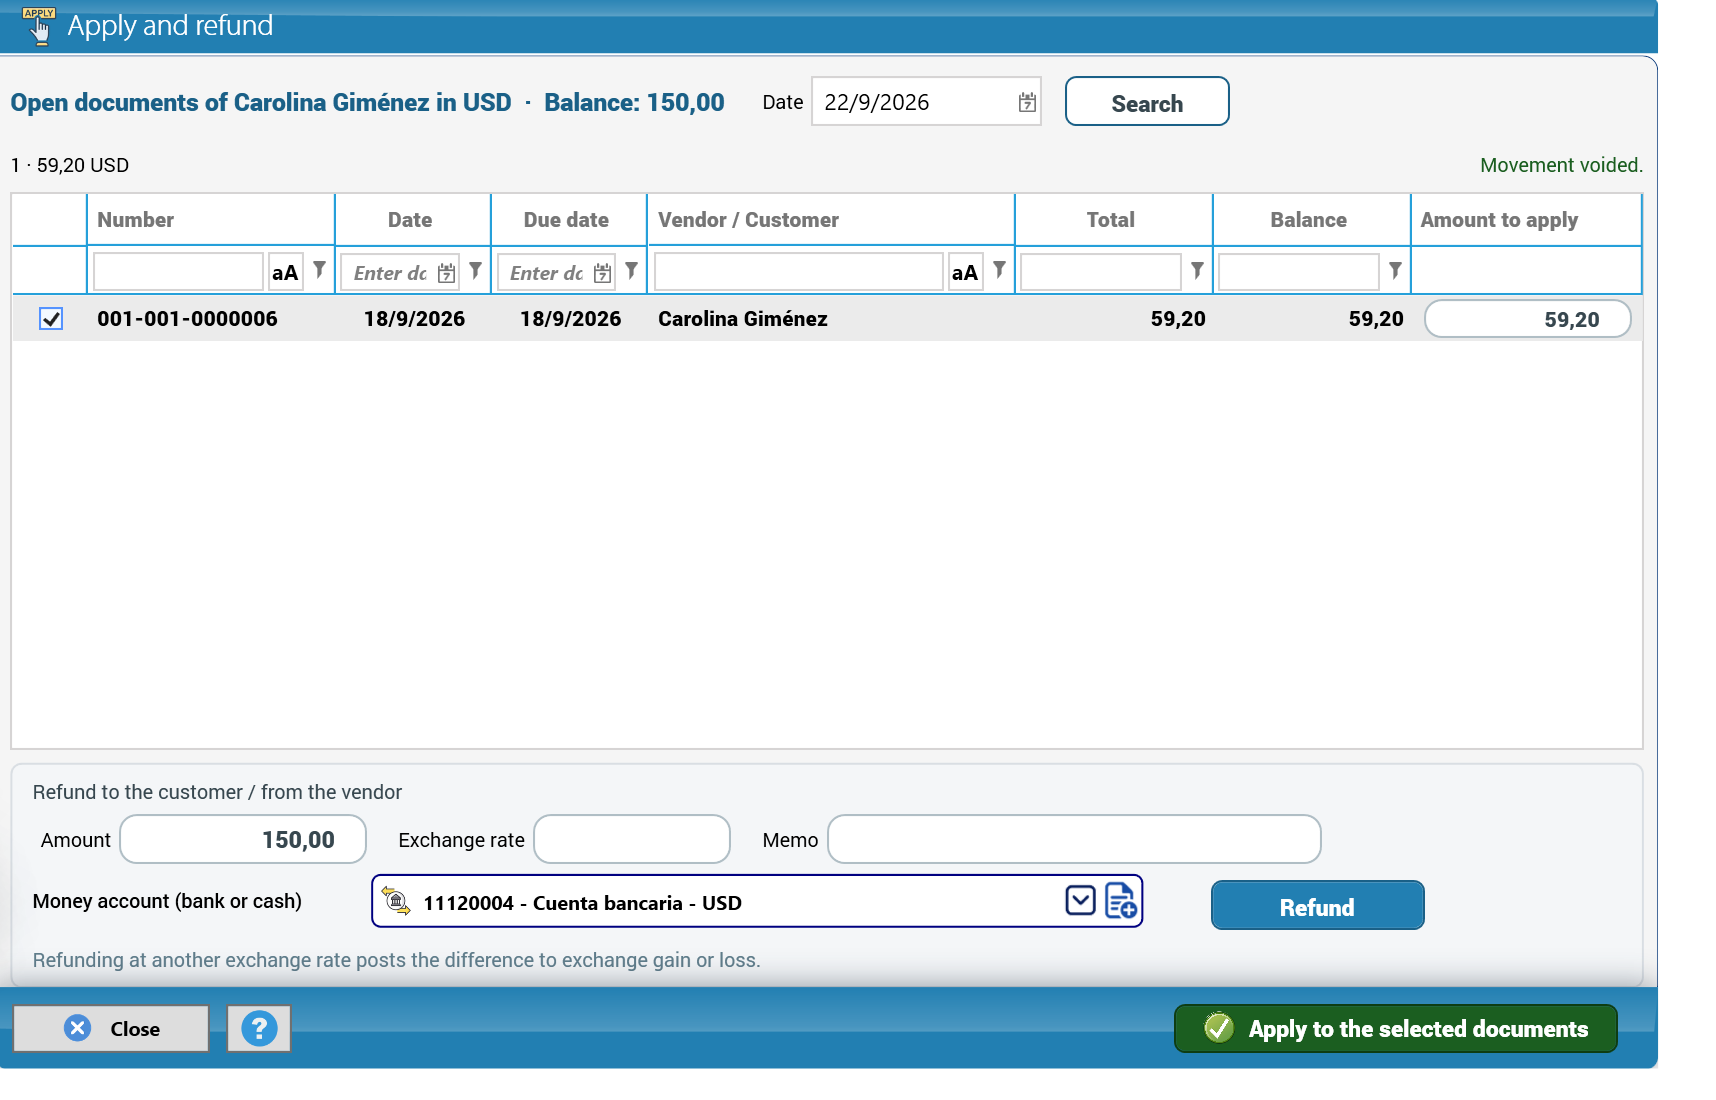
When you save a sales (or purchase) invoice for a customer (or vendor) with unapplied advances in that currency, KeyTray tells you and offers to open this tab with the invoice already checked.
4. Refund. In the same tab, in the Refund to the customer / from the vendor box, type the amount, choose the money account and click Refund. If you refund at a different exchange rate, type it: the difference goes to exchange gain or loss.
5. Movements and voiding. The Movements tab shows each application and refund with its Void button. Voiding an application voids its receipt and its entry, and gives the balance back to the advance and to the invoice.
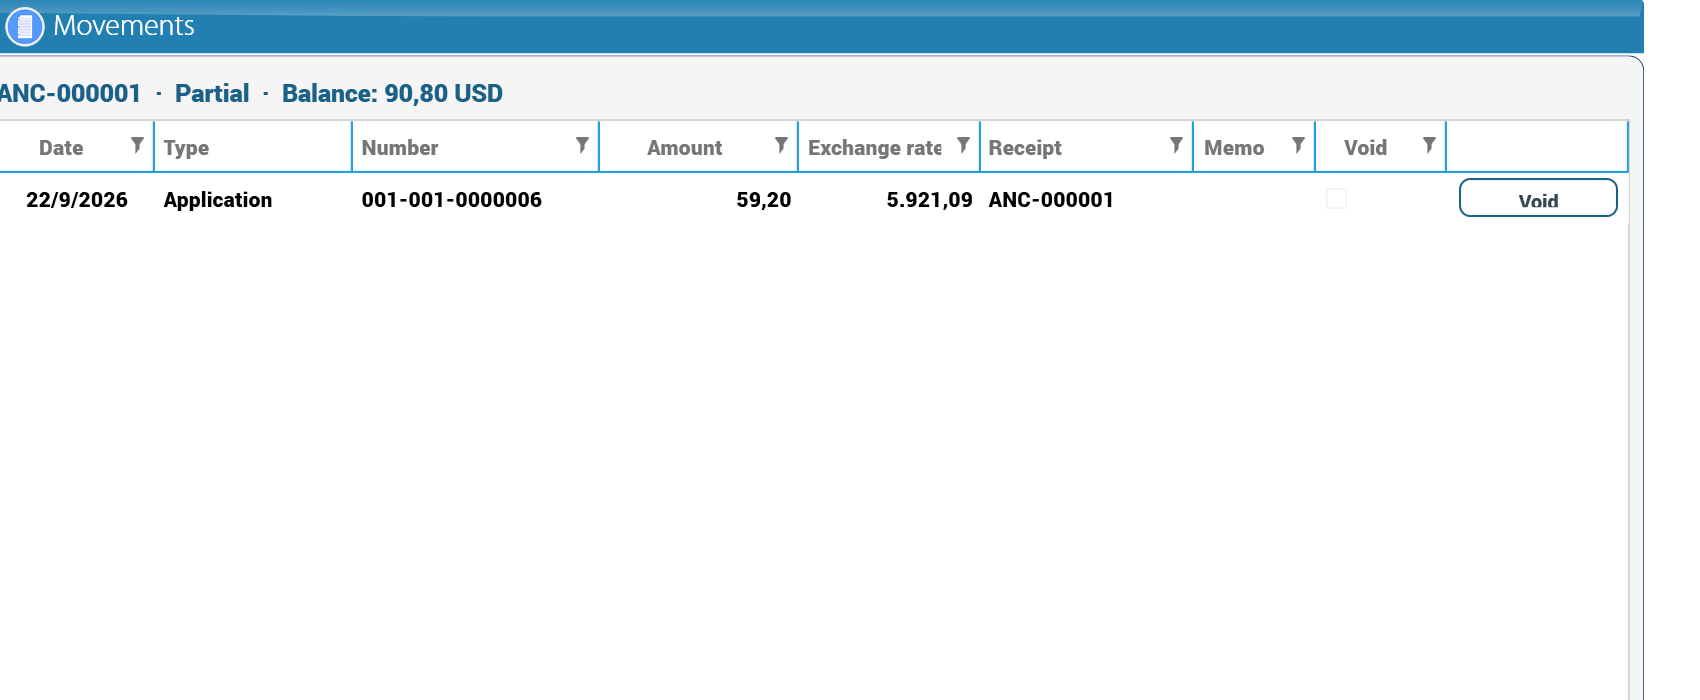
An advance can be changed or voided only while it has no live applications or refunds: void them first. The full list is in the Advances List button (Operations tab, Banking group), with the amount, applied, refunded, balance and status (Open, Partial, Applied, Refunded, Void); you can also edit, void, apply and refund from there.
6. Receipt. In the advance window, Print receipt produces the Advance Receipt for the customer:
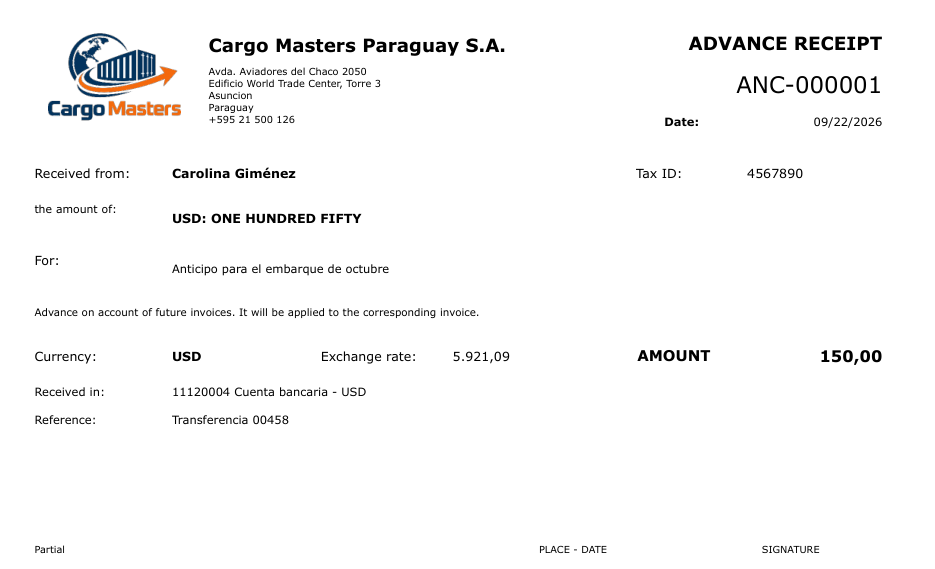
Caution: the entries and receipts of an advance cannot be edited or voided from the General Journal or from the receipts or payments lists: KeyTray blocks it and tells you to use Banking > Advances List. That way the advance, its balance and its entries never drift apart. For the same reason, do not post manual entries to the advances account: its balance must equal the sum of the open advances.
8.13 Payment processors (PayCargo)
Lesson: the processor pays for you, but the debt stays with the carrier. Services such as PayCargo pay airlines, warehouses and truckers on behalf of your company, and later the bank debits everything together in one movement. In KeyTray each carrier bill is paid with a normal vendor payment, but from a clearing account (for example PayCargo clearing), and the bank debit empties that account. Each carrier is paid with its own payment, and the bank statement reconciles against a single debit.
| Operation | Debit | Credit |
|---|---|---|
| The processor pays each bill | Carrier's accounts payable | Processor clearing account |
| The bank debits the batch | Processor clearing account | Bank |
The processor is not the vendor's "Pay to" vendor. With "Pay to" the debt moves to another vendor. With a processor the debt stays with each carrier, and the processor only provides the money.
1. The clearing account (once). In Business Elements > Chart of Accounts, create a current liability account with a clear name, for example PayCargo clearing (to be debited). When you create it from the Chart of Accounts, KeyTray enables it to record payments from it.
2. The processor profile (once). In Business Elements > List Explorer, open the Payment processors list and click New. In our example the PayCargo profile already exists:
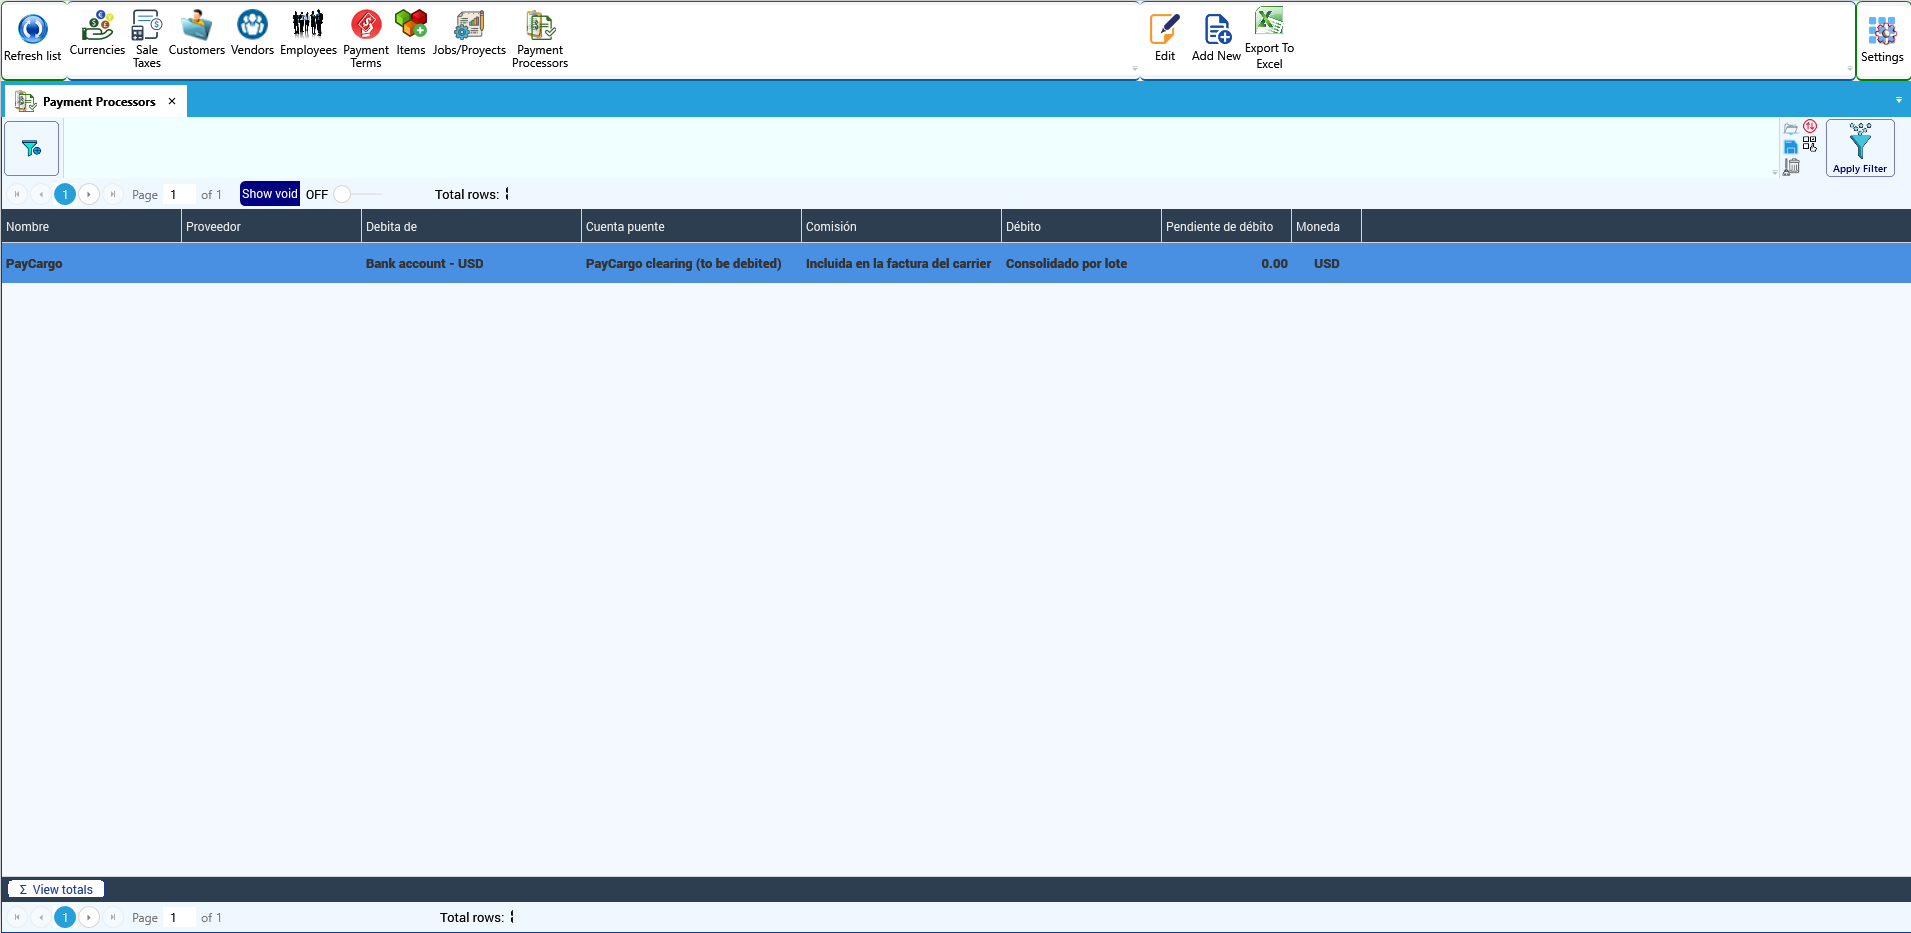
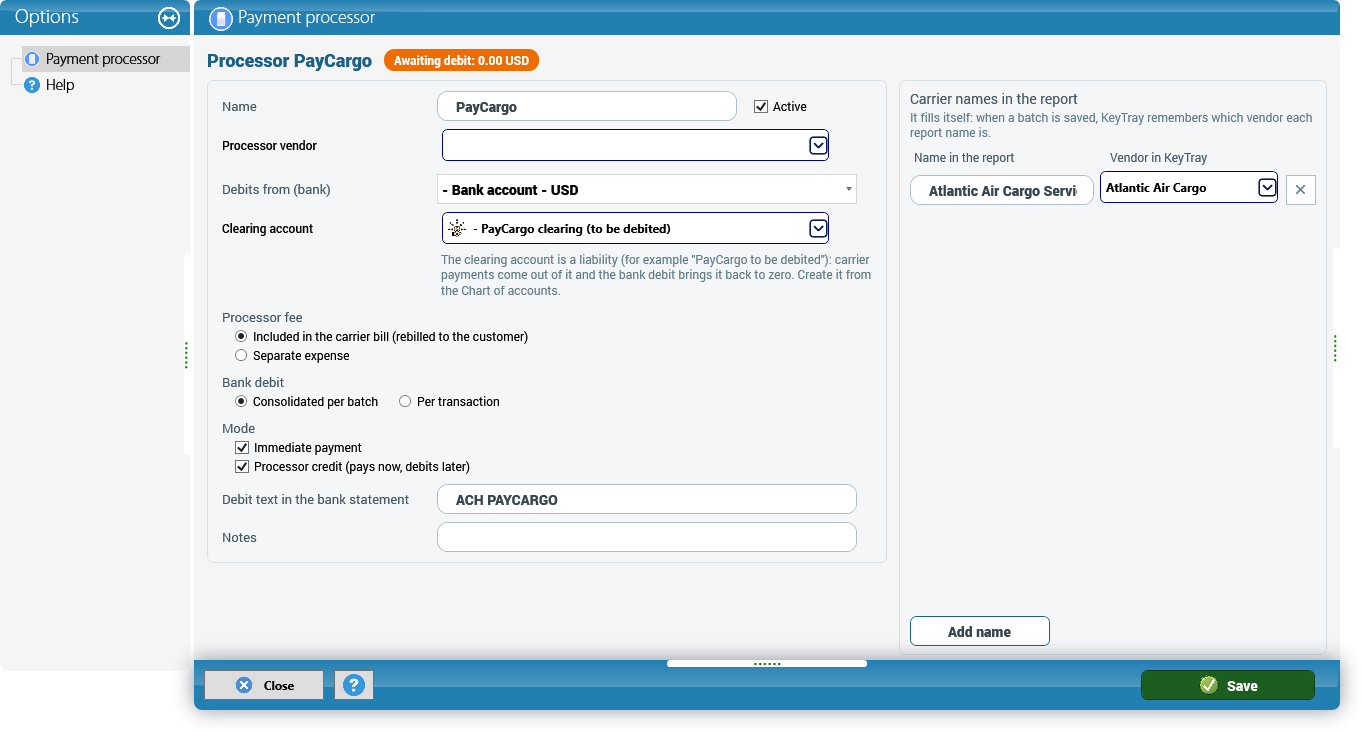
| Field | What to enter |
|---|---|
| Name | The service: PayCargo. |
| Processor vendor | Optional: PayCargo's own vendor record, if you buy services from it. |
| Debits from (bank) | The bank or card the processor debits. The processor's currency comes from this account. |
| Clearing account | The account from step 1. KeyTray rejects a customer or vendor account, and the bank itself. |
| Processor fee | Included in the carrier bill if the fee is already inside the bill you rebill to the customer. Separate expense if your company absorbs it; then choose the Expense account. |
| Bank debit | Consolidated per batch (the usual case with PayCargo) or Per transaction. |
| Mode | Immediate payment and/or Processor credit (the processor pays now and debits later). Both use the same clearing account. |
| Debit text in the bank statement | How the debit appears in the bank statement, for example ACH PAYCARGO. |
On the right, Carrier names in the report links each name in the PayCargo report to the KeyTray vendor. It fills itself: when you save a batch, KeyTray remembers which vendor each name was. In the example, Atlantic Air Cargo Services (MIA) is the vendor Atlantic Air Cargo. The first time, KeyTray deduces the vendor from the bill number and tells you so in blue.
3. Which vendors the processor pays. In each carrier's record, Financial Info page, choose the processor in Payment processor. If the vendor is paid directly, leave (none).
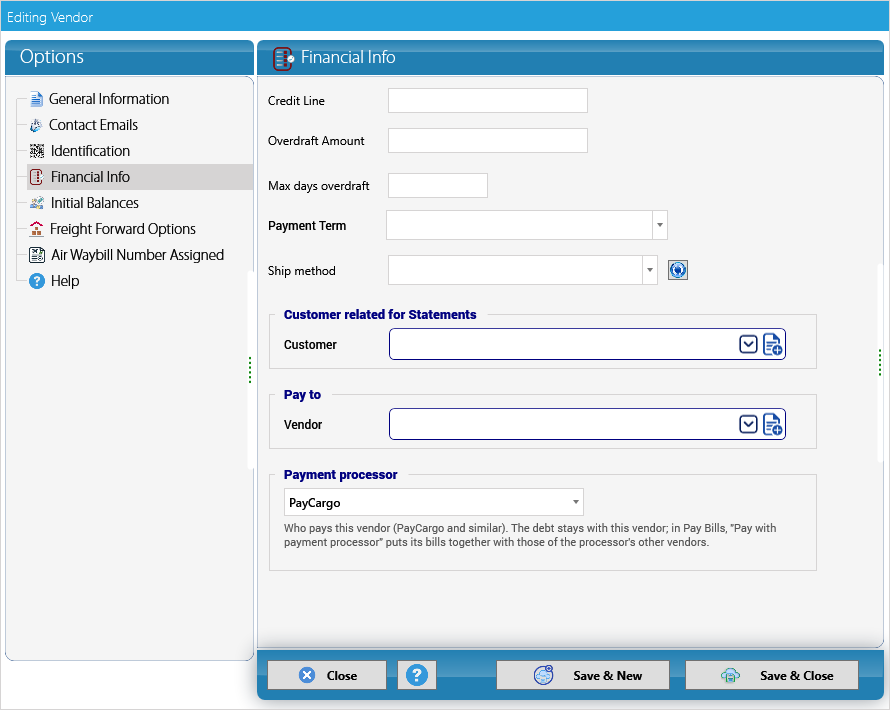
4. Paying the bills with the processor. Open Pay Bills. On the right of the document's blue bar is the Pay with payment processor switch:
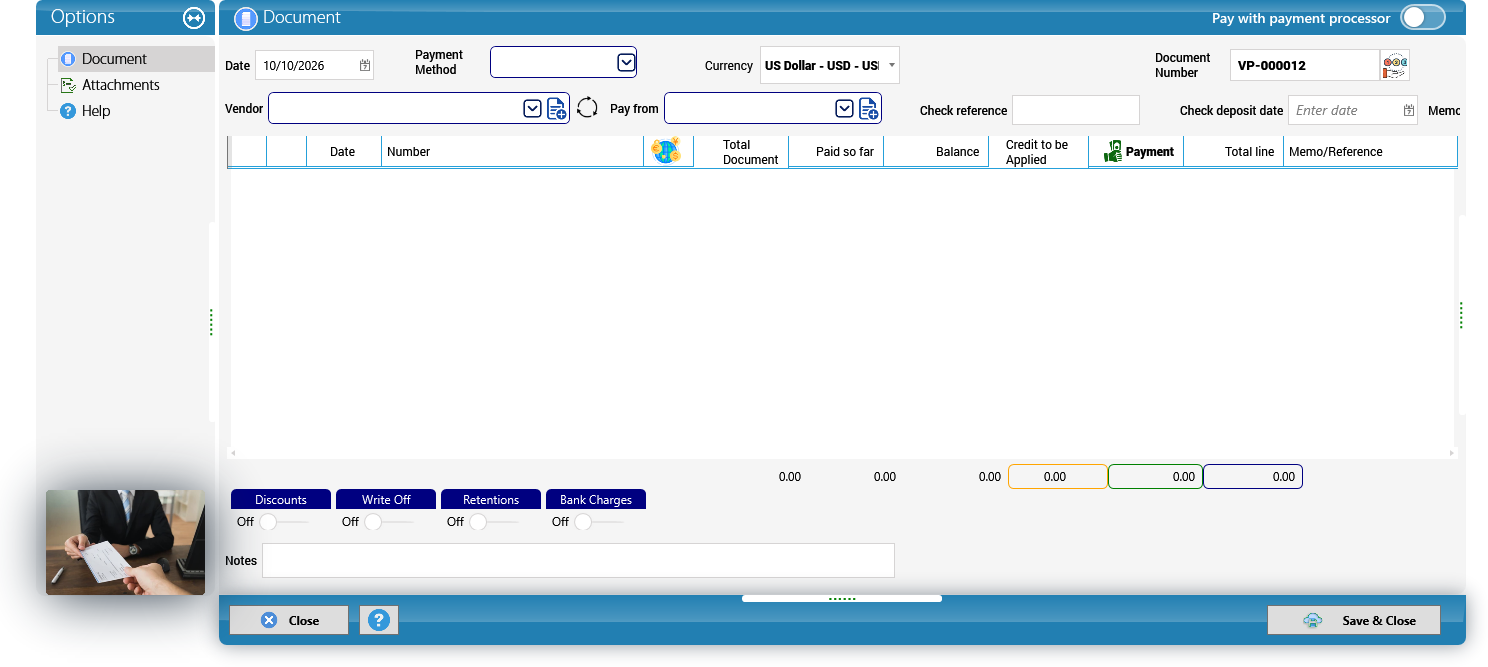
Turning it on changes the window:
- Instead of the vendor you choose the Payment processor. If there is only one, it is chosen for you.
- Pay from (processor account) shows the profile's clearing account; no bank is chosen.
- The list brings the open bills of all the vendors that use that processor, with the Vendor column. Only bills in the processor's currency are listed.
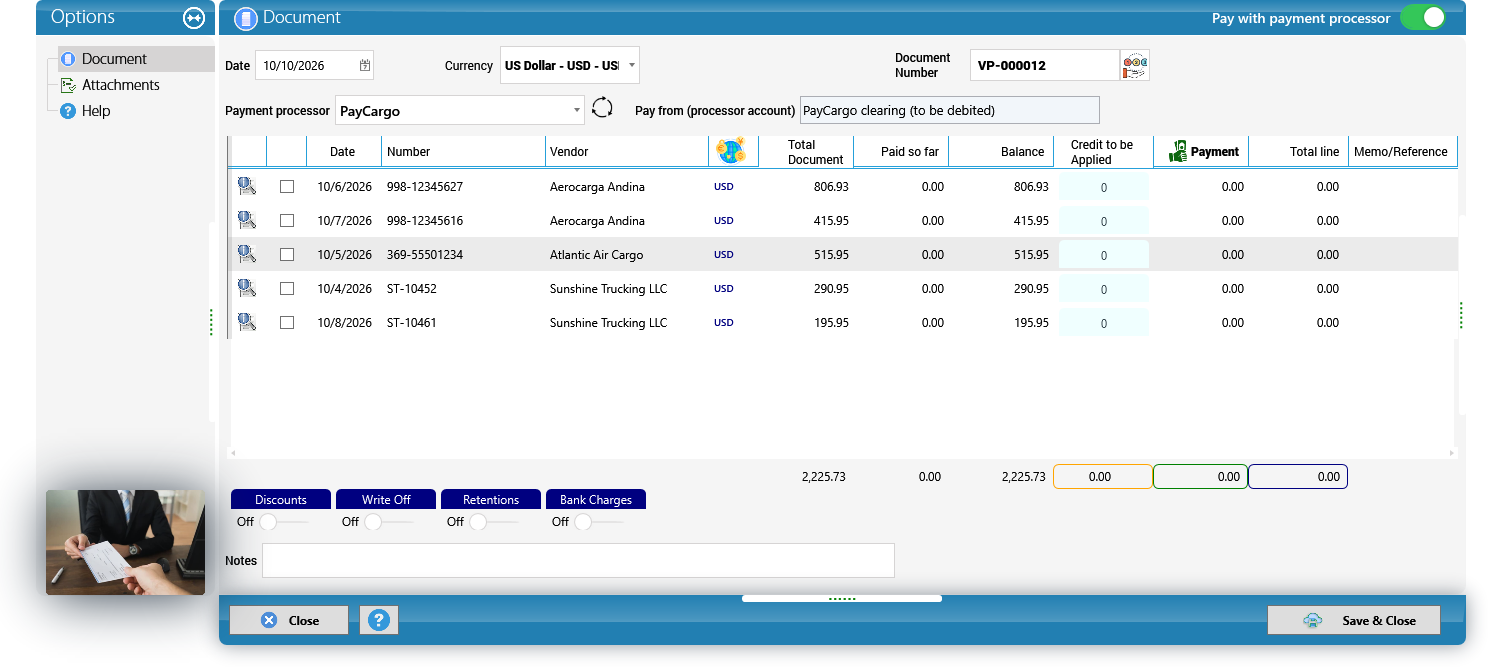
Tick the bills you are paying through PayCargo, even if they belong to different vendors:
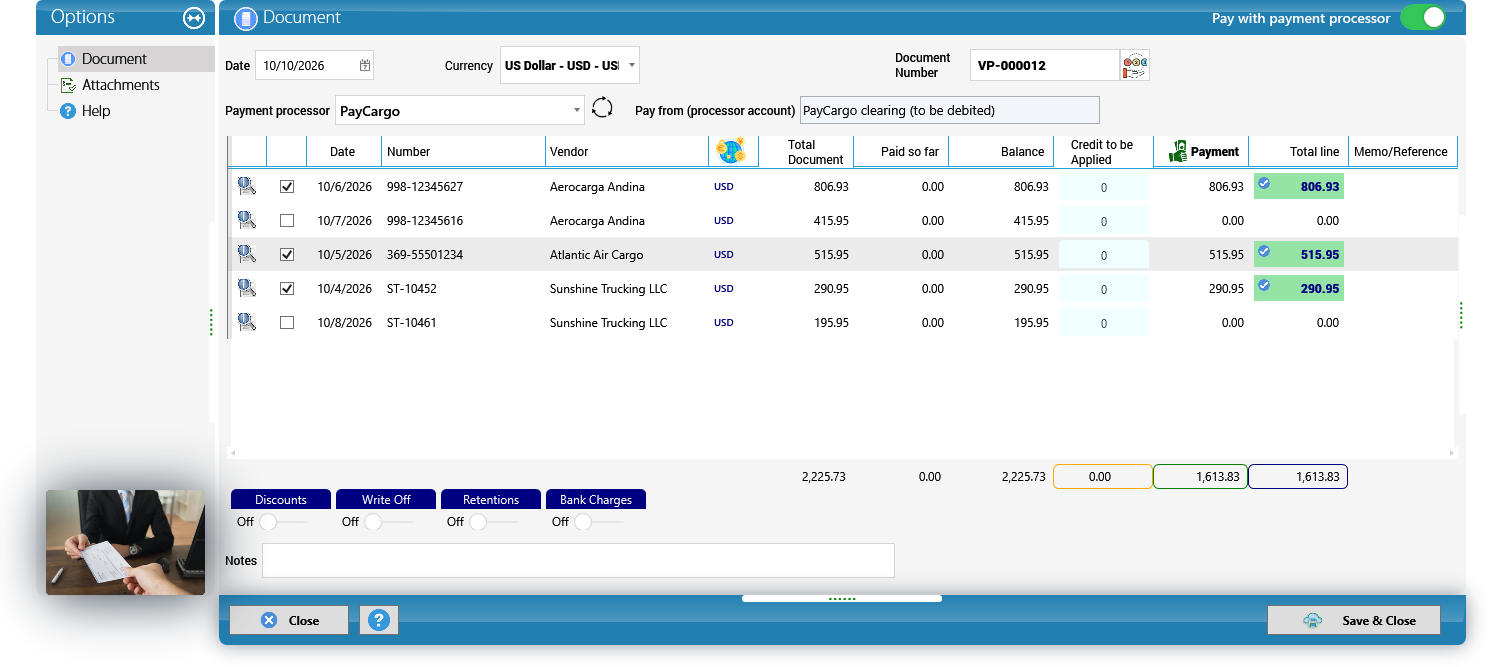
Click Save & Close (or Save & New to go on). KeyTray saves a batch and, inside it, one vendor payment per carrier, all from the clearing account:
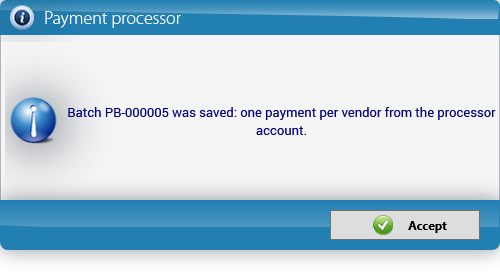
Important: the processor pays only the bill amount. Discounts, write-offs, retentions and credit notes are applied with a normal vendor payment, with the switch off.
5. When the PayCargo report arrives. PayCargo emails an Excel file with what it paid (the ACH Report). Now that report only verifies: it confirms what you already paid and pays whatever is missing. Open Processor payments, choose the processor and click Choose the report...:
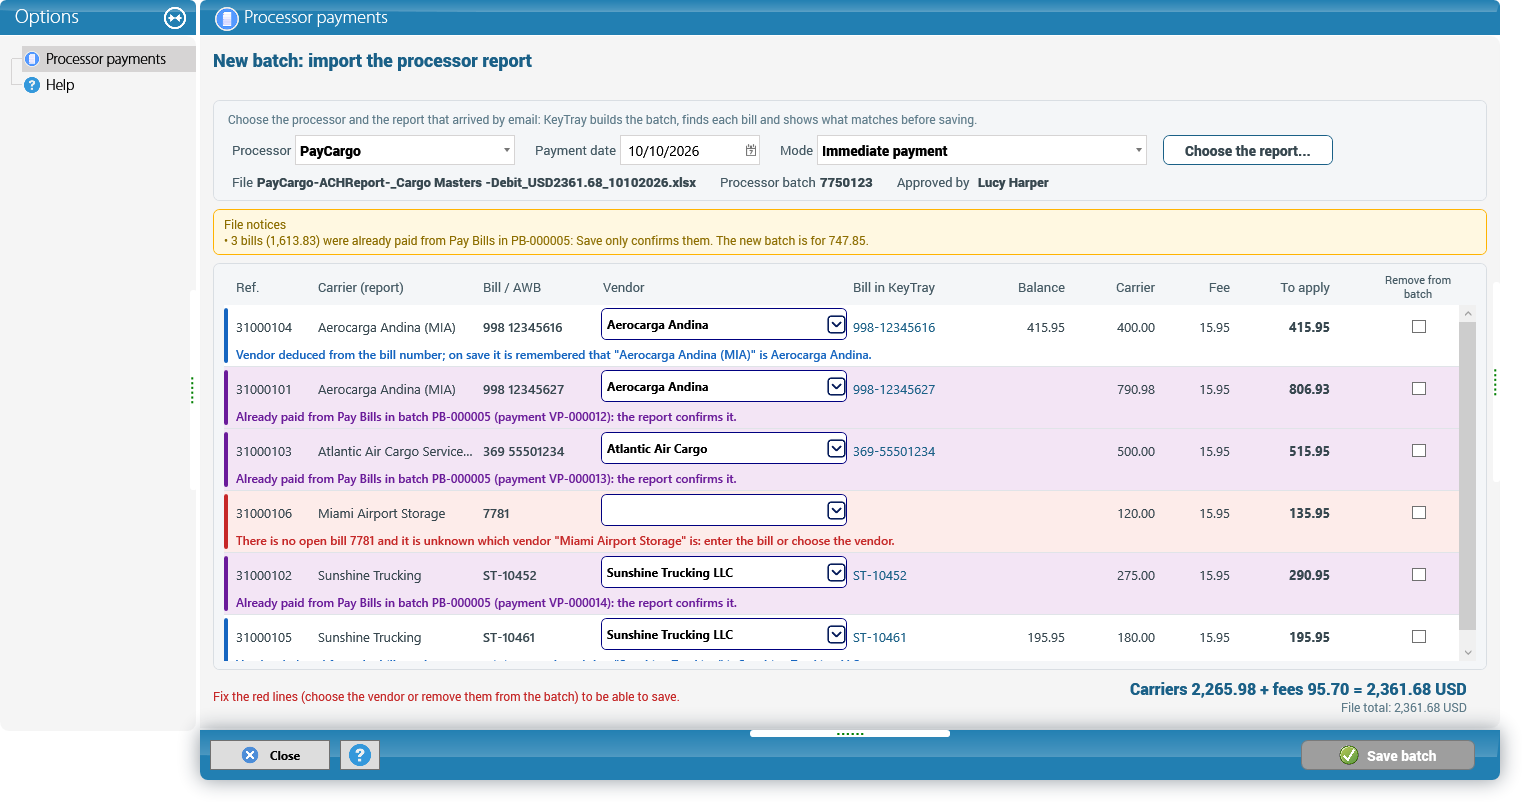
Each line shows, with a color, what will happen to it:
| Color | Meaning | What to do |
|---|---|---|
| Purple | The bill was already paid from Pay Bills in a batch: the report confirms it. | Nothing: it is not paid twice. |
| Black | It matches an open bill: it is paid now. | Nothing. |
| Blue | The vendor was deduced from the bill number; when you save, KeyTray remembers the name. | Check the vendor is right. |
| Red | There is no open bill, or the vendor is unknown. | Enter the bill or choose the vendor in the line's combo; if it does not belong, tick Remove from batch. |
At the top, File notices sums up how many bills were already paid and in which batch, and how much the new batch will be. While there are red lines, Save batch is disabled. In the example, bill 7781 from Miami Airport Storage has no bill in KeyTray, so it is marked Remove from batch:
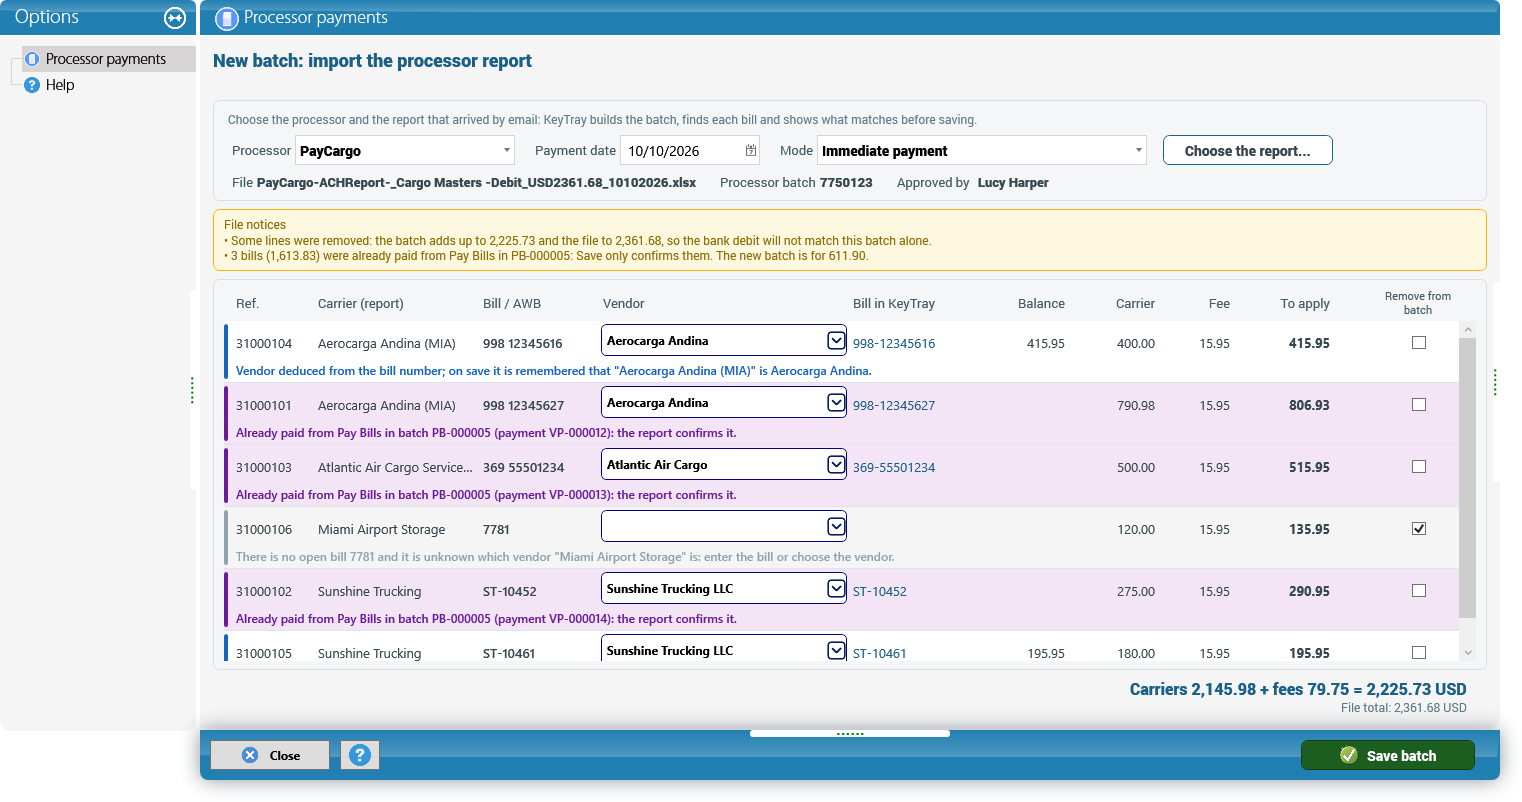
When you click Save batch:
- the purple bills are confirmed: the Pay Bills batch is stamped with the report number (7750123) and the date;
- the missing ones are paid in a new batch, just as in step 4 (one payment per carrier from the clearing account).
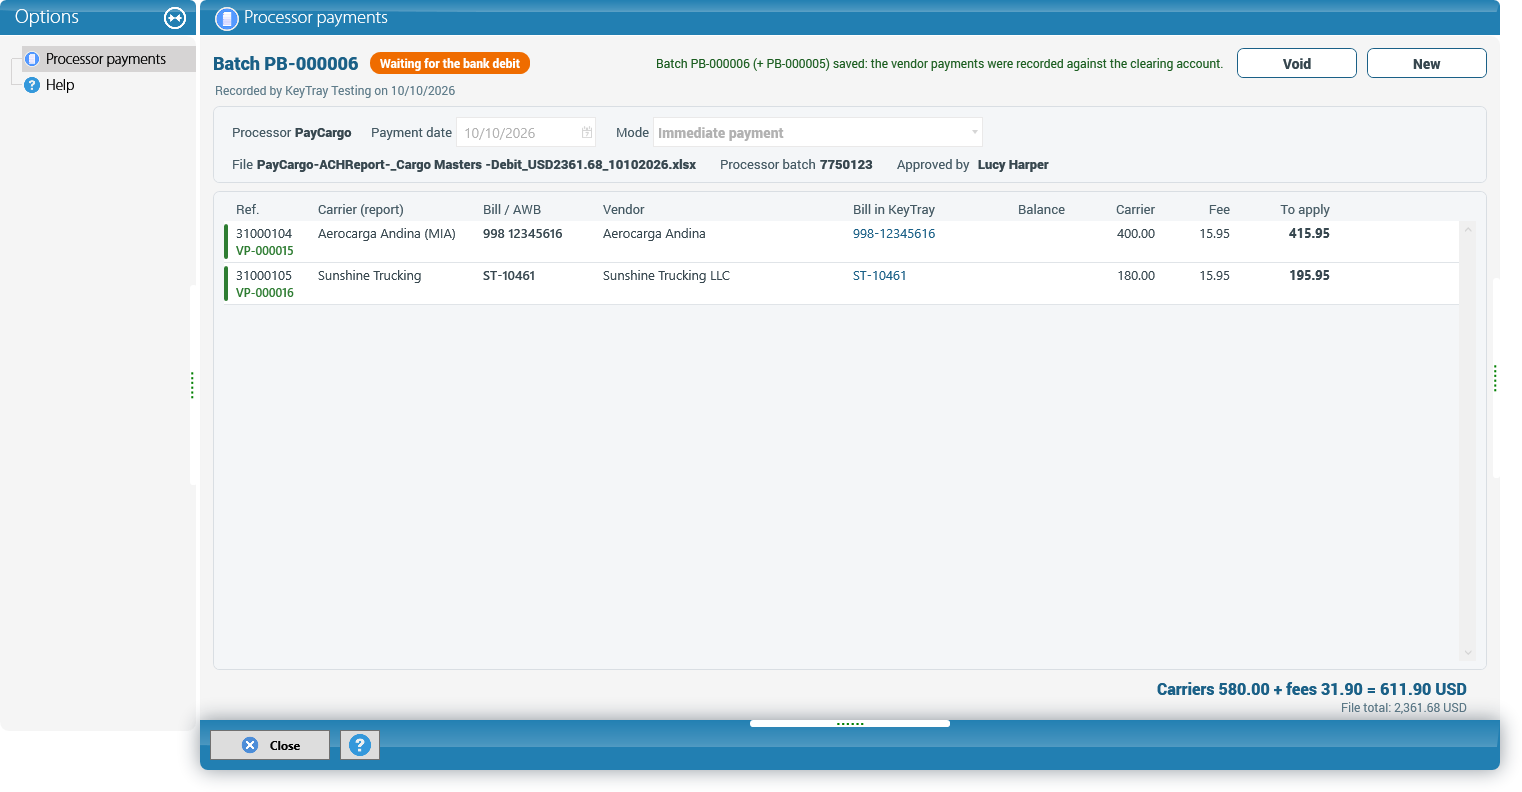
If the report brings only bills that were already paid, KeyTray confirms them and creates no batch. The same report cannot be used twice.
6. The bank debit. When the debit appears in the bank statement, open Processor debit. KeyTray lists the processor's batches waiting for the debit: tick the ones the bank debited together and enter the Amount debited exactly as it appears in the statement. It must match the total of the ticked batches.
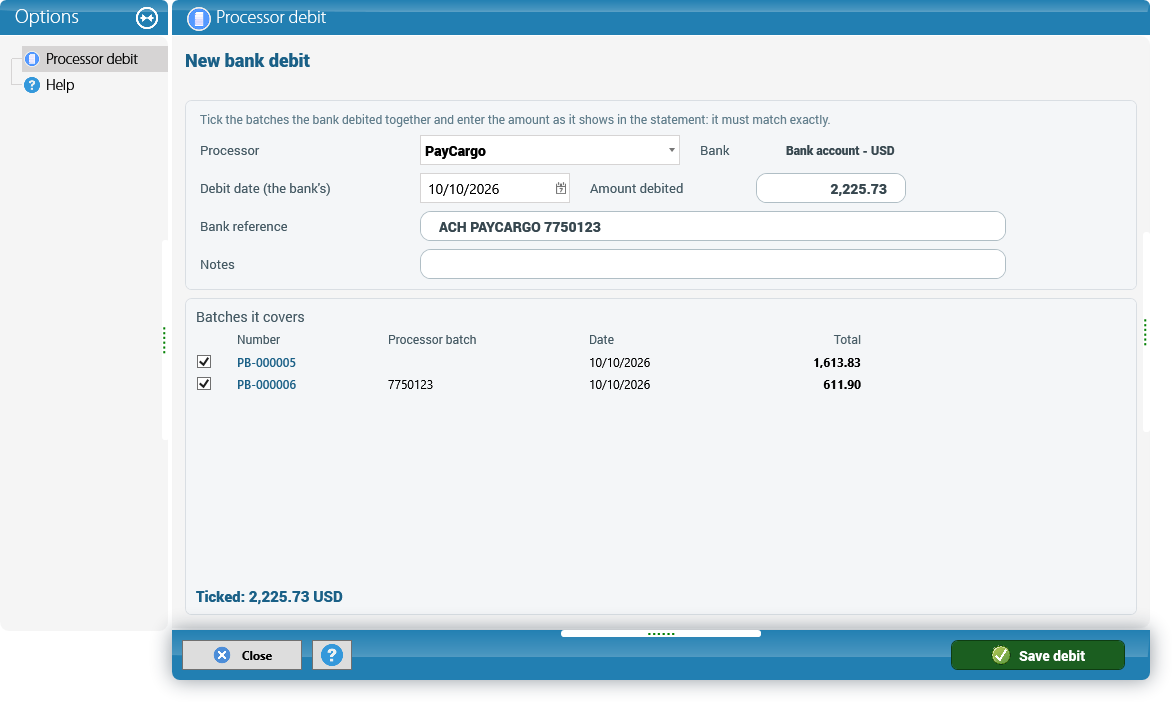
Save debit records the entry debit clearing account / credit bank. The clearing account goes back to zero, and the bank shows a single movement, the same as the statement, which reconciles like any other (section 8.7).
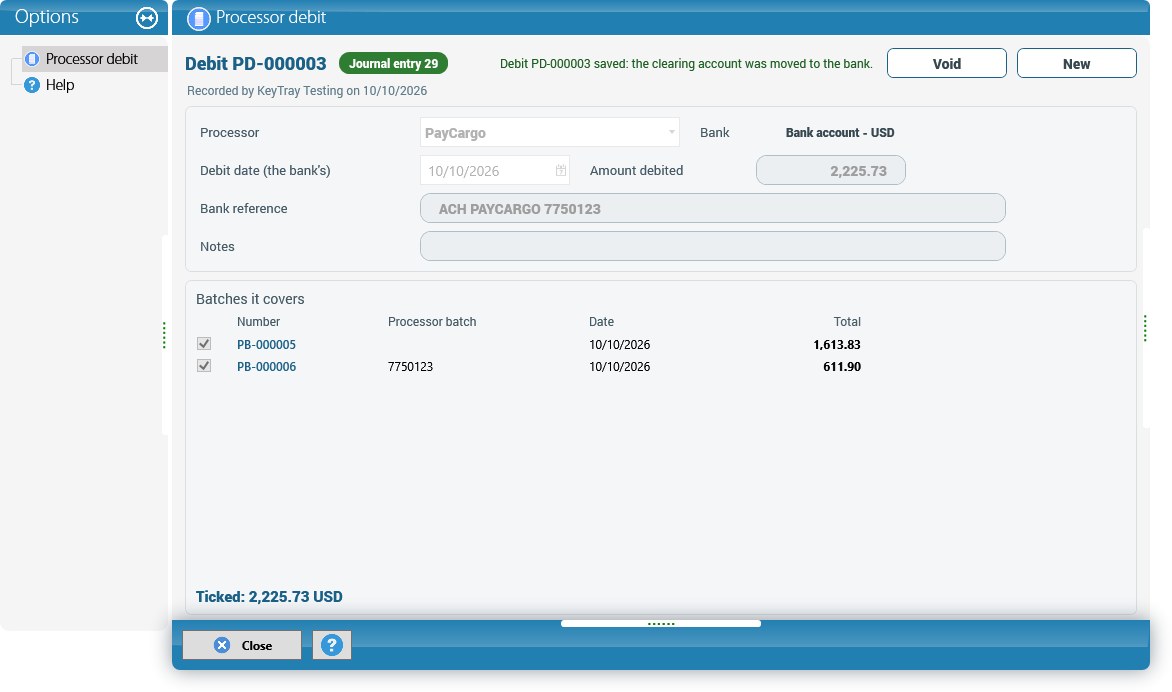
7. The lists and voiding. Operations > List Explorer (the Operation List Explorer) has the Processor batches and Processor debits lists. The batches list shows where each batch came from (Pay Bills or the report) and whether a report confirmed it:
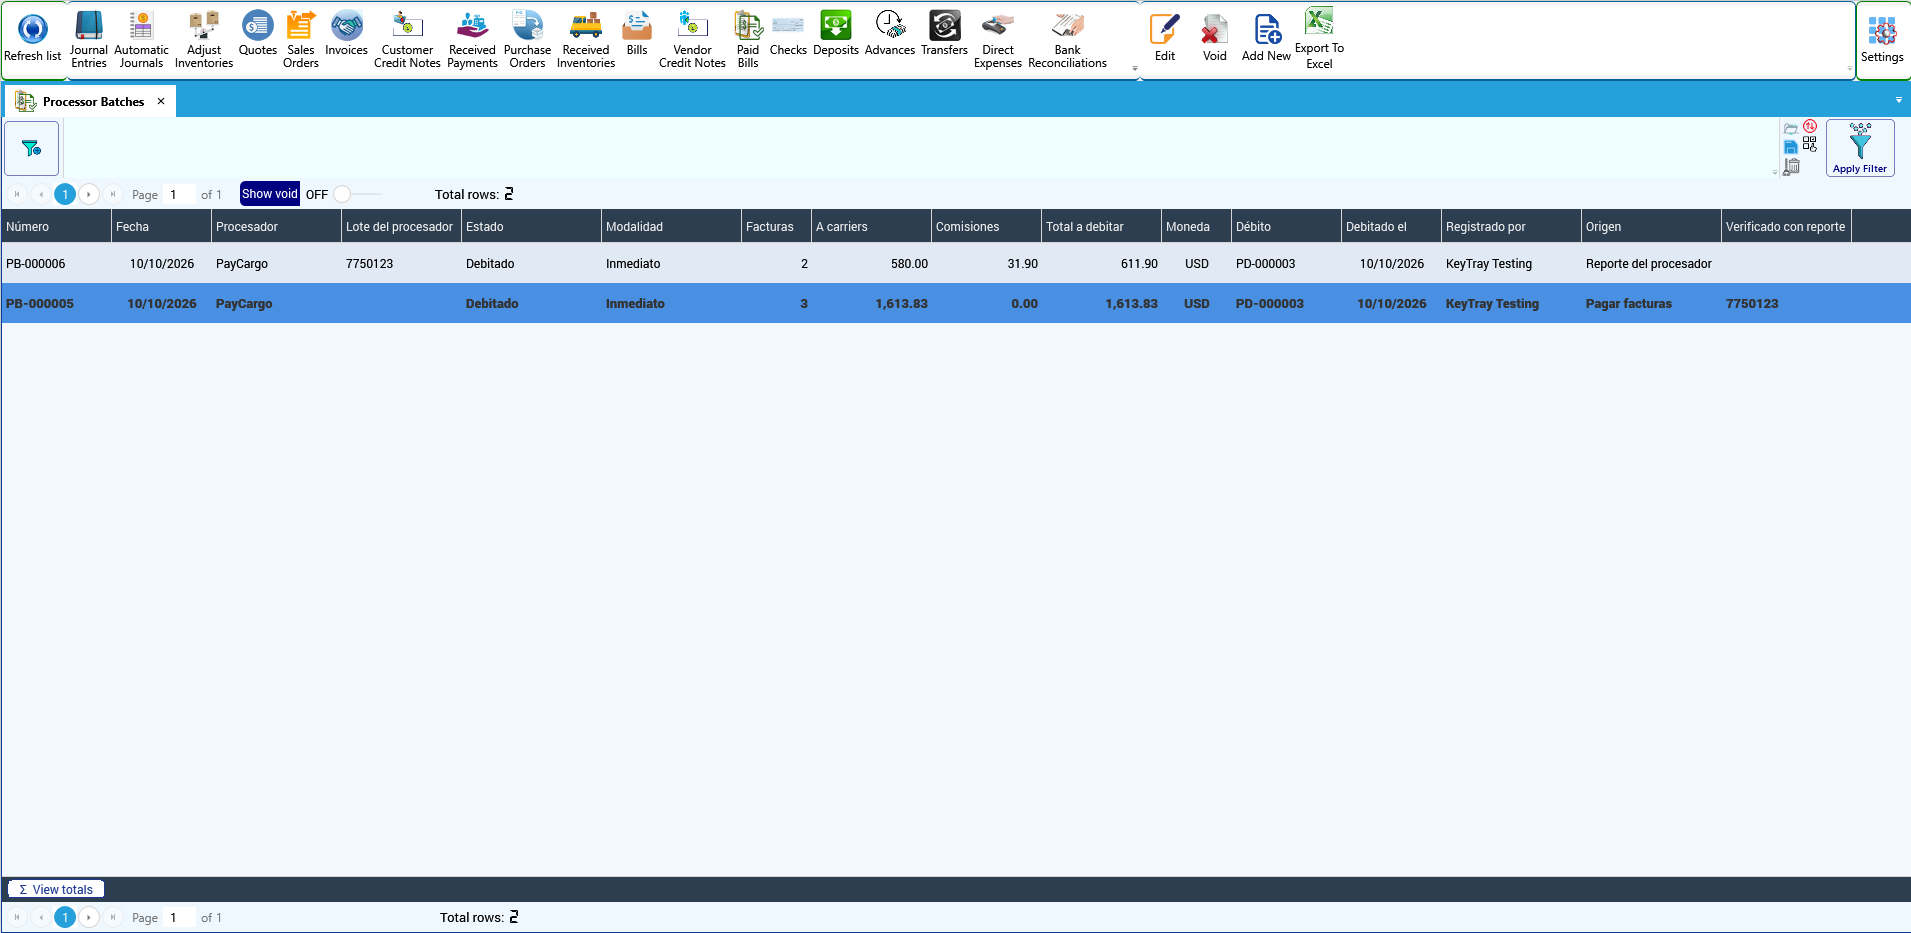
When you open a Pay Bills batch, its footer shows the source and which report confirmed it:
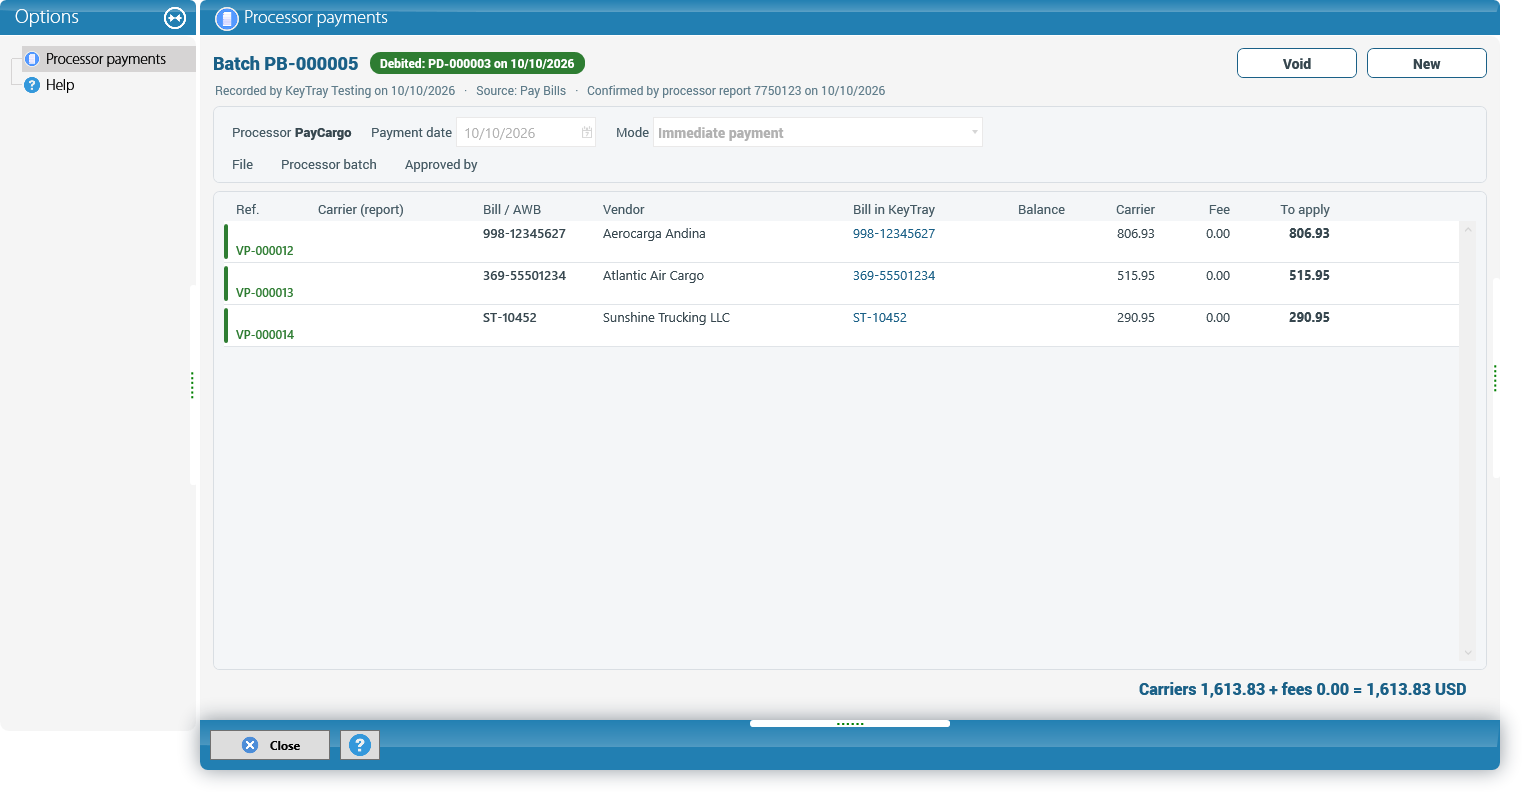
To undo, the order is: Void the debit first, then the batch. A batch covered by a live debit cannot be voided, and a payment that belongs to a batch cannot be voided on its own from the payments list.
Caution: do not post manual journal entries to the clearing account. Its balance must always equal the batches waiting for the debit; the profile shows it at the top as Awaiting debit.
9. Security: users, roles and access
9.1 The principle of least privilege
Give each person only the access they need to do their job — nothing more. A warehouse clerk needs to receive, repack and dispatch cargo; they do not need to see bank balances, void invoices or change tax codes.
This protects the company from mistakes (fewer people can break things), from fraud (fewer people can move money), and it protects the employee (nobody can blame them for something they could not do).
In KeyTray you apply this principle in two steps:
- Create a role: a named set of permissions.
- Create an access (a user) and assign them one or more roles in one or more companies.
All of it is on the Security ribbon:

The ribbon has List Explorer, New Role and New Access.
9.2 Creating a role: Warehouse Clerk
Menu: Security > New Role.
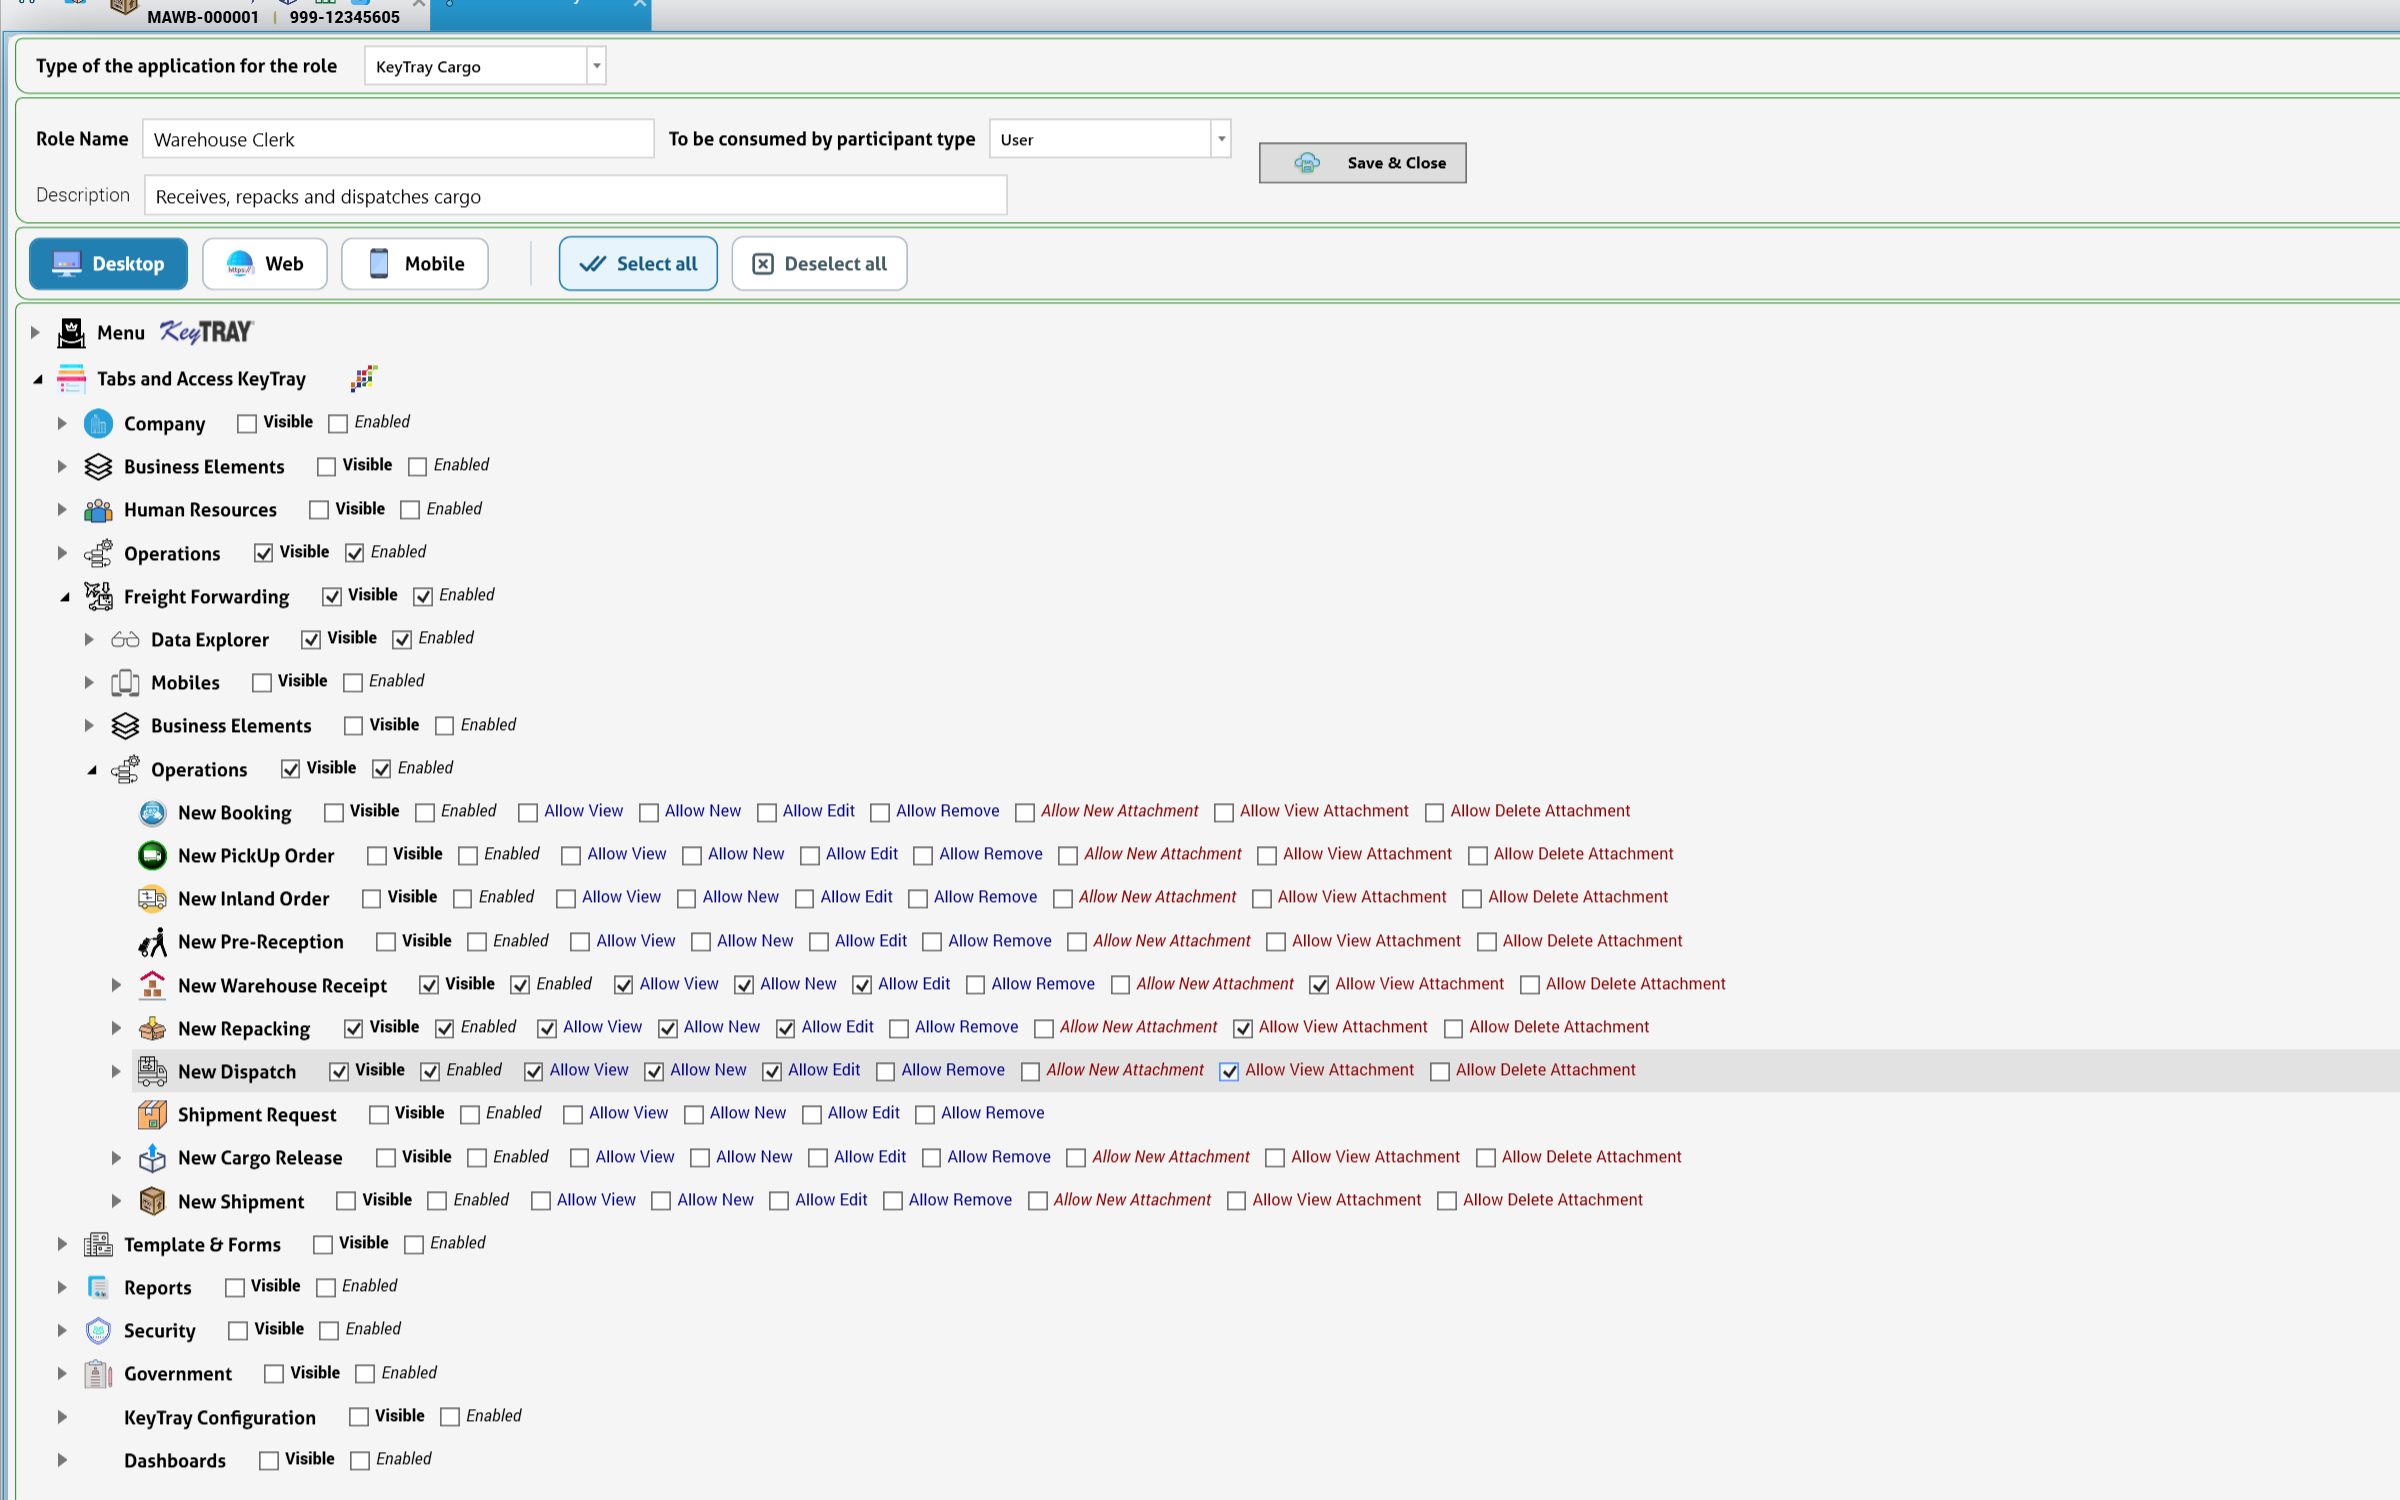
- Type of the application for the role: KeyTray Cargo.
- Role Name: Warehouse Clerk.
- To be consumed by participant type: User.
- Description: Receives, repacks and dispatches cargo.
- Choose the platform tab: Desktop (the other tabs are Web and Mobile). Select all and Deselect all tick or clear everything.
- In the tree Tabs and Access KeyTray, each ribbon tab has Visible (the user sees it) and Enabled (the user can use it). Tick only what the clerk needs:
- Operations: Visible and Enabled.
- Freight Forwarding: Visible and Enabled, and inside it:
- Data Explorer: Visible and Enabled.
- Operations: Visible and Enabled.
- Leave Company, Business Elements, Human Resources, Template & Forms, Reports, Security, Government, KeyTray Configuration and Dashboards unticked, as well as Mobiles and Business Elements inside Freight Forwarding.
- Inside Freight Forwarding > Operations, each operation has detailed permissions: Visible, Enabled, Allow View, Allow New, Allow Edit, Allow Remove, Allow New Attachment, Allow View Attachment and Allow Delete Attachment. For the clerk, tick on New Warehouse Receipt, New Repacking and New Dispatch:
- Visible, Enabled, Allow View, Allow New, Allow Edit (and, in the demo, Allow View Attachment).
- Leave Allow Remove unticked on purpose: a clerk can create and correct warehouse documents but cannot delete them. Deleting cargo records should be a supervisor's decision.
- Leave the other operations (New Booking, New PickUp Order, New Inland Order, New Pre-Reception, Shipment Request, New Cargo Release, New Shipment) unticked.
- Click Save & Close.
Careful: after Save & Close the role is saved, but the tab may stay open without a confirmation message. Do not click again (see Appendix B); close the tab and check the role in Security > List Explorer.
9.3 Creating a user: Maria Lopez
Menu: Security > New Access.
User Info
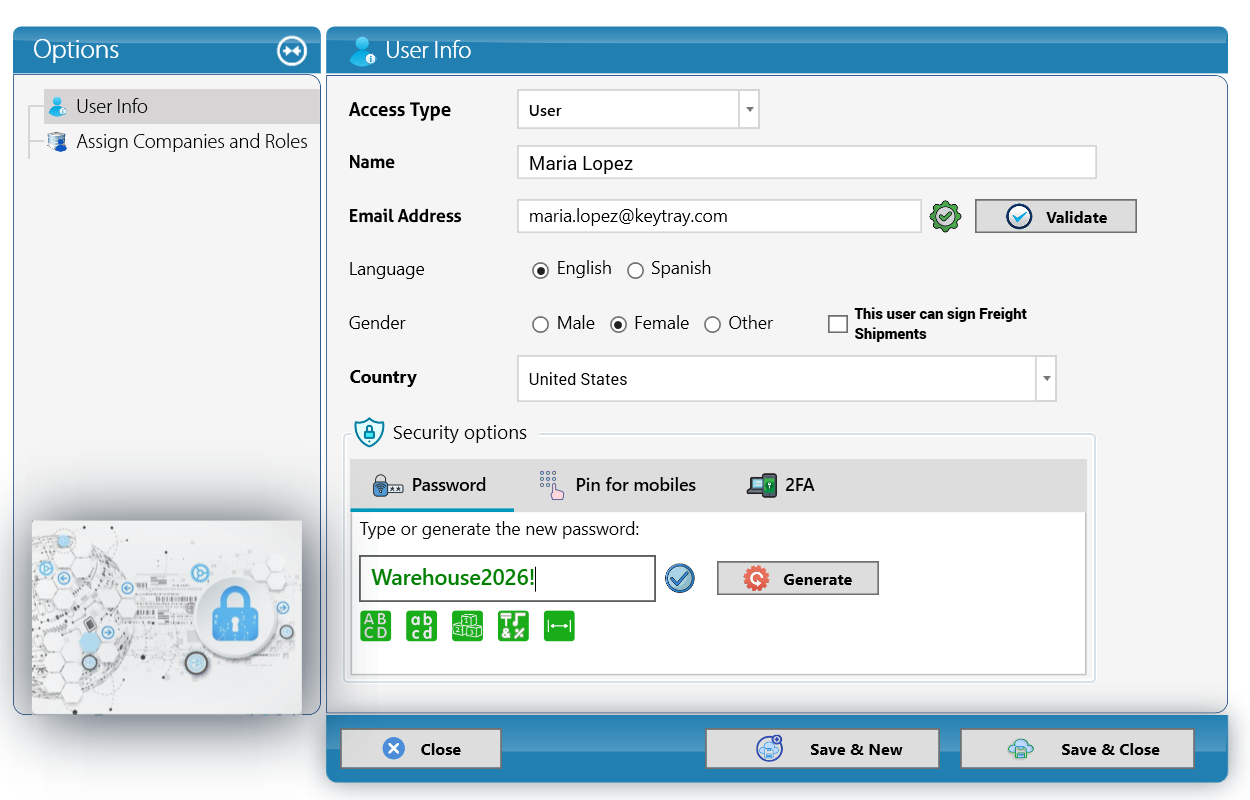
- Access Type: User.
- Name: Maria Lopez.
- Email Address: maria.lopez@keytray.com — this is her login.
- Click Validate. A green check next to the address confirms that it is valid and available.
- Language: English.
- Gender: Female.
- This user can sign Freight Shipments: leave it unticked for a warehouse clerk.
- Country: United States.
- Security options:
- Password: Type or generate the new password. Type one or click Generate. The small green buttons below indicate the character types used (uppercase, lowercase, numbers, symbols, length). The check next to the password confirms it meets the rules.
- Pin for mobiles and 2FA (two-factor authentication) are in the other tabs. Turning on 2FA is strongly recommended for users who handle money.
Careful: give the password to the user through a private channel and ask them to change it. Never send it in the same email as the login.
Assign Companies and Roles
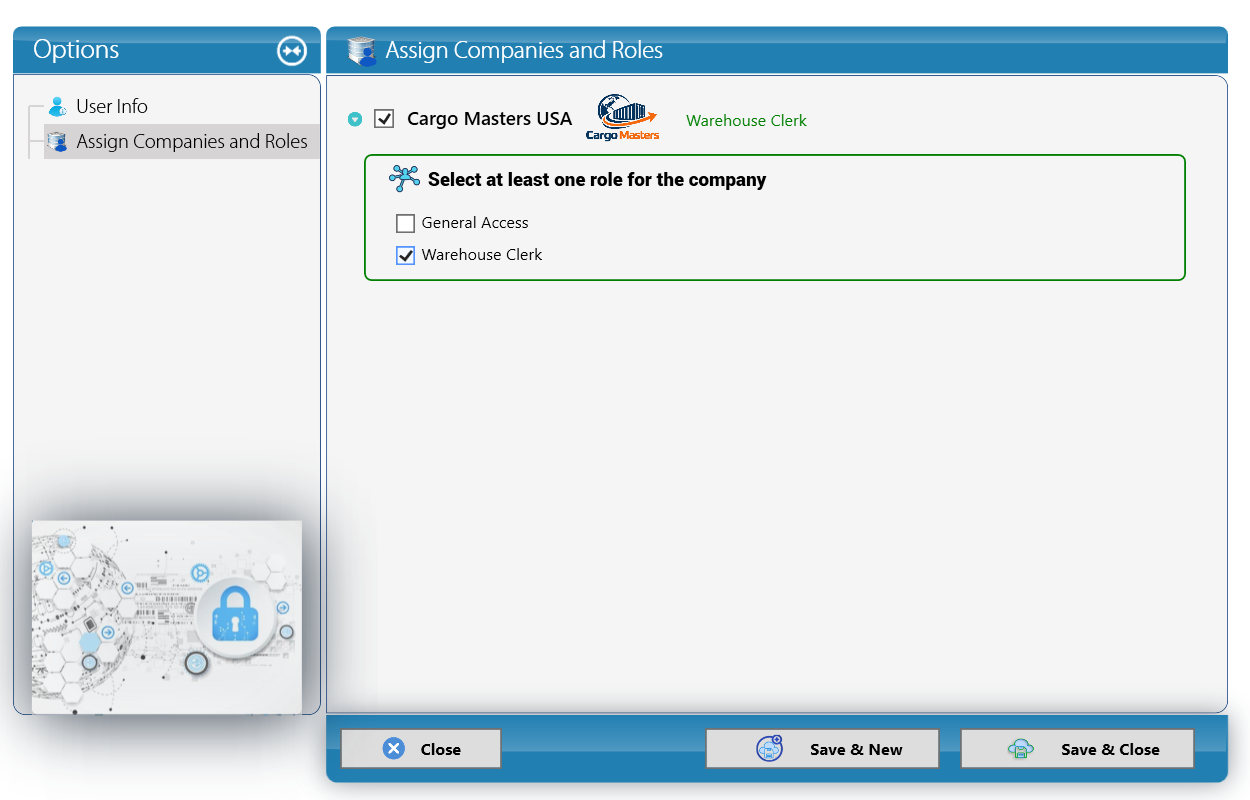
- Open Assign Companies and Roles.
- Tick the company Cargo Masters USA.
- Under Select at least one role for the company, tick Warehouse Clerk (leave General Access unticked). The selected role appears in green next to the company name.
- A company needs at least one role: if you tick a company without a role, the user could not do anything in it.
- Click Save & Close.
Maria can now sign in, choose Cargo Masters USA, and use only the warehouse operations of her role.
Why it matters: when an employee changes jobs, change their roles; when they leave, deactivate their access the same day. Review users and roles at least once a year, and always when someone leaves the company.
10. Reports
Most reports start with a window of options and open in the report viewer. The viewer toolbar has the dates, Modify Parameters, Reload Report, page navigation, print and export, and zoom:

Except for the Cargo Masters Argentina balance sheet in section 10.1, the screenshots and figures of this chapter come from Cargo Masters USA (US dollars). In Argentina the reports are the same, in Argentine pesos (ARS) and with the IVA accounts.
Two options appear in many reports:
- Date Periods: predefined periods that fill the start and end dates for you (This Month-to-date, This Fiscal Year-to-date, Last Month-to-date…):
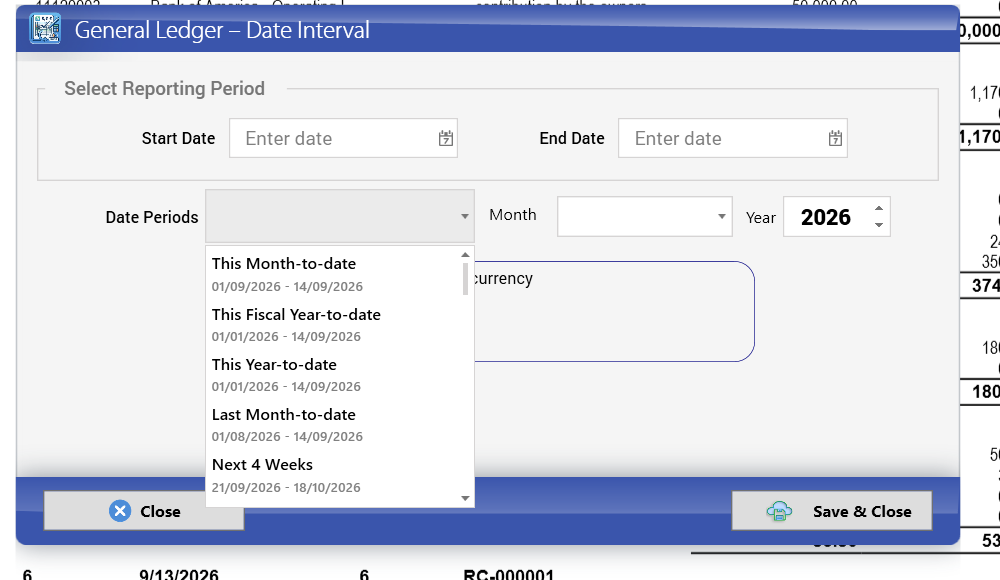
- Express report in another currency: choose the currency and type how many company-currency units one unit is worth. Entries originally recorded in that currency keep their original amount; the rest is translated at the rate you type. In the demo, 1 EUR = 1.20 USD:
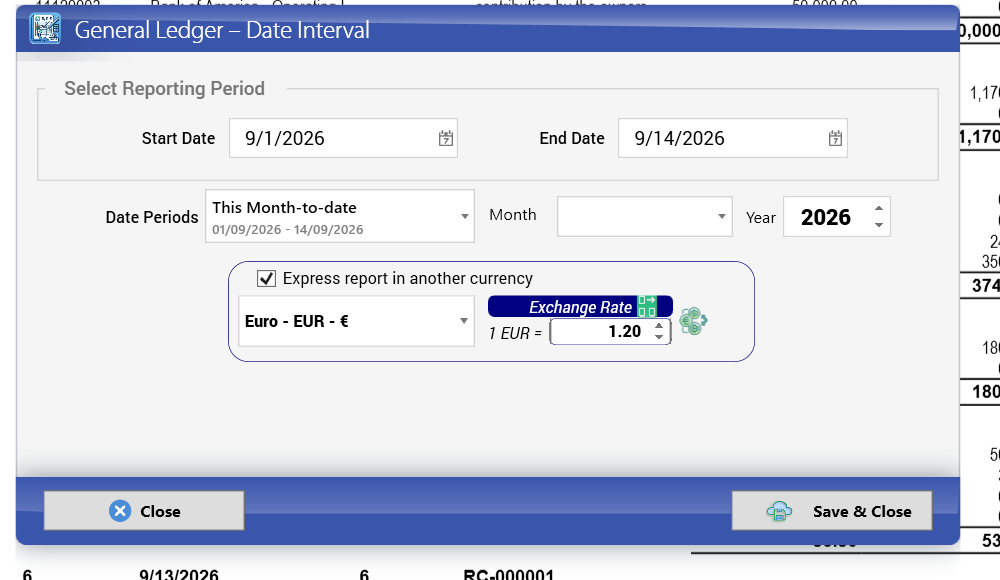
10.1 Financial statements
Reports > Financial Statements: Profit & Loss, Balance Sheet, Trial Balance, Cash Flow Statement and Profit Bridge:
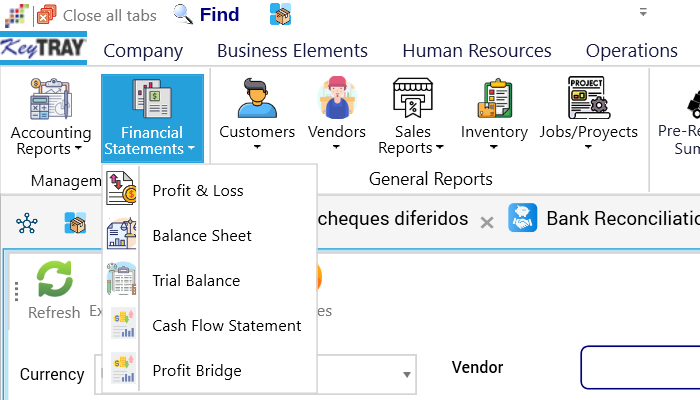
Options (date range, predefined dates, year and month, another currency):
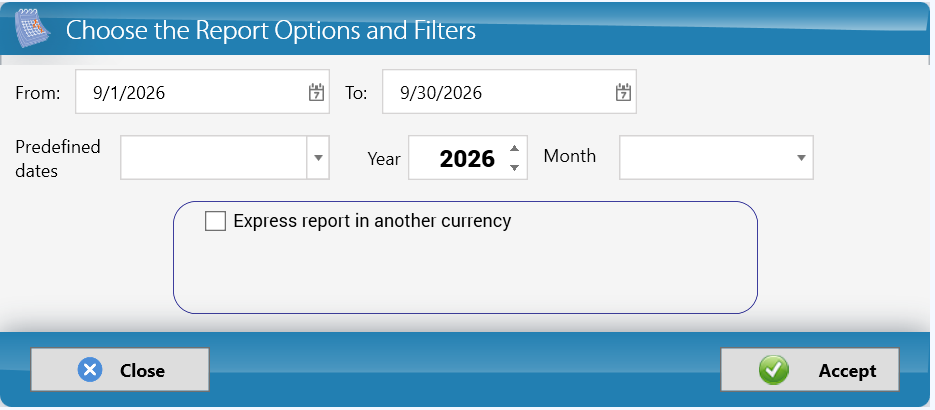
Income Statement (Profit & Loss). Page 1: income by revenue group and cost of sales, with the current period, the fiscal year to date and the percentage of income. Page 2: gross profit, operating expenses, other income and expense (the 30.00 foreign exchange gain of section 8.4) and net income:
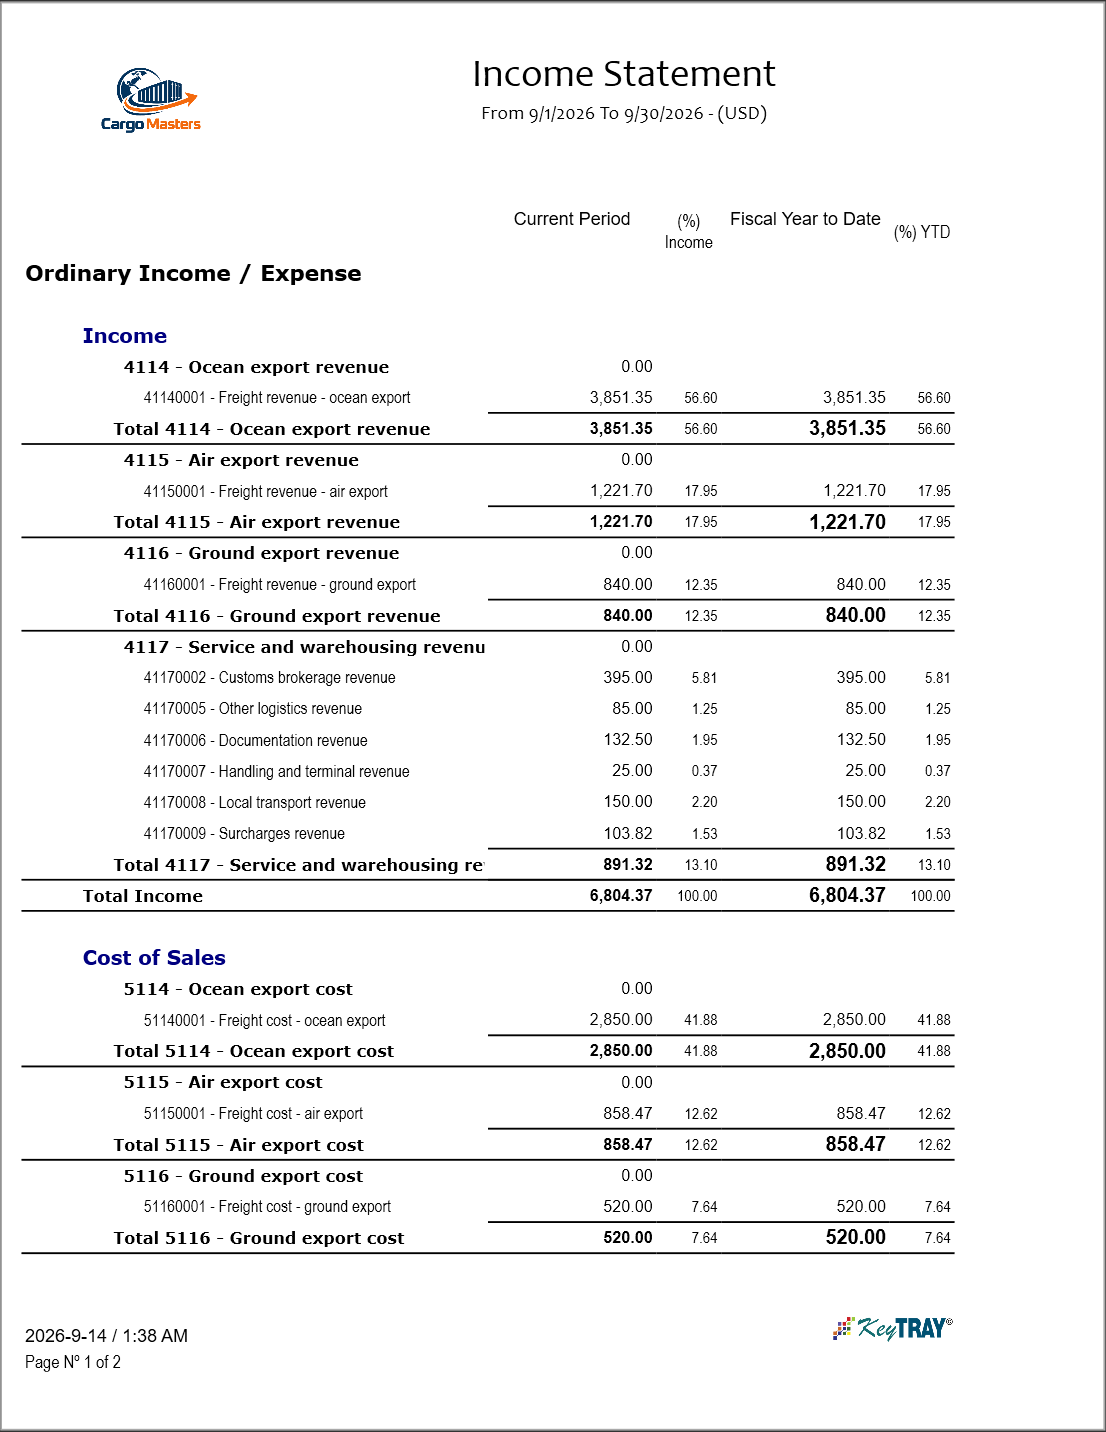
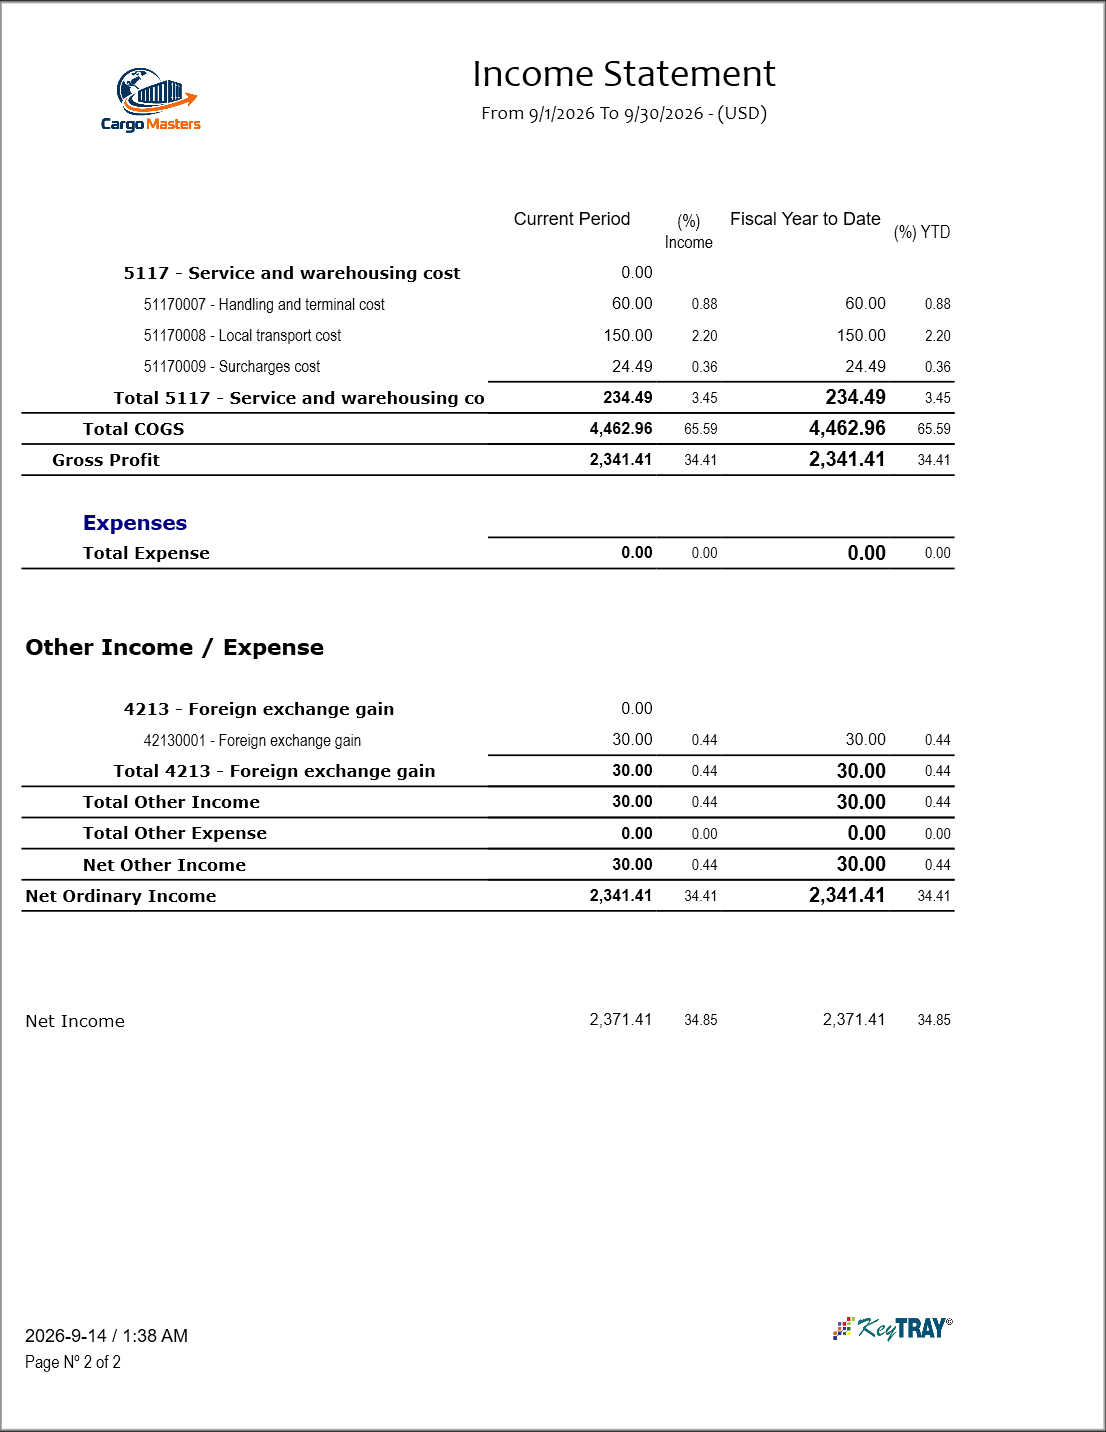
Balance Sheet as of 9/30/2026: current assets, current liabilities (including 21210001 Sales tax payable 21.00), capital and the net income of the year:
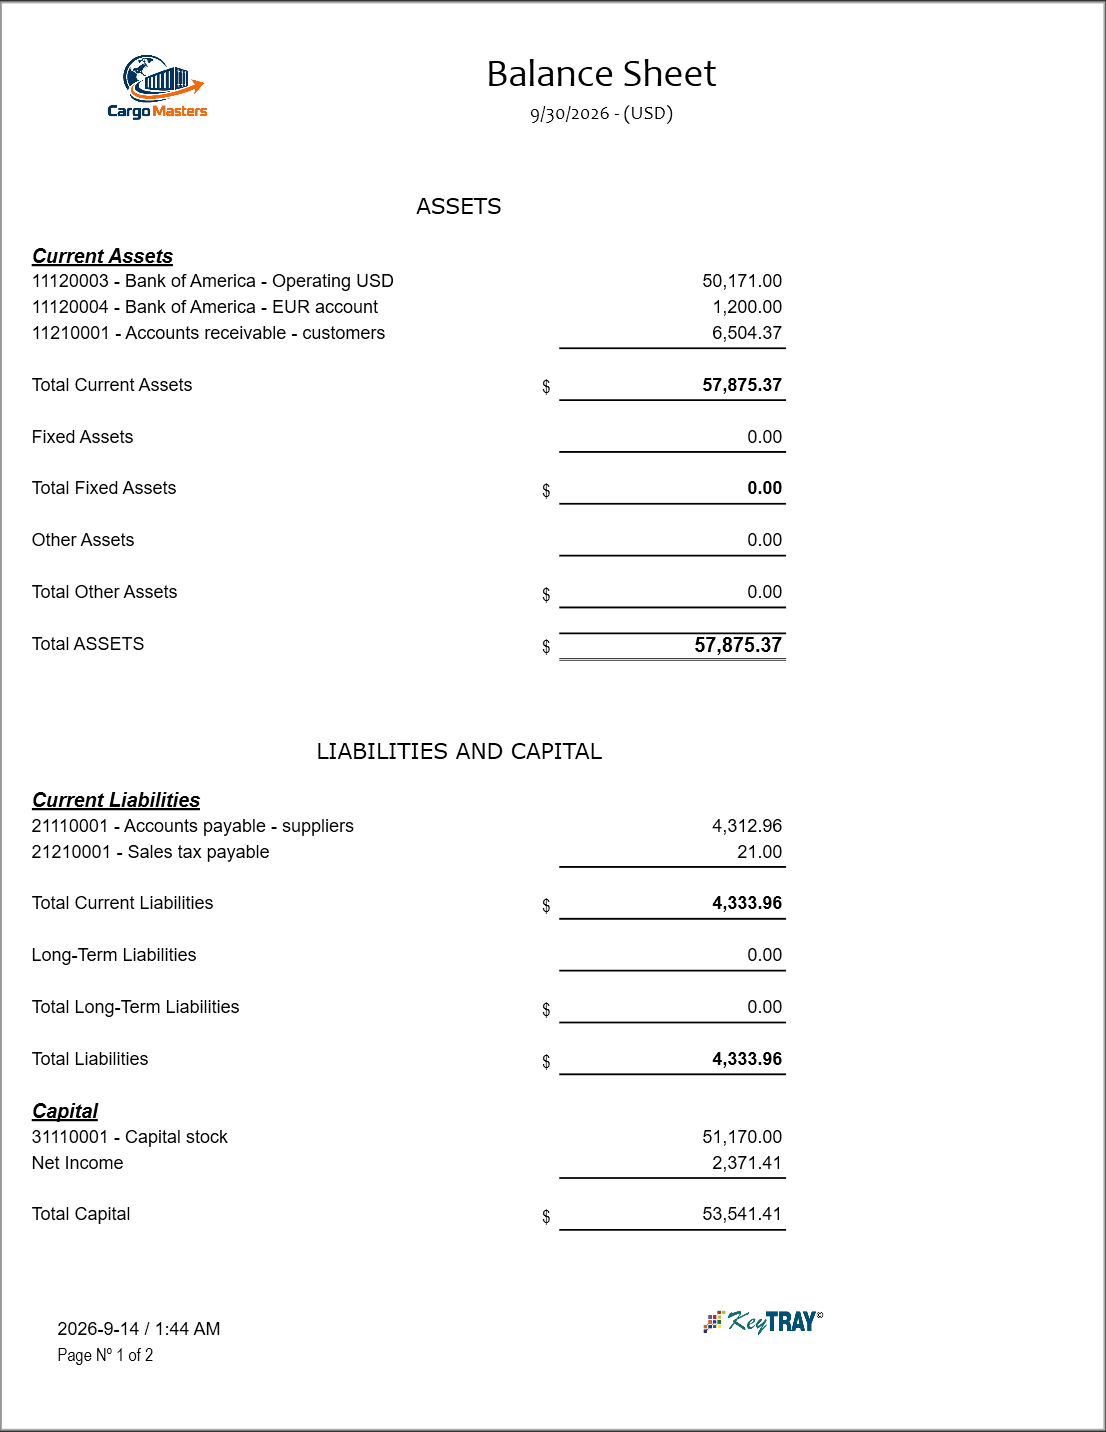
Lesson — the equation. Assets = Liabilities + Equity, always. The net income of the year is part of equity until the year is closed. If your balance sheet does not balance, a transaction was posted to an account type that the statement does not read; the Trial Balance will show it.
In Cargo Masters Argentina. The same report, 9/30/2026 - (ARS), with the two September documents of chapter 5:
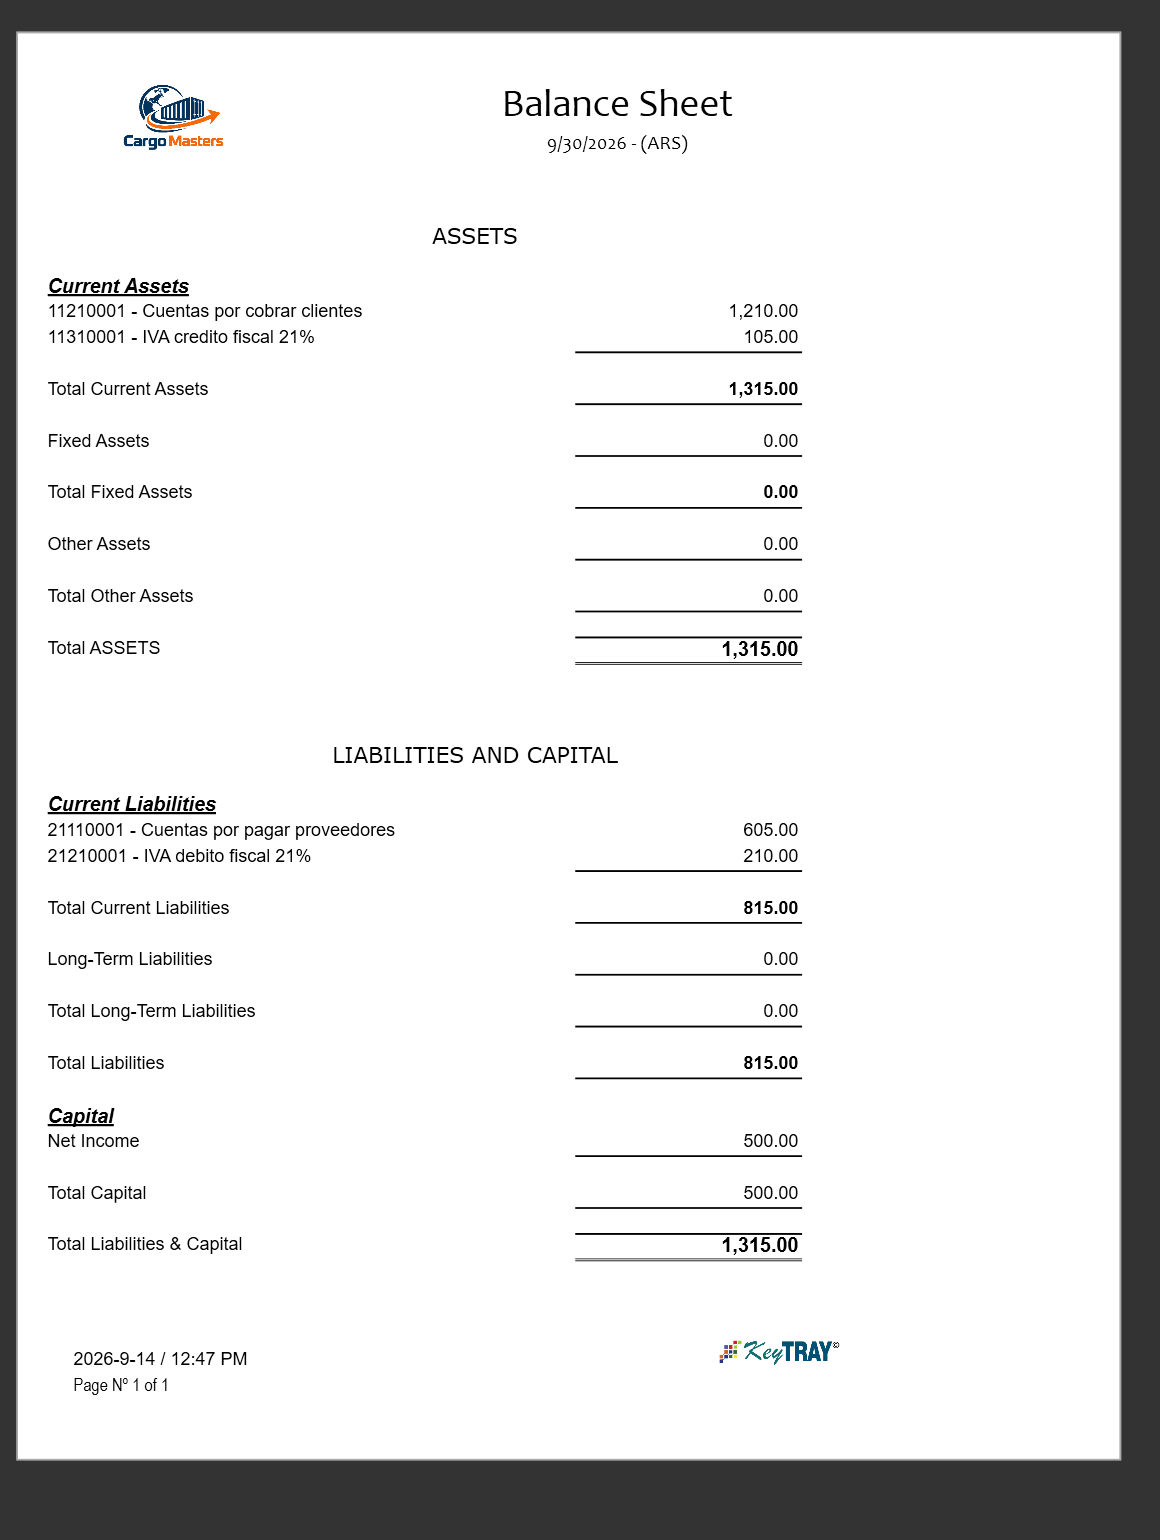
- Current Assets: 11210001 - Cuentas por cobrar clientes (accounts receivable - customers) 1,210.00; 11310001 - IVA credito fiscal 21% (IVA input tax) 105.00. Total Current Assets 1,315.00. Fixed Assets and Other Assets: 0.00. Total ASSETS 1,315.00.
- Current Liabilities: 21110001 - Cuentas por pagar proveedores (accounts payable - vendors) 605.00; 21210001 - IVA debito fiscal 21% (IVA output tax) 210.00. Total Current Liabilities 815.00. Long-Term Liabilities: 0.00. Total Liabilities 815.00.
- Capital: Net Income 500.00. Total Capital 500.00. Total Liabilities & Capital 1,315.00.
- At the bottom, the date and time the report was generated (2026-9-14 / 11:56 AM) and Page Nº 1 of 1.
The equation holds here too: 815.00 + 500.00 = 1,315.00. These are the figures of section 5.8: Distribuidora Pampeana owes 1,210.00 (INV-000001), the company owes 605.00 to Transportes del Litoral (F-AR-0001), the IVA of both documents is in its accounts (210.00 of output tax and 105.00 of input tax, the same as in the VAT settlement of section 8.5) and the net income is the gross profit of the operation (1,000.00 − 500.00 = 500.00). The balance sheet shows no cash, banks or capital stock: in Cargo Masters Argentina, at that date, only the accounts of those two documents have a balance. The two tax accounts keep their balance until the IVA return is paid (section 5.8).
Careful — number format: this report, issued in pesos, writes amounts with a comma for thousands and a point for decimals (1,210.00, 1,315.00), the reverse of the Argentine custom, of the documents and of the VAT settlement (1.210,00, section 8.5). It is the same amount (see Appendix B).
Trial Balance to 9/30/2026: the debit or credit balance of every account with movement; both totals must be equal (62,338.33):
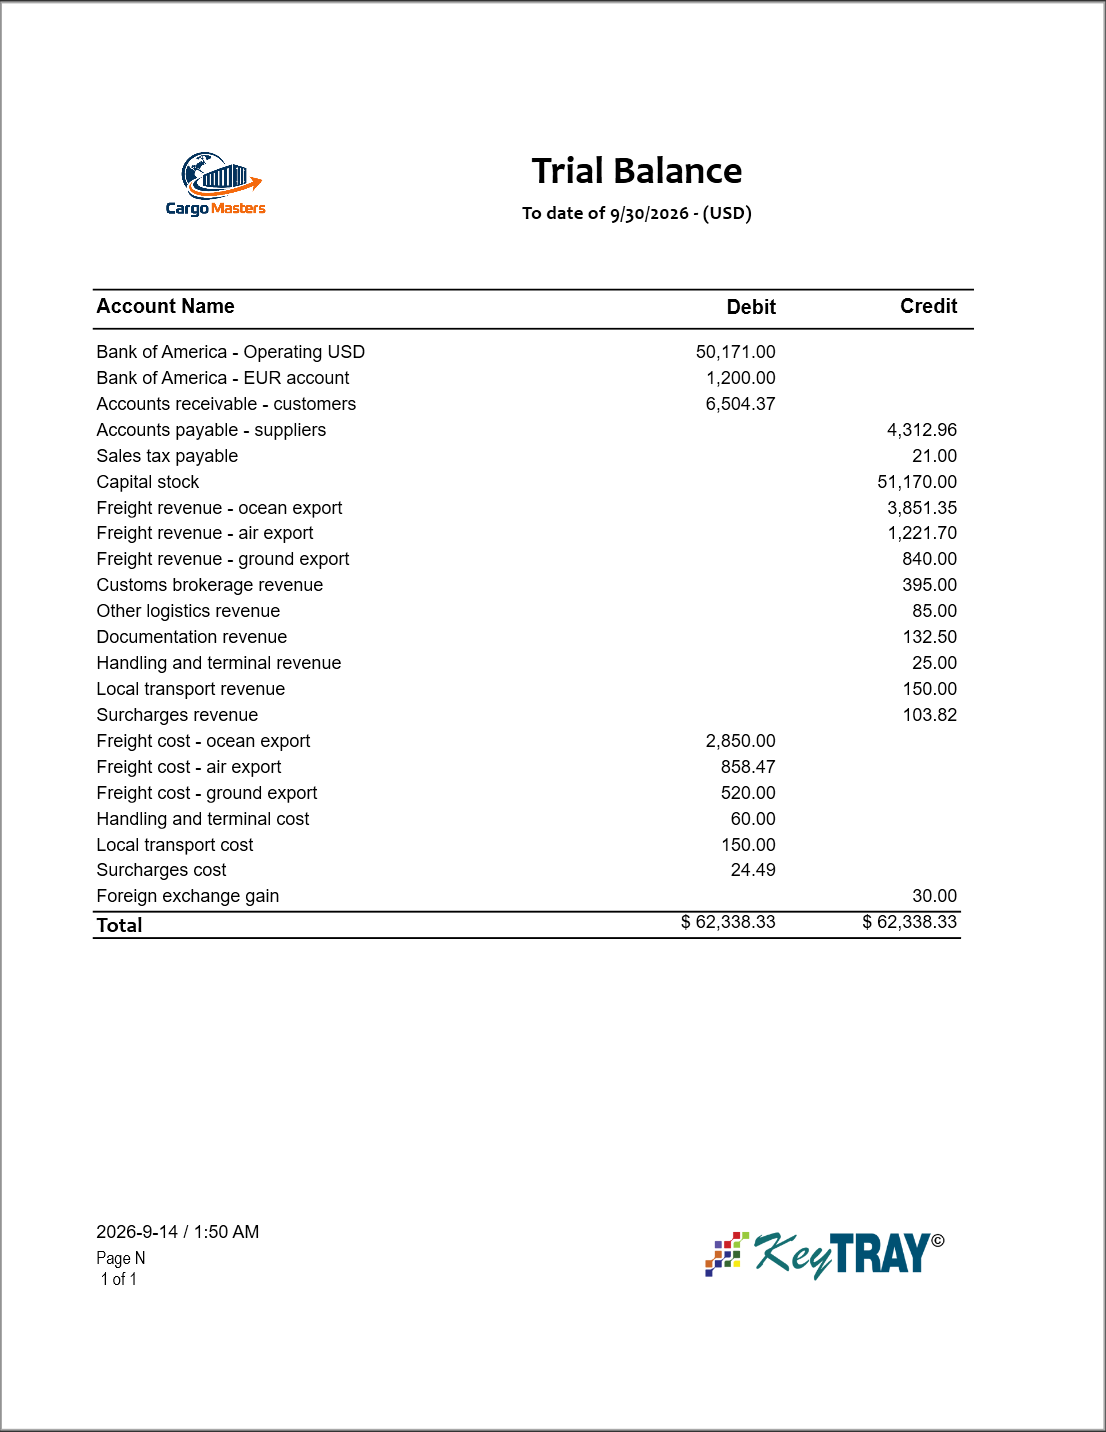
Cash Flow Statement. Choose the period and the Method: Direct shows the cash actually collected and paid line by line; Indirect starts from net income and adjusts for everything that is not cash. You can exclude prior period adjustments and express the report in another currency:
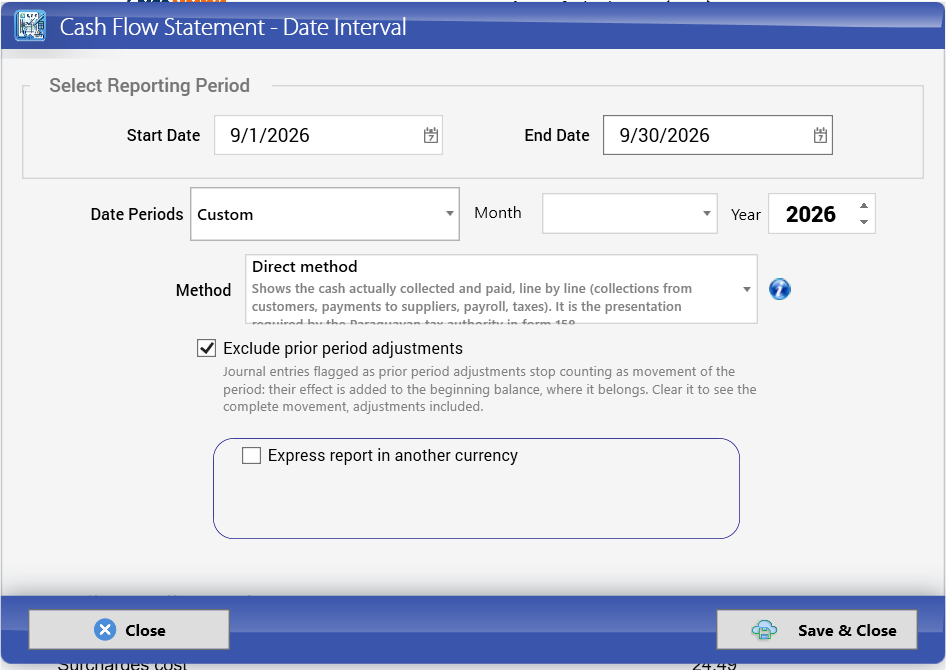
Careful: the description of the Direct method in this window says it is the presentation required by the Paraguayan tax authority in form 158. That does not apply in Argentina; the report is the same.
The direct method shows operating, investing and financing activities, the net increase in cash and, at the bottom, the control against the book balance of cash and banks — both must agree:
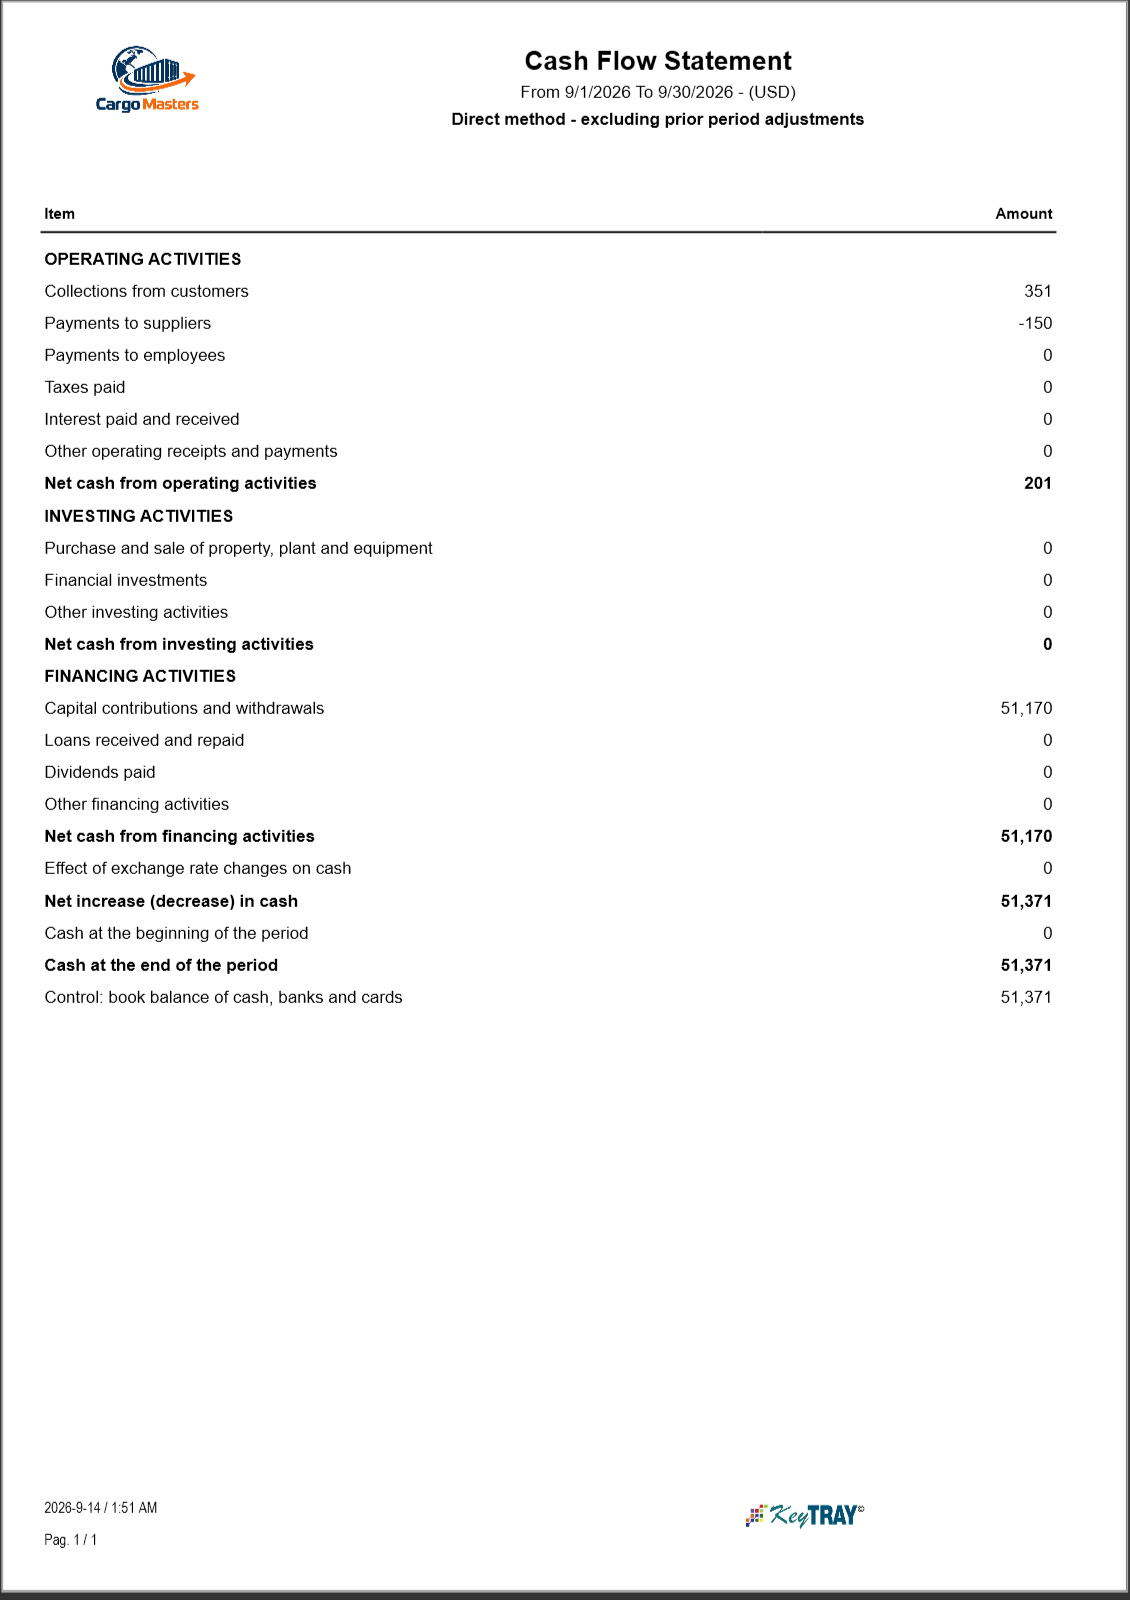
Profit Bridge explains why the profit changed since a date. Options:
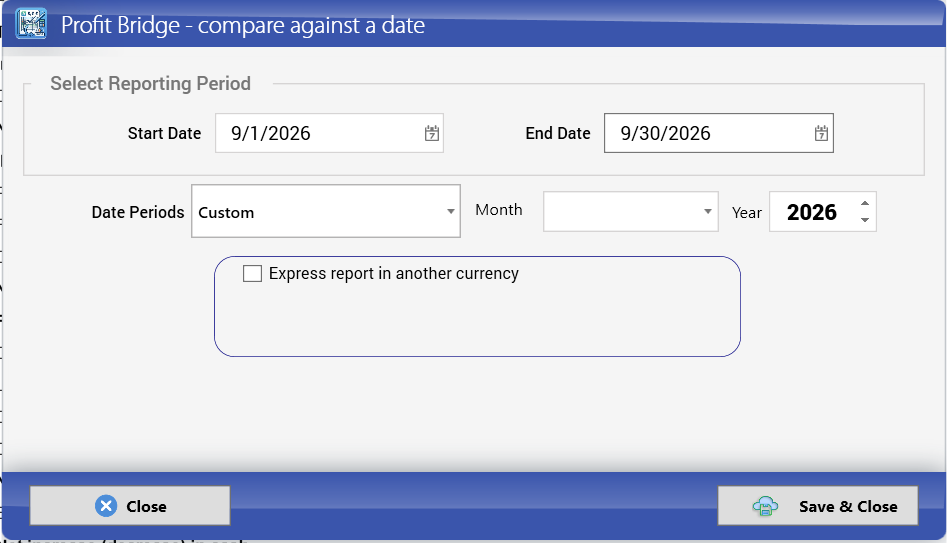
It starts from the profit at the cut date, adds the new activity by group (sales, cost of sales, expenses, exchange difference), shows separately the entries of prior periods that moved after the cut, lists warnings (for example invoiced sales still without their cost) and ends with the current profit. In the demo since 9/1/2026: 0 + 6,804 − 4,463 + 30 = 2,371:
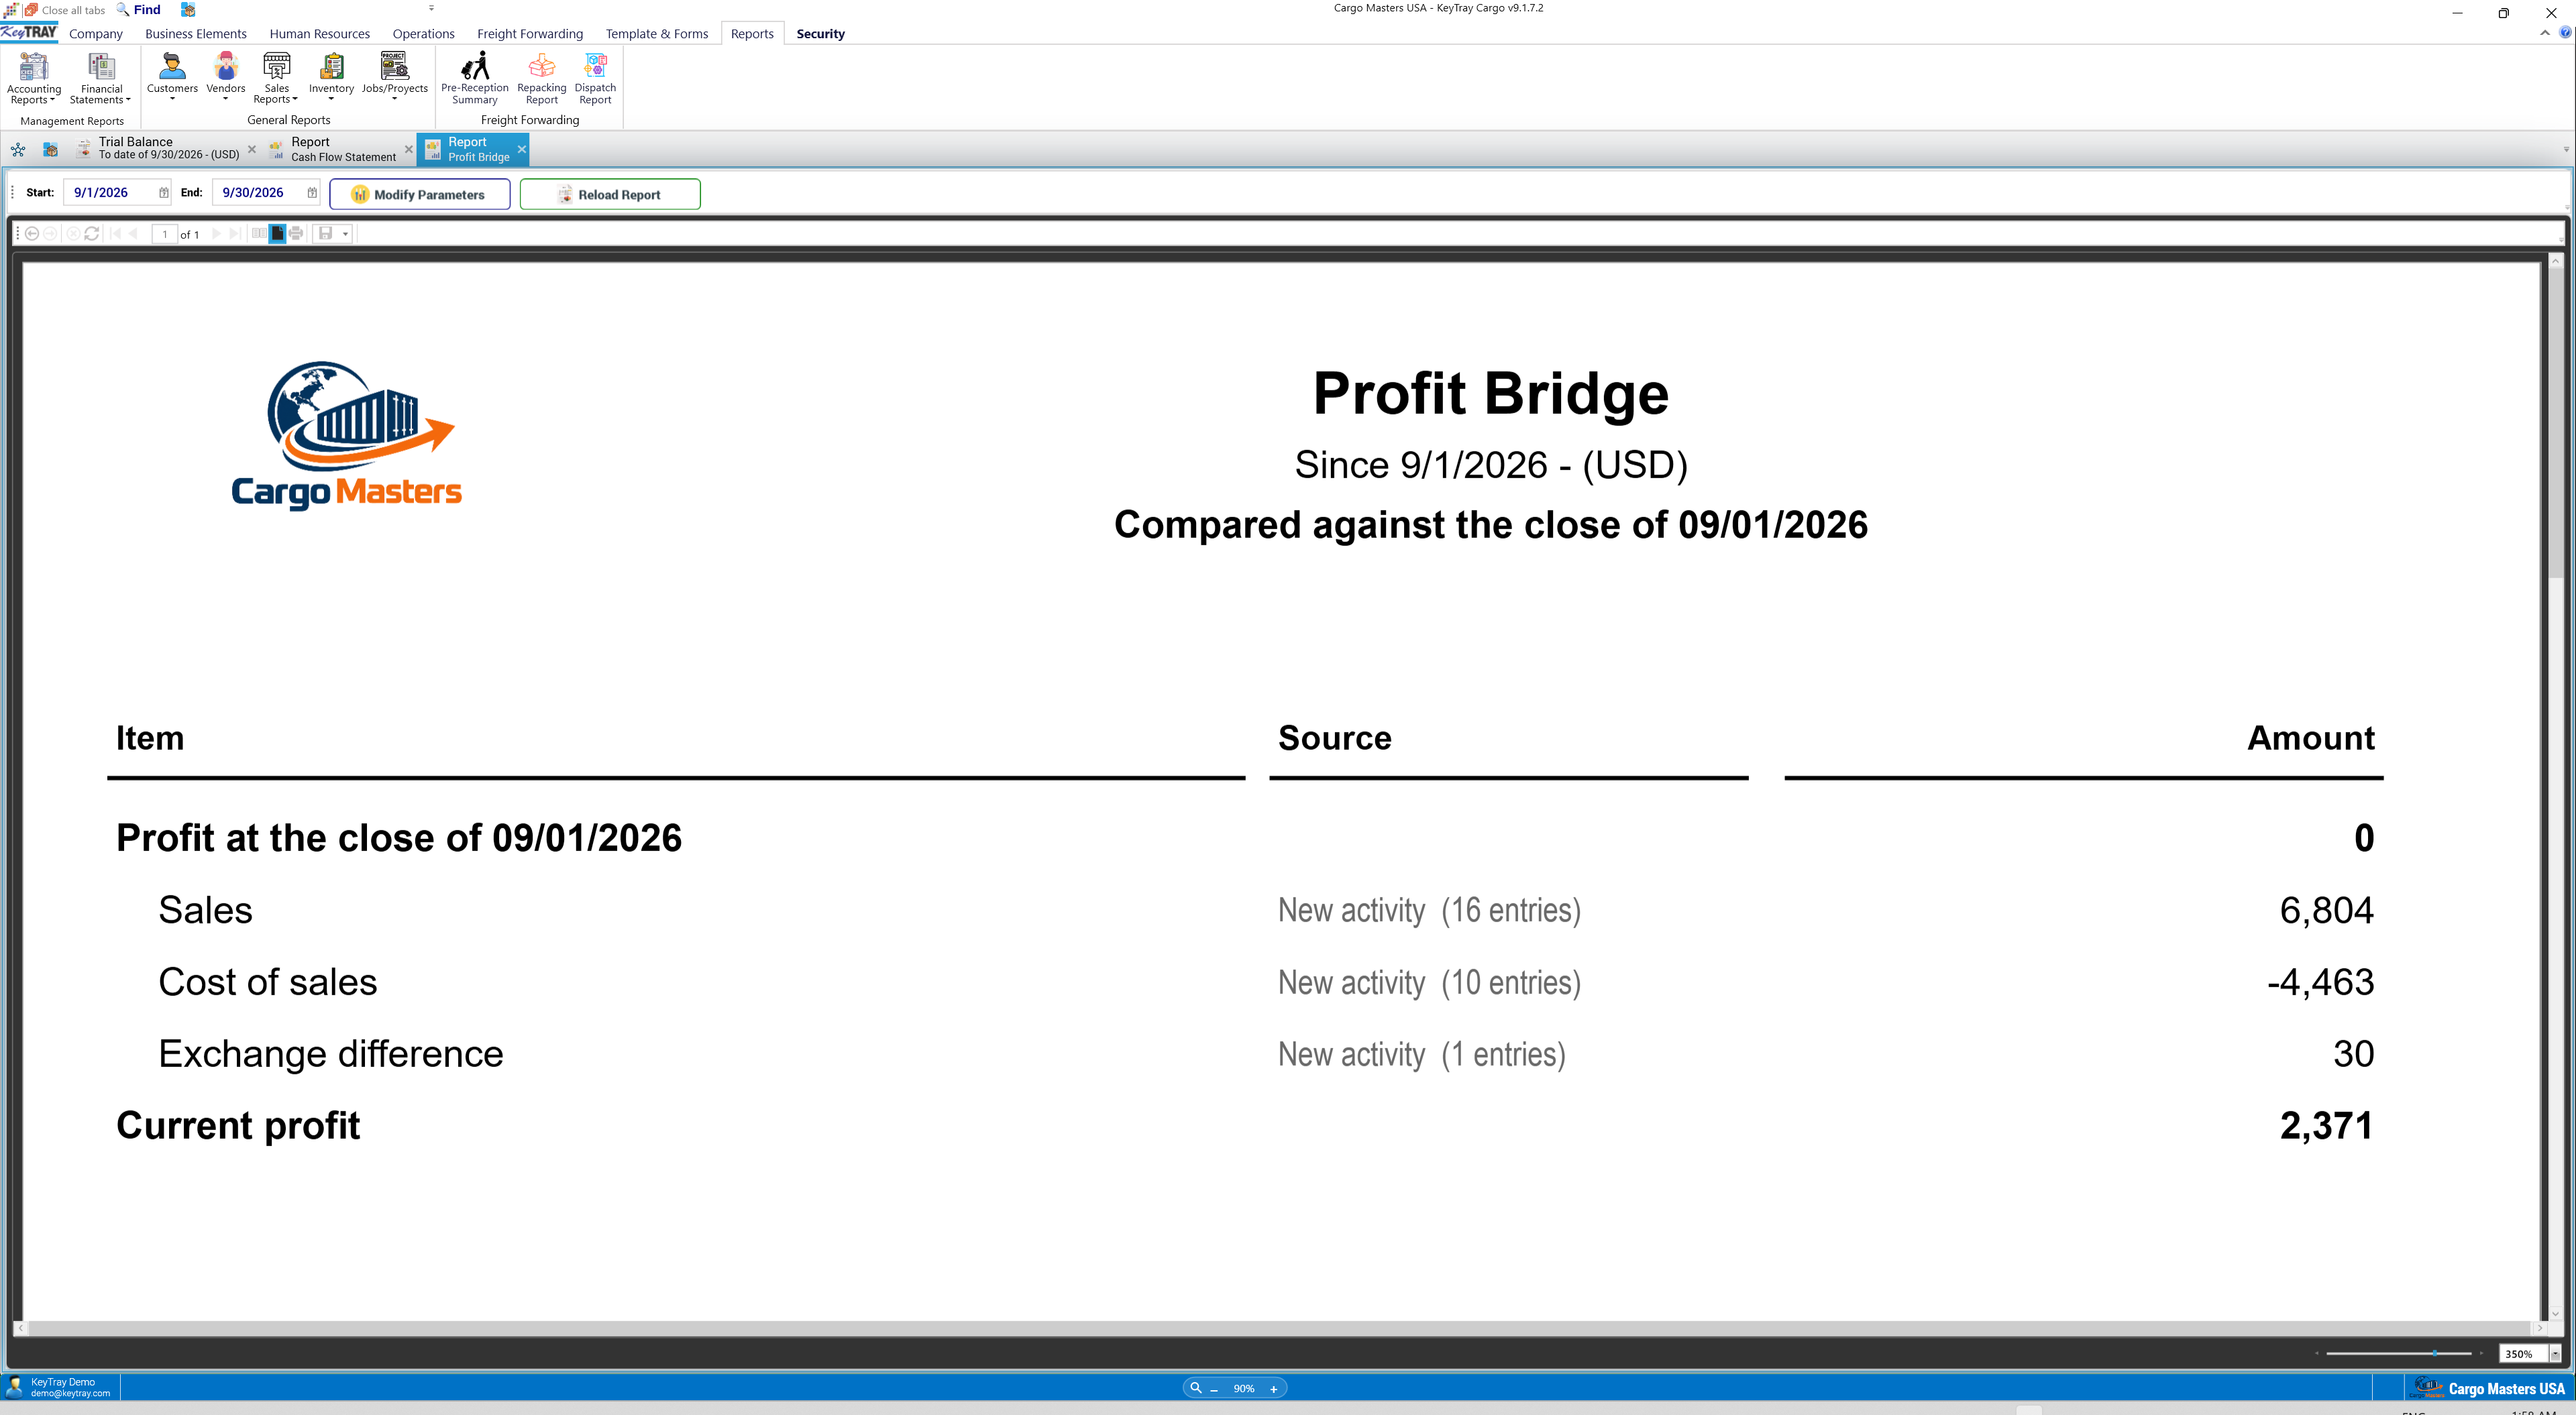
Why it matters: comparing two profit figures taken on different days usually mixes new business with corrections of the past. The Profit Bridge separates them, so you know whether the month is really better or whether someone reopened last month.
10.2 Accounting reports
Reports > Accounting Reports: Chart of Accounts, Transaction Journal and General Ledger:
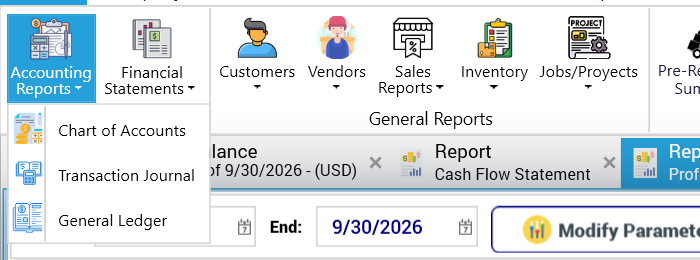
Chart of Accounts: every account with its type and its balance at the beginning of the cut date (an entry dated on the cut date itself is not included). Change Cut date and click Update Report to refresh:
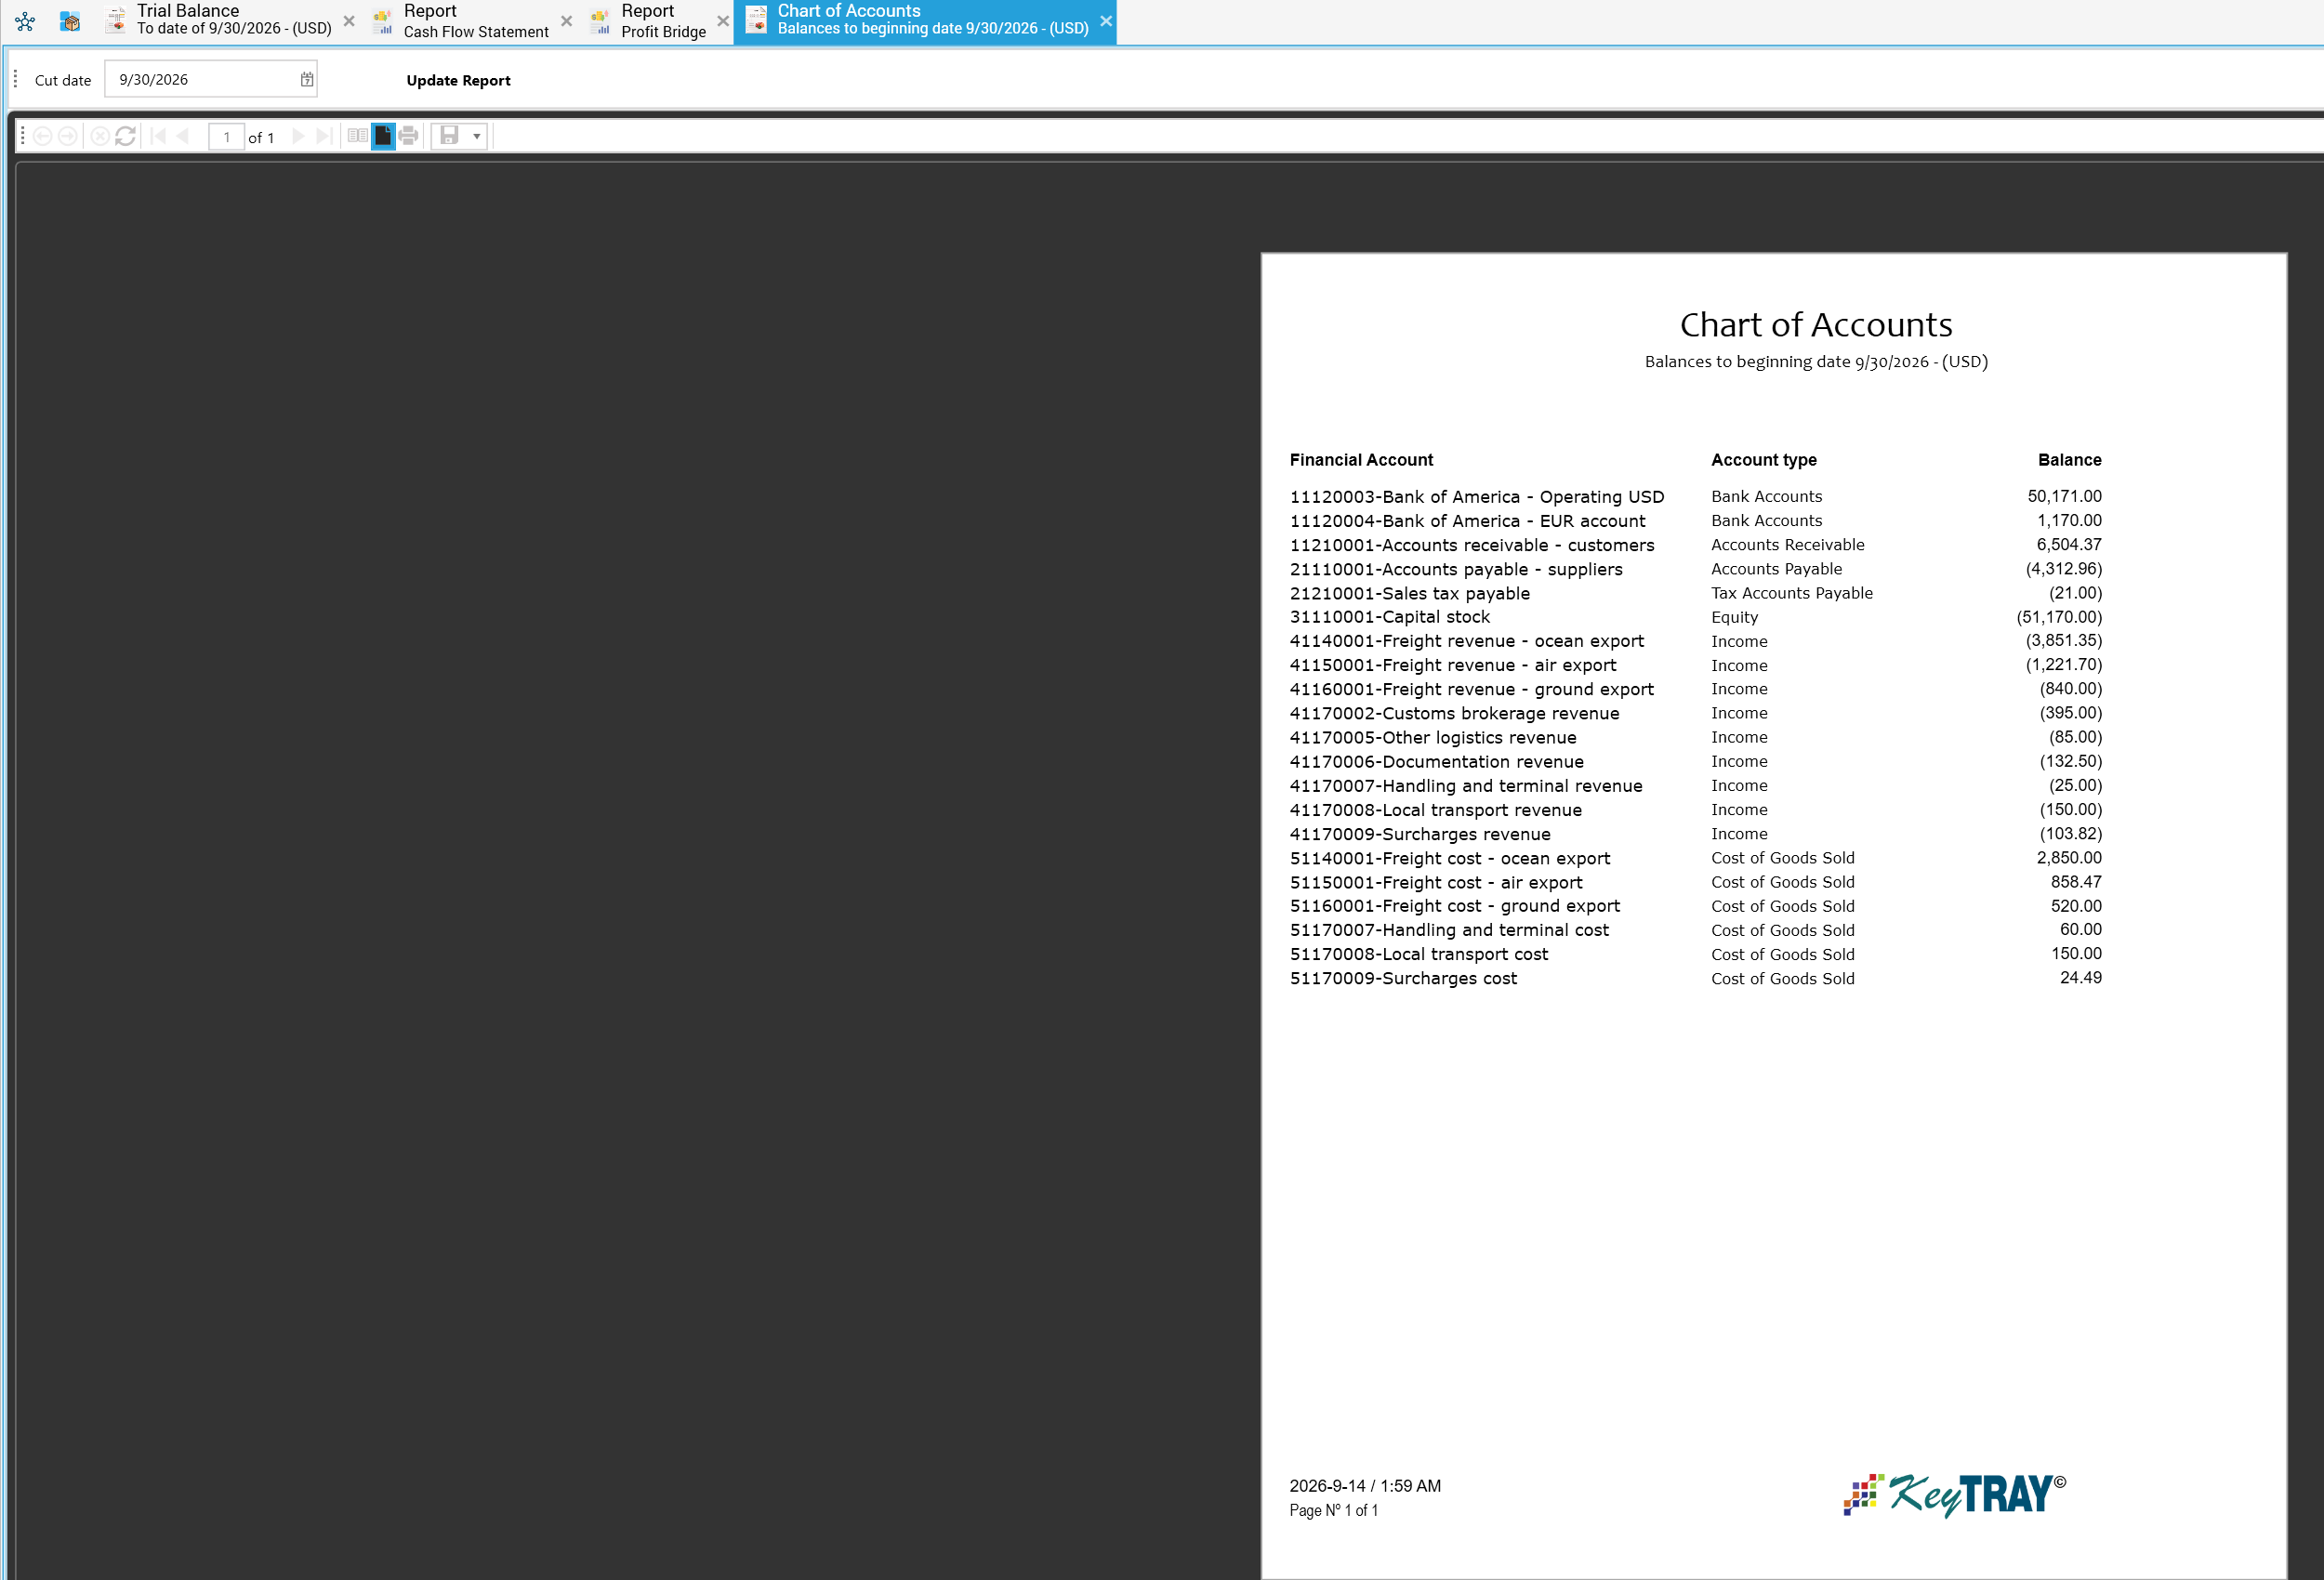
Transaction Journal (printed as General Journal). Pick the period by dates or with Date Periods / Month / Year:
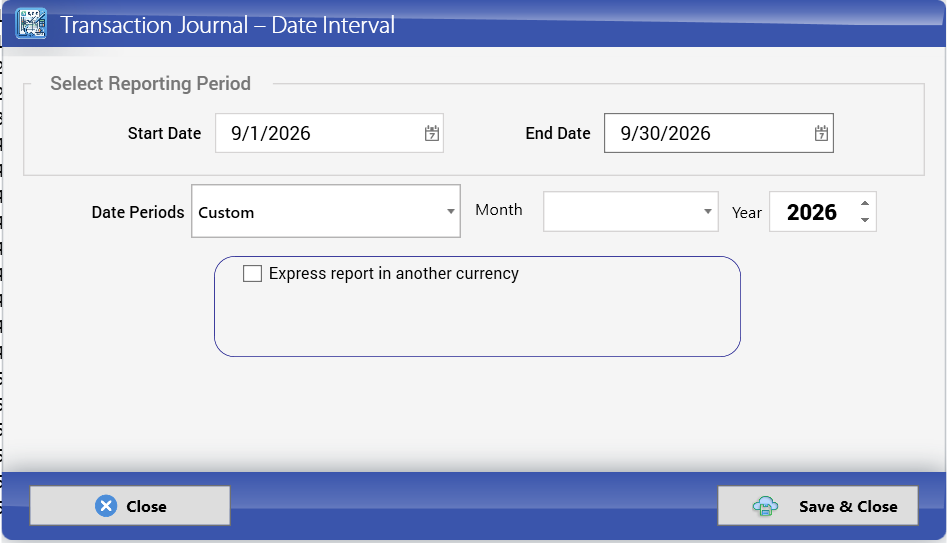
Every entry of the period with its date, register number, document, accounts, detail and balanced debit and credit totals:
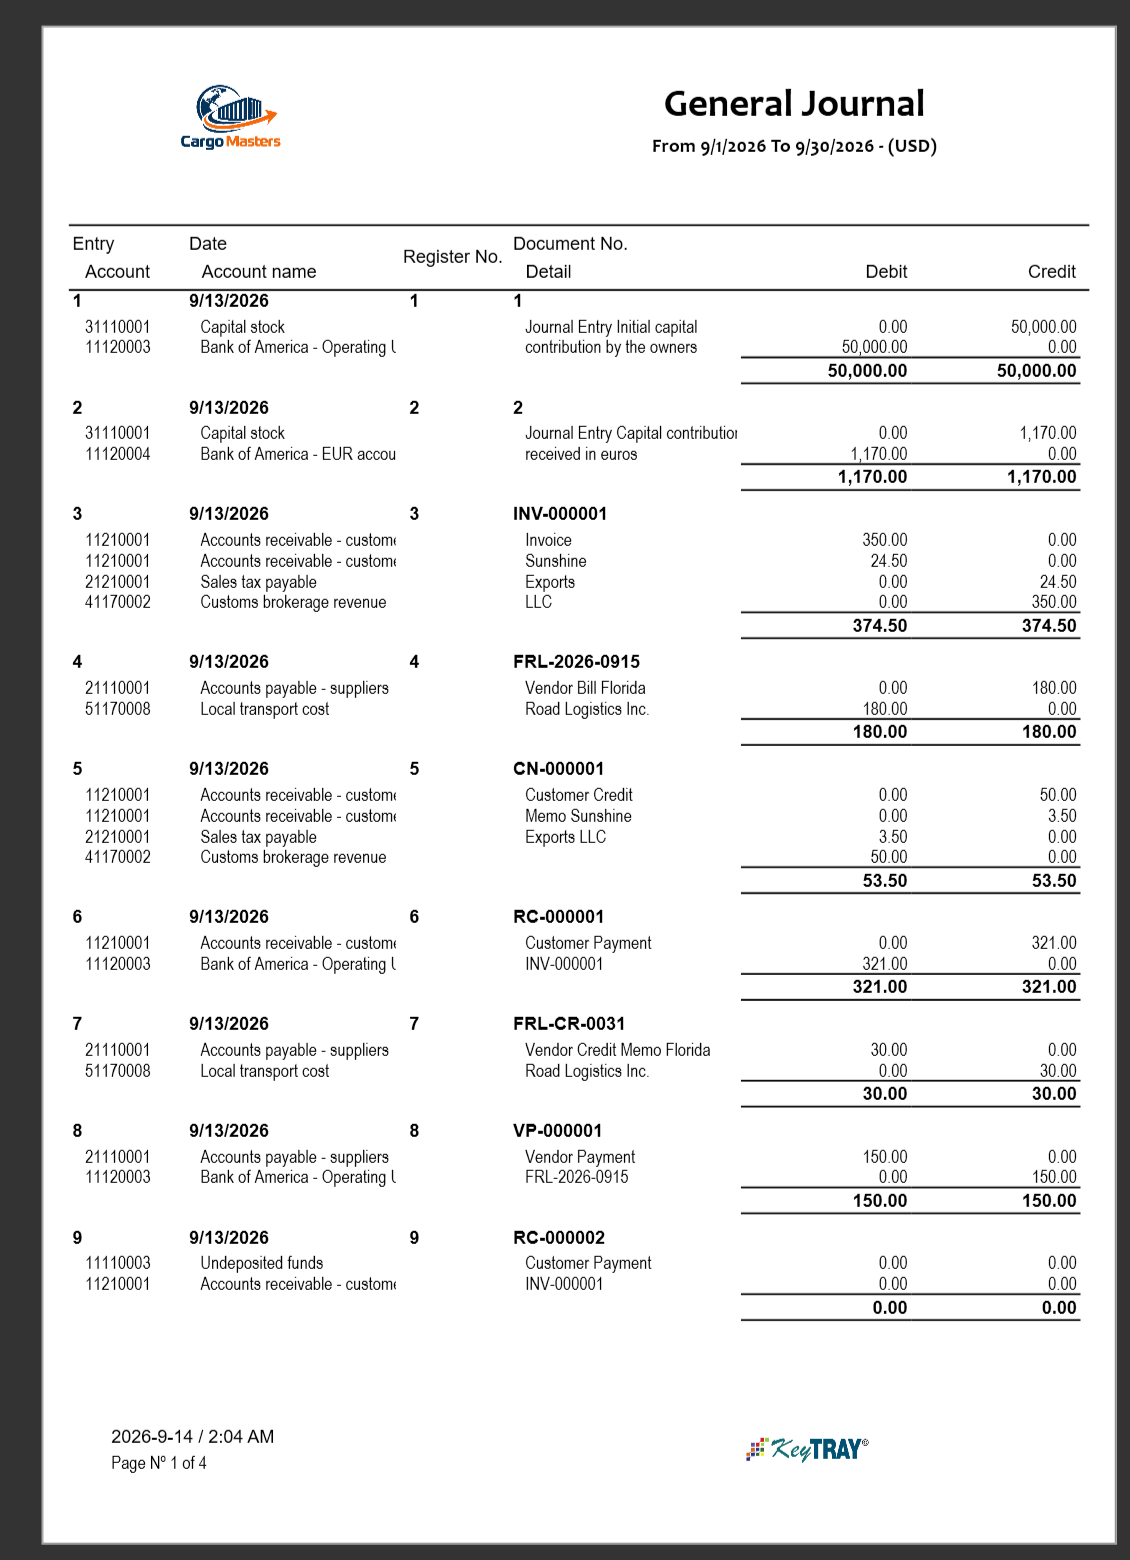
General Ledger. Choosing a predefined period fills the dates:
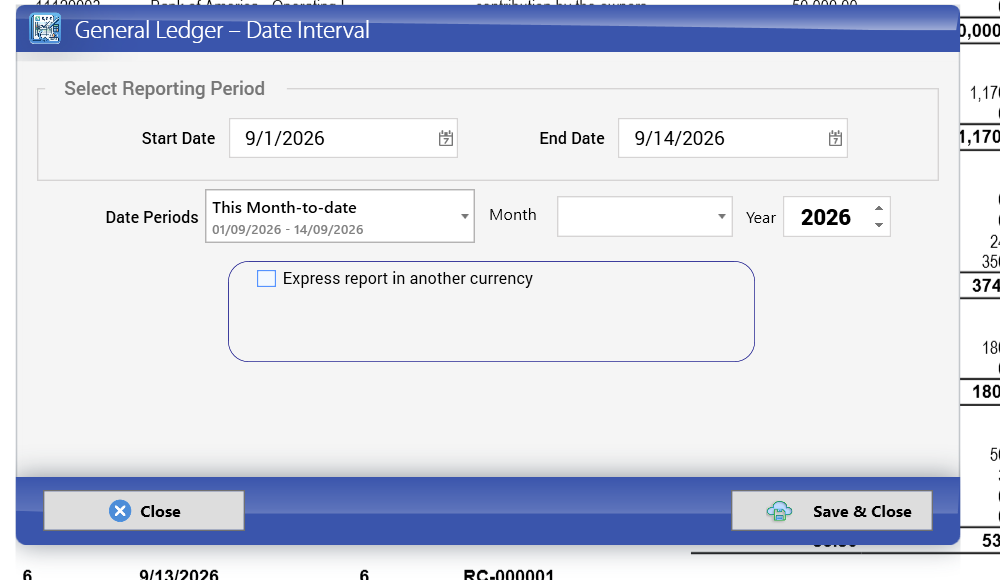
Per account: the opening balance, each movement with its running balance, and the period and year-to-date totals. Expressed in EUR, the EUR bank account keeps its original 1,000.00 and the rest is translated at 1.20 (50,000.00 USD of capital become 41,666.67 EUR):
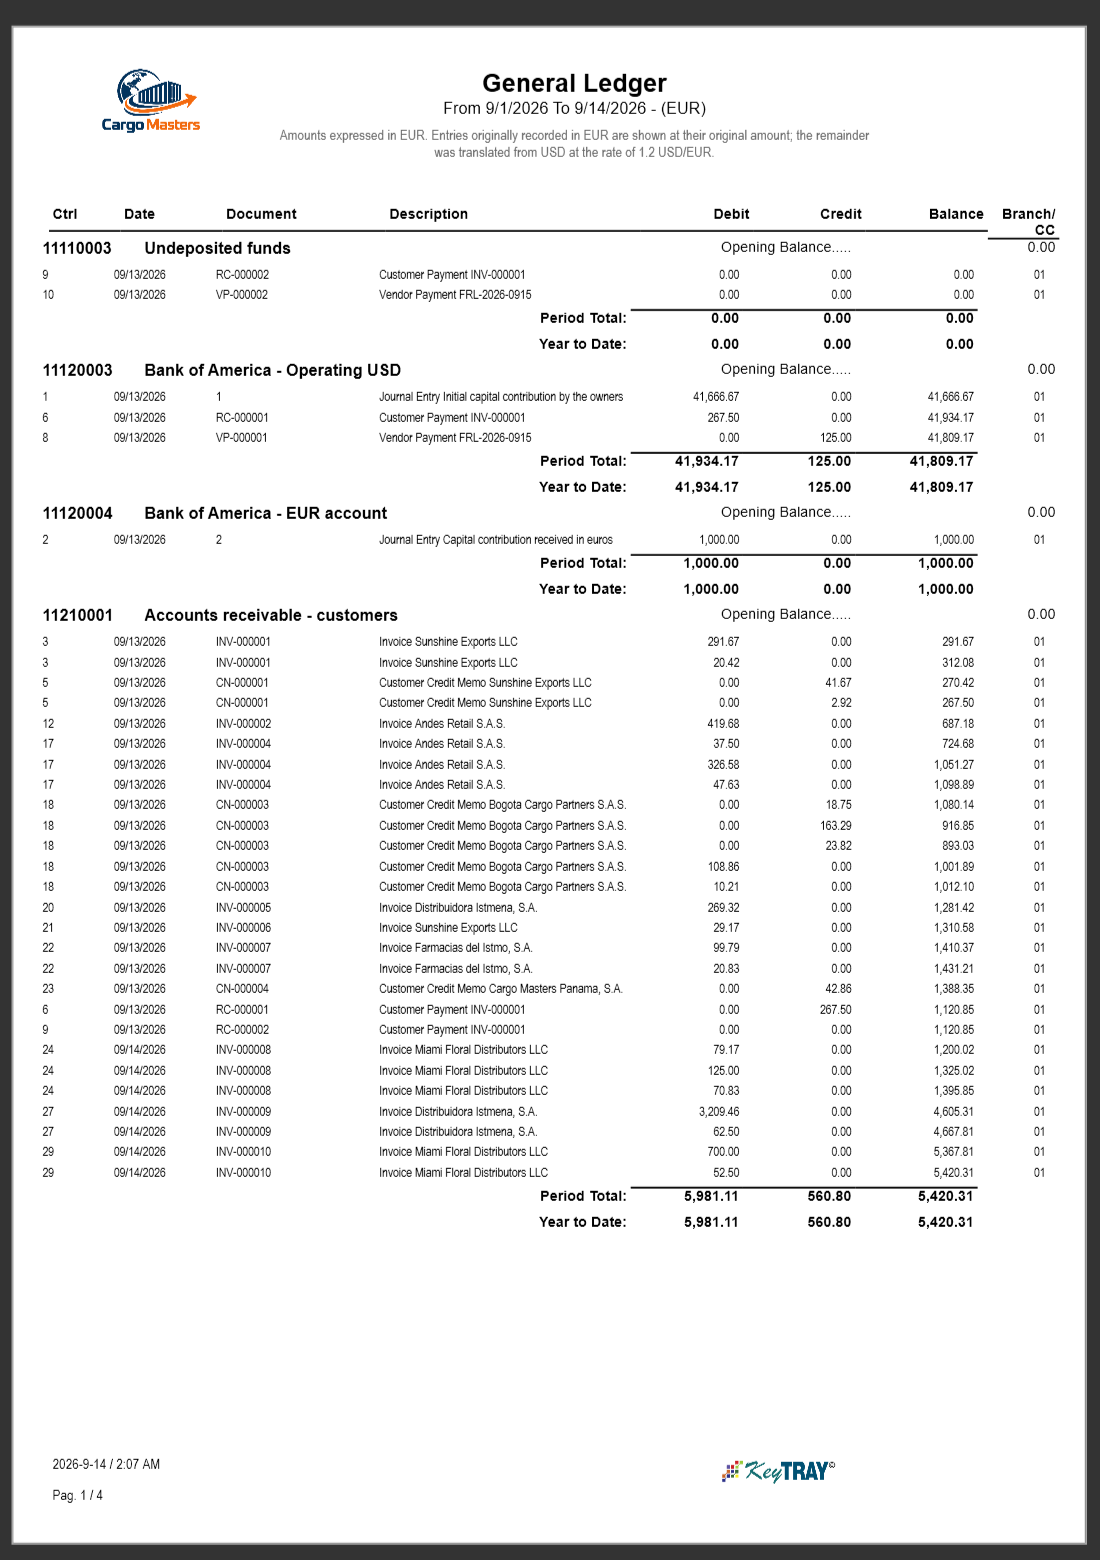
10.3 Customer and vendor reports
Reports > Customers:
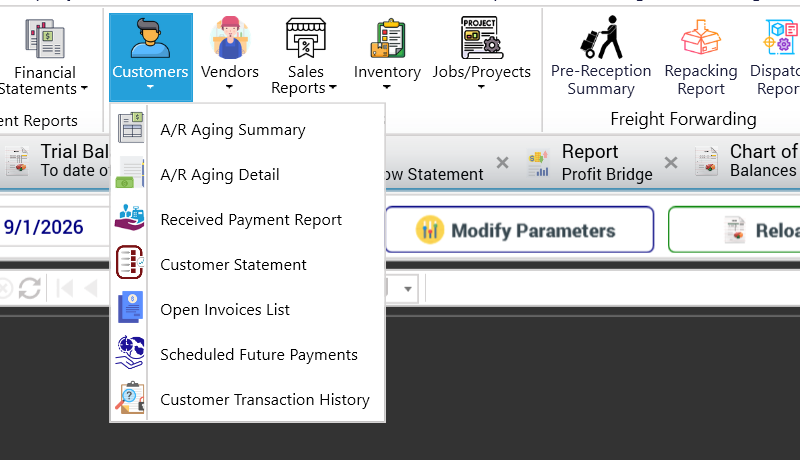
A/R Aging Summary. Options: reference date (or all dates), currency selection, customer selection (all customers, a group or only one), number format, decimals and, optionally, reading the data from the General Ledger:
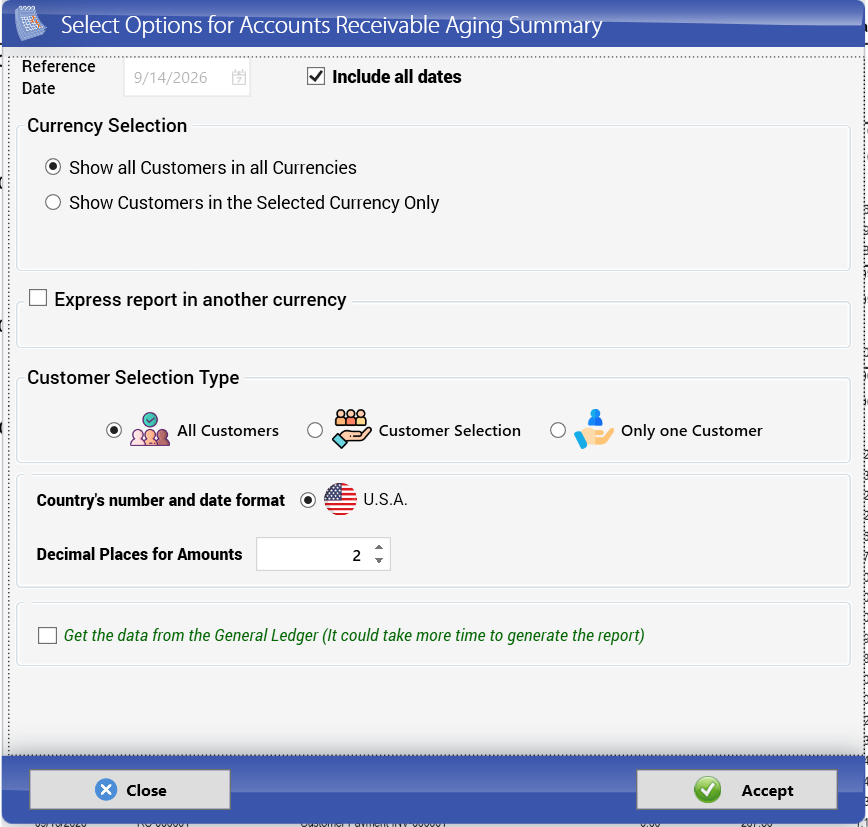
The balance of each customer split into Current, 1-30, 31-60, 61-90 and Over 90 days. The total (6,504.37) equals the balance of Accounts receivable:
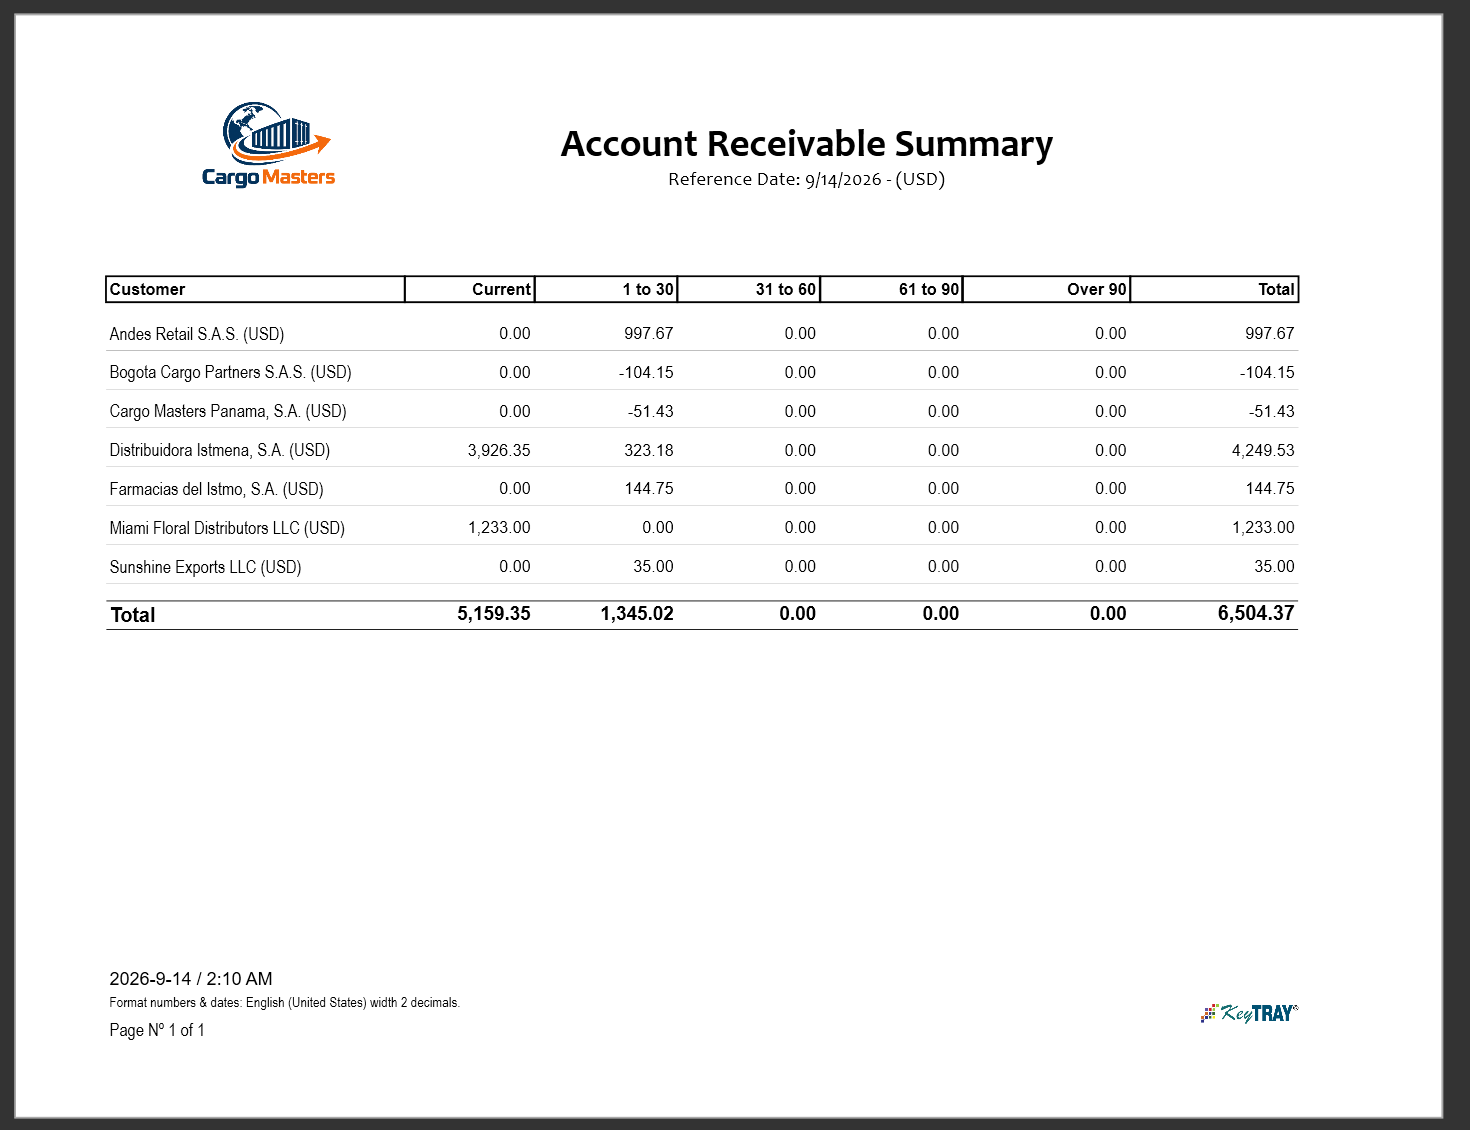
A/R Aging Detail. Options: cut date, customer currency, optional conversion, customer selection, number format and decimals:
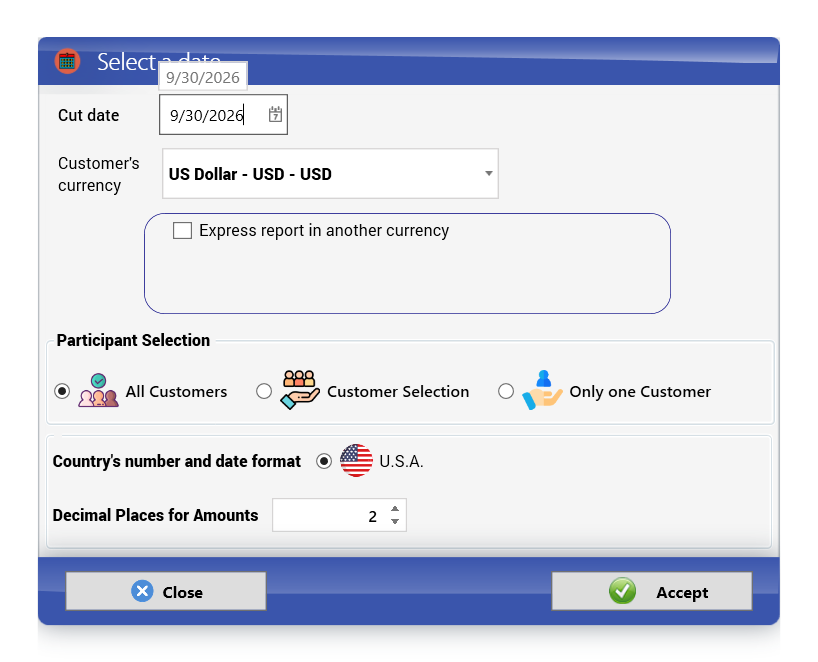
The open documents of each customer with number, date, due date and amount due; credit notes appear negative:
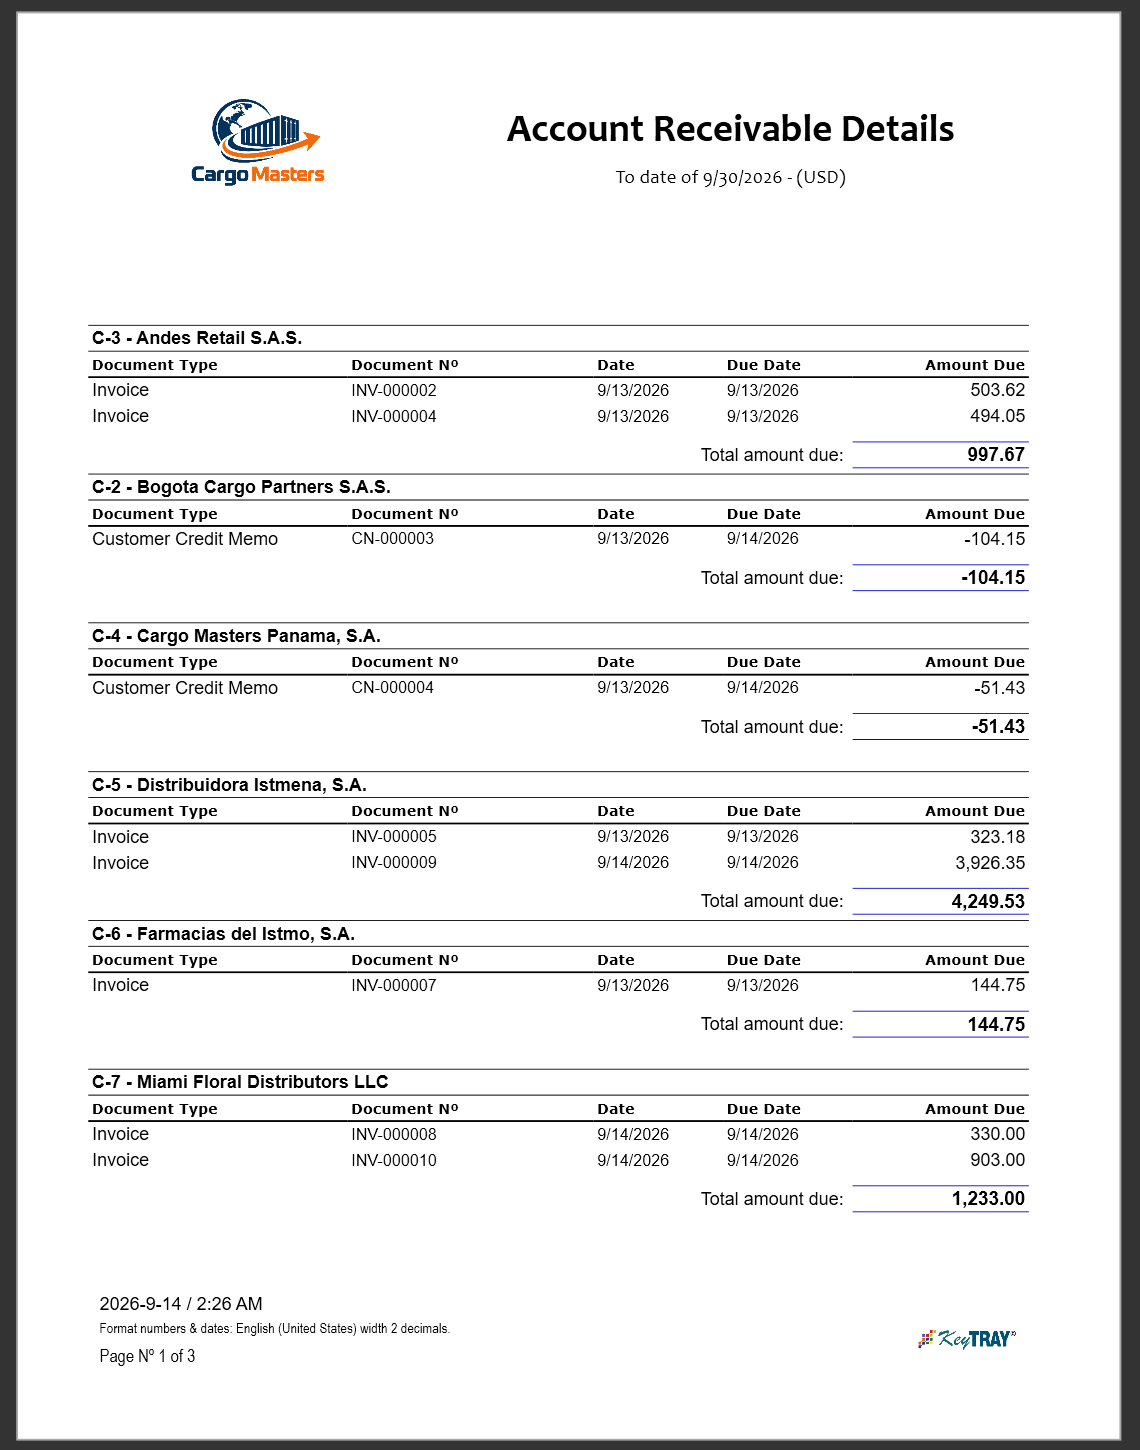
Customer Statement. Choose the customer and currency, whether to include vendor-related documents (when the customer is also a vendor), the statement period or all history, only unpaid documents and payment details; then Print, Attach to email or View PDF. The statement is printed with the company's statement template:
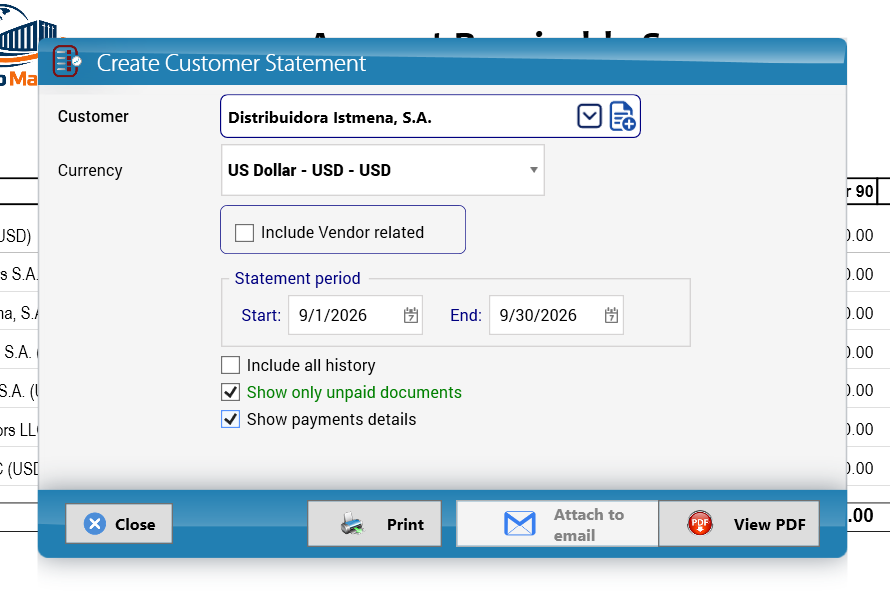
Reports > Vendors has the same reports for what you owe:
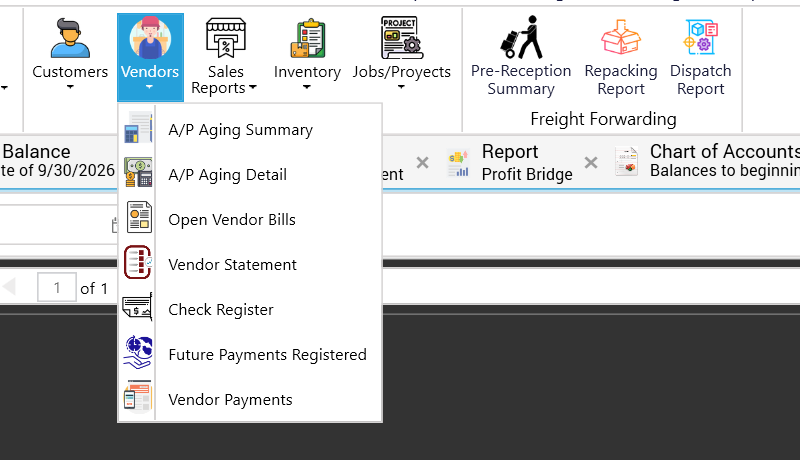
A/P Aging Summary (total 4,312.96 = Accounts payable) and A/P Aging Detail:
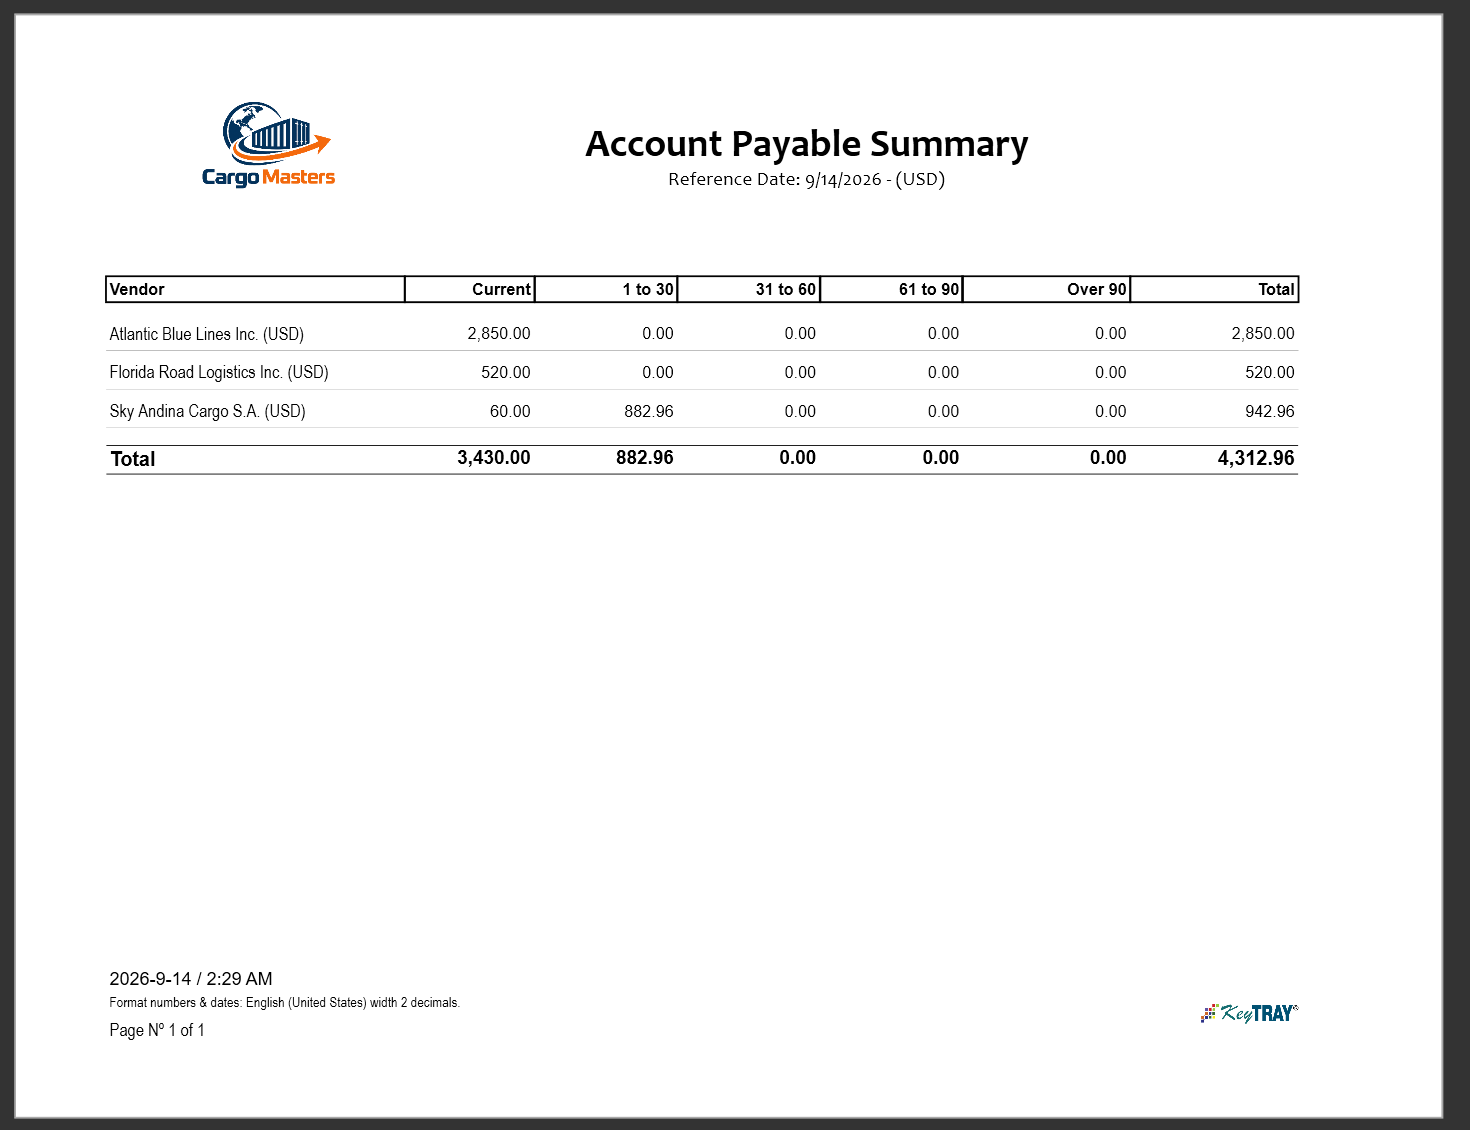
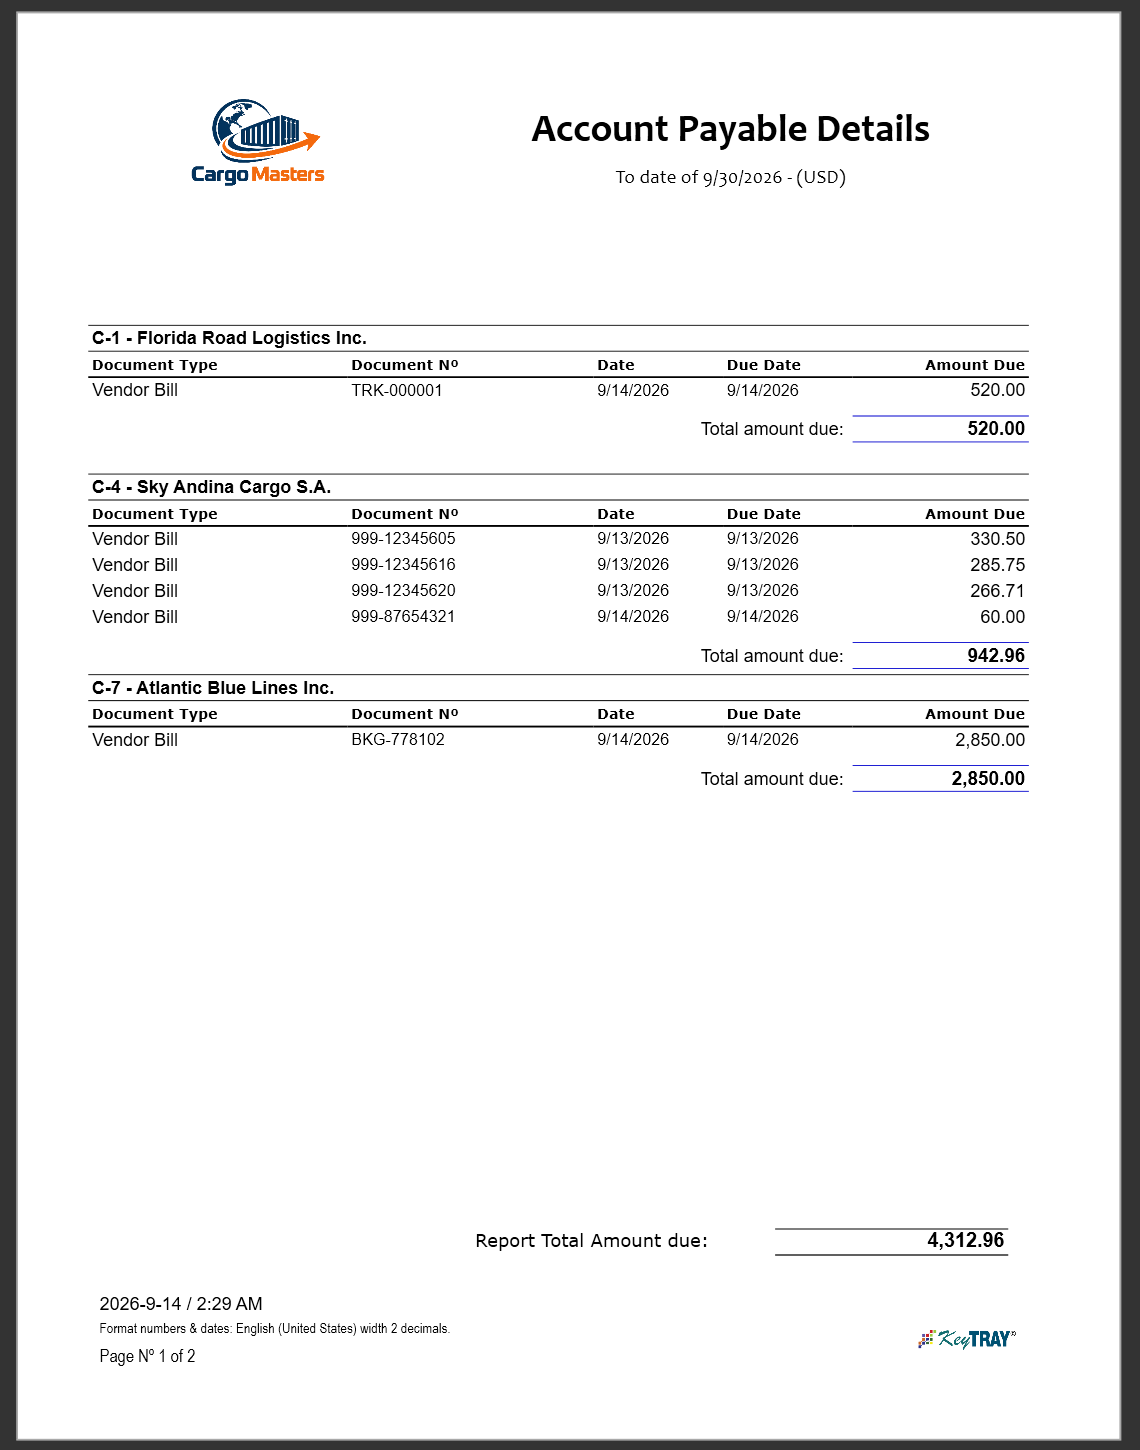
Lesson — reading an aging. Current and 1-30 days is normal business. Balances over 60 days need a phone call; over 90, a decision (collection agency, payment plan, write-off, section 8.8). On the payables side, the aging is your cash plan: it tells you what must be paid and when.
10.4 Sales reports
Reports > Sales Reports: by customer and by item:
Sales Report by Customer. Options: predefined dates or a From/To range, one customer (leave it empty for all), currency and optional conversion:
Page 1 shows the share of each item in the sales amount and in the quantity (the nine largest plus Other items). The next pages show the summary by year and month, the summary by item and packing with totals, and the detail by document. Amounts are net of taxes (in the demo, 7,009.95 for September, the sum of the nine invoices before sales tax):
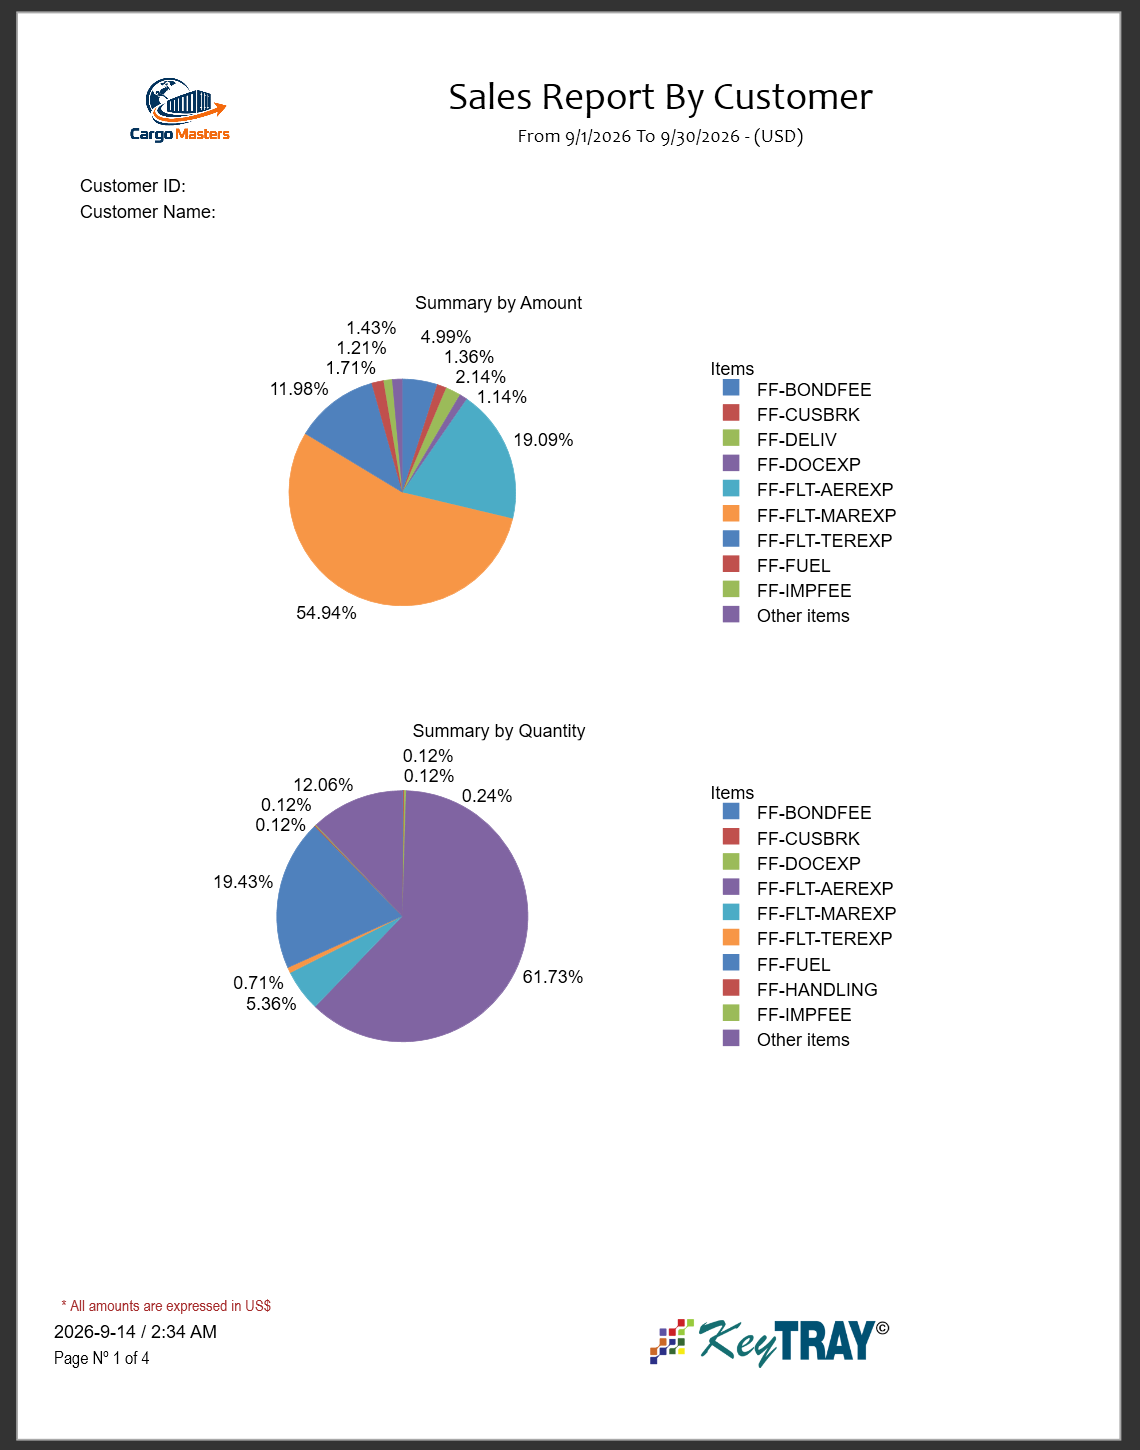
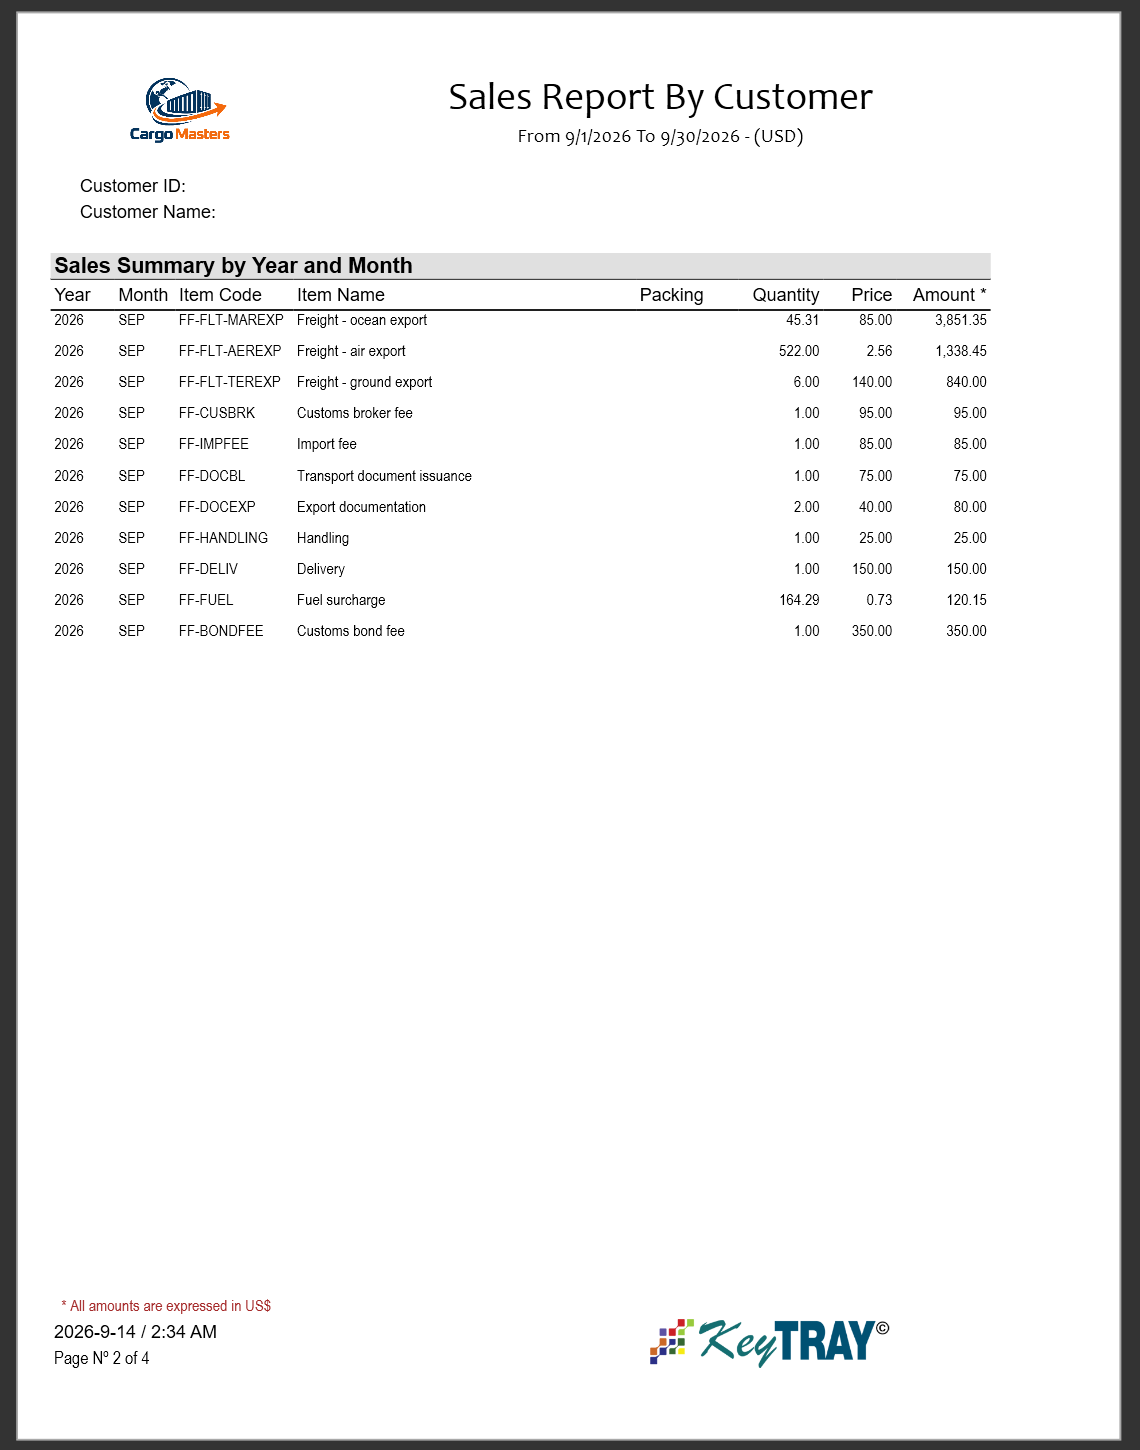
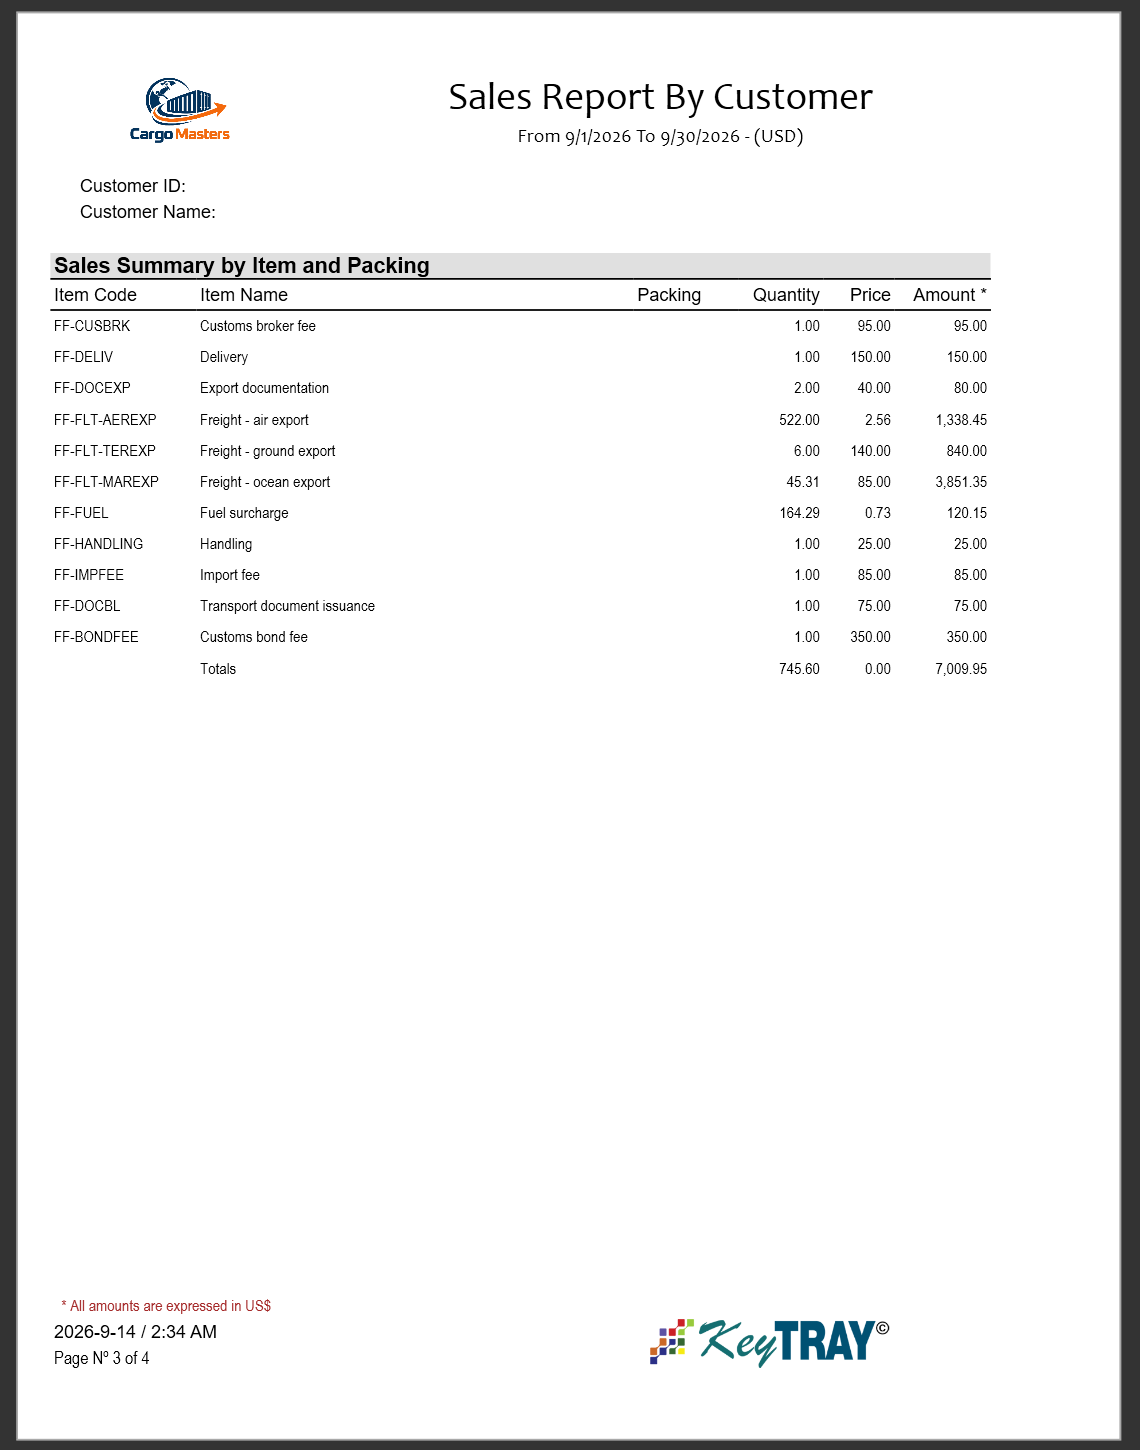
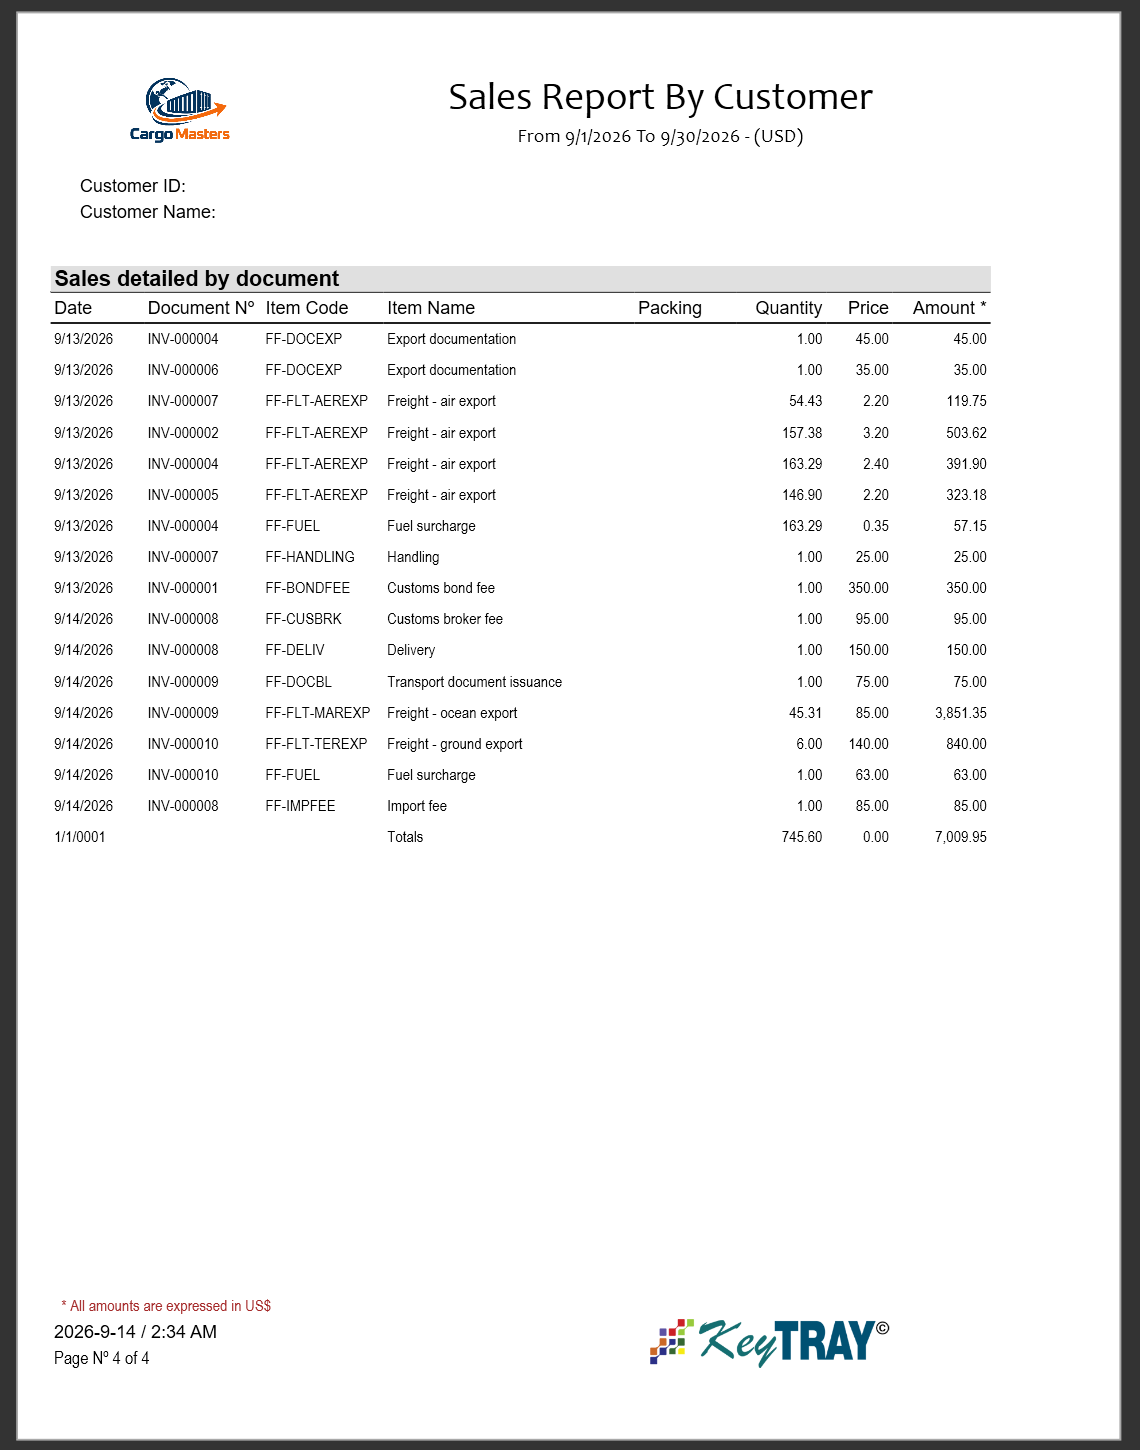
Sales Report by Item. Options: period, item, packing or size (optional; without it quantities are in units) and optionally one customer:
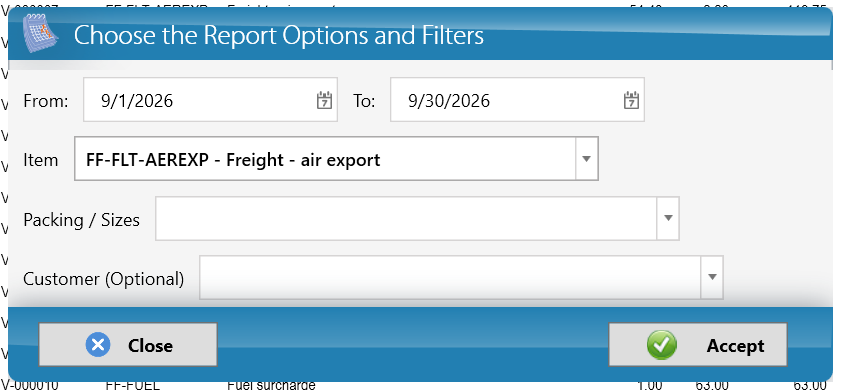
A 48-month comparison chart, the summary by month, the summary by customer and the invoice history of the item (Freight - air export: four invoices, 1,338.45):
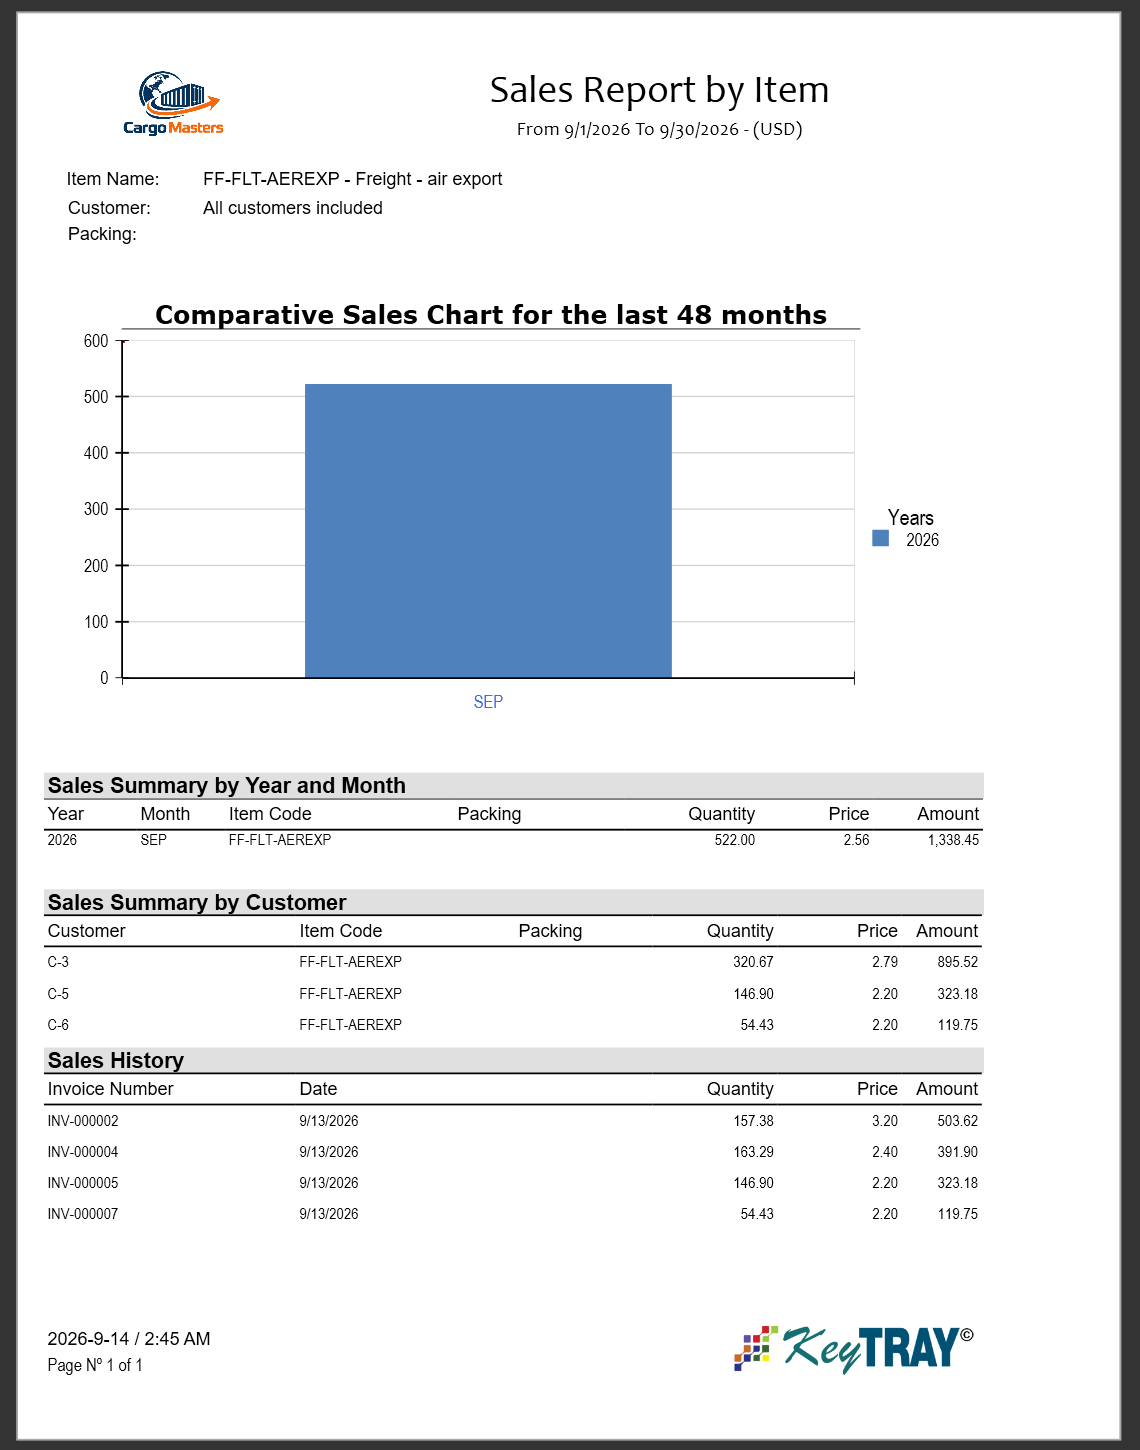
10.5 Other reports
- Reports > Jobs/Projects: detailed and summary profit by job or project. Options: the job start date range or a predefined period, another currency, the report language, number format and decimals:
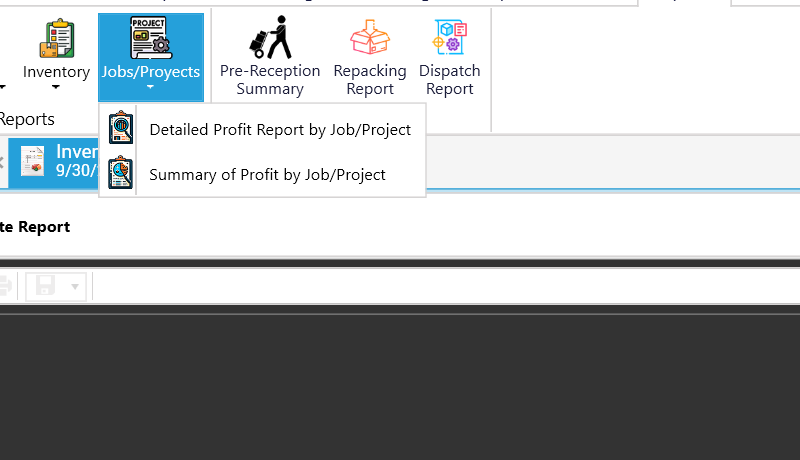
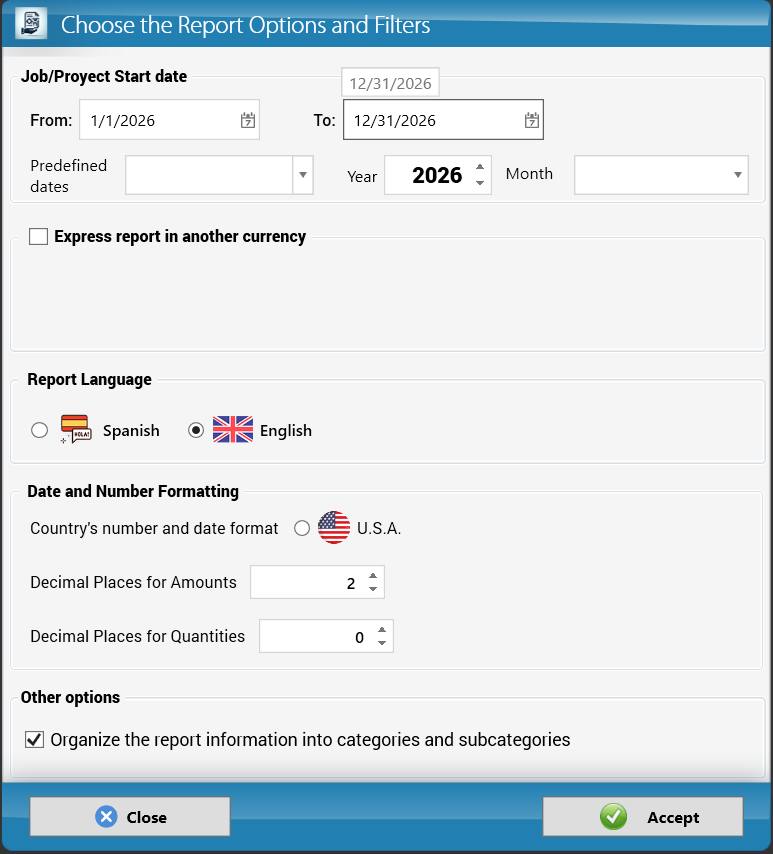
- Reports > Inventory > Inventory Valuation and Movement — for companies that keep inventory:
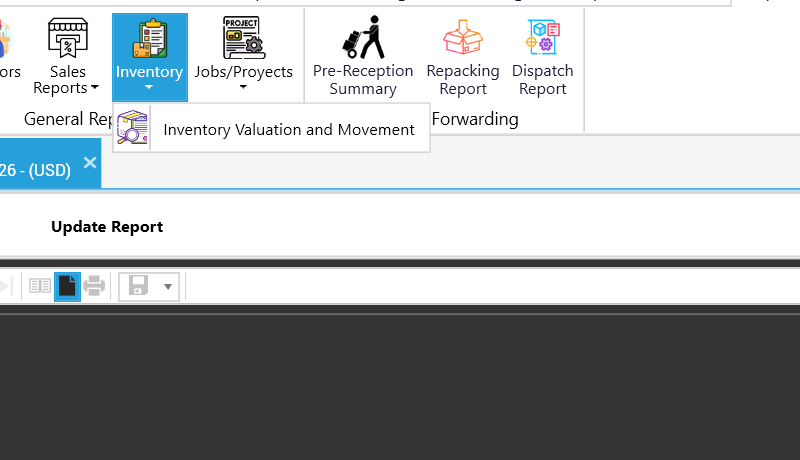
- Reports > Freight Forwarding > Dispatch Report: saved reports, date range or predefined dates, dispatch type (prepare to load, load, release, delivery, dispatch to carrier), filter by consignee or transport document, order by columns, Open Designer and Create Report:
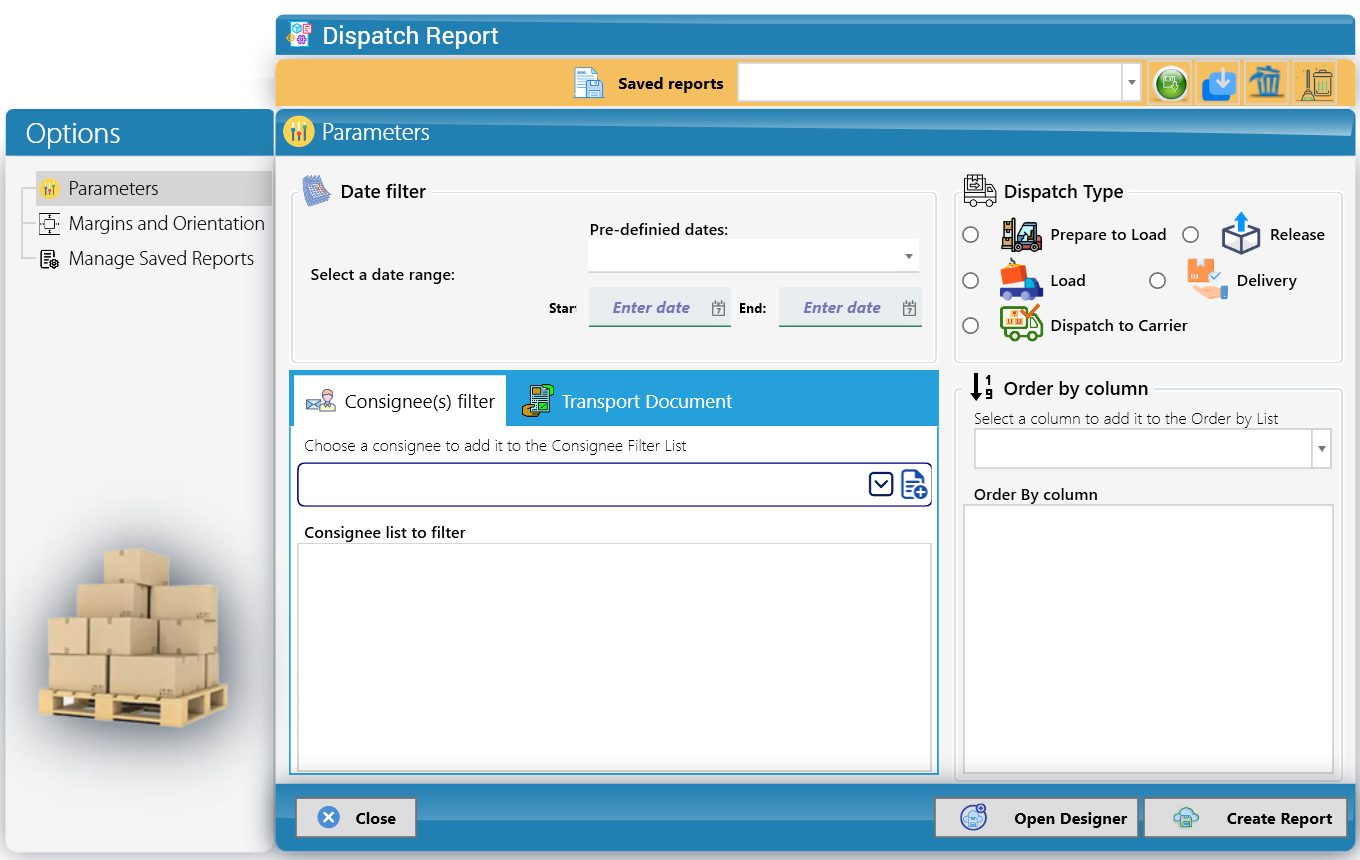
10.6 Monthly income statement and cash flow
Two reports show the company month by month, side by side, with each month's change against the previous one:
- Monthly income statement: the income statement (income, cost of sales, gross profit, expenses and net result) with one column per month.
- Monthly cash flow: the cash flow statement (operating, investing and financing activities, and the cash and bank balance at the end of each month) with one column per month.
They are on the Reports tab of the ribbon, Management Reports group: click Financial Statements and, in the list that drops down, pick Monthly income statement or Monthly cash flow (they are next to the Income statement and the Cash flow). If they are not there, your role does not have that access: ask your administrator for it.

The parameters window. When you click one, the period window opens:
- Start Date and End Date, or a ready-made period under Date Periods, Month and Year. Each month in the range is a column.
- Method (cash flow only): Direct method (collections and payments line by line) or Indirect method (starts from the result and adjusts it).
- Exclude prior period adjustments: ticked, those entries are added to the opening balance instead of counting as movement of the month.
- Break down collections and payments by nature (cash flow only, with the direct method): each collection and payment is followed to the invoices it settled and spread over their sales, cost and expense accounts. VAT goes on lines of its own and fixed assets under investing.
- Show the change of each month: under each line, in grey, the difference against the previous month.
- Open as a grid (to export to Excel): instead of the printable report, it opens a grid with the same numbers (see below).
- Express report in another currency: choose the currency and how it is converted. There are four ways: Closing rate of each month (each month at its own month-end rate), A single rate for everything (every month at the rate you type), Original amount + closing rate of each month and Original amount + the rate typed (what was recorded in that currency keeps its original amount and only the rest is converted). With the closing-rate ones you also choose Selling or Buying. You always choose the rate: KeyTray does not fix it.
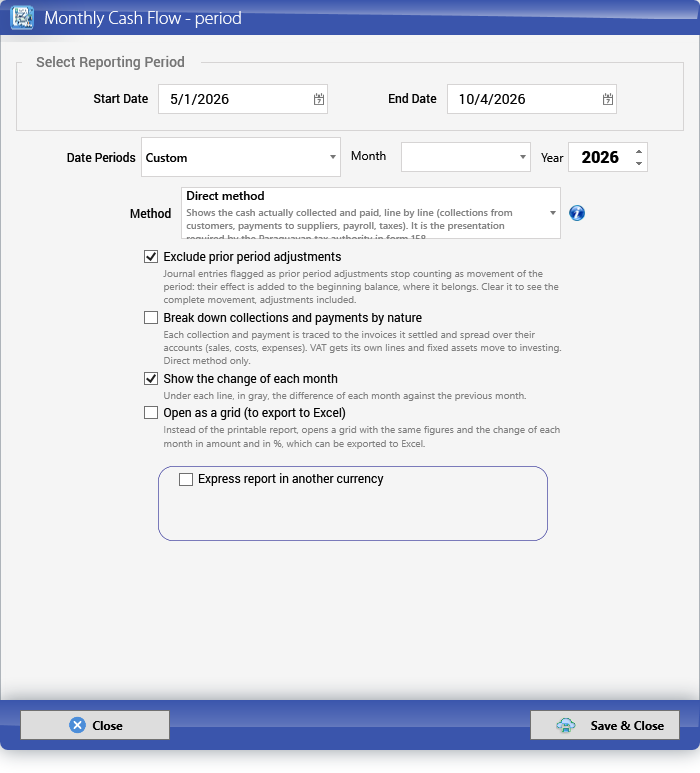
The printable report. It shows one month per column and the Total at the end. With the change ticked, each line has, underneath and in grey, how much it went up or down against the previous month. It prints and exports (PDF, Excel, Word) like any other report.
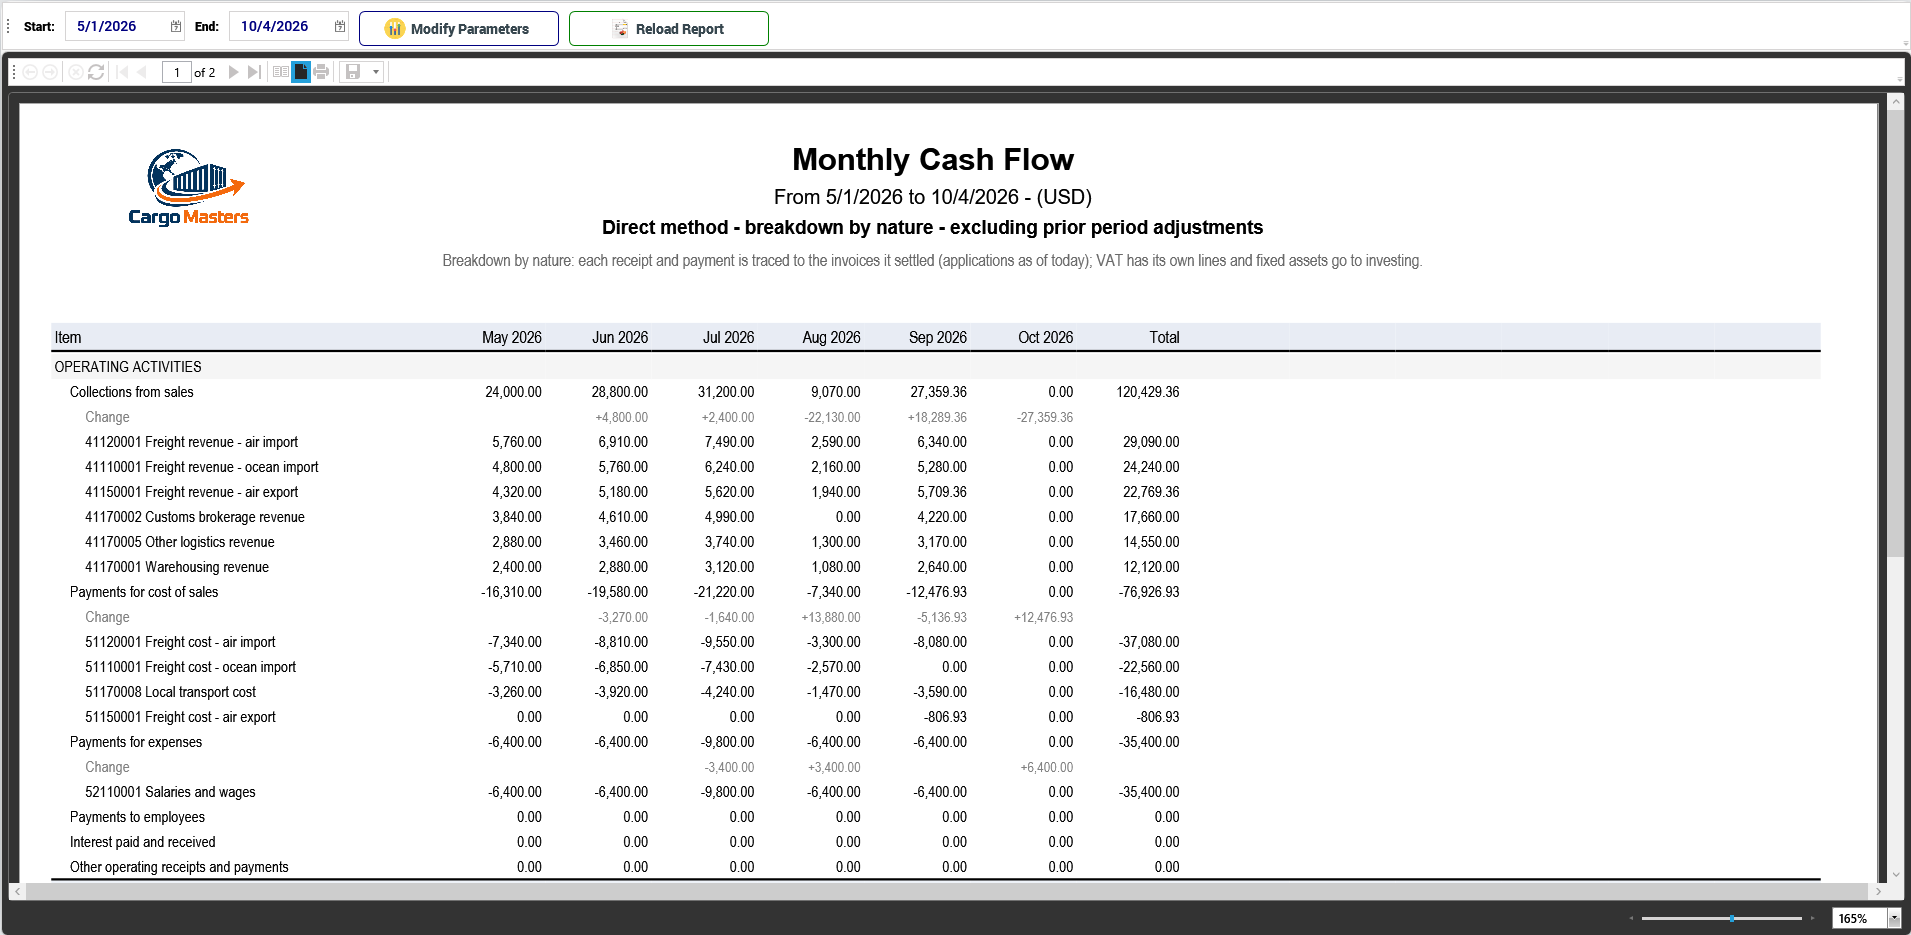
The grid. With Open as a grid the numbers show in a grid, with a Change column after each month. At the top it has:
- Modify Parameters and Reload Report, to change the period or the options and recalculate.
- Show: Amounts, Amounts and change or Amounts and change %.
- Export to Excel: saves the grid as you see it to an Excel file.
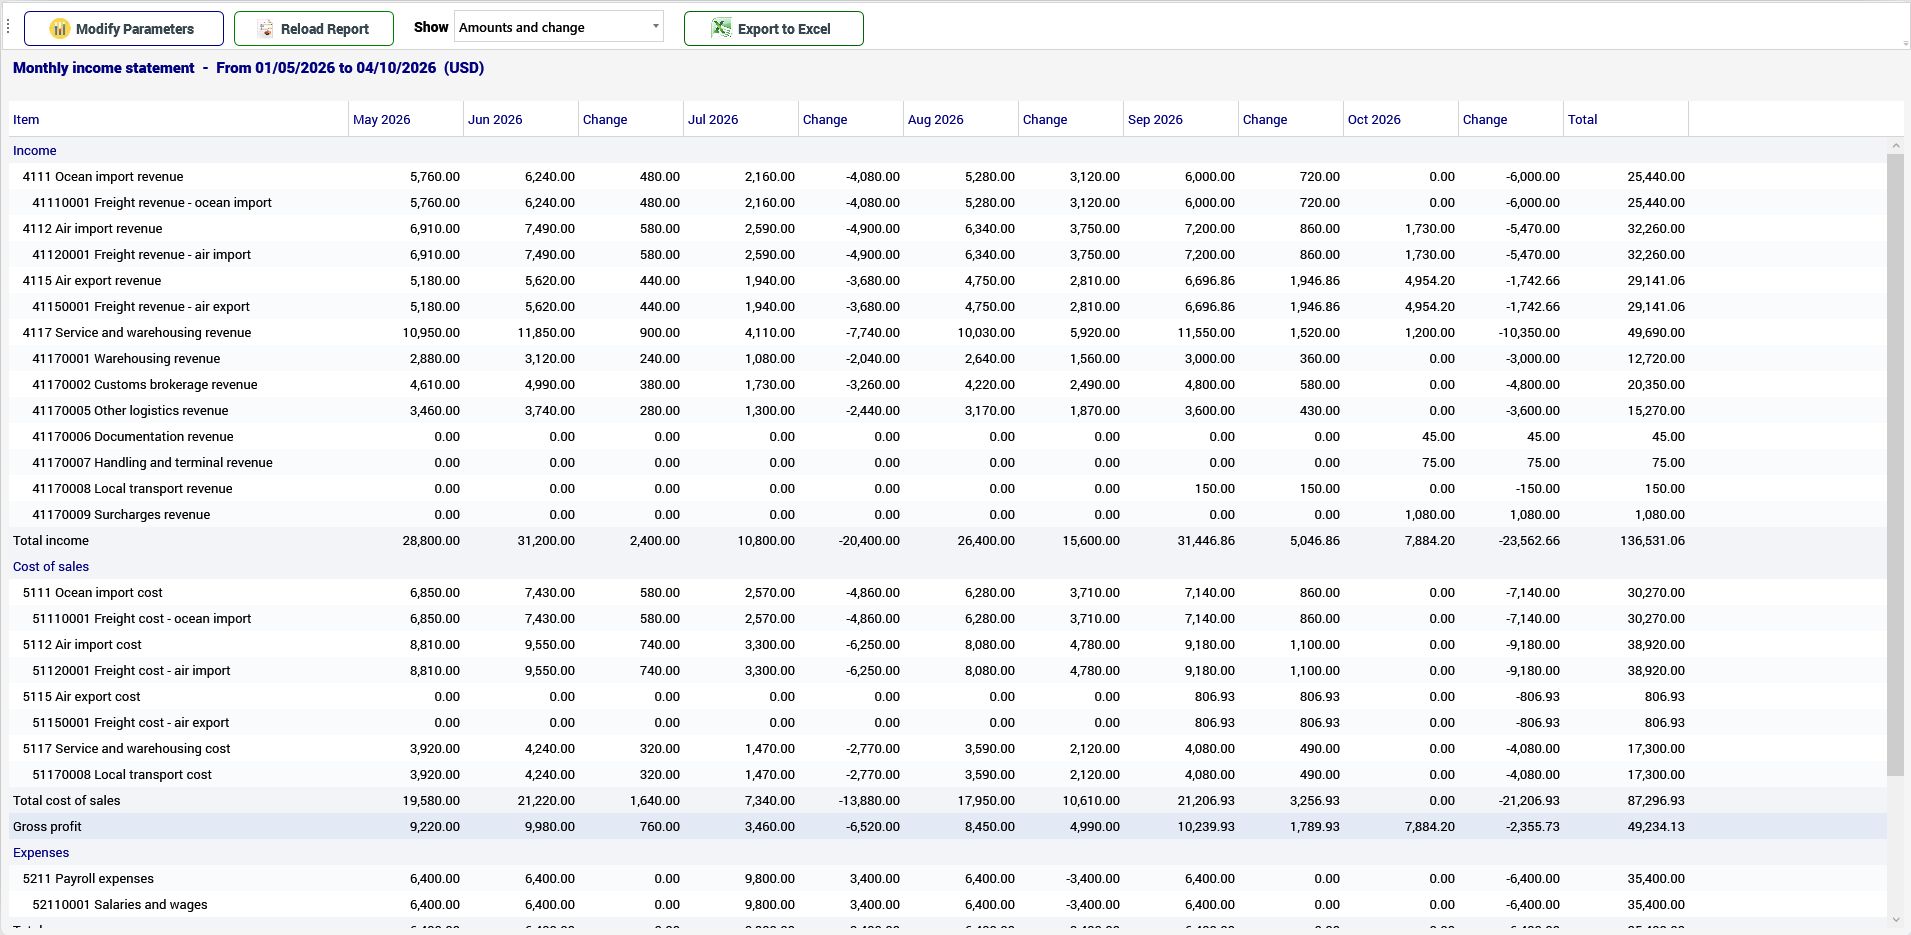
The Monthly result and cash gadget on the Operations dashboard (chapter 17) shows the net result and the net cash flow of the last months with these same numbers; its Open detail button opens this grid. All three (report, grid and gadget) use the same calculation, so they always agree.
The cash flow classifies accounts like the Cash flow report: if an account shows on the wrong line, check section 8.9, Cash flow: assigning accounts.
11. Company settings
11.1 The Company tab
Company holds the company-wide tools: List Explorer, System Options, New Company, New Branch, My Account, My Payment Method, My Payment History, My Invoices, Shared Printers, Warehouses, Terms and Conditions and the OFAC group:

11.2 System Options
Company > System Options is organized in sections.
General: the default units of measure for sizes, weights, volumes and volumetric weights. They are the units KeyTray proposes in warehouse receipts and shipments:
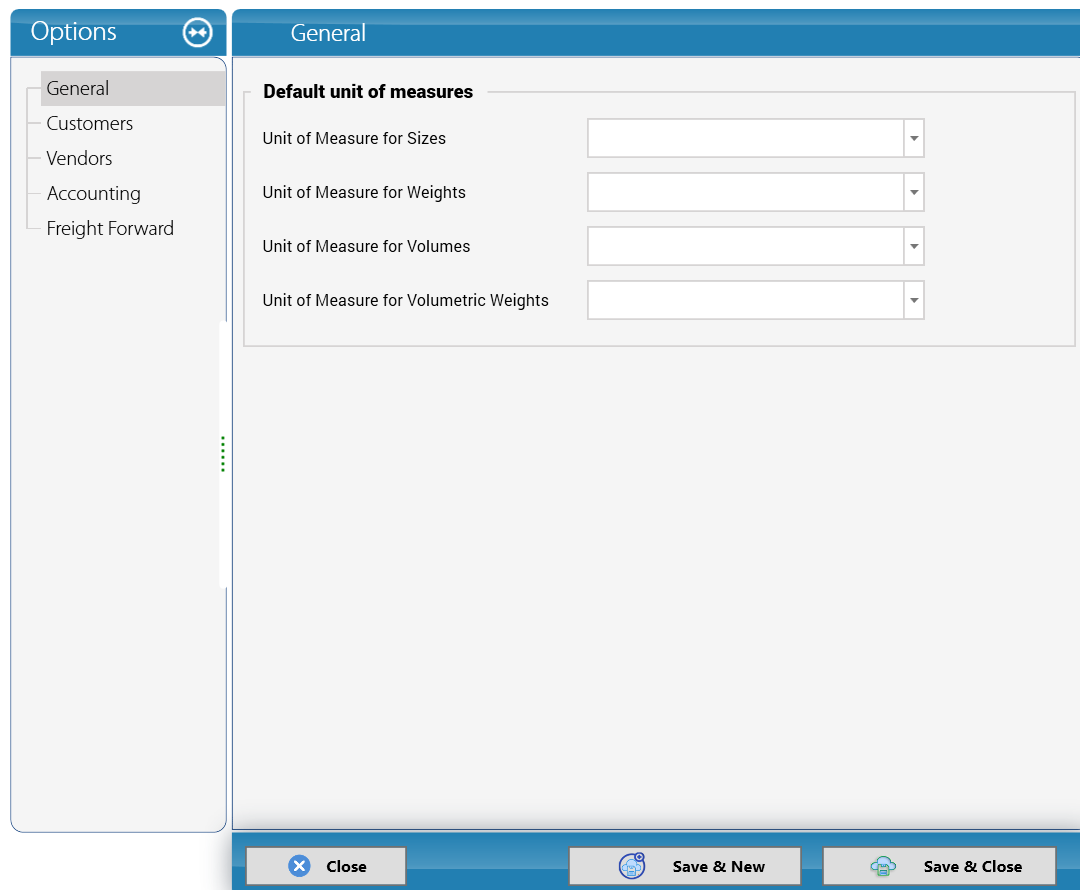
Careful: in a new company these four units come empty; configure them before you receive the first cargo. In Argentina cargo is measured in the metric system, and a package measured in the wrong unit gives impossible volumes and volumetric weights (remember the pallet of section 7.5).
Customers and Vendors: the defaults for new customers and vendors:
Accounting (screenshot of Cargo Masters Argentina):
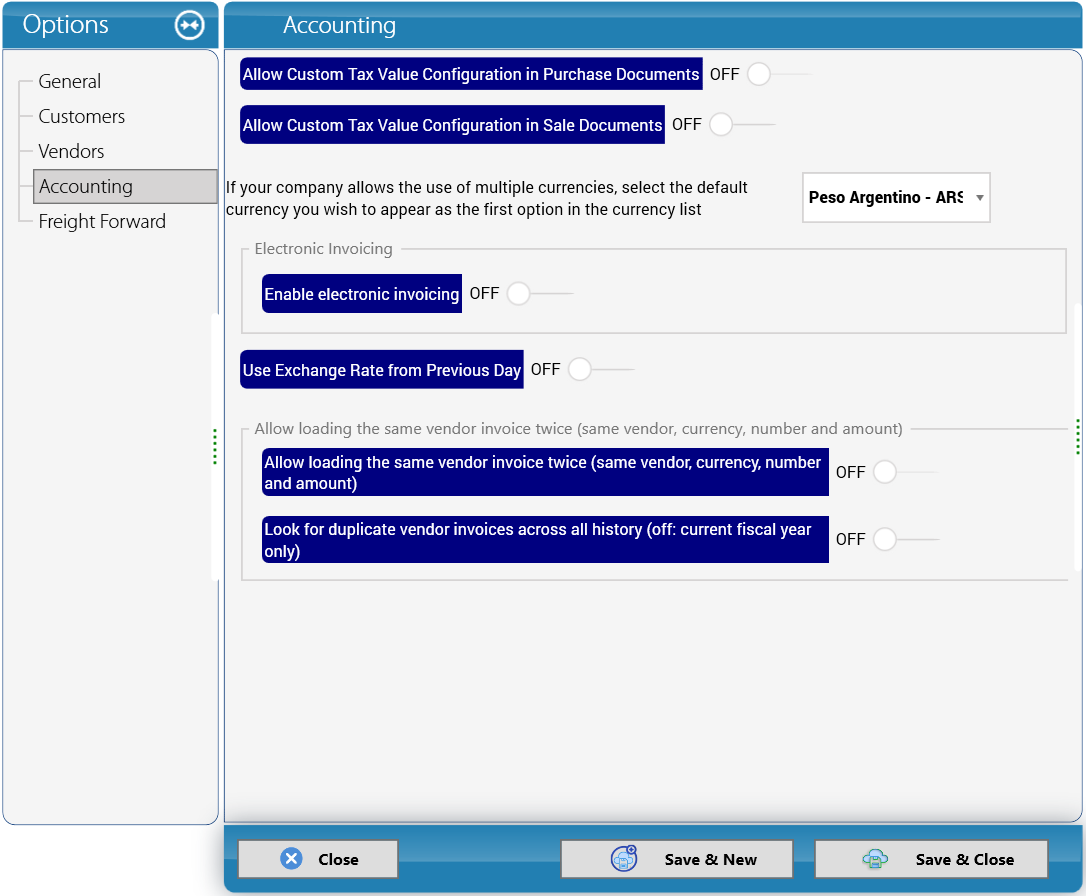
- Allow Custom Tax Value Configuration in Purchase Documents and Allow Custom Tax Value Configuration in Sale Documents: OFF.
- If your company allows the use of multiple currencies, select the default currency you wish to appear as the first option in the currency list: Peso Argentino - ARS (the name is cut off by the width of the list).
- The Electronic Invoicing box, with Enable electronic invoicing: OFF.
- Use Exchange Rate from Previous Day: OFF.
- The box Allow loading the same vendor invoice twice (same vendor, currency, number and amount), with two switches: Allow loading the same vendor invoice twice (same vendor, currency, number and amount): OFF, and Look for duplicate vendor invoices across all history (off: current fiscal year only): OFF.
- At the bottom, Close, Save & New and Save & Close. On the left, the sections General, Customers, Vendors, Accounting and Freight Forward.
Careful — electronic invoicing: in Argentina every invoice and credit note must be an electronic voucher authorized by ARCA with its CAE (section 3.1). In Cargo Masters Argentina, a demo company, Enable electronic invoicing is OFF. Electronic invoicing is configured separately and explained in its own manual: read it before you change this option.
Careful — the exchange rate: before you change Use Exchange Rate from Previous Day, ask your accountant which exchange rate your documents in a foreign currency must carry (section 3.3).
Why it matters: leave the option to load the same vendor invoice twice turned off. It is the control that prevents you from paying the same invoice twice to an airline or a shipping line.
Freight Forward: the options of the freight module:
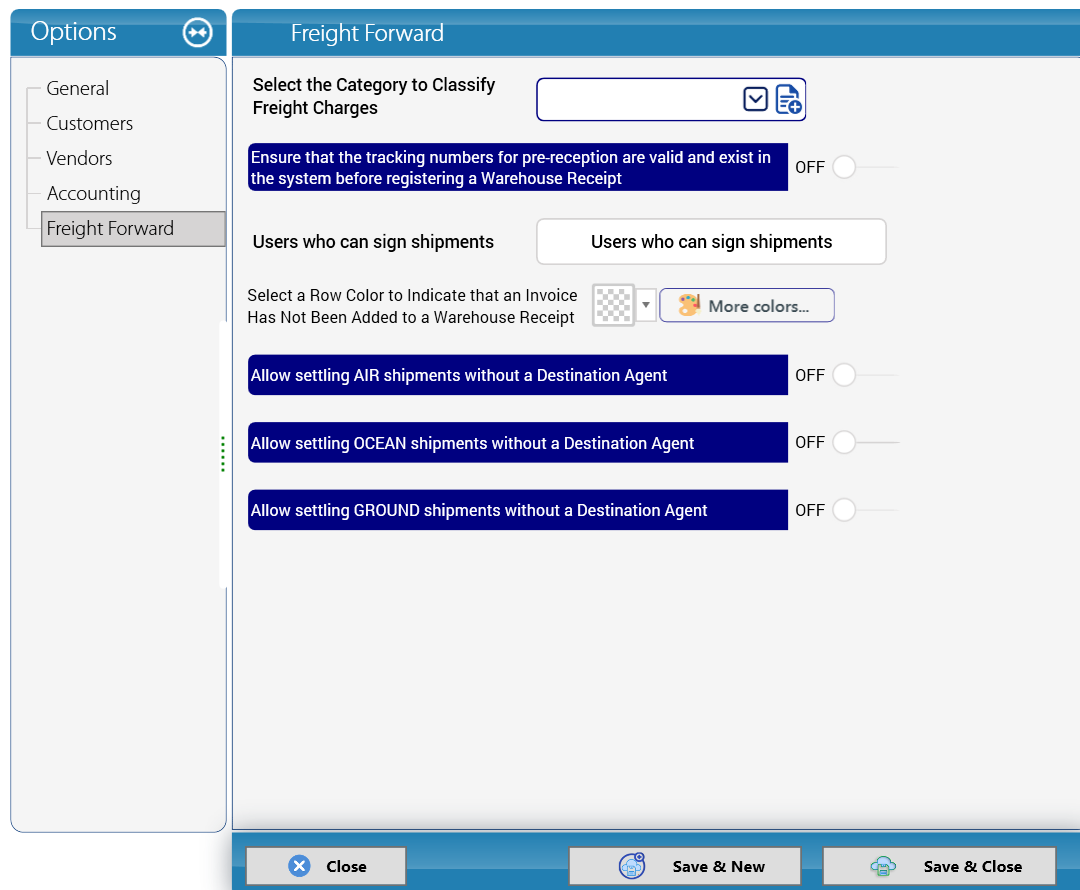
For example, Allow settling GROUND shipments without a Destination Agent lets domestic trucking shipments be settled without an agent (section 7.19):
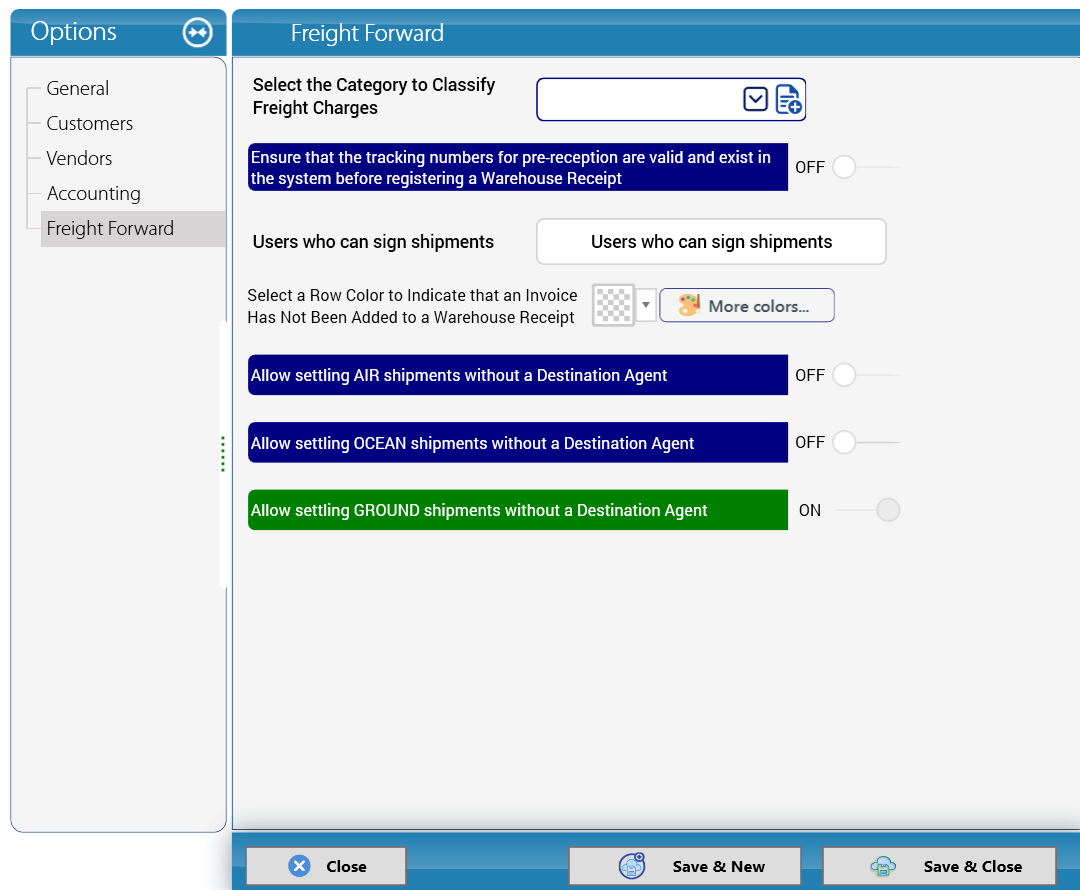
14. Human Resources and payroll
This chapter covers the Human Resources module. Sections 14.11 to 14.18 explain KeyTray Clock, punching in from the phone: work sites, phones and kiosks, reviewing punches and what employees request from the app.
14.11 KeyTray Clock: punching in from the phone
KeyTray Clock is the app employees use to punch in and out. It runs on Android and iPhone and works in two ways:
- Personal phone: each employee punches from their own phone. Before punching, the app confirms their face and records where they are.
- Kiosk: a phone or tablet fixed at a site and shared by everyone who works there. The kiosk recognizes each person by their face.
Every punch reaches KeyTray with the time, the place and the nearest site. If the phone has no signal, the punch is kept on the phone and uploads by itself when the connection returns. In KeyTray, punches feed Attendance and payroll, just like the punches of a time clock.
From the app, employees can also request leave or vacation, claim a punch they forgot and see and sign their payslip. Human Resources receives and handles all of that in KeyTray, as the following sections explain. How to use the app is covered in the KeyTray Clock manual for employees.
Everything about Clock is in Human Resources > Attendance, on the Work sites, Punches to review and Devices and faces pages on the left. The screenshots in this part come from the sample company Cargo Masters English.
14.12 Work sites and geofence
Video: Work sites and geofence (English voice and subtitles).
A work site is a place where people work: the warehouse, the office, a branch. It has a center (latitude and longitude) and a radius. The circle they form is called a geofence: a punch made inside the circle is a punch made at the site.
On the Work sites page, click the new button (top left) and fill in:
- Site name and Address.
- Latitude and Longitude of the center. Open in Google Maps lets you check that the point is right.
- Radius (m): how large the geofence is. For a warehouse, between 100 and 200 meters.
- GPS tolerance (m): how much position error is accepted. If the phone reports a position worse than this, the punch is recorded anyway but goes to review.
- Blocks the punch outside the fence: when checked, nobody can punch from outside the radius. Uncheck it for people who work on the road (drivers, collectors): the punch is recorded and marked as made outside the site.
Click Save site.
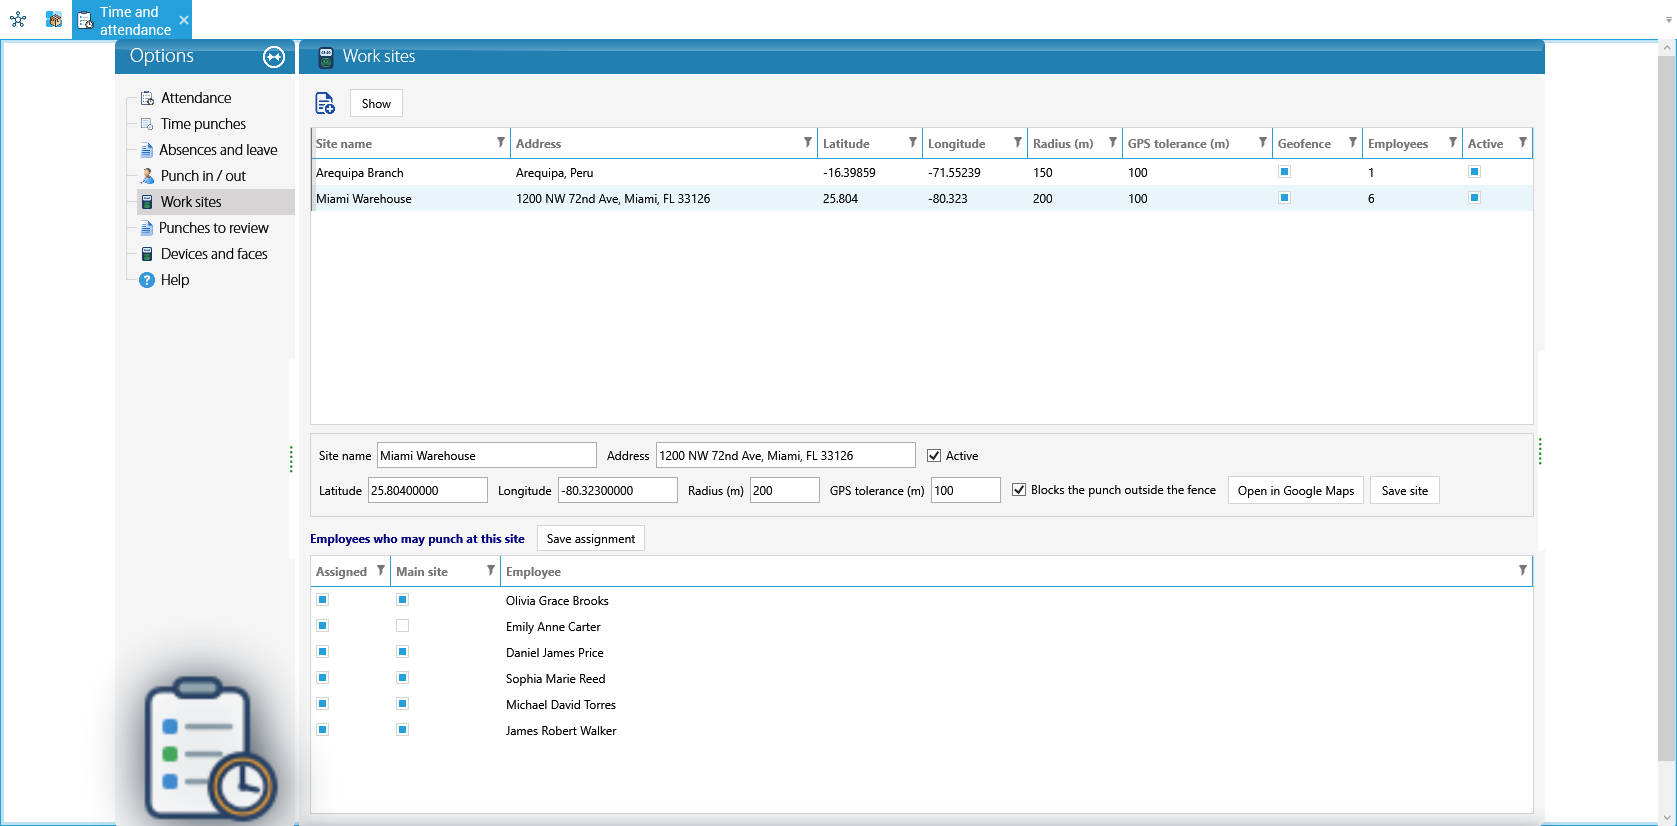
Below, in Employees who may punch at this site, check Assigned for each employee who works there and Main site for the site where they usually work. Click Save assignment. An employee can be assigned to several sites.
Why it matters: an employee with no site assigned can still punch, but every punch goes to review with the reason No site assigned.
14.13 Setting up phones and kiosks
Video: Setting up phones and kiosks (English voice and subtitles).
The Devices and faces page has the two kinds of code at the top and, below, the devices that are already working.
An employee's phone. In Set up an employee's phone, choose the Employee and click Generate phone code. KeyTray shows a code and its QR:
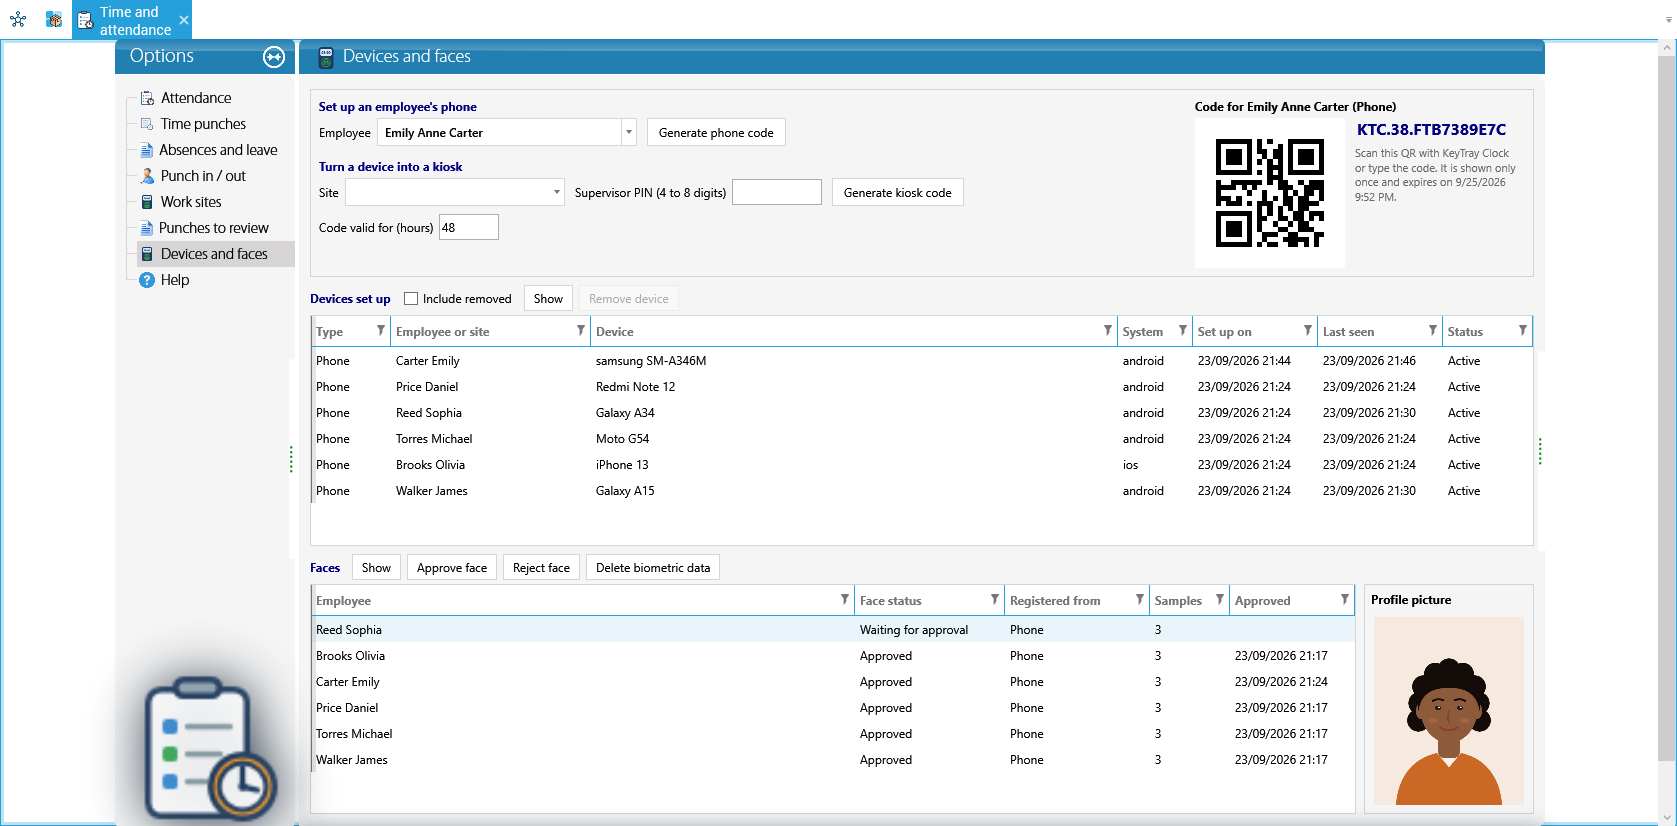
The employee scans the QR with KeyTray Clock (or types the code) and then types their employee code. The code is shown only once and expires after the hours set in Code valid for (hours). If it gets lost, generate another one: the previous one stops working.
Caution: setting up a new phone does not remove the previous one: both keep working. When an employee changes phones, remove the old one with Remove device (below).
A kiosk. In Turn a device into a kiosk, choose the Site, type a Supervisor PIN (4 to 8 digits) and click Generate kiosk code. On the device that will stay at the site, scan this code without typing an employee code. The supervisor uses the PIN at the kiosk to register each employee's face.
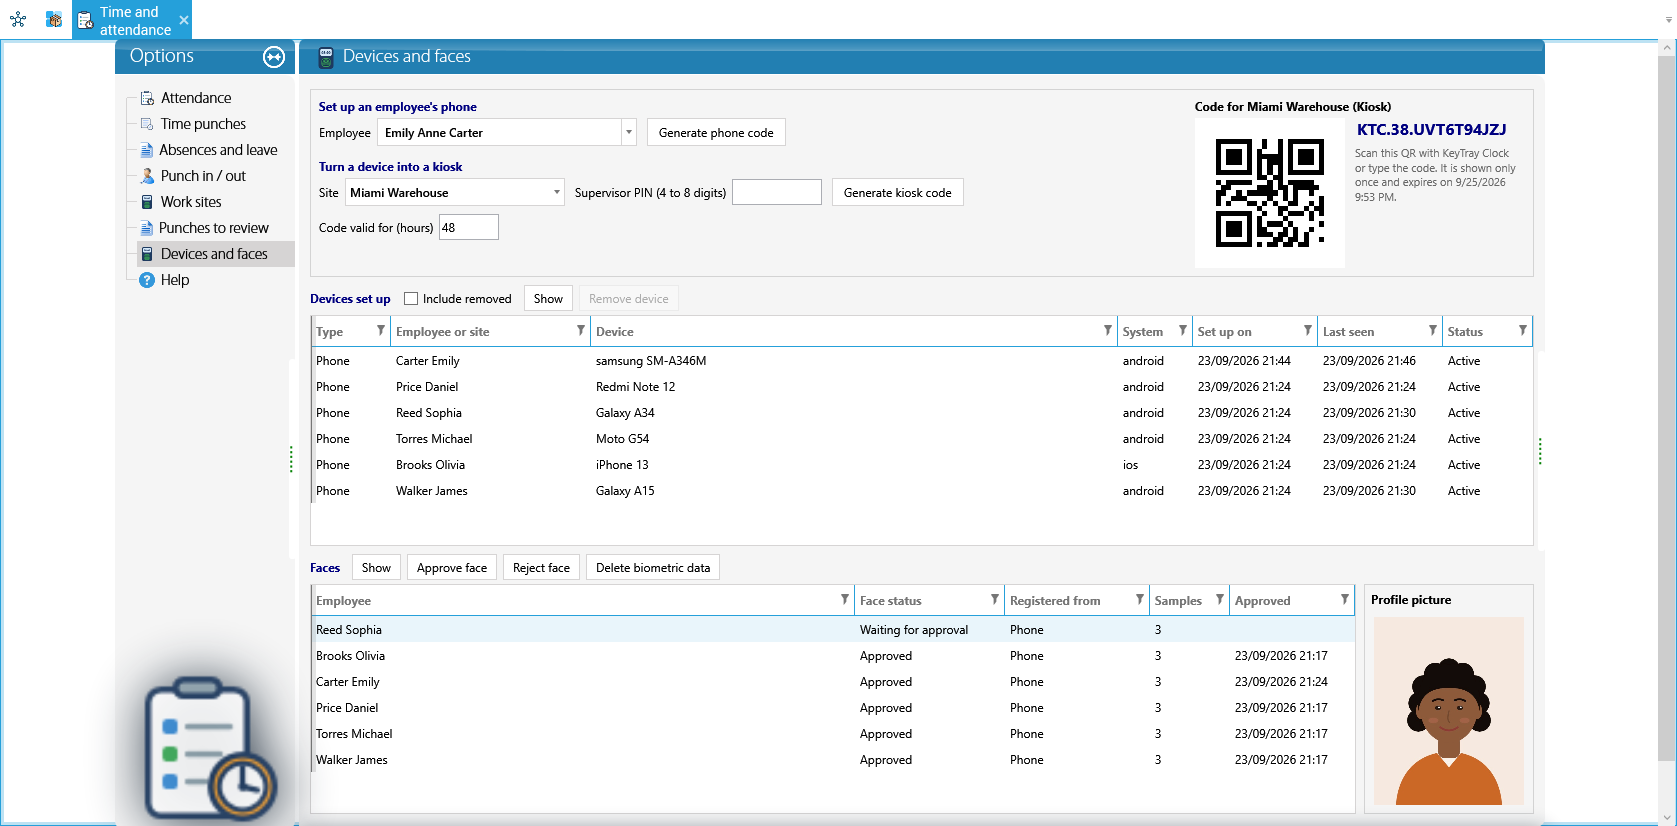
Devices set up lists every phone and kiosk: the employee or site, the model, the system, when it was set up and when it was Last seen. To take a device out of service (a lost phone, an employee who leaves), select it and click Remove device: from then on it cannot punch. Include removed also shows the removed ones.
Faces. When an employee registers their face from the phone, it appears under Faces as Waiting for approval. Select it: the Profile picture they took when registering appears on the right. If it is that person, click Approve face; if not, Reject face (it is deleted and the person can register again).
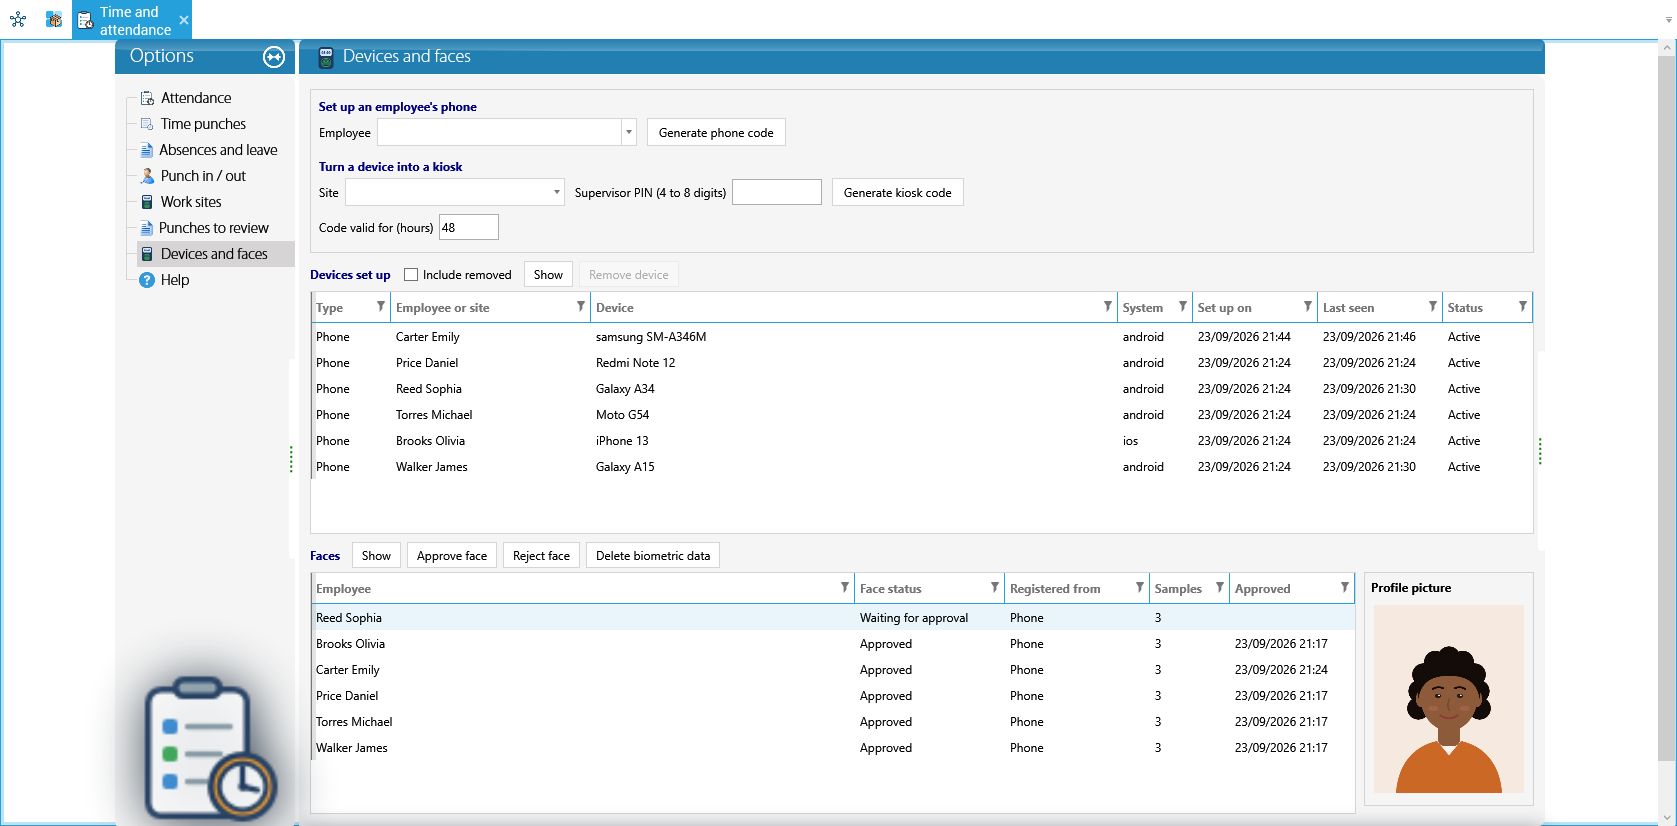
Why it matters: while the face is not approved, the employee can punch, but all their punches go to review with the reason Face waiting for HR approval. That way nobody can register someone else's face to punch for them.
Faces registered by the supervisor at a kiosk (with the PIN) are approved from the start. Delete biometric data really deletes an employee's face samples and records that they withdrew their consent; the profile picture is not deleted.
14.14 Punches to review
Video: Punches to review (English voice and subtitles).
Some punches arrive with something odd. KeyTray records them anyway, so nobody is left without their punch, but lists them in Punches to review so that someone looks at them. Choose From and To, keep Only pending checked and click Show:
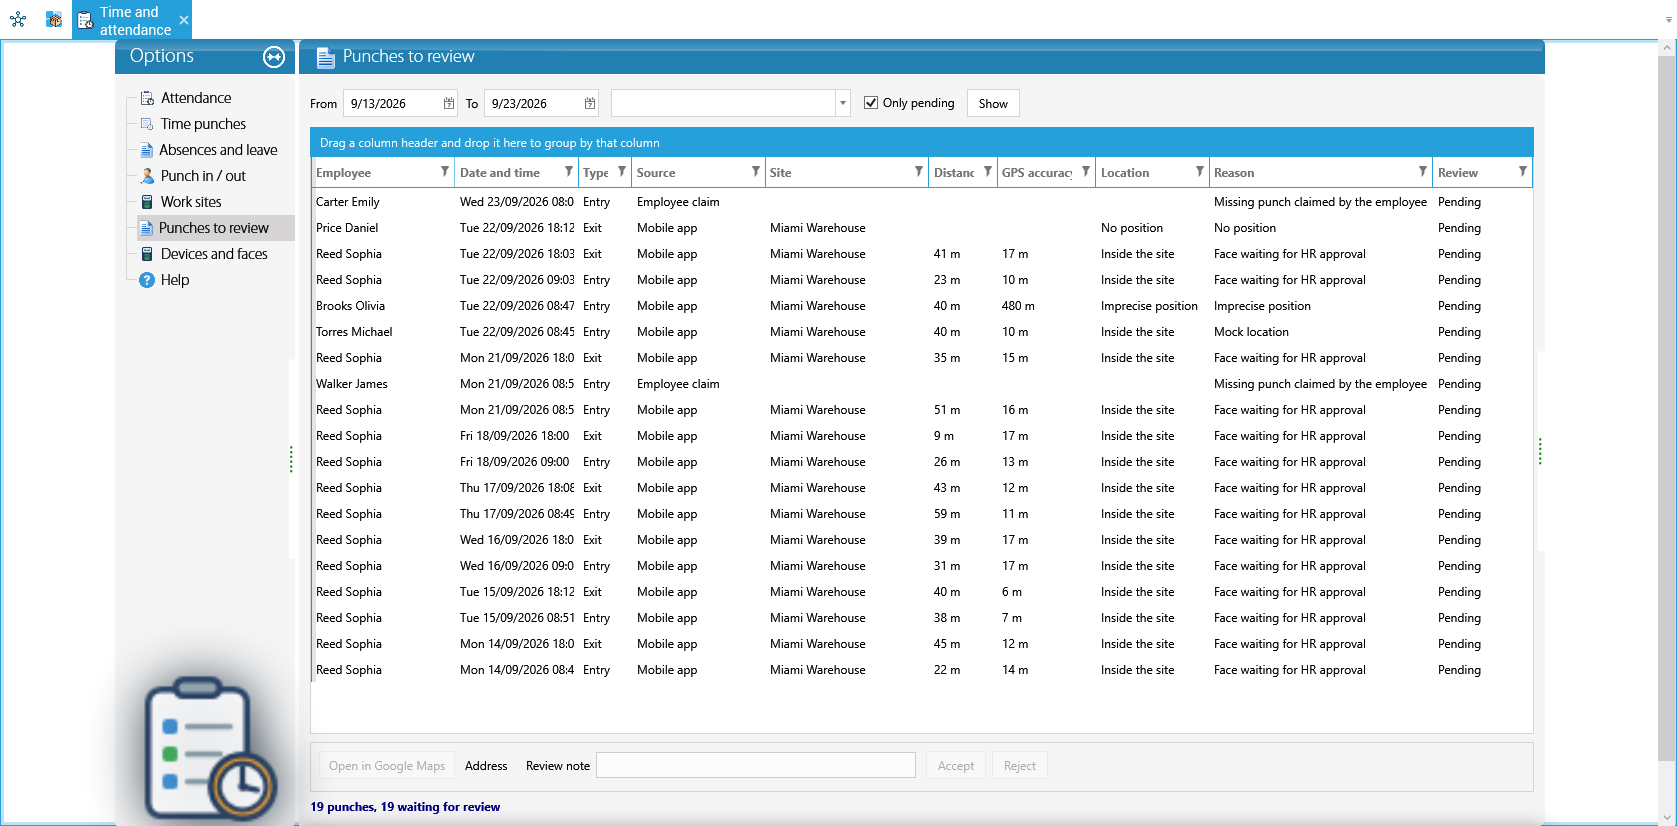
Each row shows where the punch came from (Source), the Site, the Distance to the site, the GPS accuracy, the Location and, most important, the Reason:
| Reason | What happened |
|---|---|
| No position | The phone could not give its location. |
| Imprecise position | The location had more error than the site's tolerance. |
| Mock location | The phone was using an app to fake its location. |
| Device clock is off | The phone's time was more than 5 minutes off. |
| Impossible speed | Between this punch and the previous one, the employee would have had to travel impossibly fast. |
| Device is not the enrolled one | The punch came from a phone other than the one set up. |
| No site assigned | The employee has no site assigned. |
| Face waiting for HR approval | The employee's face is not approved yet (see 14.13). |
| Missing punch claimed by the employee | The employee reported they forgot to punch (see below). |
Select a row. Open in Google Maps shows where the punch was made and Address the street. Type a Review note and click Accept or Reject.
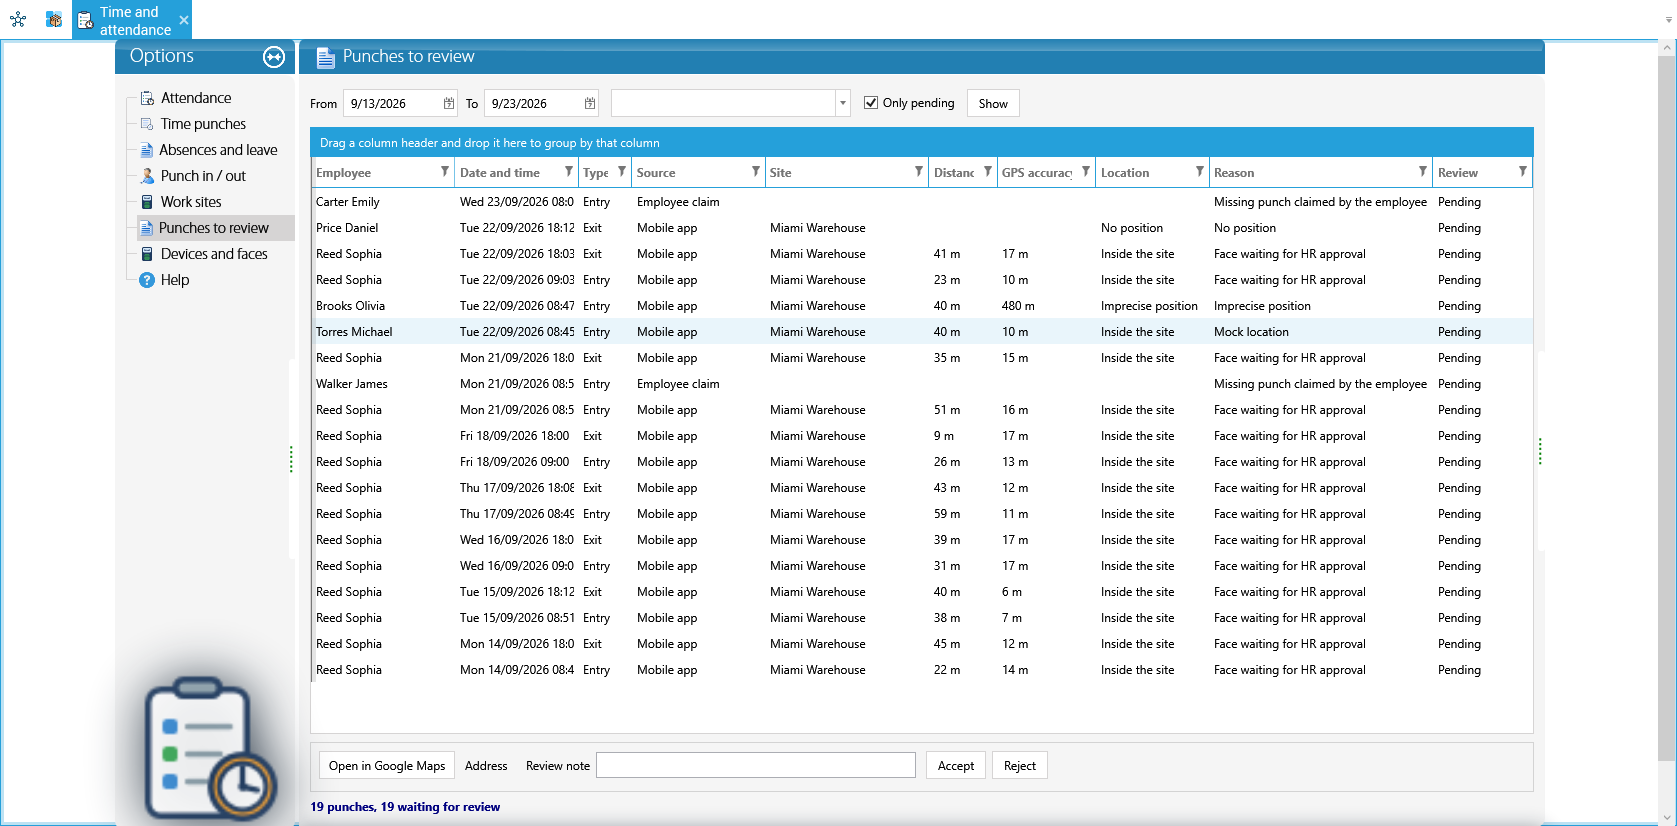
- Accept: the punch stands.
- Reject: KeyTray asks for confirmation. The punch stops counting for attendance but is not deleted: it stays as rejected, with its note and who rejected it.
Claims. When an employee forgot to punch, they can claim the punch from the app, with the time and the reason. It arrives with the source Employee claim:
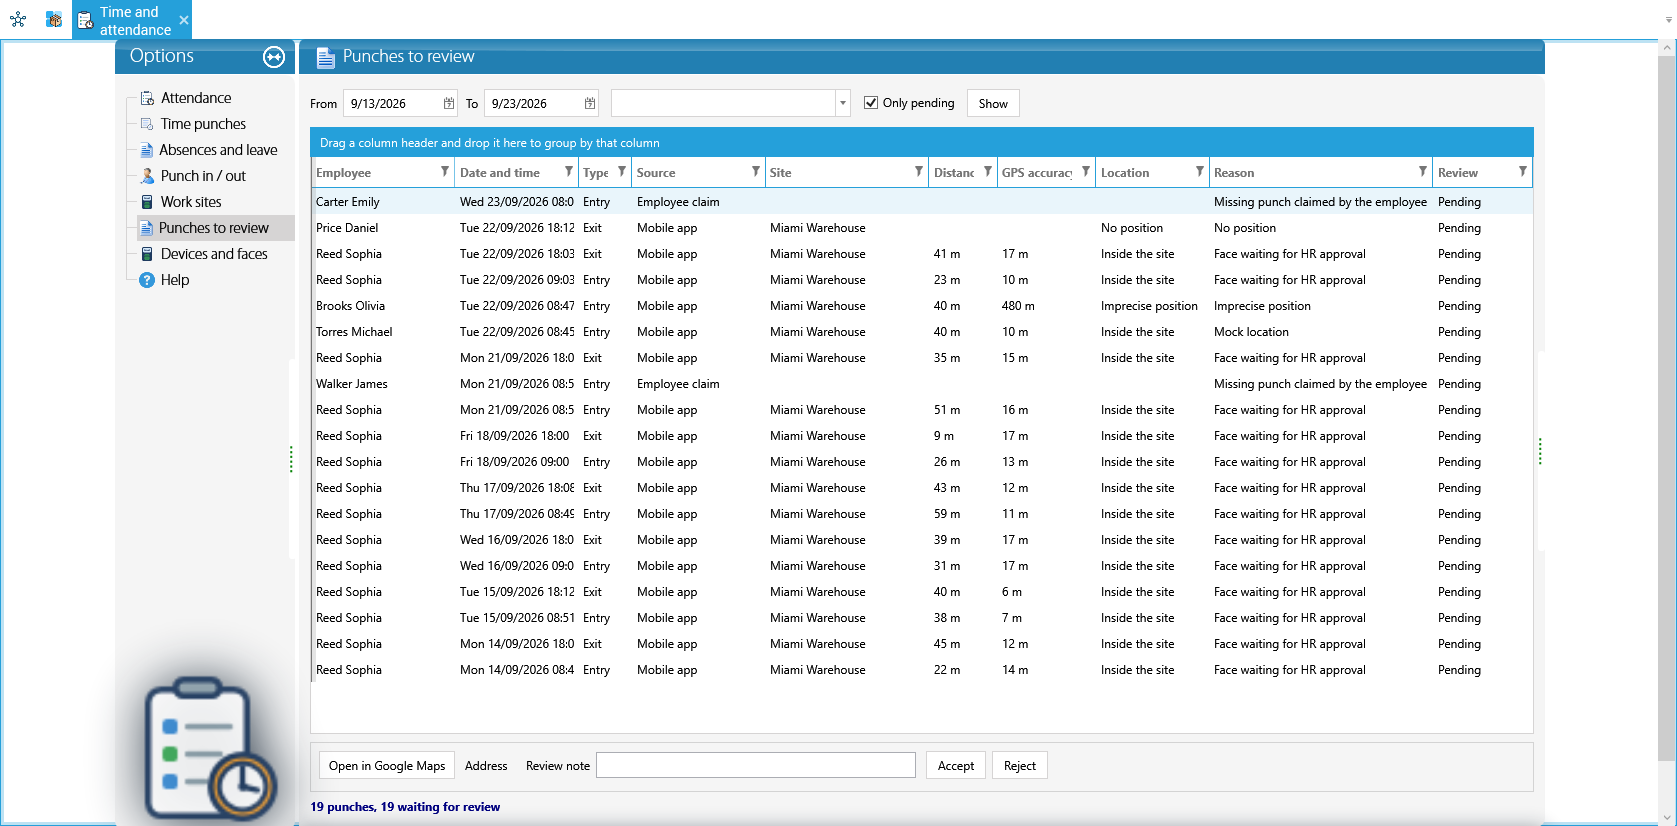
Caution: a punch under review counts for attendance as long as nobody rejects it. A claim is the opposite: it does not count until you accept it.
Punches made outside a site that blocks them never reach this list: the app does not let them through and tells the employee right away.
14.15 From punches to attendance
Video: From punches to attendance (English voice and subtitles).
On the Attendance page, choose From and To and click Calculate from time clock. KeyTray builds one workday per employee and per day from the phone, kiosk and time clock punches, and compares it with each person's schedule:
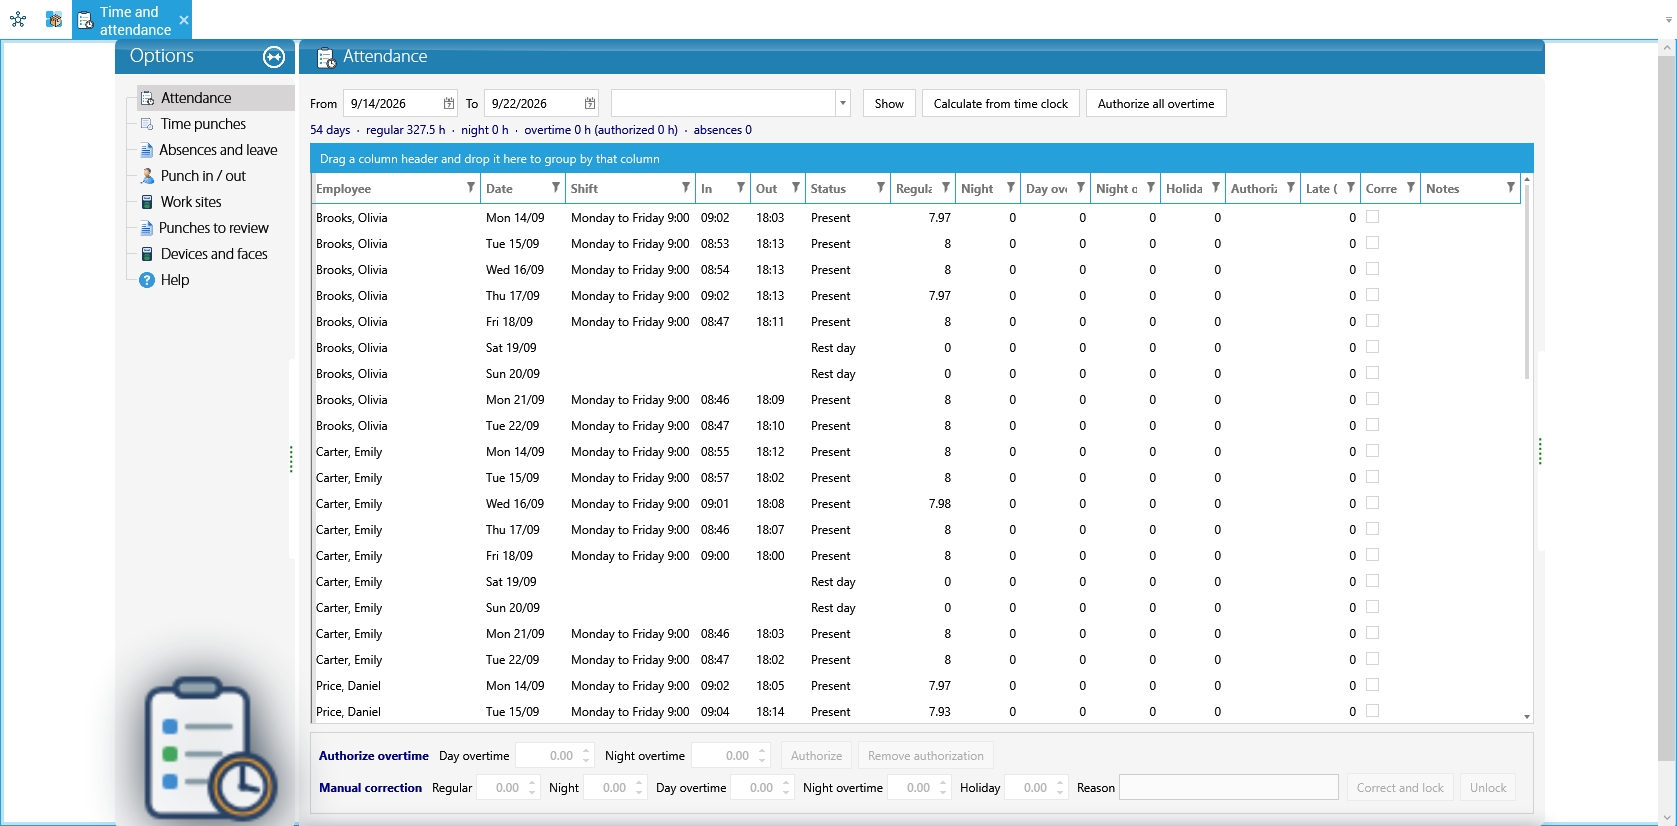
Each workday shows the time in, the time out, the status (Present, Absent, Rest day...), the regular, night, overtime and holiday hours, and late minutes. After accepting a claim or rejecting a punch, calculate the range again so that the workday picks it up.
14.16 Leave requested from the app
Video: Leave requested from the app (English voice and subtitles).
What can be requested. In Human Resources > Absence types, each type has the box Can be requested in the app. Only the checked types appear in KeyTray Clock. Vacation, Personal leave and Hourly leave come checked; sick leave or a suspension, on the other hand, are entered by Human Resources.
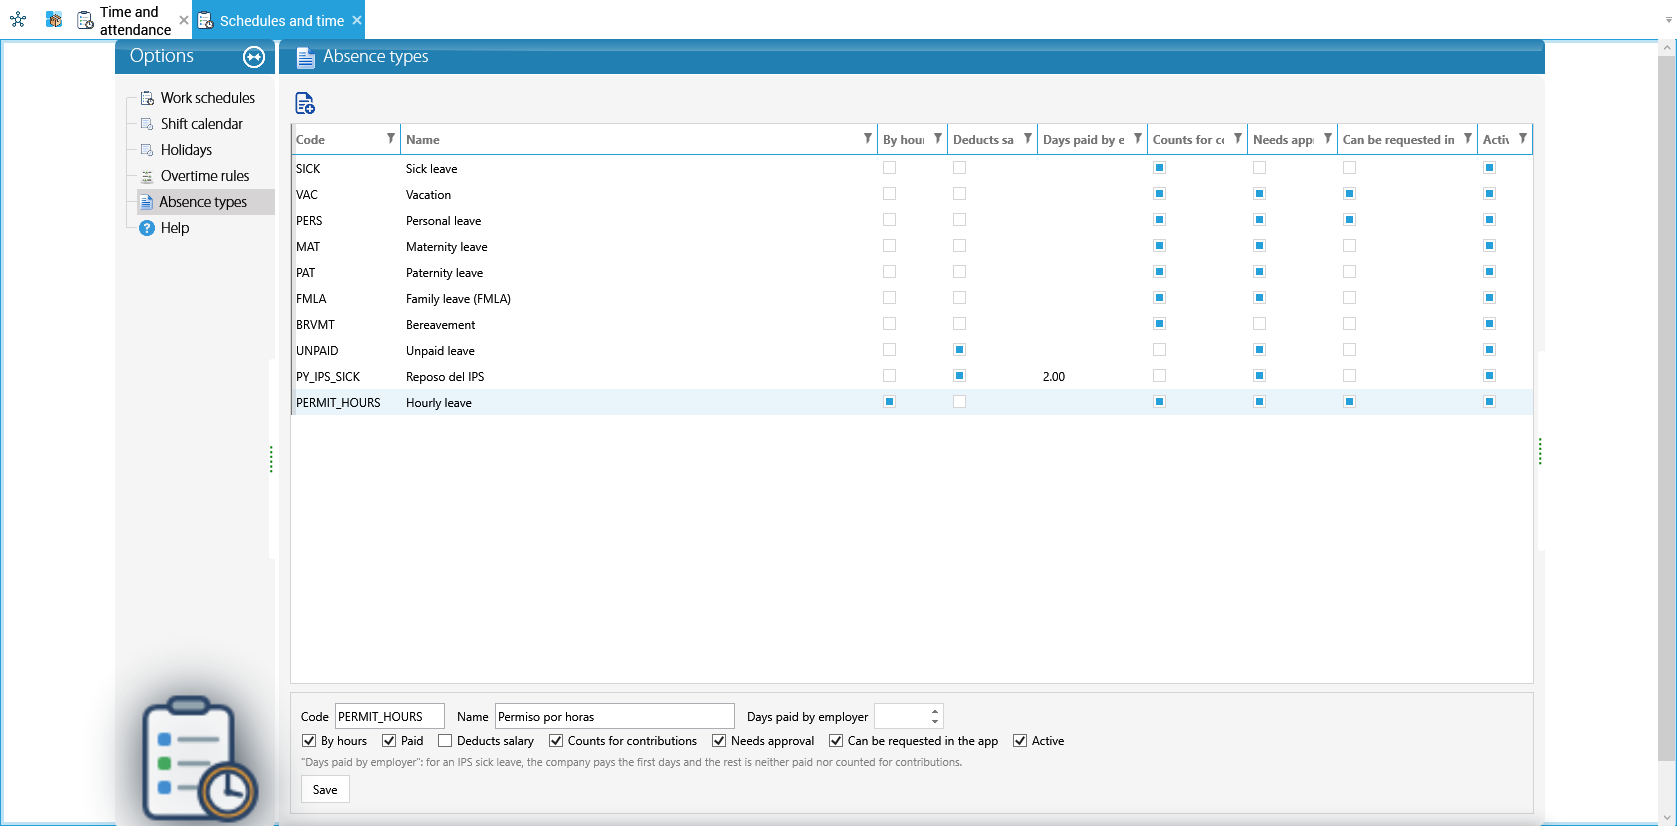
Approving or rejecting. Requests arrive at Attendance > Absences and leave with the From the app column checked and the status Pending. Select the request, type a note if needed and click Approve or Reject:
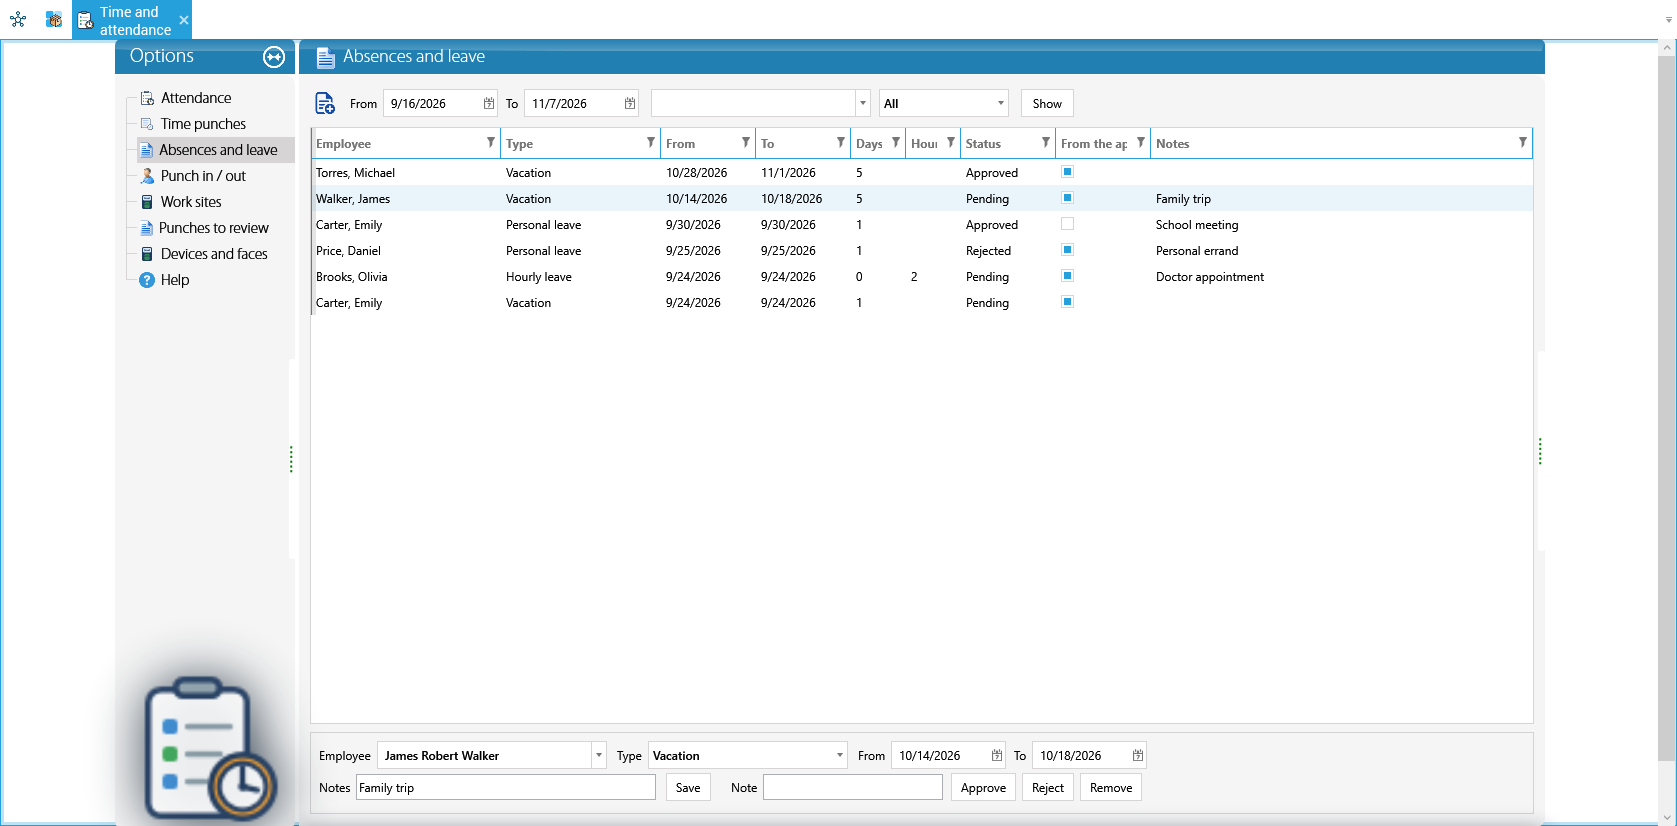
The employee sees the answer and the note in the app. While the request is pending, they can cancel it themselves; once answered, they cannot. Approved leave counts for attendance and payroll just like leave entered by Human Resources.
14.17 The payslip in the app and its acknowledgment
Video: The payslip in the app and its acknowledgment (English voice and subtitles).
When a payroll is approved, each employee sees their payslip in KeyTray Clock: it is the same PDF that Employee payslip generates in Run payroll. After reading it, they tap I received it and KeyTray records the date, the time, the device and the net pay shown at that moment.
In Run payroll, the Payslip received (app) column shows who has already signed it and when:
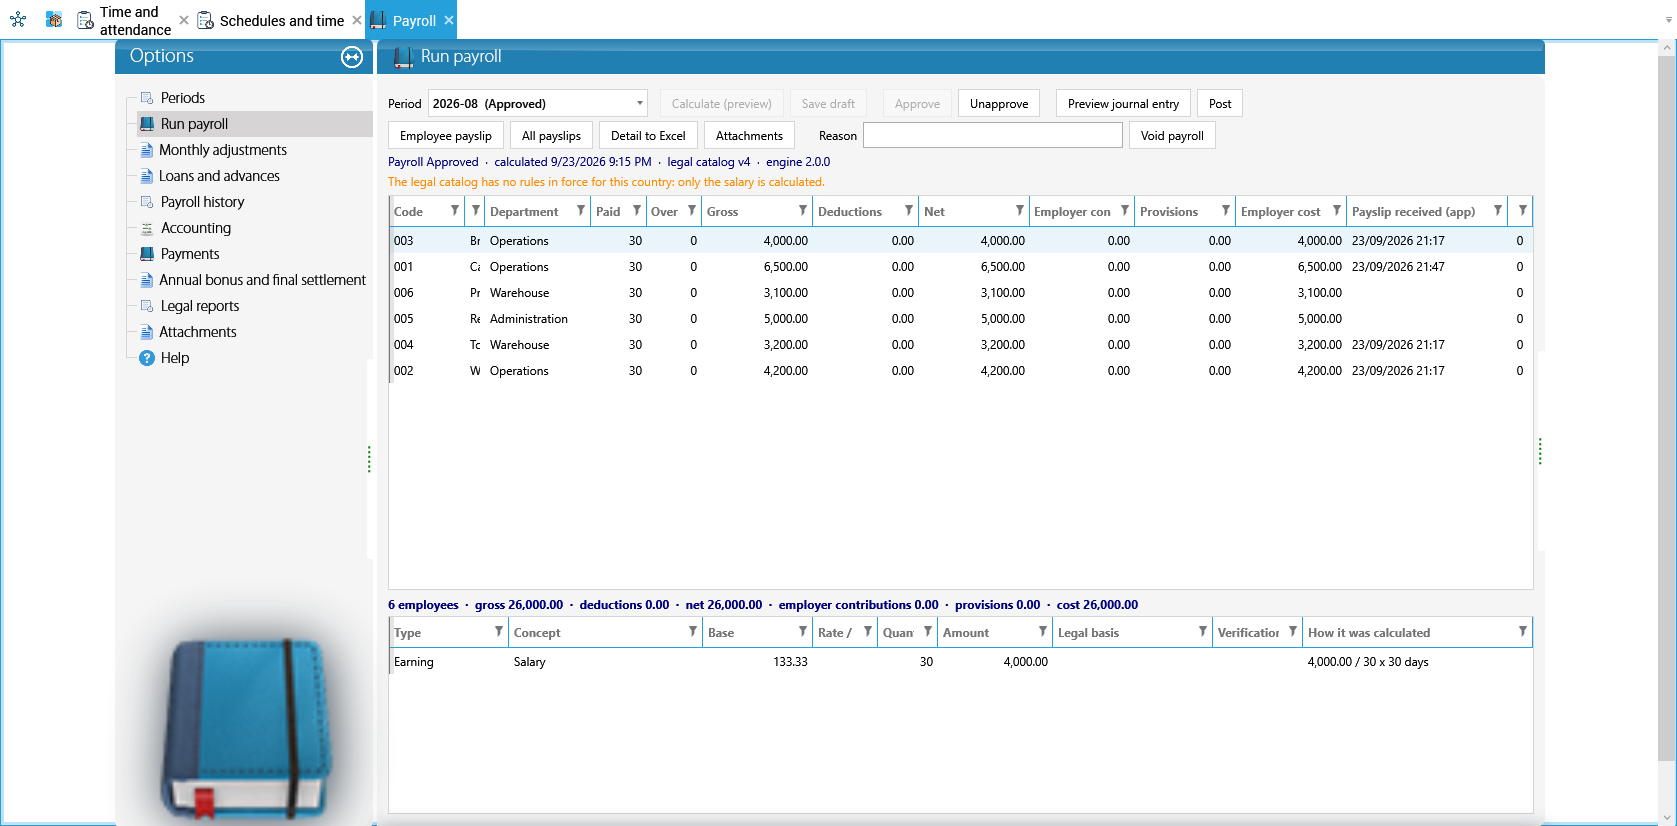
Why it matters: it is proof that the employee received their payslip, without paper. If a hand-signed payslip is needed, it is still printed as always.
14.18 Who can do what in Clock
Seeing the lists (sites, punches, devices) only requires the Attendance button. Each action, on the other hand, has its own access, which is granted in the role editor under the Attendance button:
| Access | Allows |
|---|---|
| KeyTray Clock: allow managing work sites and who punches at each | Creating and changing sites and assigning employees. |
| KeyTray Clock: allow accepting or rejecting punches under review | Accept and Reject in Punches to review. |
| KeyTray Clock: allow setting up employee phones | Generate phone code. |
| KeyTray Clock: allow turning a device into a kiosk | Generate kiosk code with its PIN. |
| KeyTray Clock: allow removing (revoking) phones and kiosks | Remove device. |
| KeyTray Clock: allow approving or rejecting faces | Approve face and Reject face. |
| KeyTray Clock: allow deleting face biometric data | Delete biometric data. |
The company owner has every access without anyone granting it. If someone tries an action without the access, KeyTray does not do it and tells them which access is missing.
15. CRM: leads, opportunities, quotes and after-sales
The CRM organizes the company's sales work: from the first contact with a possible customer to the sale and everything that happens after it. It works the same in every KeyTray application (commercial, cargo, services); in a cargo company it adds what is specific to freight: the route, rates per kilo and the shipment request.
This is the flow:
- A lead is a company that is not a customer yet. You enter its details and its contacts.
- Each call, email or meeting is logged as an activity, with its next step.
- When there is a concrete deal, you open an opportunity, which moves through the stages of the pipeline until it is won or lost.
- Prices come from the rates. With them you build the quote, send it as a PDF by email and, if the customer accepts it, invoice it with the regular sales invoice.
- Each invoice generates the salesperson's commission.
- After the sale, the customer's claims and questions are after-sales cases, with response deadlines (SLA).
- The dashboard shows everything together.
Everything is in the CRM tab of the ribbon, in three groups: Sales, After-sales and Setup. The CRM Explorer brings together the lists: My Day, Leads, Opportunities, Activities, Contacts, Quotes, Rates, Commissions and Cases.
Who sees what: the company owner, managers and developers see every CRM record. Other users see only their own: the leads, opportunities, activities, quotes and cases where they are the Owner. The owner decides which CRM buttons each user sees in the role editor.
The screenshots in this chapter are from the sample company Cargo Masters (English).
15.1 Setting up the CRM
The owner or a manager sets it up once, in CRM > Pipelines & lists.
Pipelines. A pipeline is the list of stages a deal goes through. KeyTray comes with the Sales pipeline and eight stages: New, Contacted, Qualifying, Proposal, Negotiation, Won, Lost and On hold. You can rename, add or remove stages, and create more pipelines with New pipeline (for example, one for exports and another for imports). For each stage you define:
- Probability: the chance of closing the deal at that stage. It is used to calculate the weighted amount of the pipeline.
- Kind: Open, Won, Lost or On hold. Every pipeline needs at least one Won stage and one Lost stage.
- Requires amount: the opportunity cannot enter that stage without an amount.
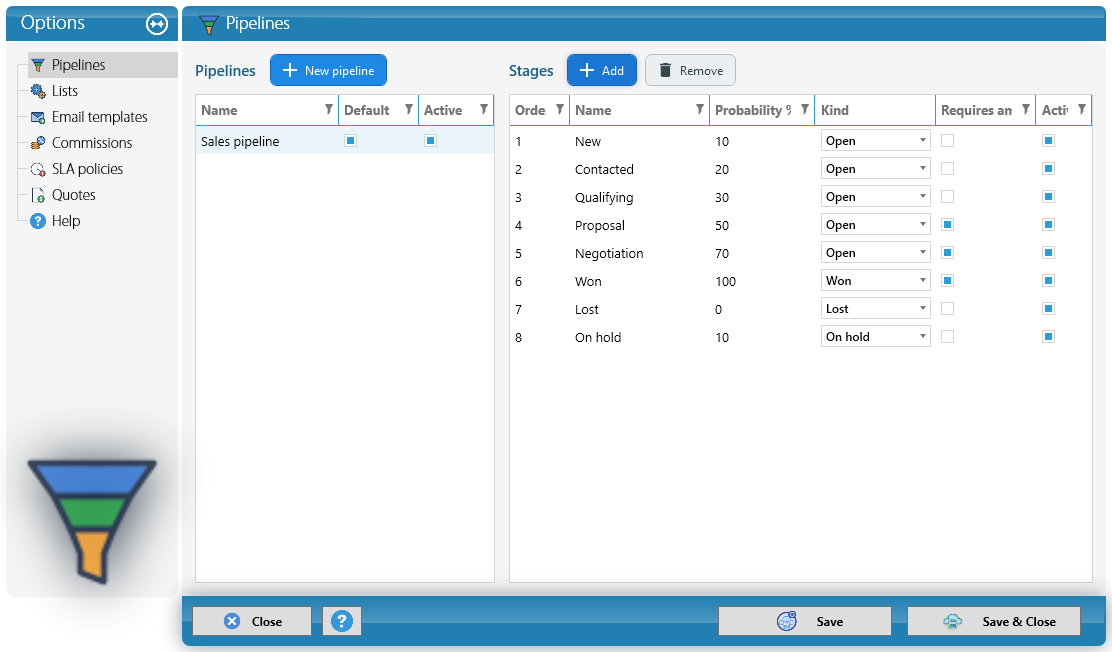
Lists. The values you pick in the CRM screens are edited here: Lead sources, Activity channels, Lost reasons, Party roles, Discard reasons and Case categories. Choose the list at the top, rename values, add new ones or uncheck Active on those you no longer use.
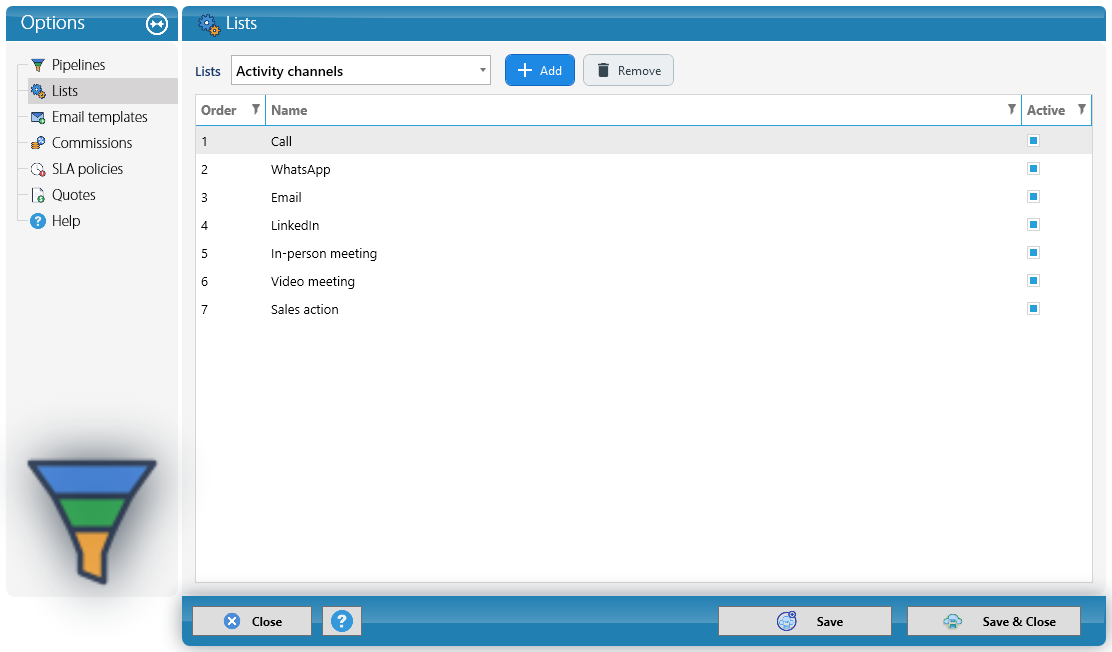
In the Lost reasons list each reason also has a Group: Price, Competitor, Customer handled it, Service or mode change, Postponed or no decision, Requirements changed, Not a real deal, Our capacity or service or Other. Each company can name its reasons as it likes; the group is what lets the dashboard show why quotes are lost.
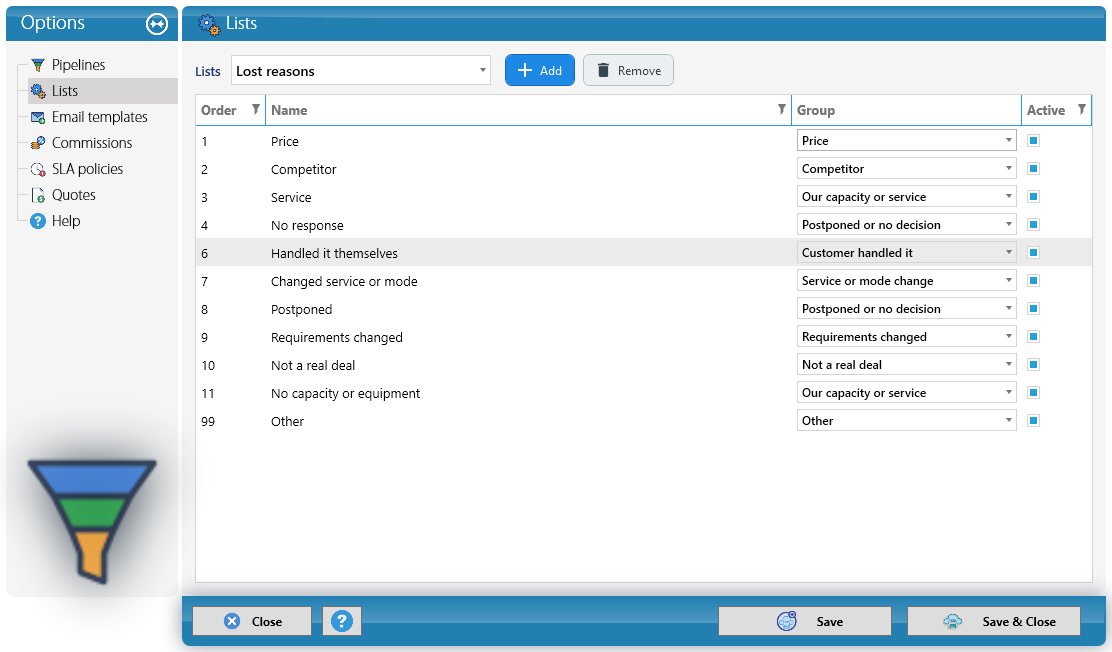
Quotes. The Quotes page sets how KeyTray follows up sent quotes:
- Default validity (days): how many days of validity a new quote starts with.
- Follow up after sending (days): how many days after sending, if the customer has not answered, KeyTray puts a follow-up activity in the salesperson's agenda and notifies them on the phone. 0 = none.
- Mark as "No response" after expiring (days): how many days after a sent quote expires without an answer KeyTray closes it as No response. -1 = never.
- Weekly summary by email: the day managers and the owner get the summary of the previous week's quotes.
- First day of the week: the day weeks start on in the dashboard and the summary (Monday, as in the ISO standard, or the one the company uses).
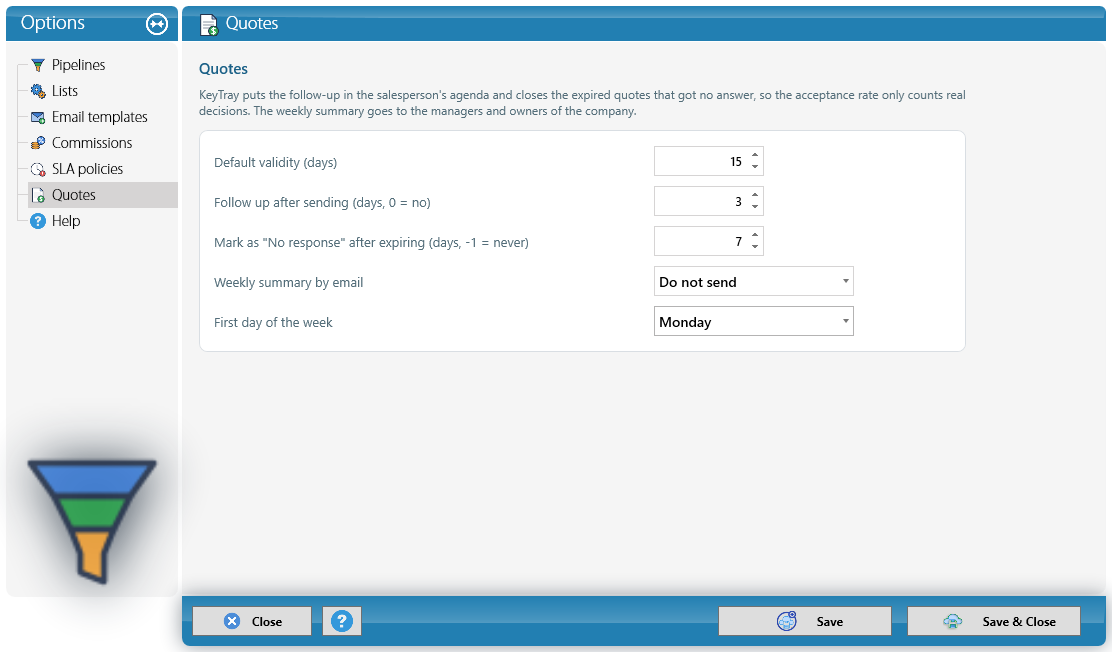
Email templates. A template is a ready-made email. The subject and the message can use variables that KeyTray replaces when you write the email: {{Company}} (the lead's or customer's company), {{Contact}} (the contact), {{Opportunity}}, {{User}} (the sender), {{UserEmail}} and {{MyCompany}} (your company).
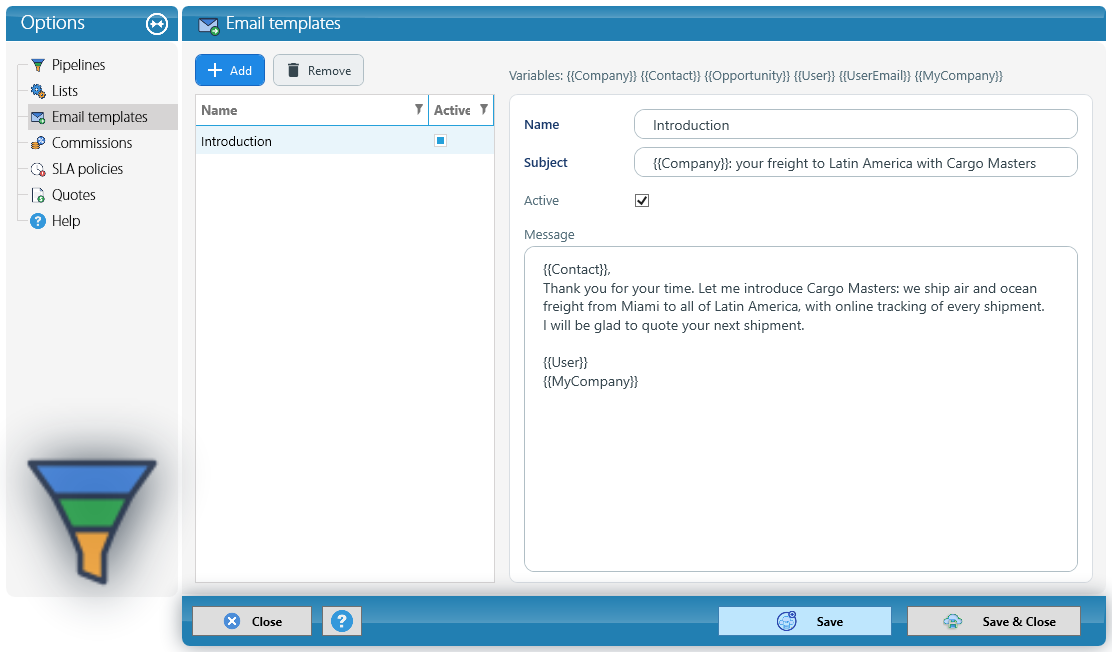
Email accounts. The CRM sends emails from the company's mailboxes. They are set up in System Options > Emails, with Add:
- Account type: Microsoft 365, SMTP or Gmail. Depending on the type, KeyTray asks for the connection details (Microsoft 365 Tenant ID and Client ID, SMTP server and port, or the Gmail refresh token).
- From address and Sender name, and optionally Reply to.
- Default: the account offered when writing an email.
- Users who can send from this account: if none is checked, everyone can use it.
Test sends a test email to the address you type.
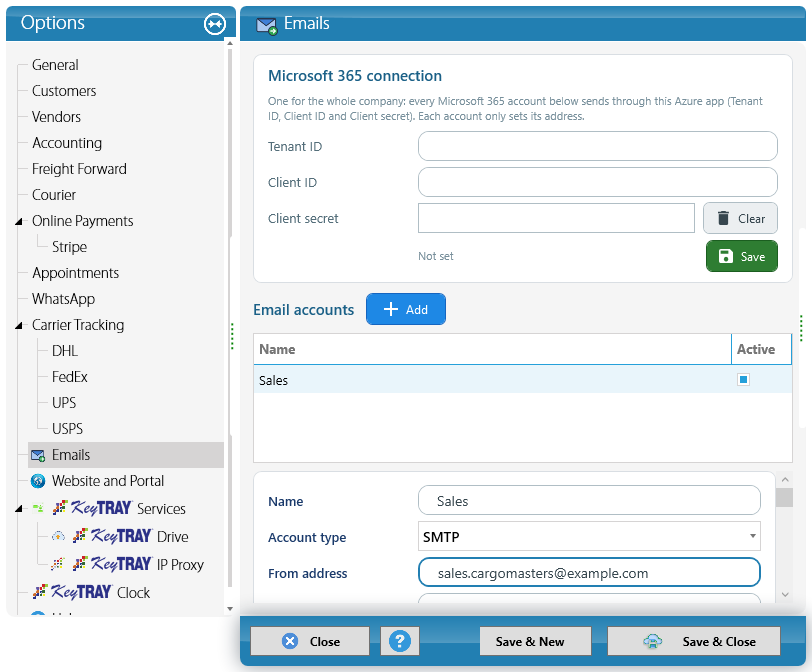
Why it matters: passwords and secrets are stored encrypted and are never shown again: the field says it is already saved. To change it, type the new one.
15.2 Leads
Create a lead with CRM > New Lead. In General, fill in the Company name (the only required field), tax ID, email, phone, website, country and city. Below:
- Source: where it came from (website, referral, trade show, social media...).
- Interested in: the pipeline it will be worked in.
- Owner: the salesperson in charge. By default, whoever creates it.
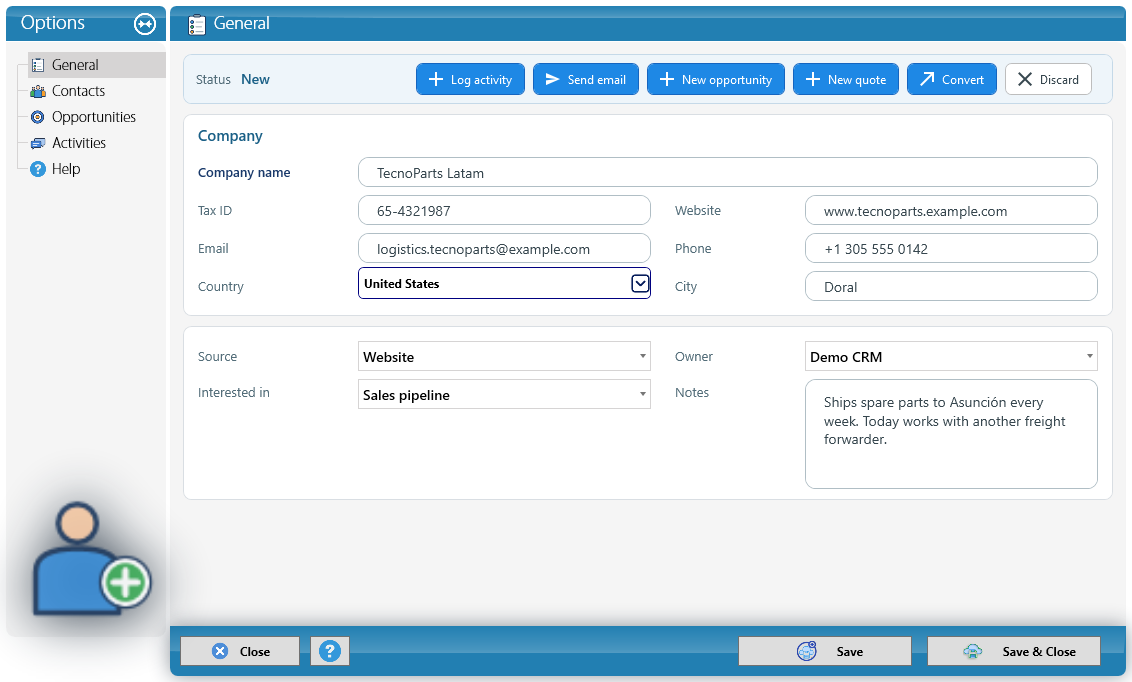
In Contacts, enter the people at that company, with job title, email, phone, WhatsApp and LinkedIn. Check Primary on the usual contact and Decision maker on whoever makes the decision.
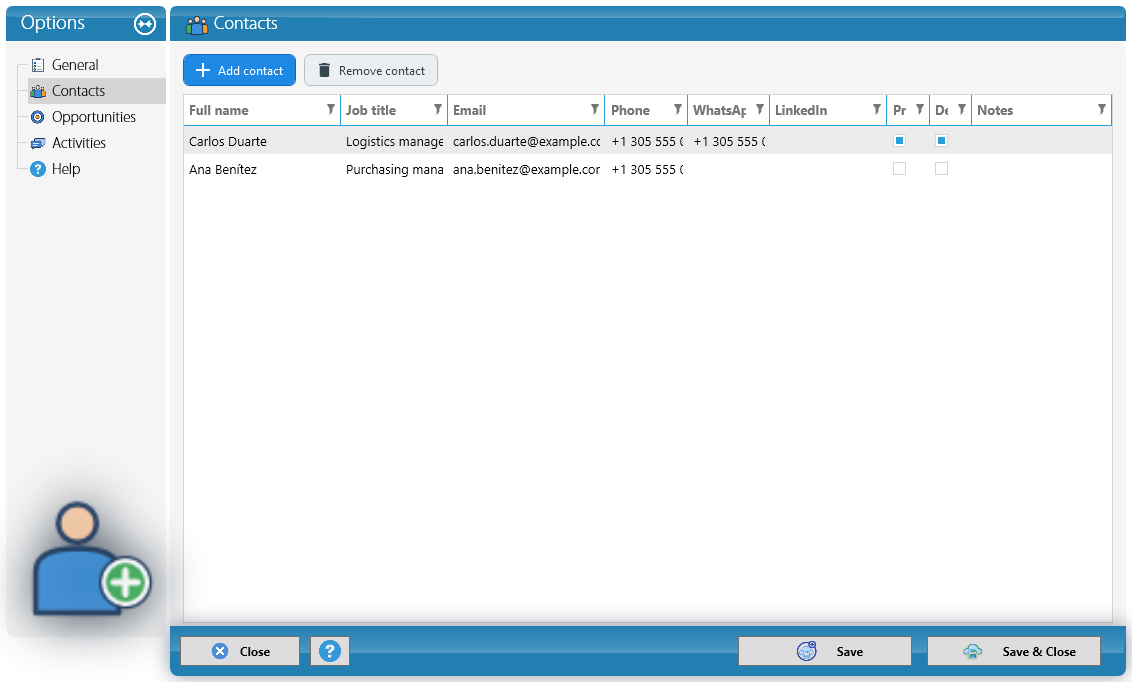
Duplicates: when you save, KeyTray looks for the company among leads, customers and vendors, by name, tax ID and email. If it finds it, it shows the possible duplicates and asks whether to save anyway.
The actions are at the top of the record: Log activity, Send email, New opportunity, New quote, Convert and Discard. The Leads list in the CRM Explorer shows the status of each one (New, Working, Converted, Discarded), its open opportunities and its next activity:
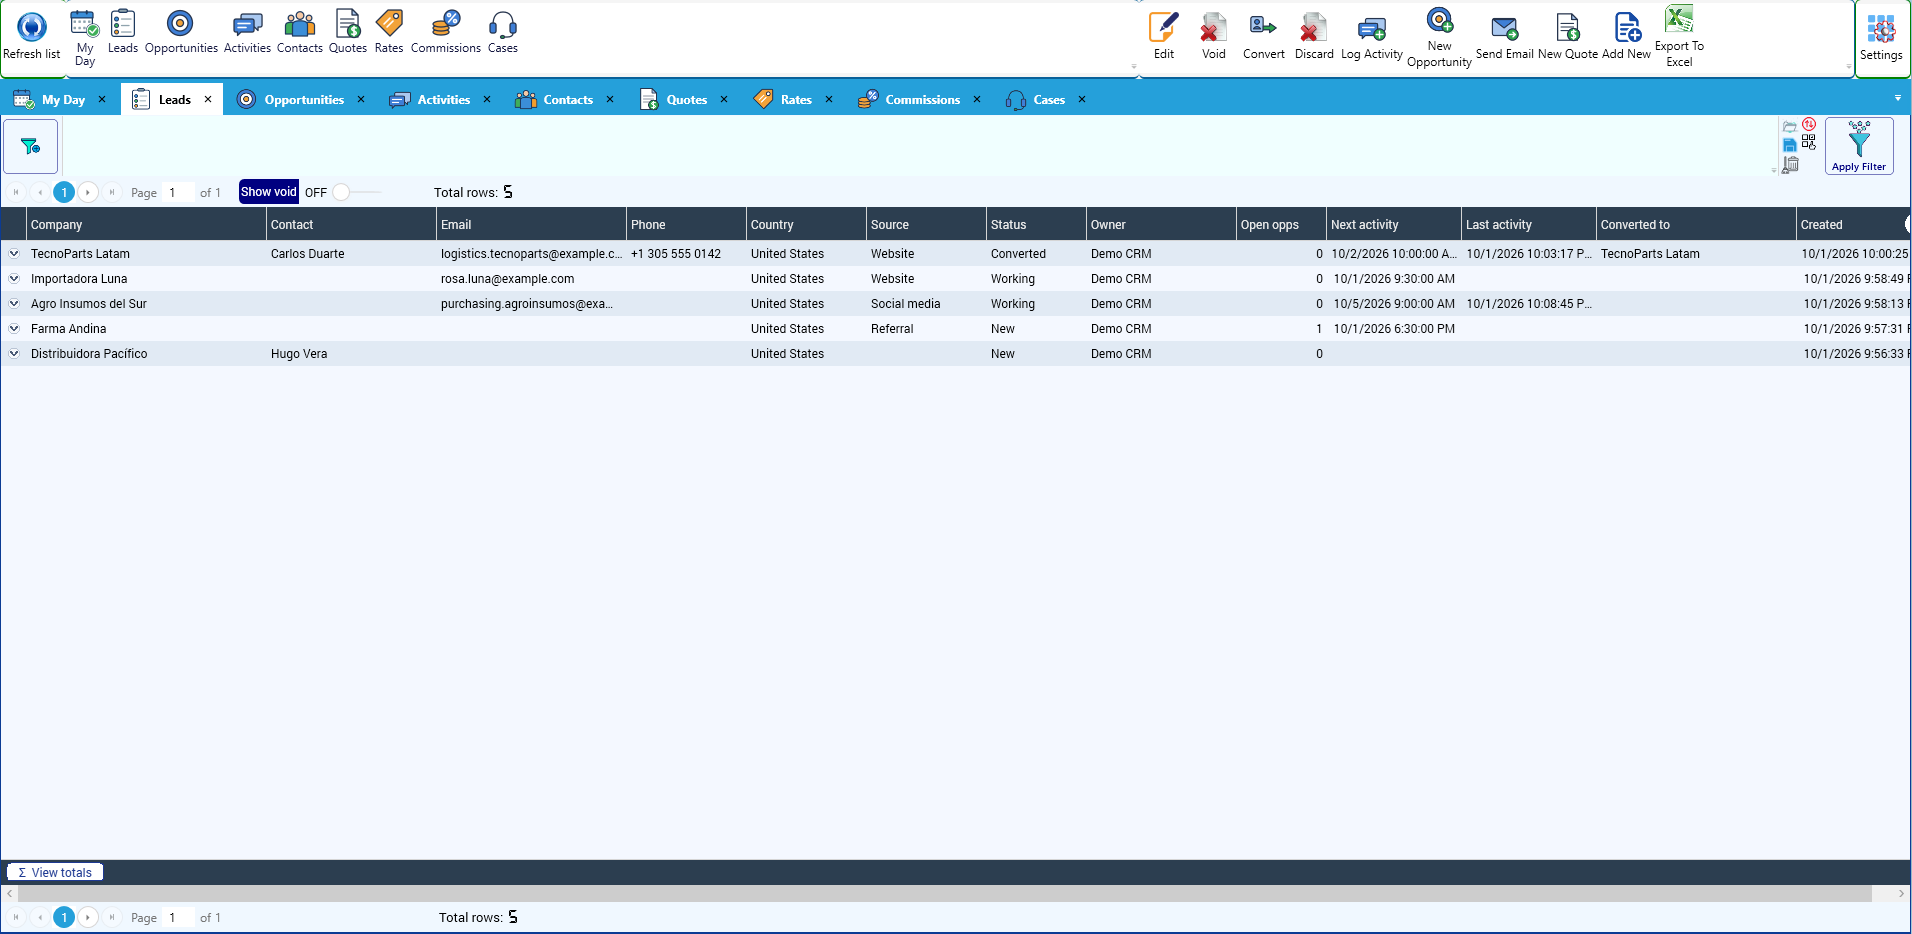
Convert into a customer. When the lead buys, click Convert. Choose the customer or vendor it becomes, or create it with the + button (the regular customer window). Its contacts, opportunities and activities move with it, and its history is still visible from the customer.
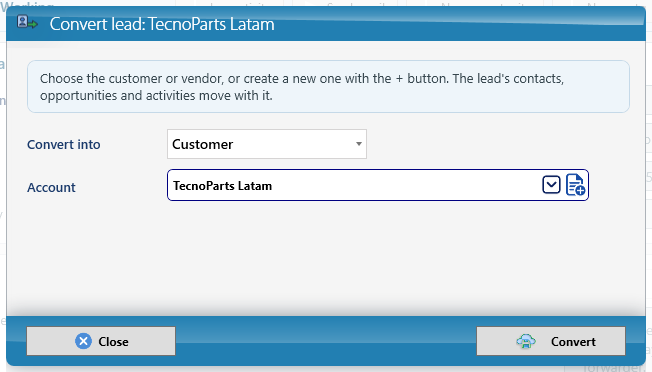
Discard. If there is no deal, Discard asks for the reason (the Discard reasons list). A discarded lead can be Reopened.
15.3 Activities and My Day
Each call, email, WhatsApp or meeting is an activity. Log it with Log activity from the lead, the opportunity or the ribbon:
- Channel and Status: Done, Scheduled or No answer.
- When, Duration, Subject, Contact and Result / notes.
- Next step and its date: when you save a completed activity, KeyTray creates the next scheduled activity by itself and tells you when it is due.
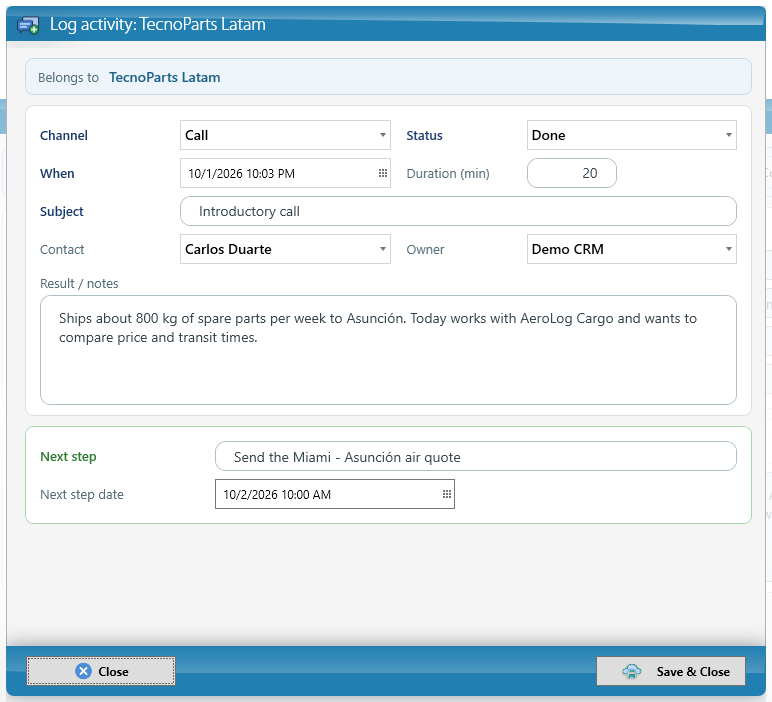
The Activities page of the record shows the full history:
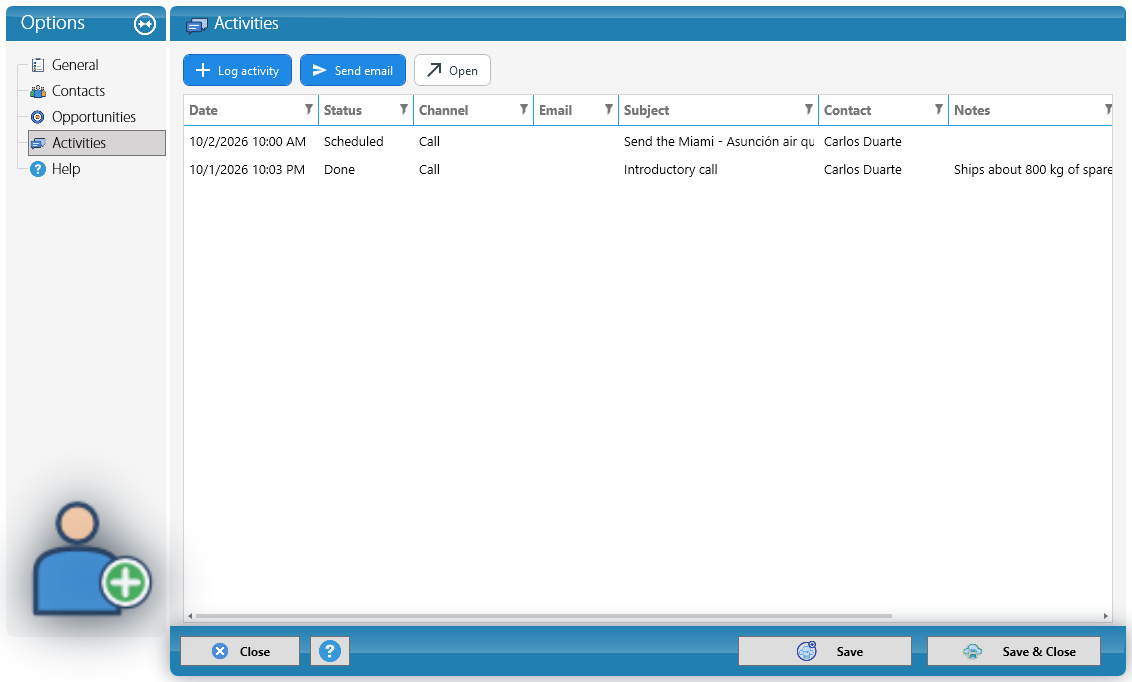
My Day (in the ribbon and in the Explorer) brings together the activities scheduled for today and the overdue ones, across all leads and opportunities. It is the list a salesperson starts the day with. Complete logs the result of the selected activity.
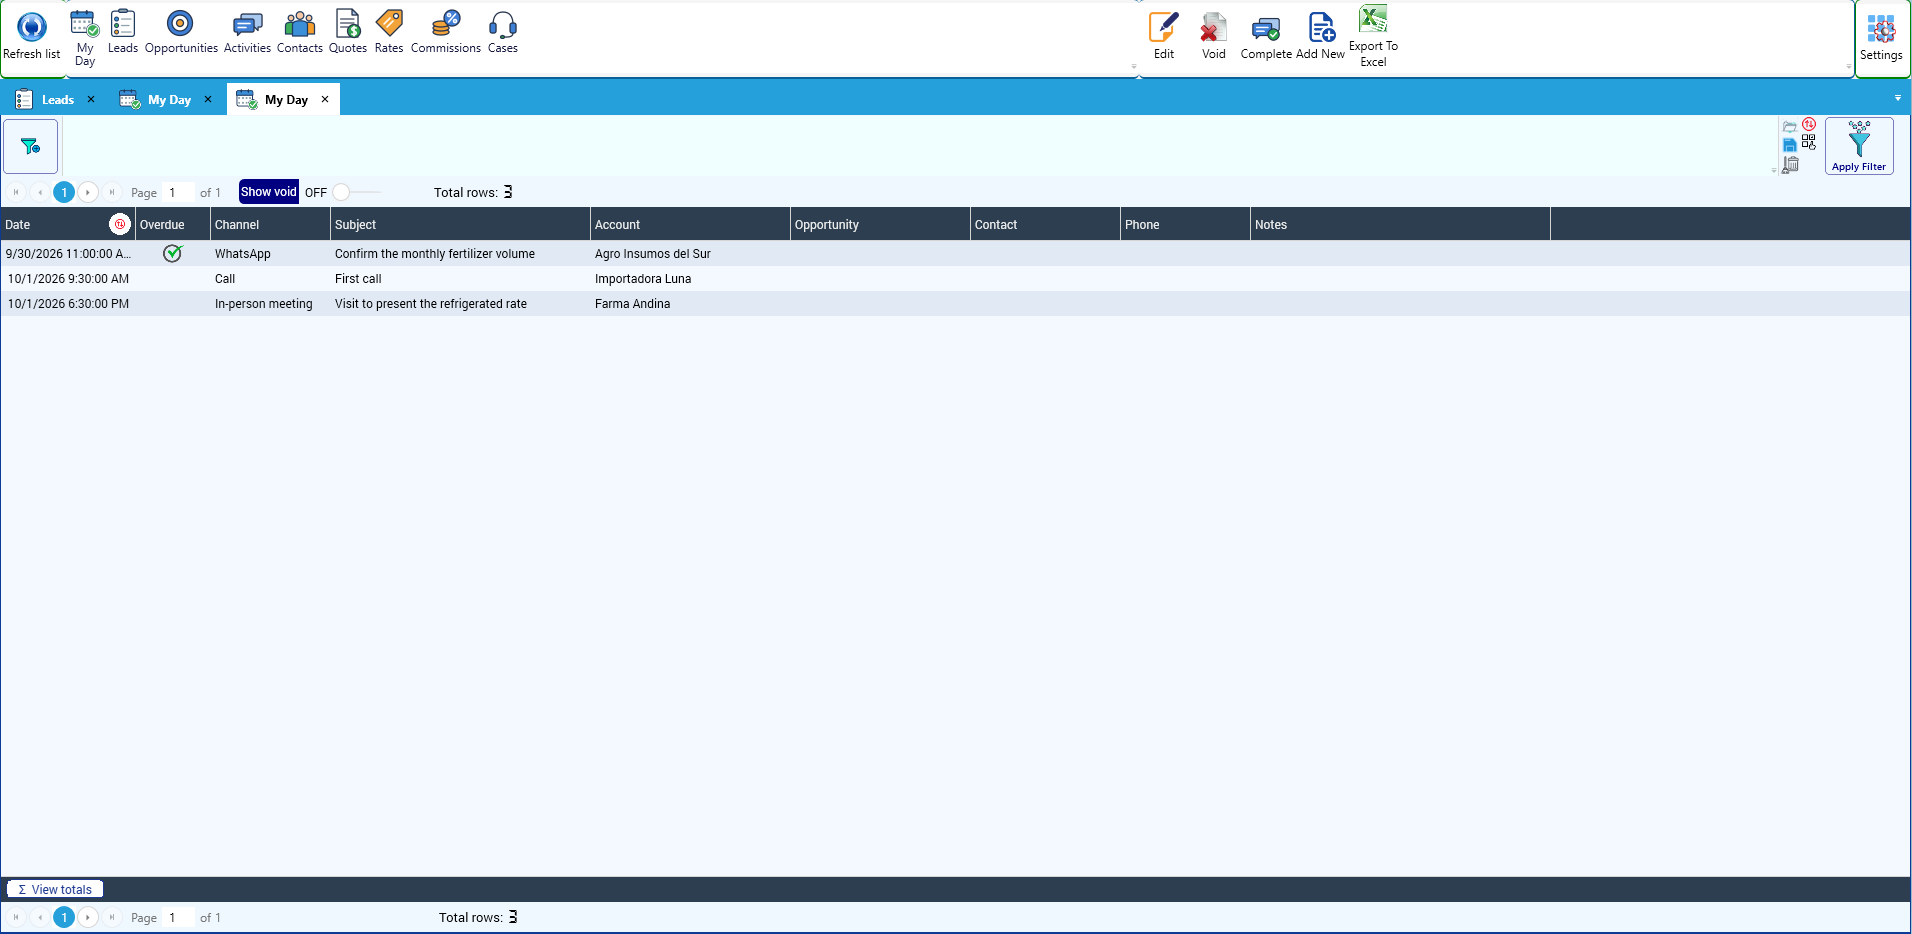
Why it matters: a completed activity cannot be edited; if it was entered wrong, it is voided with a reason and the trace remains. That keeps the customer history reliable.
15.4 Sending emails from KeyTray
Send email (in the lead, the opportunity or the quote) opens the email window. Choose the account in From account and, optionally, a Template: KeyTray fills in the subject and the message with the lead's and the contact's details. The suggested recipient is the primary contact; Add recipient adds more.
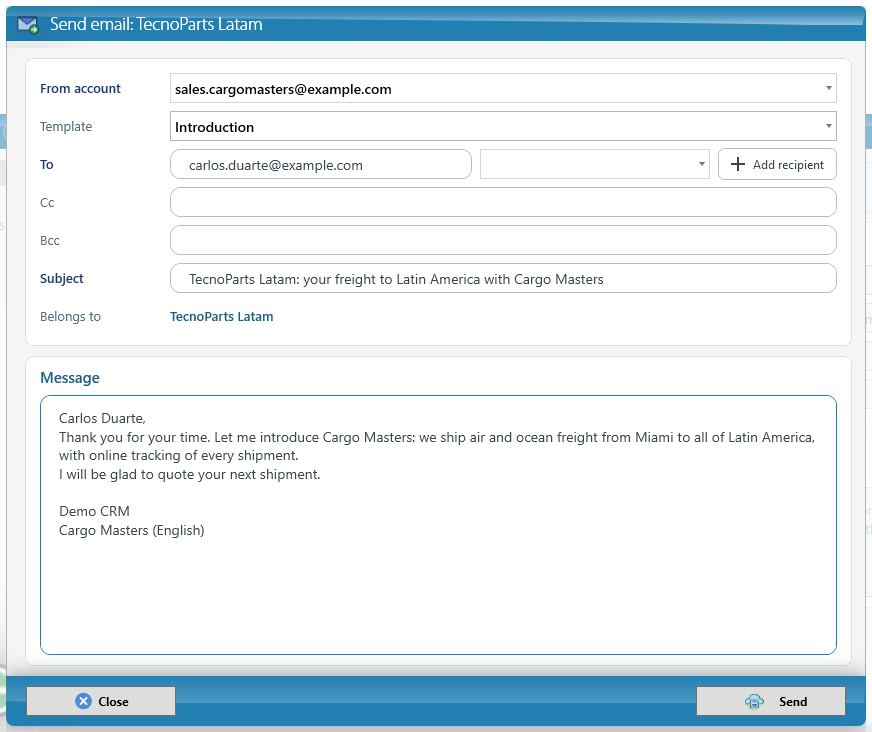
When you click Send, the email goes out from the company mailbox and is logged as an activity with the Email channel. If it could not be sent (for example, with no connection), it stays registered and KeyTray retries it automatically.
15.5 Opportunities and the pipeline
An opportunity is a concrete deal with a lead or a customer. Create it with New opportunity and fill in:
- Title, Pipeline and Stage. The stage sets the Probability (you can change it).
- Amount and Currency, Expected close, Owner, Source and Competitor.
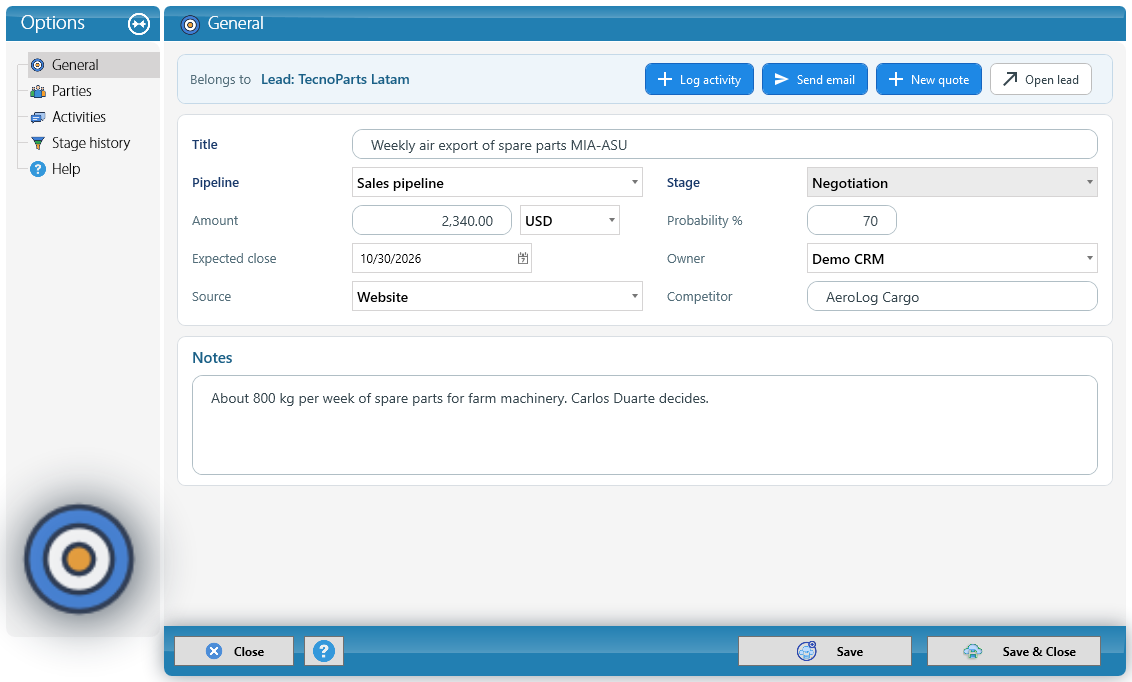
To move the deal forward, change the Stage and save. Every change is kept in Stage history, with the date, amount, probability and user:
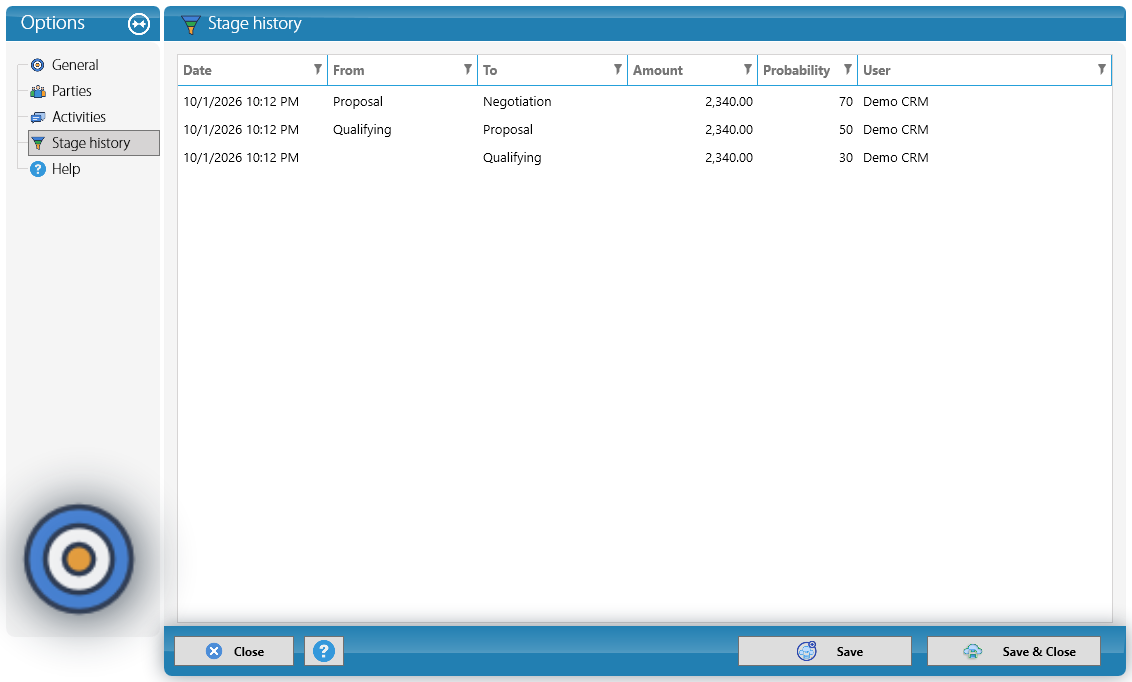
When a deal is lost, choose the Lost stage: KeyTray asks for the Lost reason and lets you note the details and the competitor. Those reasons feed the lost-deals chart of the dashboard.
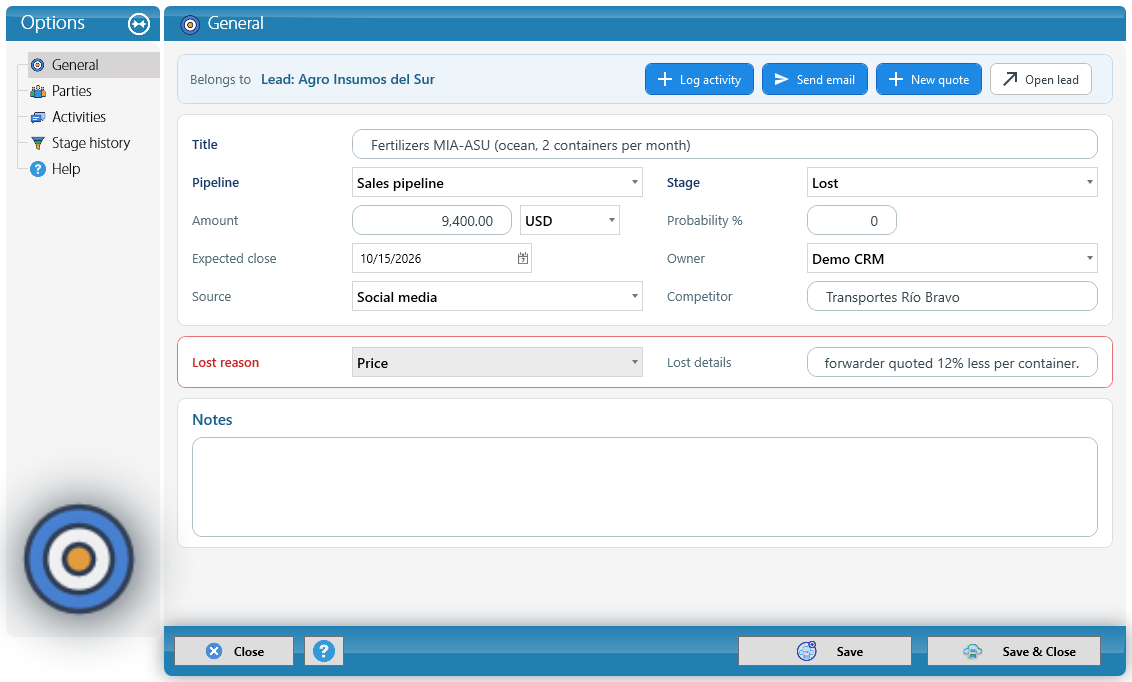
The Opportunities list in the Explorer shows the amount, weighted amount, stage and next activity of each one:
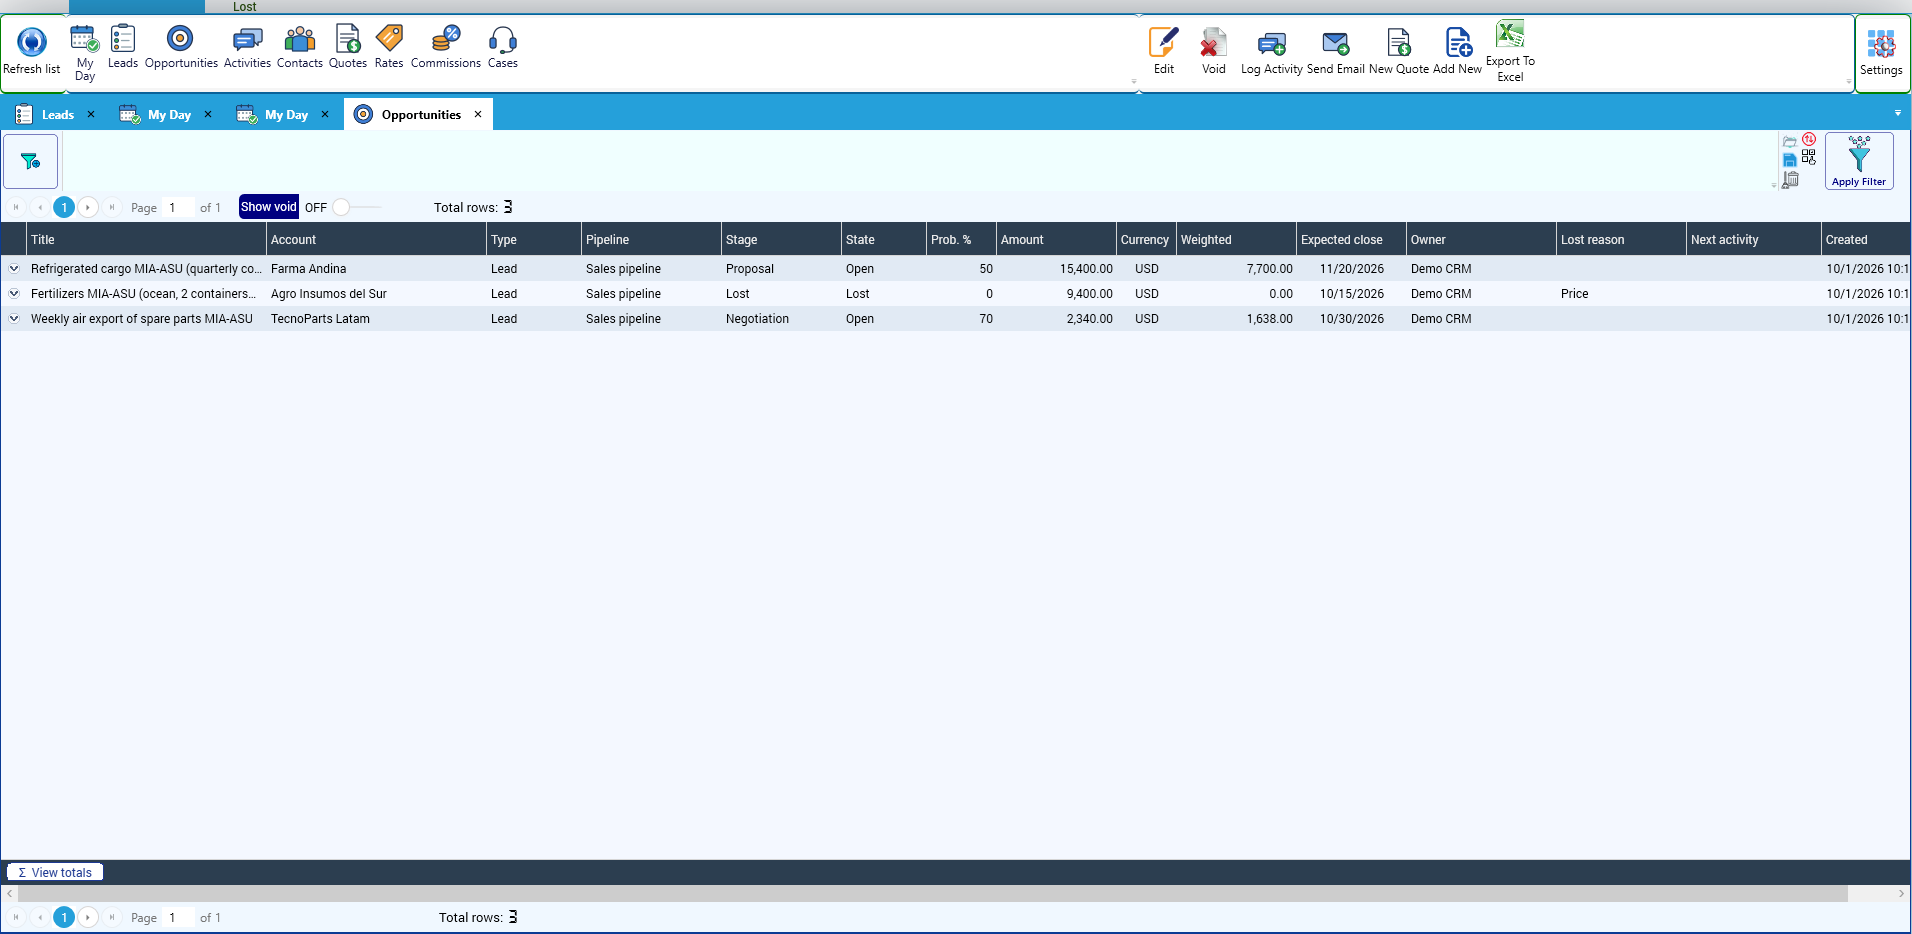
In cargo: Parties records who else takes part in the deal (for example, the customs broker who brings the cargo when the owner of the goods is someone else), with their Role.
15.6 Rates
Rates are the sales price list. Quotes take their prices from here. Create them in the CRM Explorer > Rates > New; each rate has:
- Item: the product or service.
- Customer (optional): for a special price for one customer. Left empty, it is the general price.
- Basis: per unit, per kg, per m³, per container, per piece or flat.
- Currency, Price, Cost (to see the margin) and Minimum.
- Valid from and Valid to.
- Price breaks: prices by quantity. For example, a lower price from 10 units.
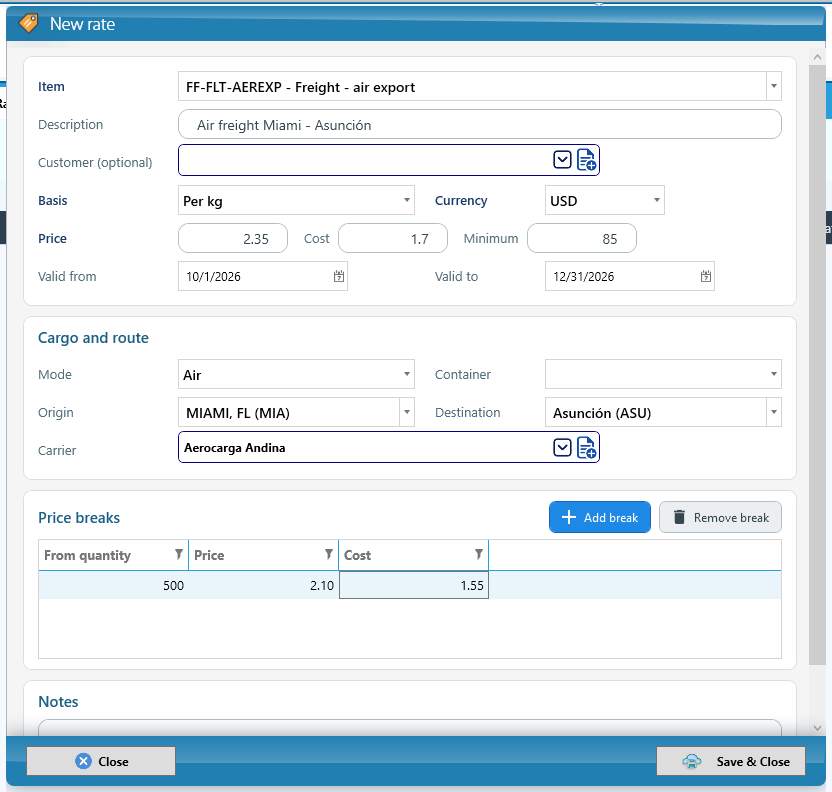
KeyTray picks the price like this: the one valid on the quote date and in its currency; first the customer's price and, if there is none, the general one; within the rate, the break for the quoted quantity. It never charges less than the minimum.
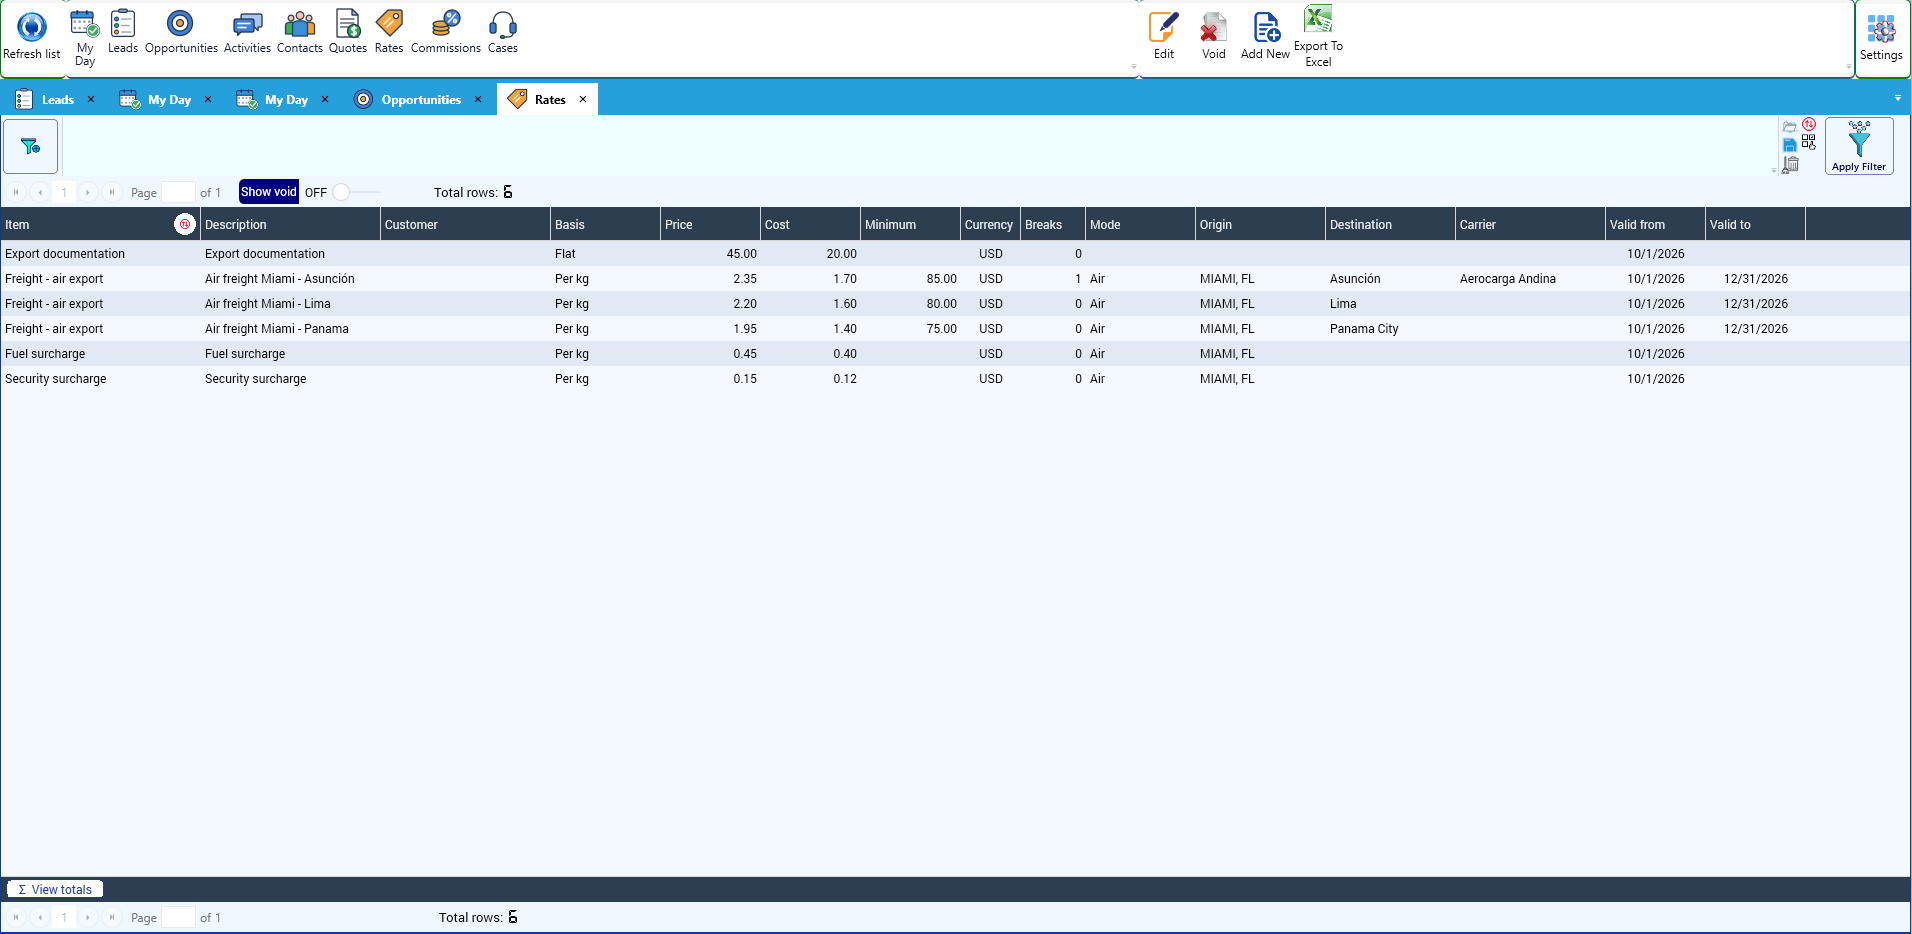
In a cargo company, a rate can also have a Mode (air, ocean, ground), an Origin and a Destination, a Carrier and a Container type. A surcharge (fuel, security) is another rate, for its own item, on the same route.
Why it matters: only the owner or a manager changes the rates. Salespeople quote with those prices and, when needed, change the price of a line in their quote.
15.7 Quotes
Create a quote with New quote from the ribbon, a lead or an opportunity. Fill in the Title, Quote date, Valid until (it comes with the company's default validity) and Currency, and enter the Lines with Add line: when you choose the item and the quantity, the price and the cost come from the rates. You can change the price and enter a Disc. %. Below you see the Sale, the Cost and the Margin.
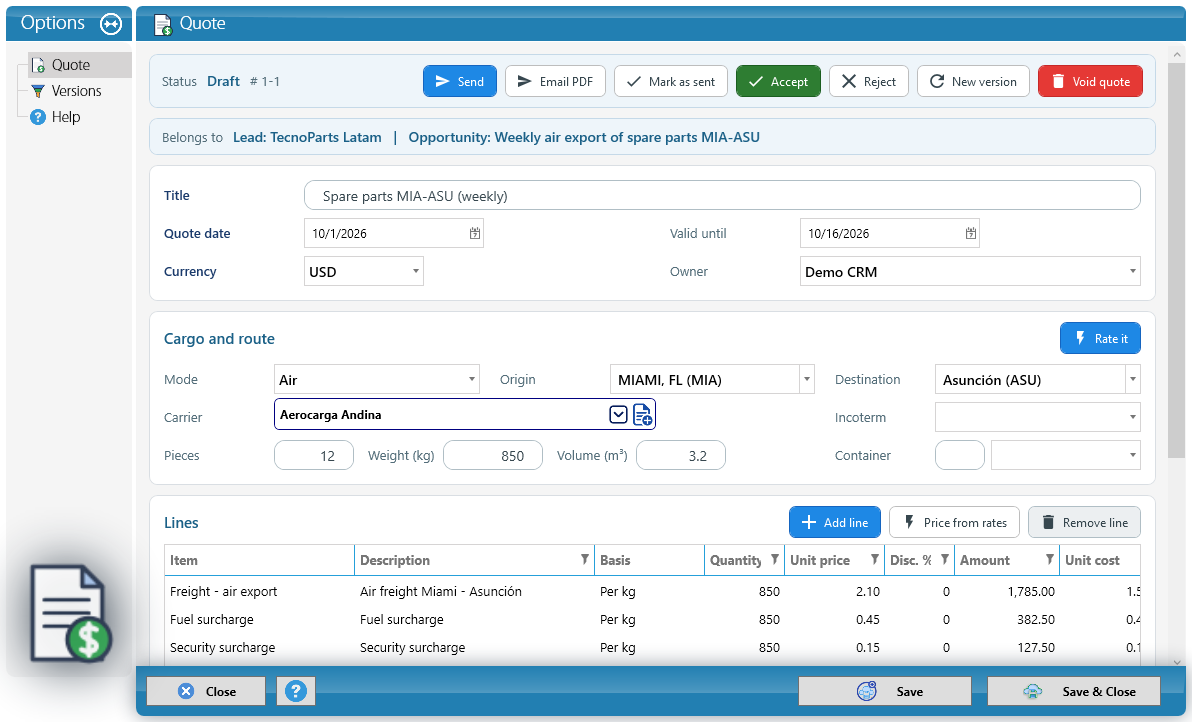
In a cargo company there is also the Cargo and route block: mode, origin, destination, carrier, incoterm, pieces, weight, volume and containers. Rate it brings all the rates of that route at once. For air it charges the volumetric weight (the greater of the kilos and the m³ times 167).
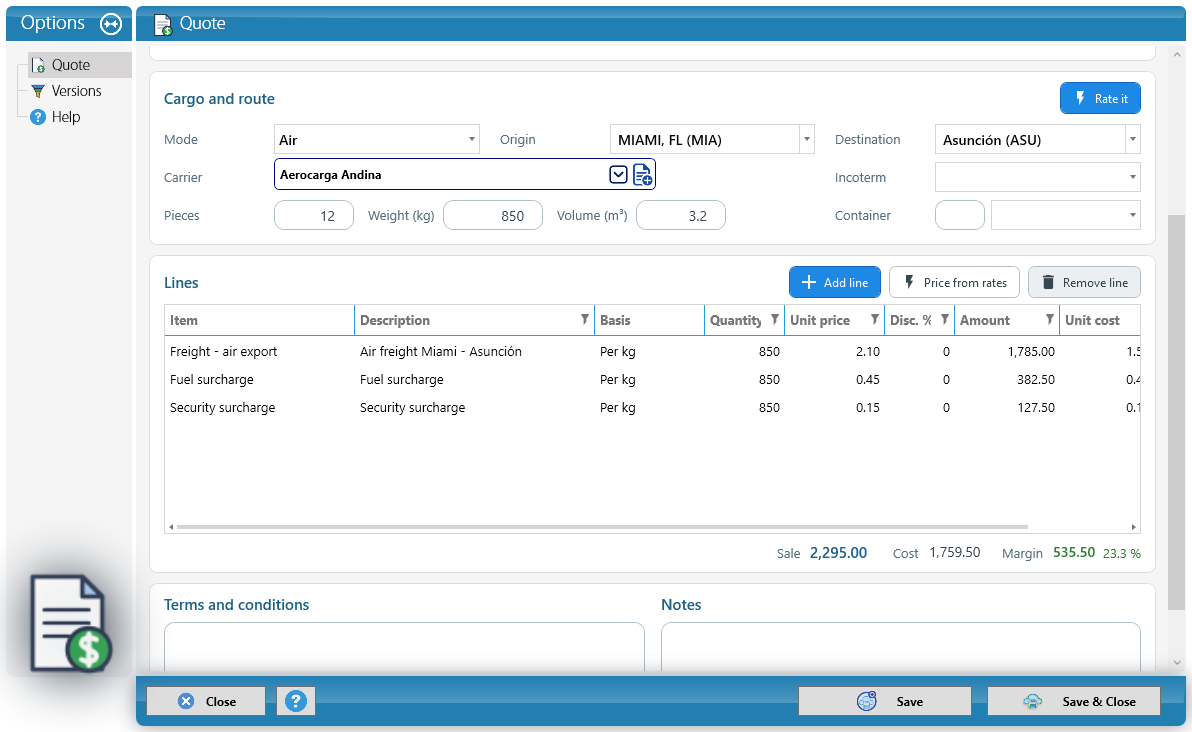
PDF and email. PDF creates the quote with the company logo, ready to send. Email PDF opens the email window with the PDF attached and marks the quote as Sent.
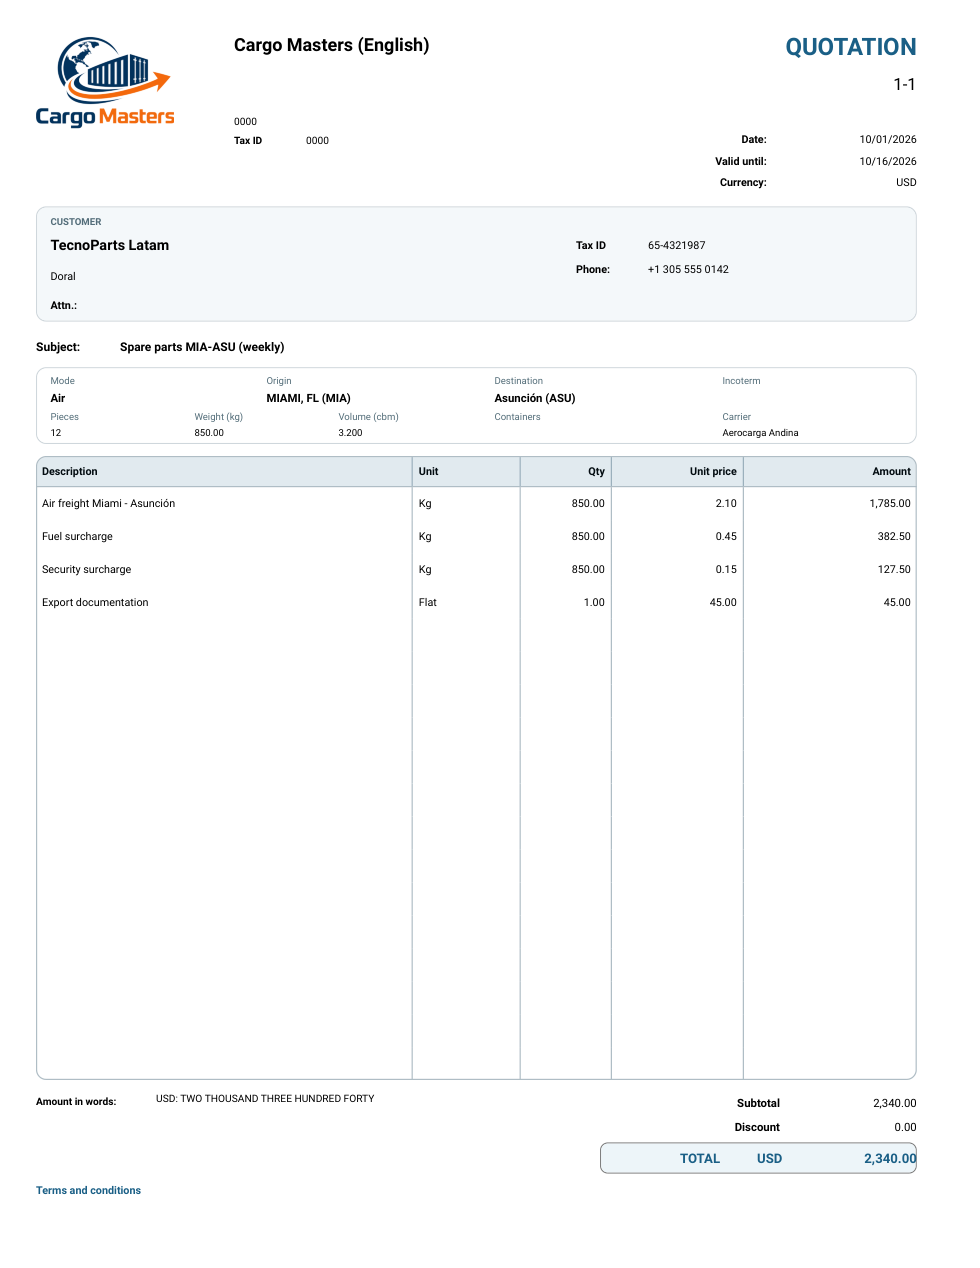
Accept. When the customer accepts, click Accept: the opportunity is marked as won with the quote amount. Only a customer's quote can be accepted: if it belongs to a lead, KeyTray asks you to convert it first.
In a cargo company, accepting also creates the Shipment request as a draft, with the customer and the cargo of the quote.
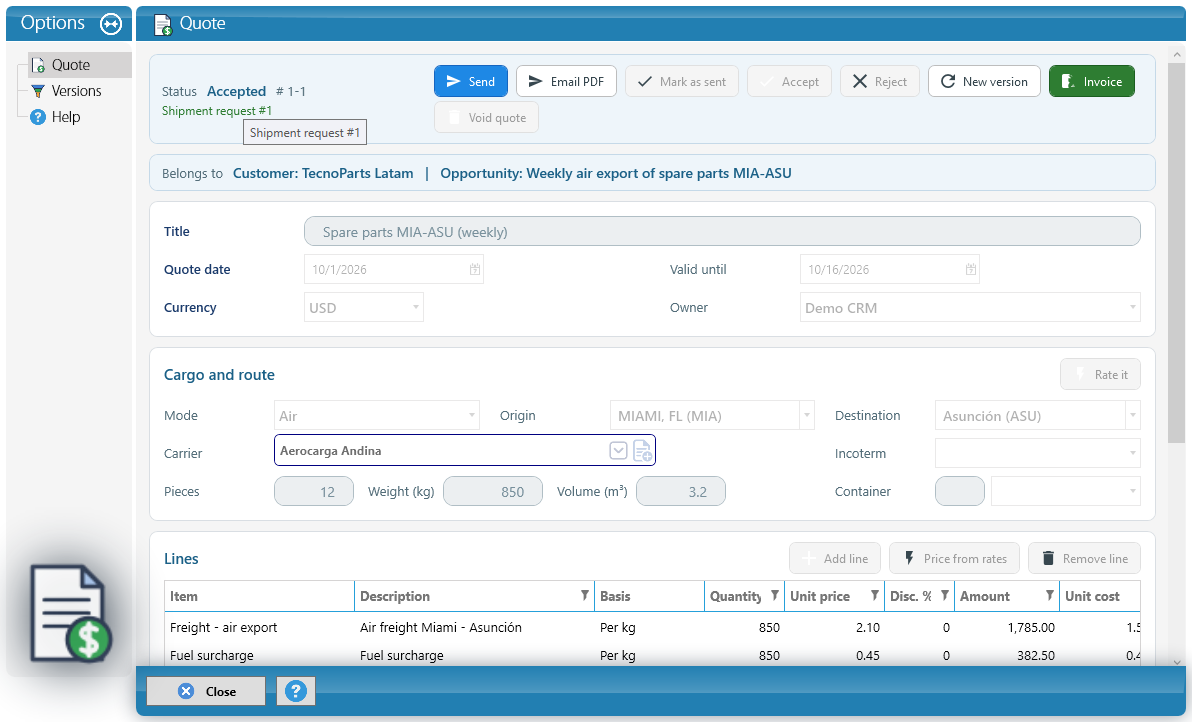
Invoice. An accepted quote shows Invoice. It opens the regular sales invoice window with the customer and the lines of the quote. Review it, complete whatever is needed (taxes, numbering, electronic invoicing) and save: the invoice is linked to the quote and it cannot be invoiced twice.
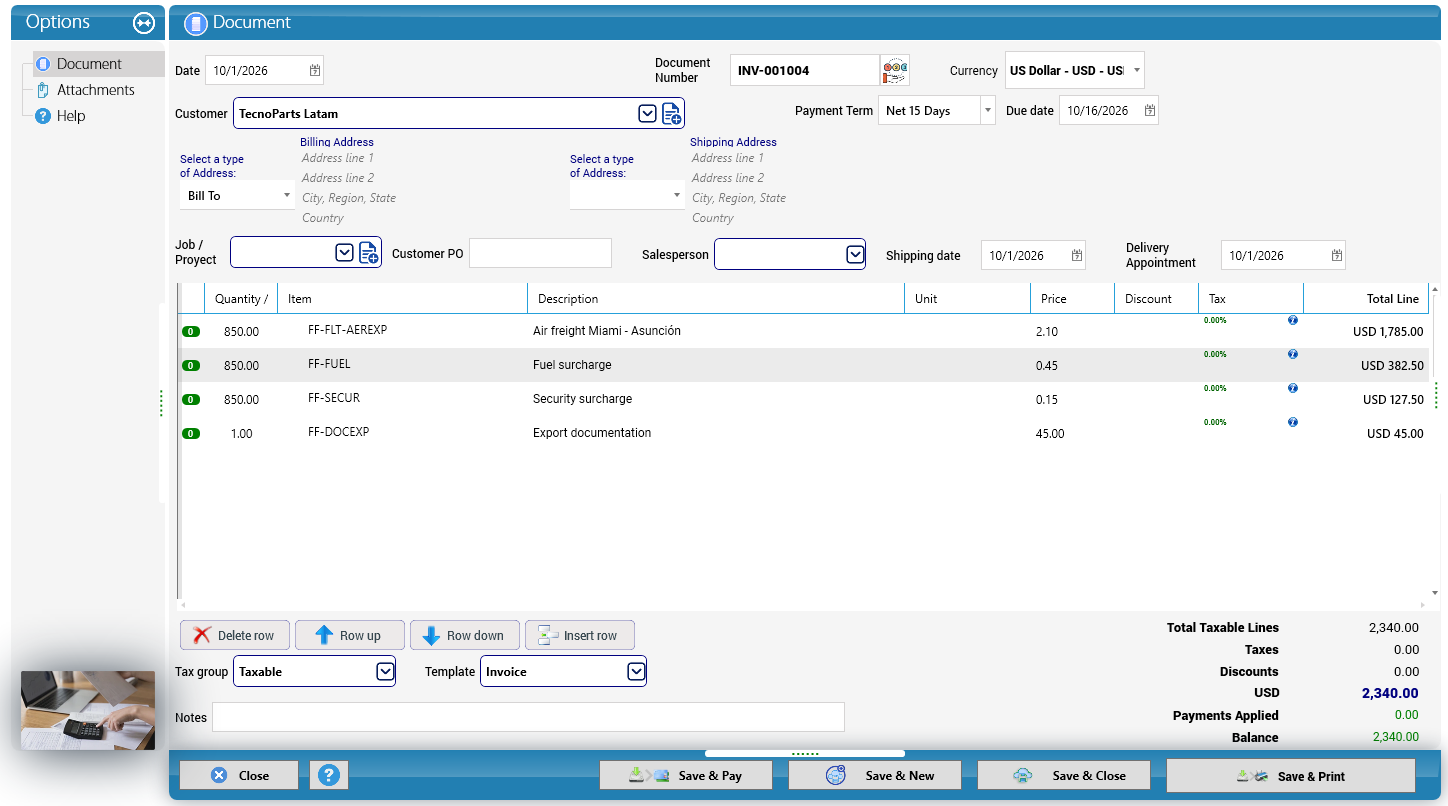
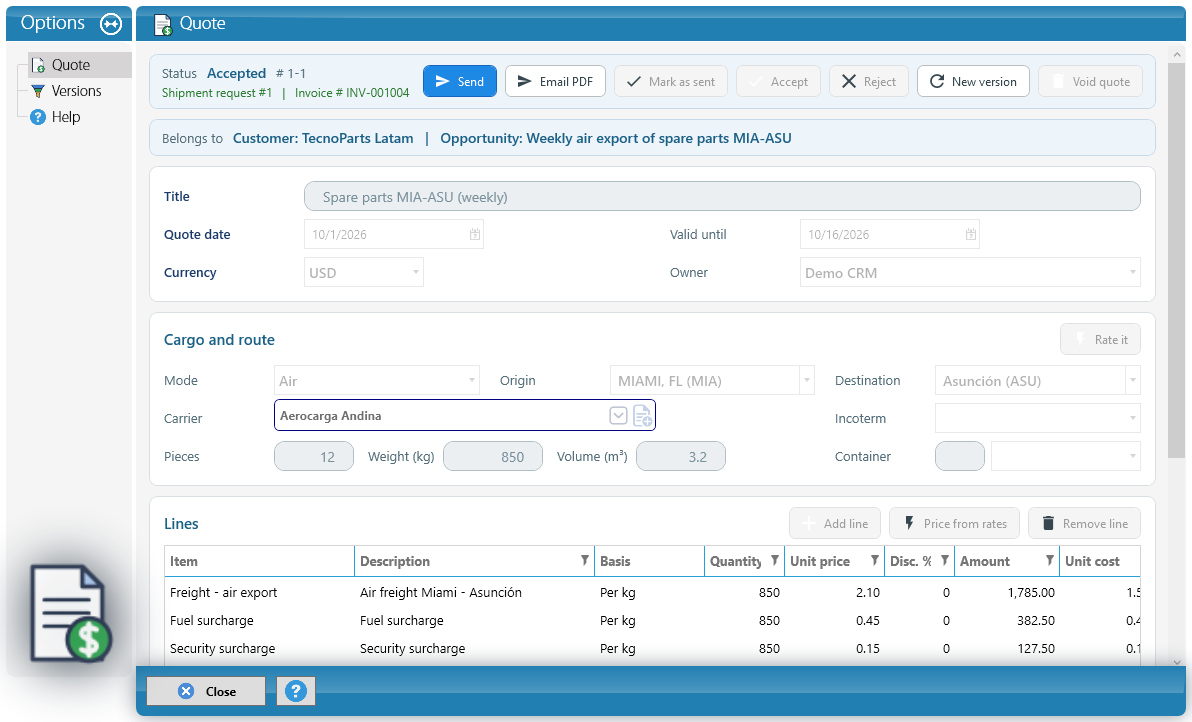
Follow-up and "No response". A sent quote does not stay open forever. After the configured days, if the customer has not answered, the salesperson finds the Follow up quote activity in My Day. If the quote expires and the grace days go by with no answer, KeyTray closes it as No response. A quote with no response can no longer be edited or accepted: if the customer answers later, Reject it with the real reason or make a New version.
Reject. If the customer does not accept, Reject asks for the Reason and lets you record who you lost to: the Competitor and their Price, with the currency.
In a cargo company you also record the carrier the customer went with and the mode they changed to (for example, from ocean to air).
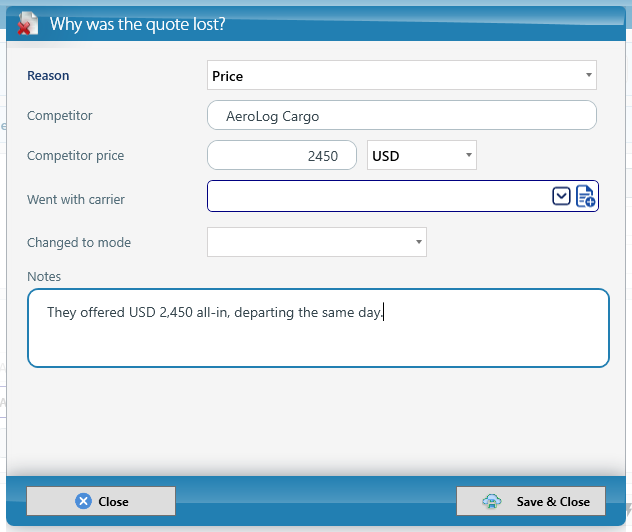
A rejected quote shows the reason and who it was lost to in red, next to the status:
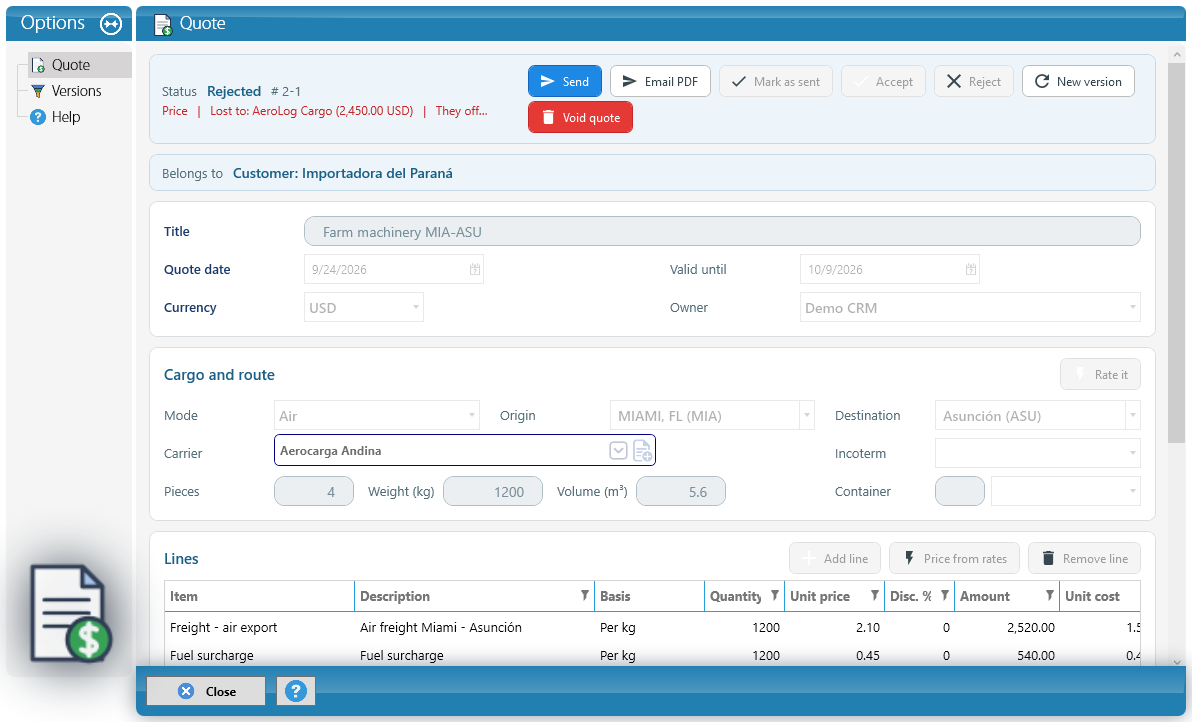
New versions and history. To change a quote that was sent, rejected or got no response, click New version: a draft copy is created with the same number and the previous one becomes Superseded. The Versions page shows every version and, below, the Status history of the open one: each change with its date, who made it and the reason. What KeyTray does on its own shows as KeyTray (automatic).
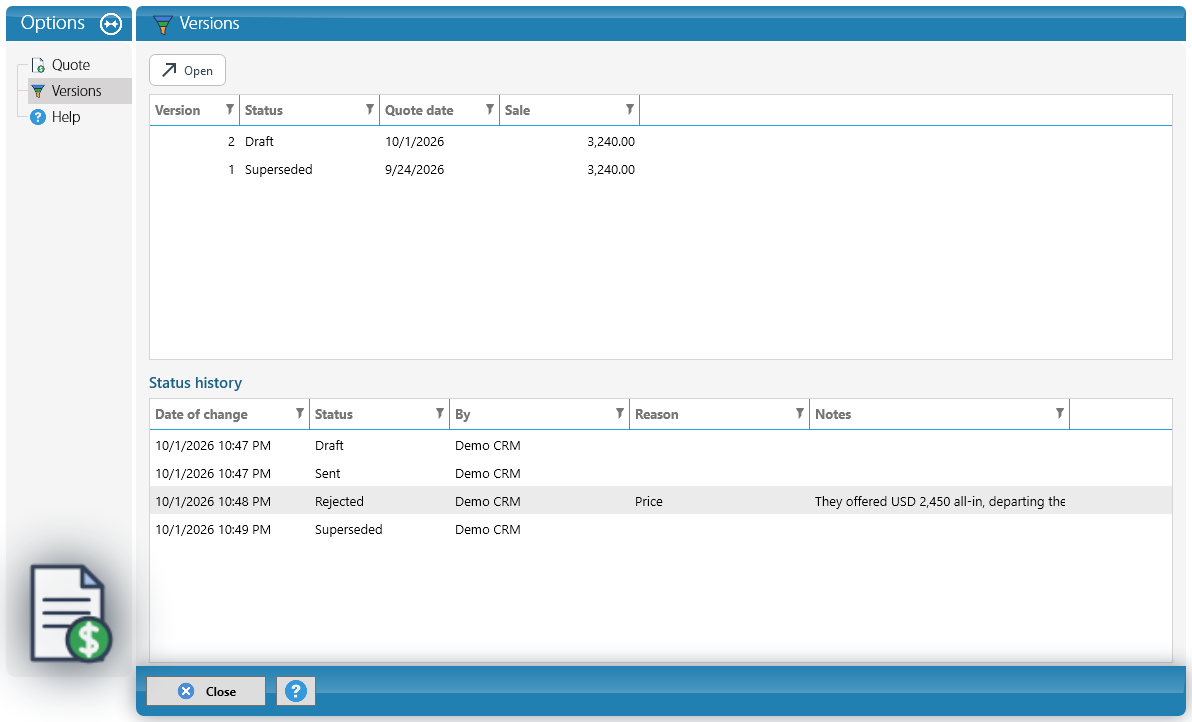
The Quotes list in the Explorer shows the number, version, status (Draft, Sent, Accepted, Rejected, No response, Void, Superseded, Expired), sale, cost, margin, loss reason and week:
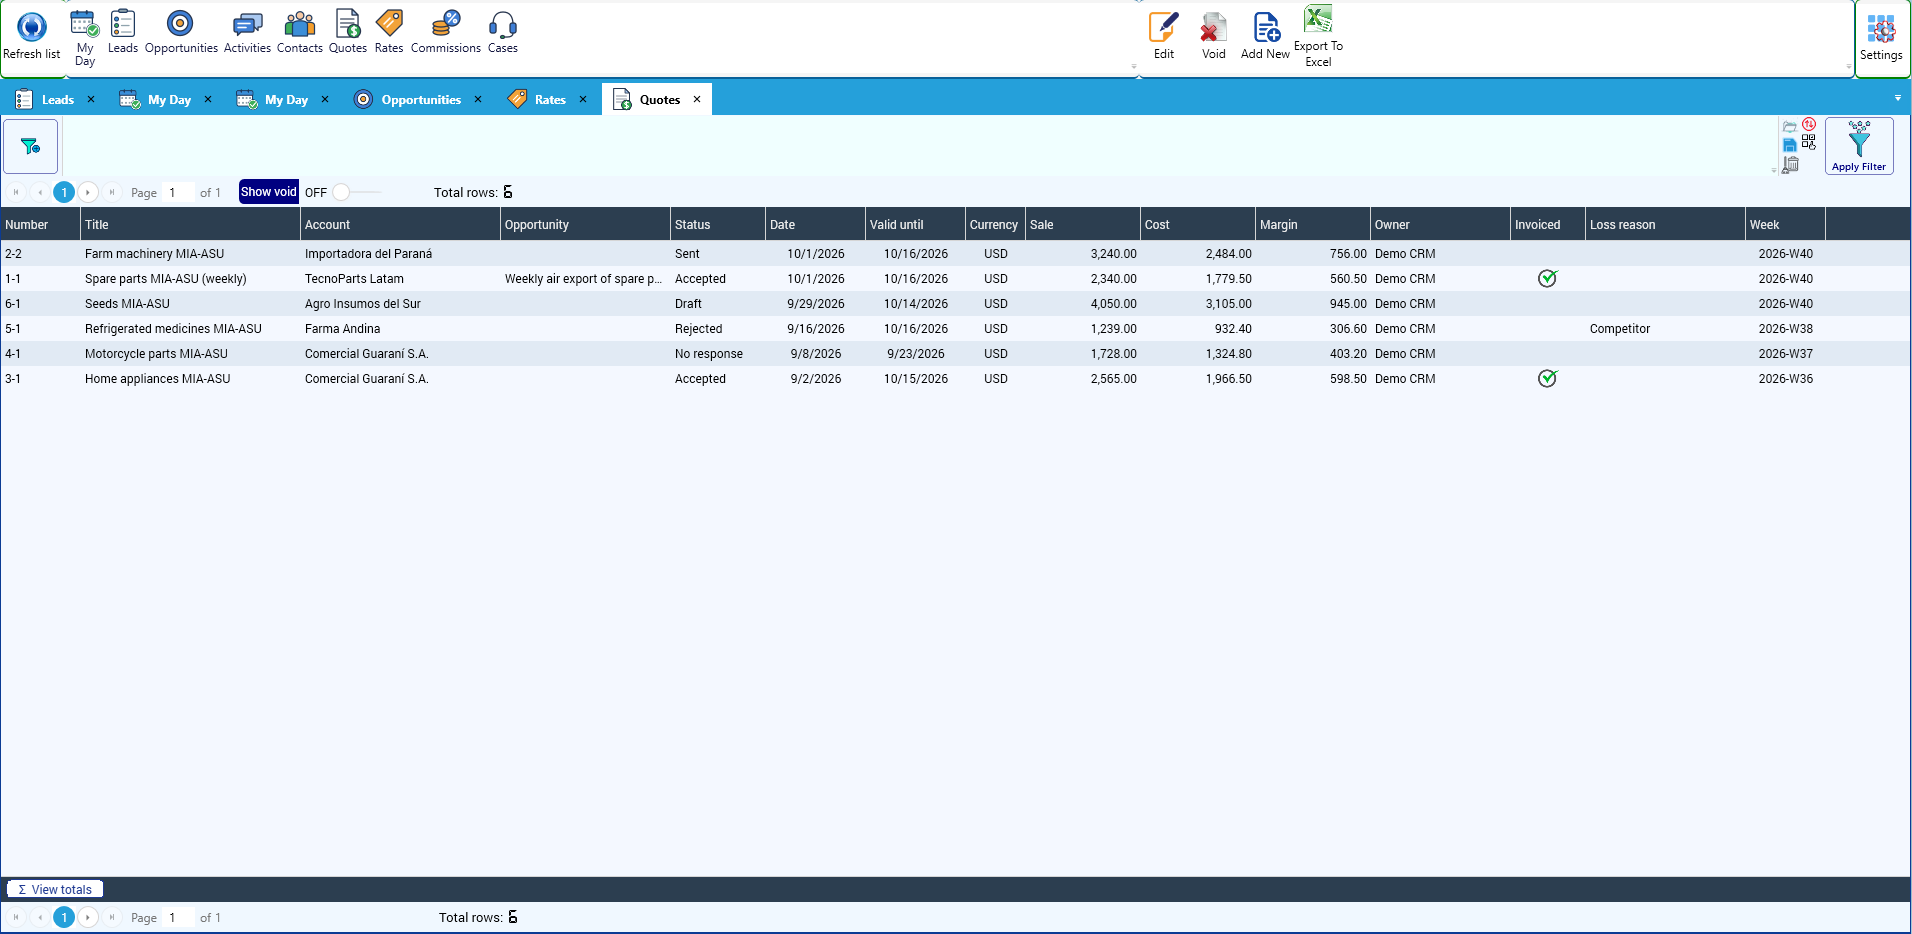
15.8 Commissions
KeyTray calculates salespeople's commissions with the rules defined by the owner or a manager, in CRM > Pipelines & lists > Commissions. With New rule:
- Applies to: a Salesperson, a Customer, an Item or an Item category. Empty means all.
- Basis: the Sale (net of taxes), the Profit (the margin) or a Flat amount per document.
- When: On invoice or On payment (when the invoice is fully paid).
- Form: Flat rate or Tiered, with tiers by document amount or by the salesperson's month total.
- Validity and Priority: if two rules cover the same invoice, the most specific one wins.
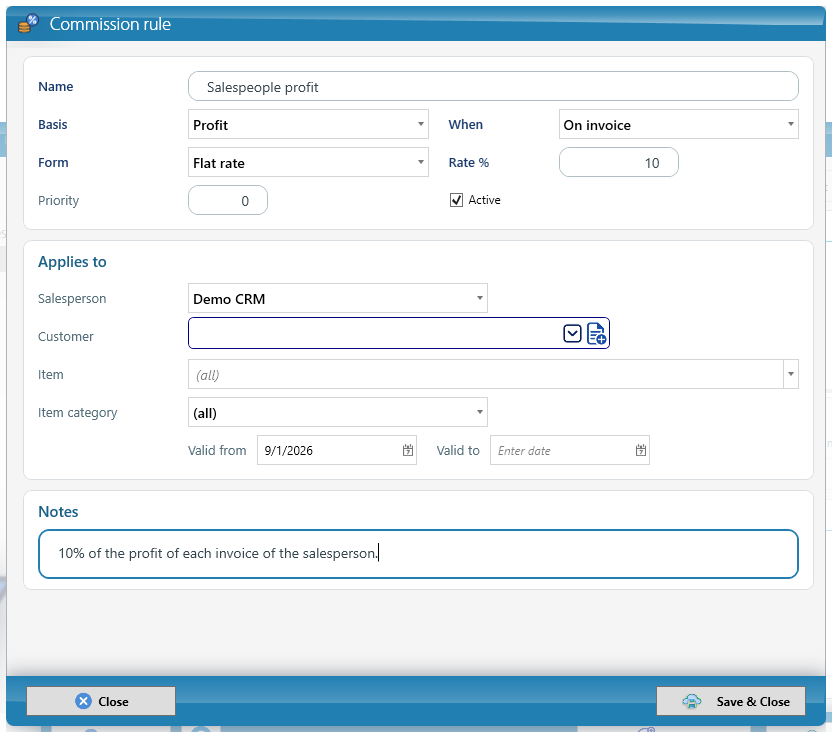
Whose commission is it? For each invoice, the owner of the quote it came from. If it did not come from a quote, the owner of the customer in the Customer portfolio (lower on the same page), or the owner of the lead the customer came from.
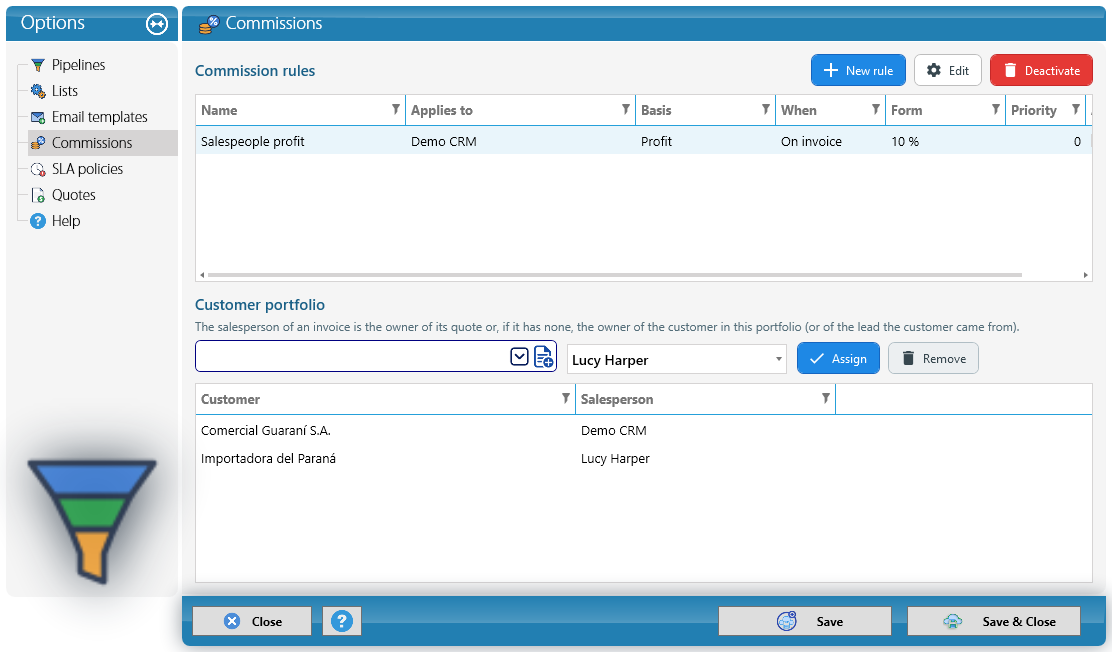
Calculate. In the CRM Explorer > Commissions, click Calculate and choose the period. KeyTray calculates one commission per invoice and tells you how many there are:
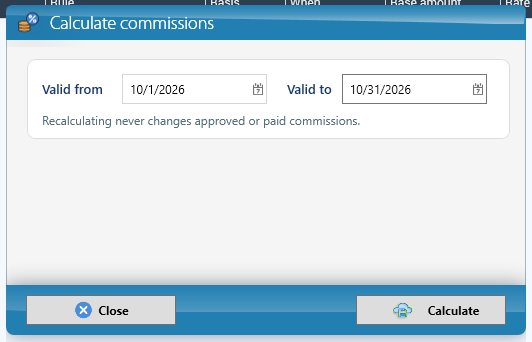
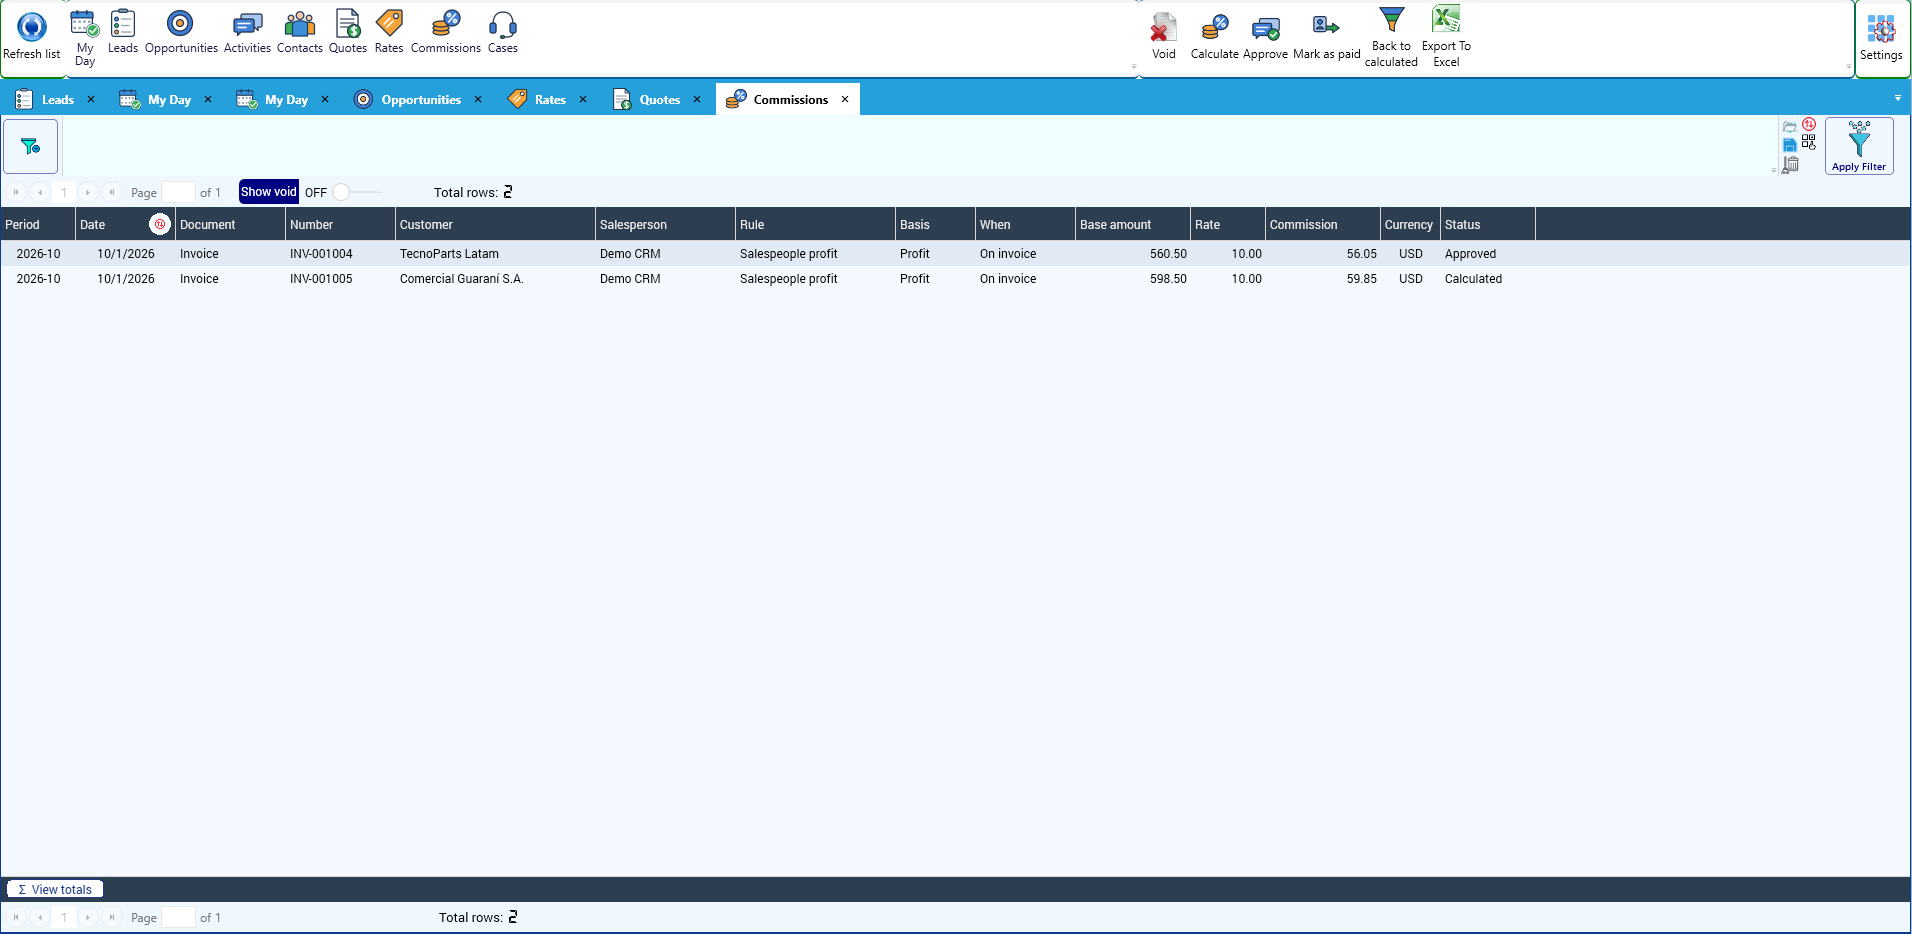
Then Approve the correct ones and, once they are paid, Mark as paid. Credit notes subtract.
Why it matters: recalculating never changes an approved or paid commission. If a rule changes later, it only affects commissions that are still calculated.
15.9 After-sales: cases and SLA
A case is a claim, request or question from a customer after the sale. Each case has deadlines: respond by one time and resolve by another. That is the SLA.
SLA policies. In CRM > Pipelines & lists > SLA policies, define the deadlines, in hours, by Category and Priority. If one of them is left empty, it applies to any; the most specific policy wins. Deadlines count calendar hours.
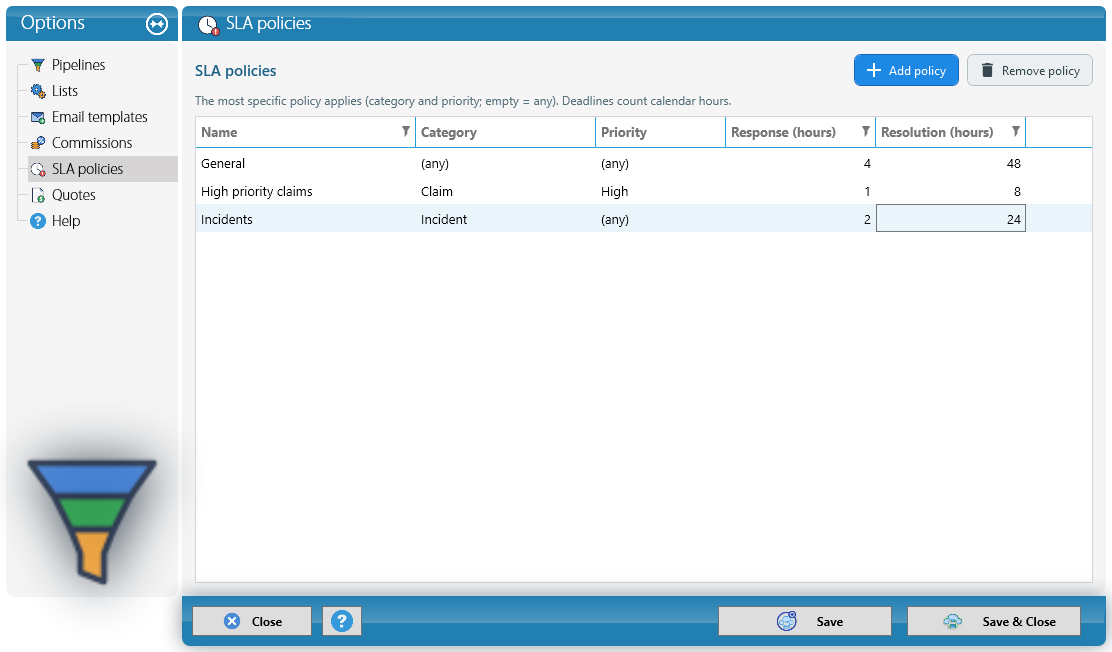
A case. Create it with CRM > New Case: the customer, Category, Priority, Subject, Reference (for example, the invoice or shipment number) and Owner. At the top, KeyTray shows the policy that applies and both deadlines, in green (On time), yellow (Due soon) or red (Breached).
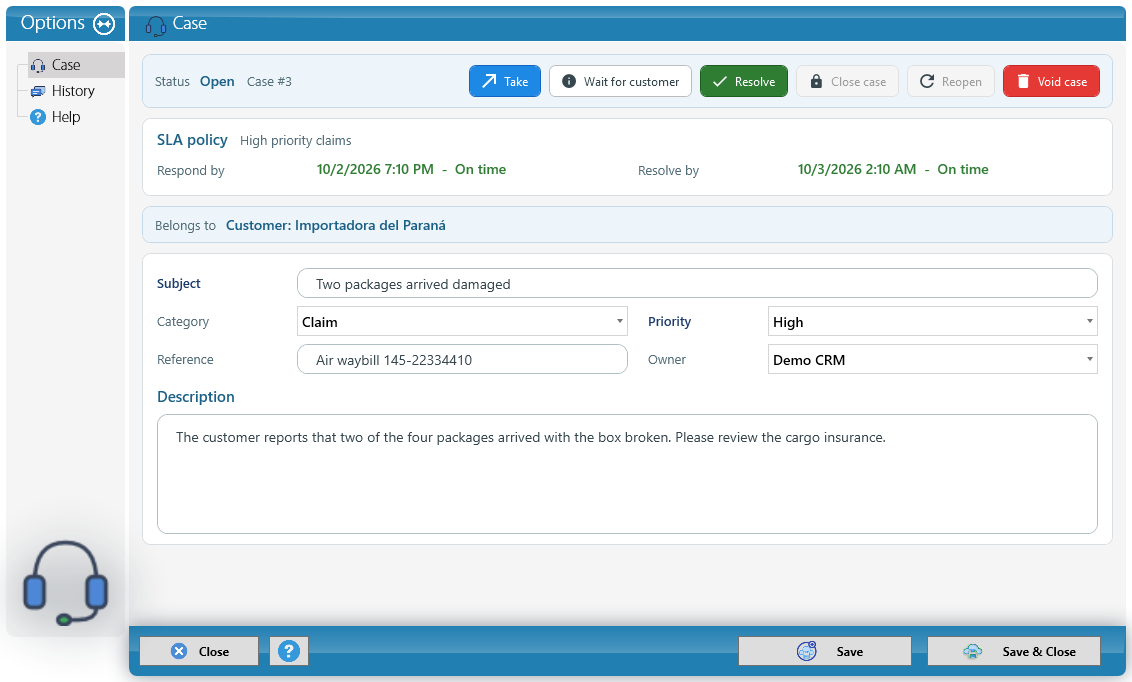
The buttons move the case forward: Take (in progress), Wait for customer, Resolve, Close case, Reopen and Void case. The first comment or the first status change counts as the first response. Everything is kept in History:
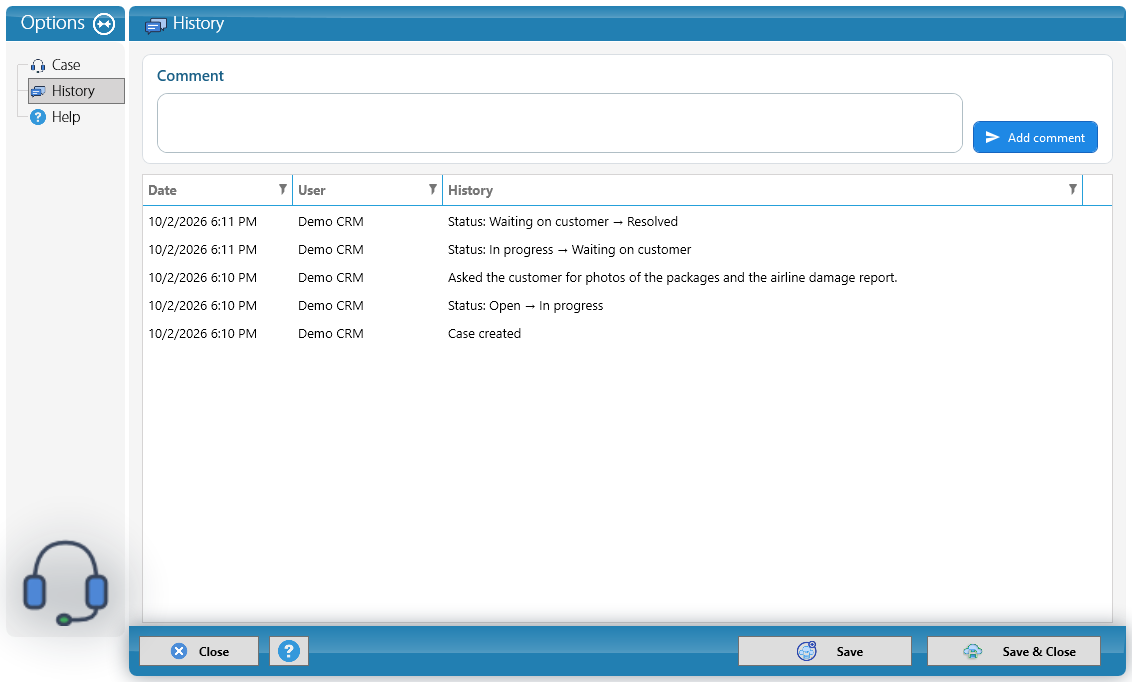
Alerts: if a deadline is breached, KeyTray sends an email and a phone notification to the case owner and the managers, once per deadline.
The Cases list in the Explorer shows the status and deadlines of each case:
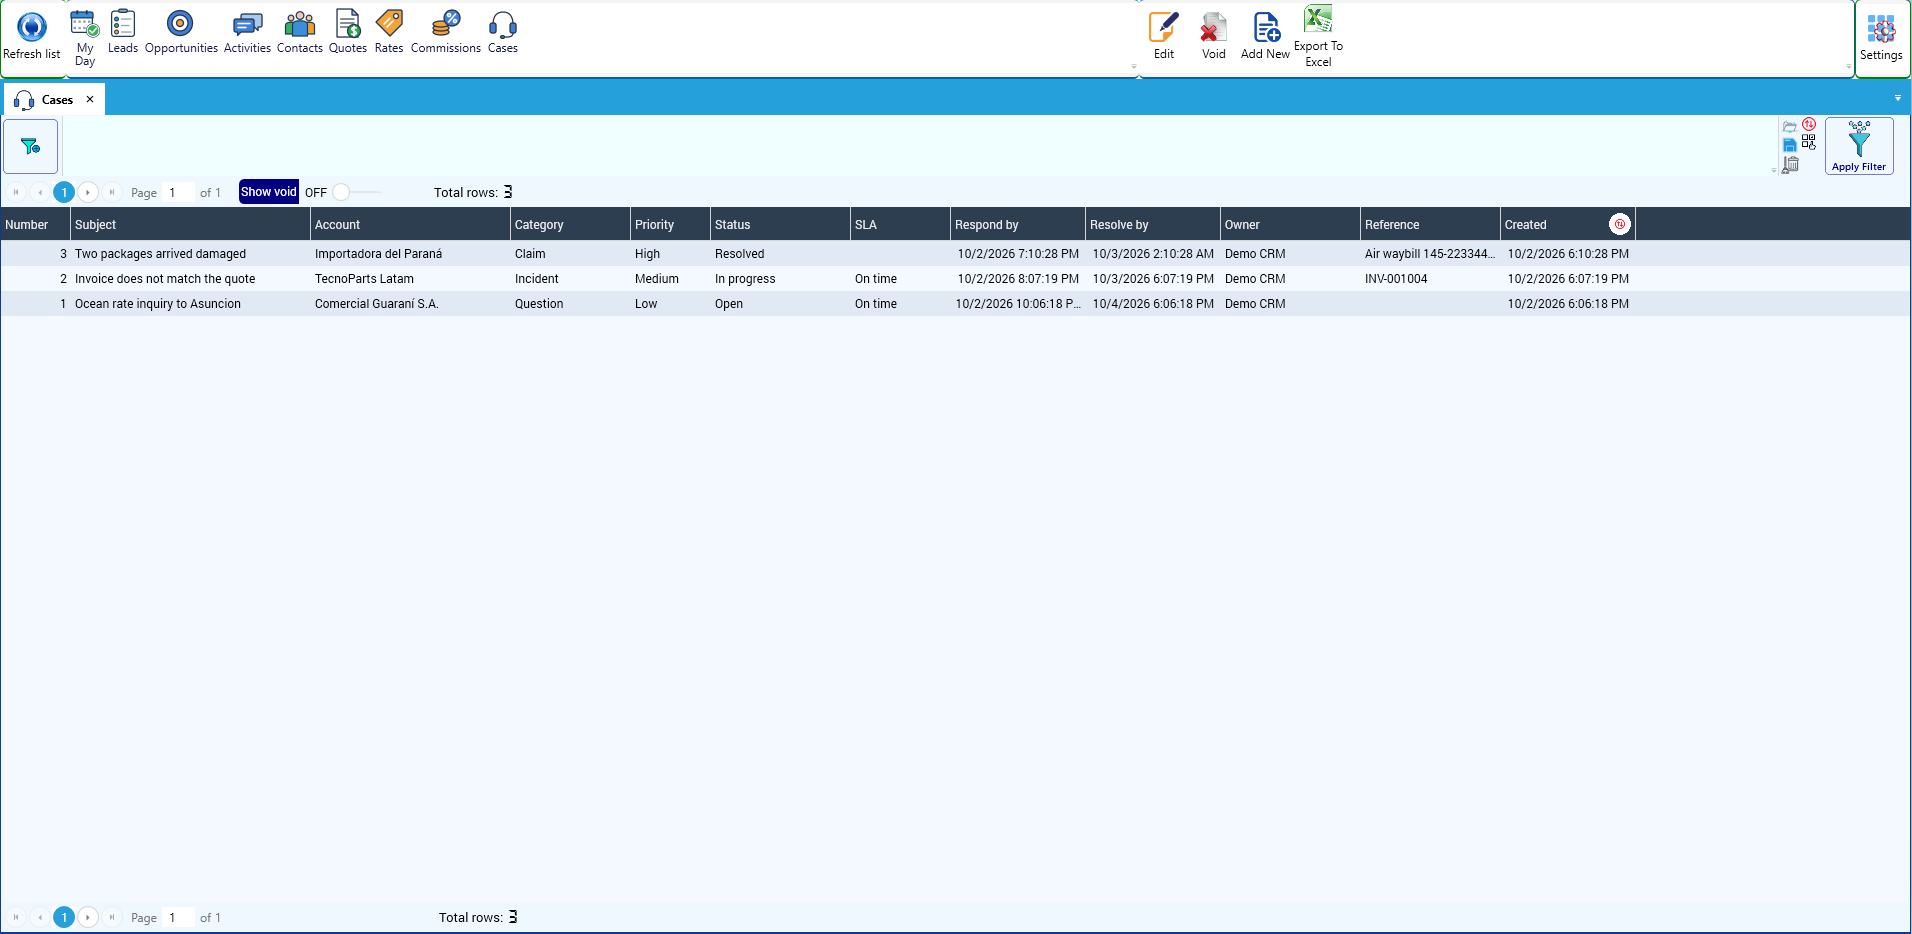
15.10 The dashboard
CRM > Dashboard shows the sales work of a period: new leads, conversion, open, won and lost opportunities, win rate, quotes sent and accepted, activities done, open cases and breached SLAs. Below, the open pipeline by stage and lost deals by reason.
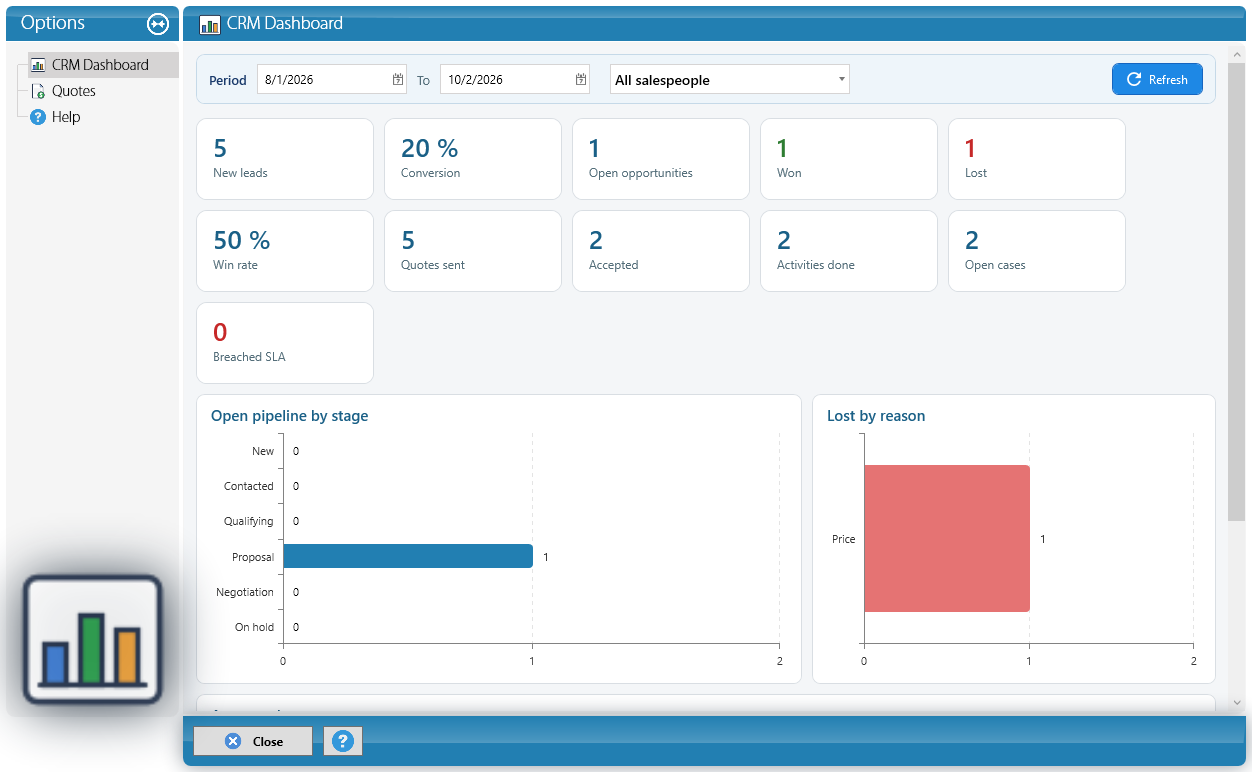
Further down, amounts by currency (pipeline, weighted, quoted, accepted and invoiced), activity by salesperson and commissions. The owner and managers can choose one salesperson or see everyone; other users see only their own numbers.
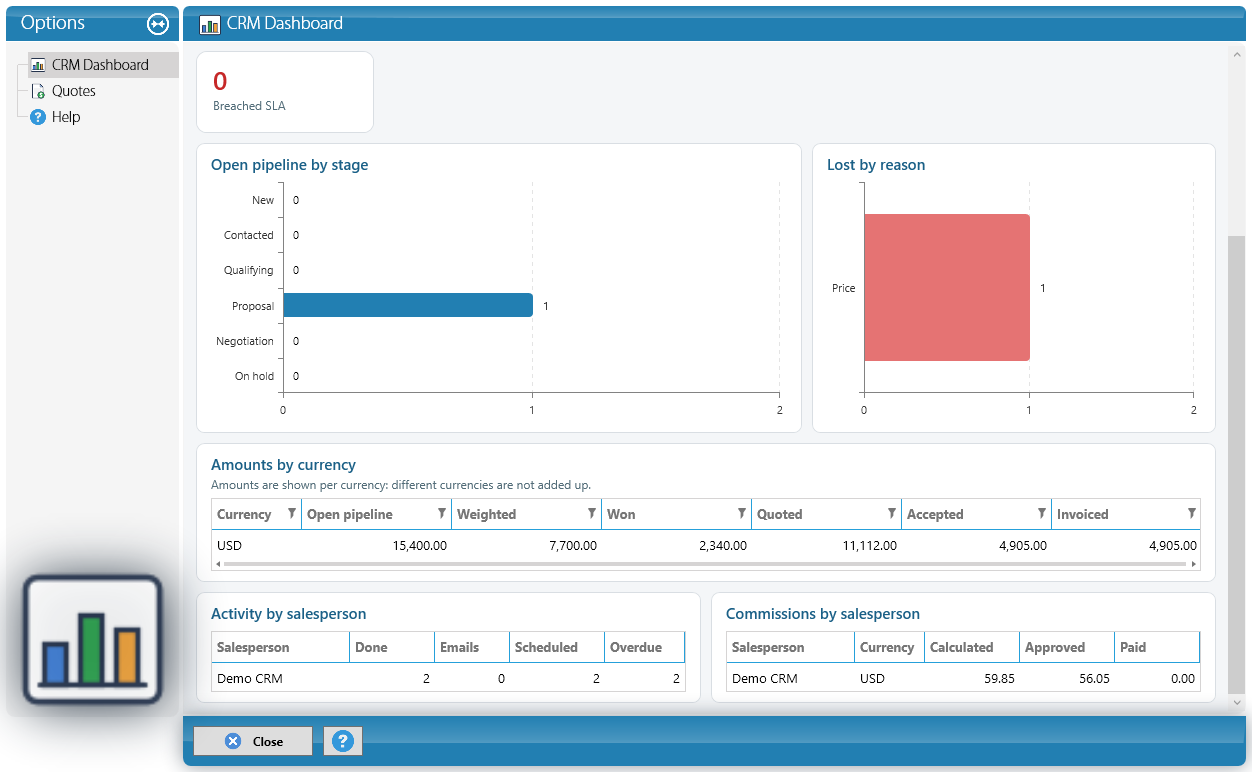
Why it matters: amounts are shown per currency: KeyTray never adds dollars to another currency.
The Quotes page of the dashboard measures how much you quote and how much you win. Choose the period, the salesperson and Group by week, month or quarter:
- Indicators: requests, accepted, rejected, no response, open, the acceptance rate (accepted over accepted, rejected and no response) and the average days to send and until the customer decides.
- Requests by period, with what was accepted, rejected, got no response or is still open each week or month.
- Loss reasons with their group, amounts by currency (quoted, accepted and its margin), results by salesperson, the customers with the most requests and the margin by item of what was accepted.
In a cargo company it adds routes and carriers, with won with change: accepted quotes whose shipment left with another carrier or through other ports.
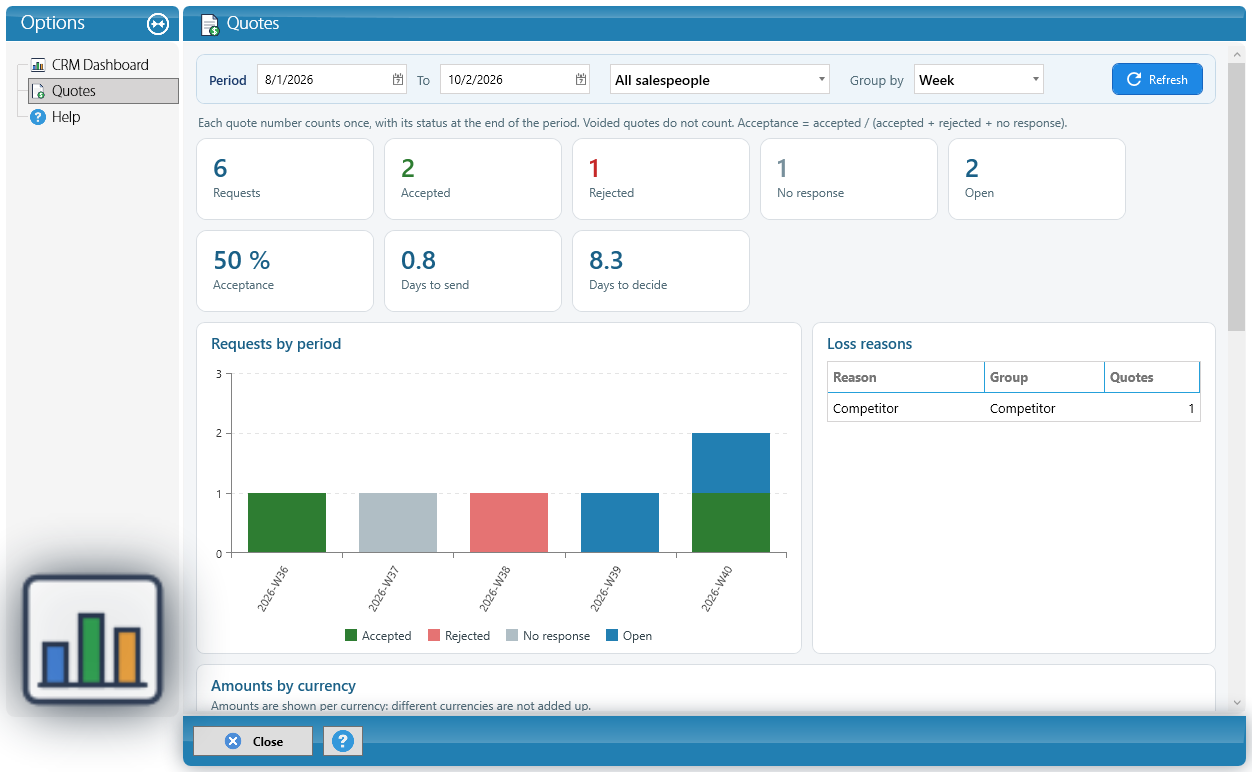
Each quote number counts once, with its status at the end of the period, so you can see how any past week stood. If the company chose it in the setup, managers and the owner also get the weekly summary with these numbers by email.
16. The accounting auditor
The accounting auditor reviews the company's books every day, without anyone asking, and tells you what is missing before you close. It uses the same checks as the Closing Workpaper (section 8.10), but instead of waiting for someone to open it:
- It shows on the dashboard what needs fixing, with the period it reviewed.
- On the Auditor screen, every finding comes with its fix: Revalue now, Mark as reviewed with the reason, See the documents to void a duplicate, or See in the Closing Workpaper.
- If you ask it to, it does not let the fiscal year close while a blocking check fails.
- A robot runs it once a day and e-mails you only when something new shows up, with a reminder on the 5th of every month.
- With KeyTray AI Model (optional) it explains each finding, proposes fixes and answers questions about the books.
The screenshots in this chapter come from the sample company Cargo Masters Paraguay.
16.1 What the auditor checks
The auditor runs the Closing Workpaper checks over the period reviewed: the oldest finished fiscal year that is still open or, if there is none, the current fiscal year up to the last day of the previous month. Each check comes out with one of three statuses:
| Status | What it means | What the auditor does |
|---|---|---|
| Blocks the close | An error that leaves the financial statements wrong. | With the block on, it does not let the fiscal year close. It gets fixed; it is never marked as reviewed. |
| To review | Something that may or may not be right: someone has to look at it. | It gets fixed, or marked reviewed with the reason. |
| OK | The check passed. | It does not show. |
The blocking checks are the ones that leave the balance sheet wrong: 1.1 and 1.2 (the books balance and every entry balances), 2.1 and 2.2 (the customer and vendor detail adds up to its account), 3.1 (opening balance plus movements gives the closing balance) and 4.1 (foreign currency is revalued at the closing rate). All the others are to review: manually keyed entries (3.3), foreign currency accounts that their type keeps out of the revaluation (4.2), the statutory form checks (5.x), documents voided and reissued (6.1), numbers repeated for the same customer or vendor (6.2) and twin documents on the same day (6.3).
Materiality: differences smaller than the materiality do not count. Without it, the auditor would flag rounding differences of a few cents and you would lose the afternoon. It is set in the next section.
16.2 Setting up the auditor
The settings are in My Company > Auditor. Only the company Owner (or a KeyTray developer) can change them; the other users see them greyed out.
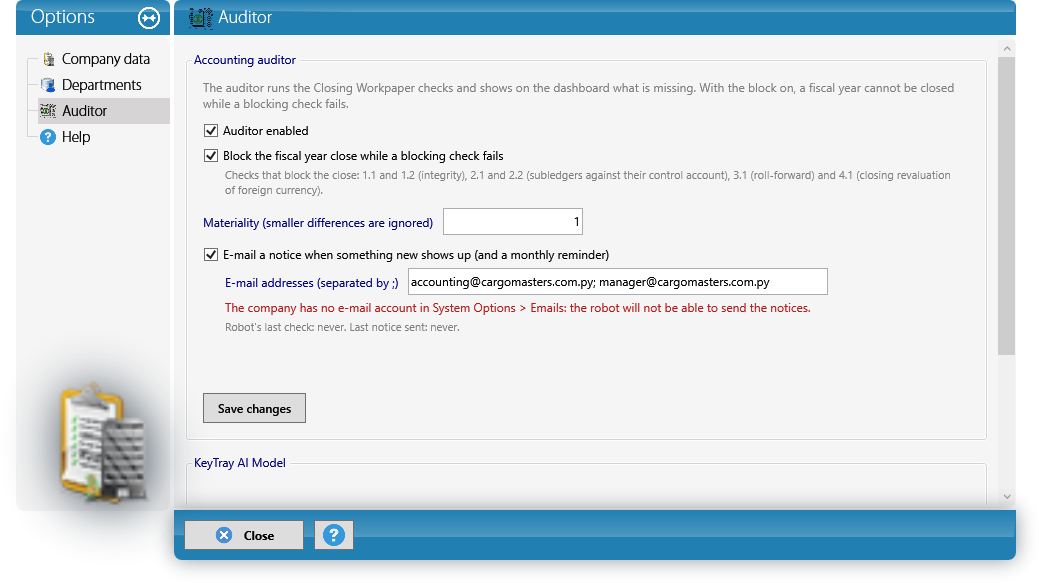
- Auditor enabled: turns the auditor on or off. When off, it neither runs nor sends notices.
- Block the fiscal year close while a blocking check fails: it comes off, so that nobody suddenly finds a fiscal year that will not close. Turn it on once the books are up to date.
- Materiality: the amount, in the company currency, below which a difference does not count.
- E-mail a notice when something new shows up: tick it and type the e-mail addresses separated by semicolons (section 16.9).
Click Save changes. Underneath you can see who made the last change and when.
Watch out: for the robot to send the notices, the company needs an e-mail account in System Options > Emails. If it has none, the screen says so in red.
16.3 The auditor on the dashboard
On the Operations tab of the dashboard, add the Accounting auditor widget. It shows the period reviewed and each finding with its amount: first the ones that block, in red, then the ones to review.
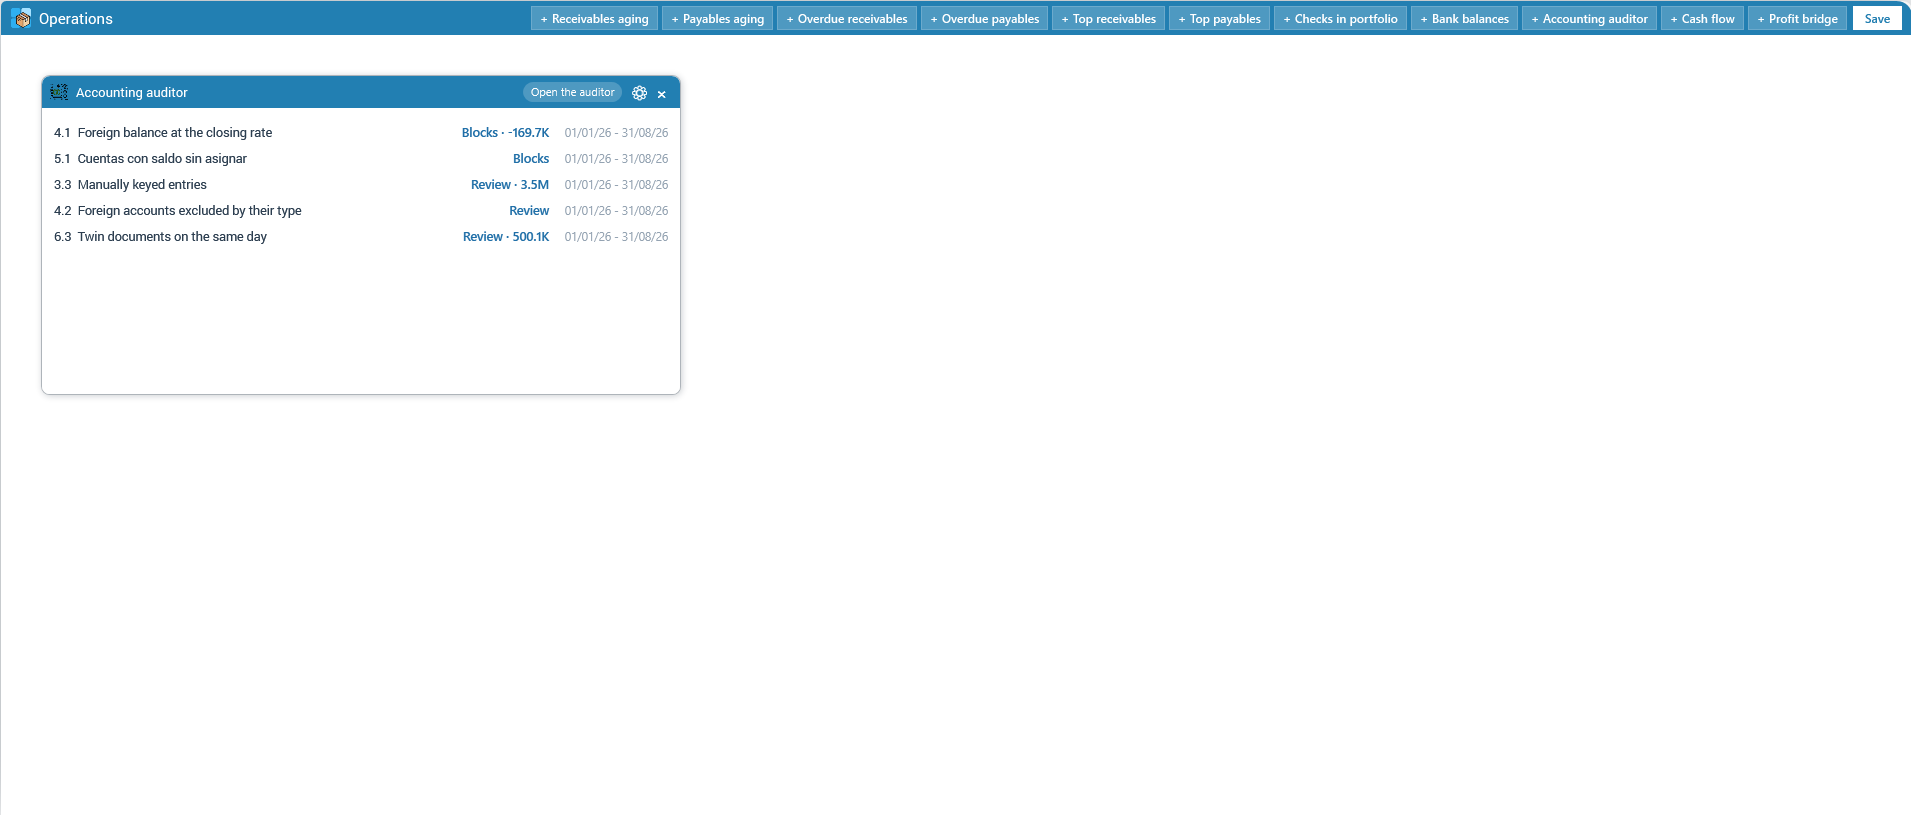
The button in the widget header opens the Auditor screen.
16.4 The Auditor screen
At the top it shows the period reviewed and how many findings block the close, how many are to review and how many are marked as reviewed. Each finding is a card with a colour bar (red blocks, yellow to review, grey reviewed), the check, the amount and the explanation. The ones that appeared since the previous run carry the NEW label.
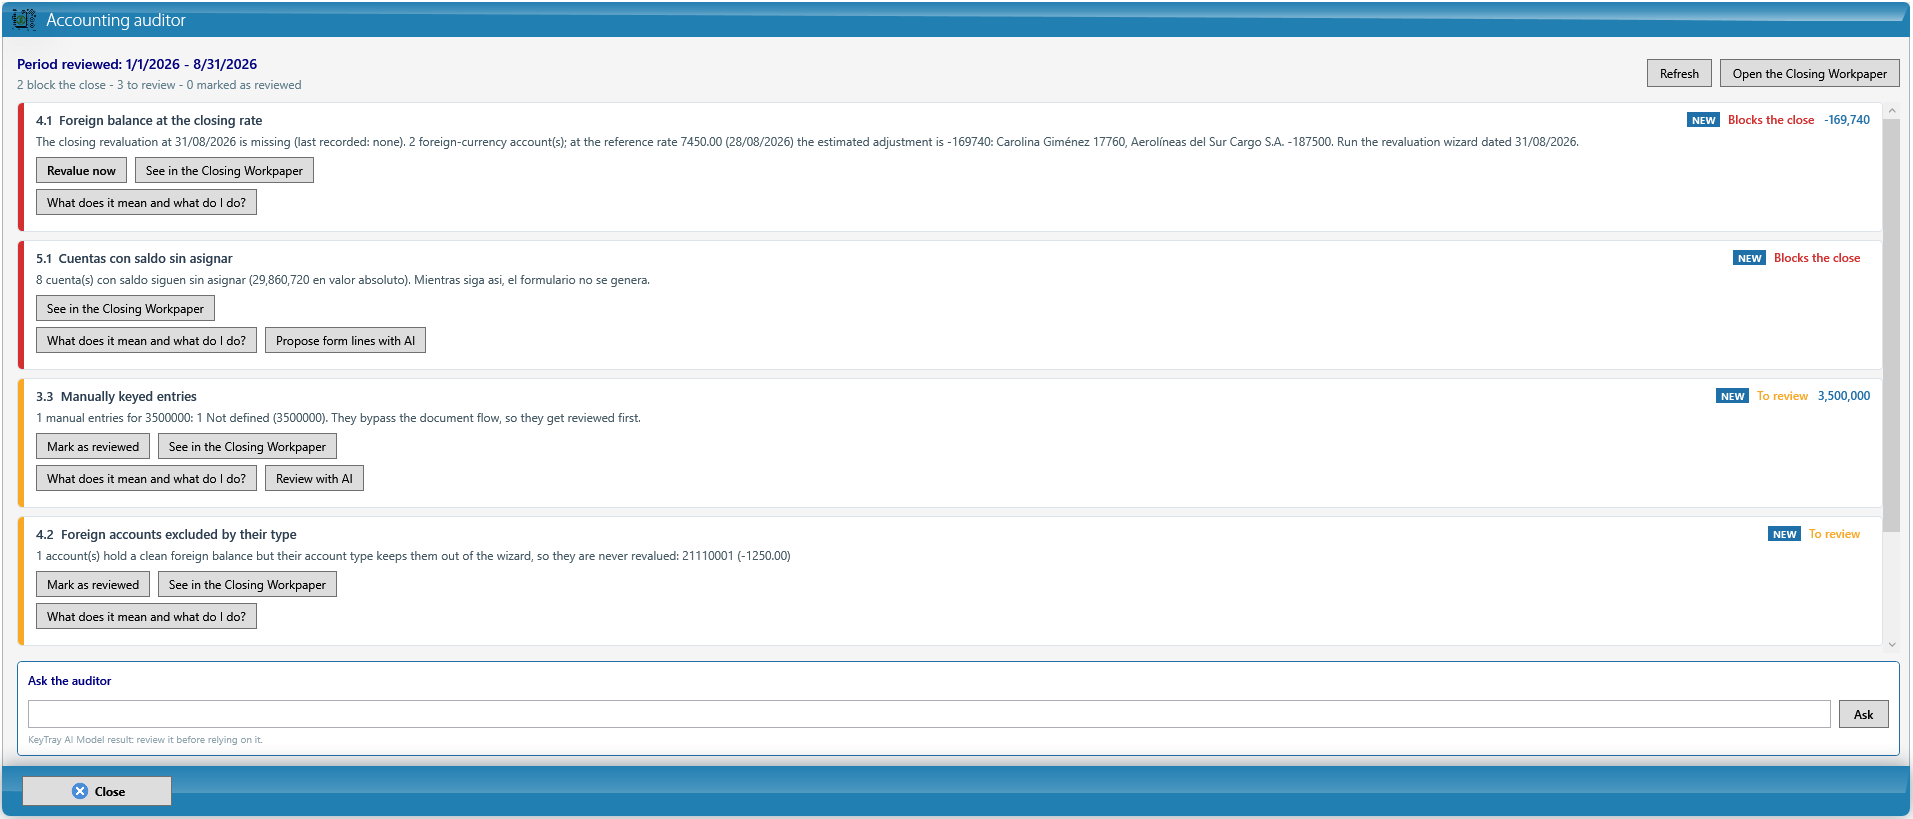
Buttons at the top: Refresh runs the checks again right away; Open the Closing Workpaper opens the full detail. On each card, See in the Closing Workpaper opens the Closing Workpaper on that check.
Who sees what: the screen is available to whoever has the widget on their dashboard. Marking a finding as reviewed requires access to the Closing Workpaper in the user's role.
16.5 Marking a finding as reviewed
A finding to review may be correct. For example, 4.2 warns that a dollar account has an account type that the revaluation wizard does not take; if that account is revalued with its own entry, it is fine. Click Mark as reviewed, write why it is correct and click Confirm:
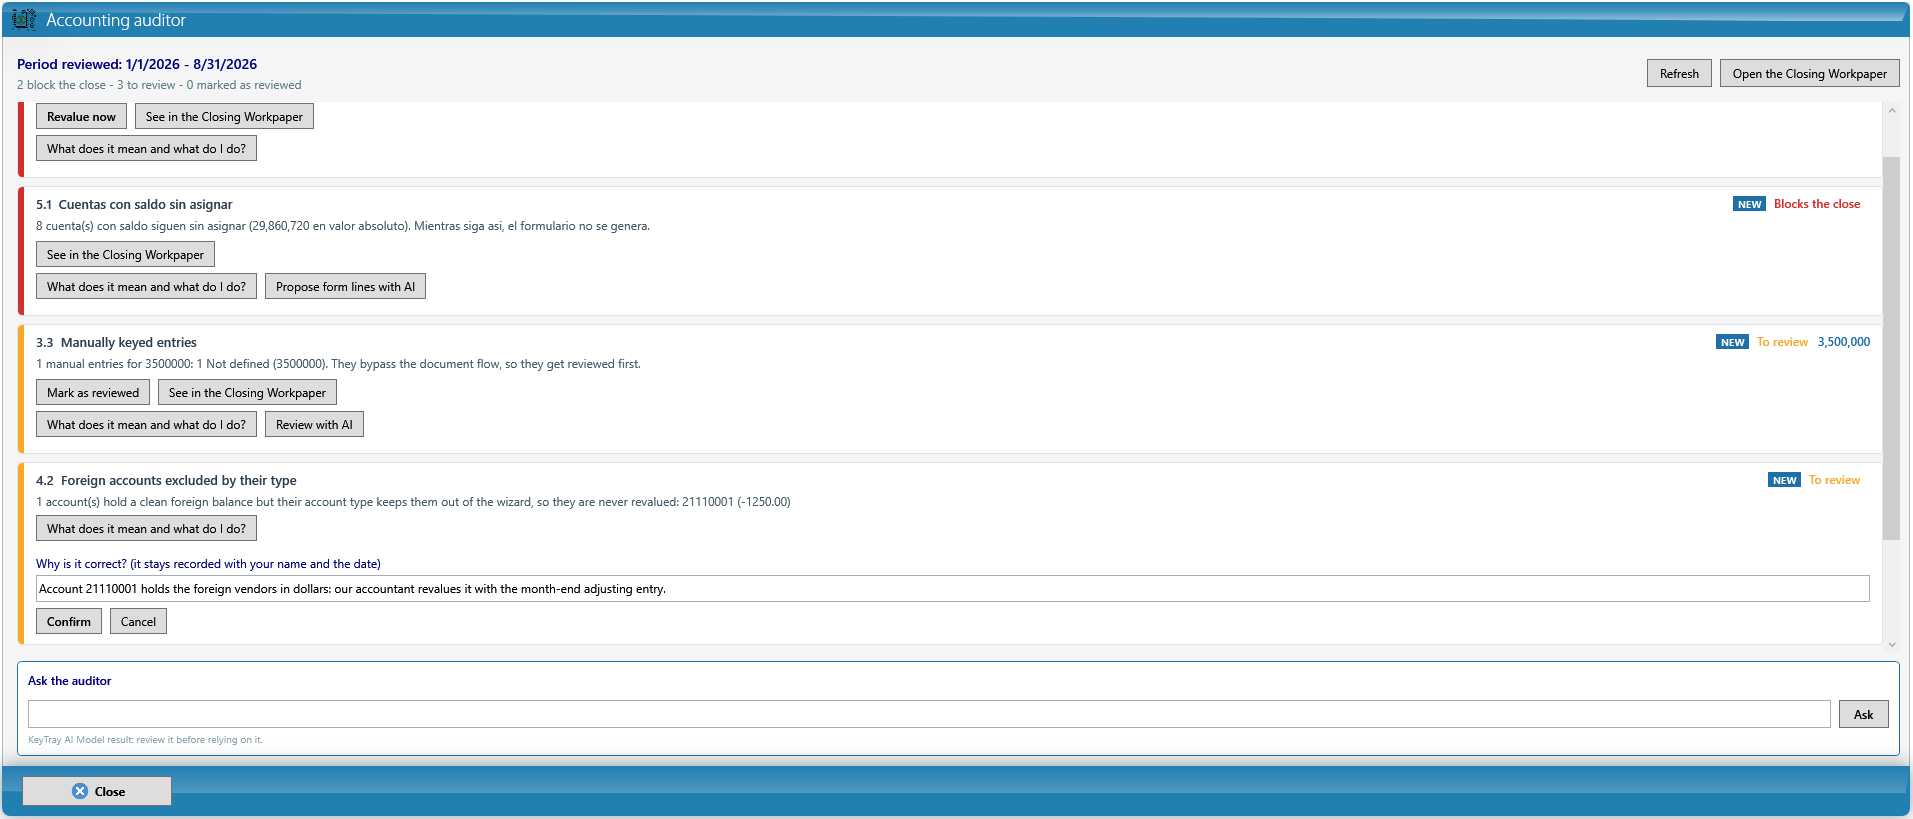
The card turns grey, with who marked it, when and the reason. The reason has to explain the finding to someone who was not there: KeyTray rejects a reason that is too short.
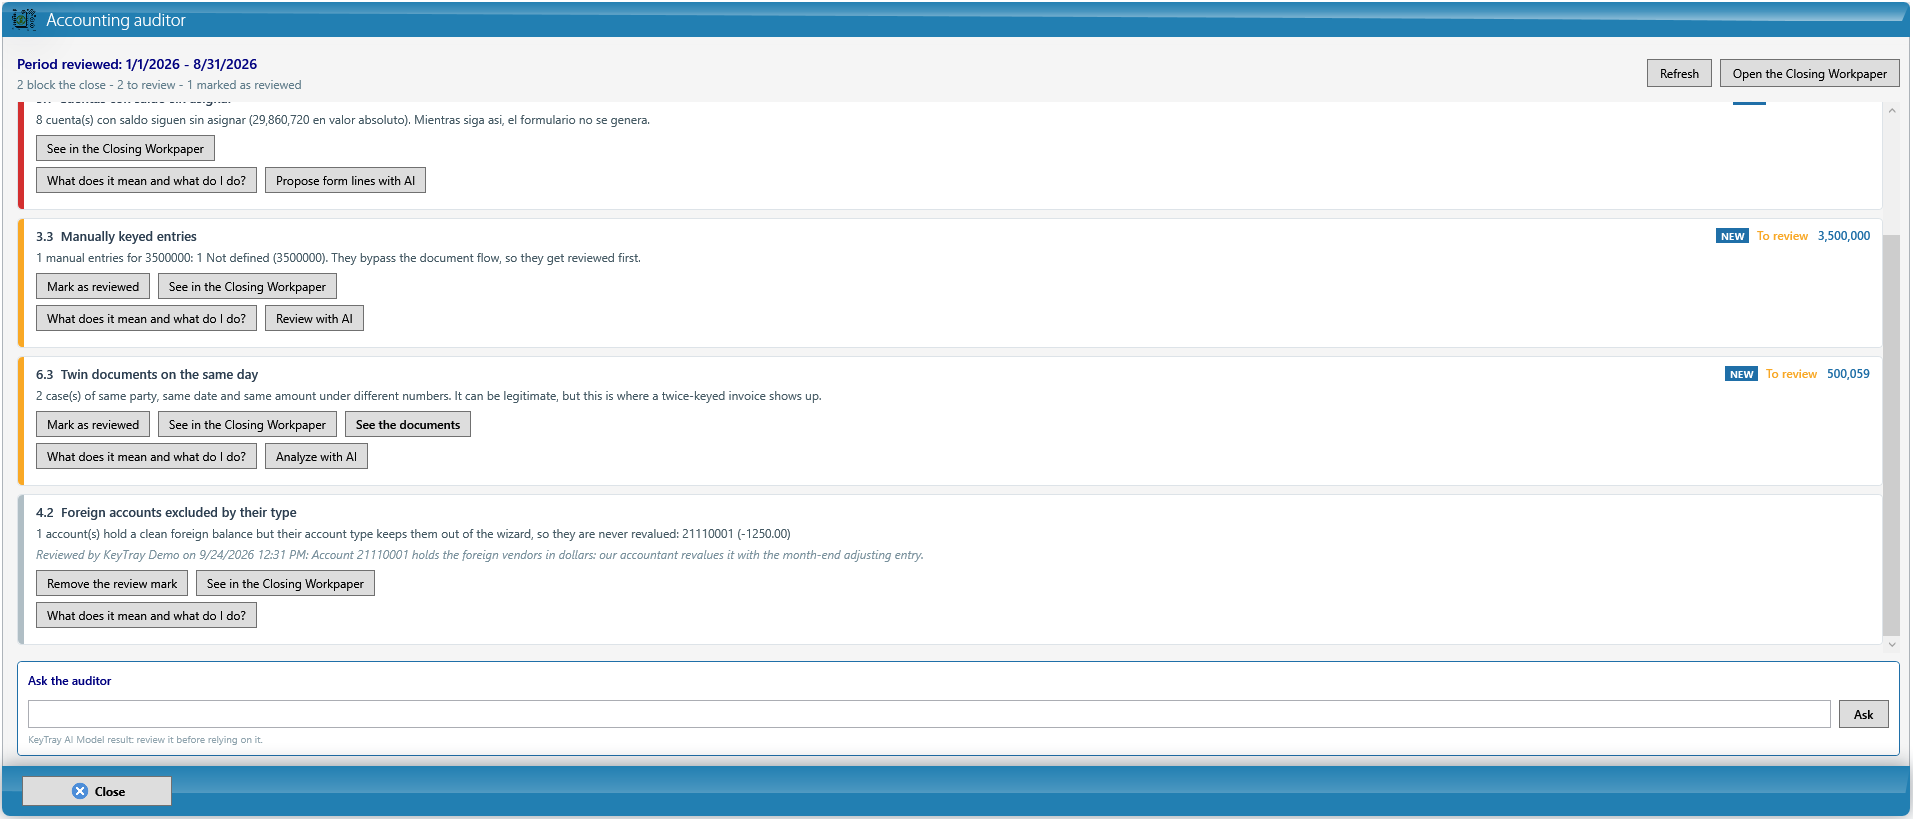
A review holds as long as the figure does not change: if the amount of the finding moves, it comes back to review. Remove the review mark puts it back on the list. A blocking finding cannot be marked as reviewed: it gets fixed.
16.6 Revalue now: the missing closing revaluation (4.1)
4.1 blocks when there are accounts with a foreign currency balance and no closing revaluation was recorded on the last day of the period. The card shows the estimated adjustment at the reference rate. Click Revalue now: the revaluation wizard (section 8.4) opens with the closing date, the currency and the reference rate already filled in.
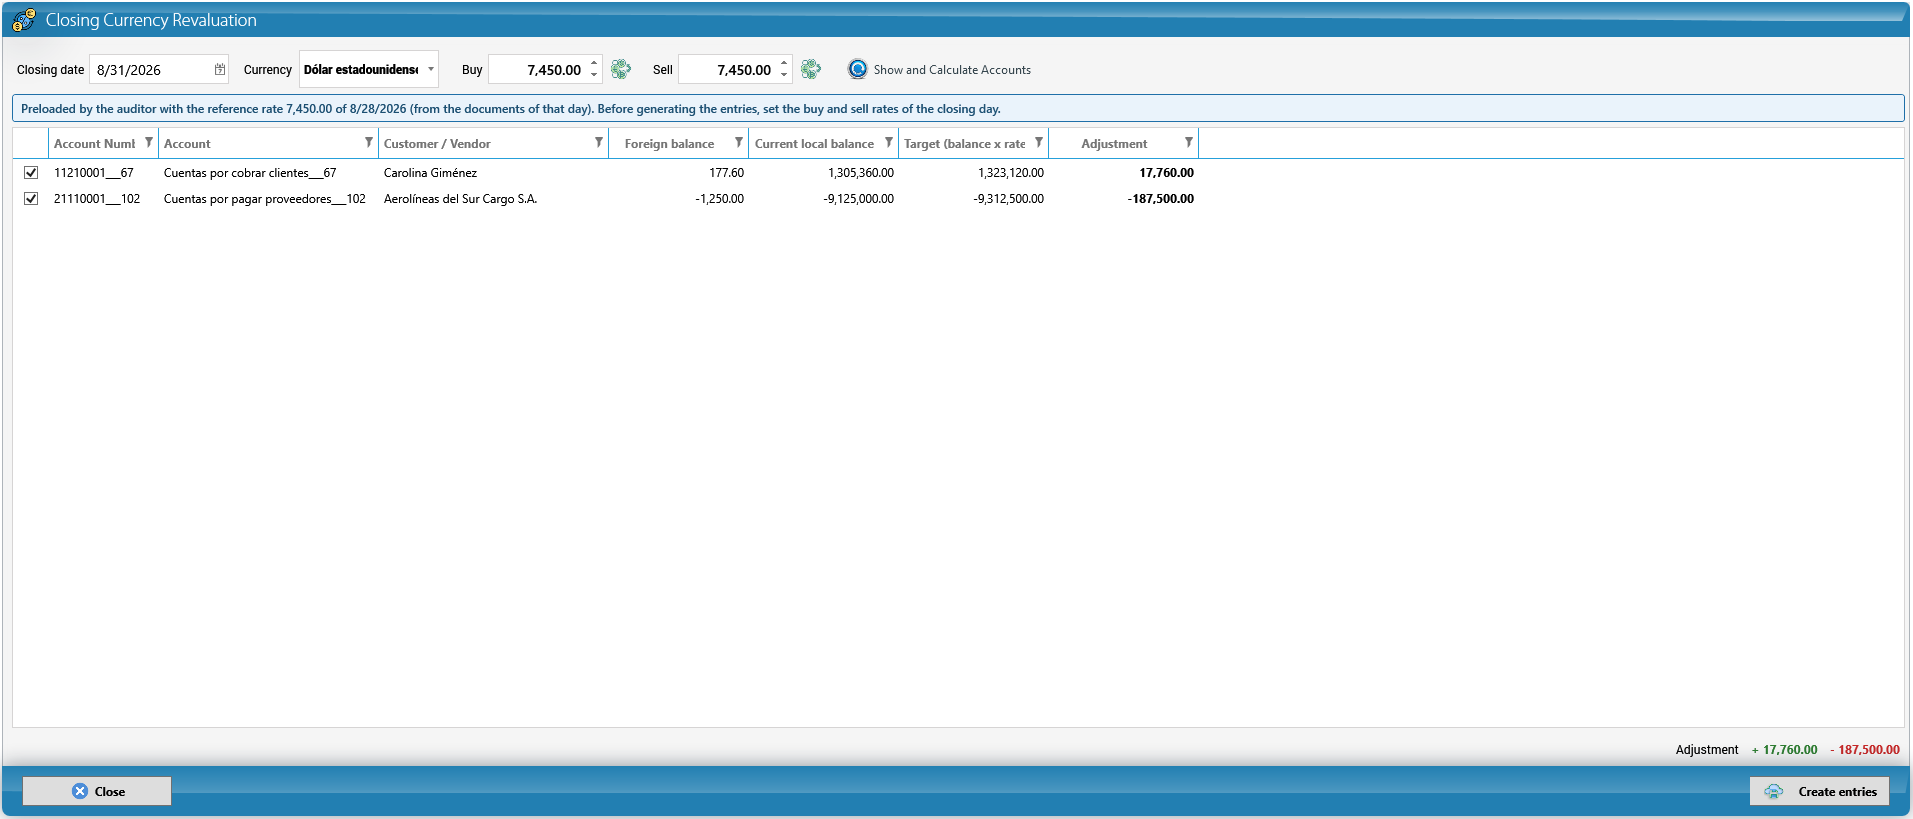
Watch out: the reference rate comes from the documents of that day, not from the official rate. Before you click Generate entries, correct the buy and sell rates with those of the closing day. That click is the authorization: the auditor never records entries on its own.
Once the revaluation is recorded, 4.1 disappears from the next run.
16.7 Duplicate documents: see, open and void (6.2 and 6.3)
6.2 finds the same document number twice, live, for the same customer or vendor. 6.3 finds twin documents: same customer or vendor, same date, same amount and same type, under different numbers. They are often legitimate (two different shipments, for example), but this is where the invoice entered twice shows up.
Click See the documents. The card shows each group with the type, number, date, amount with its currency, the customer or vendor and the attachments. If you used Analyze with AI first (section 16.11), the row the AI says to void carries the AI: void this one mark.
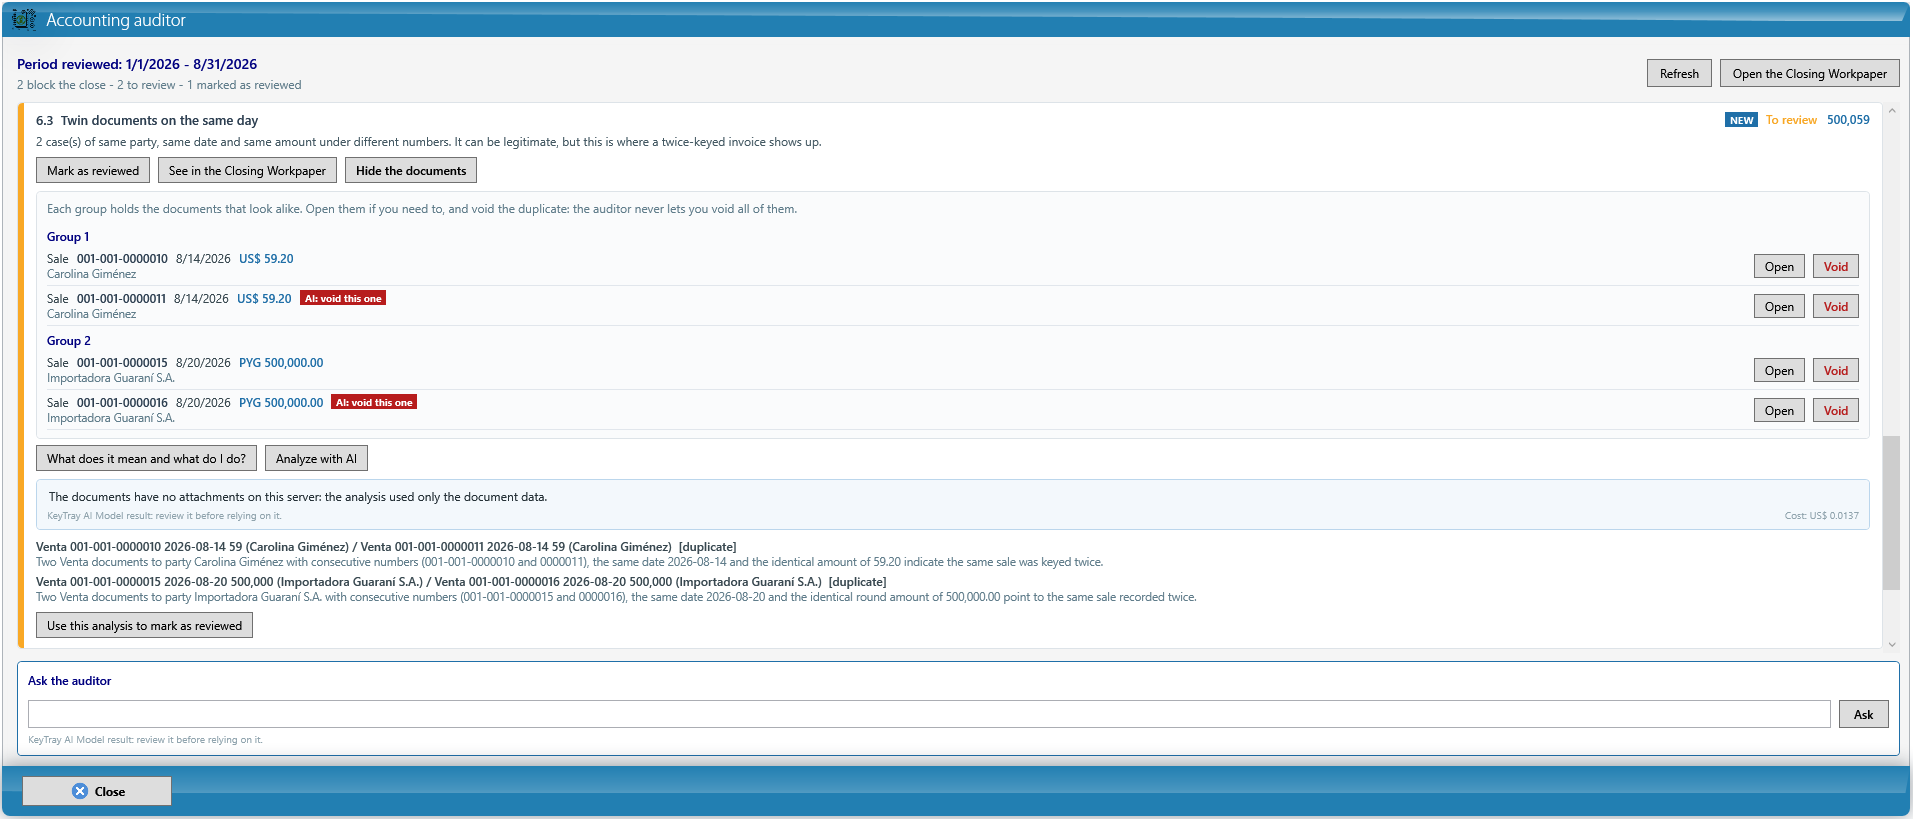
Open shows the document in its window so you can compare. To void the duplicate, click Void on its row. The steps are the same as the Void button on that document's list:
KeyTray asks you to confirm, with the number, date and amount:
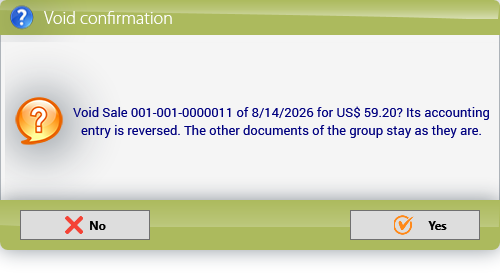
For a sale or a credit note it asks whether the void stays in the books (Yes: the document stays in the journal marked as voided; No: it is removed and the next document inherits its number). Answer according to your fiscal numbering.
Type the reason. It is saved on the document as Auditor 6.3: …:
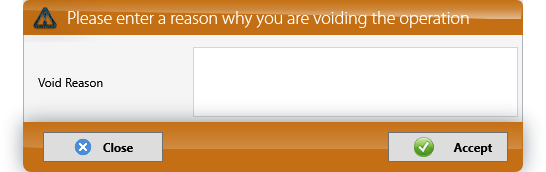
KeyTray voids the document, reverses its entry and runs the auditor again: if the group is left with a single document, it disappears.
The usual rules: voiding from the auditor goes through the same checks as from the list: if the month is closed (chapter 2), KeyTray does not void and says why; if you do not have the Void button of that list in your role, the button shows disabled. And the auditor never lets you void every document in a group: one always stays.
16.8 The fiscal year close, blocked
With Block the fiscal year close on (section 16.2), when you close a fiscal year in Fiscal Years (chapter 2) KeyTray runs the auditor over that fiscal year. If a blocking check fails, it does not close and explains why: the message names the Closing Workpaper checks that fail, with their detail.
Open the Auditor screen, fix what blocks and close again. Only the company Owner can turn the block off, in My Company > Auditor, and the change is recorded with their name.
16.9 The e-mail notices
The KeyTray robot runs the auditor once a day, from 6 in the morning, in every company with the auditor enabled. It e-mails the list in My Company > Auditor only when a new finding appears or one that was already there changes, plus a monthly reminder on the 5th with what is still pending. If there is nothing new, it does not write. My Company > Auditor shows the robot's last check and the last notice sent.
16.10 KeyTray AI Model: the terms and the monthly limit
KeyTray AI Model is optional. To use it, the company Owner accepts the KeyTray AI Model Terms of use in My Company > Auditor: click Read and accept the terms, read them (the button at the top switches the language), tick I have read these terms and I accept them on behalf of the company and click I accept.
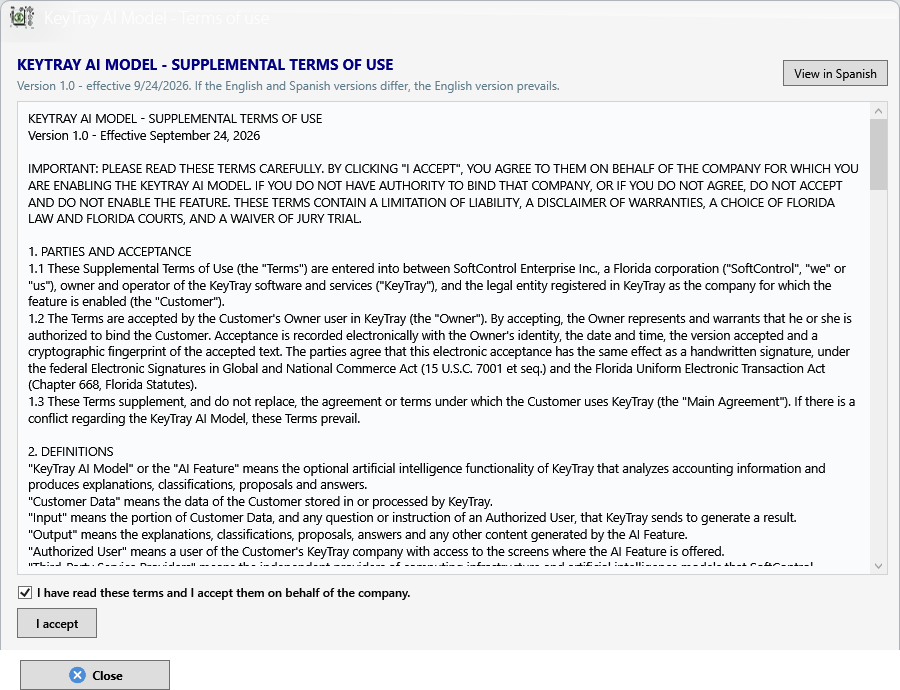
Then tick Use KeyTray AI Model, type the monthly limit in dollars and click Save AI settings. The box shows who accepted the terms and the usage for the month.
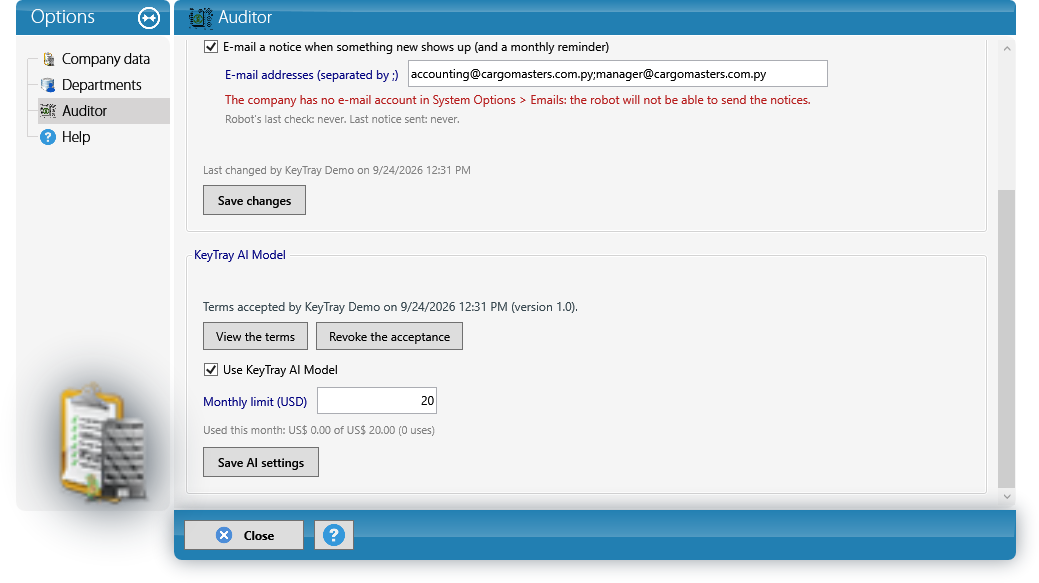
- Only the Owner accepts the terms; a KeyTray developer can turn the AI on and set the limit, but cannot accept on behalf of the company.
- Customer and vendor names do not leave KeyTray: they travel as keys (C-123, P-45) and are put back when the answer is shown.
- Every use is recorded with its cost. When the limit is reached, KeyTray makes no more requests until next month.
- Revoke the acceptance turns the AI off and no more data is sent.
16.11 The AI on each finding and "Ask the auditor"
With the AI on, every card gets more buttons:
What does it mean and what do I do? explains the finding in plain words, why it matters and the steps to fix it in KeyTray. The second time it comes from what was saved, at no cost.
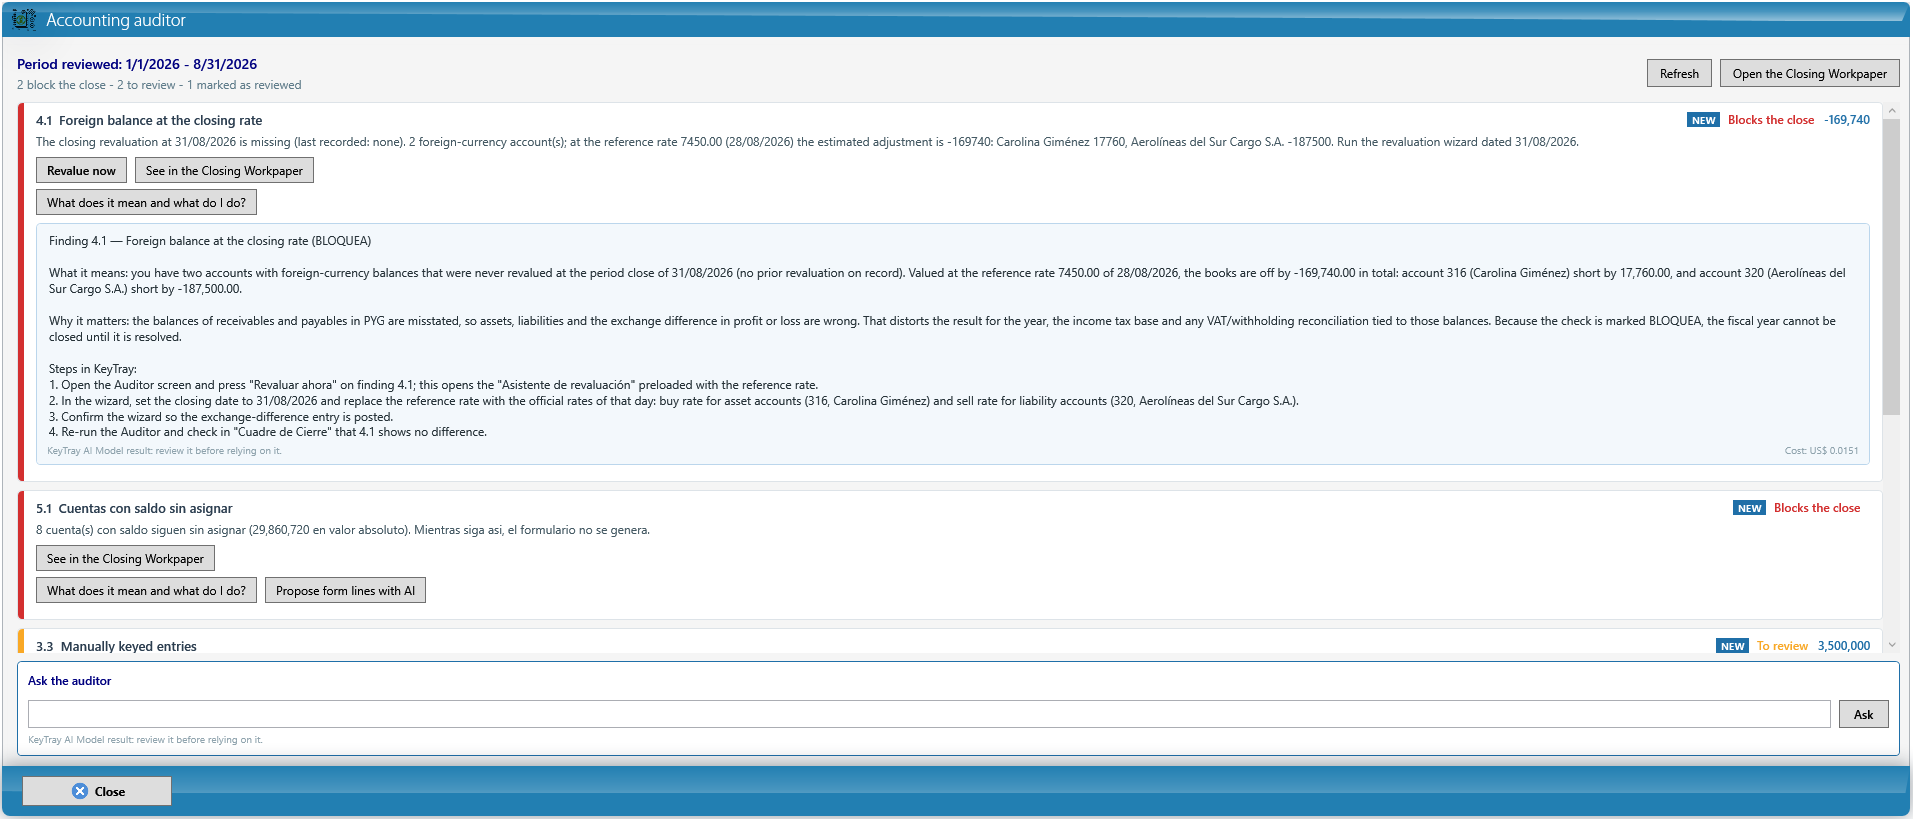
Propose form lines with AI (5.1, Paraguay) proposes the form line for every unassigned account. Untick what does not convince you and click Apply the selected ones: they are assigned with the usual procedure.
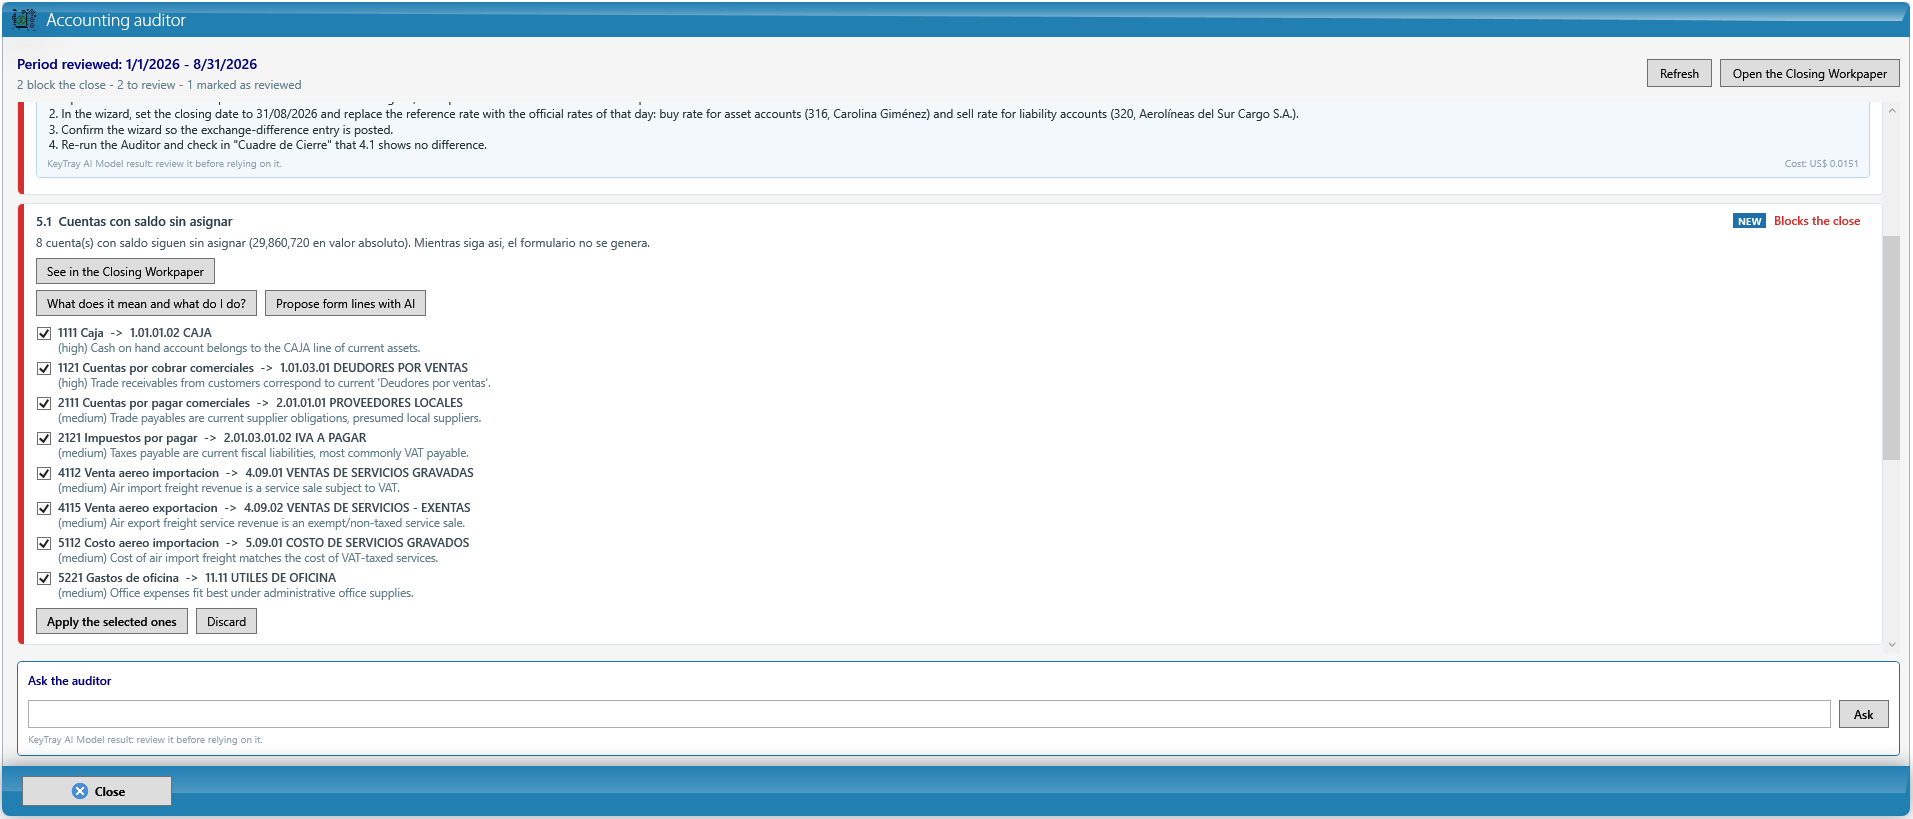
Review with AI (3.3) reads the manually keyed entries of the period, summarizes what they are and flags the ones that deserve attention. Use this analysis to mark as reviewed fills in the reason.
Analyze with AI (6.2 and 6.3) rules on each group of documents (duplicate, different, reversal) and, if it is a duplicate, which one to void. If the documents have their PDF attached, it reads it.
At the bottom of the screen, Ask the auditor answers questions about the company's books, with KeyTray's data: balances, aging, documents, accounts.
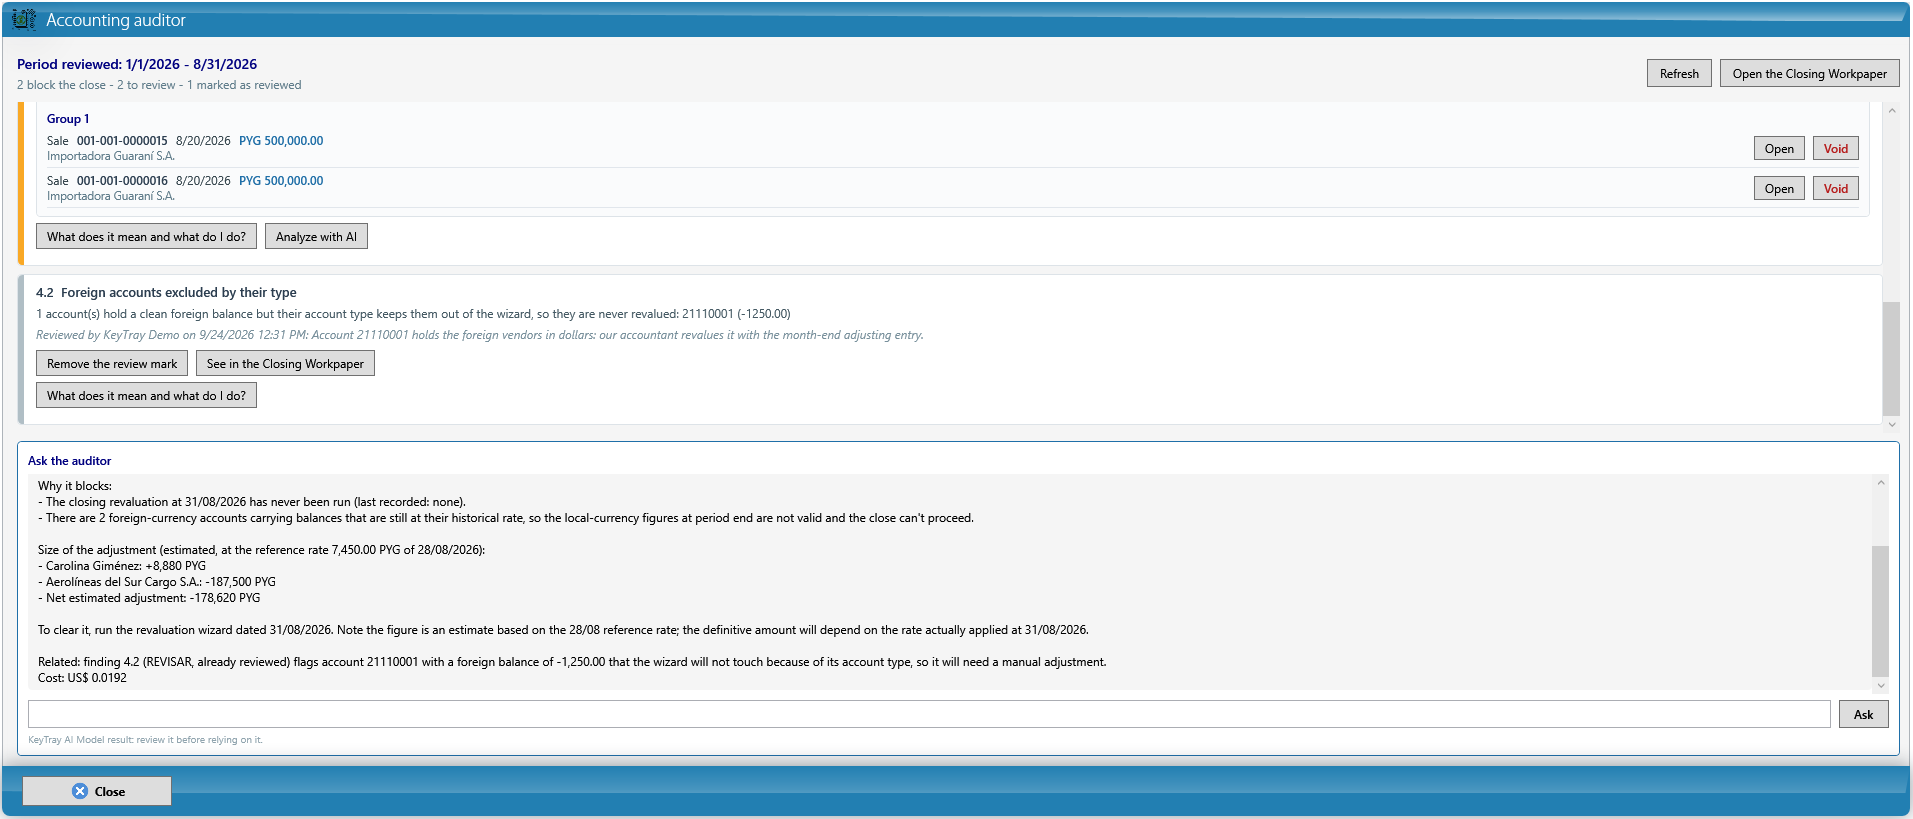
Watch out: the AI never records anything: it proposes, and a user decides. Read every result before using it, as you would read the work of a new assistant.
17. Dashboard and gadgets
The dashboard is KeyTray's home screen: a blank sheet where you place the numbers you want to see as soon as you sign in, without opening reports. Each number, chart or table you place on it is a gadget.
- There is one dashboard per ribbon tab: Freight Forwarding, Operations, Company and Security. When you switch tabs on the ribbon, the dashboard switches too and shows the gadgets you set up for that tab.
- The dashboard is per user: what you add, move or set up is seen only by you. Another user of the same company builds their own.
- Everything is saved automatically on the server: if you sign in from another computer, you find the same dashboard.
- Gadgets read the same data as the reports: what you enter in KeyTray shows up on the dashboard the next time it refreshes.
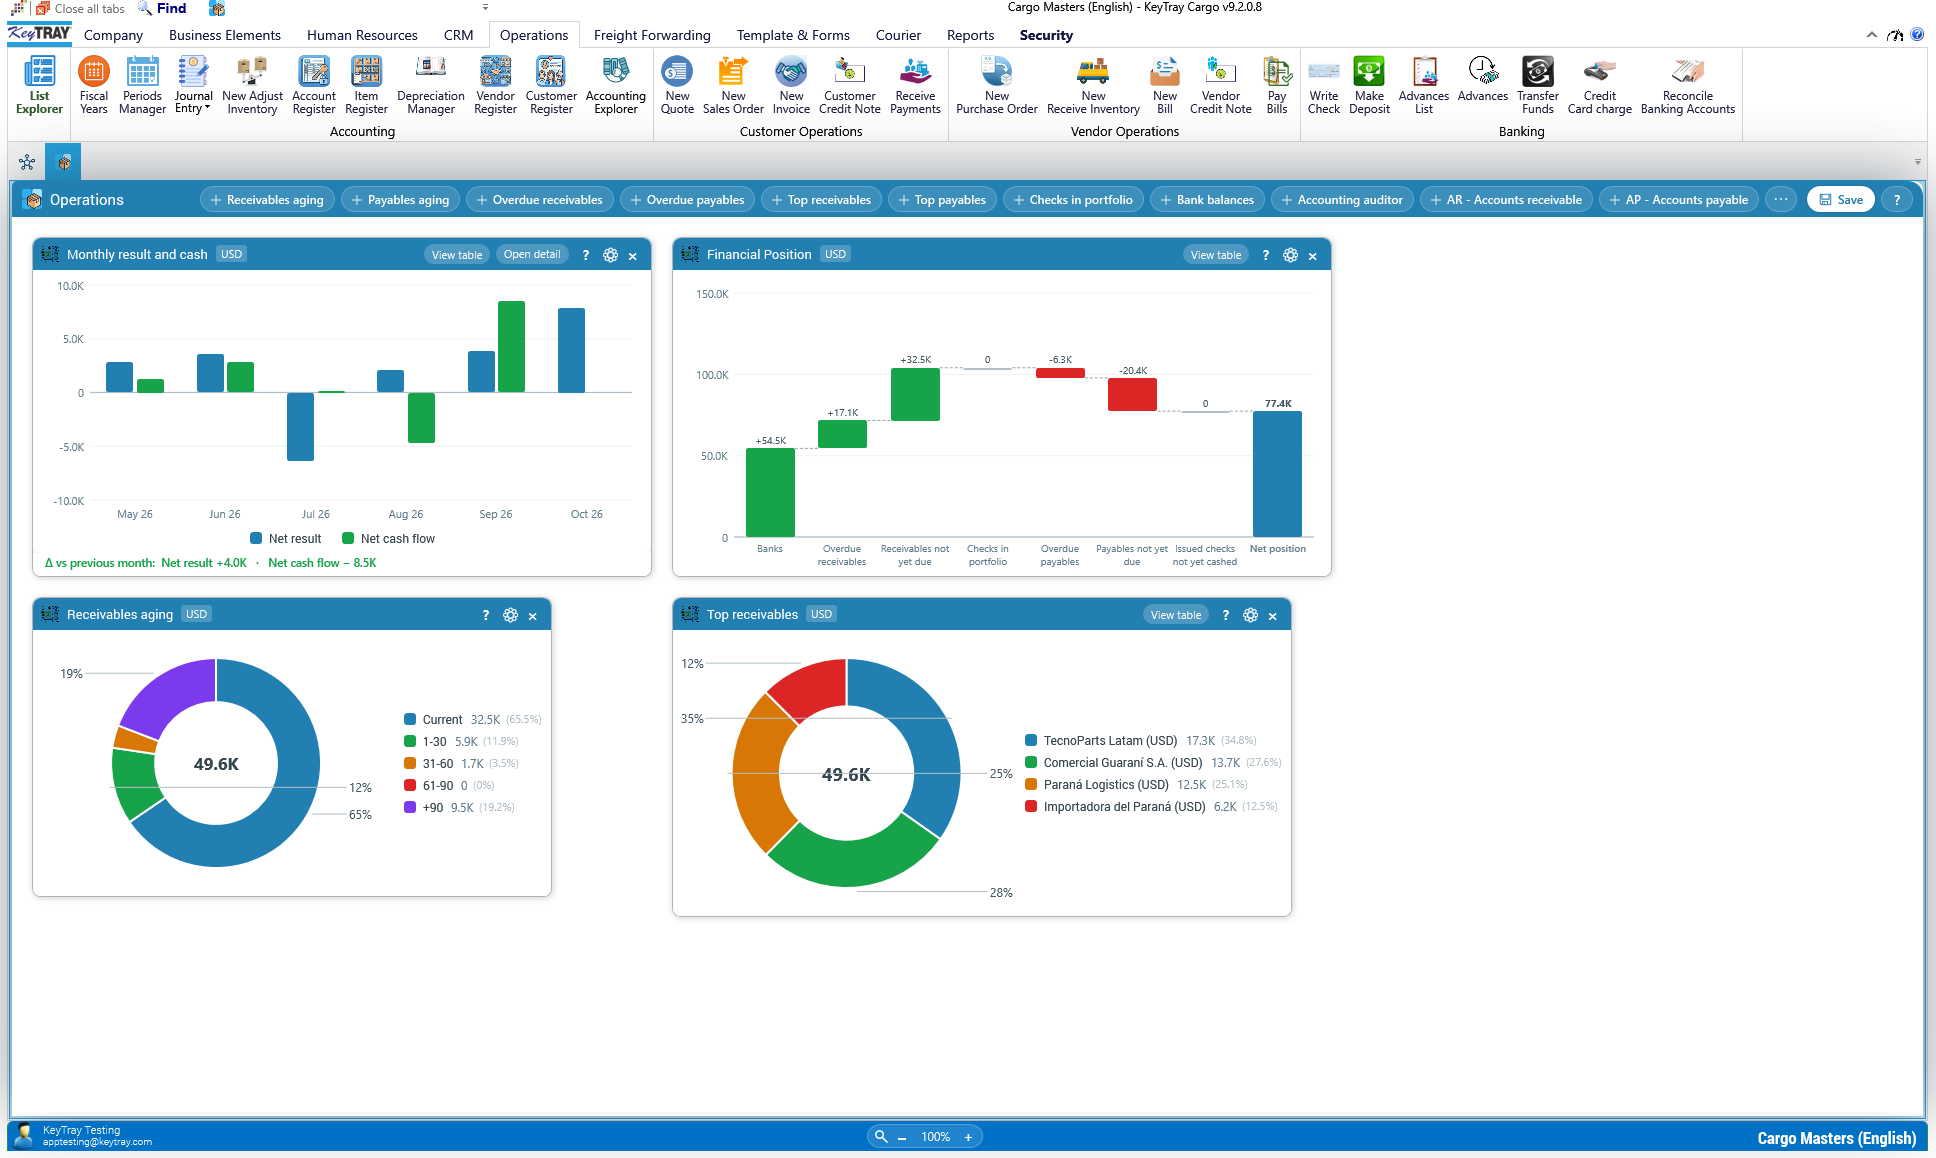
The screenshots in this chapter come from the sample company Cargo Masters, with made-up data.
17.1 Opening the dashboard and who can see it
The dashboard is a fixed tab of the work area, at the top left, right below the ribbon: the one with a package icon (the one next to it, with a network icon, is the operations flow). The screens you open are added to its right; to go back to the dashboard, click that tab.
At the top of the dashboard is the blue bar:
- On the left, the name of the ribbon tab you are looking at (for example, Operations).
- In the middle, a + button for each gadget you can add.
- The ⋯ button, with the full list of gadgets.
- Save, which saves the dashboard right away (it also saves on its own).
- The ? button, which opens the dashboard help.
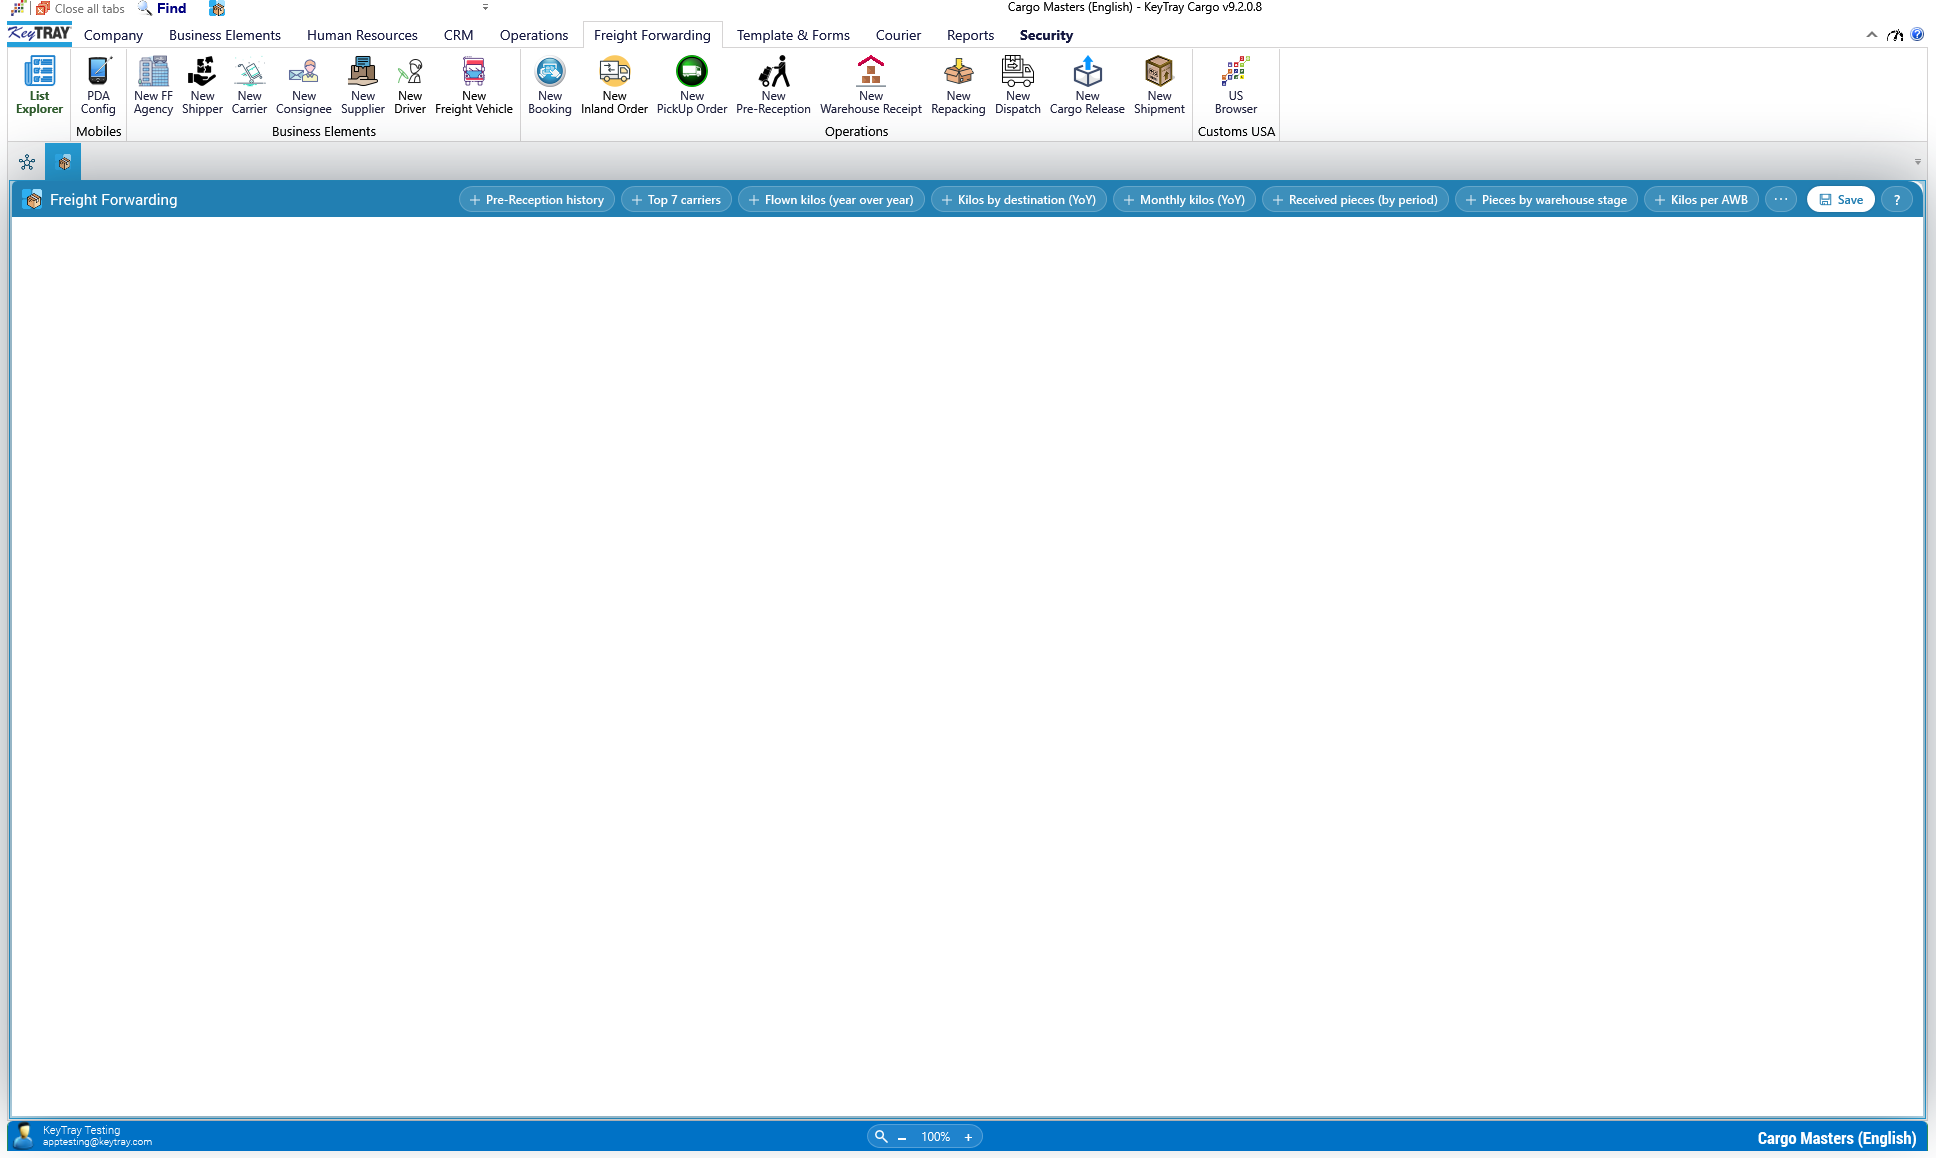
Who can see it. The account owner sees every dashboard. Other users see the Operations and Freight Forwarding dashboards only if their role has the matching access, in the Dashboards group of the role editor. The Company and Security dashboards are seen only by the owner. If you switch tabs and the dashboard stays blank, with no buttons to add gadgets, your role does not have that access: ask your administrator for it.
17.2 Adding, moving, resizing and removing gadgets
Add. Click the gadget's + button on the blue bar. It appears at the top left of the dashboard, already showing its data. If you add several in a row, each one lands a little lower and to the right of the previous one, so all of them stay visible.
The full list (⋯). If the window is narrow, the buttons that do not fit on the bar are hidden. The ⋯ button always shows every gadget of the tab. Click one to add it. Next to each one there is Hide / Show: hiding removes the button from the blue bar (so the ones you do not use stay out of the way), but the gadget is still in this list and you can still add it. What you hide is saved per user and per tab.
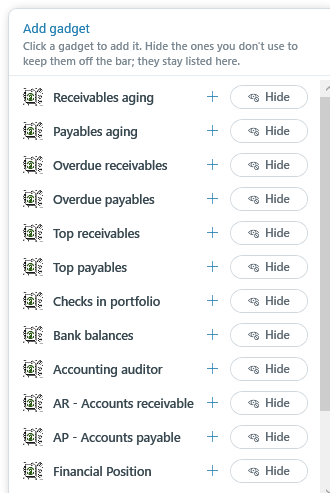
Move. Drag the gadget by its header (the blue strip with the title) and drop it wherever you want.
Resize. Click the gadget and drag the handles that appear on its edges and corners. The chart or table adjusts to the new size.
Remove. Click the × in the header. Removing a gadget does not delete any data: it only takes it off your dashboard. You can add it again whenever you want, although it comes back with its default settings.
Every change (add, move, resize, set up, remove) is saved on its own a moment later. The Save button on the bar does the same thing right away.
17.3 Setting up a gadget: the gear
Each gadget's header has three buttons:
- ?: opens the help for that gadget, which explains what it shows and where each number comes from.
- ⚙ (gear): opens the gadget's settings.
- ×: removes it from the dashboard.
Some gadgets also have a button of their own in the header: View table / View chart on the ones that have both views, Open the auditor on the accounting auditor, and Open detail on Monthly result and cash.
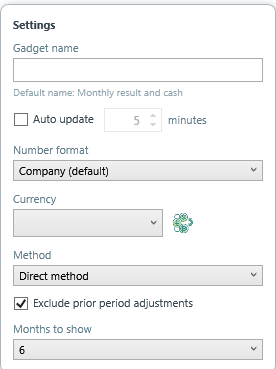
The settings show only the options that make sense for that gadget:
- Gadget name: your own name for this gadget, up to 40 characters (for example, Team collections instead of Receivables aging). Below it you see the default name; the Use the default name button clears yours.
- Auto update every so many minutes (1 to 60): the gadget reloads its data on its own. Without this box, it refreshes when you open the dashboard or change an option.
- Number format: Company (default), Paraguay, United States or Europe. It changes the thousands and decimal separators.
- Currency (on money gadgets): the currency the amounts are shown in. If you pick a currency other than the company's, the Exchange rate appears and you can type it; the button next to it shows the loaded rates. On the accounting gadgets, whatever was already recorded in that currency keeps its original amount and only the rest is converted at the rate, just like in the reports.
- Period (on the ones that look at a date range): This week, Last 7 days, Last month, Last 3, 6 or 12 months, This year or Custom (with From and To).
- Chart style (on pie charts): Donut with the total (the total in the middle) or Pie with percentages; the Show the total and 3D boxes; and on the Top gadgets, How many by name (5, 10, 15 or 20; the rest are added up under Others).
- The options specific to some gadgets (actual or chargeable weight, source of the kilos, cash flow method, months to show...) are explained with each gadget in the following sections.
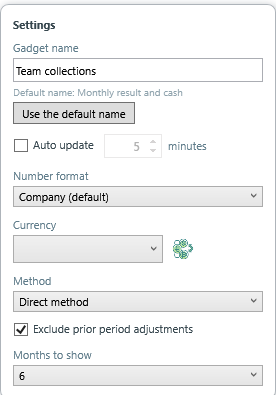
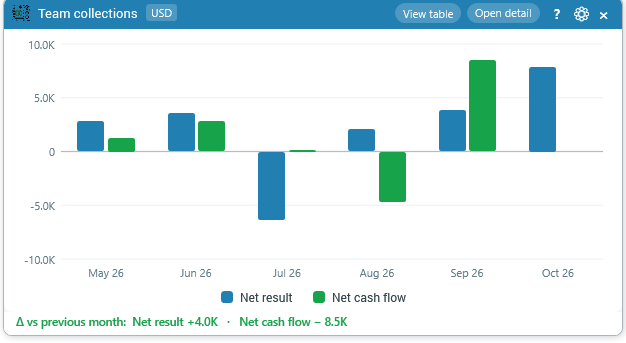
To close the settings, click outside them. Changes apply and are saved immediately.
17.4 Freight Forwarding gadgets
They are on the Freight Forwarding tab's dashboard and read the cargo operations: pre-receptions, warehouse receipts, dispatches and shipments.
Pre-Reception history. How many pieces were scanned at pre-reception, day by day, in an area chart. Use it to see the pace at which cargo comes in. Option: Period (starts at the last 7 days).
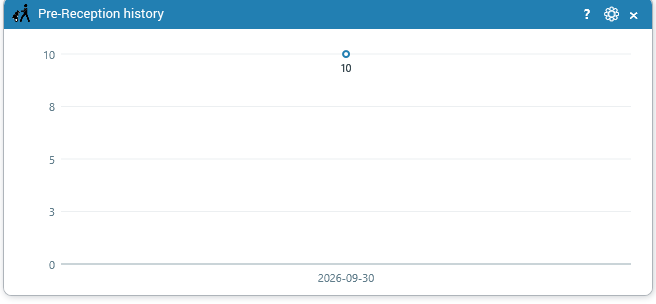
Top 7 carriers. The seven carriers that brought the most air waybills to pre-reception in the period, in columns. Option: Period (starts at the last 6 months).
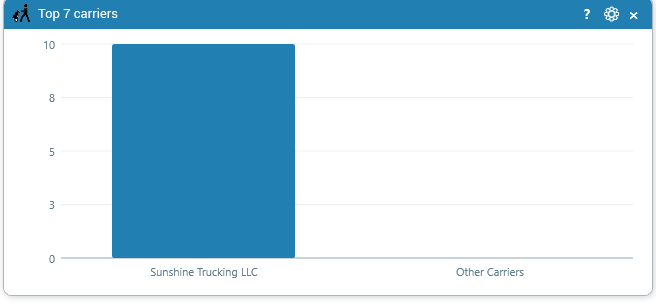
Flown kilos (year over year). One big number: this year's kilos to date, compared with the same period last year, with the percentage change (green if it went up, red if it went down). Options: Weight (Actual or Chargeable) and Source (Shipments, Dispatch to load or Warehouse): where the kilos are taken from.
Kilos by destination (YoY). A table with the ten destination airports with the most kilos this year, next to last year's kilos and the change. Option: Weight (Actual or Chargeable).
Monthly kilos (YoY). Paired columns: each month's kilos this year next to the same month last year. Options: Weight and Source, as in Flown kilos.
Received pieces (by period). How many pieces were received at the warehouse each day, week or month, depending on the length of the period. Option: Period (starts at the last 3 months).
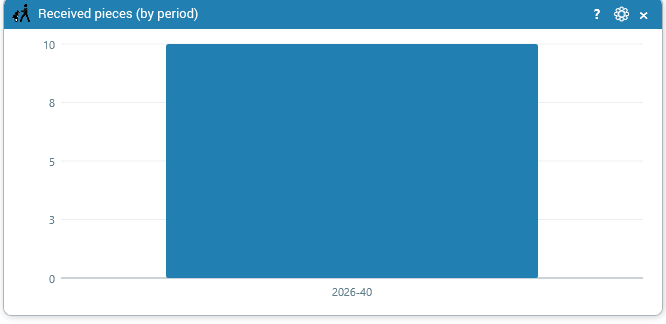
Pieces by warehouse stage. Where the pieces that came in during the period are today: Received, On Hand, To Load, Loaded and Dispatched. Use it to see what is waiting to go out. Option: Period (starts at the last 6 months), which filters by the date the pieces came in.
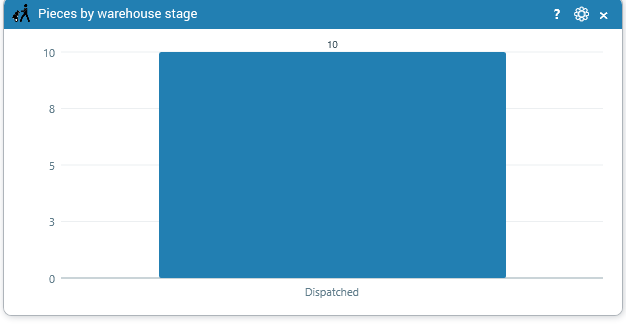
Kilos per AWB. A table with one row per air waybill, grouped by consignee: pieces and kilos of each one. Options: Period (starts at This week) and Departure: Whole week, Weekend (Fri-Sat) or Thursday, to see only the waybills of that departure day.
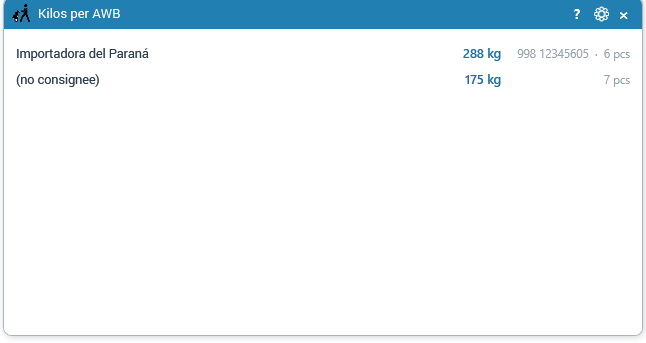
17.5 Accounting gadgets (Operations and Company)
These twelve are on the Operations and Company dashboards. They read the accounting: customer and vendor balances, banks and checks. They are all money gadgets: their gear has Currency and Exchange rate.
Receivables aging and Payables aging. A donut with what customers owe you (AR) or what you owe vendors (AP), split by age: Current (not yet due) and what is 1-30, 31-60, 61-90 and +90 days overdue. The total goes in the middle; on the right, each bucket with its amount and percentage. It is the same calculation as the aging report.
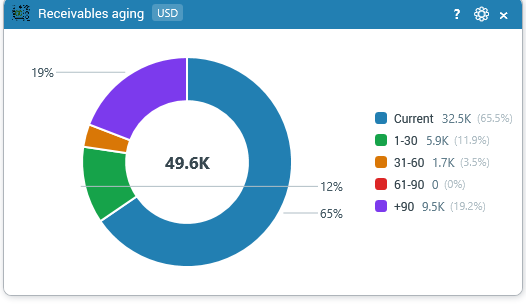
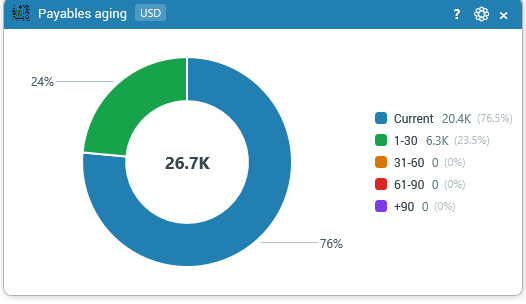
Overdue receivables and Overdue payables. One big number: the overdue total of customers or vendors, and what share of the total it is.
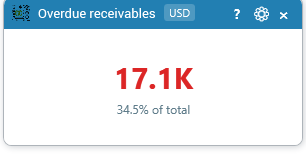
Top receivables and Top payables. The customers you have the most to collect from, or the vendors you owe the most. They start as a donut with the top ten and the rest under Others; with View table they become a list with each one's balance. In the gear you choose How many by name.
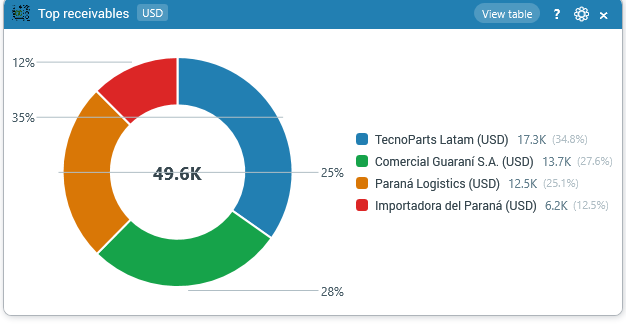
Checks in portfolio. The customer checks you are holding and have not deposited yet, in a donut by due date. With View table you see each check in its own currency, with the total per currency at the bottom. In the gear, Totals chooses between Total by currency and Grand total in one currency (with its exchange rate).
Bank balances. A table with the balance of each bank and cash account, each in its own currency, as of the date. At the bottom, the totals per currency or a grand total in one currency (Totals option). Under Accounts shown you untick the accounts you do not want to see (a petty cash box, for example): they leave the table and the total.
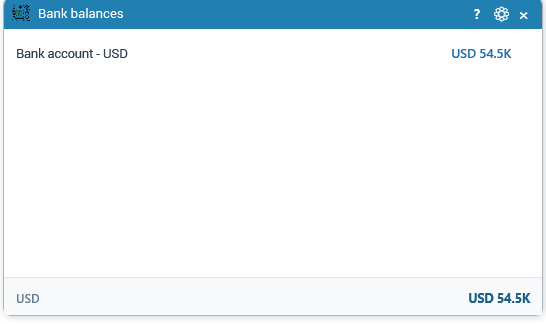
Accounting auditor. The closing checks that are not right in the fiscal year under review: in red the ones that block the close, in amber the ones to review. The Open the auditor button takes you to the auditor screen, where each finding has its fix. See chapter 16, The accounting auditor.
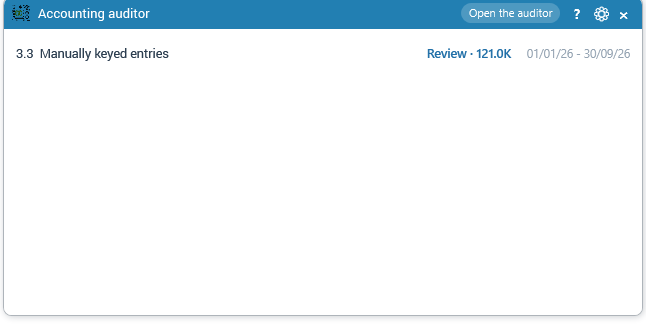
AR - Accounts receivable and AP - Accounts payable. The total owed to you (or by you) net of advances and credit notes, with a bar split into Overdue and Not yet due, the number of customers or vendors, and the trend against the end of last month.
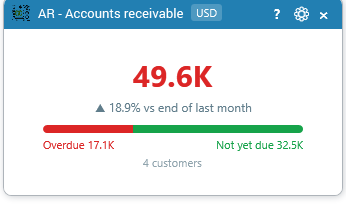
Financial Position. How much money you would have if you collected everything and paid everything today: it starts from Banks, adds Overdue receivables, Receivables not yet due and Checks in portfolio, subtracts Overdue payables, Payables not yet due and Issued checks not yet cashed, and ends at the Net position. It shows as a waterfall or, with View table, just the numbers. In the gear, Position date calculates it at another date; empty (or with Use today) it is always today.
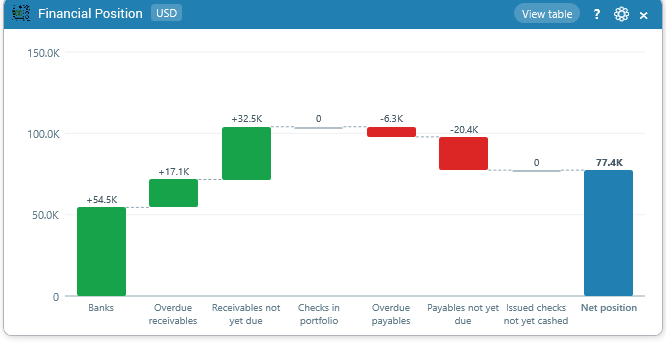
17.6 Operations analysis gadgets
These three are only on the Operations dashboard. They show the company's results and cash.
Cash flow. The summarized cash flow statement of the period: the cash and bank balance it started with, how much each activity (operating, investing and financing) brought in, and the balance it ends with, with the control line against the ledger. It starts as a table; with View chart it becomes columns. Options: Period (starts at This year), Method (Direct method or Indirect method) and the Exclude prior period adjustments box (ticked, as in the report: those entries correct the starting point, they are not movement of the period). Accounts are classified as in section 8.9, Cash flow: assigning accounts.
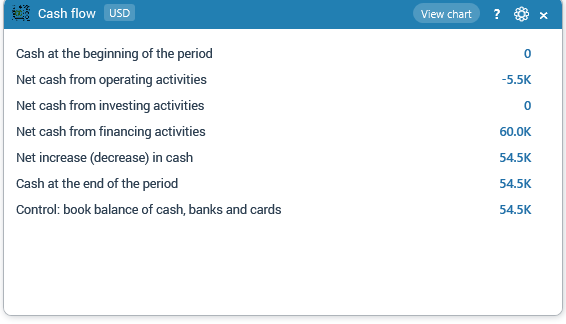
Monthly result and cash. Two bars per month: the net result (the month's profit or loss) and the net cash flow (how much cash went up or down). Bars for a loss or for cash going down hang below zero. Under the chart, the change of the last month against the previous one, for the result and for the cash; the line is green if the net result improved and red if it got worse. With View table you see the numbers of each month. The Open detail button opens the Monthly income statement grid with every account, month by month (section 10.6).
Gear options:
- Months to show: 3, 6 (the default) or 12.
- Currency: if you pick a currency other than the company's, Exchange rate appears, with four ways to convert: Closing rate of each month (each month at its own month-end rate; the default), A single rate for everything (every month at the rate typed), Original amount + closing rate of each month and Original amount + the rate typed (what was recorded in that currency keeps its original amount and only the rest is converted). With the closing-rate ones you also choose Closing rate: Selling or Buying. None of them is fixed: you choose.
- The cash flow Method and the prior period adjustments box, as in Cash flow.
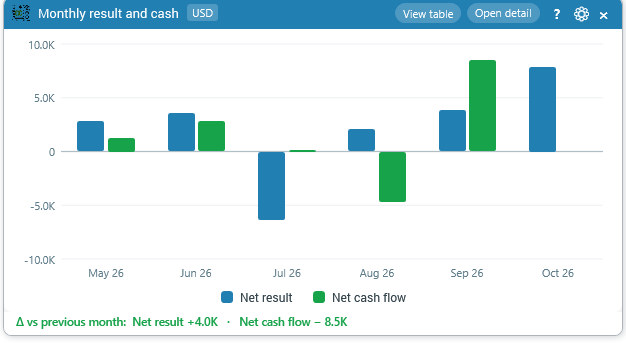
Profit bridge. Why the year's profit changed since the last time you looked at it. It starts from the Previous profit (the one on that day) and reaches the Current profit, separating two things that always get mixed up:
- New activity: what was recorded with a later date, split into Sales, Cost of sales, Expenses, Exchange difference and Other.
- Prior periods moved: entries dated earlier that someone entered or voided afterwards. If this line is not zero, someone touched months you had already seen.
The gadget keeps the comparison date itself: it is the last day before today on which you opened it (the first time, yesterday). If there are Sales without cost (sales whose cost has not arrived yet), it warns you; with the Estimate the missing cost box it also shows the Profit with estimated cost. The Exclude the year-end closing entry box comes ticked, so the bridge does not show zero on closing day.
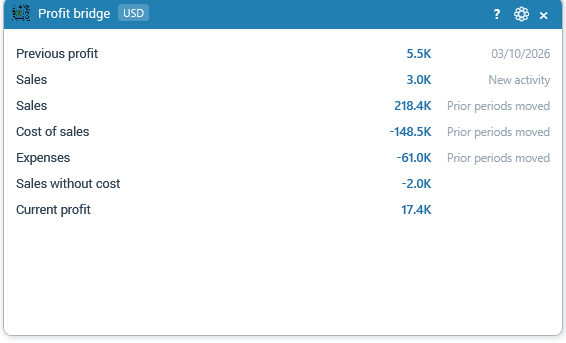
17.7 Security gadgets
They are on the Security tab's dashboard, which only the account owner sees. They show the company's users and their KeyTray certification.
Certification progress. The percentage of mandatory modules already passed by the active users, with a bar split into Approved and Pending.
Certification by user. A donut with how many users are Certified, In progress and Not started. With View table, the list of each user with their modules passed out of those required, the furthest behind first.
Users by type. How many active users the company has of each type (internal, customers, vendors...), in a donut with the total in the middle or in a table with each type's percentage.
Appendix A: Glossary
Accounting terms
| Term | Meaning |
|---|---|
| Accounting equation | Assets = Liabilities + Equity. Every entry keeps it true. |
| Accounts payable (AP) | Money you owe vendors for bills not yet paid. A liability. |
| Accounts receivable (AR) | Money customers owe you for invoices not yet collected. An asset. |
| Asset | Something the company owns or is owed: cash, receivables, equipment. |
| Balance Sheet | Report showing assets, liabilities and equity on a specific date. |
| Base currency | The currency the books are kept in. USD for Cargo Masters USA, ARS (Argentine peso) for Cargo Masters Argentina. |
| Bill | A document from a vendor asking you to pay. |
| Chart of accounts | The list of all accounts the company uses. |
| COGS (Cost of Goods Sold) | Direct costs of delivering what you sold: airline freight, trucking, outside broker fees for a shipment. |
| Credit | The right-hand column of an entry. Increases liabilities, equity and income. |
| Credit note / credit memo | A document that reduces what a customer owes you (customer credit note) or what you owe a vendor (vendor credit note). |
| Debit | The left-hand column of an entry. Increases assets and expenses. |
| Default account | An account KeyTray uses automatically, such as the default accounts receivable. |
| Depreciation | Spreading the cost of a fixed asset over its useful life. |
| Double entry | Every transaction touches at least two accounts, with equal debits and credits. |
| Due date | The date a payment must be made, calculated from the payment term. |
| Equity | The owners' part of the company: capital plus retained profits. |
| Exchange rate | How many units of base currency one unit of foreign currency is worth (1 EUR = 1.17 USD; in Argentina, for example, 1 USD = 1,350.00 ARS, an illustrative figure). |
| Expense (operating) | Cost of running the business not tied to a specific sale: rent, utilities, office supplies. |
| Fiscal year | The 12-month accounting year. |
| Fixed asset | Equipment or property used for more than a year: forklifts, trucks, computers. |
| Foreign exchange gain / loss | The difference caused by exchange-rate changes between the date of a document and the date it is paid. Posted to Other Income / Other Expense. |
| General Ledger | The record of all movements and balances by account. |
| Gross profit | Income minus Cost of Goods Sold. |
| Income (revenue) | What you earn from selling your services. |
| Income Statement (P&L) | Report of income, costs and expenses over a period, showing profit or loss. |
| Journal entry | A manual accounting entry with debits and credits. |
| Liability | Something the company owes: vendor bills, sales tax payable, loans. |
| Net profit | Gross profit minus operating and other expenses. |
| Normal balance | The side (debit or credit) that increases an account. |
| Payment term | The agreed time to pay, such as Net 30 Days. |
| Period (accounting period) | One month of the fiscal year; it can be Open, Restricted or Closed. |
| Principle of least privilege | Give each user only the access their job requires. |
| Reclassification | A journal entry that moves an amount from a wrong account to the right one. |
| Sales tax | A state and local tax collected from customers on taxable sales and paid to the state. |
| Sales tax payable | The liability account holding sales tax collected and not yet paid to the state. |
| Tax group | A set of tax codes chosen on a document. In the US: Taxable, Exempt, Out of State. In Cargo Masters Argentina: Ventas, IVA 10,5%, IVA 27%, Exportación, Exento. |
| Undeposited funds | A cash account for payments received but not yet deposited in the bank. |
| Vendor | A supplier that bills you. |
| Void | Cancel a document so that it no longer affects the accounts, keeping it on record. |
Argentina tax and accounting terms
Terms in Spanish are written as they are used in Argentina; the English meaning is in the second column.
| Term | Meaning |
|---|---|
| Agente de percepción (perception agent) | A vendor appointed to add a perception (percepción) to its invoice: an amount of tax charged on account of your own tax. |
| Agente de retención (withholding agent) | A customer appointed to deduct a withholding (retención) of IVA, income tax or Ingresos Brutos when it pays you, on account of your tax. |
| Alícuota (rate) | The percentage of a tax. IVA has three: 21% (general), 10.5% (reduced) and 27% (increased). |
| ARCA | Agencia de Recaudación y Control Aduanero (formerly AFIP): the national agency that administers IVA, income tax and Customs. |
| BCRA | Banco Central de la República Argentina: publishes the reference exchange rate, which KeyTray uses as the official rate source. |
| CAE | Código de Autorización Electrónico: the code ARCA assigns to each authorized electronic voucher. |
| CUIT | Clave Única de Identificación Tributaria, the Argentine tax ID: 11 digits, the last one a check digit that KeyTray checks on the vendor form. |
| CUIT check digit | The last digit of the CUIT, calculated from the previous ten (weights 5-4-3-2-7-6-5-4-3-2 and modulo 11). |
| Declaración jurada de IVA (IVA return) | The monthly return filed with ARCA: output tax minus input tax. |
| Despachante de aduana (customs broker) | The licensed professional who handles import and export entries before Customs. |
| Ejercicio económico (fiscal year) | The 12-month accounting year, with the closing date set by the company's bylaws. |
| Exento / tasa cero (exempt / zero rate) | A transaction that carries no IVA because the law exempts it or because it is an export. |
| Factura A / B / E (invoice A / B / E) | The letters of the vouchers: A to Responsables Inscriptos (IVA shown separately), B to final consumers, monotributistas and exempt parties, E for exports. |
| Ingresos Brutos | Provincial tax on gross receipts. KeyTray does not configure it automatically. |
| IVA | Impuesto al Valor Agregado, the Argentine value added tax (general rate 21%). |
| IVA crédito fiscal (input tax) | The IVA paid on purchases, deducted from the IVA collected. An asset. Seeded account: 11310001 - IVA credito fiscal 21%. |
| IVA débito fiscal (output tax) | The IVA collected on sales, which must be paid to ARCA. A liability. Seeded account: 21210001 - IVA debito fiscal 21%. |
| Libro IVA Digital (digital IVA book) | The record filed with ARCA listing the month's sales and purchase vouchers. |
| Monotributo | Simplified regime for small taxpayers. A monotributista does not show IVA separately or generate input tax. |
| Peso argentino (ARS) | The local currency, in which Cargo Masters Argentina keeps its books. |
| Prices without IVA included | The convention of Cargo Masters Argentina: the price you type is the net value of the service, and the IVA is shown separately and added on top. |
| Responsable Inscripto | A taxpayer registered for IVA: it charges IVA on its sales and deducts input tax on its purchases. |
Freight terms
| Term | Meaning |
|---|---|
| Actual weight | The real weight of the cargo on the scale. |
| Agent (Freight Agency) | Partner forwarder at the other end of the shipment. |
| AWB (Air Waybill) | The transport document of an air shipment. |
| AWB stock | A block of AWB numbers an airline assigns to a forwarder. |
| Carrier | The company that physically transports the cargo: airline, shipping line, trucker. |
| Chargeable weight | The weight used to bill freight: the greater of actual and volumetric weight. |
| Check digit | The last digit of an AWB number: the serial number modulo 7. |
| Collect | Charges paid at destination, normally by the consignee. |
| Commodity | A line of cargo in a warehouse receipt: package type, pieces, dimensions, weight, description. |
| Consignee | The party that receives the cargo at destination. |
| Consolidated shipment | Several houses traveling under one master waybill. |
| Destination agent | The agent that handles the cargo at the destination. |
| Dispatch | Operation that records cargo leaving (or prepared to leave) the warehouse. |
| EEI / AES | Electronic Export Information filed through the Automated Export System for US exports. |
| HAWB (House Air Waybill) | The waybill the forwarder issues to its client. |
| IATA prefix | The 3-digit airline code at the start of every AWB number. |
| ITN | Internal Transaction Number returned when EEI is filed. |
| Liquidation (settlement) | Turning a shipment's charges into invoices and bills. |
| MAWB (Master Air Waybill) | The waybill the airline issues to the forwarder for the consolidation. |
| POA (Power of Attorney) | Authorization for the forwarder to act on behalf of the shipper or importer. |
| Pre-reception | First registration of arriving packages, usually by scanning tracking numbers. |
| Prepaid | Charges paid at origin. |
| Repacking | Combining pieces into a new package, such as boxes on a pallet. |
| SCAC | Standard Carrier Alpha Code identifying a carrier. |
| SHC | Special Handling Codes on an air waybill. |
| Shipper | The party that sends the cargo. |
| USPPI | US Principal Party in Interest — the party that benefits from a US export. |
| Volumetric (dimensional) weight | A weight calculated from volume, used when cargo is bulky. |
| Warehouse Receipt (WR) | The official record that cargo was received in the warehouse. |
Appendix B: Known issues found while writing this manual
While preparing this manual we found the following issues that were still open or under review at the time of writing. They may already be solved in your version. Where possible, we give you a way to work around them.
Issues that apply in every country
| # | Where | What happens | What to do meanwhile |
|---|---|---|---|
| 1 | Vendor and Shipper forms | The Representative you type may be stored as the company's legal name. (Under review.) | After saving, check the legal name shown on printed documents and correct it if needed. |
| 2 | Vendor and Shipper forms | If you type the EIN / Tax ID (in Argentina, the CUIT) right after the Representative, the first character may be lost because the cursor jumps to Category. (Under review.) | Click inside EIN / Tax ID before typing, and check the number before saving. On a vendor, a CUIT with a missing digit is rejected by the check digit (section 1.5). |
| 3 | Currency list | Delete does nothing. Edit opens with the currency and the rates grid empty; pressing Accept there can fail. | Do not use Edit or Delete on currencies for now; close the window with Close. Contact support if a currency must be changed or removed. |
| 4 | Currency list | Account names can show an extra suffix, such as Foreign exchange gain___168. | Cosmetic only; the right account is used. |
| 5 | Periods Manager > reopening a month | The reason box is labelled Void Reason instead of a reopening reason. | Type the reason for reopening anyway; it is saved in Period history. |
| 6 | Sale Tax Manager > editing a tax code | The Tax Agency name you type may not be saved. (Under review.) | After saving, reopen the tax code and check that it still says ARCA. |
| 7 | Foreign-currency documents, bank accounts and journal entries | The exchange rate can show 0.00 on the document. | Before saving, always check the Exchange Rate box and choose or type the rate. |
| 8 | Open invoices and bills | Clicking Close on a document with data closes it without asking whether to discard the changes. | Always click a Save button before closing. |
| 9 | Receive Payments / Pay Bills grid | The footer can show the document total under Paid so far and 0.00 under Credit to be applied even when a credit is applied. | Trust the values on each document line (Credit to be Applied, Payment, Total line). |
| 10 | Operation List Explorer | The button is spelled Transfered Funds. | Cosmetic only. |
| 11 | Security > New Role | Save & Close saves the role but does not close the tab or show a confirmation. | Click only once; close the tab yourself and confirm the role exists in Security > List Explorer. |
| 12 | Repacking and Dispatch > piece selection (also shipment loading) | Some rows show weight 0 even though the real weight is stored correctly. In repacking, the Selected footer can stay at 0 / 0.00 after Select all, and the Shippers column can be empty. | Check weights in the warehouse receipt or in the shipment's Waybill Metrics. |
| 13 | Dispatch | The Notes are lost if you move to another section before saving. | Type the notes last, just before saving. |
| 14 | Shipment > Commodities tree | The tree can show the wrong shipper for a piece (for example, a trucking vendor). | Rely on Shipment Participants on the house for the real shipper. |
| 15 | Warehouse window | Some checkboxes are partly covered by the buttons at the bottom of the window. | Enlarge the window if your screen allows it, and check the boxes before saving. |
| 16 | Operations > Write Check and Credit Card charge | KeyTray shows a notice that the function is not available yet. | Pay vendors by check from Pay Bills (section 5.6) and record credit card charges with a Journal Entry (chapter 4). |
| 17 | Operations > New Quote, New Sales Order, New Purchase Order, New Receive Inventory | KeyTray shows This function is not available yet and closes the tab. | Issue the invoice or the bill directly (sections 5.1 and 5.2). |
| 18 | Reports > Customers and Vendors | Received Payment Report, Open Invoices List, Customer Transaction History, Open Vendor Bills and Vendor Payments show Report unavailable; Pre-Reception Summary and Repacking Report too. | Use the Customer / Vendor Register (section 8.3), the agings (10.3) and the Operation List Explorer (5.7). |
| 19 | Batch write-off (section 8.8) | The write-off can end with an error and not be recorded, above all with reasons that propose an income statement account; in new companies it can fail with any reason, because some accounts are not yet classified for cash-basis reporting. (Under review.) | If the write-off fails, do not repeat it; ask support before writing off documents. |
| 20 | Cash Flow Statement and Profit Bridge | Amounts are shown without decimals. | Read them as rounded amounts; the control line of the cash flow statement is still correct. |
| 21 | Reports > Inventory | The inventory valuation reports end with an error. (Under review.) | Use the General Ledger (10.2) filtered by the inventory accounts. |
| 22 | Depreciation Manager | The layout is the one described in section 8.11. | |
| 23 | Report option windows (Sales by Customer, Sales by Item) | The customer, item and packing boxes extend past the right edge of the window. | Type in the visible part of the box; the selection works normally. |
| 24 | Editing a commercial document | If you only change the Notes without touching any amount, the text may not be saved. | After saving, reopen the document and check the notes. If they were not kept, ask support. |
| 25 | Operation List Explorer > Bills | Some column headers are shifted from their data (for example, the payment term appears under the exchange rate header and the tax group under the due date header). Seen in a Spanish session. | Read the data by opening the document with Edit, or check each column before exporting to Excel. |
| 26 | New Bill | The Job / Proyect field appears twice on the form. | Use only one of them; it does not affect the accounting. |
| 27 | Warehouse receipt > commodity | The default units are inches and pounds, even in a country that measures in centimeters and kilograms. | Type the measurements in the unit the screen shows, and check the volume and the volumetric weight before saving. |
| 28 | Shipment > Transactions | On the sales invoice row, the Master and House columns are swapped. | Rely on the Transport Document and the Document Number. |
| 29 | Shipment > Profit | The operating income card shows the profit instead of the income, and the Operating Cost card shows 0.00; the cards use the $ sign without showing the shipment's currency. | Rely on GROSS REVENUE, GROSS COST and COMPANY PROFIT, or on the Liquidation tab, and confirm the currency in the shipment's General Information. |
| 30 | Liquidation with agent participation | If no service has Use this service for agent profit sharing in Settled documents? set to yes, the settlement does not create the agent's credit note and gives no warning. | Before settling, check that the proposal shows the Service name to be used for agent profit sharing and the agent's Customer Credit Note. |
| 31 | Settle House / Settle Shipment on shipments that are not air exports | The Service name to be used for agent profit sharing shows the air export profit service also on imports, ocean and ground shipments. | Without agent participation nothing changes. With participation, check the account of the agent's credit note after settling. |
| 32 | Shipment > Transactions after Unsettle Shipment | In some versions the list stays empty even with Show void turned on and the list reloaded. | Look for the voided documents under Invoices and Bills in the Operation List Explorer with Show void turned on. |
| 33 | Shipment > Transactions | The Participant Code column uses the same code for a vendor and for a customer (for example C-4 for the airline and for a customer). (Under review.) | Rely on the participant's name. |
| 34 | Liquidation of a consolidation or of a shipment with houses | The Company box at the bottom shows the profit as Total Income and 0.00 as Total Expense. (Under review.) | The Profit is correct. For income and expense, use the Income and Expense boxes. |
| 35 | Shipment > General Information | Some dates are born as 1/1/0001 and 12:00 AM (routing of a new waybill and Execution > Date on ocean and ground shipments). | Always type the real dates and times before saving and printing. |
| 36 | Ground shipment > General Information | The routing uses air labels (Airport, Flight Number) and there is no carrier field. | Choose the trucker on the charges, searching for it in Apply To. |
| 37 | New charge on an ocean or ground shipment | The Carrier button of Apply To is disabled even when the master has a carrier; when saving, KeyTray asks you to select the participant. | Search for the shipping line or the trucker by typing its name in the Apply To list. |
| 38 | New charge > Apply by on a ground shipment | When you choose Pallets, Shipments can stay selected too, and the total can be calculated with another metric. | Check Total Amount before saving; if it is not pallets × rate, use Total Amount and type the amount. |
| 39 | Container Manager and Cargo Wizard | They only work with pieces received in the warehouse and loaded with Load; with commodities typed with Add they say the shipment has no cargo pieces to load, and a container cannot be saved without cargo. (Under review.) | Receive the cargo in the warehouse (chapter 6) if you need to plan containers; otherwise charge the freight by Total Amount. |
| 40 | Air waybill printed from the Draft Manager | The freight and other charges totals can be printed without prorating them to the pieces of the draft, with amounts without decimals. (Under review.) | Check the printed waybill before handing it over and correct it if needed. |
| 41 | New Consignee after Save & New | On the form that stays open, the country you choose may not be recognized when saving ("Please select the participant's country of residence"). | Close the form and open New Consignee again from the ribbon. |
| 42 | New Consignee without changing the proposed country | The address, city and phone can be saved empty. (Under review.) | Always choose the country before typing the address and, after saving, open the record to check it. |
| 43 | Revaluation Register | When you expand a revaluation, its journal entries list is empty although the entry exists. | See the entry in the General Ledger of the revalued account. |
| 44 | Closing Workpaper, check 5.1 | It always shows the review status with a technical message about the statutory form checks. | Ignore this check; it does not point to an error in your accounting. |
| 45 | Make Deposit | It opens only the deferred checks portfolio, with most of its texts in Spanish in an English session; it does not offer an ordinary deposit. | Ask support how to record an ordinary deposit meanwhile. |
Issues found in Cargo Masters Argentina
| # | Where | What happens | What to do meanwhile |
|---|---|---|---|
| 46 | New Company (Argentina) | The window accepts a CUIT with an invalid check digit (the demo company was created with 30-71234567-8), while the vendor form does check it. | Check the company's CUIT yourself with the method in section 1.5 before saving. |
| 47 | Currency list: the US dollar (USD) | The dollar can appear without exchange gain and loss accounts (the Exchange gain account and Exchange loss account columns are empty). That is how it looks in Cargo Masters Argentina. Because Edit does not work either (issue 3), it cannot be fixed from the screen. | Before recording documents in dollars, ask support to set up the exchange difference accounts of the USD. |
| 48 | Consignee | It shows the sections POA – FPPI and USPPI Authorization, which belong to US exports. | Leave the US sections empty; the rest of the form works normally. |
| 49 | Warehouse receipt | It shows sections that belong to the United States (Internal Transaction Number (ITNs), AES/EEI, SED, Bond Export Receipt). | Ignore the US sections. |
| 50 | Balance Sheet (number format) | The Balance Sheet in pesos uses a comma for thousands and a point for decimals (1,210.00, 1,315.00), while documents use 1.210,00. | They are the same amounts. Check the format before copying figures to the IVA return or a spreadsheet. |
| 51 | Sales invoice and vendor bill (format) | Amounts use a decimal comma (210,00), but the percentage in the Tax column is shown with a point (21.00%). | Cosmetic only. |
| 52 | Sale Tax Manager (format) | The Current Rate column shows the reduced rate as 10.50%, with a point, while the tax code names say 10,5% and the edit window shows the general rate as 21,00. | Cosmetic only: it is 10.5%. |
| 53 | Editing a tax code | The seeded payment term reads Neto 30th Próx. Mes, mixing English and Spanish. | Cosmetic only: it means net, the 30th of next month. |
| 54 | Chart of accounts in Spanish | Account names are written without accents (for example IVA credito fiscal 21%, IVA debito fiscal 21%). | Cosmetic only; search for the names without accents. |